Hi Steemians!
Today I will continue talk about papers, topic that has been started in @jnart post where he gave you really good explanation what you need to know about fixing paper and some other interesting details
source.
@marty-arts continued tale about papers giving great information and descriptions about differences between several brands and kinds of papers source.
Since we are talking about basics still and sharing with you tools we work with, I will continue with a story about papers I use the most.

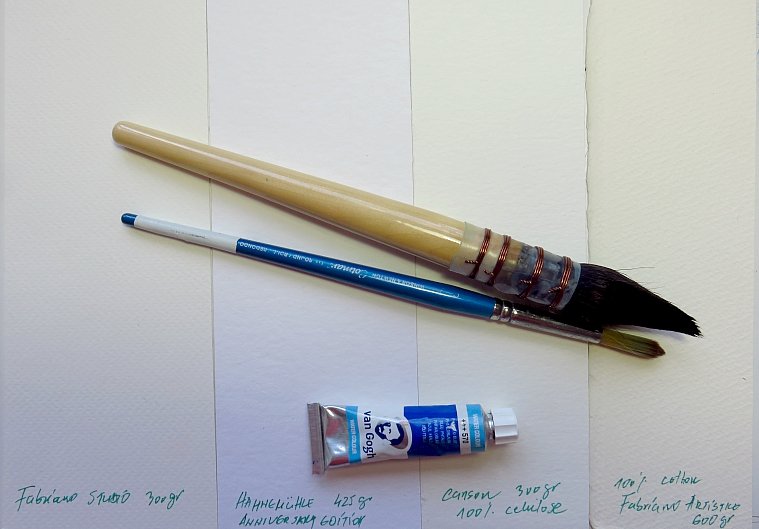
Thought that comparing them one next to other will be best way for you to see the difference. If you are interested in knowing why cotton one are better than others, you can find it in @marty-arts post linked before.
So, here we have four of them, and just looking into their surface you can see the difference. Depending of what I wish to paint or how much water will be used, that dictates what thickness of paper I shall use. And as a lover of watering paper down, mostly I go with 300gr heavy one and up.
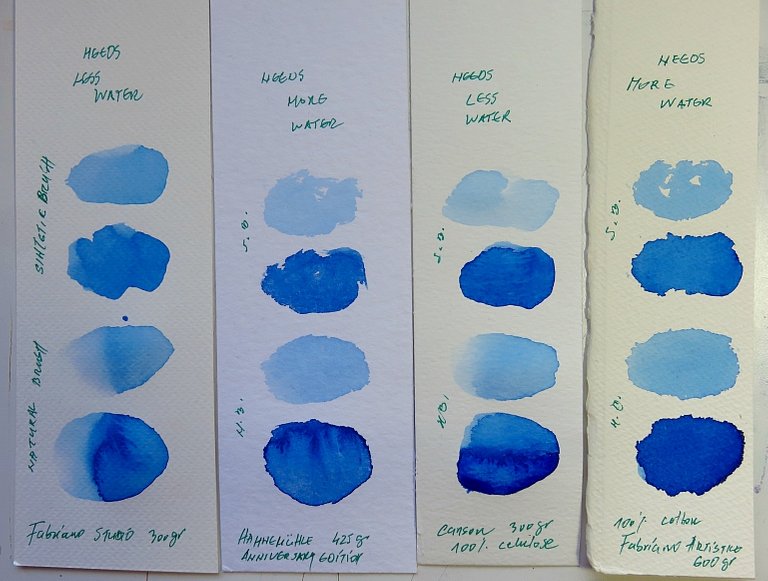
Here we have those I use, with two brushes, one brush with natural hair and other synthetic. Wanted to present you example where you could see, not only paper surface differences, but also what happens when you use those two brushes with same color on papers that have different heaviness.
For easier comparisment I wrote small descriptions on each of them.
Why more and less water? Well, if you use a lot like I do, you need good heavy paper that can absorb water and paint and not get wrinkled, so 300 gr is smaller heaviness for use.
And for the second part of the post i will show you one more interesting way of preparing watercolor paper.
It's not the safest one, but it looks interesting at the end.
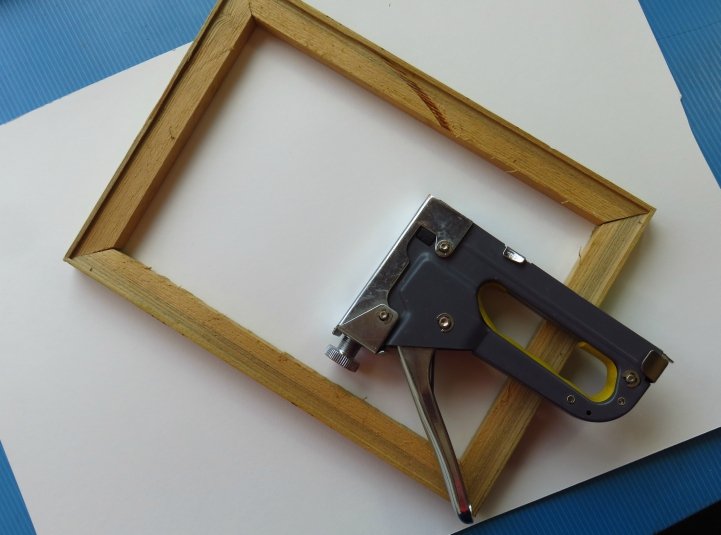
What we need for it? Watercolor paper, but this time from 120gr to max 300gr, carpenter gun and wooden frame for canvases.
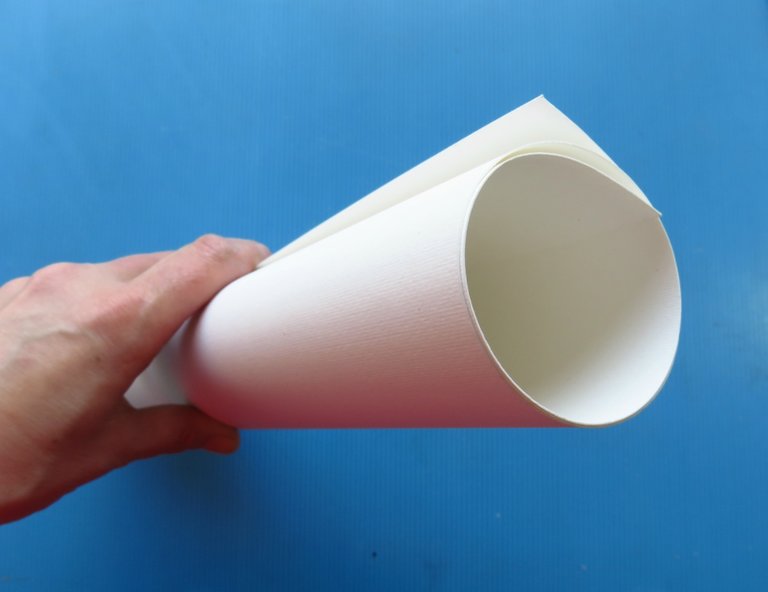
Gently roll the paper, be careful not to crack it.
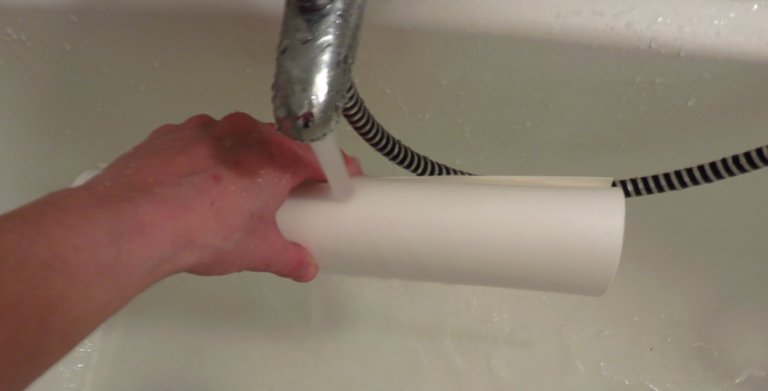
Than take it to shower :) It's important to roll it since it will became more elastic. Water it good, 1 min or more, from all sides, try to make it equal as much you can.
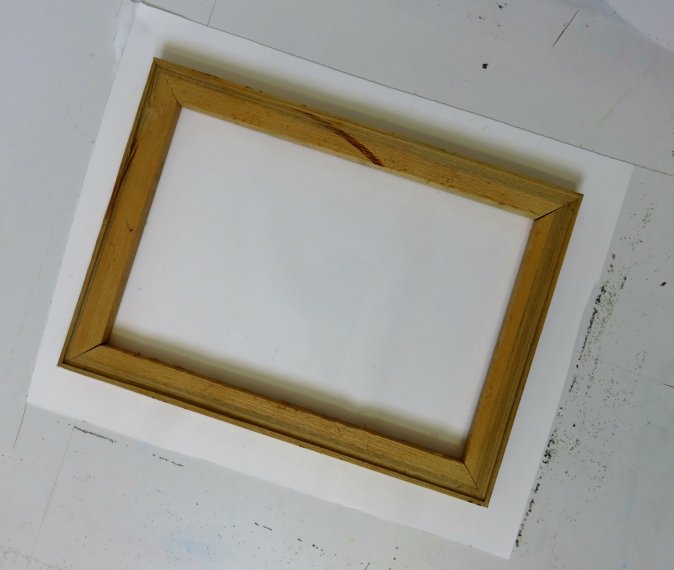
Find clear flat surface to put unrolled paper on it. Than put wooden frame on it.
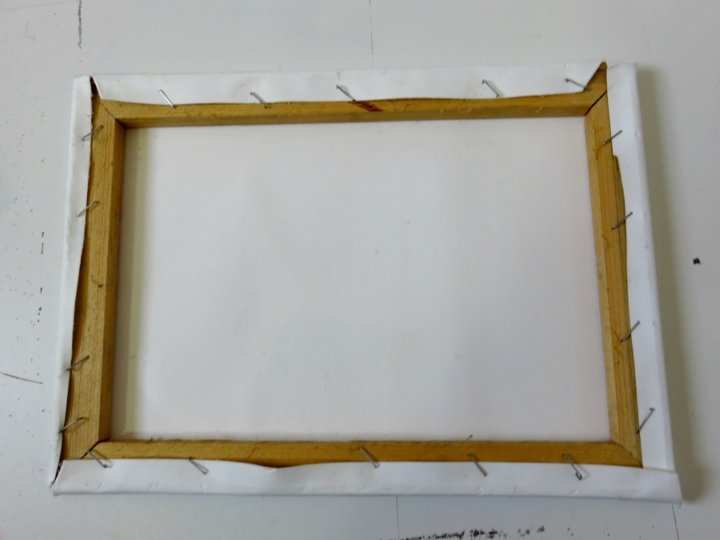
Fix it to frame with carpenters gun, like you are fixing canvas, BUT be careful and gentle with paper. Paper needs to be wet enough and you will manipulate with it easily.
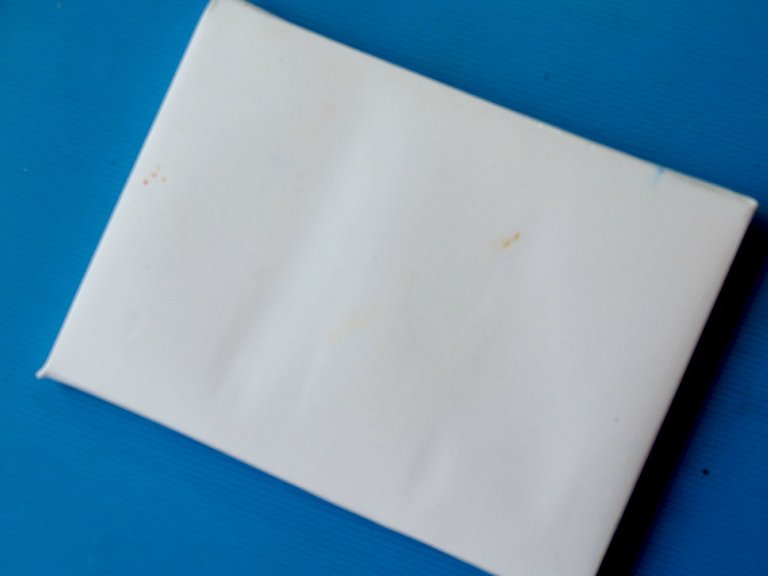
Turn it over and don't be afraid it's normal that paper gets fluffy.
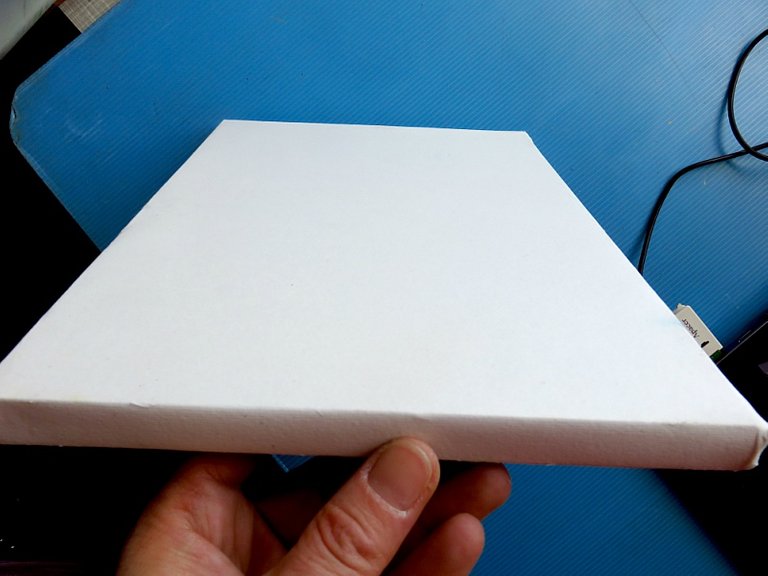
And now we wait until it's completely dry and looks like drum :)
When your watercolor is done you can hang it on the wall, or take it down from frame and put it into glass.
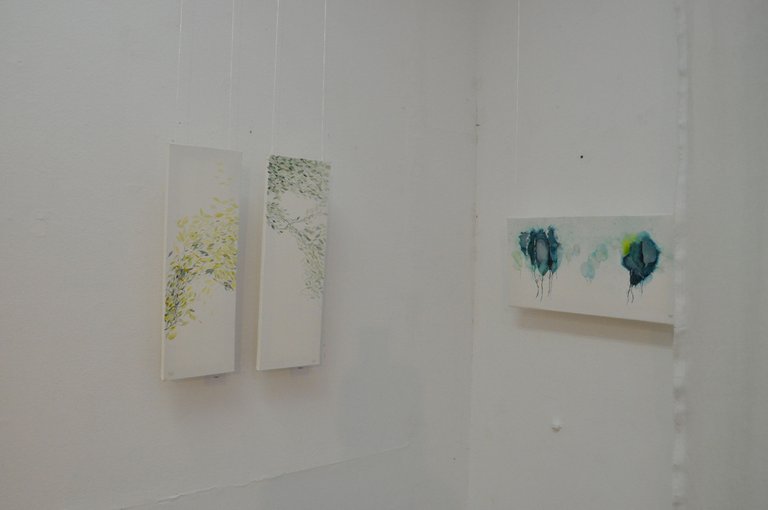
This way of preparing paper I used at works for exhibition where my main idea was to give opportunity visitors not to have glass barrier between them and work. To ''stick'' their nose directly into art :)

Hope you find this post interesting and helpful.
And stick with @water-art, more to come, stay tuned for more posts from @marty-arts, @jnart and myself

Follow, upvote and resteem, and be free to ask,please do :)


great article, so informative! and the frame-paper trick is amazing :) I'll defo use it one day!
@milenamilak, it's great and looks so nice on wall..You can make smaller size and play with it.
Сјајно, @jungwatercolor, откриваш тајне уметника слично као што се открива мађионичарски трик :)
Сад само још да прибавимо таленат… ;)))
Hahaha, ma ja samo volim da delim sa ljudima @lighteye ..uvek me nosi misao da ce mozda neko biti potaknut ili nauciti nesto novo, a to ce dovesti do stvaranje neke divne umetnosti u kojoj cemo svi uzivati :)
This is a very helpful post! Thank you for this. Now I'm inspired to use watercolor again. lol
Thank you @hiddenblede, check other posts also from @water-art, great things could be learned :)
I love this post
This is really wondeful that you are sharing on the lessons like this. It's such a good way to display water colours as well. Even if you do digital watercolour you can get it printed on watercolour bond paper and use the same framing technique. So good and smart.
Yes, @donnadavisart, this one interesting way but also very fragile, since paper can be easily harmed but also look so nice without frame :)
Wonderful post! Really interesting method for stretching!
You should try it @jnart, also you can go with watercolor varnish at the end.
I do this prep for my watercolor paper, too!!! I’m glad I wasn’t looking like an idiot who drenches her watercolor to oblivion.
I wanna be part of the Water-art community! Can I use the tag when I make watercolor art?
And also, do you think it’s a bad idea to use a wooden canvass that they use for oil painting to use as instead of a wood frame??
Well, I use this wooden frame made for canvases, never tried any other kind or a way.
I believe there is no problem for using water-art tag :) We are still at the beginning of our story but sure will expand @korinkrafting.
The part about taking the paper to the shower (I like how you describe the process of wetting the paper :)), I wonder why you don't just dip it into a container filled with water so it is easier to make sure the moisture is spread consistently? Will it get too damp from soaking very quickly?
Well, it can be done that way also @plushzilla, but somehow I used to do it this way since I was doing it at first with larger sizes, like 100x70 cm so than I didn't have anything large to soak it in. It gets wet equaly since I rotate paper and take care it gets wet properly. And knowing when and how much is just question of practice. I do it with smaller formats and when papers are heavier, than I soak them into something.
Love your post!!!