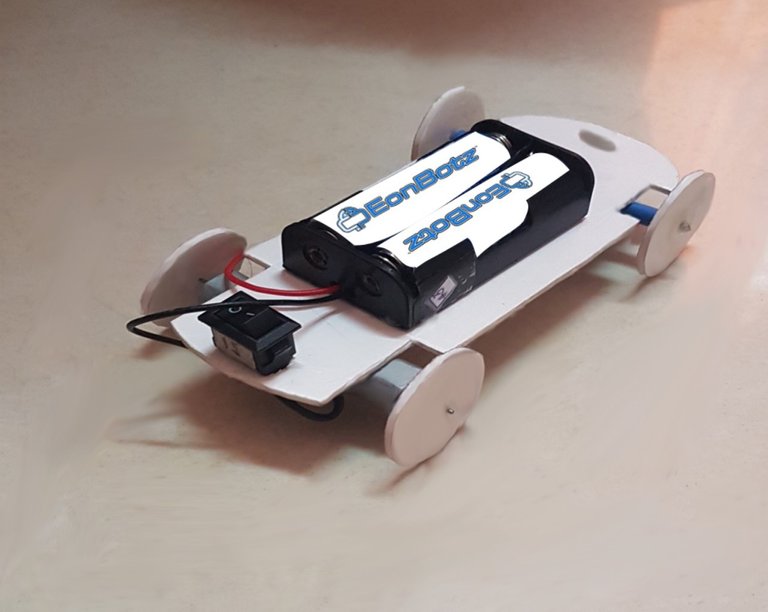
Steemians, wanna learn how to create a simple DC Motor Car using recyclable materials?
I wanna show you how we did it and how we teach it in EonBotz...
Materials needed are :
QTY Parts
2 DC Motor
2 AAA Battery
1 AAA Battery Holder
1 EB Car Template
4 Wheels
1 Switch
2 Wires (red and black)
1 Blue plastic pole
1 Cylinder Rod
Tools Needed:
Glue Gun with Glue Stick
Scissors
Gloves
Goggles
Steps
Cut the EB (EonBotz) Car Template.
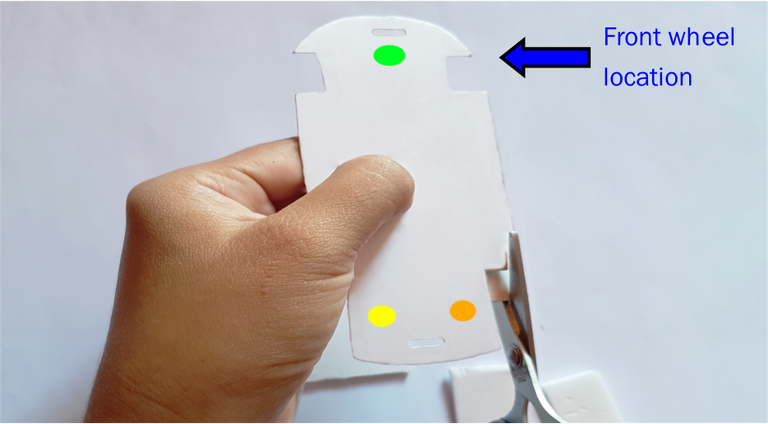
Look closely to your EB Car Template. Take note of the circular markings.


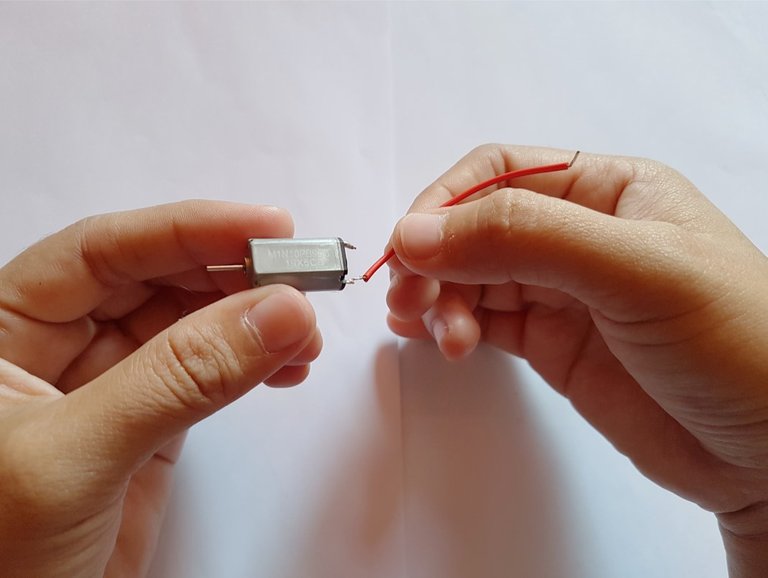
Connect the RED wire to your DC Motor connector labeled plus sign (+) and the BLACK WIRE to the minus sign (-) label. Do this in the other DC motor.
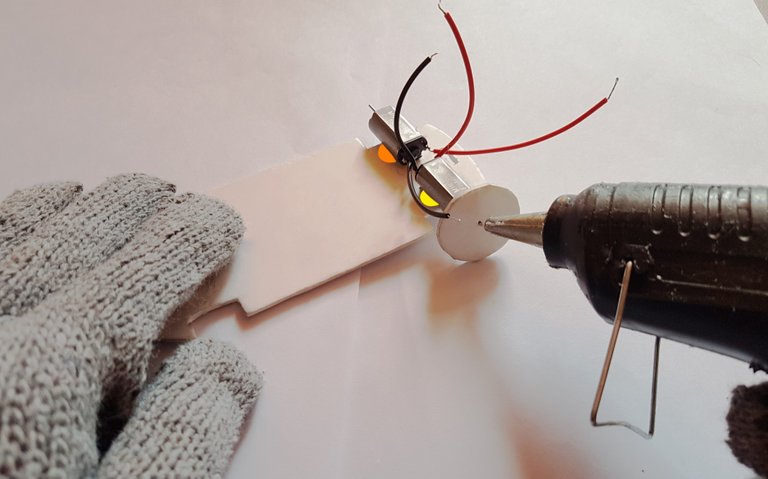
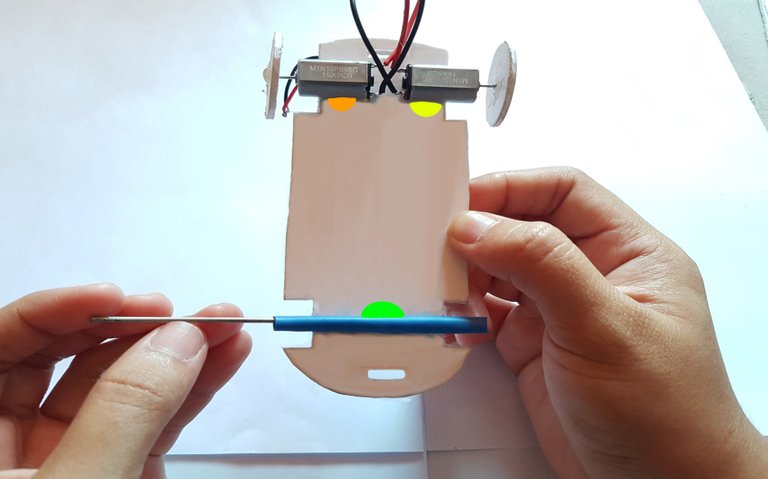
After connecting the black and red wire to the DC motors, glue the DC motors to the surface of the EB Car Template. Label the DC motors as left and right motors. Then the LEFT MOTOR DC motor should be glued on top of the yellow circle and the RIGHT MOTOR DC motor on top of the orange circle.
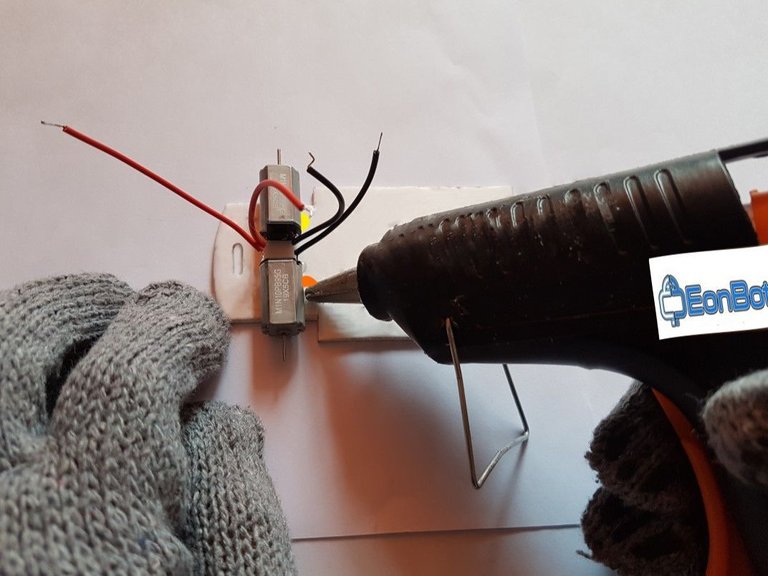
Glue the wheel to each of the motors.
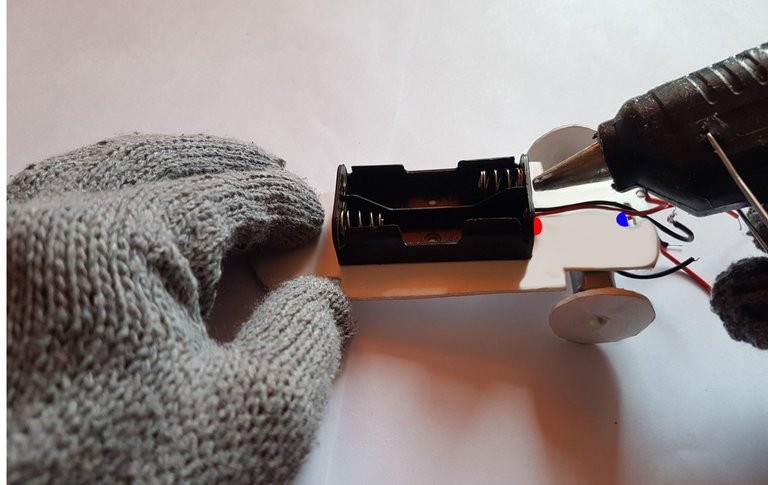
Then glue the AAA (triple A) Battery holder to the surface of your EB Car template where the red circle is located.
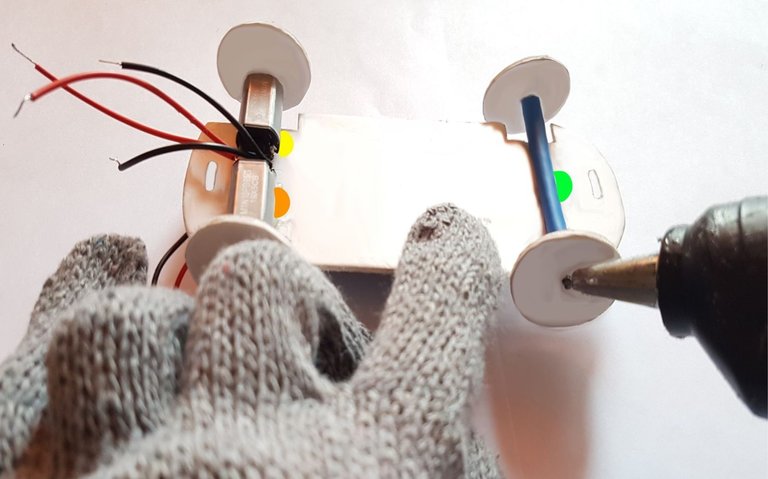
In connecting the two wheels, insert the cylinder rod in the blue plastic pole and glue this on the EB Car template where the green circle is located.
Glue the wheels on both ends of the stick.
Glue the switch where blue circle is located and connect the wires. (Follow the illustration below to know the proper connections of the wires).
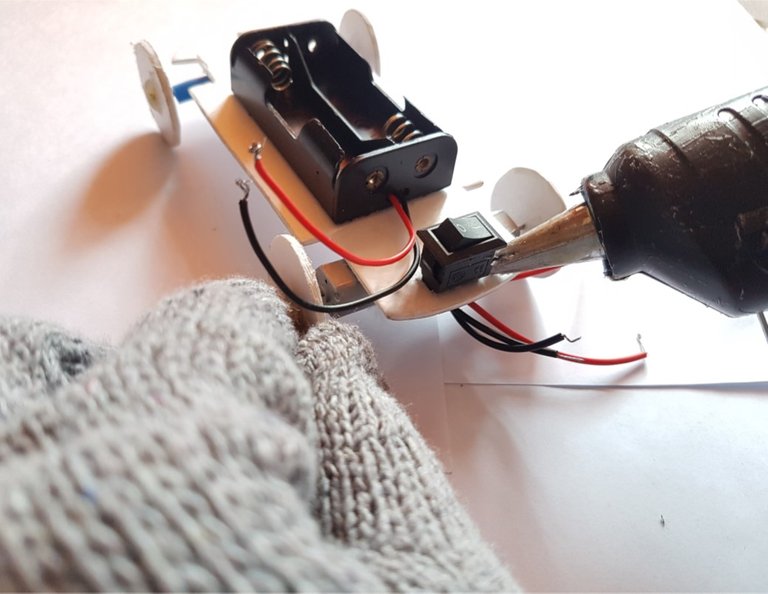
Connect the batteries and turn on the switch to test if your DC motor works.
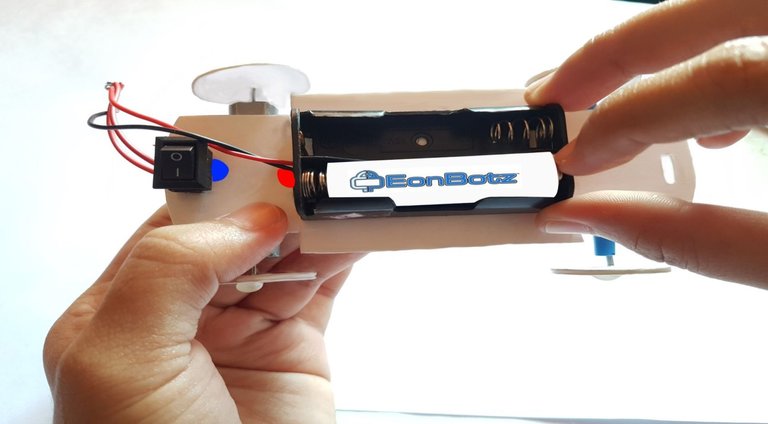
Test your DC Motor Car by letting it run in a flat surface.
Troubleshooting:
-Review the steps if you have missed something.
-Review the connection guide in Step 8.
-Ask assistance from your teacher, guardian or email us at
support.eonbotz@gmail.com.
Have fun building!
Credits to EonBotz Team!!!