Hi everyone how are you? I hope it's well
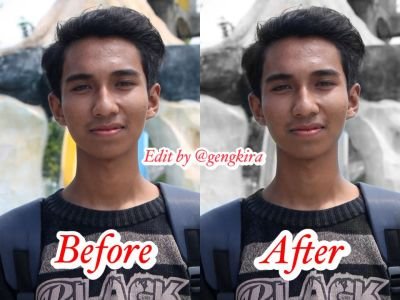
today I want to share a tutorial to make selective staining, the photo is my own photo, This photo was taken with a Cannon camera, hopefully this post can be useful for all friends, Thank You.

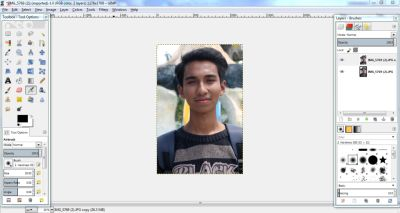
1. Open the GIMP app.
Membuka Aplikasi GIMP.

2. Select File menu then select open or Ctrl + O.
Pilih File menu kemudian pilih open atau Ctrl + O.

3. Then Duplicate the background layer that is by select the Layer menu and then select Duplicate Layer or Shift + Ctrl + D.
Kemudian Menggandakan layer background yaitu dengan cara pilih menu Layer kemudian pilih Duplicate Layer atau Shift + Ctrl + D.

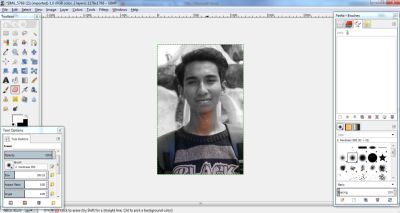
4. Then the new layer is changed to black and white by selecting the color menu and select Desaturate and after that select Lightness.
Kemudian layer yang baru diganti menjadi hitam putih dengan cara pilih menu warna lalu pilih Desaturate dan setelah itu pilih Lightness.

5. Then select the Layer select Mask then select add layer mask then choose white (full opacity) then select add button.
Kemudian pilih menu Layer pilih Mask kemudian pilih add layer mask kemudian pilih white (full opacity) lalu pilih tombol add.

6. then change the background to black.
kemudian mengubah latar belakang menjadi warna hitam.

7. Then select the eraser tool then set brush size or Shift + E and for size and size in the tool of choice then set in size.
Kemudian pilih eraser tool kemudian atur ukuran brush atau Shift + E dan untuk memperkecil dan memperbesar ukuran eraser pilih di tool optionnya lalu atur di size.

8. this is the result.
Inilah hasilnya.

9. Then select the File menu and select export to or Ctrl + E.
Kemudian pilih menu File lalu pilih export to atau Ctrl + E.

10. Then in Export Image as Png select export button
Kemudian di Export Image as PNg pilih tombol export.

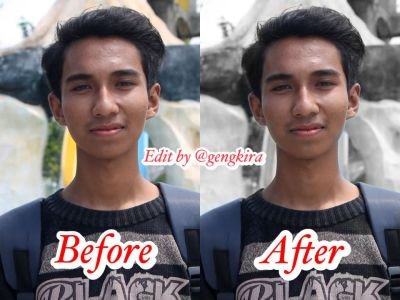
Result :
Before

After


Posted on Utopian.io - Rewarding Open Source Contributors
Your contribution cannot be approved because it does not follow the Utopian Rules.
You can contact us on Discord.
[utopian-moderator]