Summary: This GIMP(version 2.8.22) tutorial shows how to create fireworks effect.
New year will coming soon, would you like the fireworks? follow me...
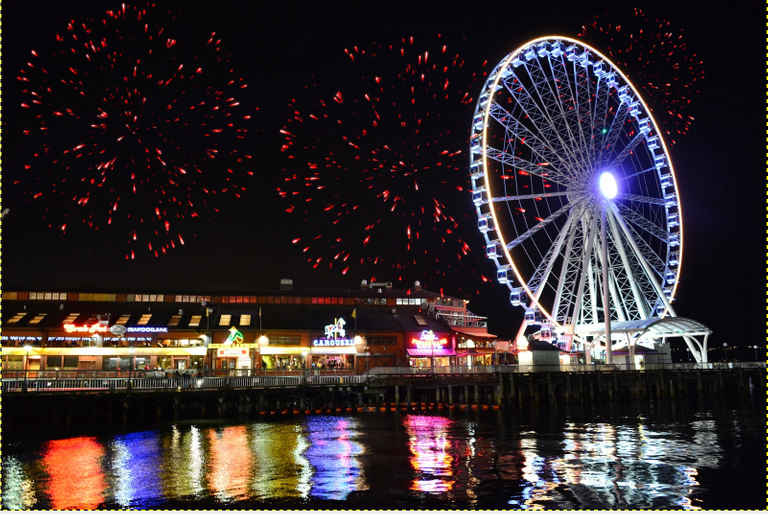
result:
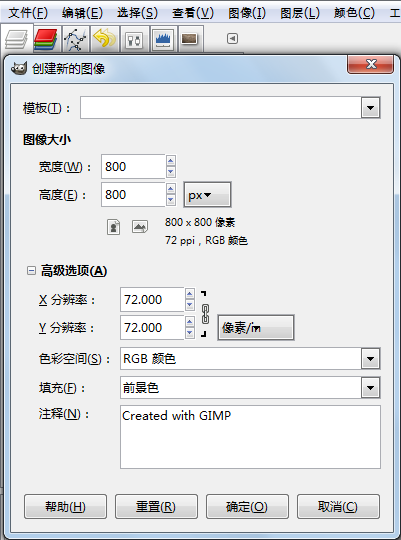
步骤1:设置前景色为黑色,新建一幅800X800的图片:
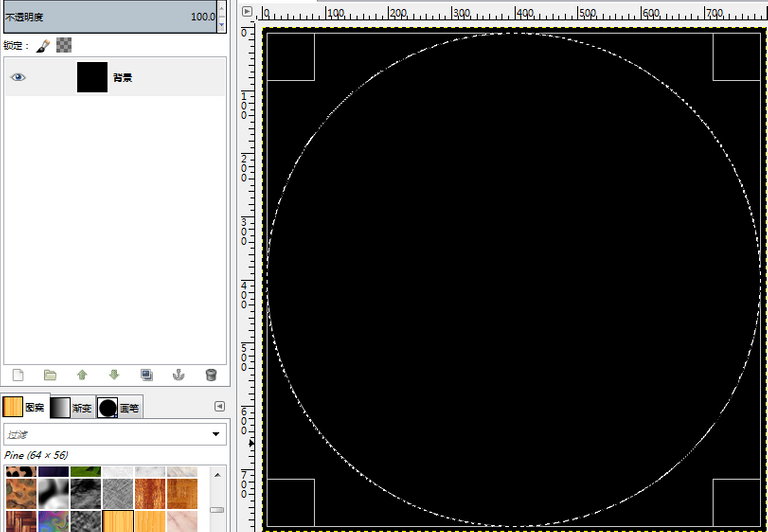
步骤2:创建一个圆形选区,如下:
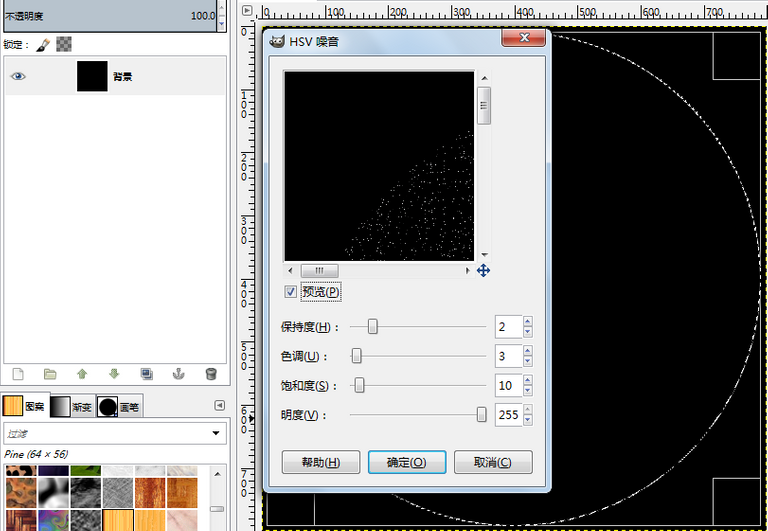
步骤3:应用HSV噪音滤镜:

设置如下:
步骤4:应用模糊滤镜:

结果如下:
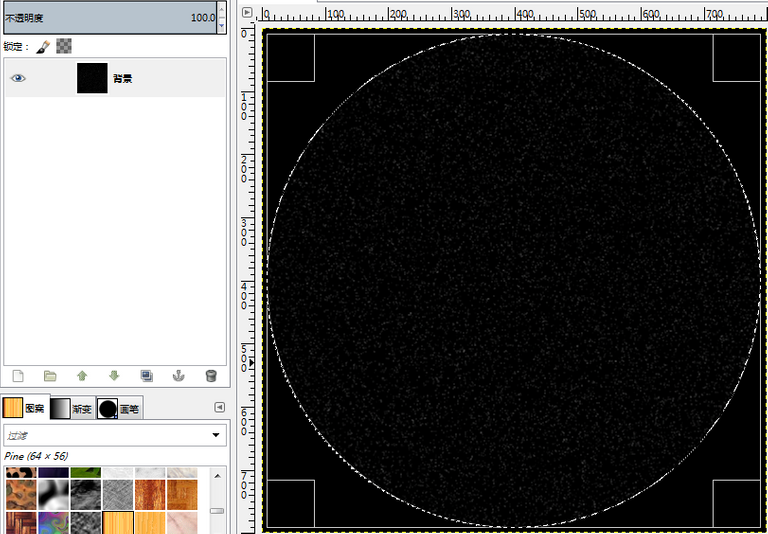
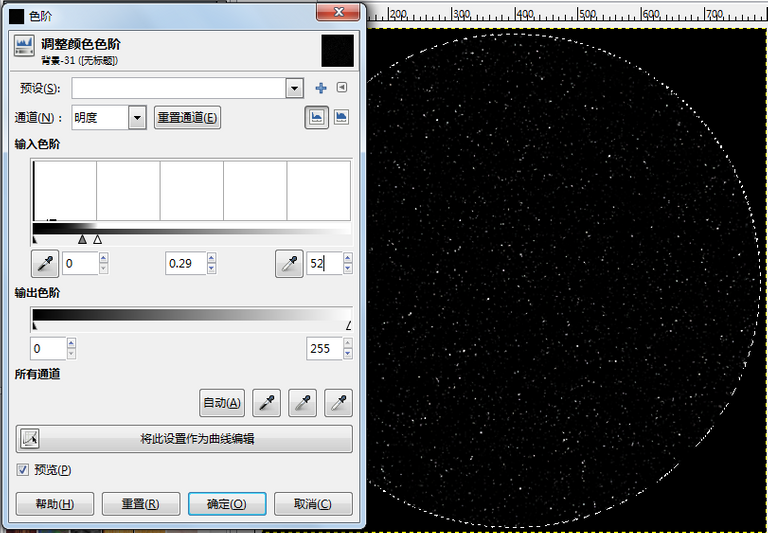
步骤5:调整色阶:

设置如下:
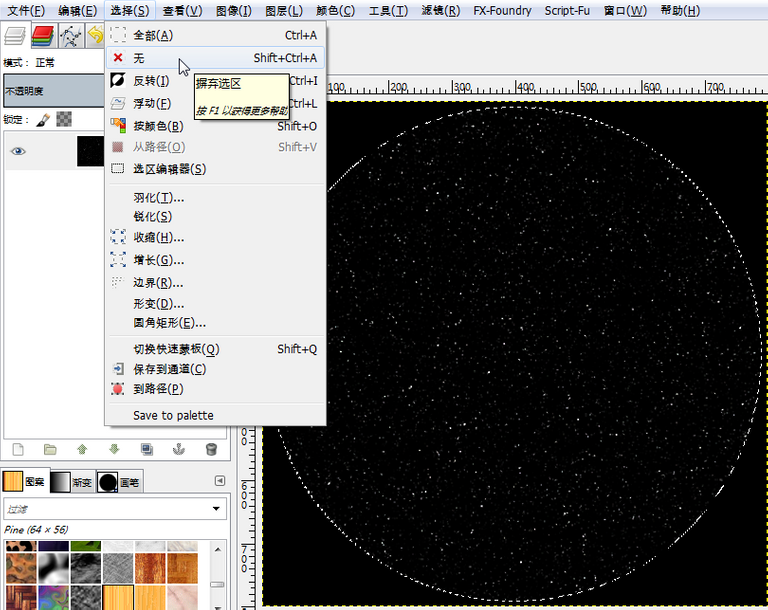
步骤6:摈弃选区:
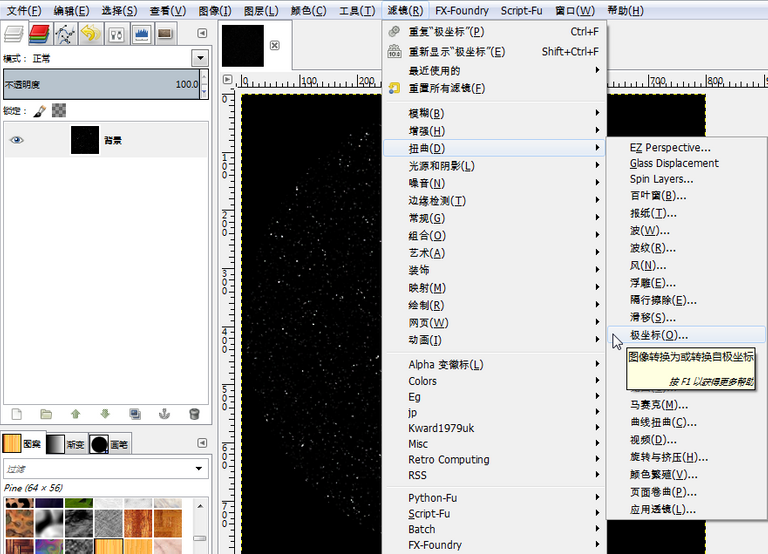
步骤7:应用极座标滤镜:
设置如下:

结果如下:
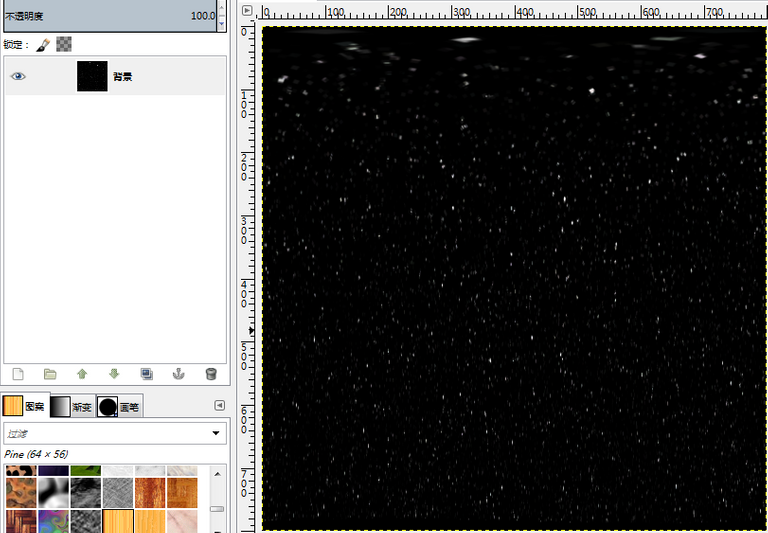
步骤8:旋转图层:
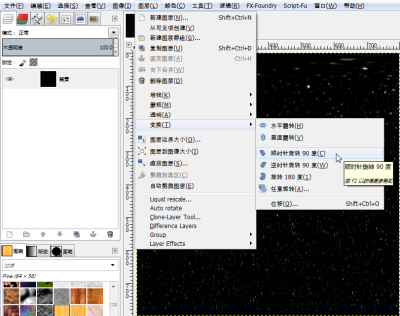
结果如下:

步骤9:使用风滤镜:
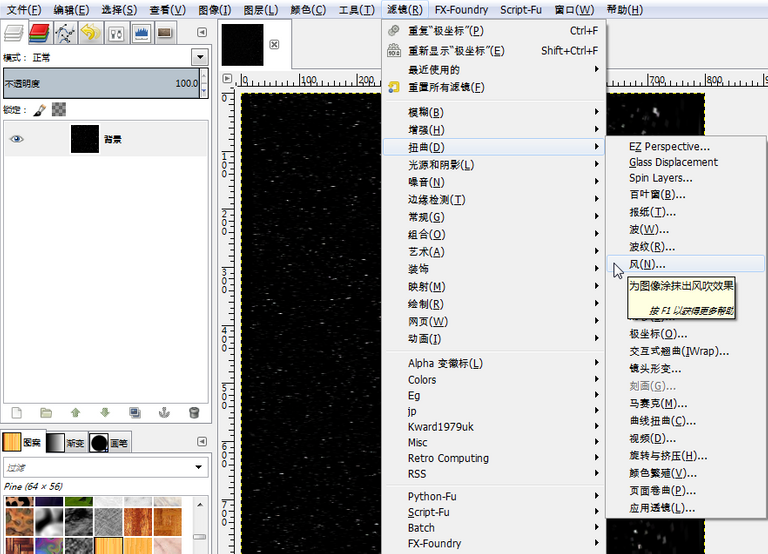
设置如下:

结果如下:
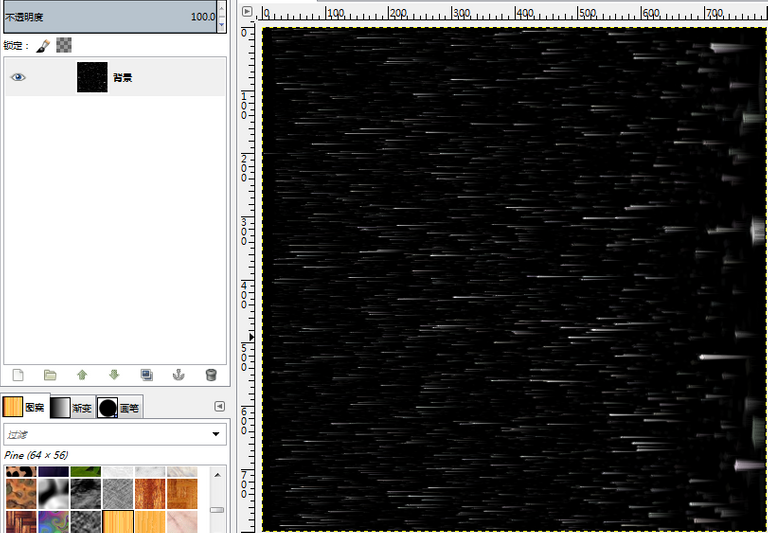
步骤9:旋转图层:
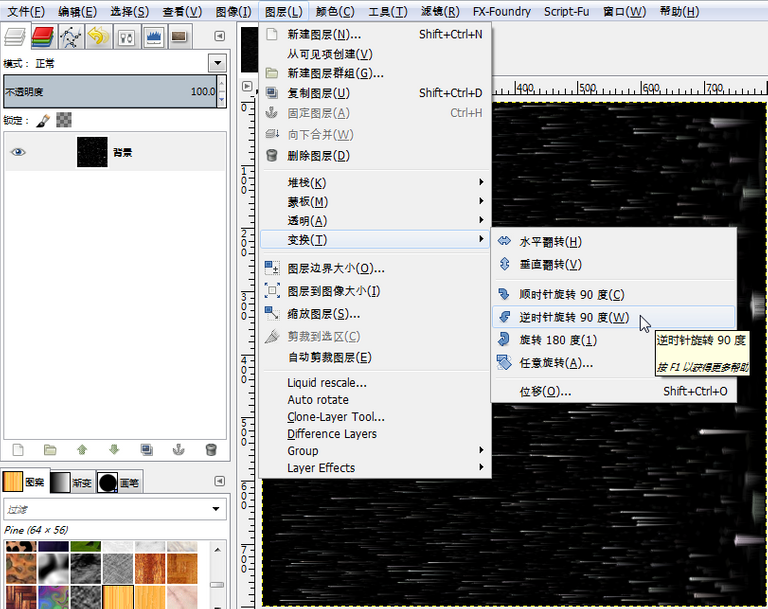
结果如下:

步骤10:再次使用极座标滤镜,设置如下:
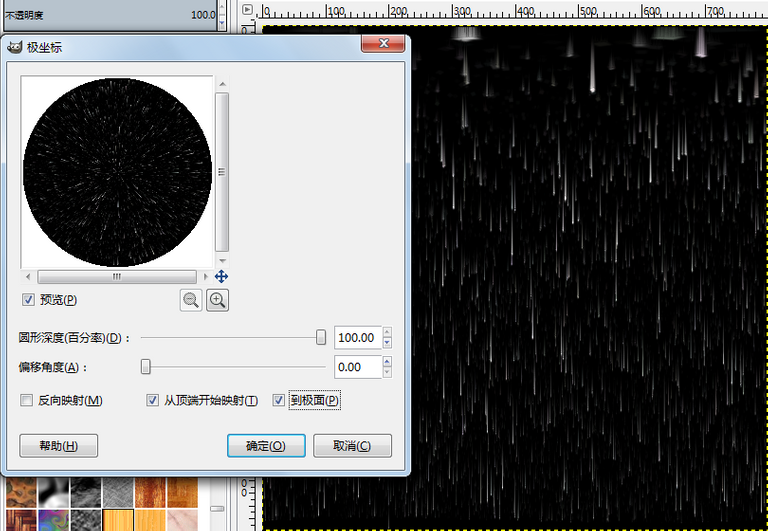
结果如下:
步骤11:用黑色填充白色空白区域:
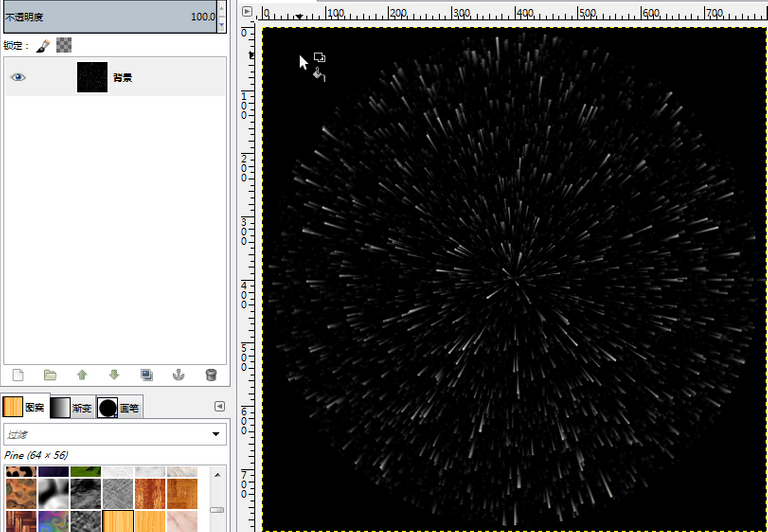
步骤12:再次调整色阶:

步骤13:复制图层:
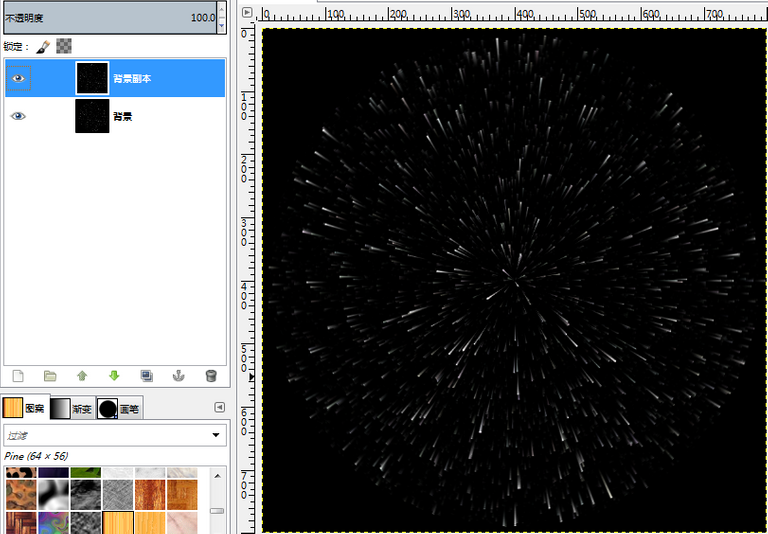
步骤14:将新图层背景副本图层模式设置为相加:

步骤15:对背景副本图层应用高斯模糊滤镜:
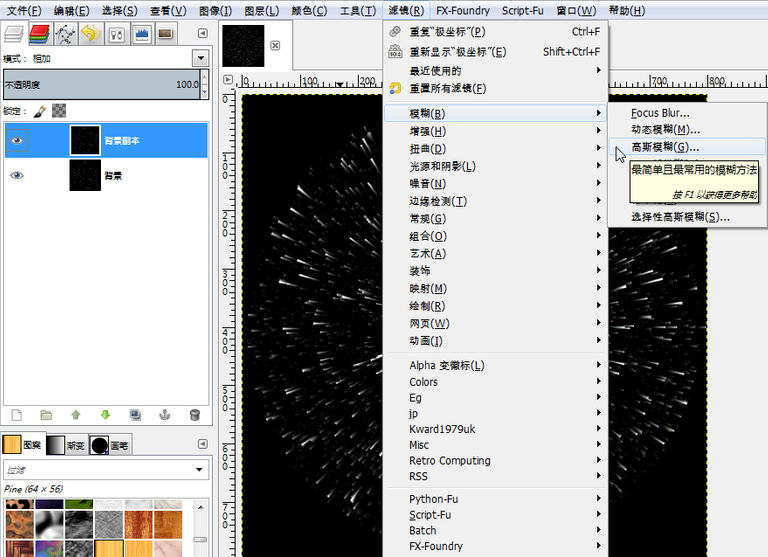
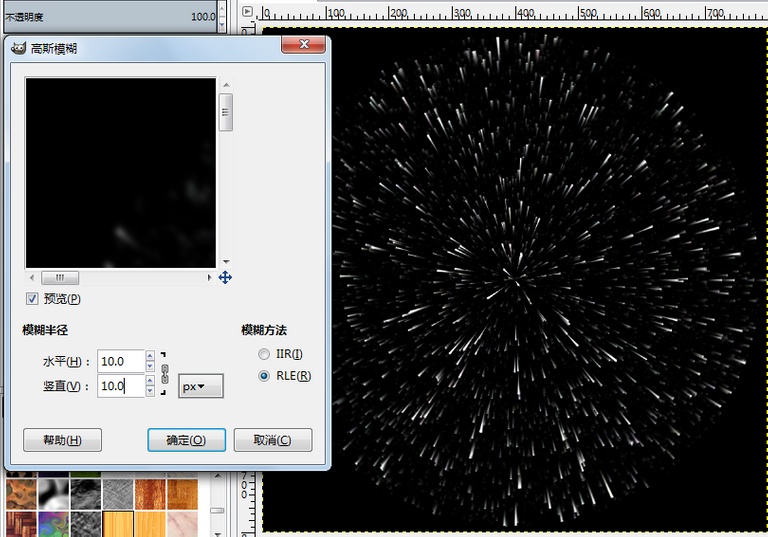
设置如下:
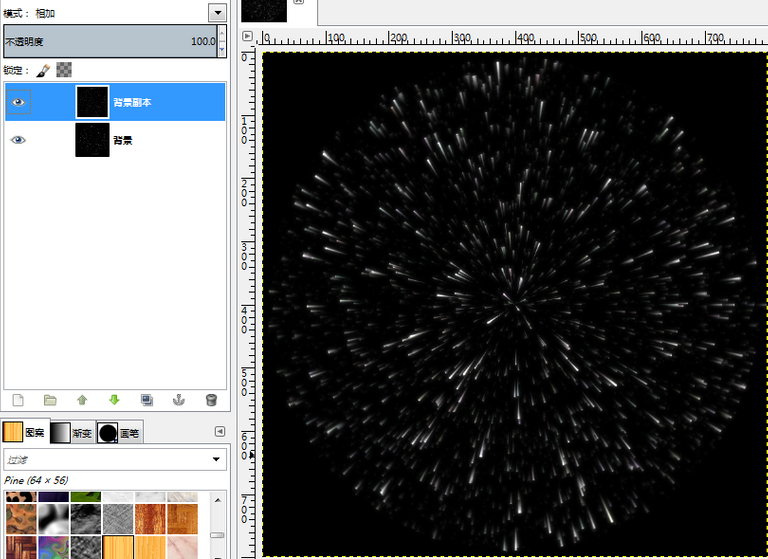
结果如下:
步骤16:复制背景副本图层为新图层背景副本 #1:
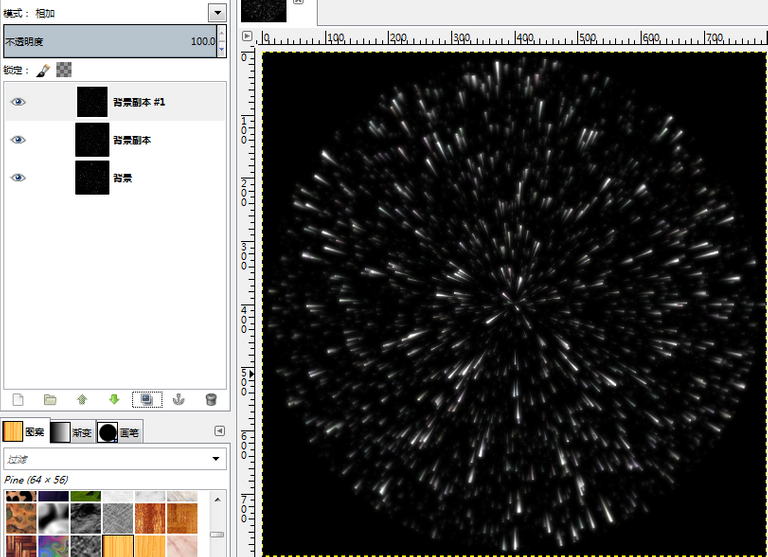
步骤17:对图层背景副本 #1再次应用高斯模糊滤镜,设置如下:
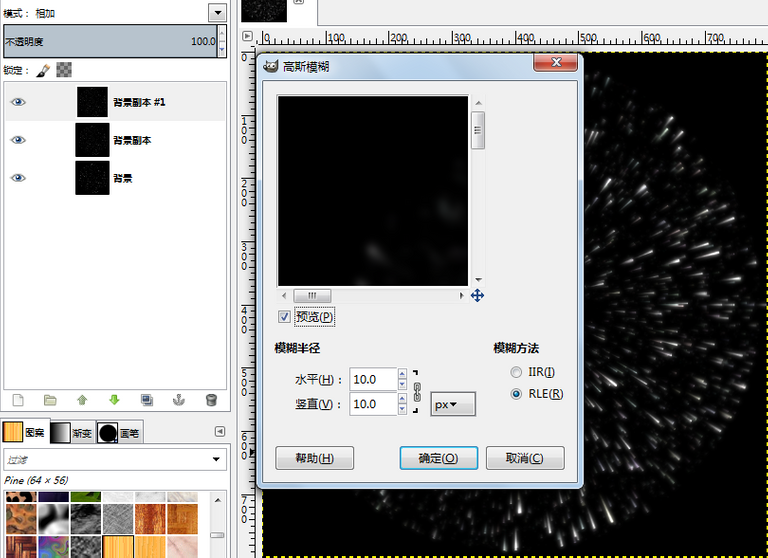
步骤18:平整图像:
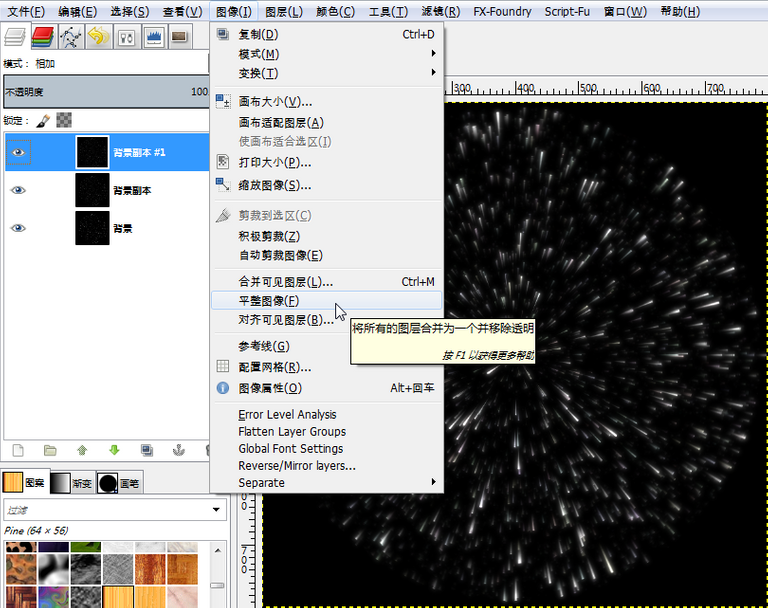
步骤19:调整色彩平衡:
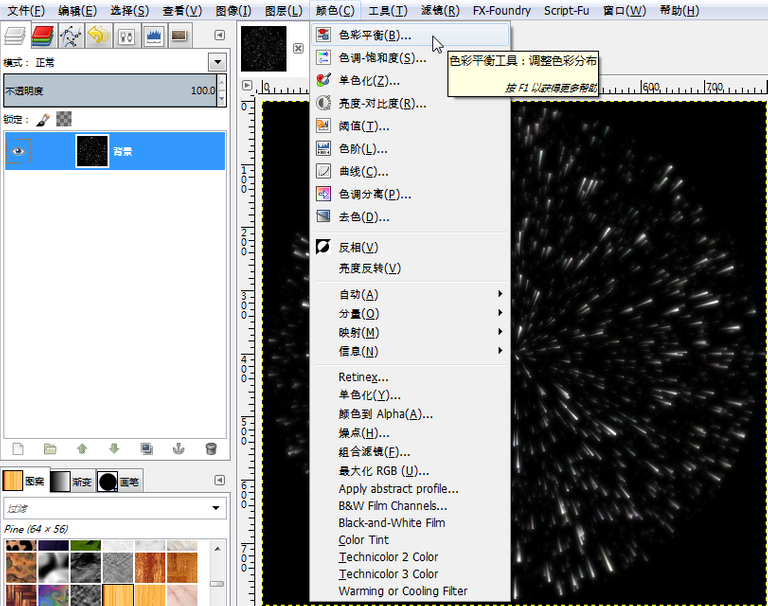
设置如下:

步骤20:复制背景图层,并将图层模式设为相加:
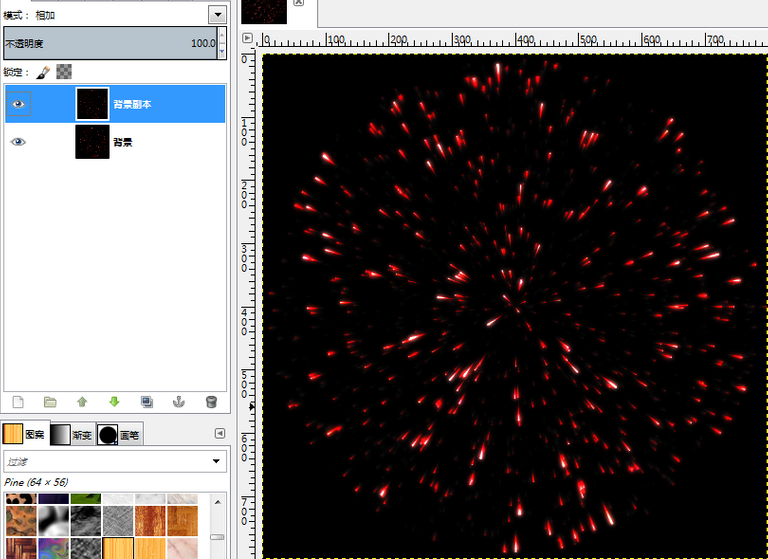
步骤21:再次平整图像:

烟火的效果已经完成:
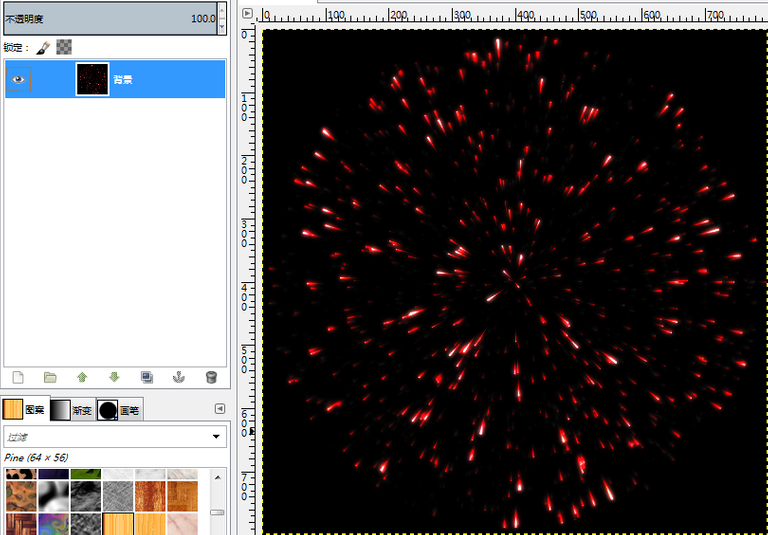
步骤22:将做好的烟火效果放到夜空中,打开另一幅图片。将烟火放入并且设置烟火的图层模式为仅变亮,即可得到最终结果:

Posted on Utopian.io - Rewarding Open Source Contributors
Thank you for the contribution. It has been approved.
You can contact us on Discord.
[utopian-moderator]
Hey @alanzheng I am @utopian-io. I have just upvoted you!
Achievements
Suggestions
Get Noticed!
Community-Driven Witness!
I am the first and only Steem Community-Driven Witness. Participate on Discord. Lets GROW TOGETHER!
Up-vote this comment to grow my power and help Open Source contributions like this one. Want to chat? Join me on Discord https://discord.gg/Pc8HG9x