Welcome back to Part 2, to my Steampunk Top Hat Tutorial!
Today we will be adding some interesting features to your hat. Don’t be alarmed at how it will look, in the end, it will look much different, and very…very cool!

Let’s get our supplies, shall we?
-More of that Contact Cement (NOTE: Remember to use in a well ventilated area!)
-A pack of 2mm or 3mm craft foam, color doesn’t matter for the one we are making. (usually you can get it from Walmart)


-Epoxy, here’s what I used:

-Ruler
-Scissors
-Razor (be careful, it’s sharp!)
-Toothpick or wooden match (I used a wooden skewer, but I think a wooden match would have been better)
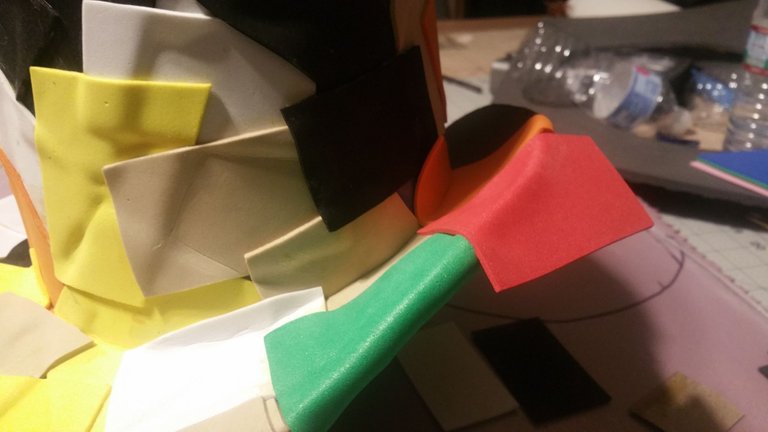
You want to take the scissors and a sheet of craft foam, and cut the craft foam into random shapes.
These will represent “patches”:

Now, you grab your contact cement and put a coat, about the size of your “patch”, and also put some more on one side
“patch”.
NOTE: When using contact cement, you want to wait a few minutes before sticking the two glued sides together. This is how contact cement works.
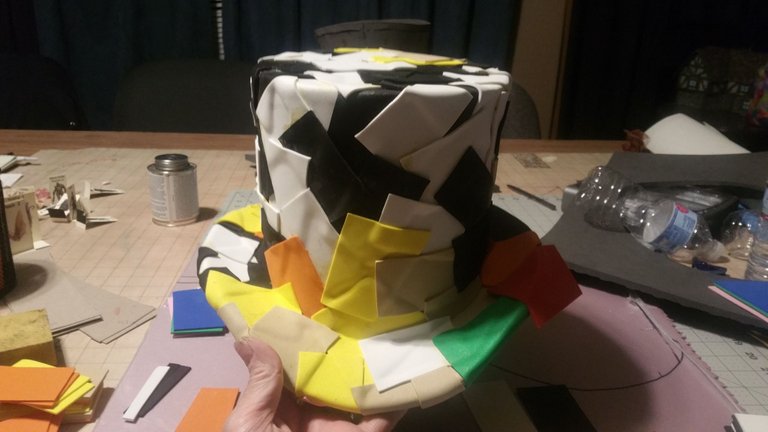
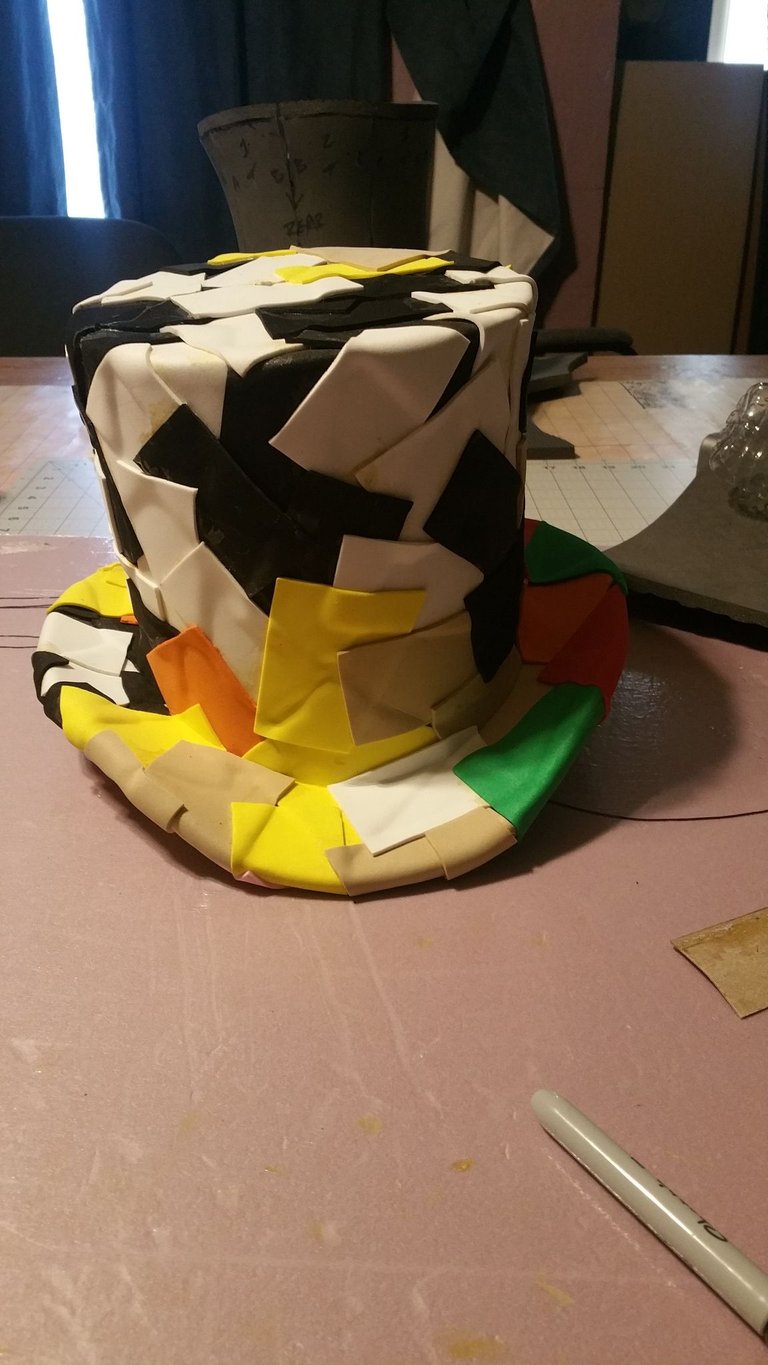
Glue the patches down in a chaotic fashion. This makes the patches appear to be random. Also, make sure they are glued down all the way. There will be corners and edges that aren’t glued…so make sure they are all glued down.
Make sure you get patches all under the brim!


Once you have the patches all glued down, it should look like this:


Next, we’ll add some rivets to make the patches look like they are attached with rivets. Trust me, it will look great when we are all done!
Grab your Epoxy and toothpick (or wooden match), and squeeze out EQUAL portions onto a paper plate,
NOTE: ONLY SQUEEZE OUT A SMALL AMOUNT-This stuff dries really quick, so only squeeze out an amount the size of a nickle at a time. You may only have a 5 minute working time
ALSO: Read the directions on how to mix the epoxy.

Once you have your Epoxy all mixed up, use your toothpick to make tiny little rivets along all the patches, like this.
This is very time consuming, but don't rush it. The look will pay off in the end!
Steady your hand, and use a tiny glob to make the "rivets".


Well, stay tunes next time. We will make some more decorative additions to your top hat.
Trust me, this is going to be great!