Ever wanted a vehicle that converts to a a spacious tent within minutes?
I have.
There are plenty of camper truck options available. Vans, Truck Canopies, Rooftop Tents. All of them are either unpractical or outside my budget. So I decided to make one myself.
Here's some info on what I made and how I did it.
What I wanted
- It had to be easy to setup. There's nothing worse then a big day on the road only to spend the next 30 minutes setting up your site in the dark. Every day.
- It had to be 4WD capable. That's a must for Australian Outback. This rules out campervans for me.
- It had to hold a small family including gear. I'm married with 1 child and hopefully some more to come. This rules out most rooftop tents.
- It had to be cheap. This rules out buying a camper Canopy. These things are well over $7,000.00 for an aluminum canopy plus another couple thousand if you want a rooftop tent as well. Unfortunately I don't have that kind of dough.
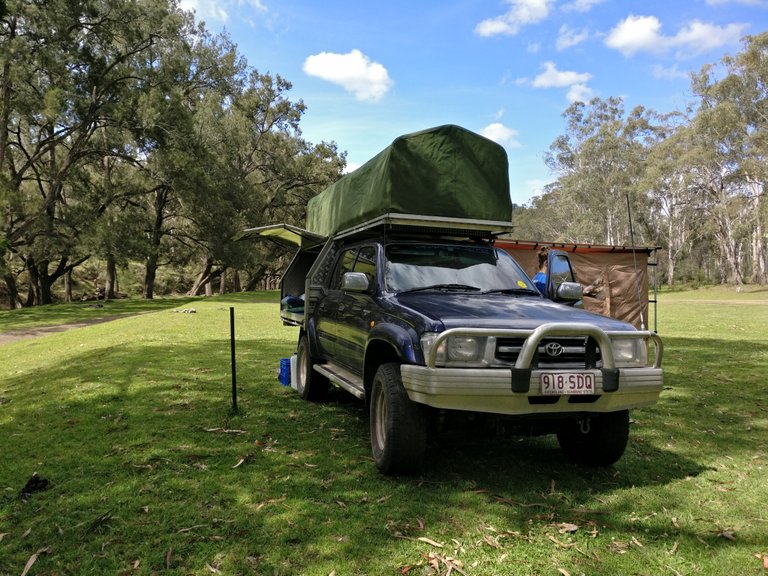
What I ended up with

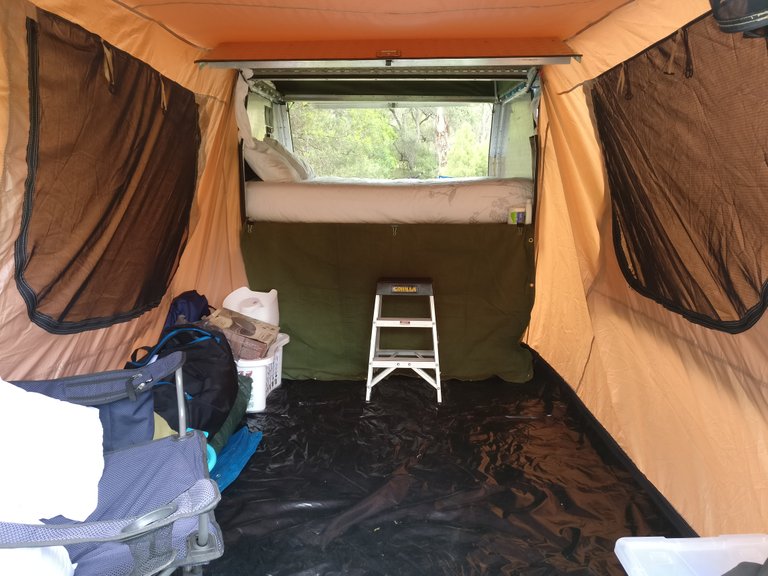
This is a fully enclosed aluminium canopy. The roof of the canopy folds out over the roof of the cab. From the inside of the canopy this creates a lot of head space in the tray section and another level above for sleeping on above the cab.
How I made it
Firstly I did a bit of research about the professional designs and DIY canopies that were already out there. This was helpful for ideas.
Then I modeled it up in 3D.
For me the design is one of the funniest parts. In this case however I didn't refer to the design much at all and ended up with something quite different (as you can see). The next problem was working out how I was going to make it. I havn't done much of this sort of thing before and didn't have hardly any tools (pretty much just stick welder and grinder).

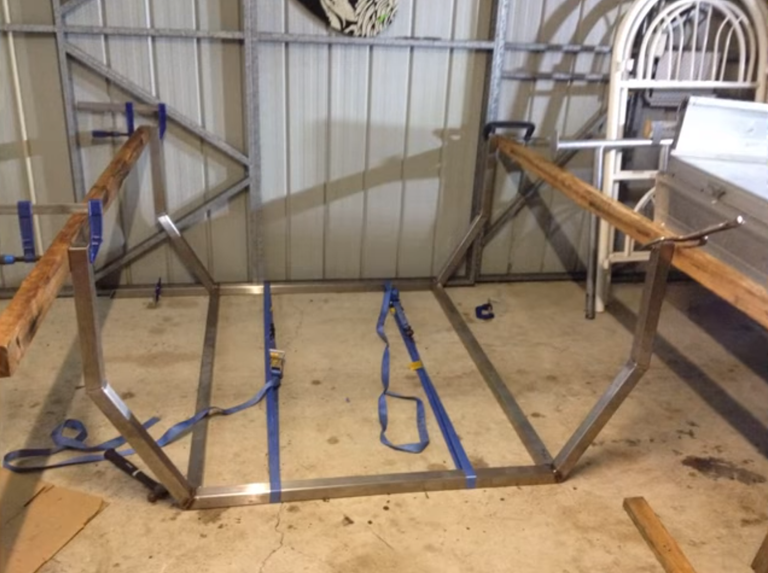
I did the frame first. This is made from Stainless Steel 50x50x3mm box section. I welded this up in by garage with a little stick welder.
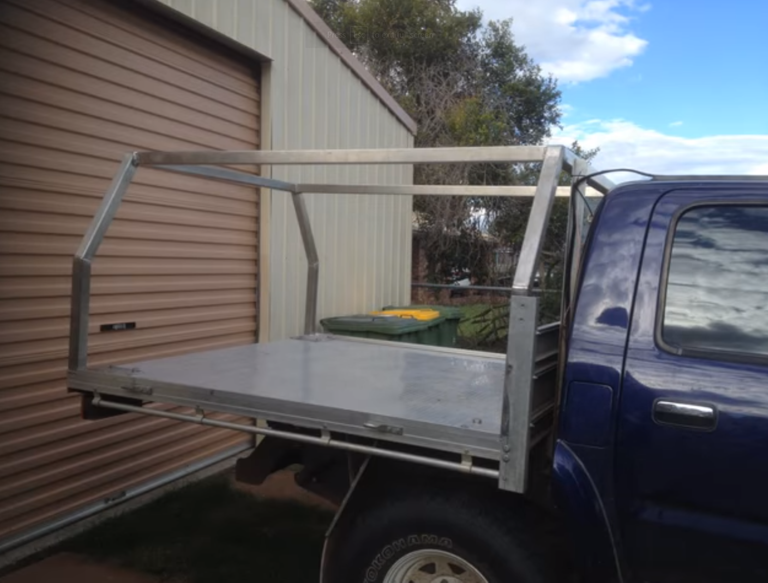
Then I had to cut and press the aluminium checkerplate. This bit was a little tricky. I cut it free hand with an angle grinder but I didn't have a sheet metal brake to to bend it to the shapes I needed. So I got online and worked out how to make one:
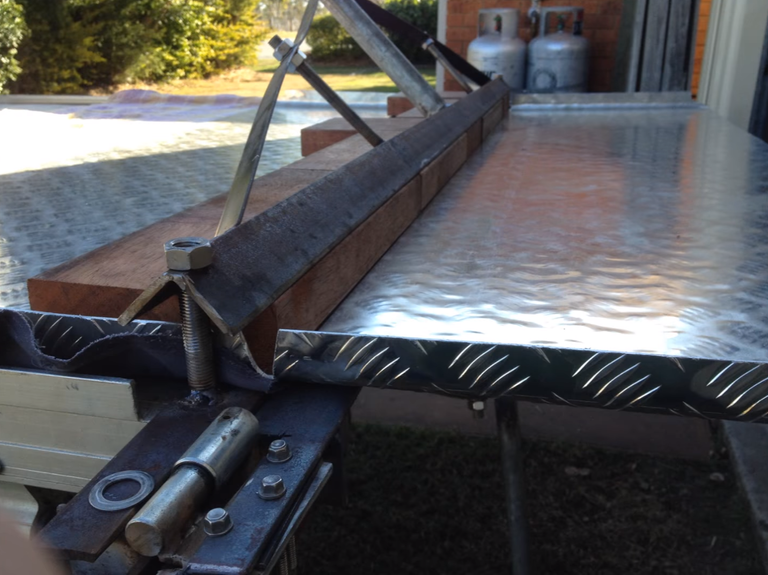
I didn't have the skills to weld aluminium so I just riveted everything together. I riveted the panels directly into the frame.
I added the door latches and gas struts and a big piano hinge on the roof section so that it could open up 180 degrees over the roof.
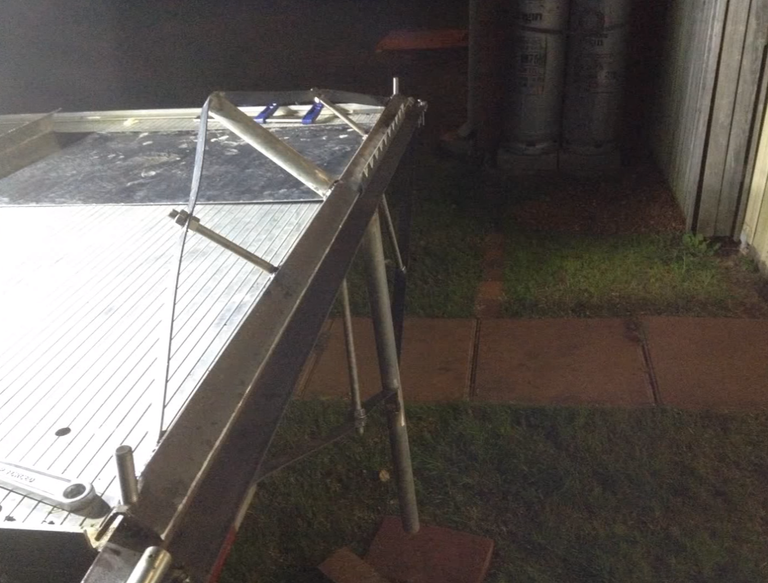
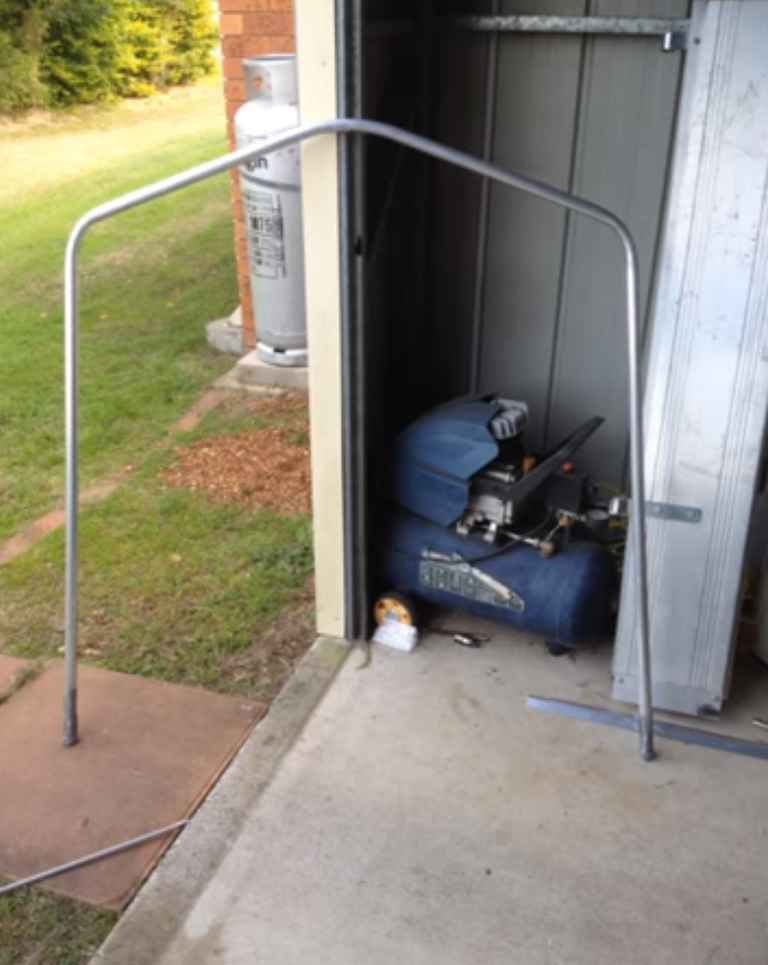
Then I had to make the rooftop section.
First of all I worked out how the frame was going to fold out of the top roof panel and erect to hold the canvas up. I bought some 20x3mm round aluminium bar but I didn't have a pipe bender to bend it to the shapes I needed. So I went online looking for ideas. Some people there said that if you fill up the pipe with sand then it wont collapse when you force it to bend. So I filled it with sand and bent it across the front of my bull bar. This worked well enough for what I needed.
The cross member sections I made out of aluminium tent poles with special 3D printed ends that I designed.
Then came the most tricky bit - The canvas. I already had a thick canvas tarp that I was hoping to use. Only I didn't know how to sew and Its turns out you need a pretty heavy duty industrial sewing machine to manage heavy canvas.
So I got onto a couple local sewing places hoping I could get them to sew up the tent for me. Despite being a very simple shape, the cheapest quote I could get was $800. I found out the week afterwards that my brother in law had just bought an old second hand industrial sewing machine just because it was a (very) good deal. Also he didn't have anywhere to keep it until he moved into his new house so I offered to store it for him as long as I could use it. God's providence I guess.
The sewing part was a new thing for me. I simplified the design even further by cutting out the window from an old swag and sewing that directly in. This way I didn't have to worry about doing the zips and fly screen etc.
And that's about it. Apart from a few bells and whistles (solar panel, lights, charging station, ventilation fan.. etc.)
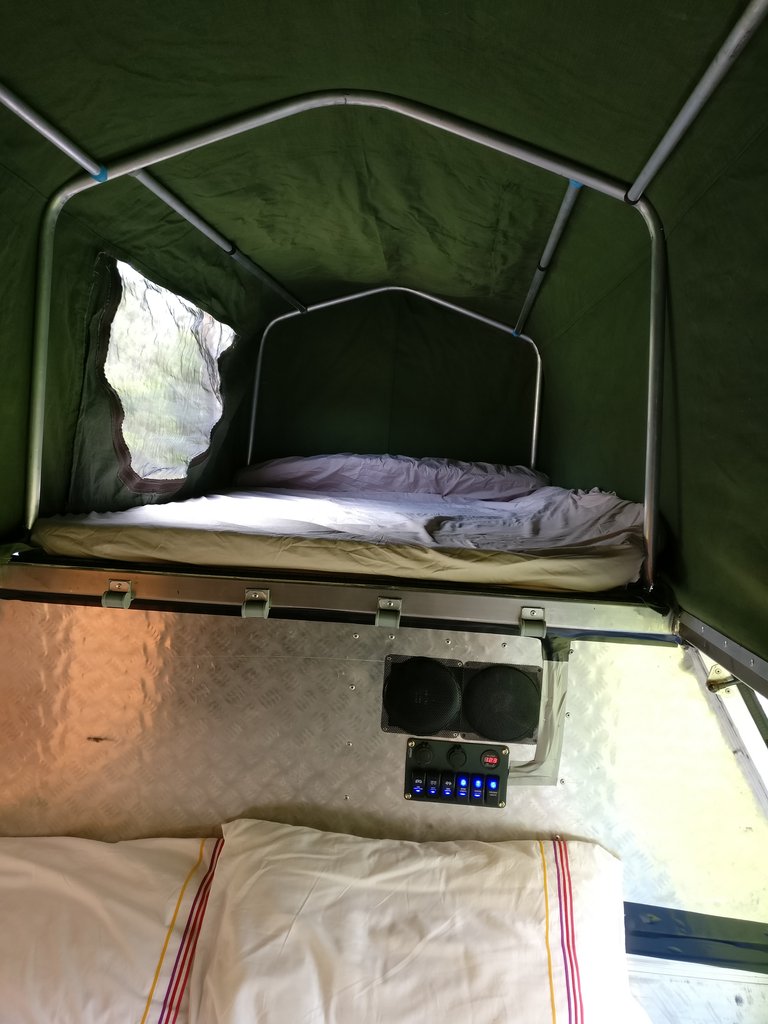
The top section fits a double swag mattress, and the bottom section fits a queen size mattress. This is more than enough space for our little family. To add some more space I can also add on an awning tent to the side (with I bought) Which would easily fit another few mattresses and camping gear.
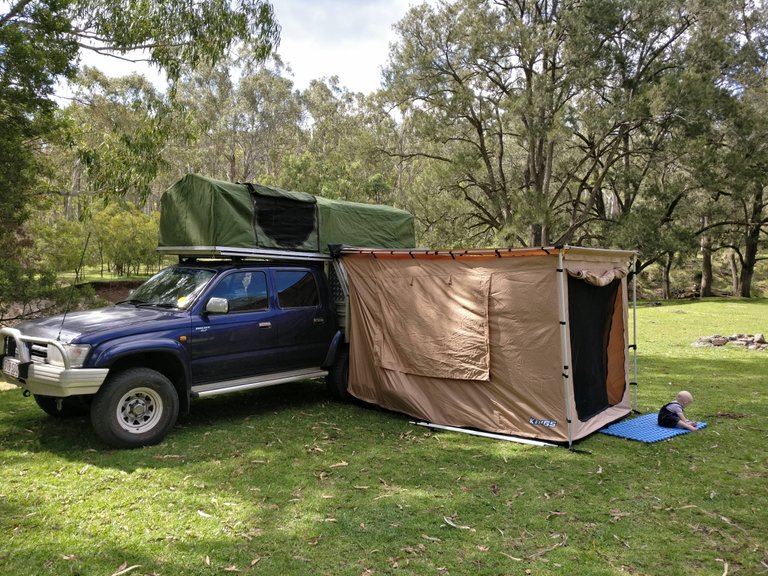
All in all I am very happy with how it turned out. I may be wrong but so far I have not seen any camper canopy of this design (built in rooftop tent that folds over the cab). I can setup in just a few minutes and have plenty of space for sleep all of us very comfortably. The total cost of the tools and materials I needed was a little over $1000. I did this over about a year.
The main point I'd like to make from this is do it yourself. Even if you have never tried before and know that it won't turn out as good as a bought one. I learnt a lot of things while making this and one of them is that there is always an easier way to do it. Just spend the time thinking about how you can get it done with the tools you have. After you have given it a try you end up with a skill and experience for life.
Now I just have to do the traveling part. First stop, Cape York Peninsula!
Oh and here's a video tour around the canopy if you want a bit more information.
Thanks Steemit!
click here!This post received a 2.3% upvote from @randowhale thanks to @bengineering! For more information,
Super nice! well done
Love to travel and this looks just super
Enjoy your trips
I do wonder why solutions like this aren't more common.
I wonder what it would take to make this more appropriate for longer-term use.
Thank you for sharing. :c)
Yeh agreed.
My next step was to build in a sink and gas burner (which you can see in the 3D model) and maybe a fridge. With another solar panel it should be able to last off grid for a while.
I'm not sure if I'll get that far any time soon.
That would be amazing. ^_^
Of course thinking about water recycling (or at least use mitigation, like use of smaller but higher pressure outlets - would also serve such purpose.
I wish you all the best with your project. :c)