“Civilisation is the distance that man has placed between himself and his own excreta.”
- Brian W. Aldiss, The Dark Light Years
Let's face it, in the heat of fragging & gibbing, or when your video edit session is really cooking, the last thing you're usually thinking about would be system cleanliness. But the inescapable byproduct of all that workload is heat. Heat is the enemy of your system components and an excess of it can seriously impact the lifespan of your system.
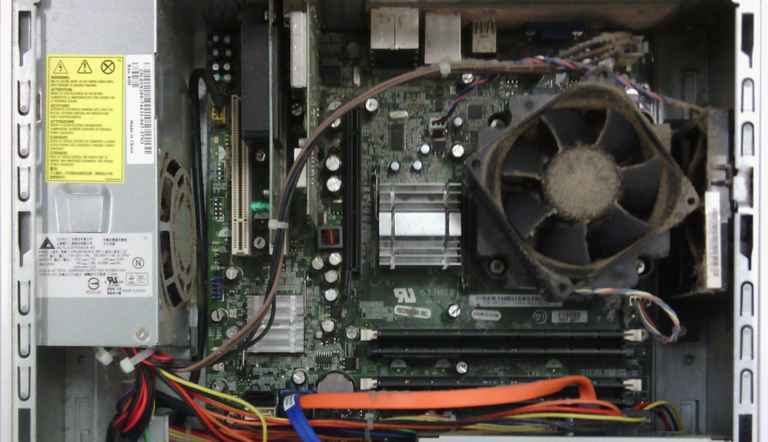
Not only does dust, hair, and other foreign matter produce an insulating layer on components and eventually accumulate into an airflow obstruction, it's presence on fans adds additional burden on the little electromagnetic motors that turn them. That does worse things than reduce efficiency, it can create a starting resistance too great for the fan motor to overcome when you turn the system on, that means no cooling, that means your super hot session will become exactly that. By the time you realise it may be because it's already too late - ffffFZzzkt!...silence...
In the course of my work I see some pretty neglected systems, not just user workstations but also data loggers in cabinets on the rooftops of big buildings or in high voltage areas. They can be a PITA to get to, so is down time, so is system loss.
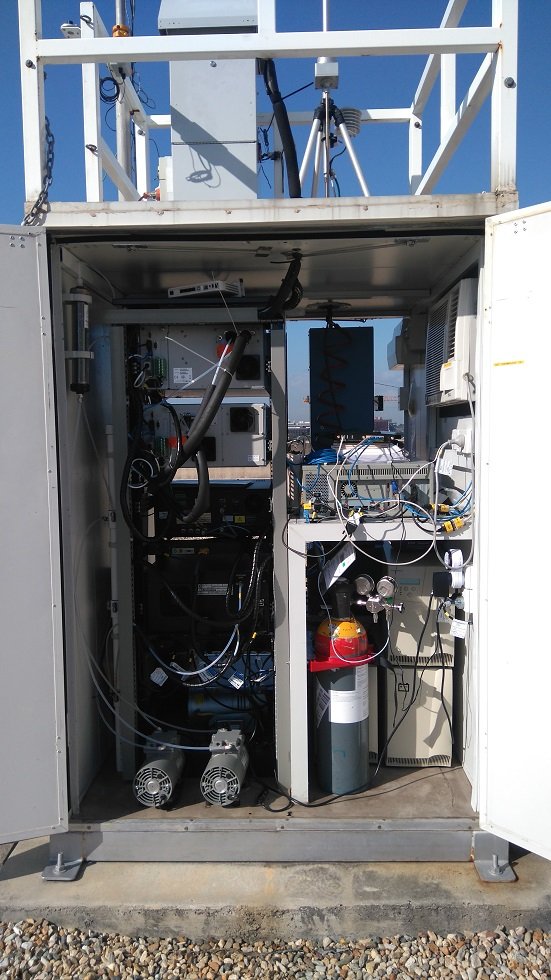
Your systems work pretty darn hard for you whenever demanded at the flick of a switch. All they want in exchange is a little basic TLC, without which they may protest by, well, failing...
Frequency
How often internal cleaning needs to be performed depends on how much you use your system, and the cleanliness of the environment in which it operates.
"As above, so below."
If the area the equipment operates in is neglected then all those cooling fans will just hoover up the loose material and draw it into the system case. So consider the area as well as the system itself, it's amazing what can end up in there.
In a normal use scenario as system will be used in a relatively clean but somewhat dusty environment for at least a few hour every day.
If this is you, then you should look at cleaning the system about once or twice a year.
If your usage is higher, or your area dustier, you should be doing this quarterly.
The choice is yours, but so are the consequences.
Preparing A Workspace
Fancy tools and a specialised workbench are not generally required. In fact you can get by with these tools, as a minimum:
- Flat, level surface free from dirt, wind, water, & interference*
- Basic set of screwdrivers including a #2 Phillips head
- Basic set of jewelers screwdrivers can be handy too
- Adequate lighting, a lamp will do, a torch is a good addition
- Some basic cleaning materials, which can be:
- Clean makeup brushes
- Toothpicks
- Tissue paper or serviettes, preferably low/free of loos fiber
- Cotton swabs
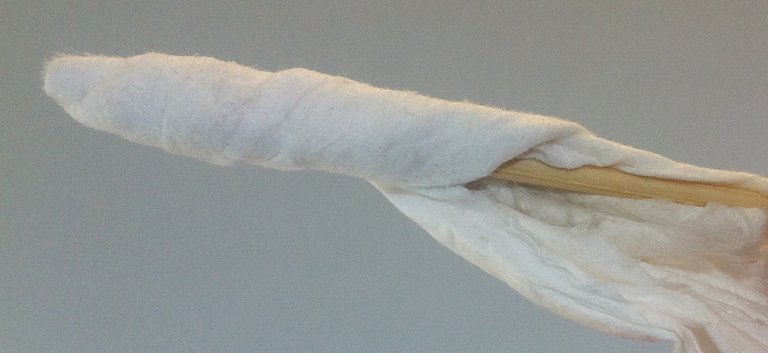
A decent swab can be made from taking a small piece of tissue and repeatedly folding it over along one side to make a strip, then wrapping that strip tightly in a spiral from the tip of a toothpick or similar. Just hold the loose end in the same hand as the toothpick.
Alcohol wipes aren't too hard to track down and can be necessary for moving stubborn foreign matter or cleaning terminals etc, but care should be taken to avoid damaging materials or shorting a circuit that hasn't adequately dried before restoring power. This latter scenario could damage more than the system (yes, I'm talking about you).
*Including but not limited to: pets, kids, uncoordinated or accident prone individuals, wandering goblin tinkers, etc, you get the picture...
Methodology
First off, you should never open and work on live equipment, and you should also ensure that power has dissipated from all circuits and components by switching the equipment off and allowing adequate time to pass. This time varies based on the amount and nature of internal components, some items have a lot of large capacitors that store energy.
Computer and other PSUs can hold energy for 10's of minutes after shutdown, but you shouldn't ever open and/or interfere with those, that's some serious AC-DC. Unless you're a qualified Electrical Engineer or such, and in any case even if you are, take care.
Now that we've got that out of the way... some basic practical advice.
- Give yourself adequate room
It's easy to overcrowd yourself once you start pulling the guts out, and then it's all too easy to bump or knock things over. Chasing dropped screws is annoying, but replacing a component or whole system, well... A task specific workbench would be ideal, but you can easily make do with an empty desk, or clear off a table, or even the floor, just check that you can claim this space for the duration of the task and refer to the note above about interference.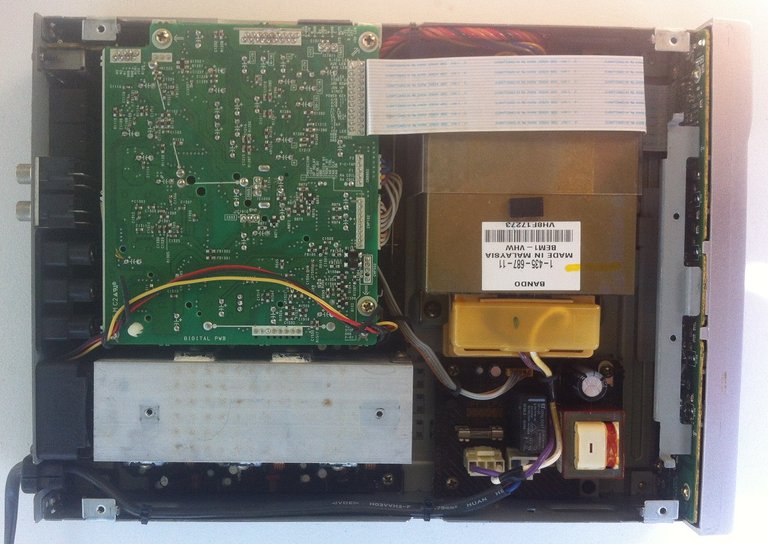
- Make reassembly easy
You're going to want to be able to put it back together again (picture Han shouting at Chewy atop the Falcon) so at least lay out the screws & components in logical order. For more complex teardowns make some notes or take pictures as you go, a great technique is to make a simple shadow map on a piece of paper - as you place screws or components there just draw a box around them with a number indicating when in the sequence they're needed (step 1, step 2, etc), or where they're from (outer case, fan assembly, etc). Also make note of the orientation of cooling fans - some are marked with direction of turn and airflow, some are not, it pays to have a marker so you can add this detail before removing them, after all it would be preferable if the cooling fans actually pulled warm out out of the device instead of jamming more air into a crowded space.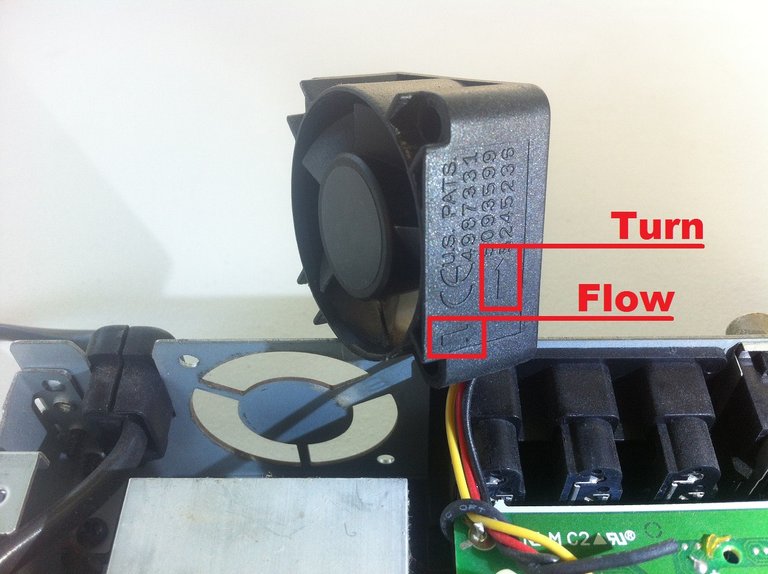
- Plan your approach
This may take a single glance, or may need to be revisited throughout the process, depending on complexity. Basically you want to look for delicate components that could be damaged, or wires that may be short or weakly soldered or at risk of being pinched/severed during reassembly. And some devices are a bit of a brainteaser puzzle, you may need to work out just exactly how it comes apart, what pitfalls you're likely to encounter, and how it goes back together (without dozens of 'spare' parts laying outside the case)..
This is the only thing you want outside your case after reassembly:
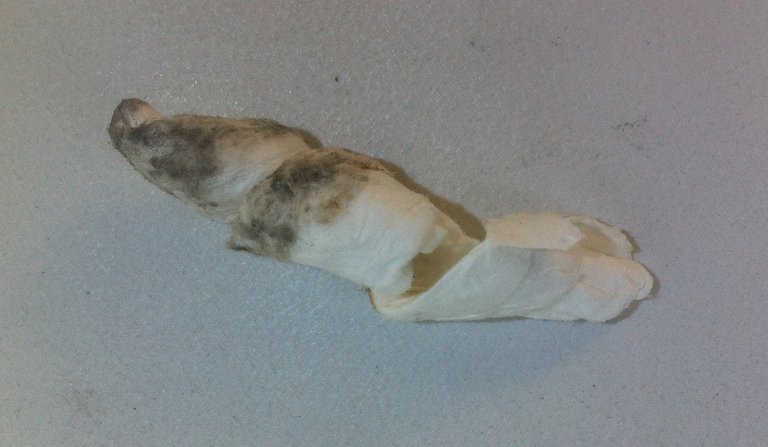
Better out than in!
If you follow the above methodology you should have little trouble keeping your system running cooler and quieter.
Look after your equipment and it will STEEM ON!
^vote, resteem, and comment below. Considerable effort has gone into researching, testing, and formatting for this article.
That's a nice tutorial! :)
Thanks lemouth, I'm glad it's useful to you. The above processes are actually pretty easy to put into practice and cost little or nothing, but the additional care will extend the life of fans, components, and anything that would be in reach of the system if it failed on you.
The problem is that this strongly depends on the level of laziness of each of us. Just opening the computer box to clean it, etc...
Absolutely true
:]That's why I tried to show how easy and cheap it can be accomplished. Those who want to will make the effort, to each their own.
Congratulations! This post has been upvoted from the communal account, @minnowsupport, by neuromancer from the Minnow Support Project. It's a witness project run by aggroed, ausbitbank, teamsteem, theprophet0, someguy123, neoxian, followbtcnews/crimsonclad, and netuoso. The goal is to help Steemit grow by supporting Minnows and creating a social network. Please find us in the Peace, Abundance, and Liberty Network (PALnet) Discord Channel. It's a completely public and open space to all members of the Steemit community who voluntarily choose to be there.