Viking slat bed Of the Gokstad style
Day 1
My girlfriend informed me that she didn't want to sleep on the ground anymore when we went camping. This put a serious cramp in my style as getting out in the desert is one of my favorite things to do in the winter.
I didn't have a lot of cash to spend purchasing a portable bed frame for our Queen sized foam camping mattress so I decided to roll my own. I did have a huge pile of used 2x6s from a recent house remodel down the street.
Since I had this wood, I started looking for a simple portable frame design, and went through a bunch of SCA resources and finally came upon a Viking "Gokstad" slat bed image and decided that was the design.
Original Gokstad bed:
http://www.ravensgard.org/gerekr/bed.html
Well, that's nice, and there are many even nicer ones, but I wanted one that could be left outside and abused and such, and continued until I found this example:
http://pinterest.com/pin/23784704253433064/
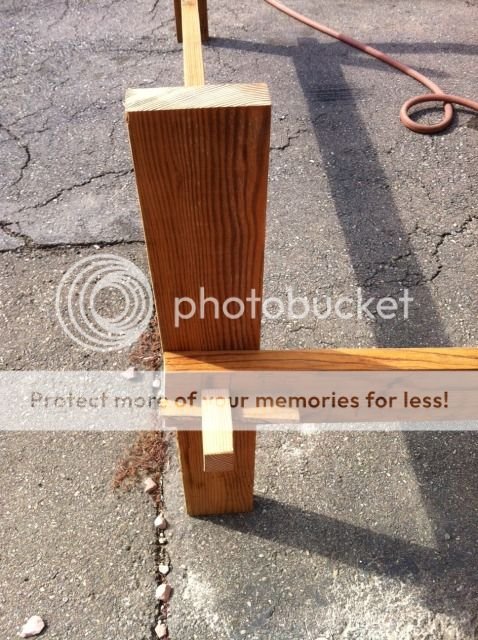
So here it goes. Design calls for no metal fasteners, instead the bed is a mortise and tennon structure and is held together with hardwood wedges. For the frame I used recycled 2x6 Fir roof joists that I removed many millions of nails and sanded, the wedges were cut from oak I had lying around.
The beauty of this type of bed, and my modifications is that it works on uneven ground, is solid as a rock. Is tall enough that boxes and coolers can all go under the bed and out of the way. Plus, What is cooler than a queen bed in your tent???
Supplies:
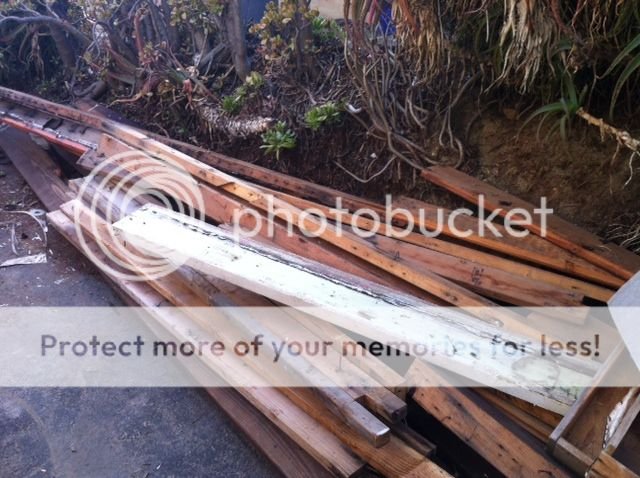
pulled about a thousand nails and then rough sanded with 36 grit to remove paint and smoke and yuck. Then I cut the end tennons using a table saw and hand saw.
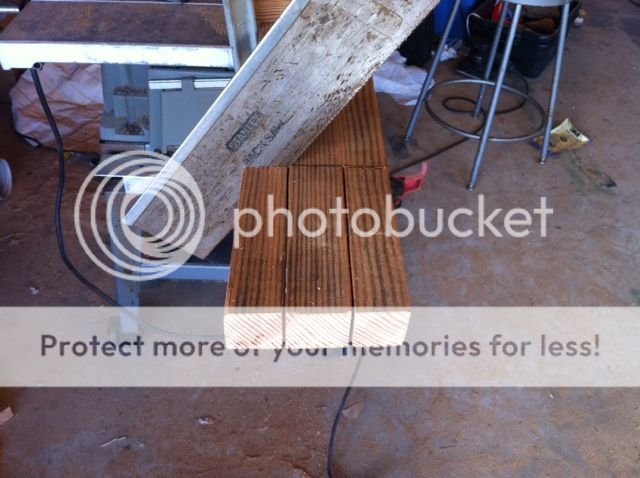

I then marked the offsets for the head and foot boards and legs and started cutting mortices with the hand drill and saw/file method
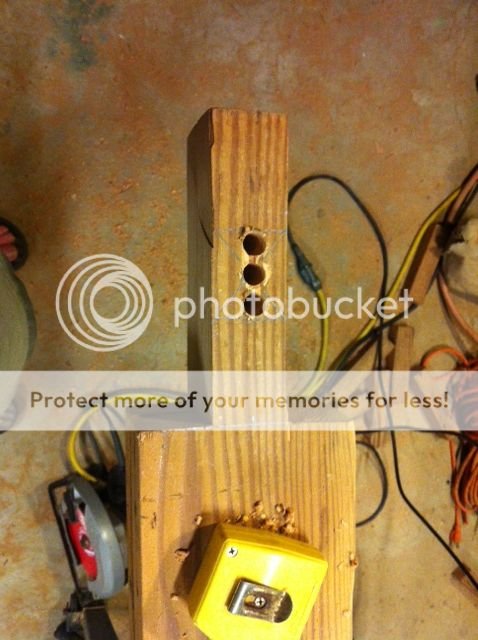
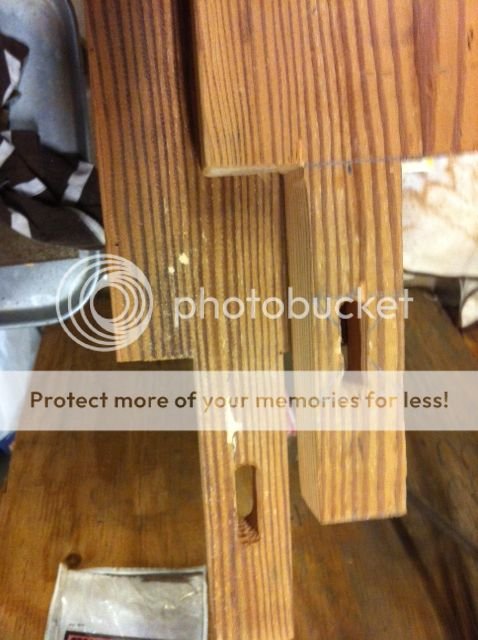
Next was cutting the mortises in the Head and foot boards, also done by chain drilling, sawing Chiseling, and then a wood rasp.
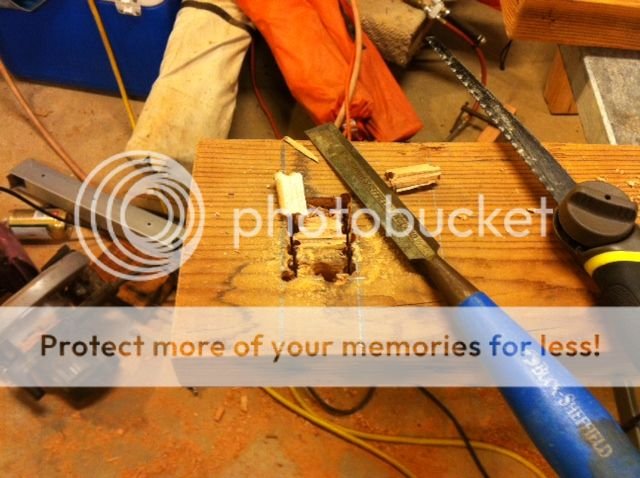
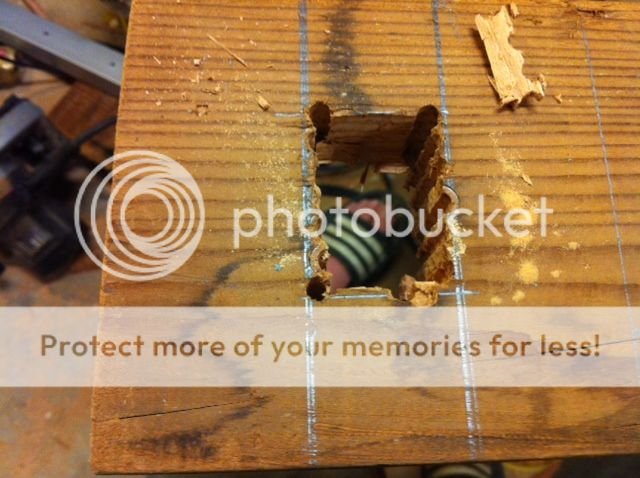
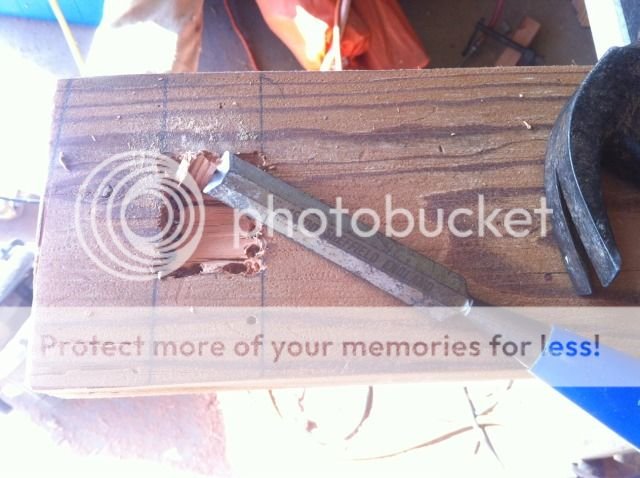
Here is a finished joint without a leg or wedge
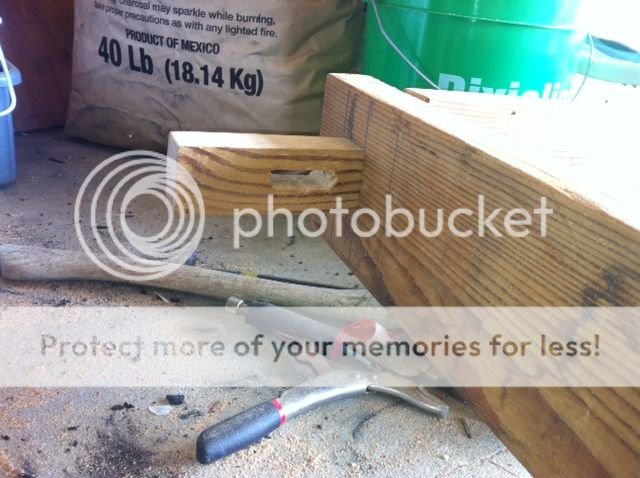
And the frame dry fitted without legs

I apparently took no pics of the legs, but same as above, only 36 inches high, with the bed frame 18inches up so plastic bins will fit under the bed in our tent.
Cutting the oak wedges
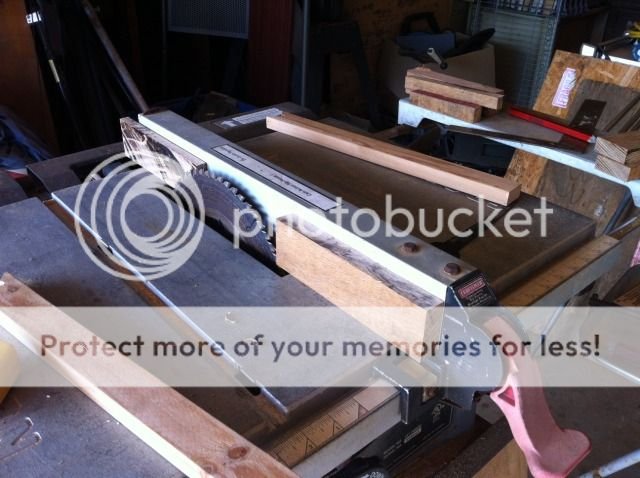
Fully Framed

Closeup of mortise and tennon with wedge in place and loosely pinned.
Day 2
I thought about the dovetailed or inset slats and decided against it as its a ton of work. Also, I wanted the mattress go inset into the frame so it stays in place.
Here is what I did today:


And one more shot, here is the complete bed frame. Only thing missing are slats. The old suitcase is my grub box, btw, works great as a multi person kitchen

Here is the completed bed frame. I decided to add a few more slats and had some more sanding to do and then stain it. It's fully usable at this point.


Day 3
I chose a nice translucent Chinese Red and did a pre stain with a wetting agent to get the stain to be uniform. Got some hand rubbing to go and a Urethane coat to go.


I do not seem to have any pics of it setup post staining, mainly because its's always inside a tent.
This thing is 'Pimpin'...
This looks infinitely better than the POS futon I got from Ikea. Does yours come with extra parts? LOL. Cool post.
wow this is amazing, I need to get to this level one day
I am betting you could do this right now... Think about it... The vikings had to start from trees... And had no electric saws or sanders. This project was a ton of fun, but never got the use it deserved. I did end up selling it for a decent amount of cash though.