When I bought my daily driver iMac 27" Retina in early 2016 I didn't want to pay Apple's huge markup on an SSD, so instead I bought the cheapest version with a HDD and this Sonnet Fusion Thunderbolt 2 NVMe SSD with a 256Gb SSD and used it as my boot drive (something Thunderbolt can do on a Mac).
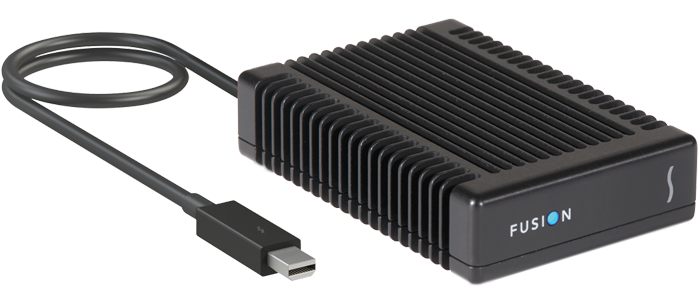
Over the years I've been able to progressively upgrade the SSD in the Fusion enclosure to 512Gb and 1Tb without having to open up my iMac, a difficult and tricky process. It was also useful when I travelled I could take my boot drive along and plug it into my Macbook.
But recently OSX upgrades and the full disk encryption on the drive have made it increasingly difficult to get the iMac to reboot from the external Fusion disk. And travel ... well that disappeared with COVID and three little kids.
So I consulted the relevant IFIXIT Guide and purchased the necessary tools and parts.
First step was to use the little plastic pizza cutter tool to cut the adhesive attaching the screen.
This was a lot easier than expected and the screen came off without a hitch.
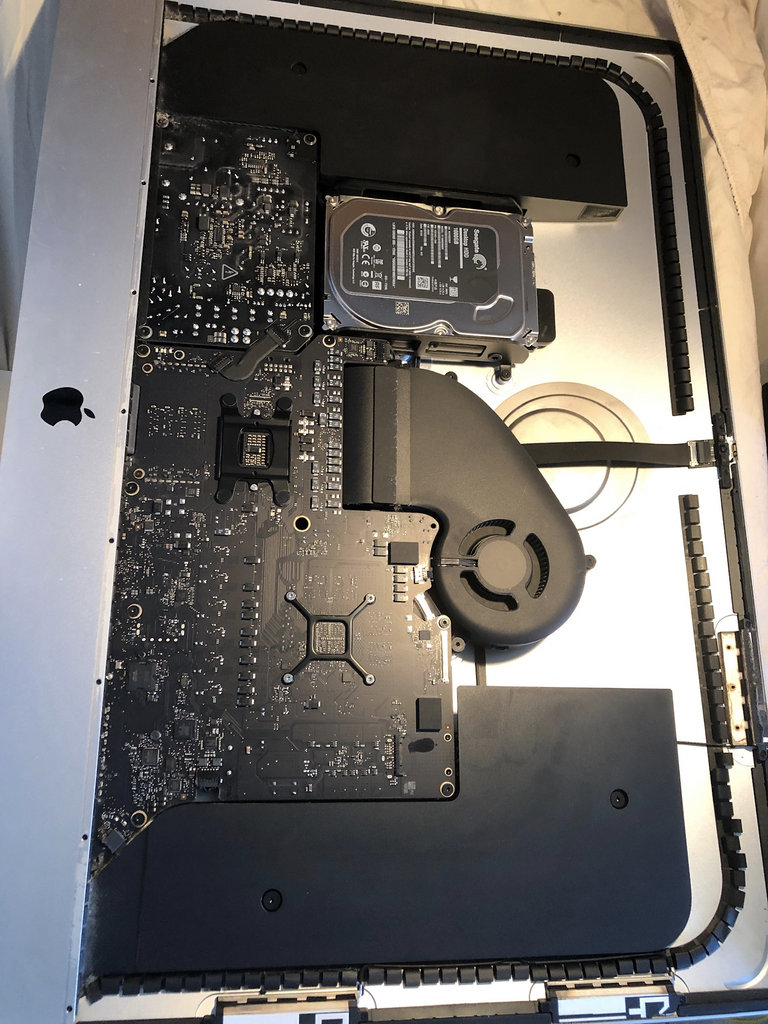
You can see the old spinning iron HDD which is to be replaced with a SATA SSD.
If I was just doing this it would be easy.
But I wanted to put my 1TB NVME drive into the empty M.2 slot on the motherboard.
This involved taking the iMac completely apart.
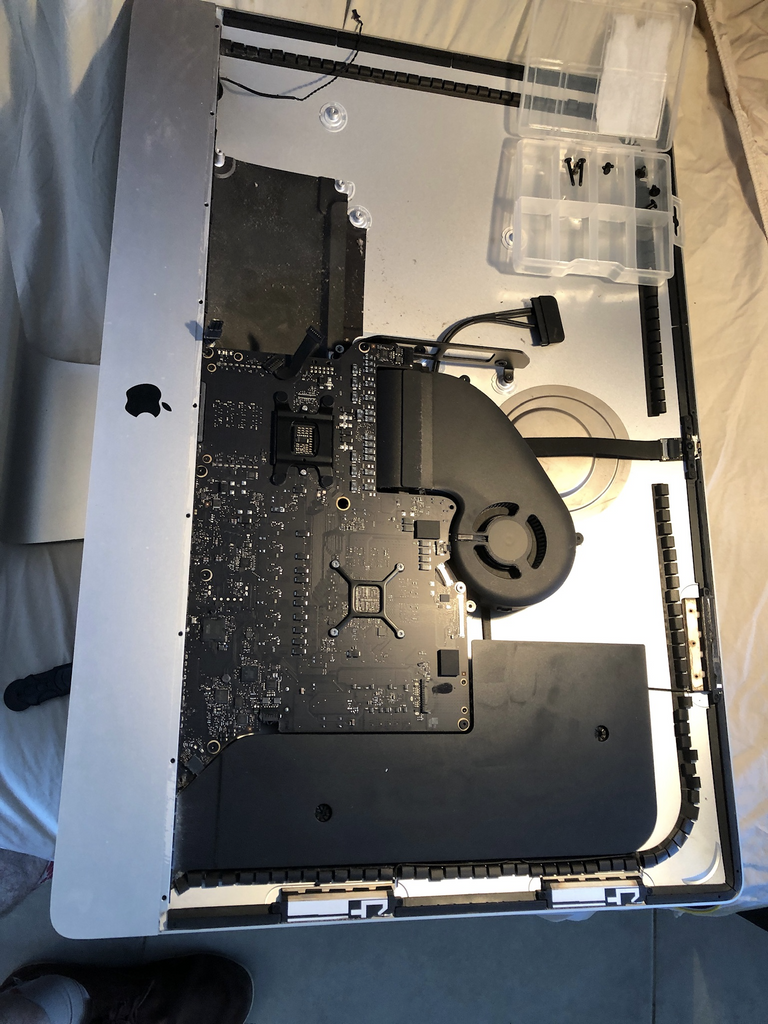
First the left speaker, hard drive and power supply board.
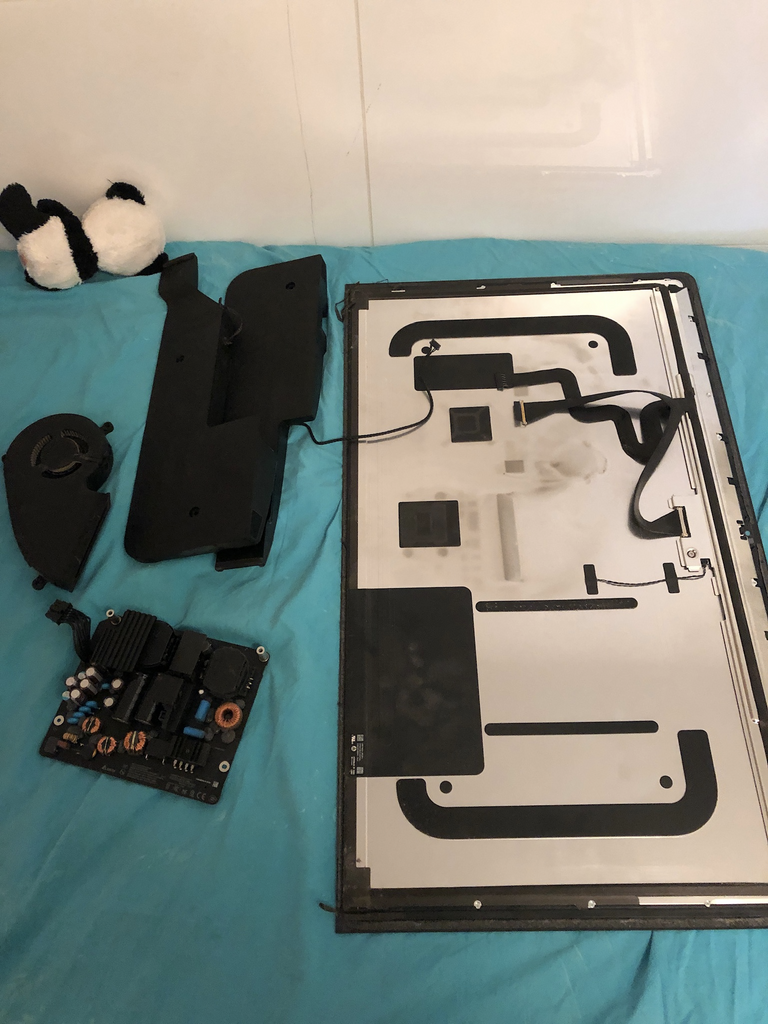
Then the right speaker and fan.
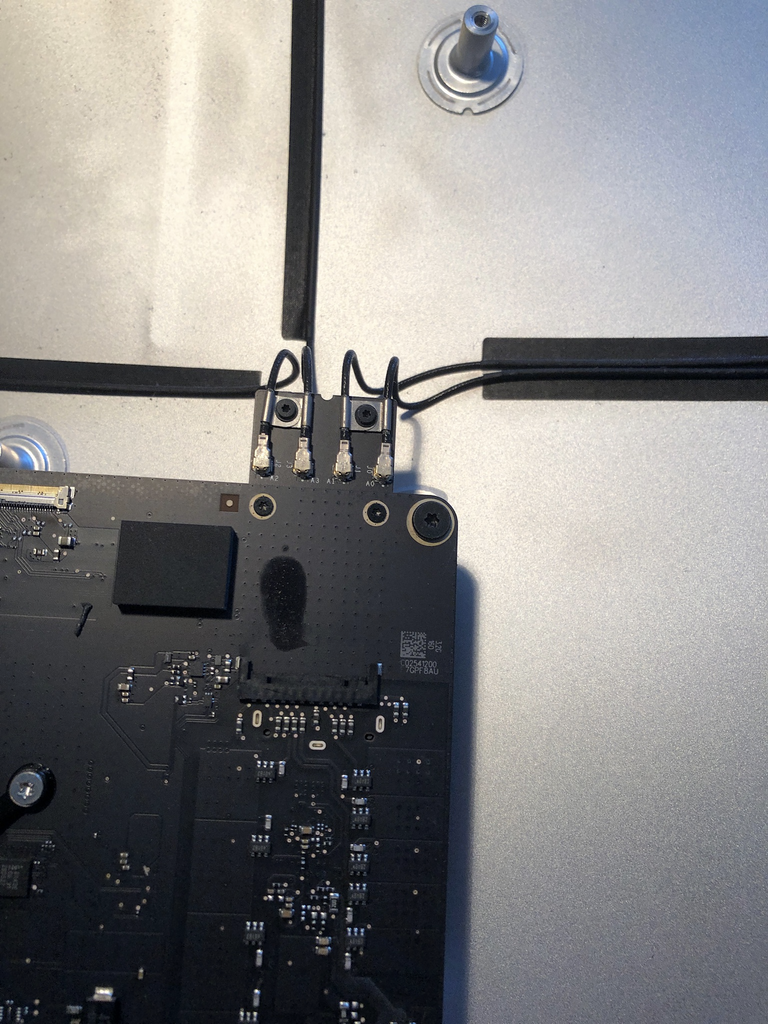
Then the 4 antennae cables.
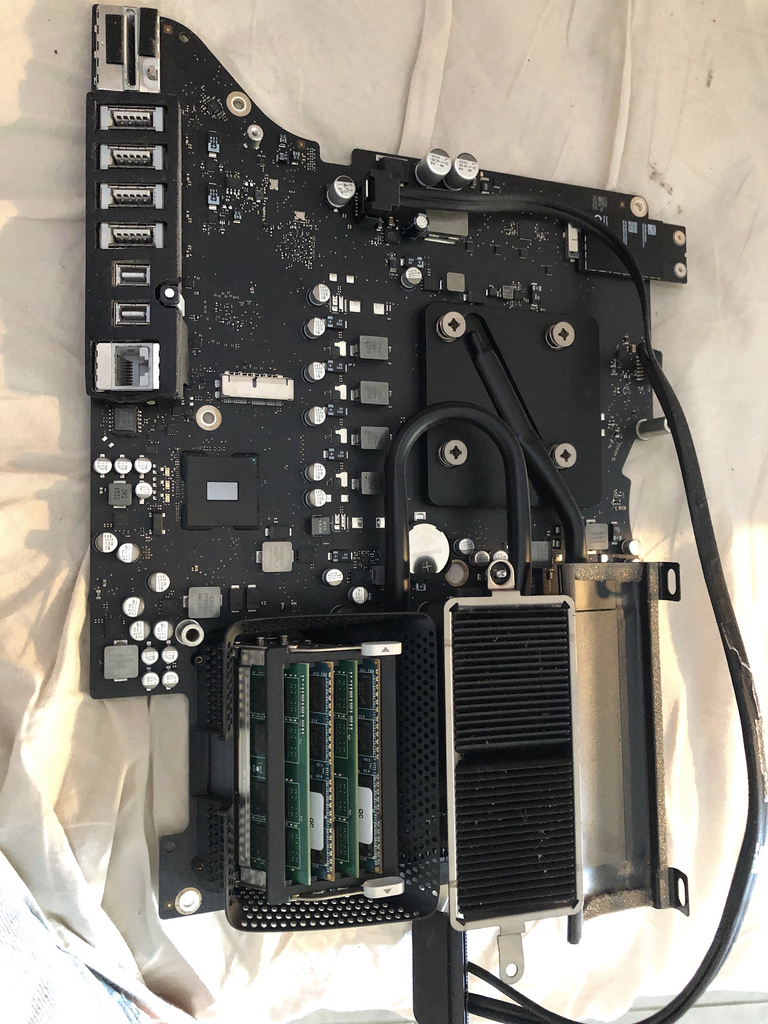
Finally the motherboard could be taken out and the front accessed.
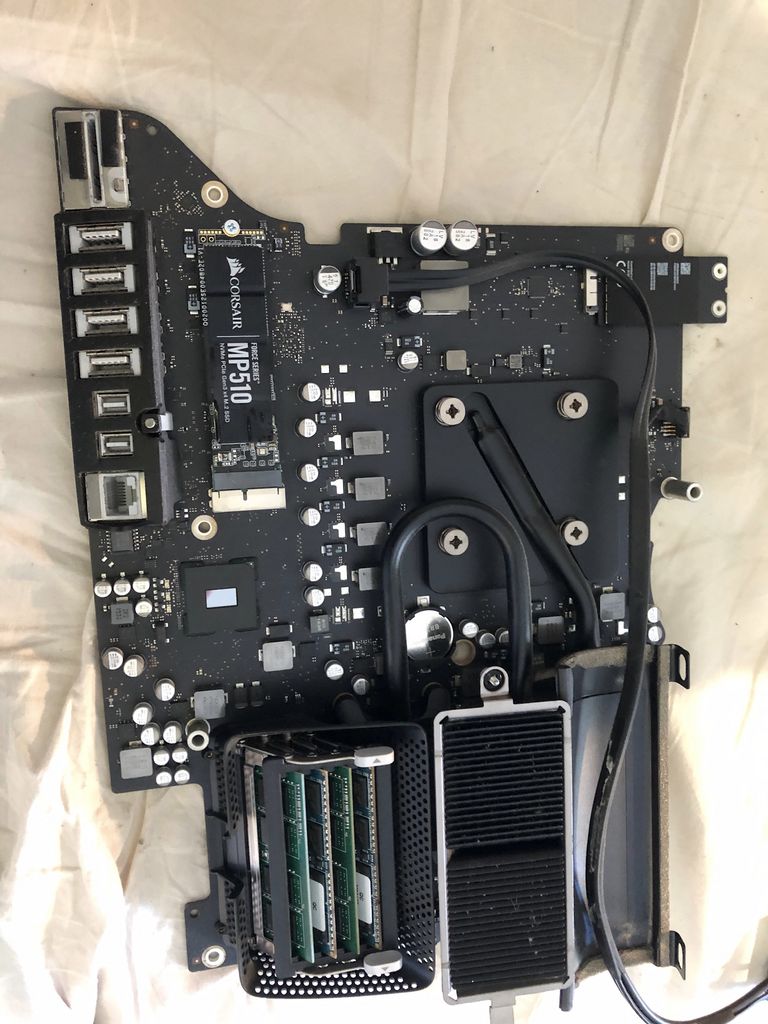
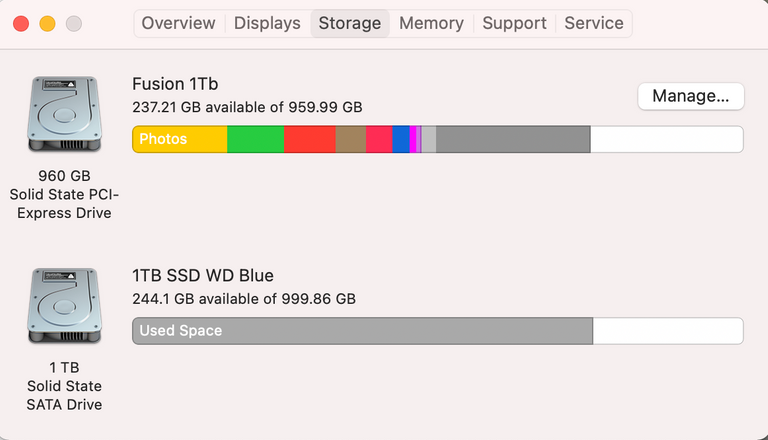
I installed the Corsair MP510 1Tb MVMe drive in the M.2 slot using a converter to allow PC M.2 devices to be inserted in the slightly different Mac M.2 slot.
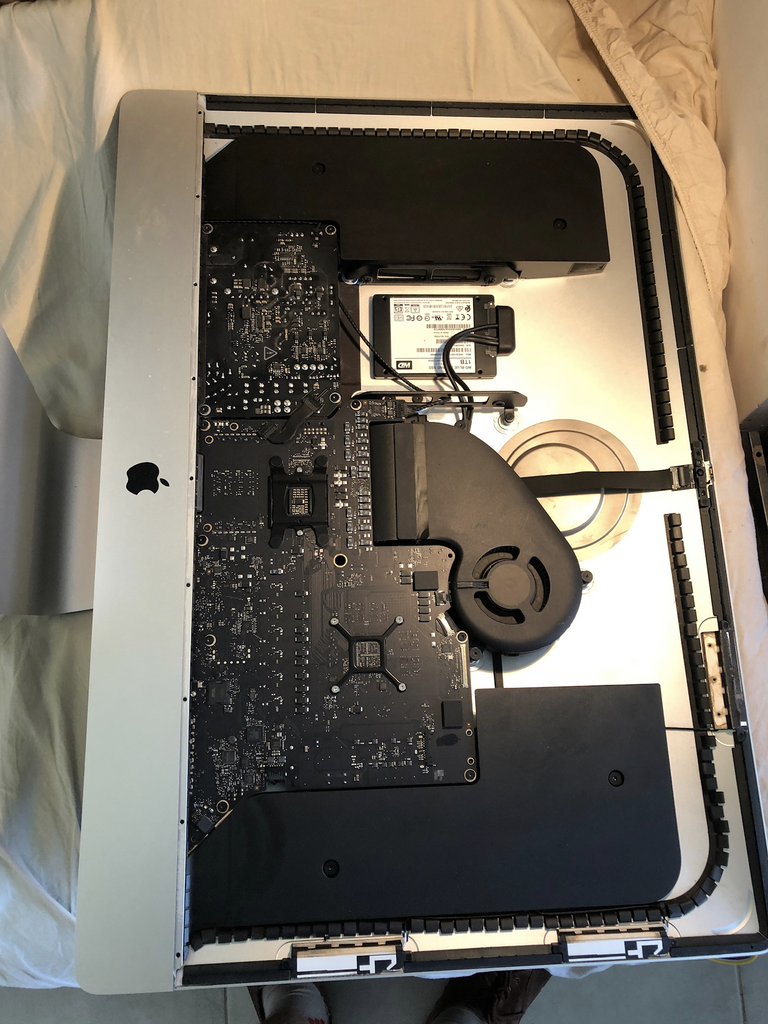
Then putting it all back together again with the SATA SSD just attached with double sided tape.
The final step involved attaching specially designed double sided adhesive tape to the edges of the iMac frame where the screen goes using another IFIXIT guide.
This was fairly easy - the hardest part being separating the correct side of the double sided tape.
I tested it before sealing it up and it worked first time!
It had taken almost 4 hours but the IFIXIT instructions were brilliant.
I have spent many more hours recently trying to fix and troubleshoot PCs that I've tried to upgrade.
Now my iMac 27" retina is good for another few years service.
I plan to re-use the Thunderbolt 2 to PCIe M.2 interface from the Sonnet Fusion box to connect an external GPU to my iMac.
If I manage to make this work I'll document it in a future post.
Please vote for my Hive witness. (KeyChain or HiveSigner)
I WAS going to SHOW this to you!
synchronized.
rally a cause now.