
How To
This series, I would want to show how we can use Adobe Photoshop to create and paint clouds. I am a background artist and this is my job.
This technique will make the entire painting process much easier and you will need a few layers to be separated so that it will be easier to do editing later on.
Step 1
Close the right colour for the horizon. Use the gradient tool as the mark of the height. Choose bright colour and slowly reduce the brightness based on the location of the sun.

Step 2
I will create the furthest cloud randomly. It doesn't have to be detailed. I will use sketches as silhouettes and thereafter I will use the gradient tool to separate the distance.

Step 3
Ue silhouettes for the clouds by using rough brush and to show the detail of the silhoutte of the texture at the tip of th ecloud. On the cloud use the brush for more details and form the clouds towards a particular cluster. The colours must be clean and neat. Thereafter use the smudge tool to soften the colour. The smudge tool is use to make the cloud that we have painted earlier to look softer and fluffier.

Step 4
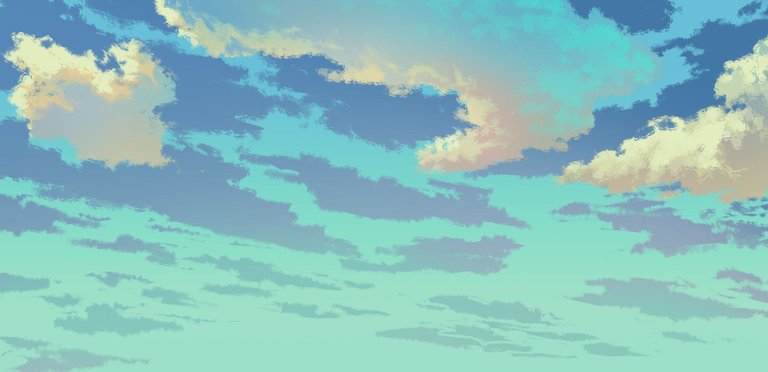
This is the process where you colour the cloud that is closest. The technique is just like in step 3. You have to determine the position of the cloud and allow it to be bended just as if it is right above your head. The colour contrast and detail must also be improved to make it appear closer.
Step 5
This is the final process to wards the balancing of the colour. Touch up on the details wherever necessary and wherever you feel is lacking. Good luck trying.
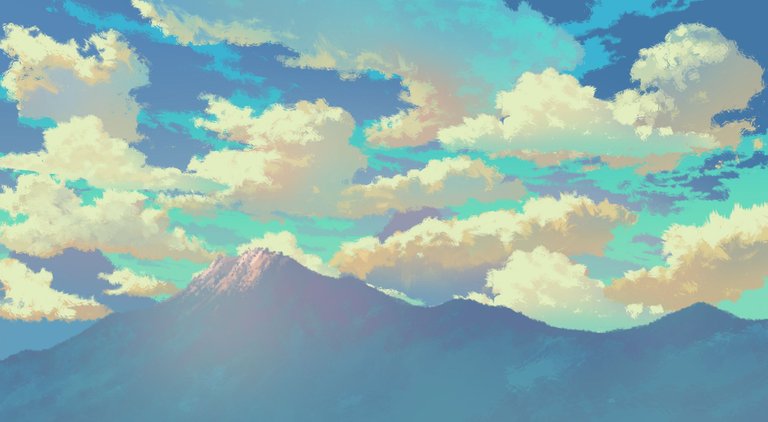
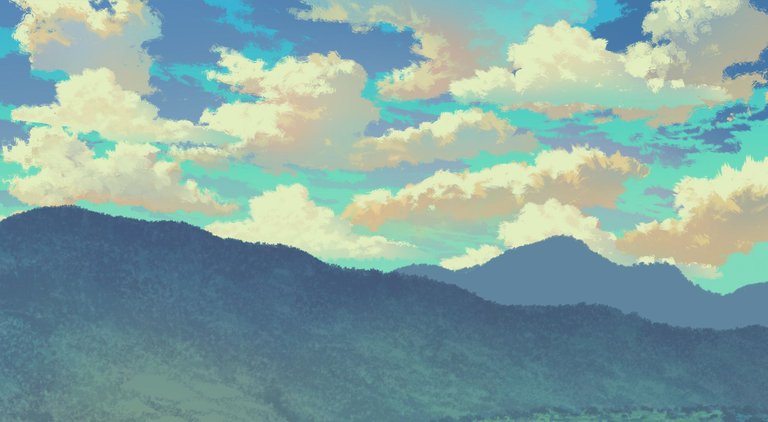
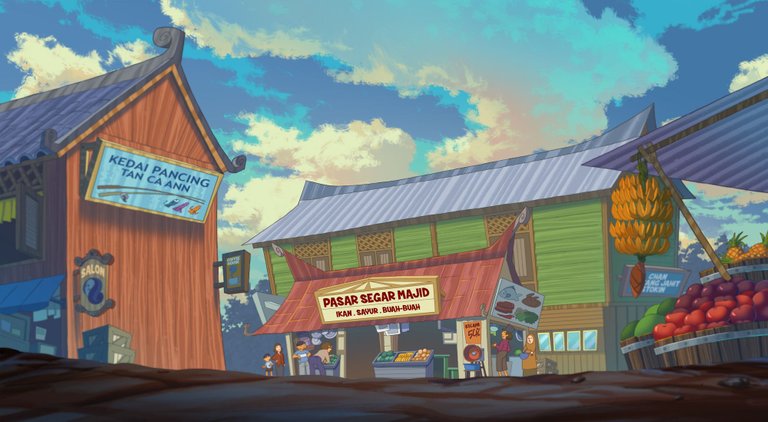
The following are examples of how I use the clouds in my background animation. I hope the following techniques will help you create good quality background faster and quicker.



credit to @zomagic
Great steps! Unfortunately, imma impatient guy, so these steps I might skip some. Bad habit I know XP. Still, thanks for the refreshers!
haha its ok bro.To produce something good we need a lot of patience.The more you practice the better you get.Anyway thanks @gordon92 :)
Thank you so much for this. Good job! ^^
thank you @akmalbastamam
Love the reflected light on the clouds. Is it done with custom brush?
Thanks @edysveins.. right.. i use a custom brush.if there's a chance.. I will teach how to create a custom brush.
look easy but its hard actually..pawerr boh!
Tq boh!!...aauuummmm!!..
Thank you sifu!! Thanks for the great lesson..
sama-sama rehan..dok tunggu juga post terbaru ko ni
On the way bro..kerja hakiki banyak plak awal tahun ni
This is the quality content! xDD Bro ajar la cara nak warna mountain tu. :D
content kecil kecilan jer ni bro.. boleh.. bro pakai brush setting scattering dgn color dynamics jer bro.
Love it.
Thanks bro ..
power step by step ni..tq for sharing!!
you are welcome, master jedi..
Thank you for the tutorial :) It has look and feel of pixel art, which I like a lot!
Thank you very much @carrotcake . I am glad you like it
I had to draw some backgrounds yesterday and I was wondering how to make the clouds look nicer, seems like I found a way to make them look right! Great tutorial.
I hope this tutorial can help you.Thanks dude.
Awesome tutorial, I have been looking for an easy to understand tutorial to create clouds, need to create background art of my animated film . Thanks a bunch!
You also can apply this technique to simple clouds.Thanks, @krishendukj .all the best for your project.
Ahh that top layer, this was a nice reminder that I need to examine cloud layers a little more. Looking good as usual :)
i use to curve that top clouds to make the focus point.Thanks mate ..appreciate that.
Really useful content! After many years of Gimp, now I'm trying to use photoshop and illustrator too (I have a free 3-months account to try both ^^) and so this info it's really useful for me ^^
This is one of simple technique that I think everyone can understand.i hope this will help you and thanks @silviabeneforti glad you like it . :)