PIÑATA NÚMERO 1
PIÑATA NUMBER ONE
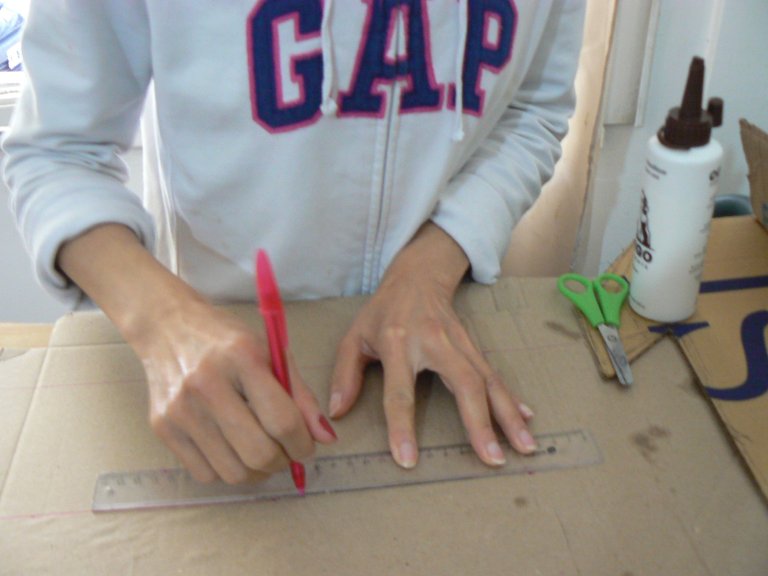
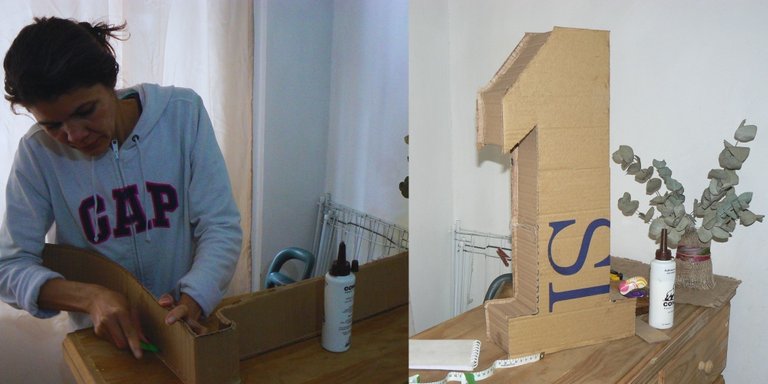
Para elaborar el número uno, usé una caja común de esas que se consiguí en un supermercado. Lo primero que hice fue sacar mi patrón del número considerando los siguientes aspectos:
To make the number one, I used a common box that you can get in a supermarket. The first thing I did was to draw my pattern of the number considering the following aspects:
MEDIDAS:
58 cm de alto
15 cm de ancho para las tapas de ambos frentes.
12 cm de ancho para las cintas de ambos lados.
Para la base del número medí:
27 cm largo por 8 cm de alto.
MEASUREMENTS:
58 cm high.
15 cm wide for the covers of both fronts.
12 cm wide for the ribbons on both sides.
For the base of the number I measured:
27 cm long by 8 cm high.
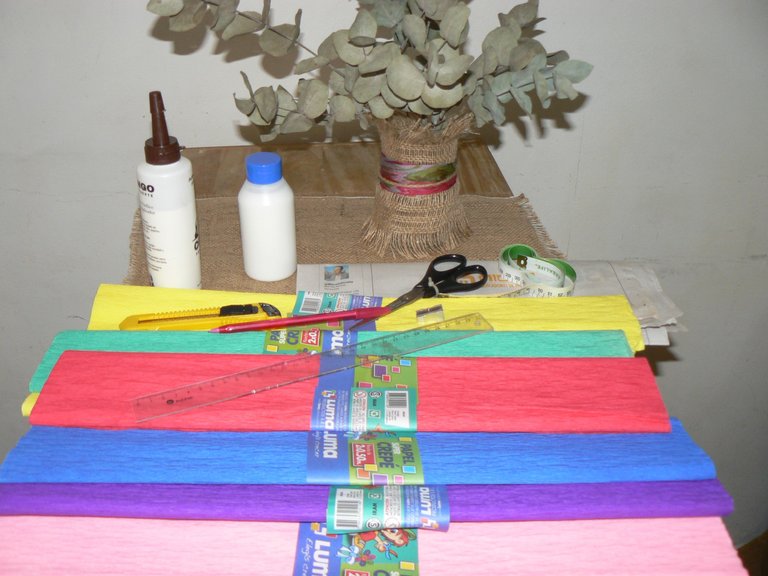
MATERIALES:
Caja de cartón común.
Bolígrafo.
Regla para medir o cinta métrica.
Cúter o exacto para cortar.
Cinta de embalar.
Tijera.
Papel periódico.
Papeles modelo crepé en los tonos de preferencia.
Pegamento para pegar cartón o madera.
MATERIALS:
Ordinary cardboard box.
Ballpoint pen.
Measuring ruler or tape measure.
Cutter or exacto to cut.
Packing tape.
Scissors.
Newspaper.
Crepe paper in the colors of your choice.
Glue to glue cardboard or wood.
PROCEDIMIENTO:
Para hacer el número medí 58cm de alto por 15cm de ancho, que serían las tapas de ambos frentes.
PROCEDURE:
To make the number I measured 58cm high by 15cm wide, which would be the tops of both fronts.
Para la base del número medí 27 cm de largo por 8 cm de alto.
For the base of the number I measured 27 cm long by 8 cm high.
Luego medí las cintas de los 12 cm de ancho para ambos lados.
Then I measured the 12 cm wide ribbons for both sides.
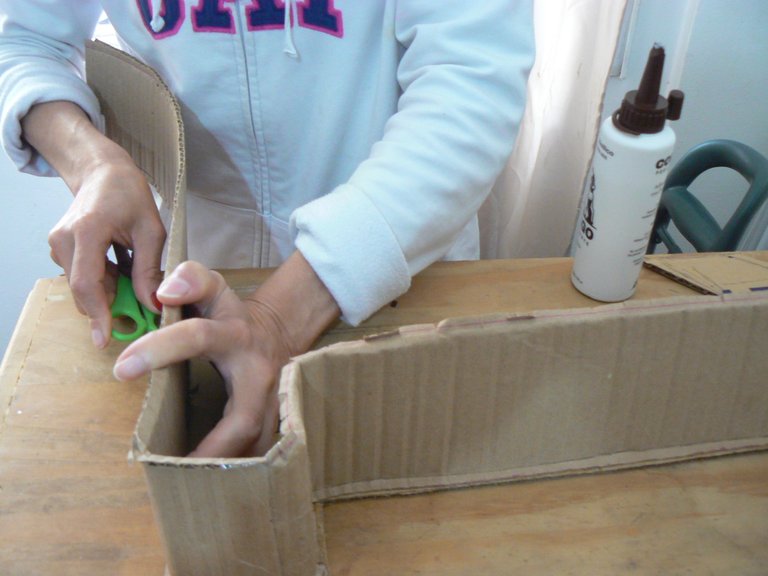
Comencé a ubicar ambas tapas de los frentes con el pegamento apoyándome con una tijera para hacer presión, de manera que sellara con más rapidez. En mi caso yo usé una cola para madera así le daba mayor resistencia a mi piñata.
Uní ambos lados con el pegamento y con la ayuda de la cinta plástica, la dejé bien fijada por todos los ángulos y la dejé secar durante 24 horas.
Así debería quedar nuestra piñata para luego proceder a decorar según los colores de nuestra preferencia.
I started to place both front caps with the glue, using a scissors to apply pressure, so that it would seal faster. In my case I used a wood glue to give more resistance to my piñata.
I joined both sides with the glue and with the help of the plastic tape, I left it well fixed at all angles and let it dry for 24 hours.
This is how our piñata should look like and then proceed to decorate it according to the colors of our preference.
Comencé a pegar el papel crepé de mi elección; en esta piñata yo usé color morado, fucsia y rosado.
I started gluing the crepe paper of my choice; in this piñata I used purple, fuchsia and pink.
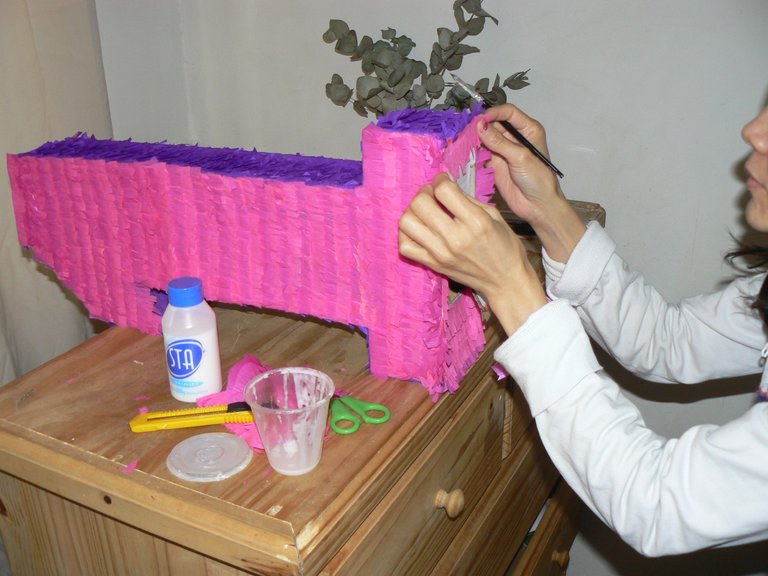
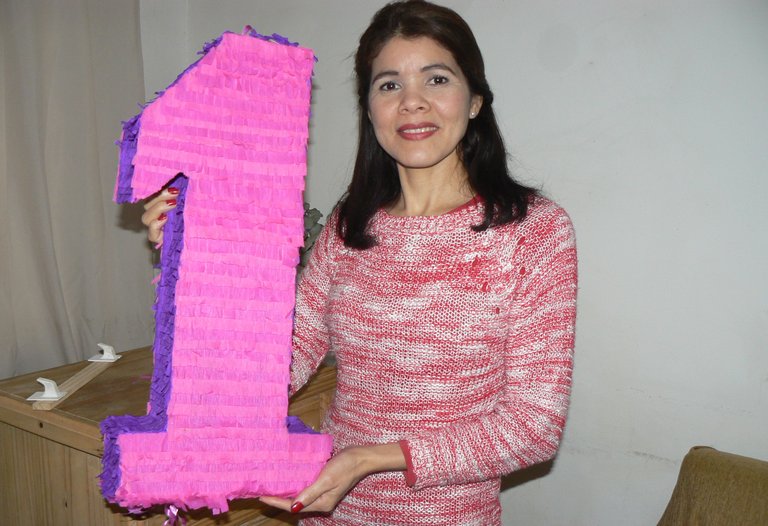
Así realicé esta piñata del número 1. Sería bien importante, que al finalizar se coloque una cinta o soga por la parte de abajo para sacar los juguetes; esto es, en caso que no quisieran romper la piñata.
This is how I made this piñata with the number 1. It would be very important to place a ribbon or rope at the bottom of the piñata to remove the toys, in case they don't want to break the piñata.
Un abrazo; sea Dios concediendo tu éxito, mi éxito.
Maríg,
A hug; may God grant your success, my success.
Maríg,
Nota:
Todas las fotos son de mi álbum personal, tomada de mi teléfono celular Alcatel modelo5044R.
Traduccción por: Translated with www.DeepL.com/Translator (free version)
Note:
All photos are from my personal album, taken from my Alcatel cell phone model5044R.
Translation by: Translated with www.DeepL.com/Translator (free version)