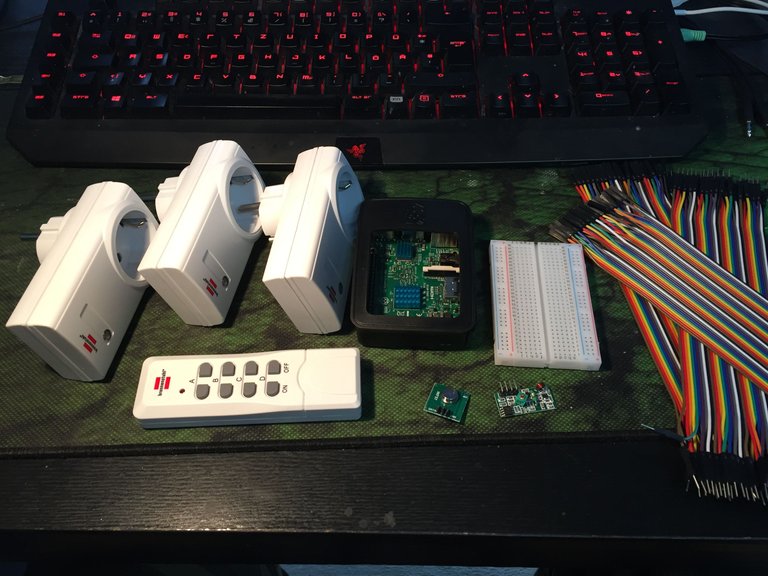
Today I received the Stuff I ordered a few days ago to control sockets over 433 mhz with my Raspberry Pi.
After I got everything set up the first time, I wanted to immediately start setting up the Website, so I could control it over my phone, but I ended up googling the whole Day, because my knowledge of php and linux isn't as fresh as it once was.
After I finally set up everything with a nice toggle function, I can now control some stuff in my house over my phone, and I will definitely keep doing more.
I was following this german guide https://tutorials-raspberrypi.de/raspberry-pi-funksteckdosen-433-mhz-steuern/
and I was using these Components:
Sockets: https://www.amazon.de/gp/product/B001AX8QUM
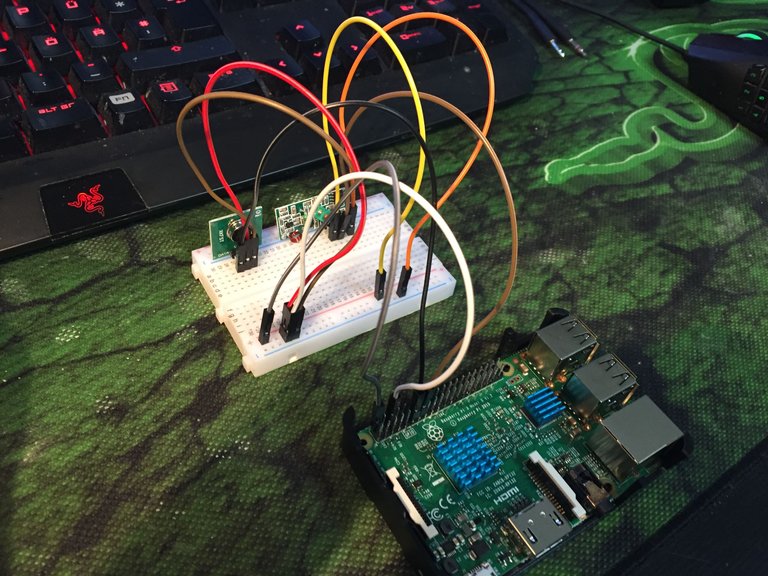
Jumper Wires + Breadboards: https://www.amazon.de/gp/product/B073X7GZ1P
433 transmitter + receiver: https://www.amazon.de/gp/product/B00OLI93IC
In the end I got it running with the transmitter only.
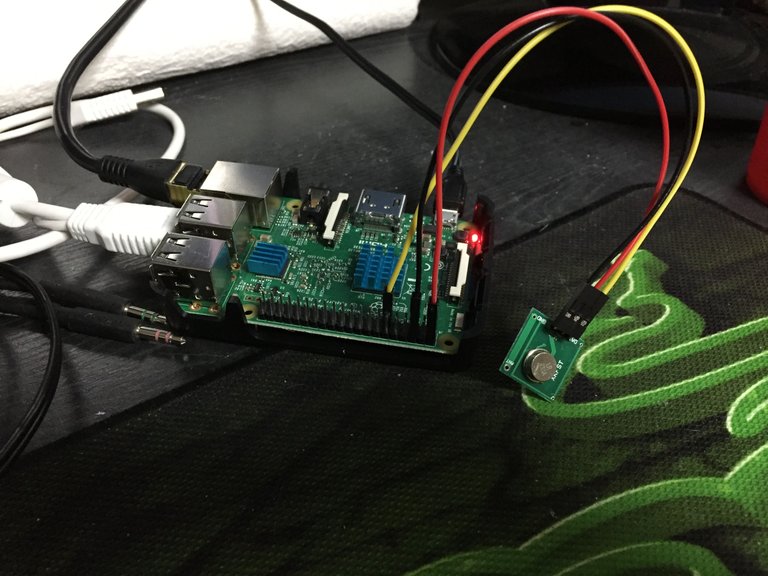
The Pi is set up in the basement and I can reach Sockets in the 2. floor if I am lucky, not bad for the little transmitter I bought ^^.
Congratulations @sh4d0w! You received a personal award!
Happy Birthday! - You are on the Steem blockchain for 1 year!
Click here to view your Board
Congratulations @sh4d0w! You received a personal award!
You can view your badges on your Steem Board and compare to others on the Steem Ranking
Vote for @Steemitboard as a witness to get one more award and increased upvotes!