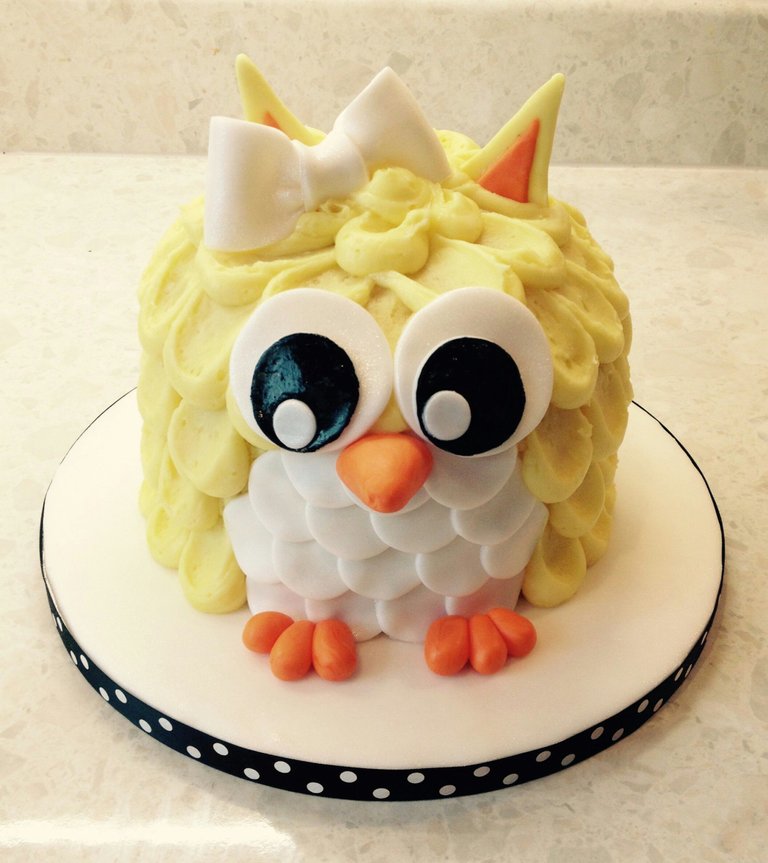
I made this in a pink and purple combo earlier in the year, but I LOVE this little lemon owl!
.jpg)
For this owl I made a 12oz lemon sponge and split it across 5 sandwich tins.
You will also need:
- 1 quantity of buttercream - coloured as desired (mine was lemon) https://steemit.com/recipes/@cake-lady-jen/the-cake-lady-28-top-buttercream-recipe
- 100g white fondant icing
- black food colouring
- orange food colouring
- yellow food colouring (or whatever colour you want your owl to be!)
- 10" cake board
- edible glue
Method:
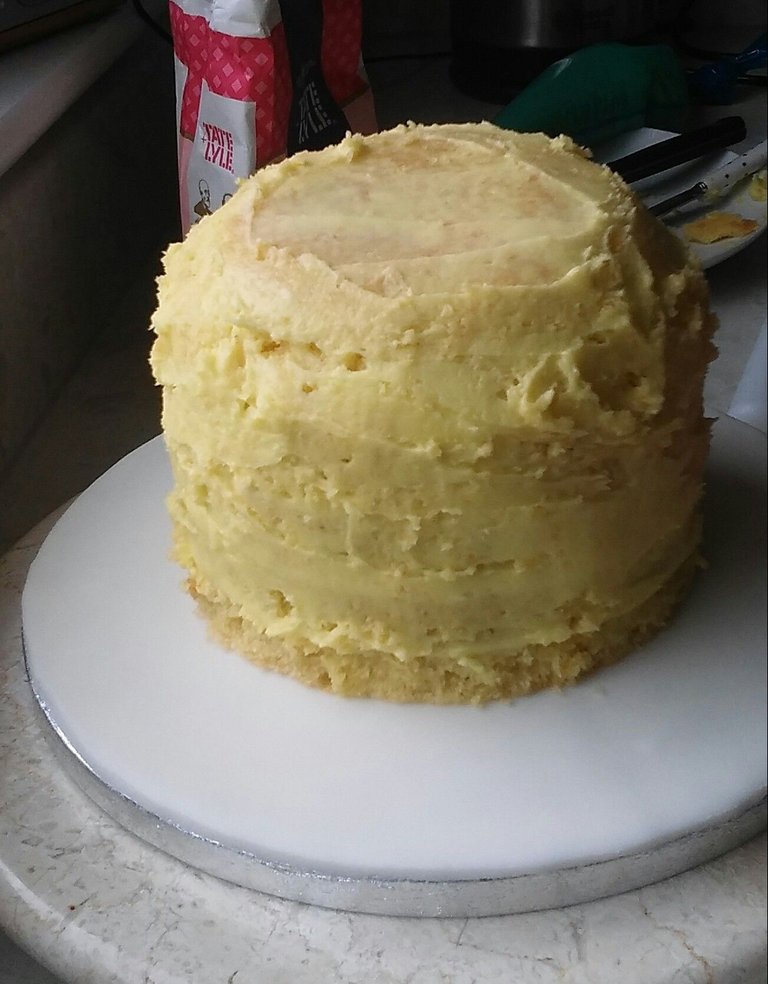
First of all, layer up your sponges and fill as desired - I used alternate layers of lemon curd and buttercream.
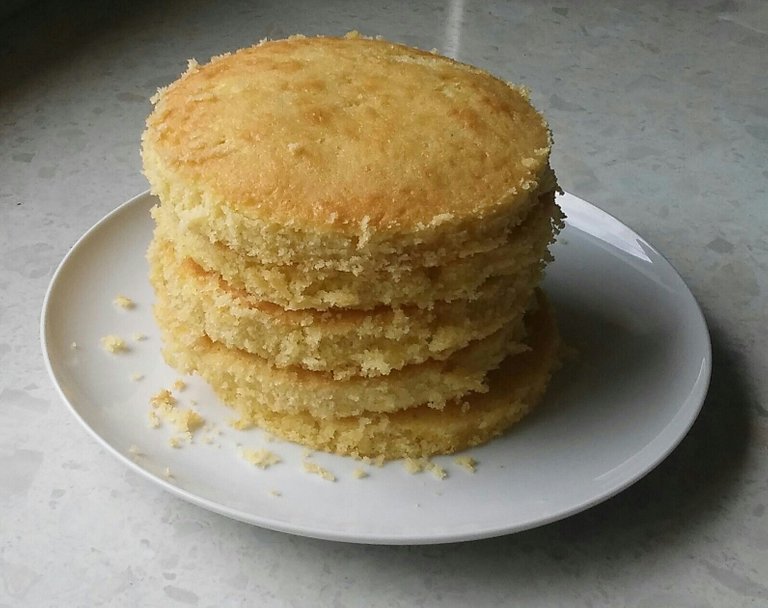
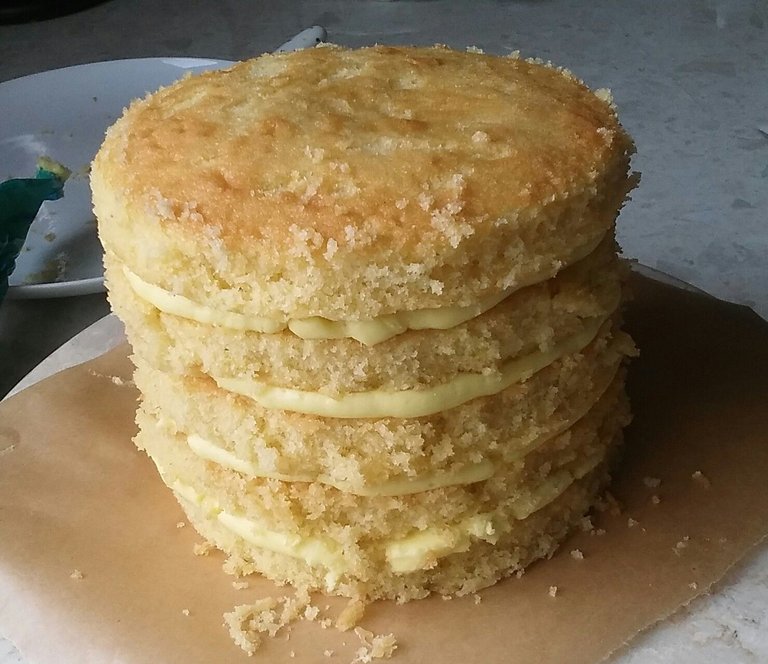
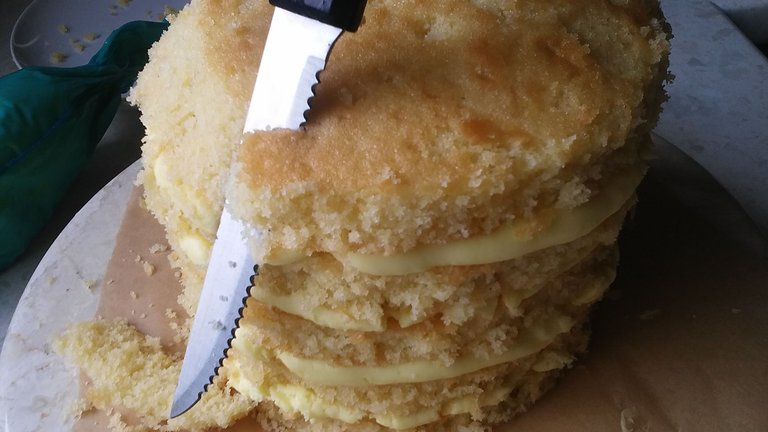
Cut around the top edge to make a nice dome for the head.
Crumb coat the cake (cover it in a thin layer of buttercream) and refridgerate for 30 minutes.
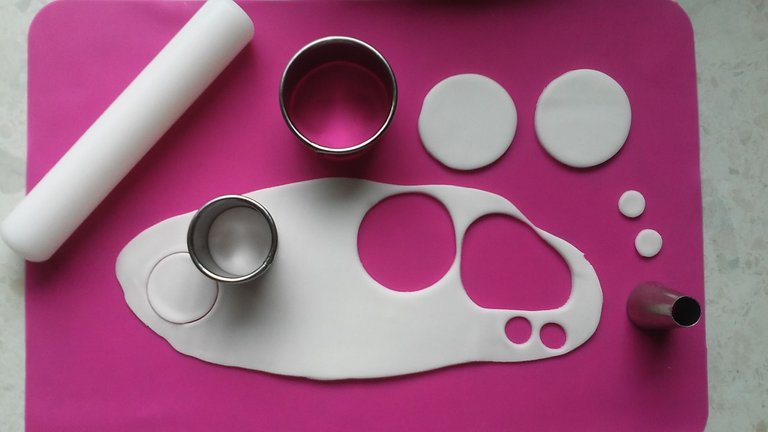
Meanwhile, make the eyes from fondant icing. Cut out two large circles, two smaller circles, and two teeny circles.
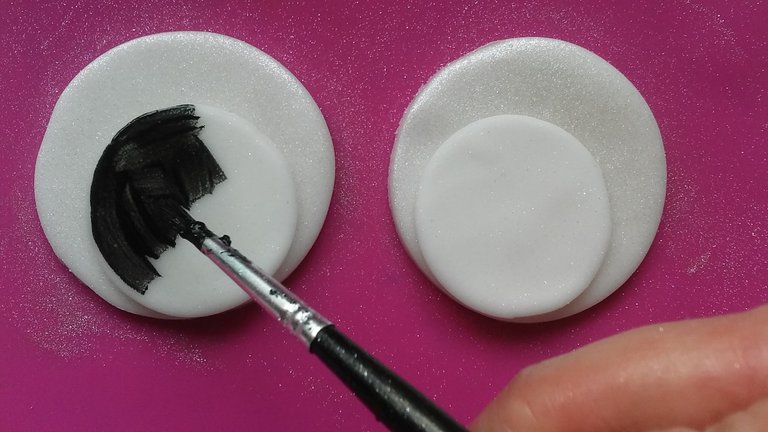
Paint the middle-sized circles black, and fix together with a small spot of edible glue. Leave to dry.
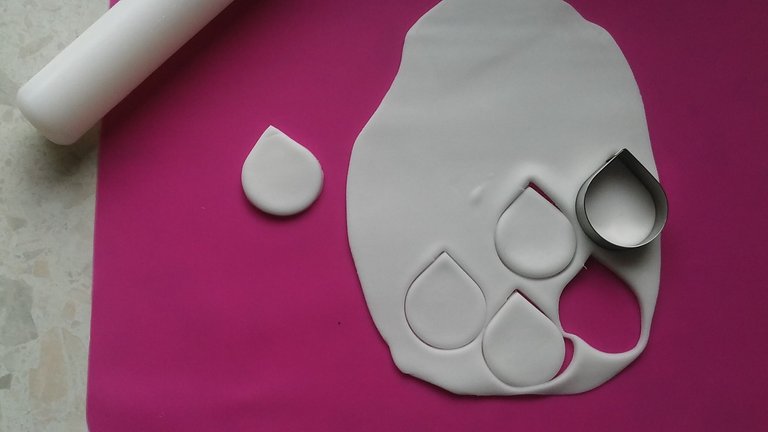
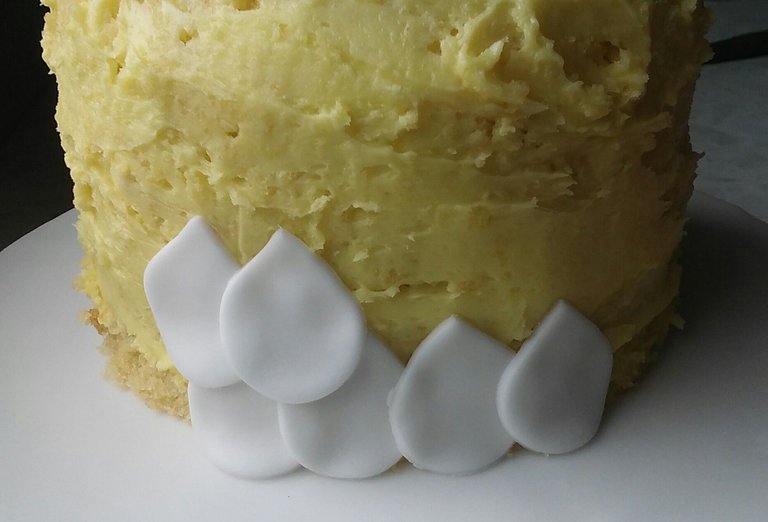
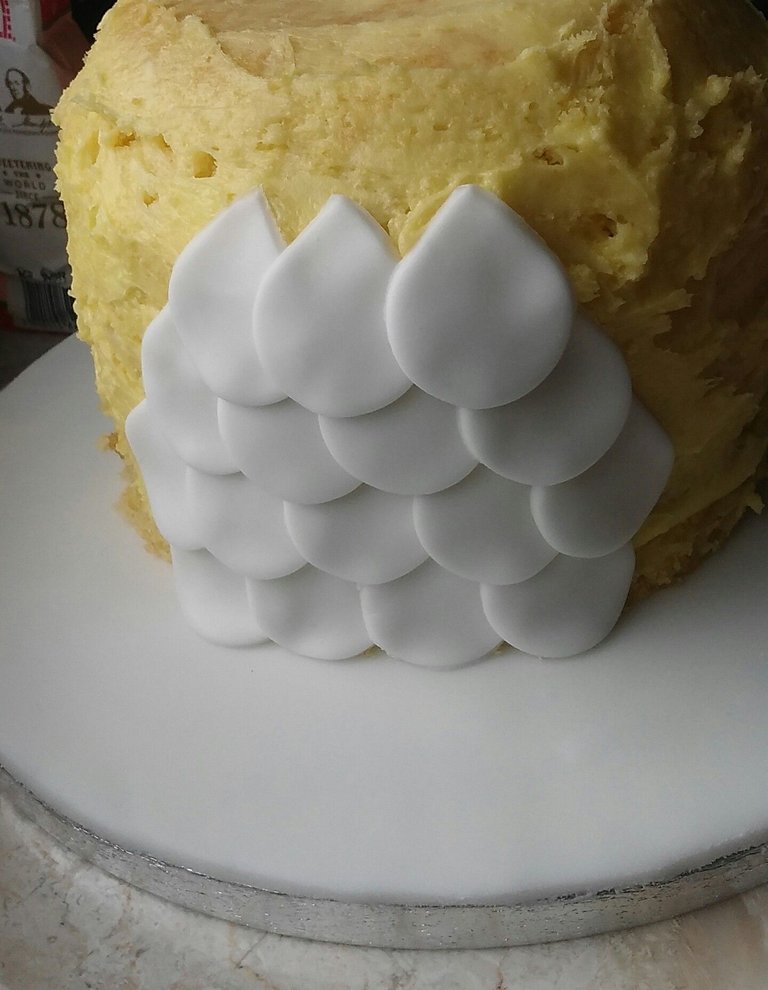
Cut out 'feathers' for the chest - I used a petal cutter, but your middle circle will work just as well.
Take your owl from the fridge and stick on the chest feathers.
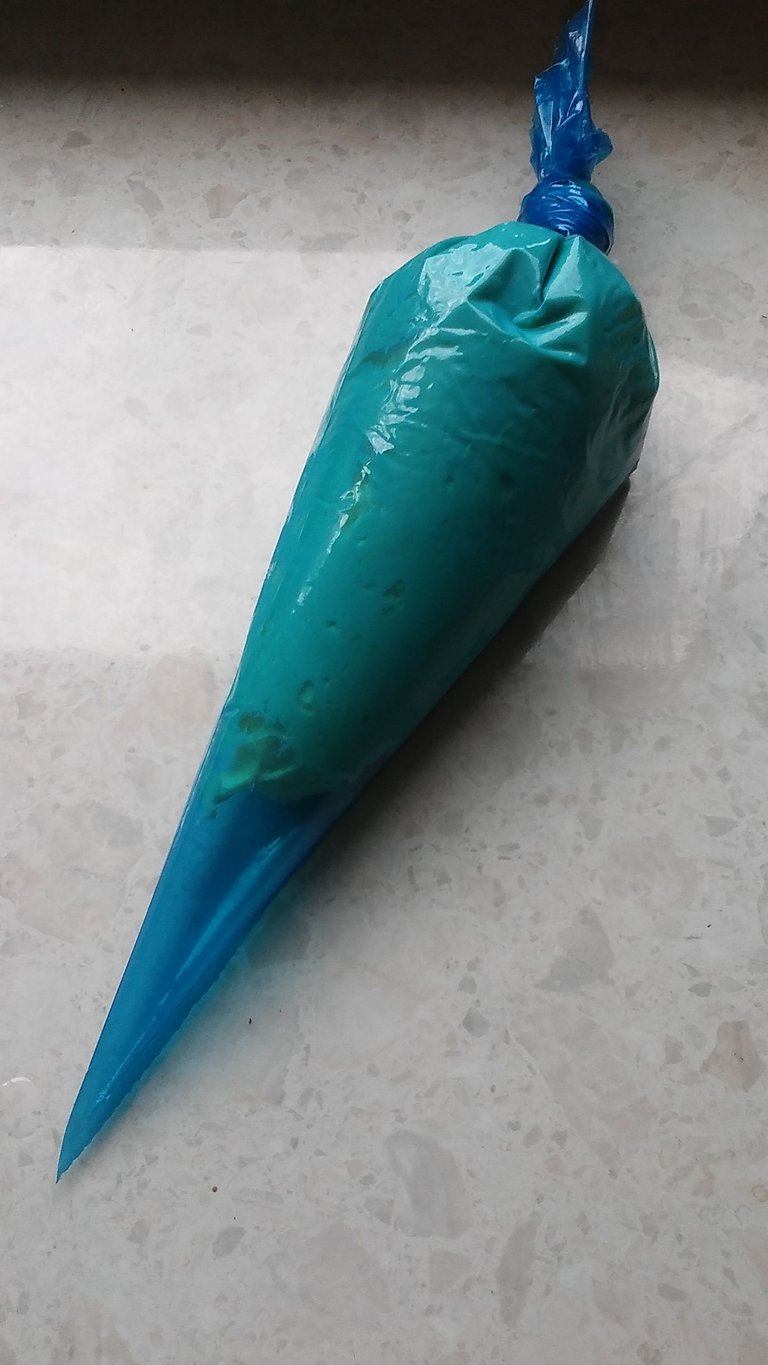
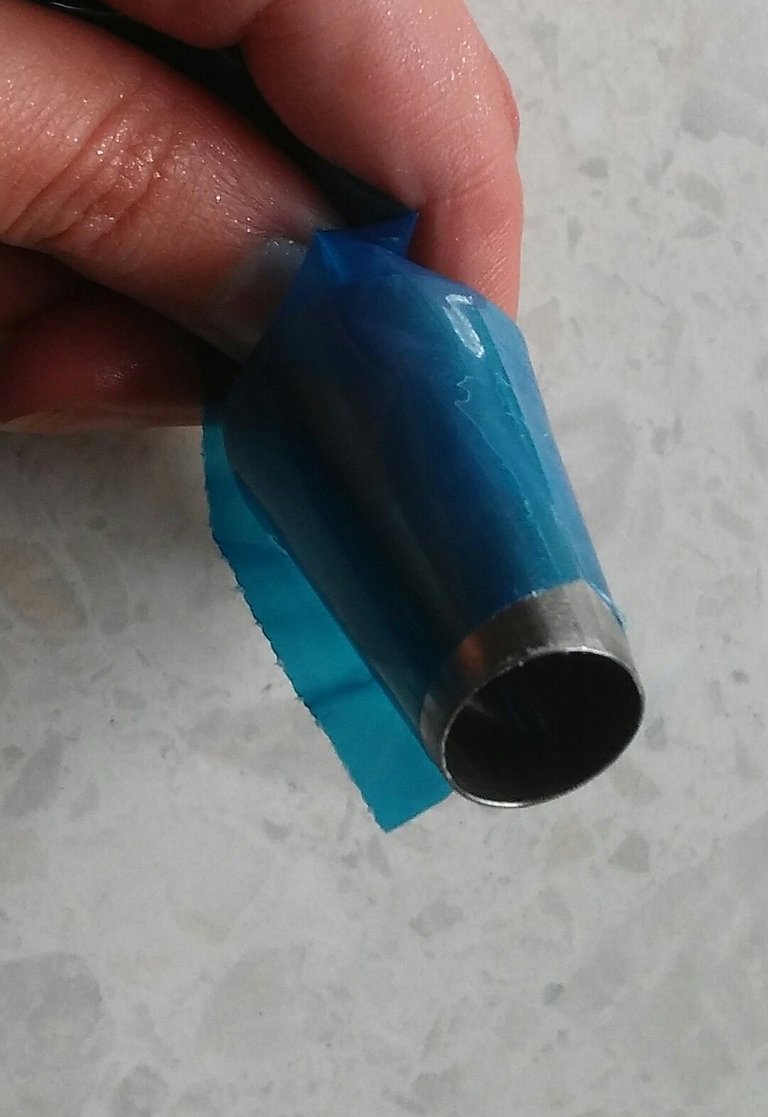
Next, put your buttercream into a piping bag with a round nozzle.
Pipe 'blobs' all around the bottom of the cake.
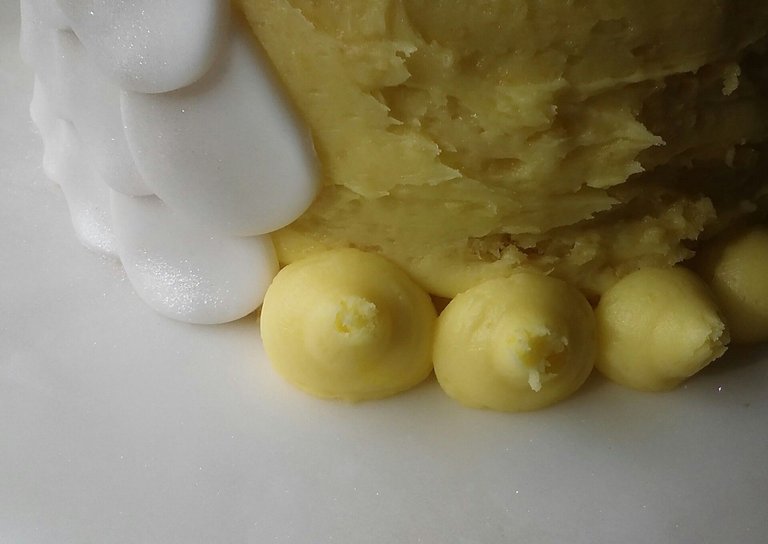
Using a teaspoon, spread one side of the blob upwards to create a feathered effect - have a practice on a plate first if you're not confident!
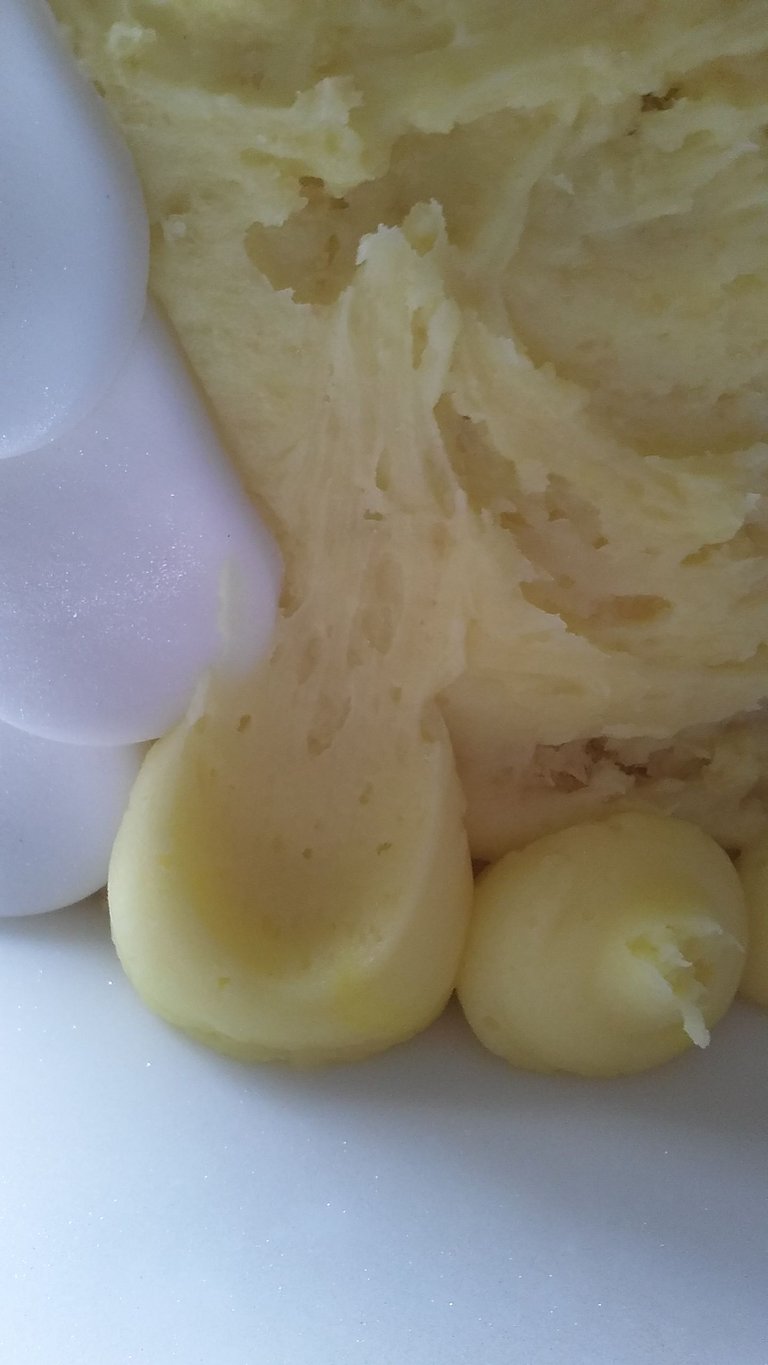
Continue in layers all the way up, then position the eyes where you want them.
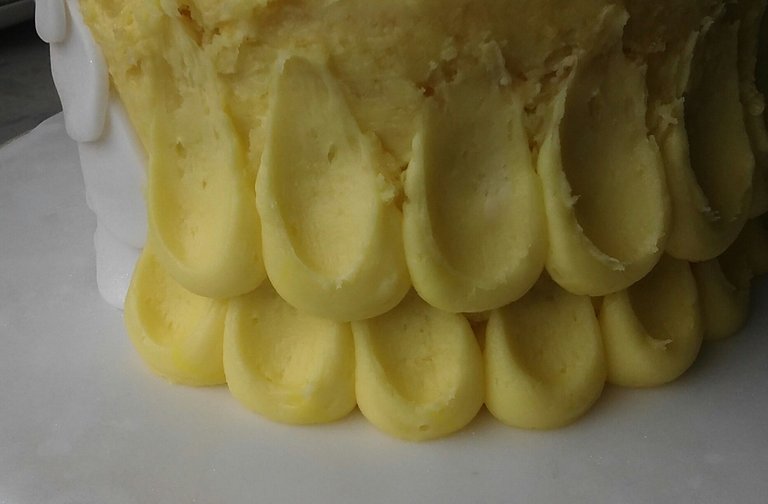
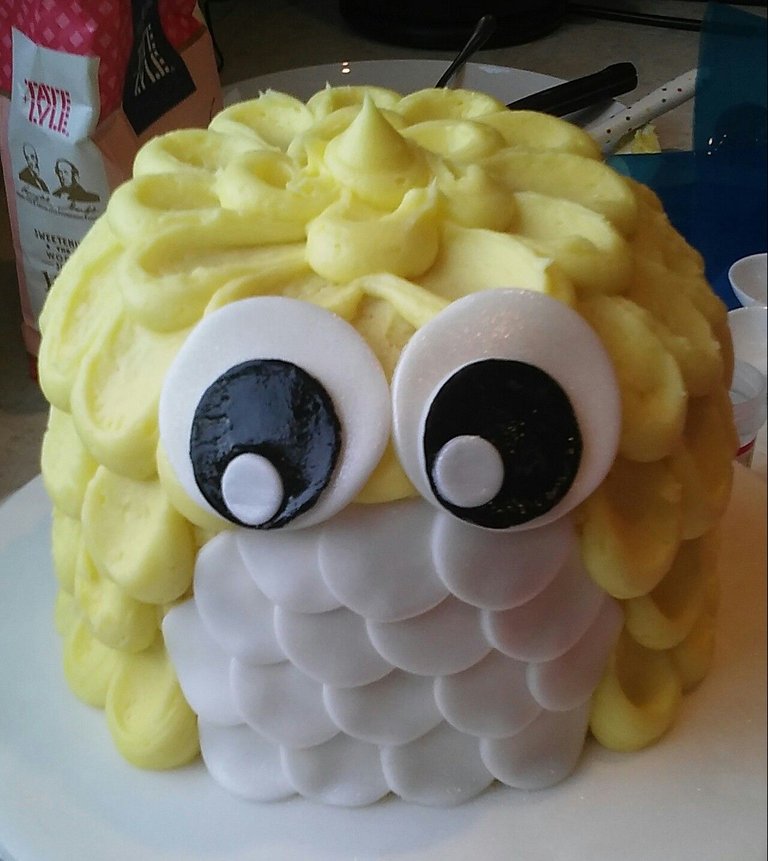
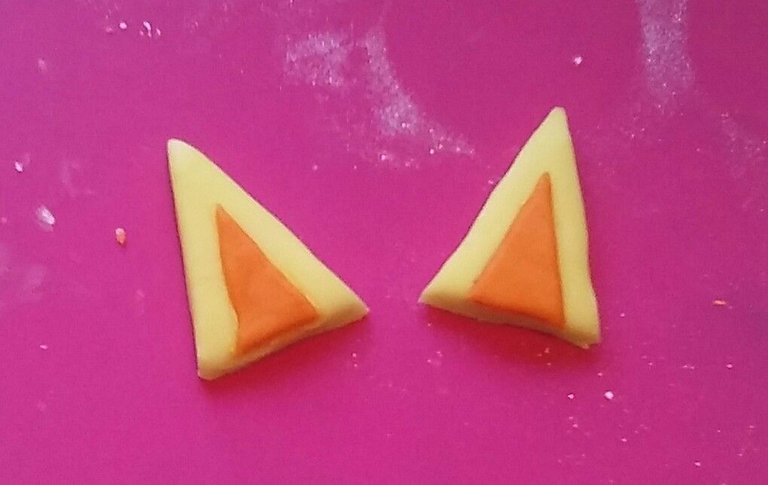
Now to finish off the features! For the ears, colour a small piece of fondant the same colour as your buttercream and cut out two triangles.
Colour the remaining fondant orange.
Cut out two small triangles for the inner ears, and attach with a spot of edible glue.
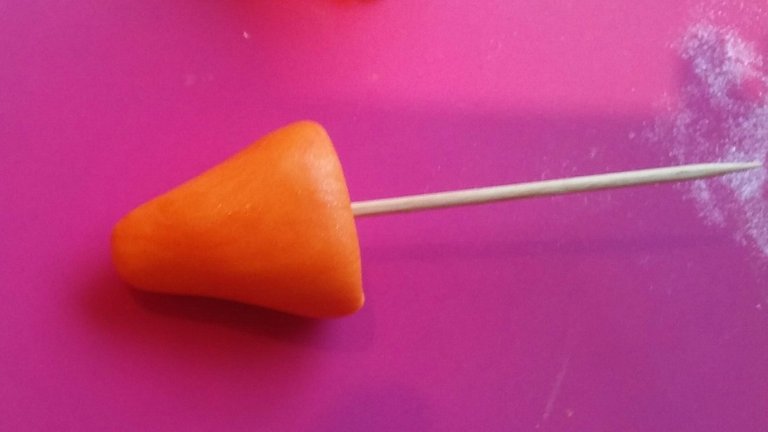
Make the beak by rolling a cone in your hands and pressing it down slightly so the top and bottom are flat. If you have a cocktail stick handy, use one to attach it to the cake.
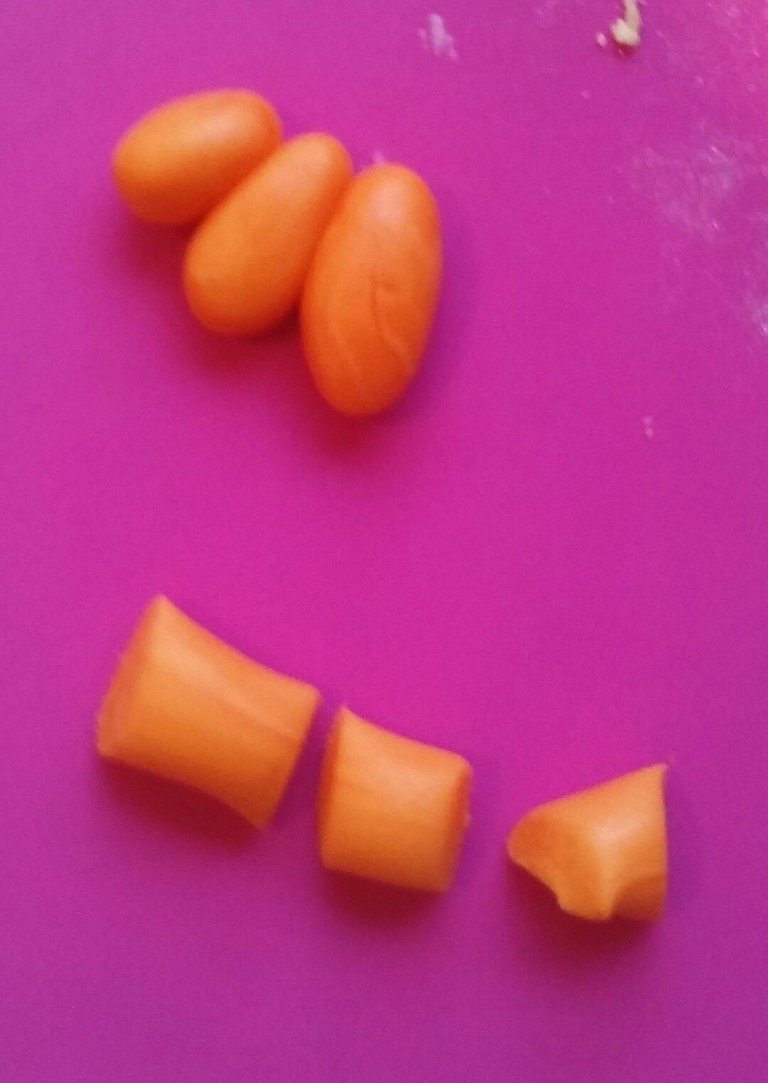
Finally, make the feet. Roll into a sausage and cut out two large bits, two medium bits, and two small bits. Roll the into ovals and press together.
Now all you need to do is attach them!
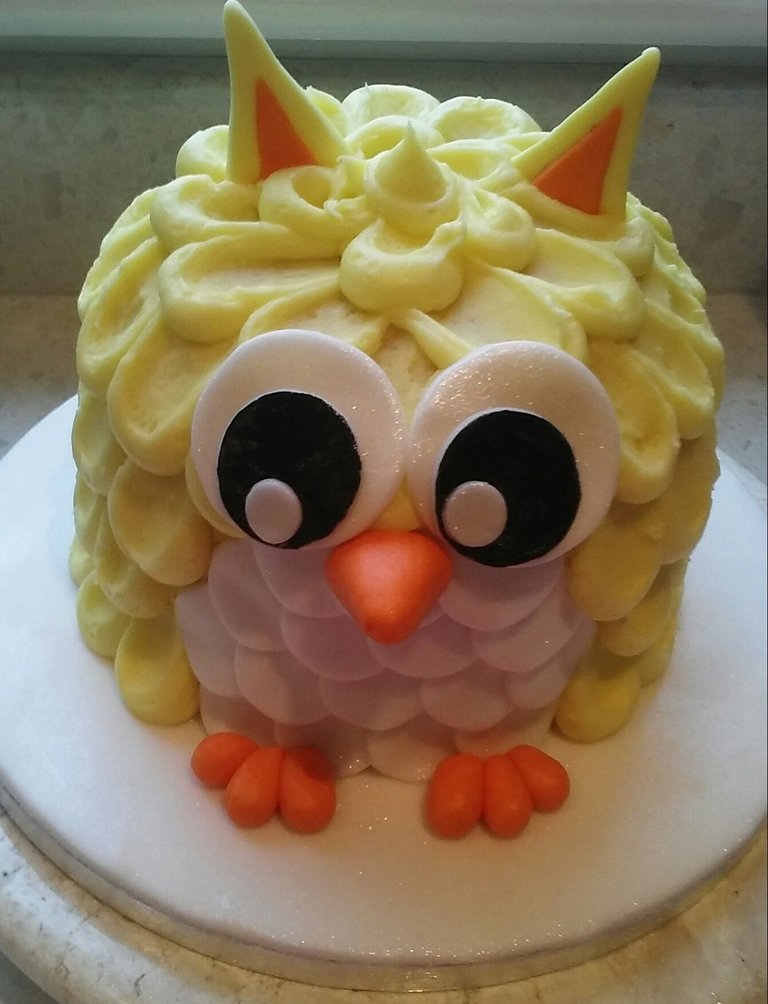
If you like, add a bow, and a ribbon round the board. And voila! Cuteness overload!!!
FullSizeRender_2-1.jpg
Follow me @cake-lady-jen for top baking tips and recipes, I love to share my creations and knowledge with you!
Beautifully made @cake-lady-jen very cute i can't eat it 😜 thanks for sharing this
Adorable! Great instructions/photos too.
Omg this is absolutely adorable and it looks so yummy too
As a follower of @followforupvotes this post has been randomly selected and upvoted! Enjoy your upvote and have a great day!