In the previous tutorial , we learn how to install python and the available editor and IDE for writing python code. In this tutorial we will discuss the jupyter notebook which we are going to use as editor for writing python code.
To open the notebook, open the command terminal and type the following command.
jupyter notebook
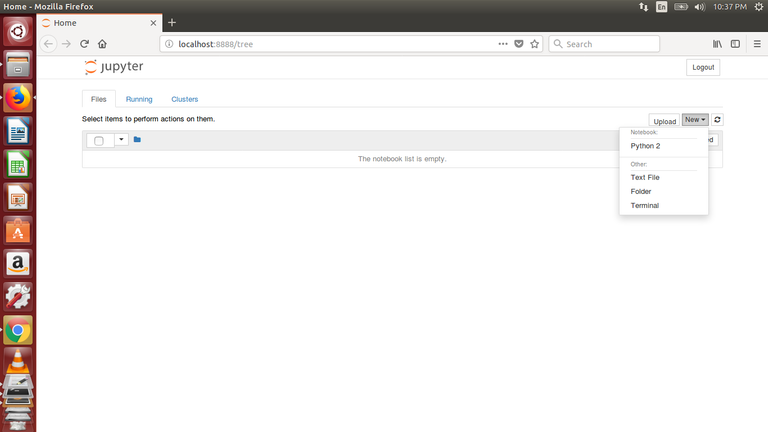
It will open the notebook in the browser as shown below.

You can see, currently the list is empty. We can create a notebook by clicking on "New" button at the right corner of the screen. Apart from python code , you can also create the folder,file and python interpreter terminal. Please note that all this will be created on your current directory from where you have launched the notebook.
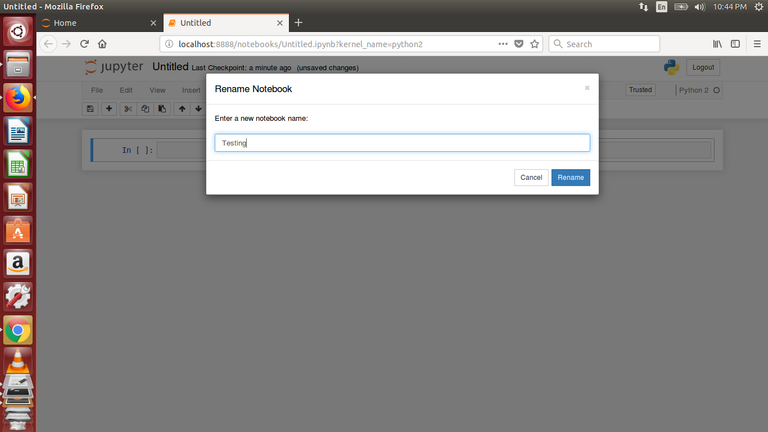
Let's click on , new and then click on python notebook. It will open the notebook on new tab. By default it is untitled, but you can change it by clicking on Untitled as shown in the figure.
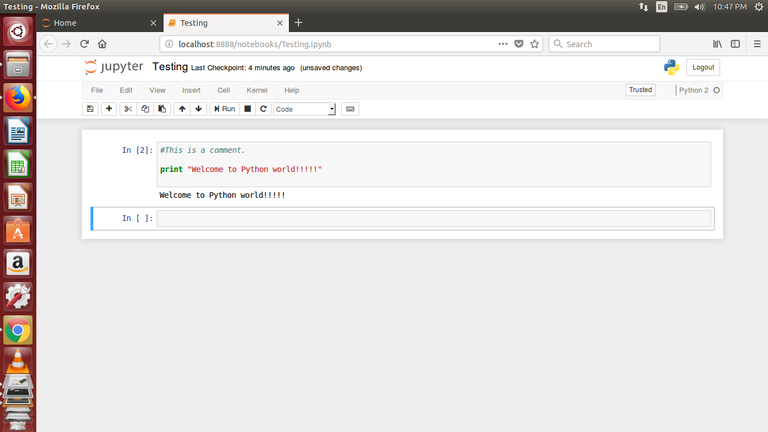
Now you can write your python code in the cell. The comment is started with #. To run the cell, click on cell and press shift+enter to execute the cell. The output will be display there itself as shown in the figure.

The speciality of notebook is that ,it will auto save the content which means you do not have to write the code in a file and save it again to test it. You can write,change and test it there itself. Isn't that cool thing.
Now all the setup has been done. We can now actually concentrate on python coding. See you in the next tutorial till then "Happy Coding".
Please join the @labwork team and Upvote,follow and resteem!
Comments are always appreciated!
Hey, great picture ! I upvoted you , and I will probably go on with upvoting!
Would you follow and upvote me too !