Hello hivers, and welcome back to my page, today I’ll be talking you through the Color section and graphics section of Adobe Premier Pro under video editing.
COLOR
As I said in one of my previous post editing has to do with changing the form of a video, from one to another, and for me color is one of if not the most important elements in differentiating between two or more videos.
This is the color section of Premier pro

In this section you have the:
- Basic Correction:
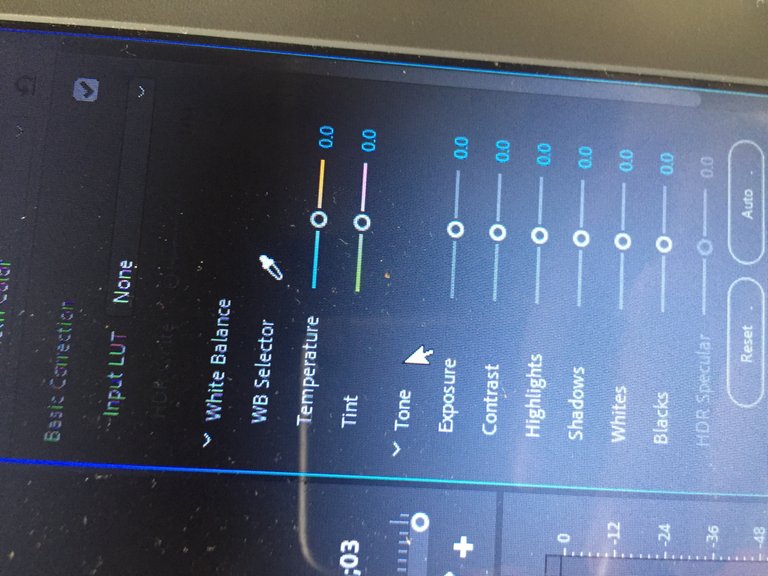
And under the Basic correction, they are several edits, such as temperature and tints, which are used to Change the video to blue or orange(temperature) and green or purple(tint). You can also work on the video by increasing or reducing the exposure, contrast, highlights, shadows, white and black. Most of these options are mainly to alter the brightness, amount of black and whites, and the shadows, if there are people in the video.
- Creative:
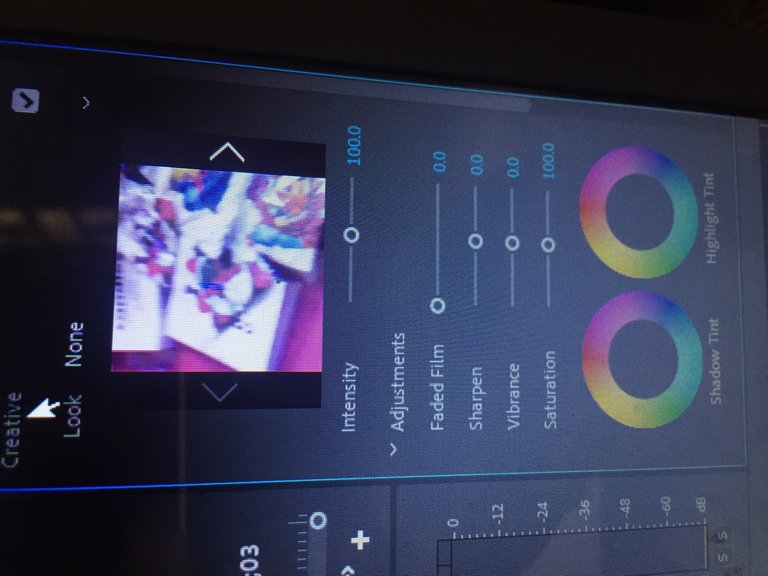
Under creative, you can adjust the intensity of all the colors in the video, you can also adjust the sharpness, vibrance, saturation and faded film, which makes the video look sharp or blurred, look retro, look black and white, or look posterized respectively. You can also alter the showing tint and highlight tint by selecting the cursor where you want it to be from the options and the color circle.
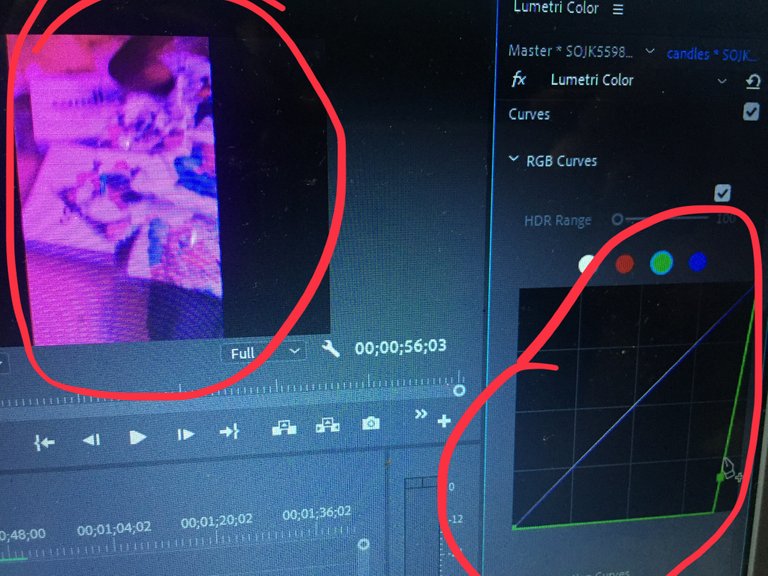
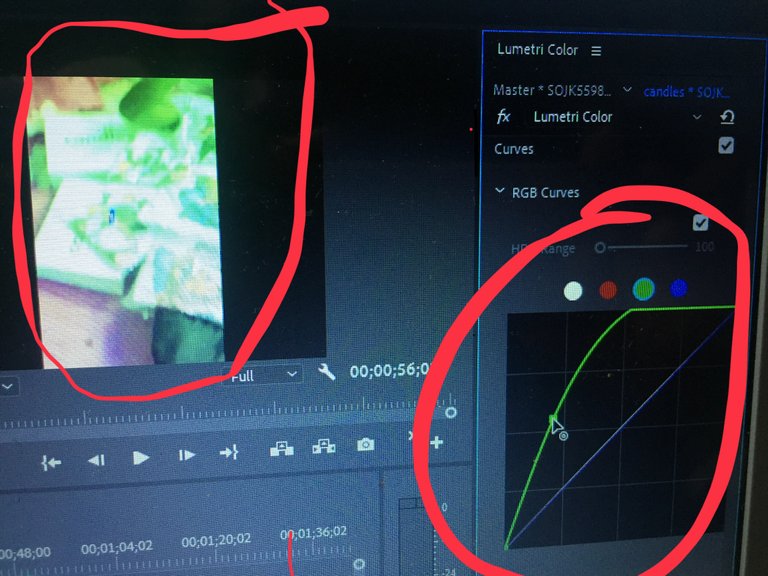
- Curves:
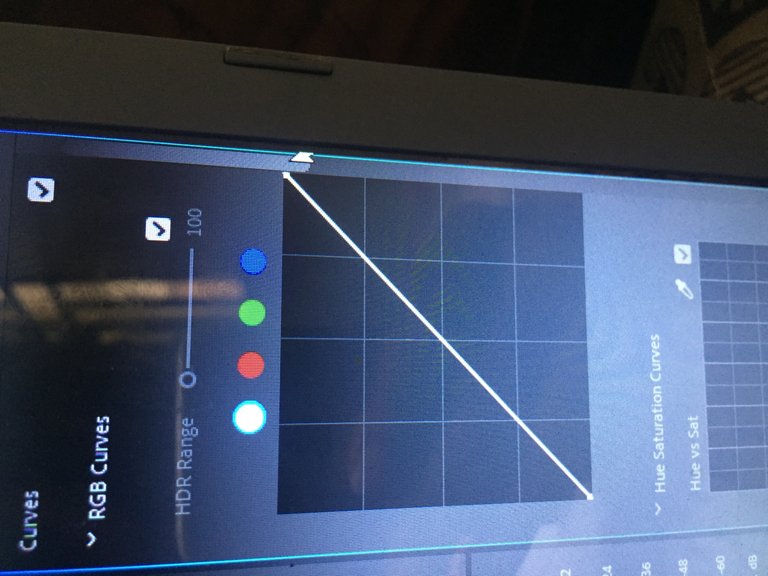
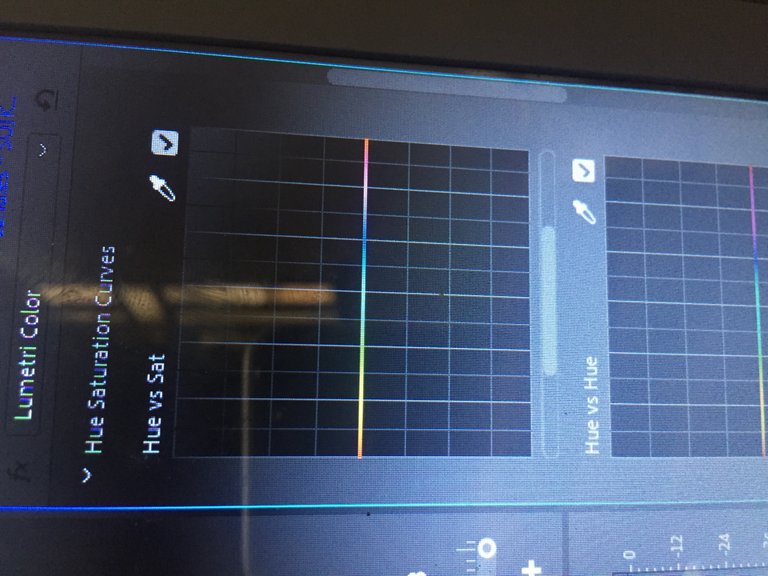
Under curves, there are different options, such as RGB curves, hue vs hue, hue vs say, etc, but i’ll talk about RGB curves, because that is my favorite.Here there are 4 colors; white, red, green and blue. You can alter the color of your video by clicking on one of the four colors and moving the line, towards a particular direction. Each direction has a different look (up, down, left and right) and each shape of the line has a different look (straight, curved, right angled)etc

- Color wheels and matches:
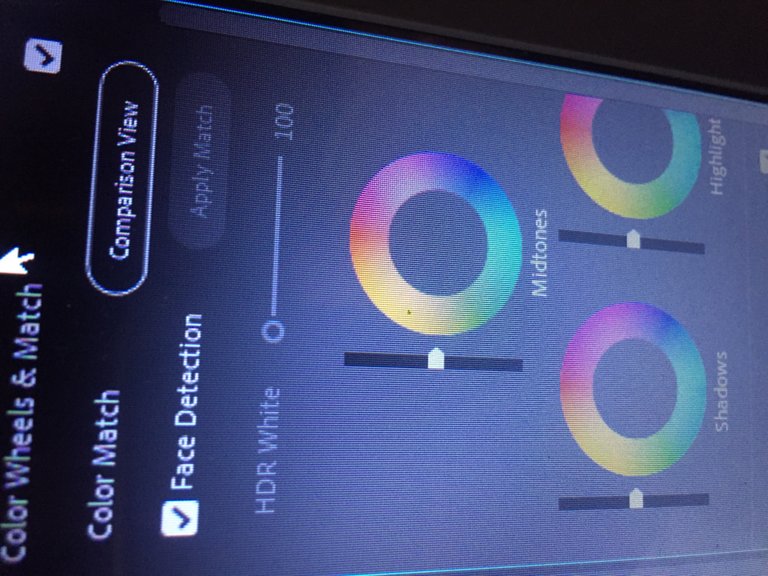
In the color wheels and matches, you can work on the shadows, mid tones, and highlights of the video using a circle filled with color. It is very similar to creative because you alter them, by putting the cursor on any particular color in the color circle. There is also a face detection and comparison view which can help in certain works.
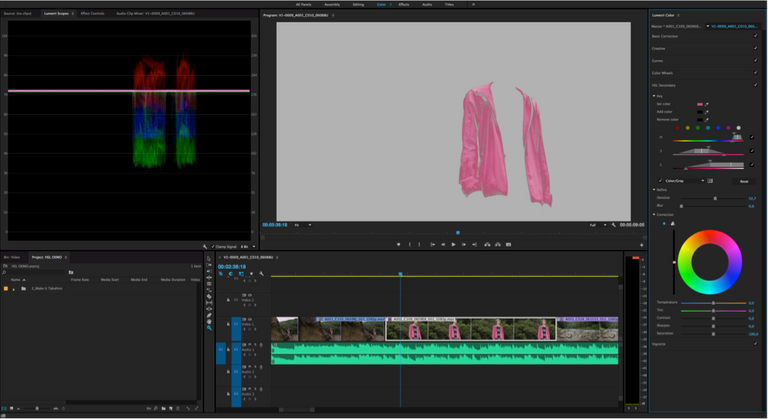
- HSL secondary:
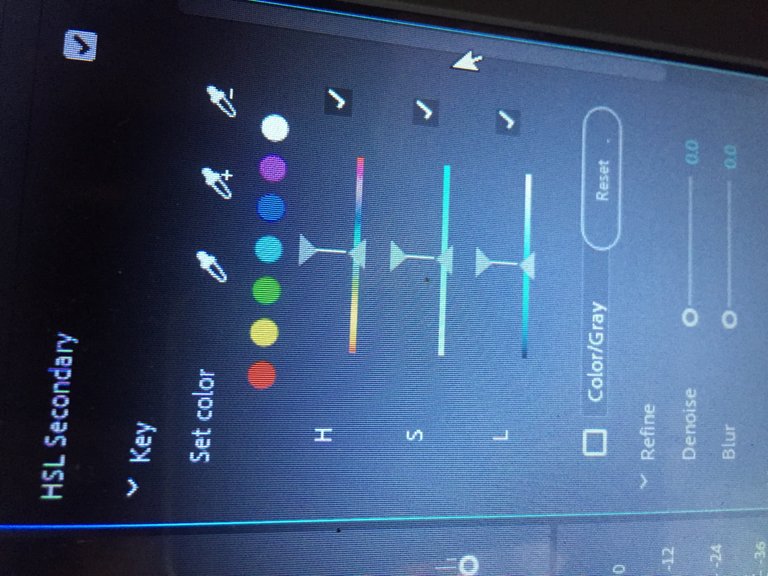
This is mainly used when you want to isolate a particular color and replace with something else. It is very cool because it can serve different purposes, such as the effect where you can make a jacket float. You can also refine videos, by denoising them, or blurring them to your satisfaction.
- Vignette:
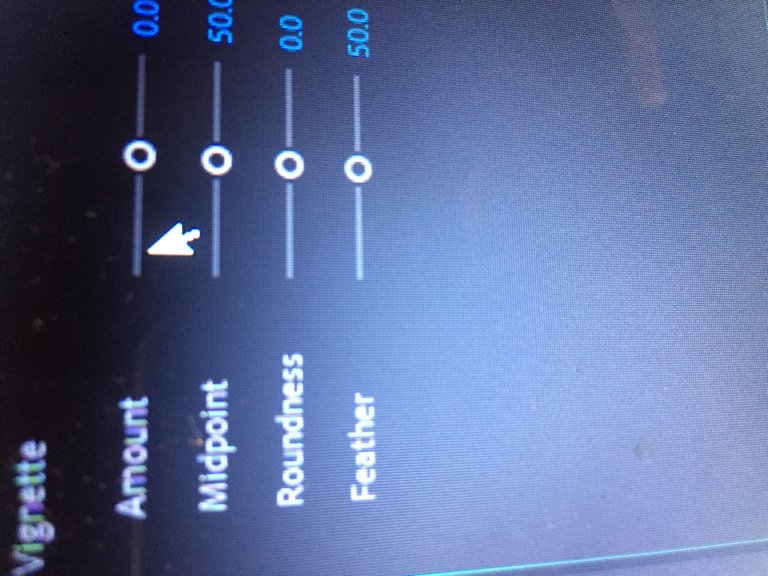
The last color option is the Vignette, and it is mainly used to darken the edges of your video. It leaves the center of the video bright, and can draw the attention of the watcher to a specific direction of the video. it is also very useful if you want to make emphasis on a particular angle or section of a video.
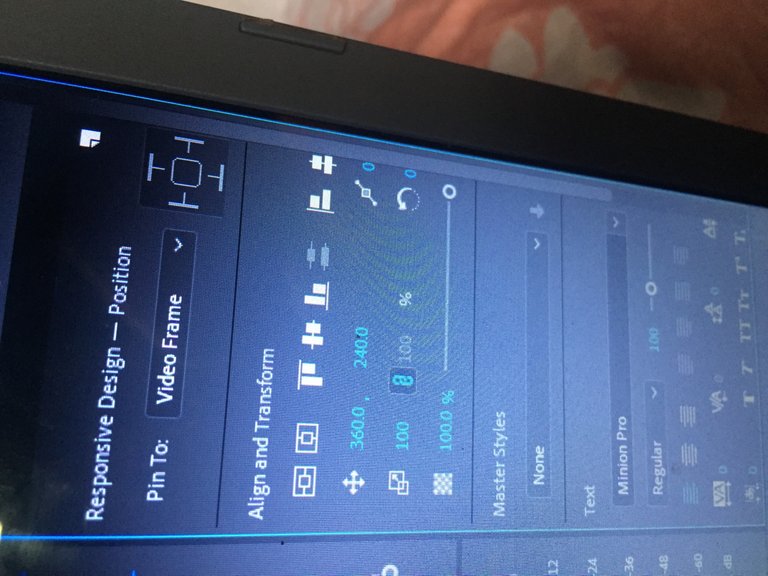
GRAPHICS
In Premier pro, graphics are mainly used to create text or titles, insert shapes ,images and templates.
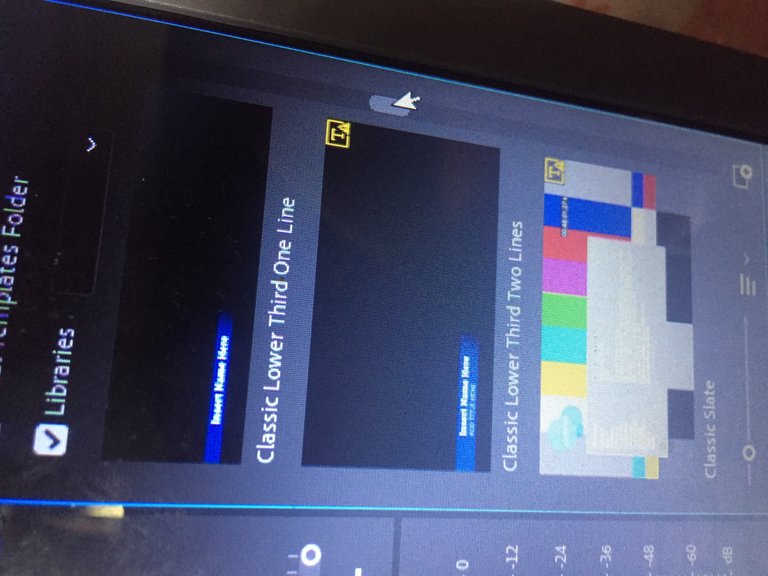
The graphic section looks like this

And as you can see there are several templates which are available to use depending on what you need.
Some examples are:
- For captions
- For credits
- For names or dates
- For background
and more.
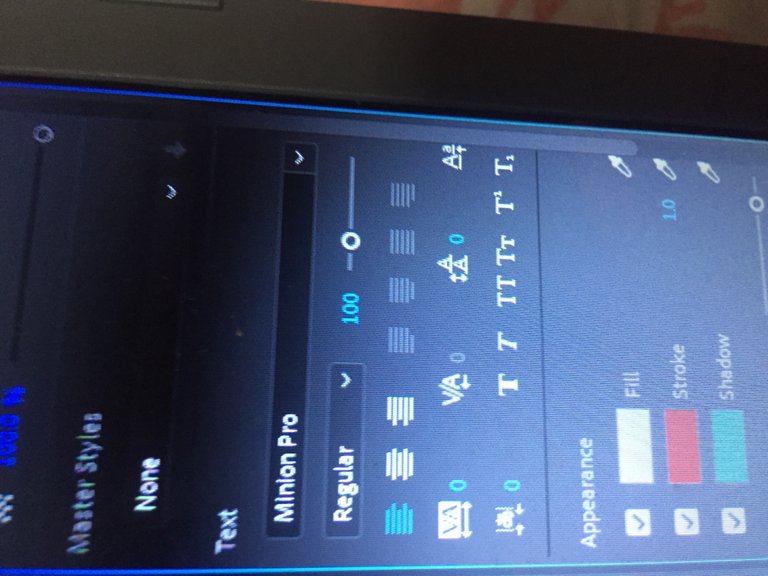
There’s also a section for essential graphics where you can move texts; up, down, left and right.
You can also change fonts to many options such as Mongolian Baiti, MV boli, Nueva Std. etc.
There’s even an appearance section at the bottom which is where you choose the color that you want the text to be.
You can also add a stroke to it, which is an outline of the text, there is even an option which allows you to choose which color you would like it to be and how thick you want it to be.
And lastly, the shadow option, which can add a shadow of your preferred color, as a second outline of the text.
You can choose if you want it to be central, towards the left, or towards the right
These are the color editing types of Premier Pro, and I hope you have enjoyed and learned something from this writing.
Thank you and see you soon!
video editing is something I am looking forward in learning.
yeah it’s really fun and surprisingly easy
Yeah, It’s always fun when designing is like you bringing something to life
true bro