
Hello friends, today I would like to share a fast photo editing process that I use on my smartphone! I always shoot in RAW if I know that I will be editing the photo later for the best image quality, so that's what I would recommend if your phone supports RAW, otherwise, JPG should work too (although the results would be lower quality).
朋友們好!今天來跟各位分享我的手機修圖步驟,希望對一些人有幫助!只要是會拿來修圖的照片我會在拍攝前會設爲RAW檔,這樣修圖後品質才能保留為最佳,因此我也建議各位用RAW,但沒設定也沒關係,JPG一樣可以按照以下步驟編輯(只是品質會差一些)。
Why Edit A Photo In The First Place? 爲啥要修圖呢?
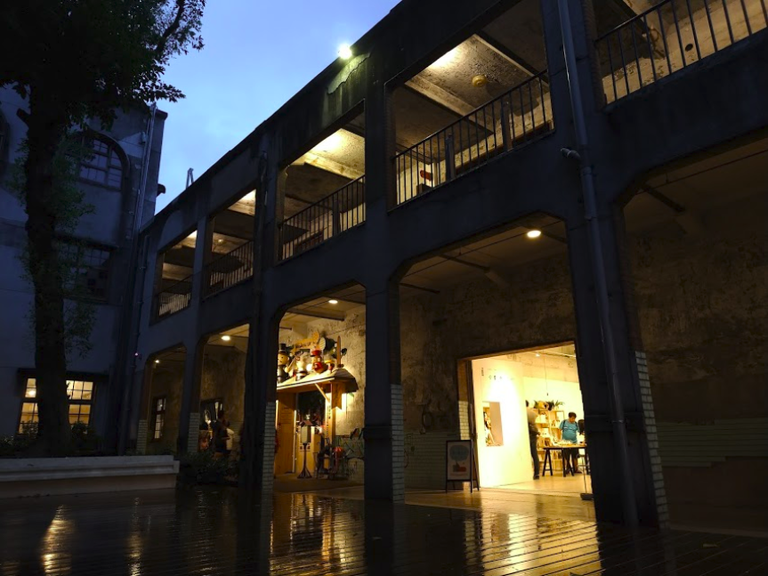
The following shows the difference between what the default camera JPG looks like versus my edit, as you can see in my version, there is much more detail and the image looks closer to what my eye saw!
以下可以看出沒修過的JPG以及修過的差別,修過的圖中細節較多、更明顯,整體較接近拍攝時肉眼看到的景!
 |
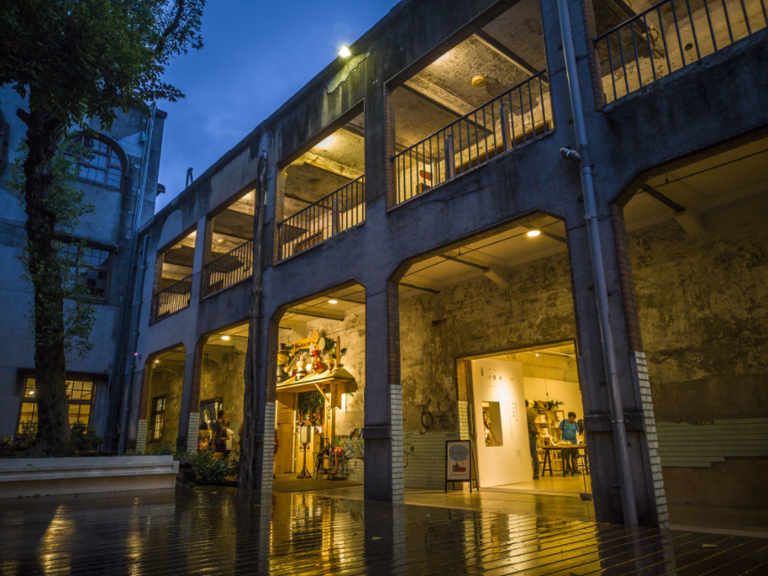 |
原始JPG | 修過版本 |
My Editing Steps 我的修圖步驟
Photoshop Express
The app that I use to edit on my phone is Photoshop Express by Adobe, it is free to use and I recommend signing up for a free Creative Cloud account to gain access to all the functions in the app.
我用的app是手機上的Photoshop Express,是個免費軟件。我建議申請個免費的Creative Cloud賬號來使用此app,這樣能才能使用app裏所有的功能。

Sign-in 登入
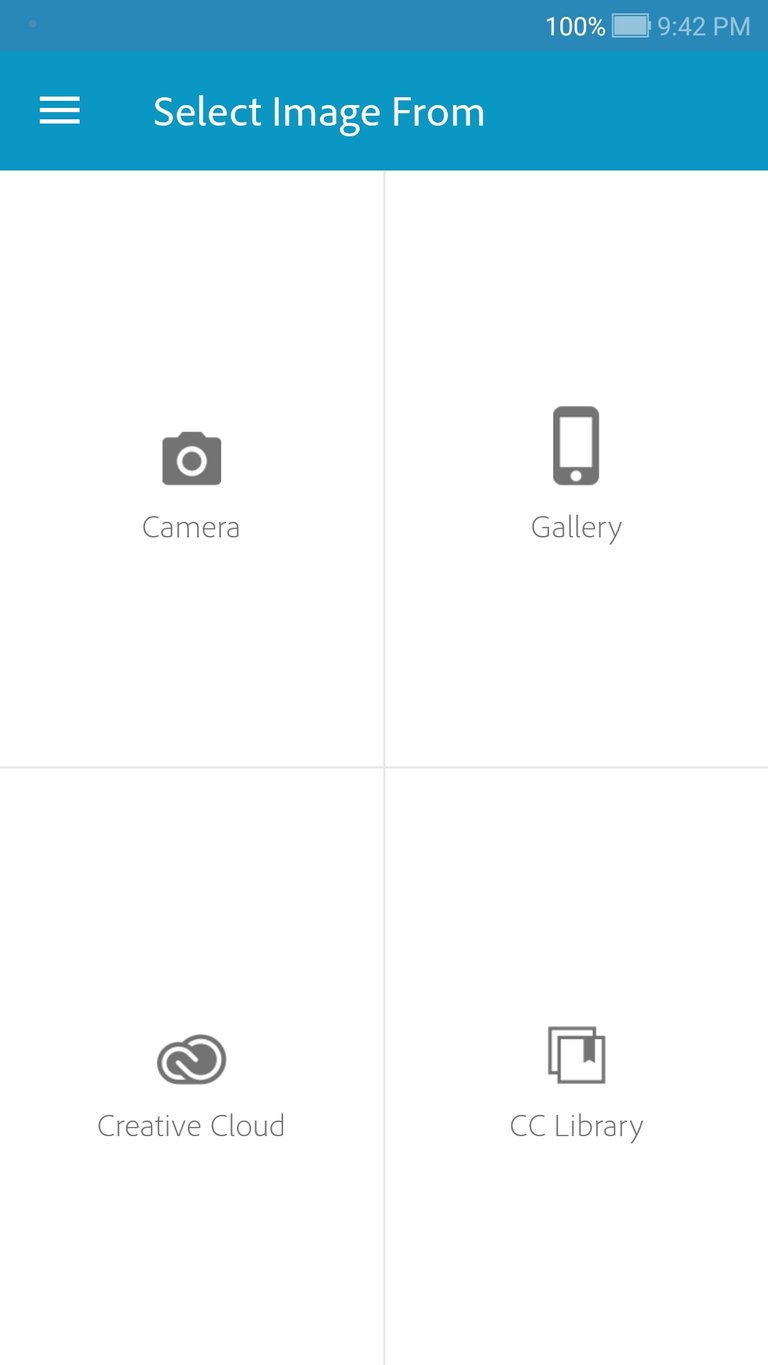
After tapping "Creative Cloud" from the main screen, this is what you see. Sign-in if you've got an account or create one, I use sign-in with Google.
啓動app之後點入“Creative Cloud”可以登入,沒賬號可以從此創,我都使用Google登入。
Load an image to edit 開啓要修的圖
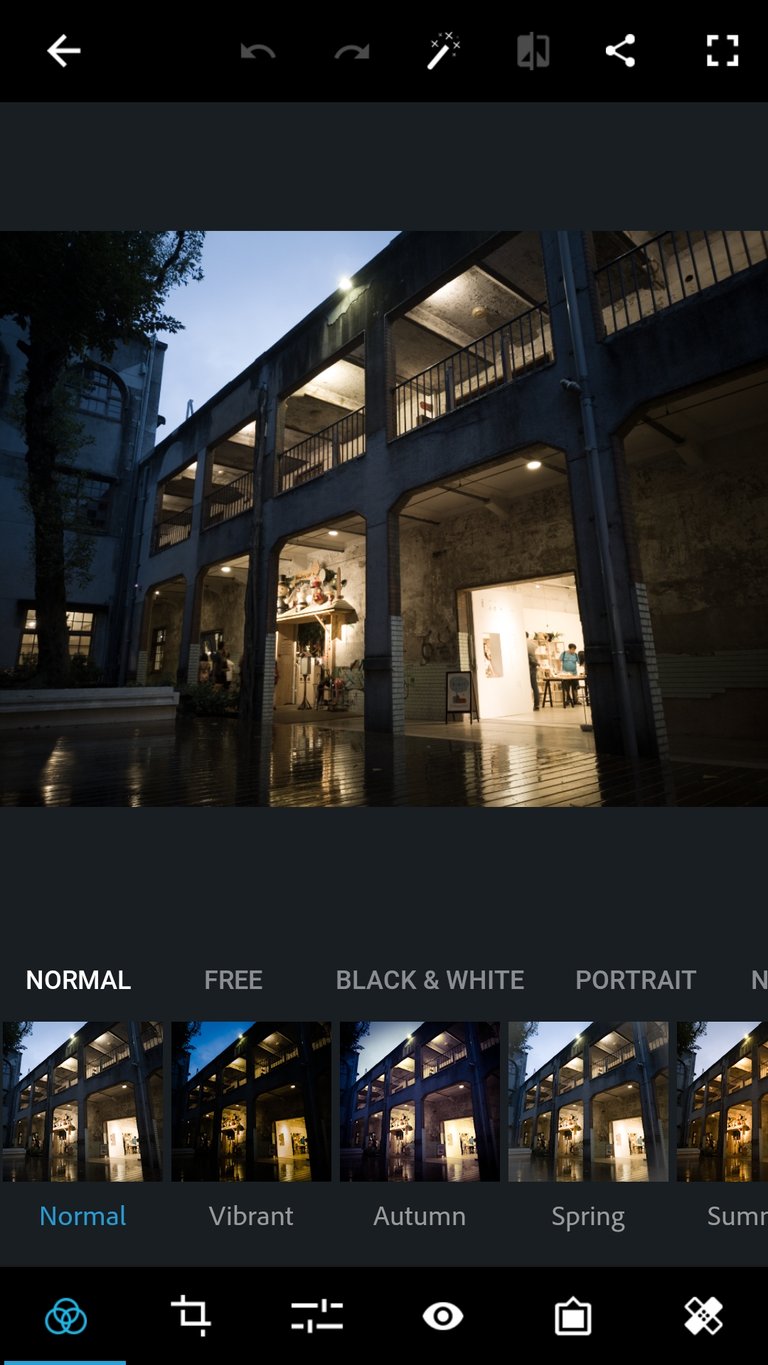
After selecting an image to edit from the gallery, this is what it looks like.
選了要修的圖之後會看到此畫面。
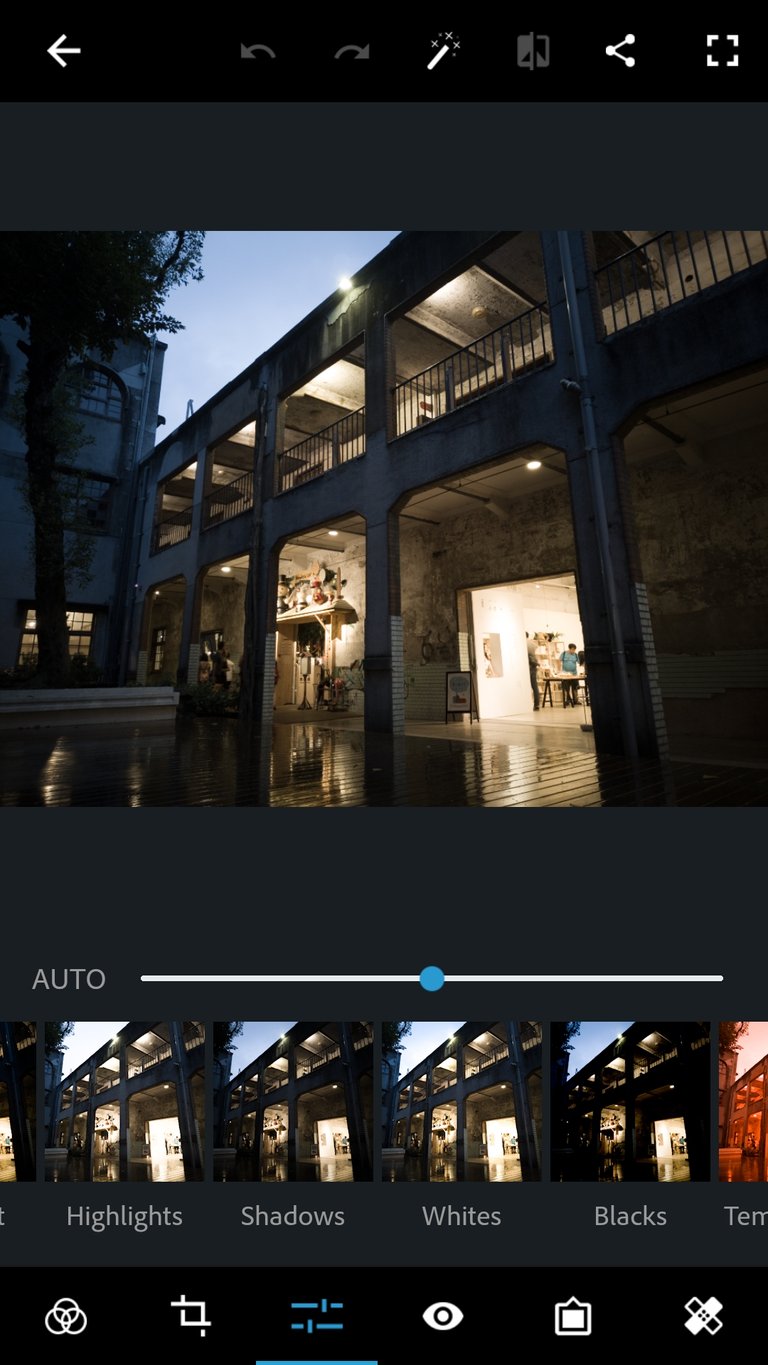
The 4 essential edits 必調四項
I always scroll to these 4 settings first: Highlights, Shadows, Whites, Blacks. Changing these 4 settings alone will have a big impact!
每張圖我一定先滑倒這畫面,這四個是必調整的:Highlights, Shadows, Whites, Blacks。光調完這四項圖就會變很多了!
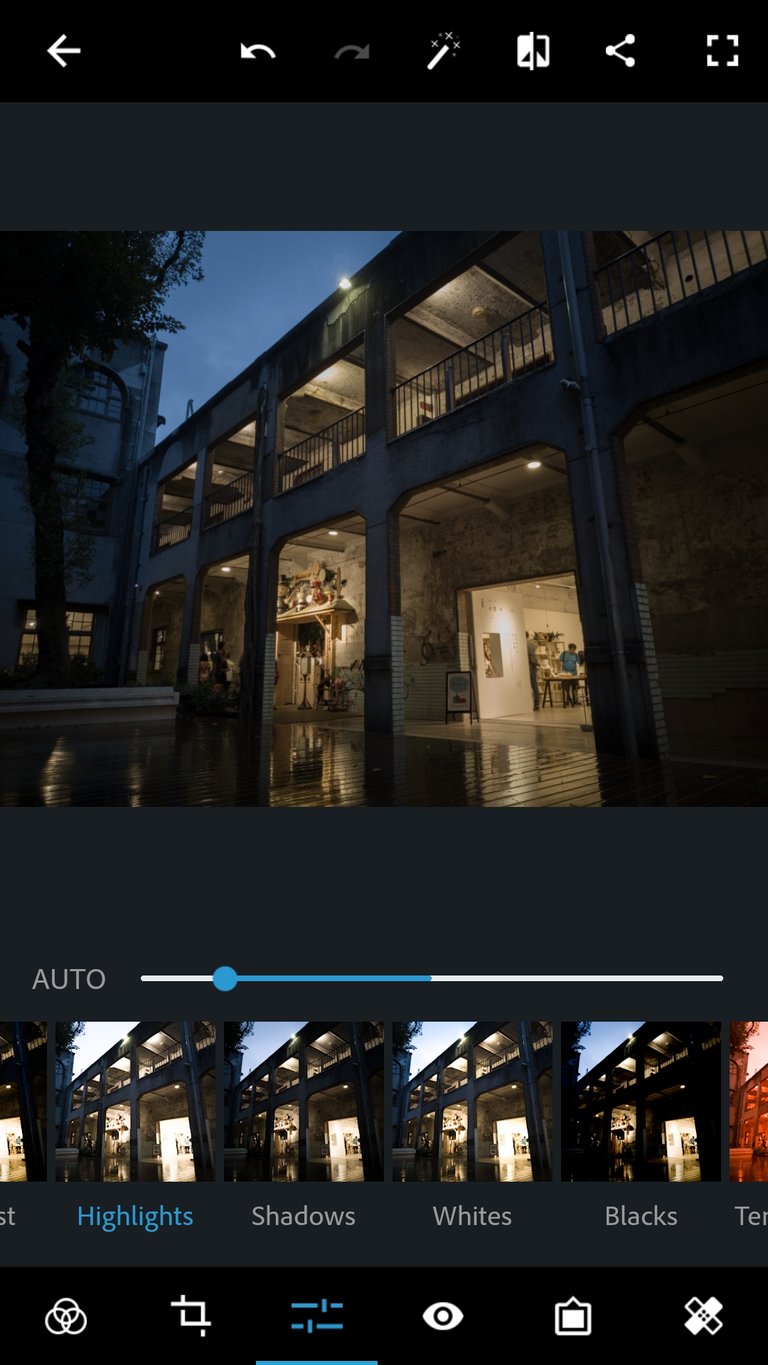
Highlights
I start by lowering the highlights, which are the brightest parts of the image, to recover the details in the brightest areas.
我從highlights開始調起,通常是拉低,把圖中最亮的細節救回來。
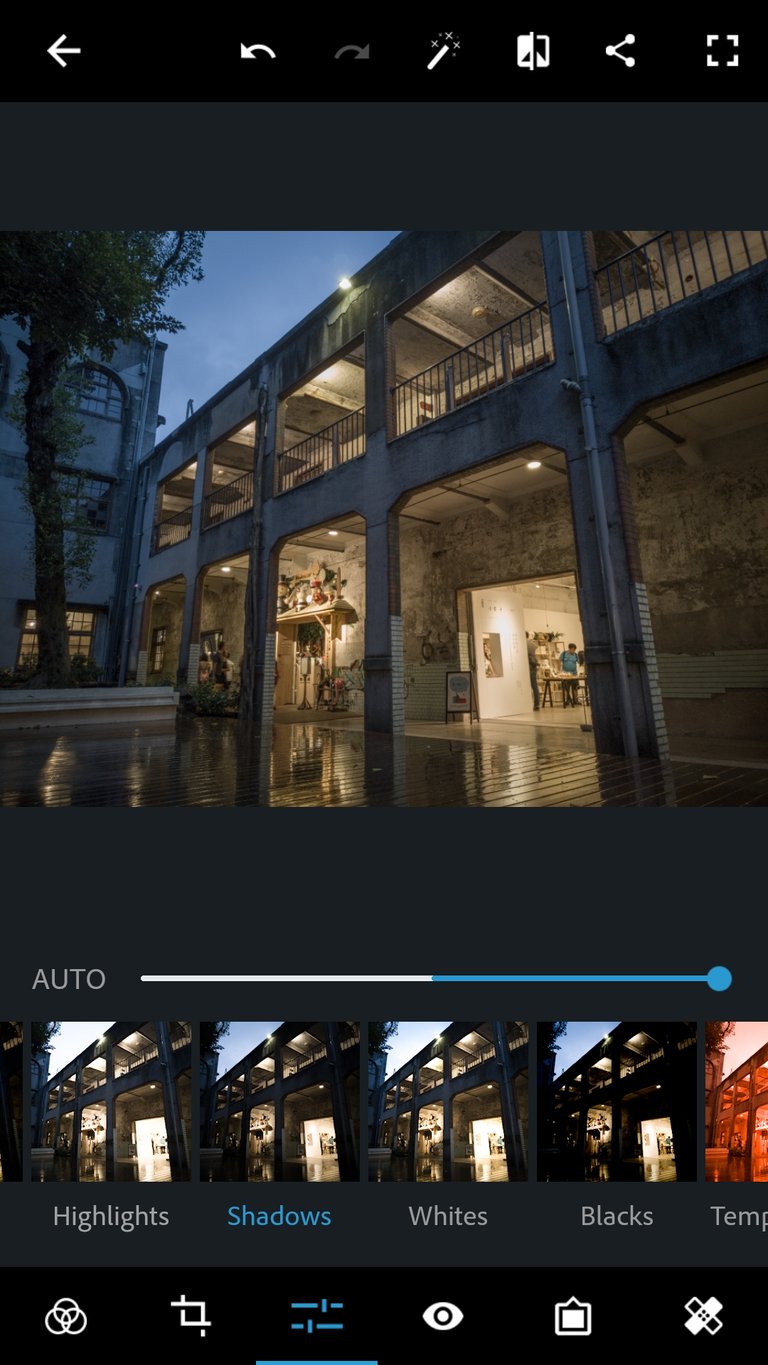
Shadows
Next I increase the shadow areas to bring back details in the dark areas of the image, I usually push this quite far to the right.
接著提高shadows,將暗部細節顯示出來,通常我會拉蠻多的。
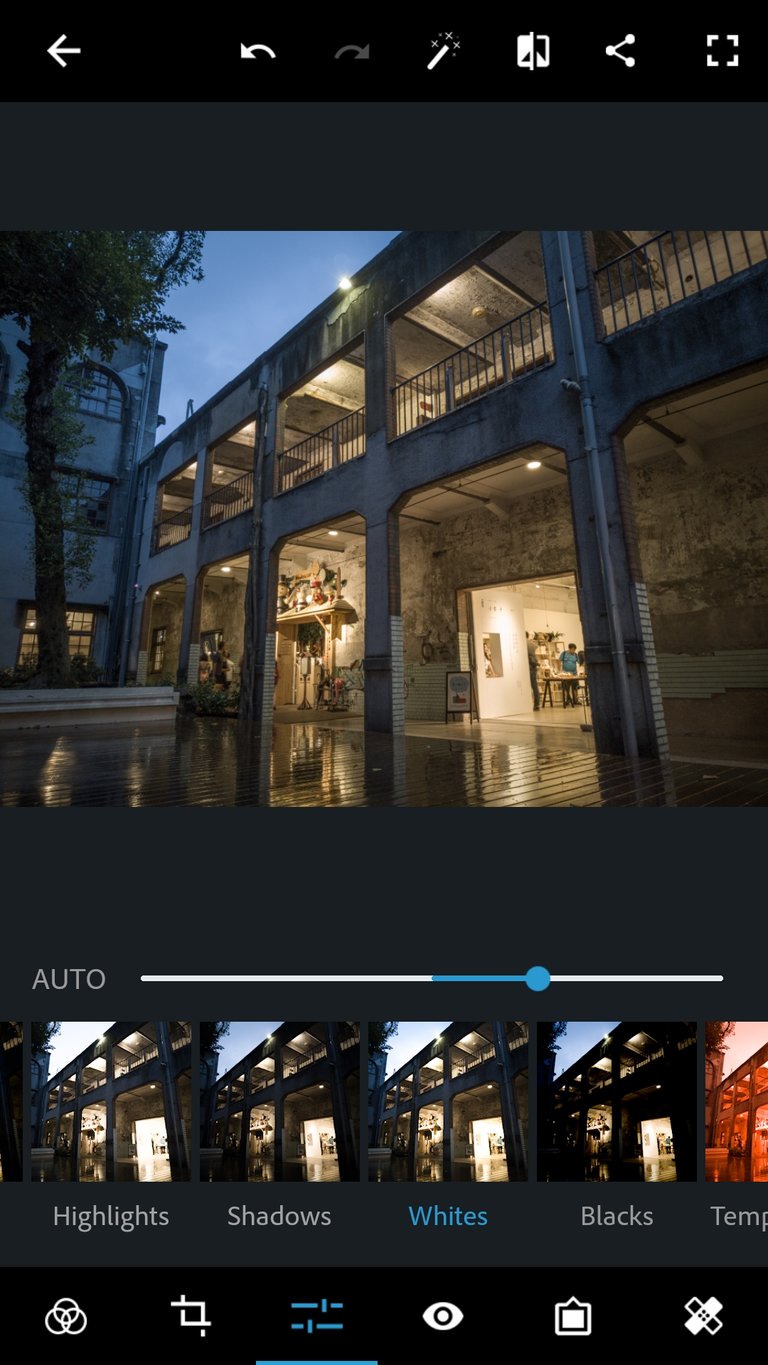
Whites
Then I increase the whites to a point as to not over-brighten the details in the bright areas.
然後在提高whites,讓亮部回亮一點,調整時盡量保留亮部細節。
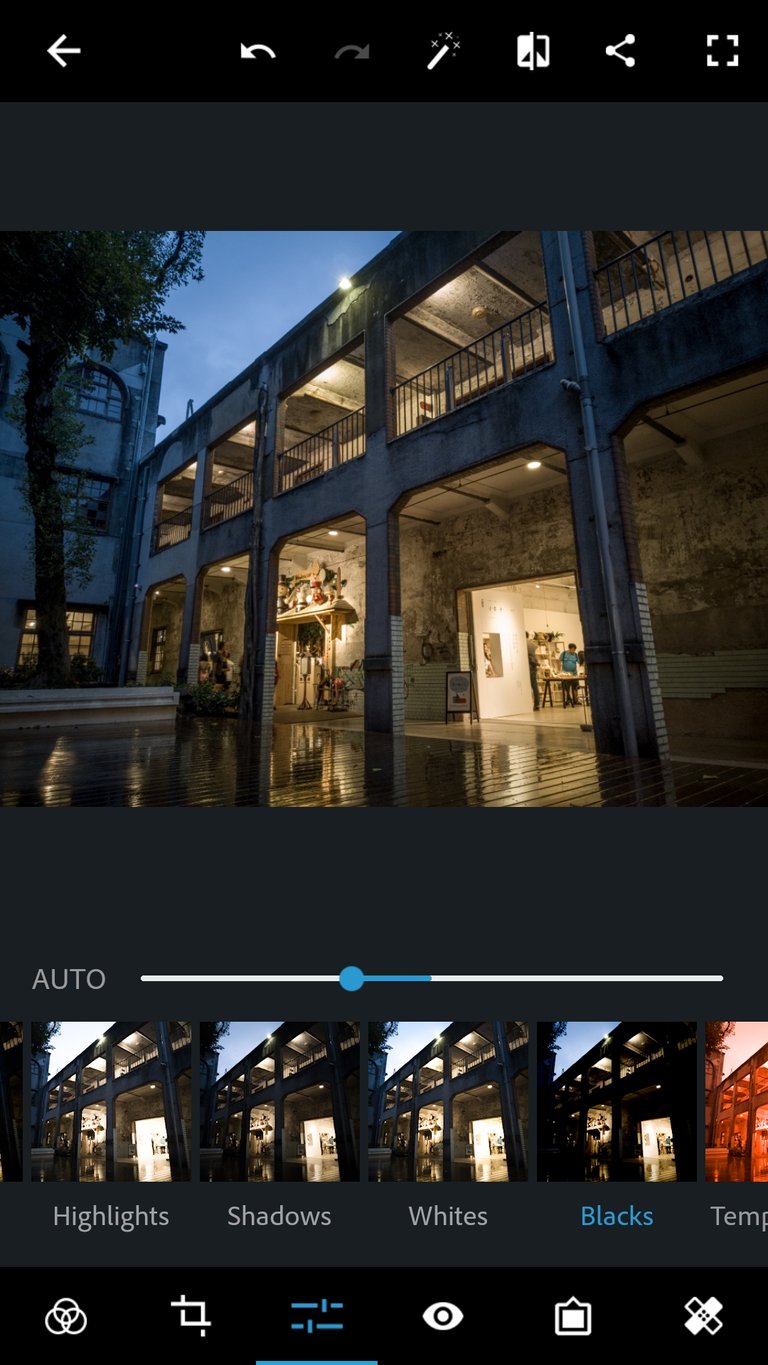
Blacks
The last of the 4 essentials is blacks, I usually lower this until the image looks "right".
最後調整必修四項最後一項blacks,我通常將其拉低直到圖看起來恰恰好。
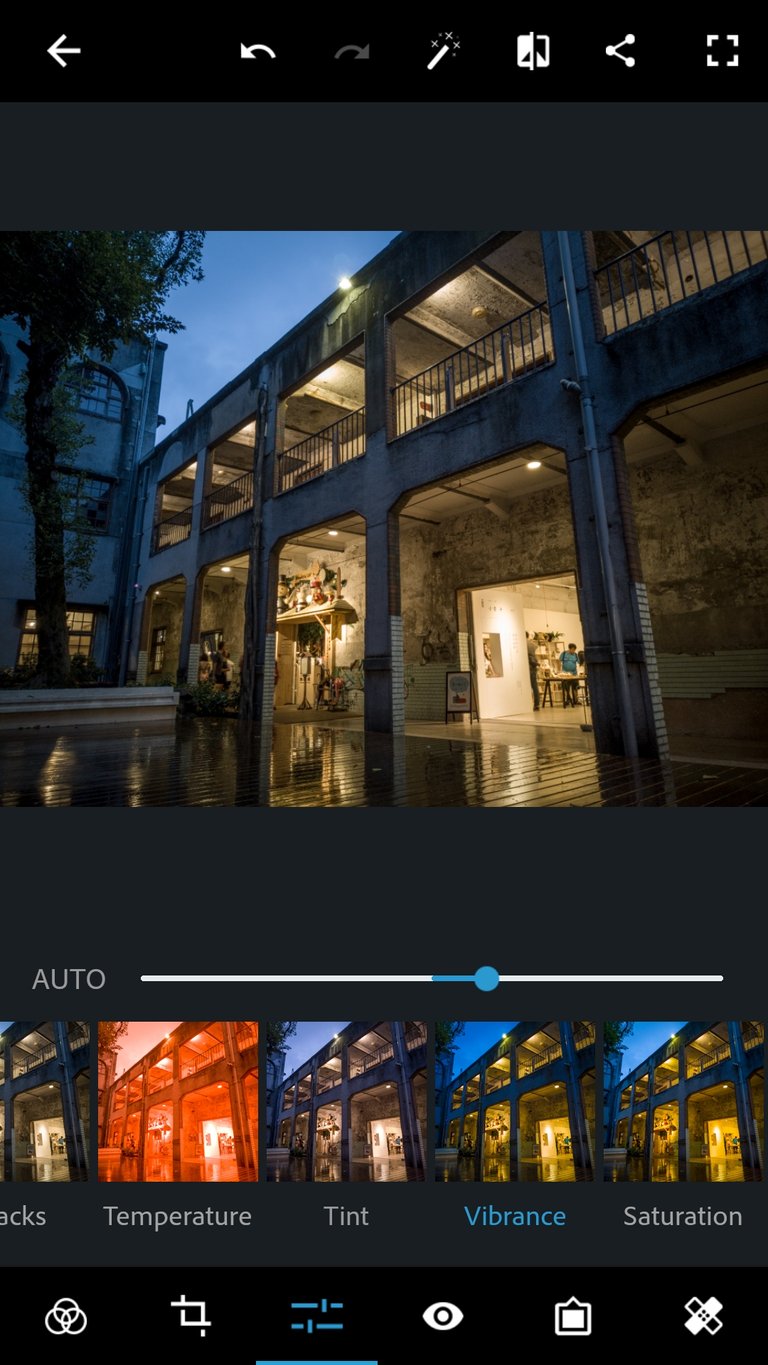
Vibrance
After the 4 essentials are set, the remaining edits are personal preference. Here I add a bit of vibrance.
完成必修四項的調整之後,接下來就看個人喜好了,我這裏加了點vibrance,讓圖較鮮艷。
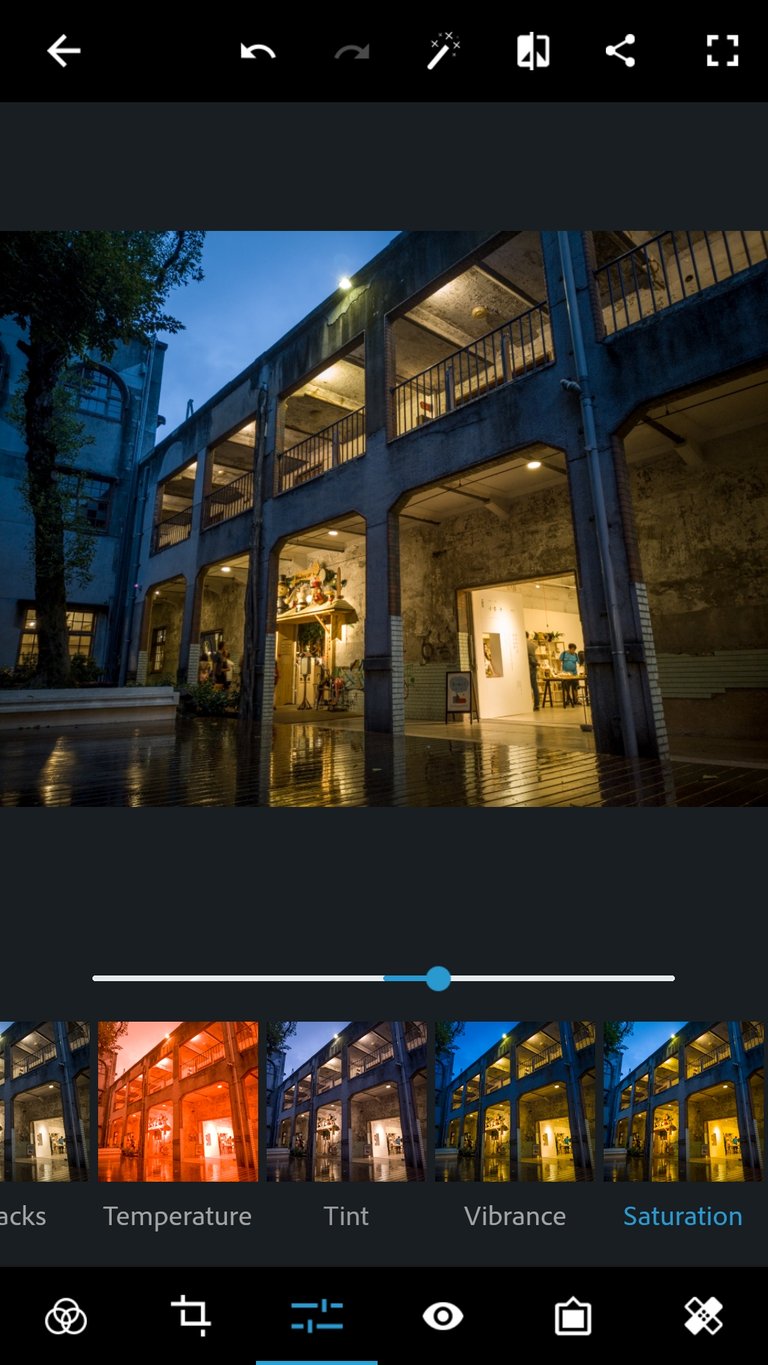
Saturation
After that, I add a bit of saturation, it is easy to go overboard with this, so don't push it too far, subtle edits are key.
接著,我微微的提高一點saturation,這裏很容易調過高,只需要微調就好,不然會看起來很不自然!
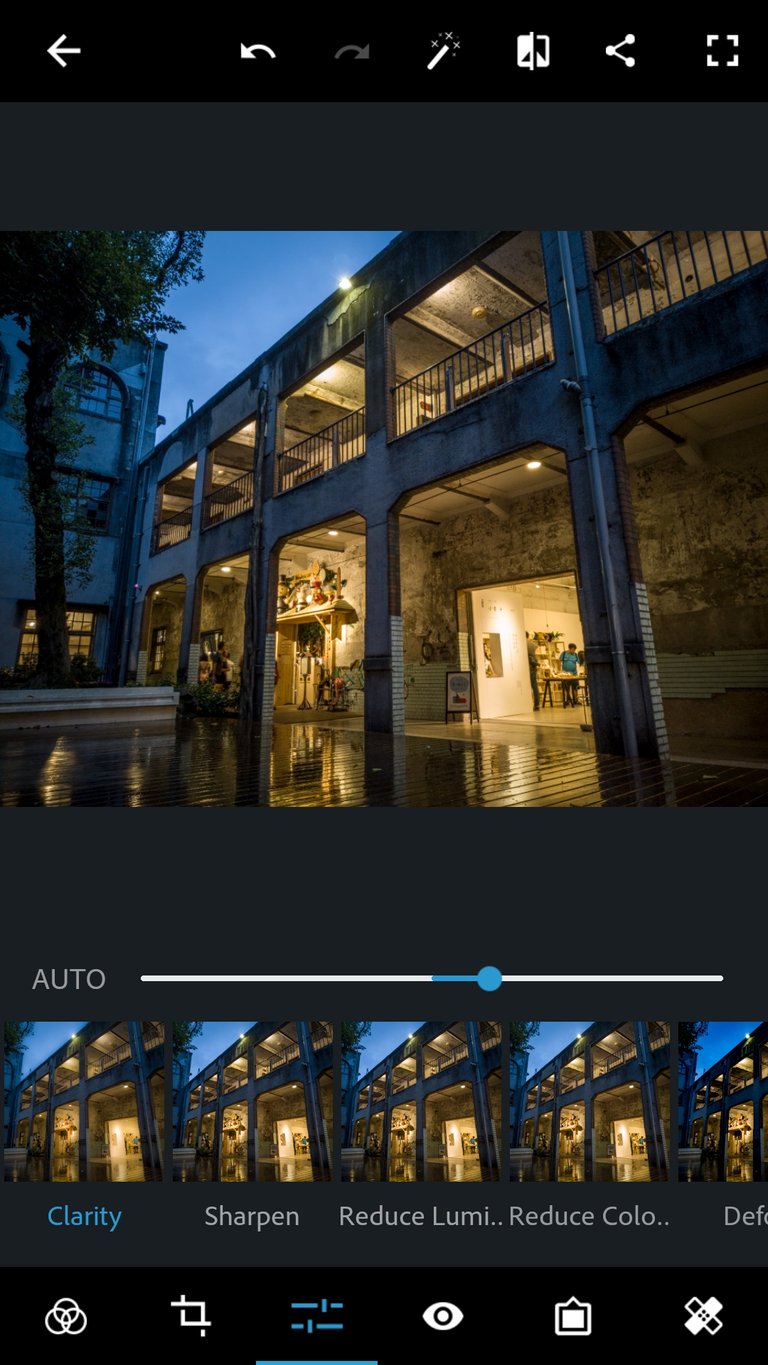
Clarity
Depending on the image, I may add a little bit of clarity to boost contrast, also don't go overboard with this one.
看情況可以拉高clarity來提升對比,這裏一樣記住只要微調爲佳。
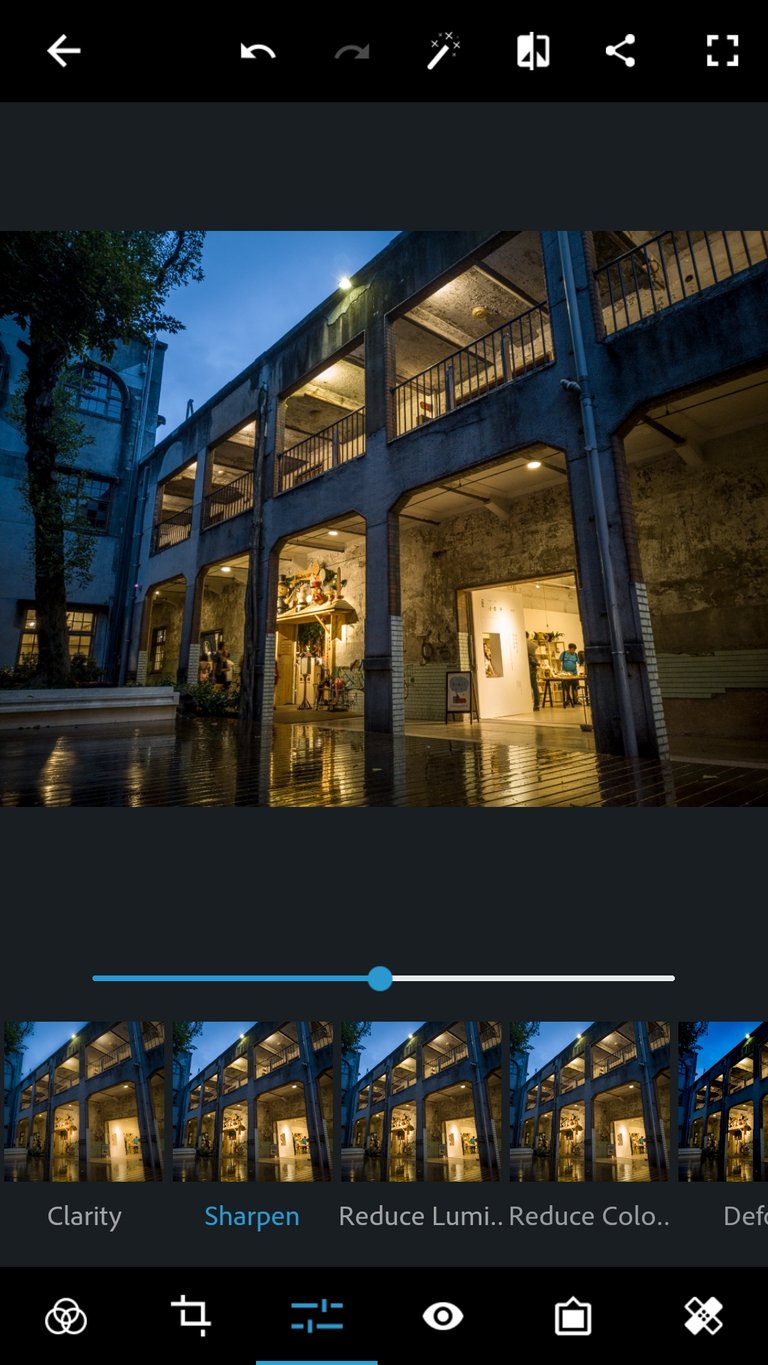
Sharpen
We're almost done, some sharpening needs to be applied, I usually go for around 75.
圖快修好了,sharpening是必須要來一點的,我通常拉到75左右。
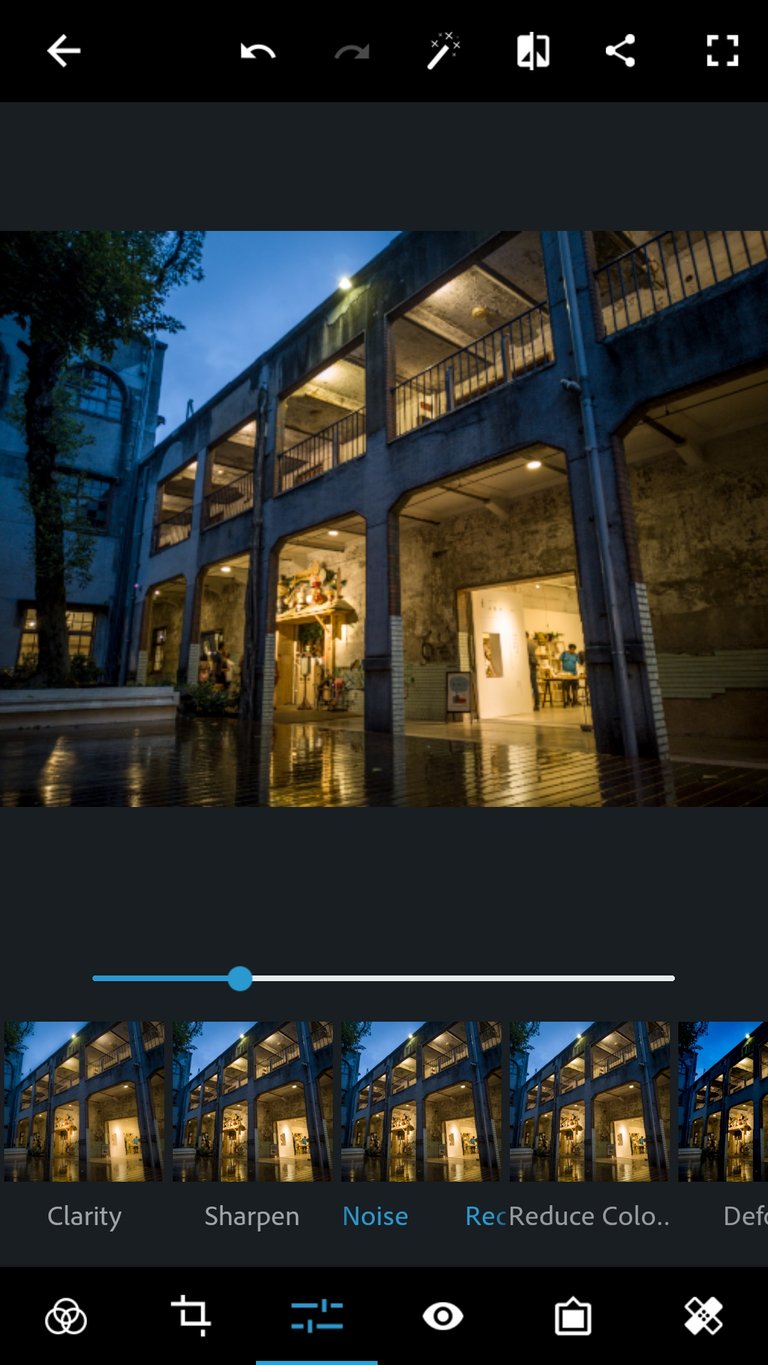
Noise reduction
Lastly, for low-light images, long exposures, and high ISO images, I will apply some noise reduction.
最後針對低光源、長時間曝光、或高ISO照片,我會加一點noise reduction來去除雜訊。
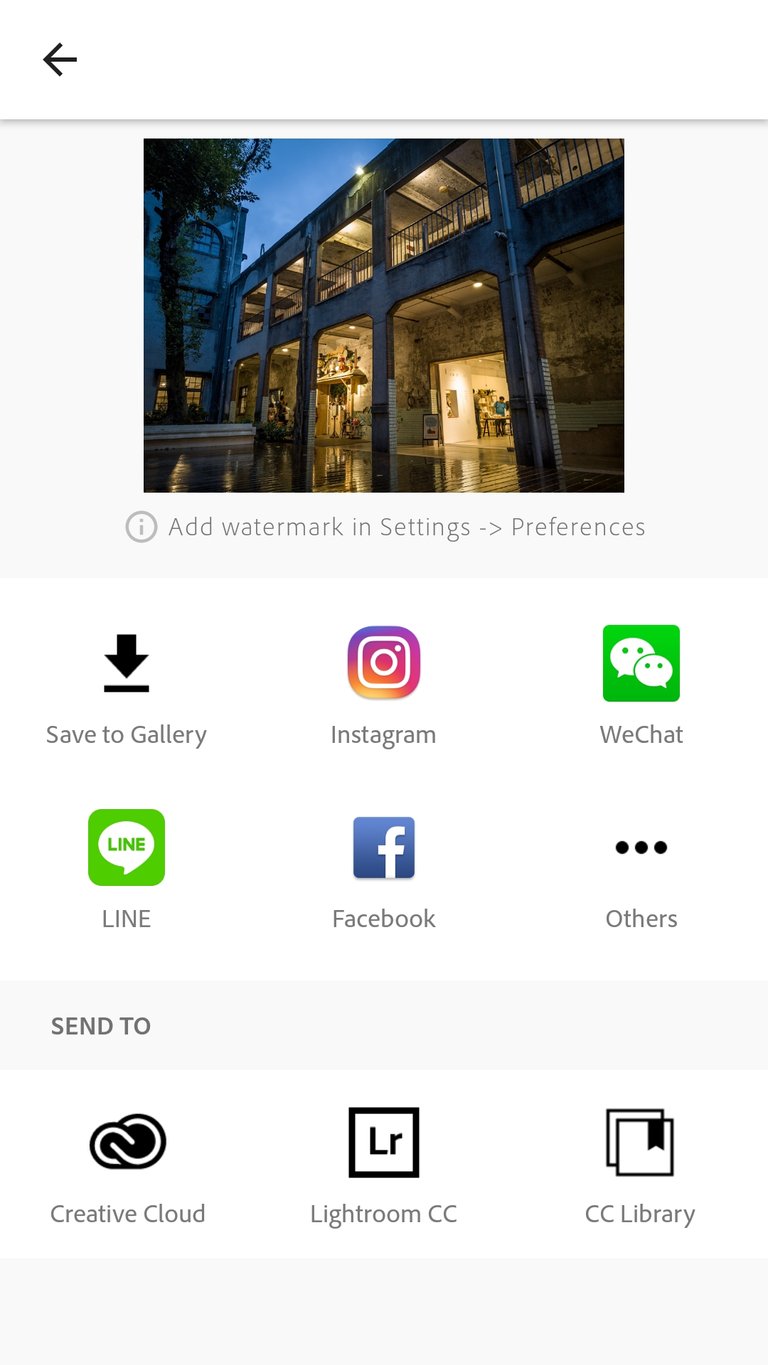
Save to gallery 儲存照片
Now I'm ready to save the edited photo to the gallery!
終於可以將編輯的圖存儲起來啦!以上修圖完成!
Comparison 比較
 |  |
 |
原始RAW | 原始JPG | 修過版本 |
Equipment Used / 使用攝影器材
- Camera: Asus Zenfone 4 (main lens)
- Software: Photoshop Express (phone app)

Fantastic Photo.!
keep it up and always be happy
Thanks for the tutorial,
Must really explore this editing tools.
You should try it out ;)
Great tips, thanks! I've been using a very simple picasa photo editing programme, will look this up! :)