I've been a landscape photographer for a long time. But living in Mexico in the midst of such a colourful culture has made the shift towards portraiture feels like a natural progression. Wanting to capture the human element seems more compelling to me somehow.
The challenge is in creating original portraits without a studio, budget or space in our backpack for expensive equipment. To work this out I've done the logical thing, and spent a lot of time practicing with a free model - my girlfriend. With mixed results.
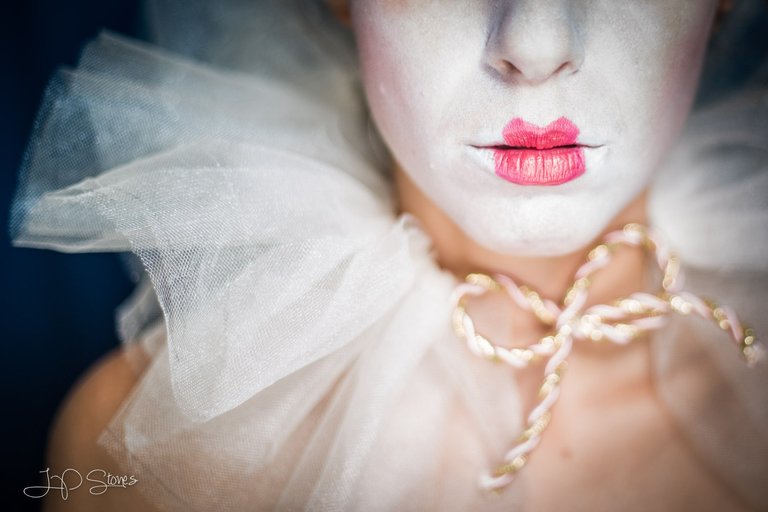
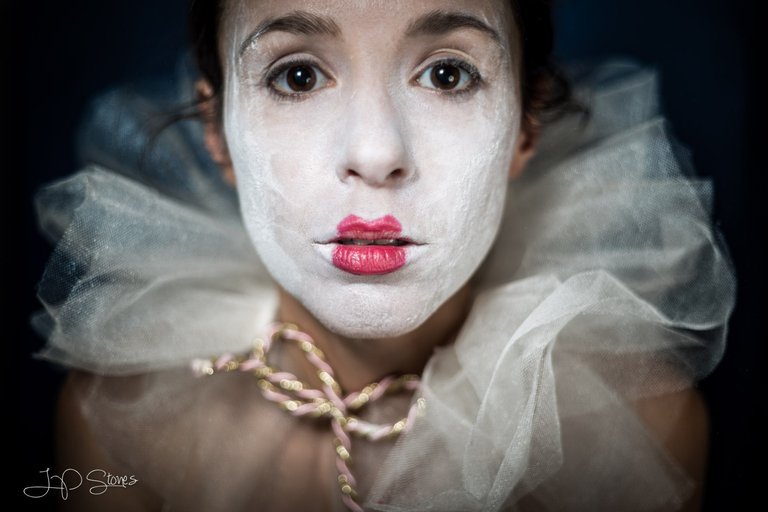
This series of portrait photos was inspired by the assorted street performers that permeate every major market, square and traffic light in Guadalajara, Mexico. Charmed by their characters and admiring of their energy, I become motivated to pay tribute, in my own slightly eccentric way, to their craft.
I opted for a clown theme and a total budget of $15 dollars. This really is ‘Portraits on a Budget!’
As is becoming a tradition of sorts, we started looking on Pinterestfor ideas. Things really are easier with caffeine. We bounced around boards for a while, adding concepts we liked to a board created just for the shoot. Pinterest is essentially a digital mood board and perfect for this type of process.
After a few creative differences and tangential detours we eventually sketched out some basic compositions. The budget being the primary constraint. $15 dollars does not buy much, even in Mexico. If we were to take a series of photos we needed to keep the cropping tight. Less space, less props and less money spent. You can see our mood board on Pinterest at https://www.pinterest.com/jpstones/clown-circus-and-street-performers.
Next I worked on the lighting setup. I wanted a soft flat light across the model’s face. However, this required a diffuser at least 12″ wide. Luckily the internet never fails to deliver and we found a good DIY design. Check out Chuck Gardner’s ingenious DIY solution.
One trip to Walmart later and the light modifier was taken care of, leaving to go towards makeup, talcum powder and the tulle for a collar.
The kit I already owned:
Canon 5d III
50mm lens
2 Canon speedlights
2 Photex radio triggers
A tripod
Our expenses for the shot came in at under $15:
A sheet of white fun foam to be used as a light modifier $6
Some tulle and ribbon $4
Talcum powder $1
White face paint $2
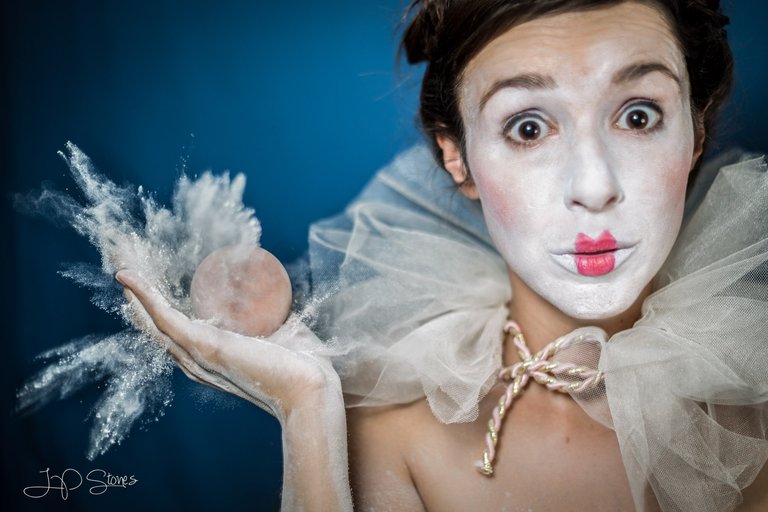
A dog’s toy ball (we gave it back) $0
We used a fairly similar light setup for all four photos. It was pretty ghetto really. The backdrop was a coat rack with a blue bed sheet hanging off it!
Some of these photos required getting the timing right and many many takes. The ball dropping, in particular, proved to be a complete nightmare. It seems I can’t count under pressure!!
In these situations, you just need to carry on. and on. And on. Although it seems we might have discovered a magic trick to getting that perfect shot. When we are sick to death of shooting we pick a number “5 more shots then we are done” and always shoot just one more. It is on that extra one that we seem to nail it!
Thanks for stopping by. Hopefully, this will inspire you to pick up your camera and take some portraits on a budget!. If you found this useful please share with your friends using the buttons below.