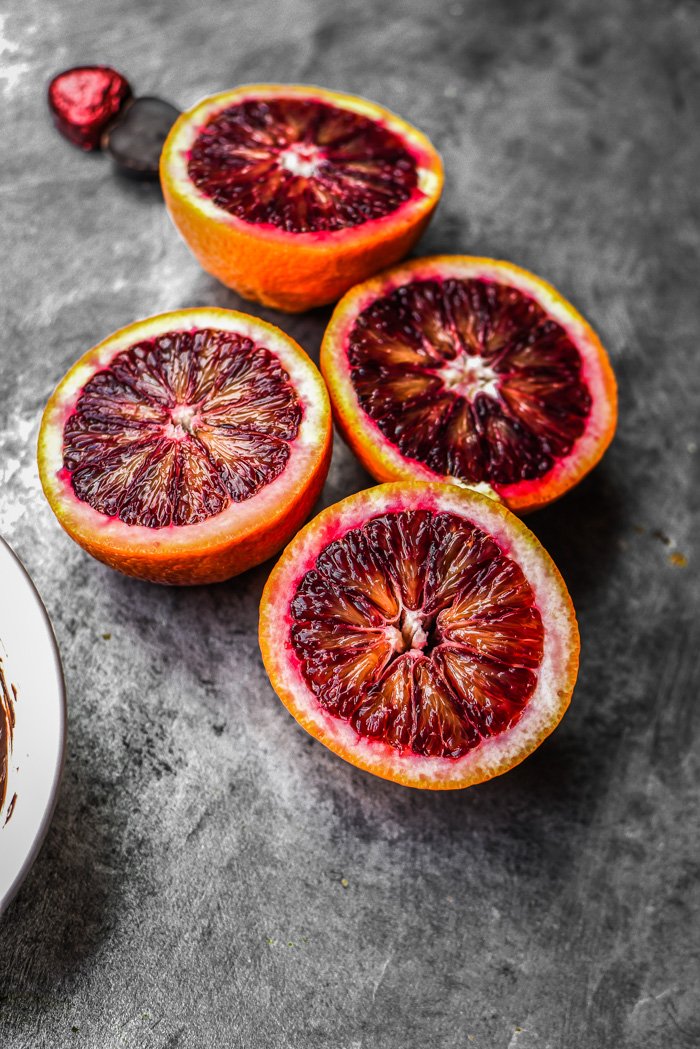
It's only hours now until it's officially Summer but I think we can pretty much agree that it feels like it's here already. Let's celebrate with pie! Oh, and on the high note of exciting things, I just hit 90,000 steem power!

So this tart is really simple because I kinda, sorta, cheated a little. I don’t typically use shortcuts but, wow it’s sometimes just so nice to use prepared things now and then. Yes, you can totally use pie crust also, but I’ve been wanting to play around with crescent dough (another item not easily found in Chile) and this seemed like a good recipe to try it out. I baked it in a heart pan similar to this one, but feel free to use a round one or similar size in whatever shape you have.
As for the candied blood orange slices for the top, they’re honestly more for aesthetic purposes and not entirely necessary. I’m always surprised at how good citrus fruits can be when they’re candied like this but even still the peel can sometimes retain a hint of bitterness that I don’t mind but some people won’t like.
That’s why of you’re making this for a group, especially kiddos, I’d suggest maybe replacing them with some berries or simply leaving them out.

Have a great Valentine’s day!
Heart-Shaped Blood Orange Pie
Trying to decide how to use those blood oranges? Try this sweet and creamy citrus tart that's secretly easy but sure to impress the guests.
Prep Time 25 minutes
Cook Time 45 minutes
Total Time 1 hour 10 minutes
Servings 10 - 12 servings
Ingredients
Tarts:
1 can refrigerated crescent dough see note
1 cup granular sugar
2 blood oranges juice and zest
2/3 cup full-fat coconut milk
3 1/2 tablespoons cornstarch
1/8 teaspoon salt
1 teaspoon vanilla extract
Candied Oranges:
1/4 cup maple syrup
1/4 cup granular sugar
1 blood orange thinly sliced
1 cup water
Chocolate Drizzle:
1/2 cup dairy-free semi-sweet chocolate chips
1 tablespoon coconut oil
dairy free chocolates for the top optional
Instructions
Preheat oven to 350 degrees F(180C) and lightly grease a 12-inch tart pan, or heart pan, with oil. Unwrap and roll out the crescent dough on a lightly floured surface. ( You just want to roll it enough to flatten the creases together.)
Place the dough on pan and press down, then shape around edges and cut off excess dough. Place into oven and bake for 10 - 12 minutes or until lightly browned along the edges.
In a small saucepan over medium high heat, whisk together the sugar, orange juice, zest, coconut milk, cornstarch, and salt until smooth. Continue stirring over heat until it begins to boil and you see the first bubble pop. Remove from heat and continue gently stirring for about a minute to cool, then stir in vanilla and scrape the custard onto the crust.
Spread in an even layer and place in oven to bake for 25-30 minutes, or until set. Remove to cooling rack and cool for at least 20 minutes. Cover gently with plastic wrap and place in fridge to chill while you fix the toppings.
For the candied oranges, heat the water, syrup, and sugar in a small skillet or shallow pot. Bring just to a boil then add the orange slices and reduce heat to simmer. Cook for about 10 minutes until the liquid has thickened and formed a syrup onto the oranges. Remove from heat and cool.
To assemble the tart simply place the slices on top of the chilled tart, then melt the chocolate and coconut oil in double boiler until smooth and drizzle over top. If desired, add some small chocolates to the top for extra yumminess.
Recipe Notes
Be sure to check the ingredients on whatever brand of crescents you are using most may clain "buttery" flavor but they usually don't contain any animal products at all.

ALL CONTENT IS MINE AND ORIGINAL! All of these food photos were taken with my Nikon D750 and my favorite Lens, the Nikon AF-S FX NIKKOR 50mm f/1.8G. You can find out more in my INTRO POST.
Also, a huge shoutout to @rigaronib for designing my logo!

If you're looking for more recipes check out some of my other recent posts!


This looks great! 😍
Posted using Partiko Android
Thanks!
Hi, @gringalicious!
You just got a 0.01% upvote from SteemPlus!
To get higher upvotes, earn more SteemPlus Points (SPP). On your Steemit wallet, check your SPP balance and click on "How to earn SPP?" to find out all the ways to earn.
If you're not using SteemPlus yet, please check our last posts in here to see the many ways in which SteemPlus can improve your Steem experience on Steemit and Busy.
All heart goes in that beautifully created loved it
I'm so glad you did, thanks!