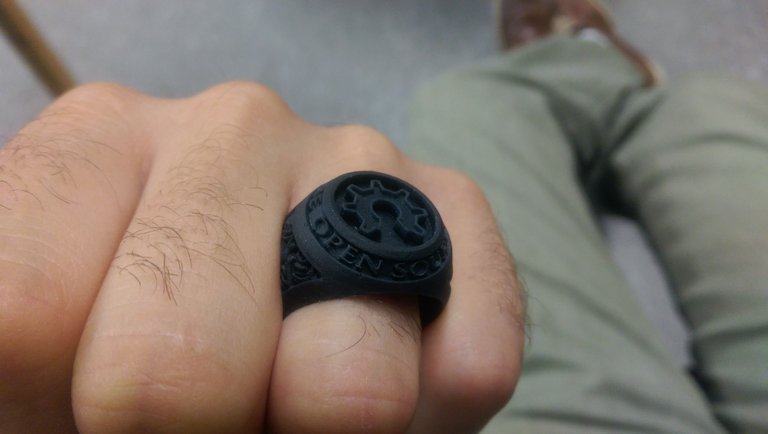
The authentic Maker Ring ¦:¬)
When yo a real Maker, you 3D print yo Maker ring but you pigment yo resin with graphite dust to make it Chromable ¦;¬j
printed on a B9Creator in various sizes, with MakerJuice SubG+ pigmented with graphite dust
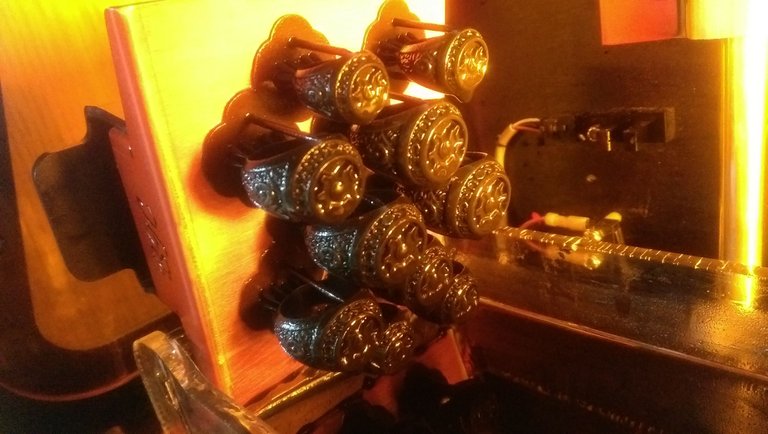
Rinsed with Isopropyl and UV-cured
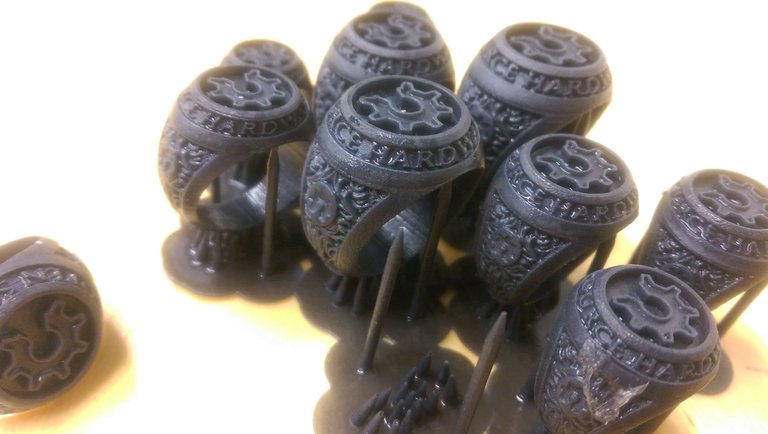
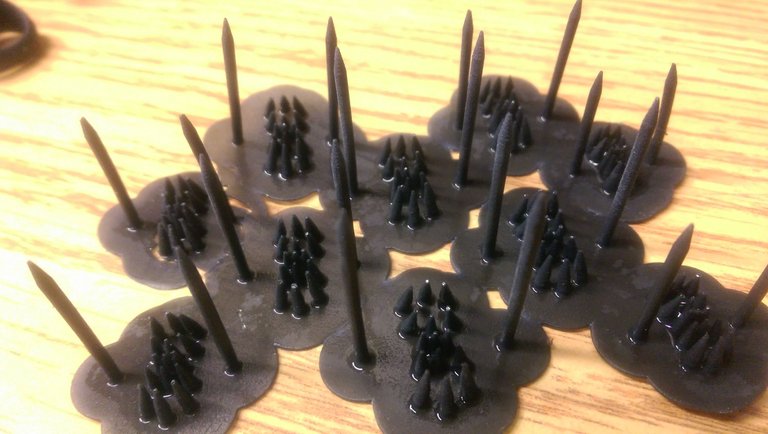
Left to dry few hours... meanwhile these support candles are so cool ¦B¬)
Found my perfect match ¦:¬D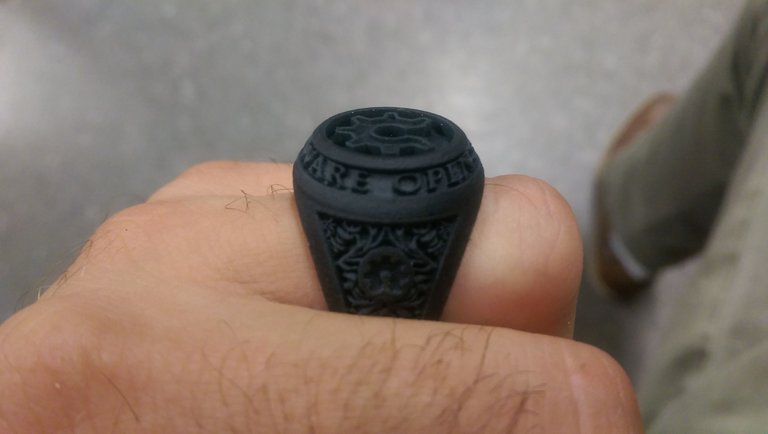
Looks amazing. Is this model public? Would be a nice reason to play with a resign printer. I did nominate your post for @SteemMakers.
If you're looking for a resin printer, I honestly recommend the B9Creator. I played with many different resin printers and what makes the B9 better than all the rest is the ''peeling'' (layer change) mechanism: it has a double bottom vat, one side lower and one side higher. It prints on the higher side and when the layer is finished the Vat slides to the lower side so the models gently slide off the higher side and they are not toutching the bottom anymore, so the tray can raise up freely without any succion between models and Vat. This mechanism also allows a whiper to clean the bottom of any half-cured resin on every layer, and also to constantly re-mix the pigments in the resin that want to settle at the bottom.. and also to mix residual solvants and have fresh resin on every layer throughout the print. No other resin printer has this mechanism with so many advantages. The B9 also allows you to experiment with any DLP resins and pigments, you just need to find the perfect parameters by printing a quick calibration Matrix and checking features before you launch your real prints. Once you find the perfect parameters for your new resin mix, you save them and you can use them on all subsequent prints.
Just for fun, and for comparasing,, try the following on a FormLabs printer or equivalent: take off and deposite the print tray on the bottom of the Vat (with the resin inside) and try to slide it,, and now try to lift it straight up or even tilting it..... Notice the overwhealming succion? It feels amost impossible to lift it up (peel). This happens on every layer change and causes the tray arm to twist, so you notice layer offset in your prints. You really need to center your parts on the tray and to orient them so they have the least area in contact with the bottom of the Vat,, and even then, some big parts will always fail because of that succion.. Now remember how easily it slides on the Vat compared to how difficult it is to lift? That's the beauty of the B9C.. the Vat slides to the lower bottom side so the parts slide off the higher bottom and now they are free, no succion at all. Very important to consider.. Great advantage over all other existing ''upside down'' resin printers. ''Upright'' (that print at the surface) resin printers are all ''professional'' and Closed Source, so they don't allow you to mix your own resins,, you're limited to their proprietary and expensive resins, with their colours and properties.. The B9 is Open Source and professional grade.
Just look for the price, I think ill keep dreaming from it a little longer :-D
I use my printer more for robotics projects and there is FDM quite good at the moment and a loot cheaper.
Congratulations! This post has been upvoted by SteemMakers. We are a community based project that aims to support makers and DIYers on the blockchain in every way possible. Find out more about us on our website: www.steemmakers.com.
If you like our work, please consider upvoting this comment to support the growth of our community. Thank you.
Looks incredible !
I need one :)