Hello everyone, today let me share my latest and my very first portrait drawing for this year. To tell you honestly, I am a lazy artist though I love to draw. Maybe I am lack of focus towards goal when it comes to my artistic side. Some of you knew that I also do some music and loved cooking/food niche. Adding some DIY which my content to have an identity of variety.
For my first drawing, I chose my fiance's sister's graduation picture. I chose her to be my reference since I am looking and been wanting to have a drawing sample like this. I've seen many commision drawing with this kind of style and I am glad that after few months, this day has finally come. I prepare my art materials and start to sketch around 10:30 am.
Art materials that I used:
8.5 x 11 inches Vellum Board
8B, HB, 2H graphite pencils
Charcoal powder
2B Mechanincal pencil
Ordinary pencil for sketching
Kneaded, and rubber eraser
Ruler and cutter
Make up brushes and cotton balls
Drawing Time
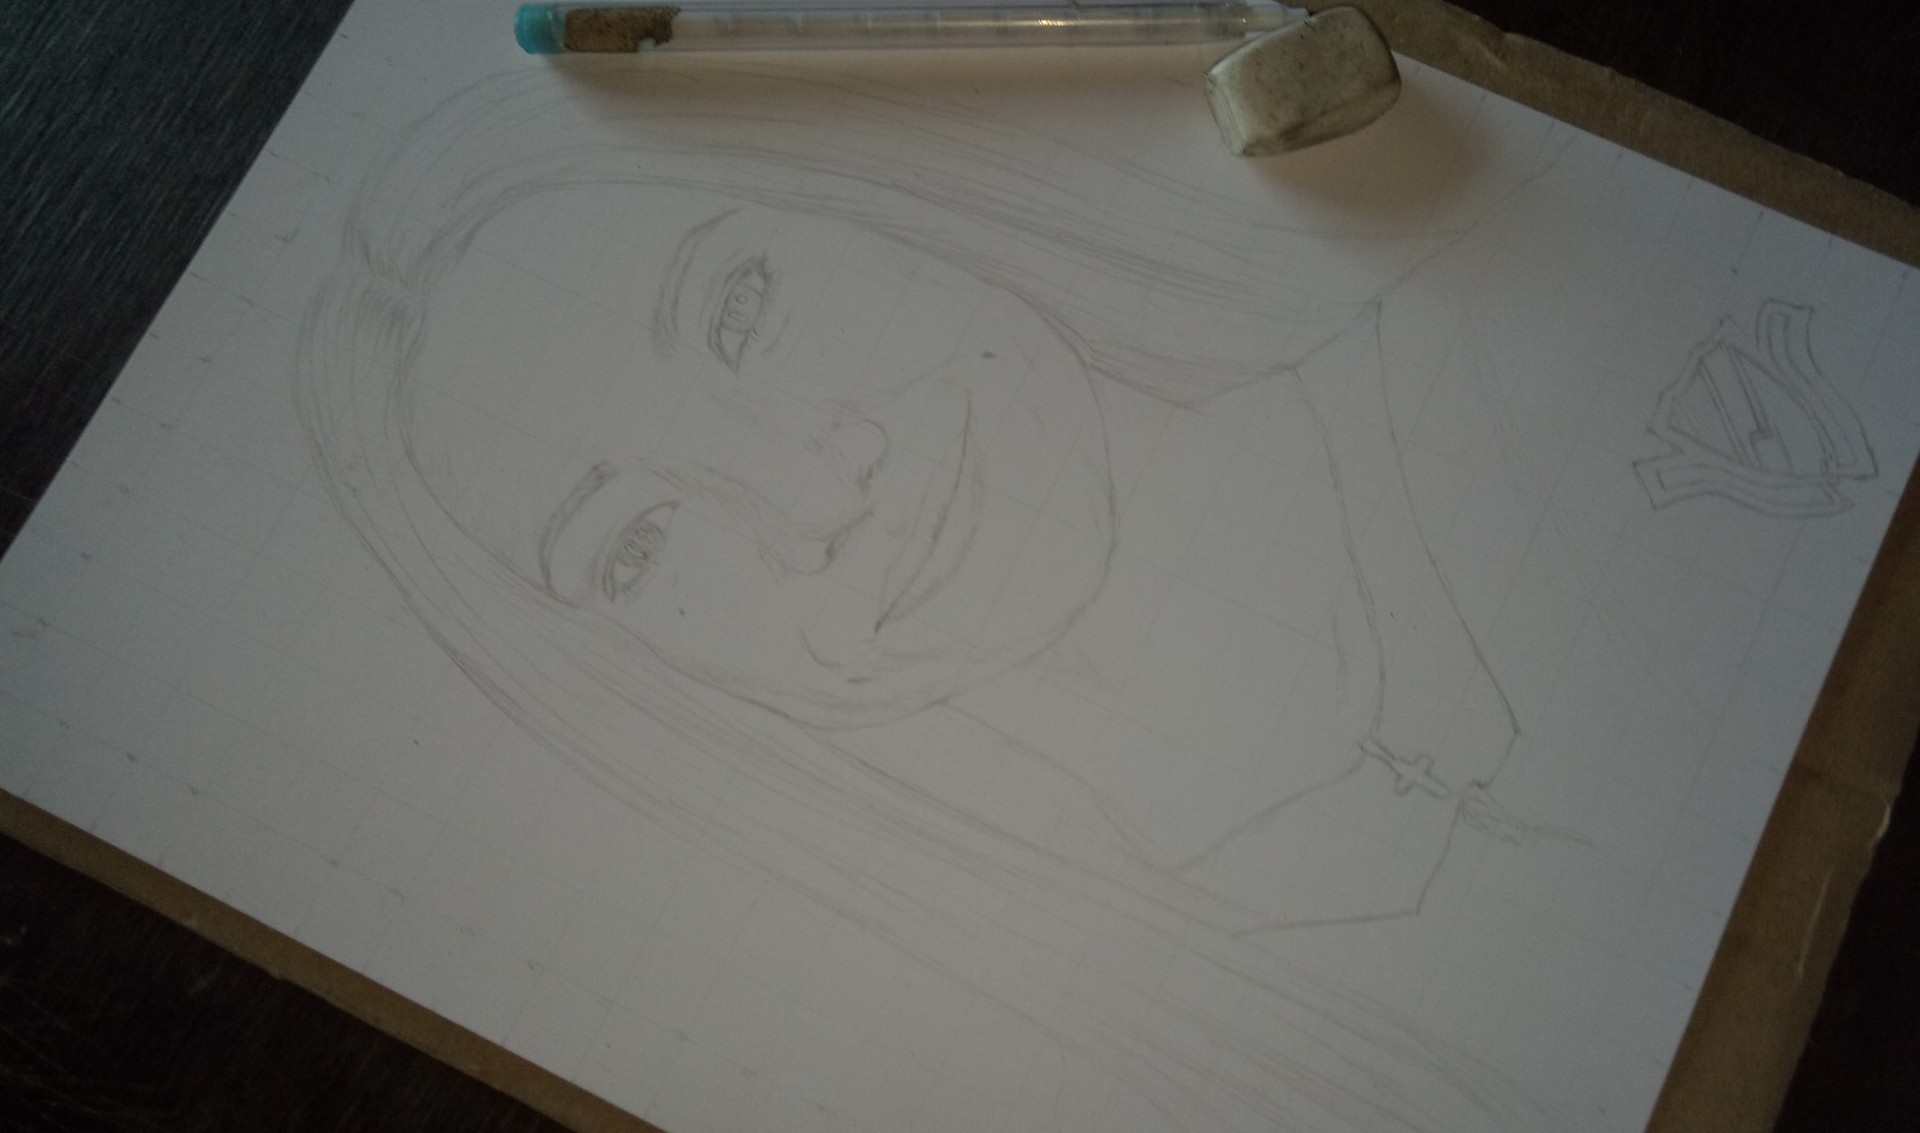
I sketch the whole reference using my ordinary pencil.
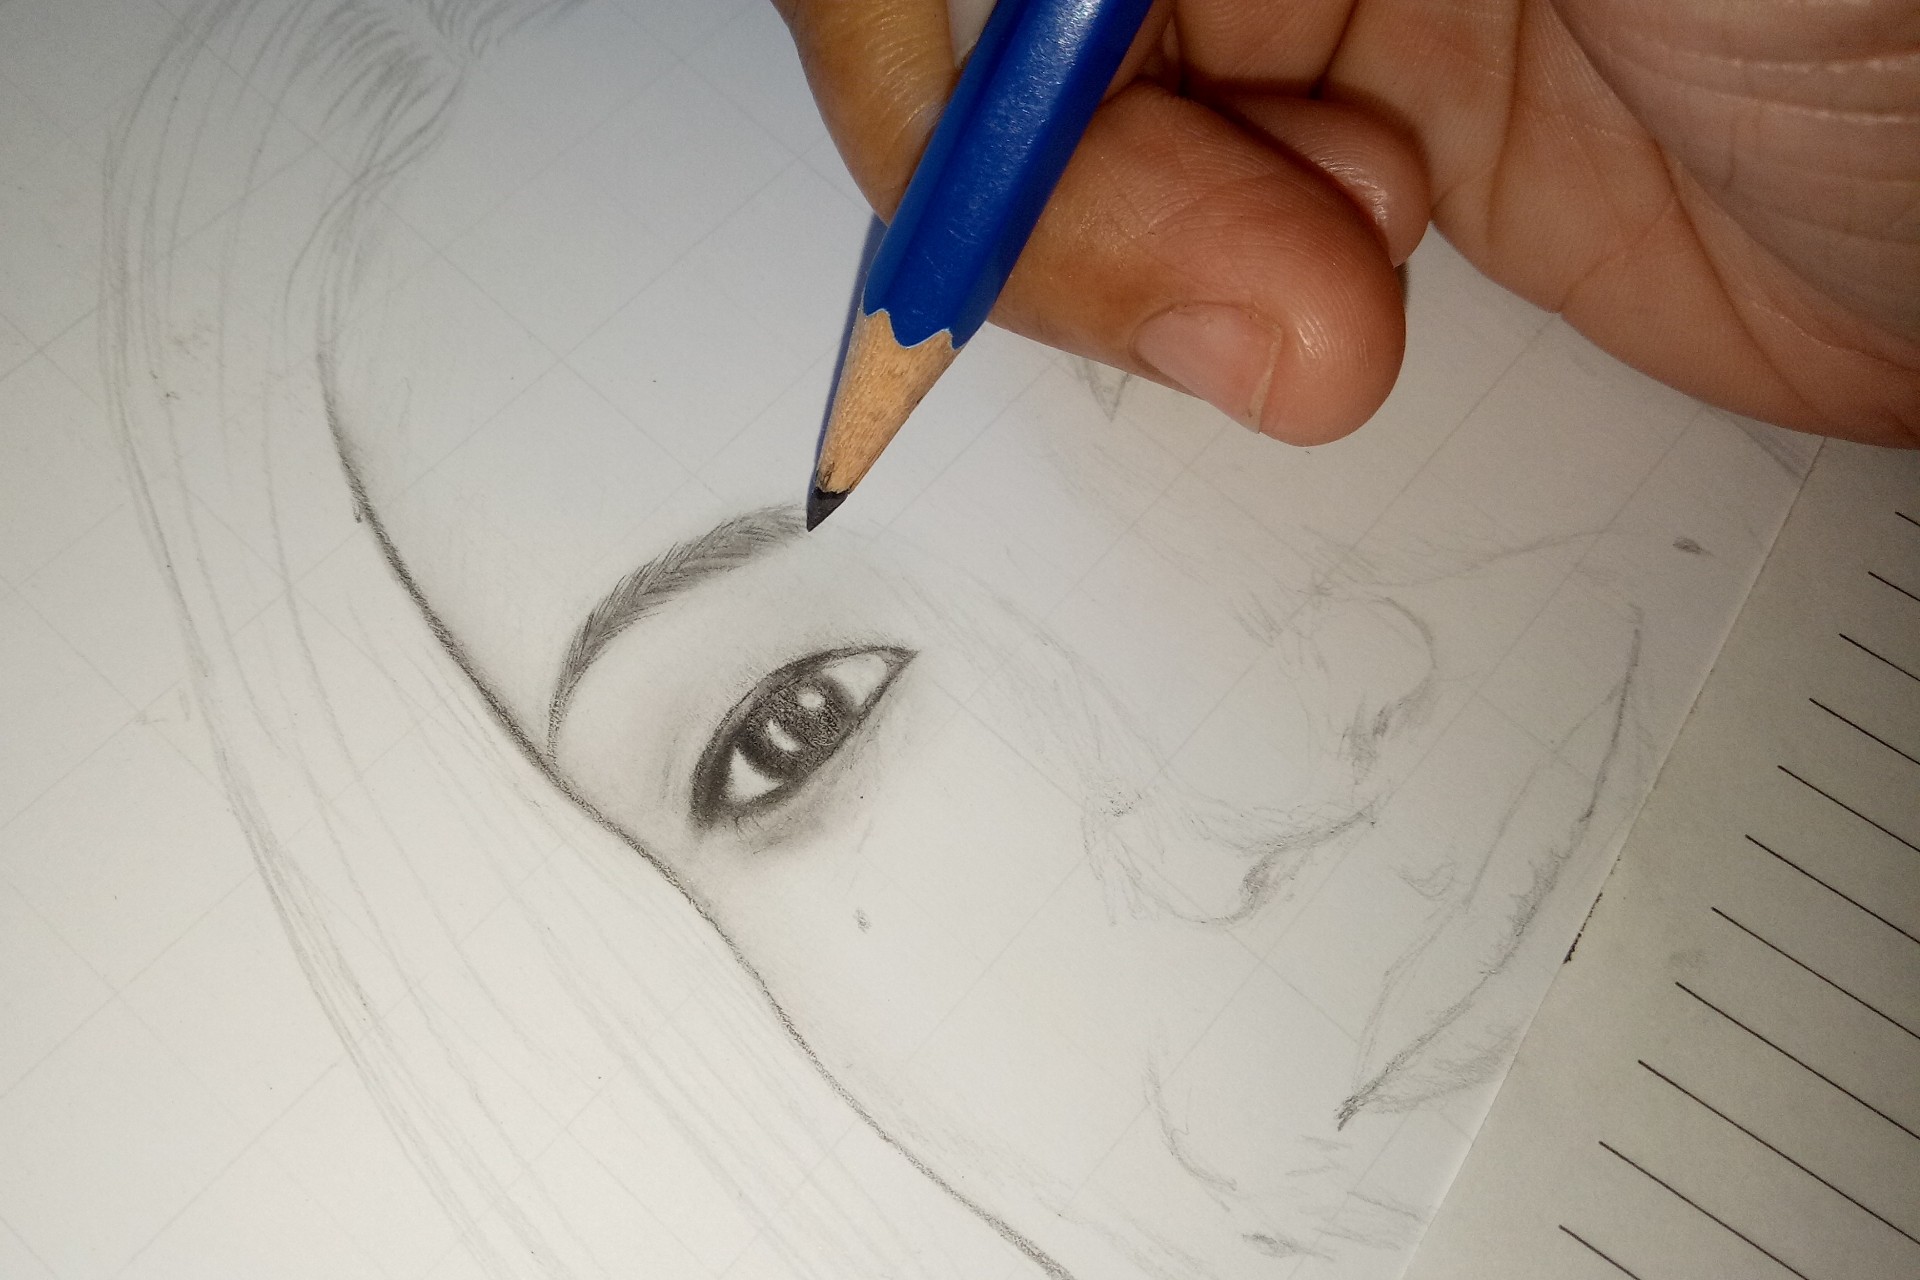
Using graphite pencils, I draw the eye first follow by eye brows.
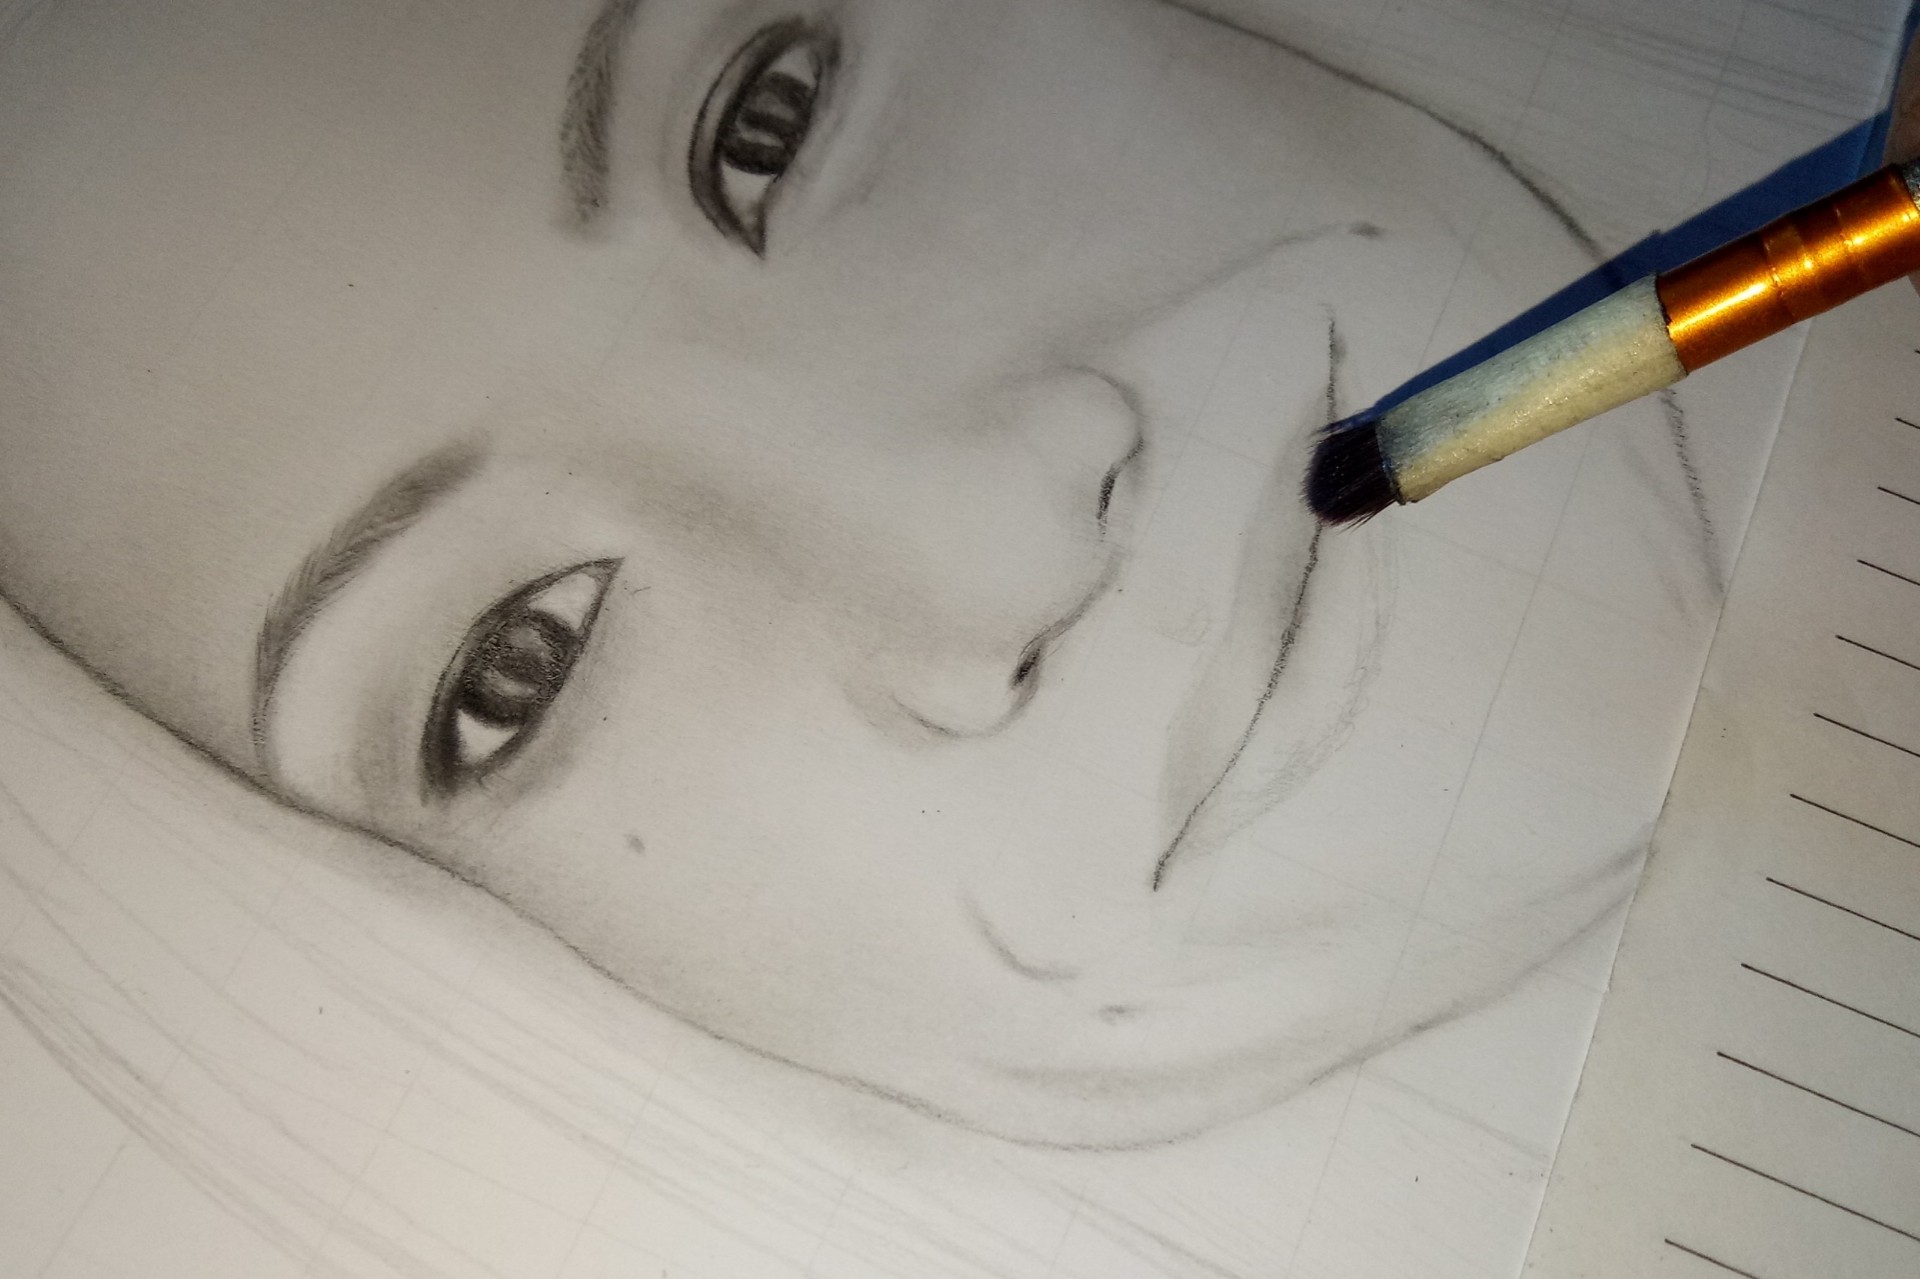
Do some shading using a small make up brush. Just slowly adding shadow and skin tone towards nose and cheek.
For the hair I used charcoal powder and 8B pencil. I loved doing hair but messy since charcoal powder has a lot of residues. I have to protect my drawing with clean paper but there are some spots that my hands forgot to put paper before putting my hands into the paper.
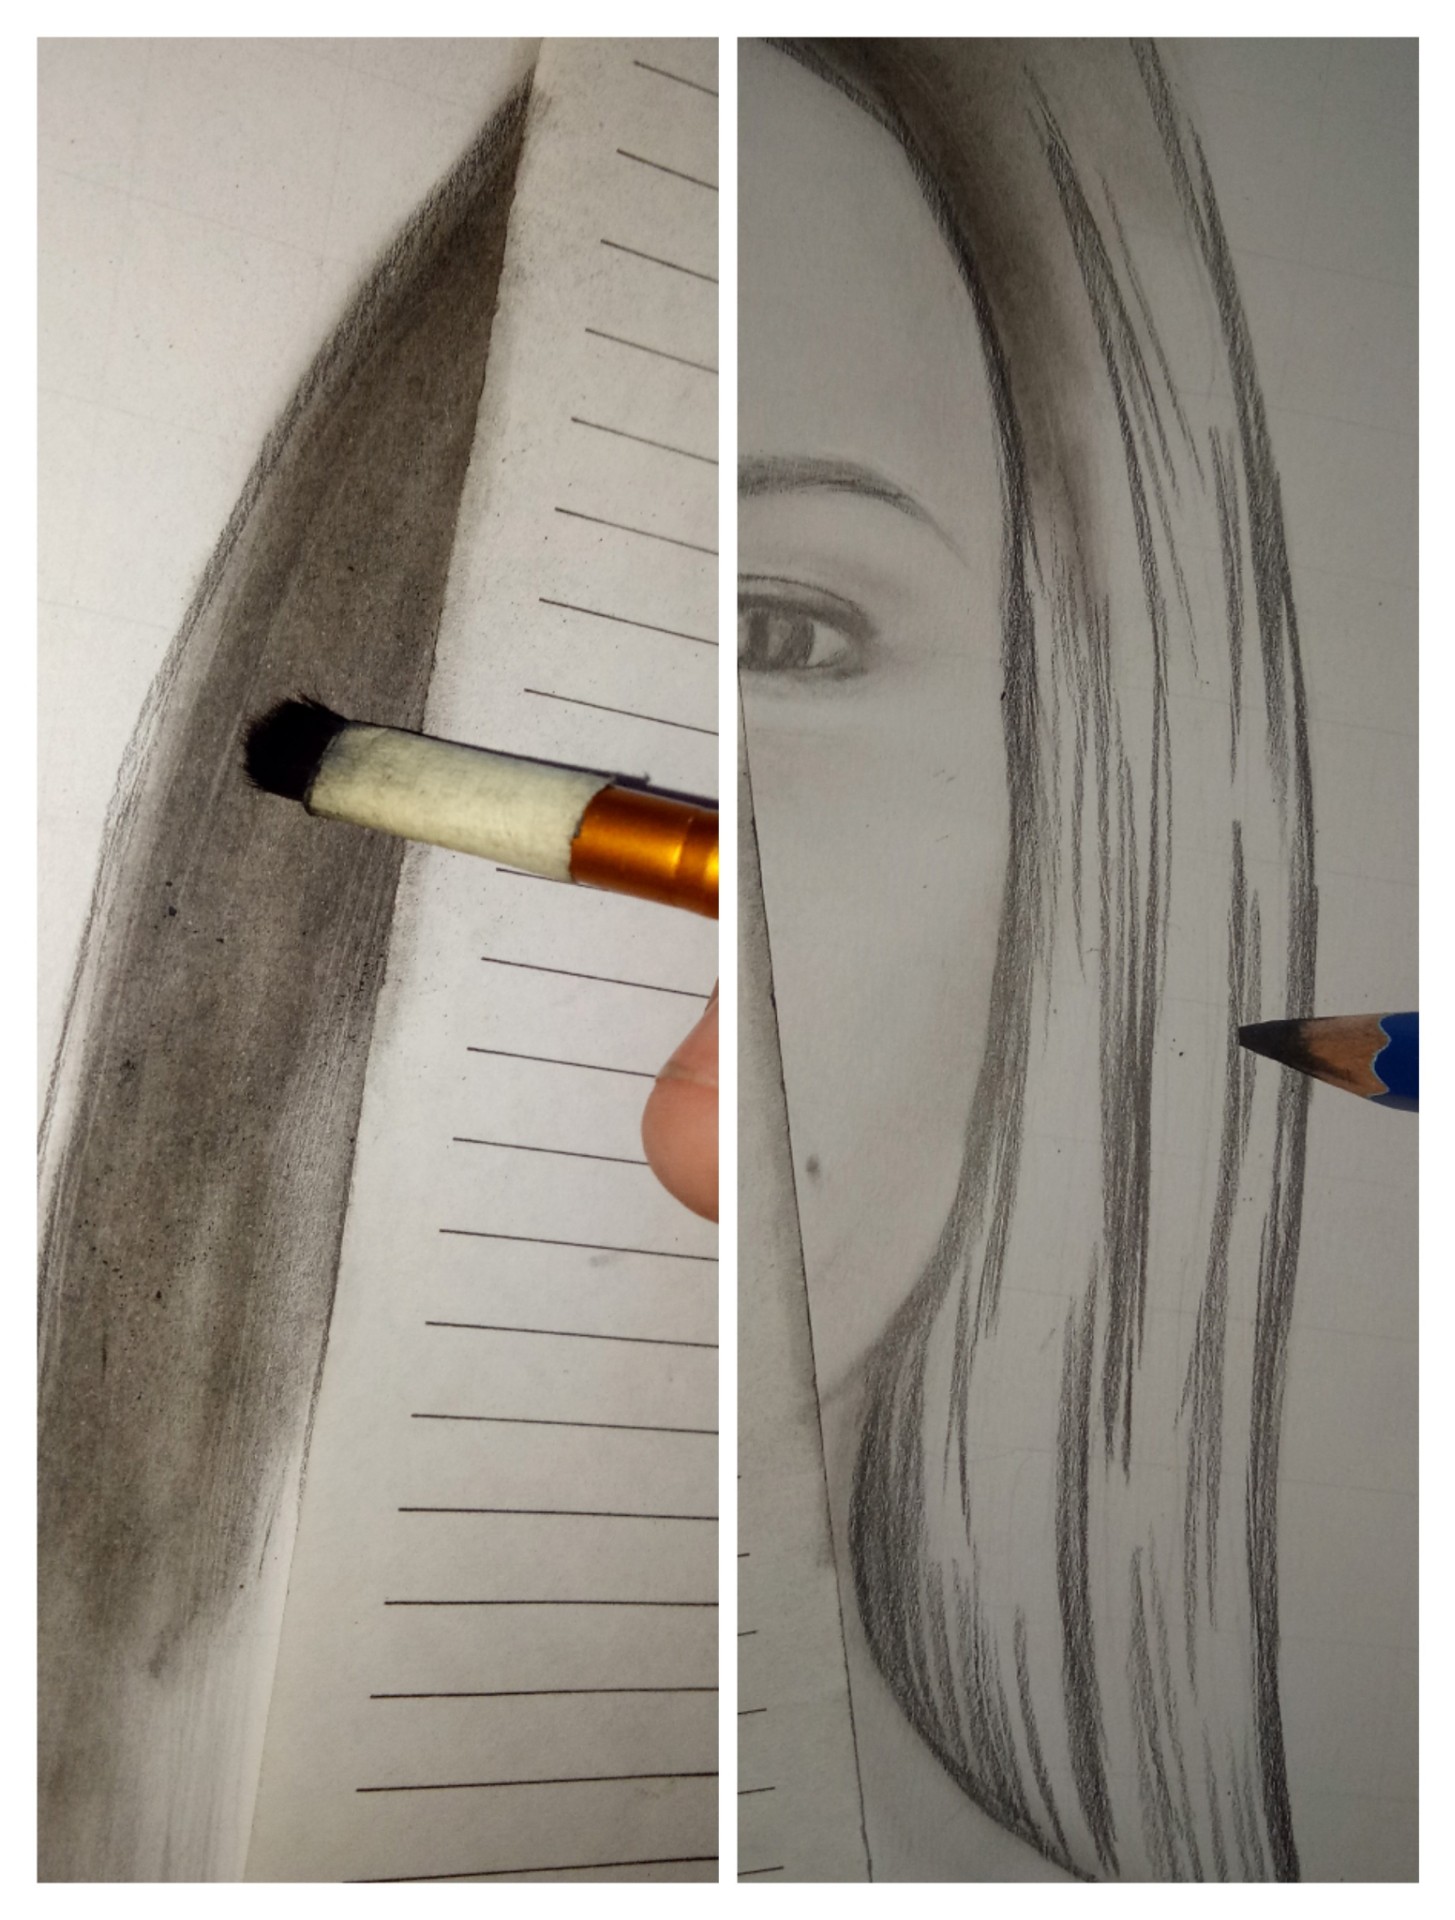
I also try to copy the actual background of my reference. I also found out that tapping a thick round brush on charcoal powder works best. I just repeat the process until I am satisfied on the look.
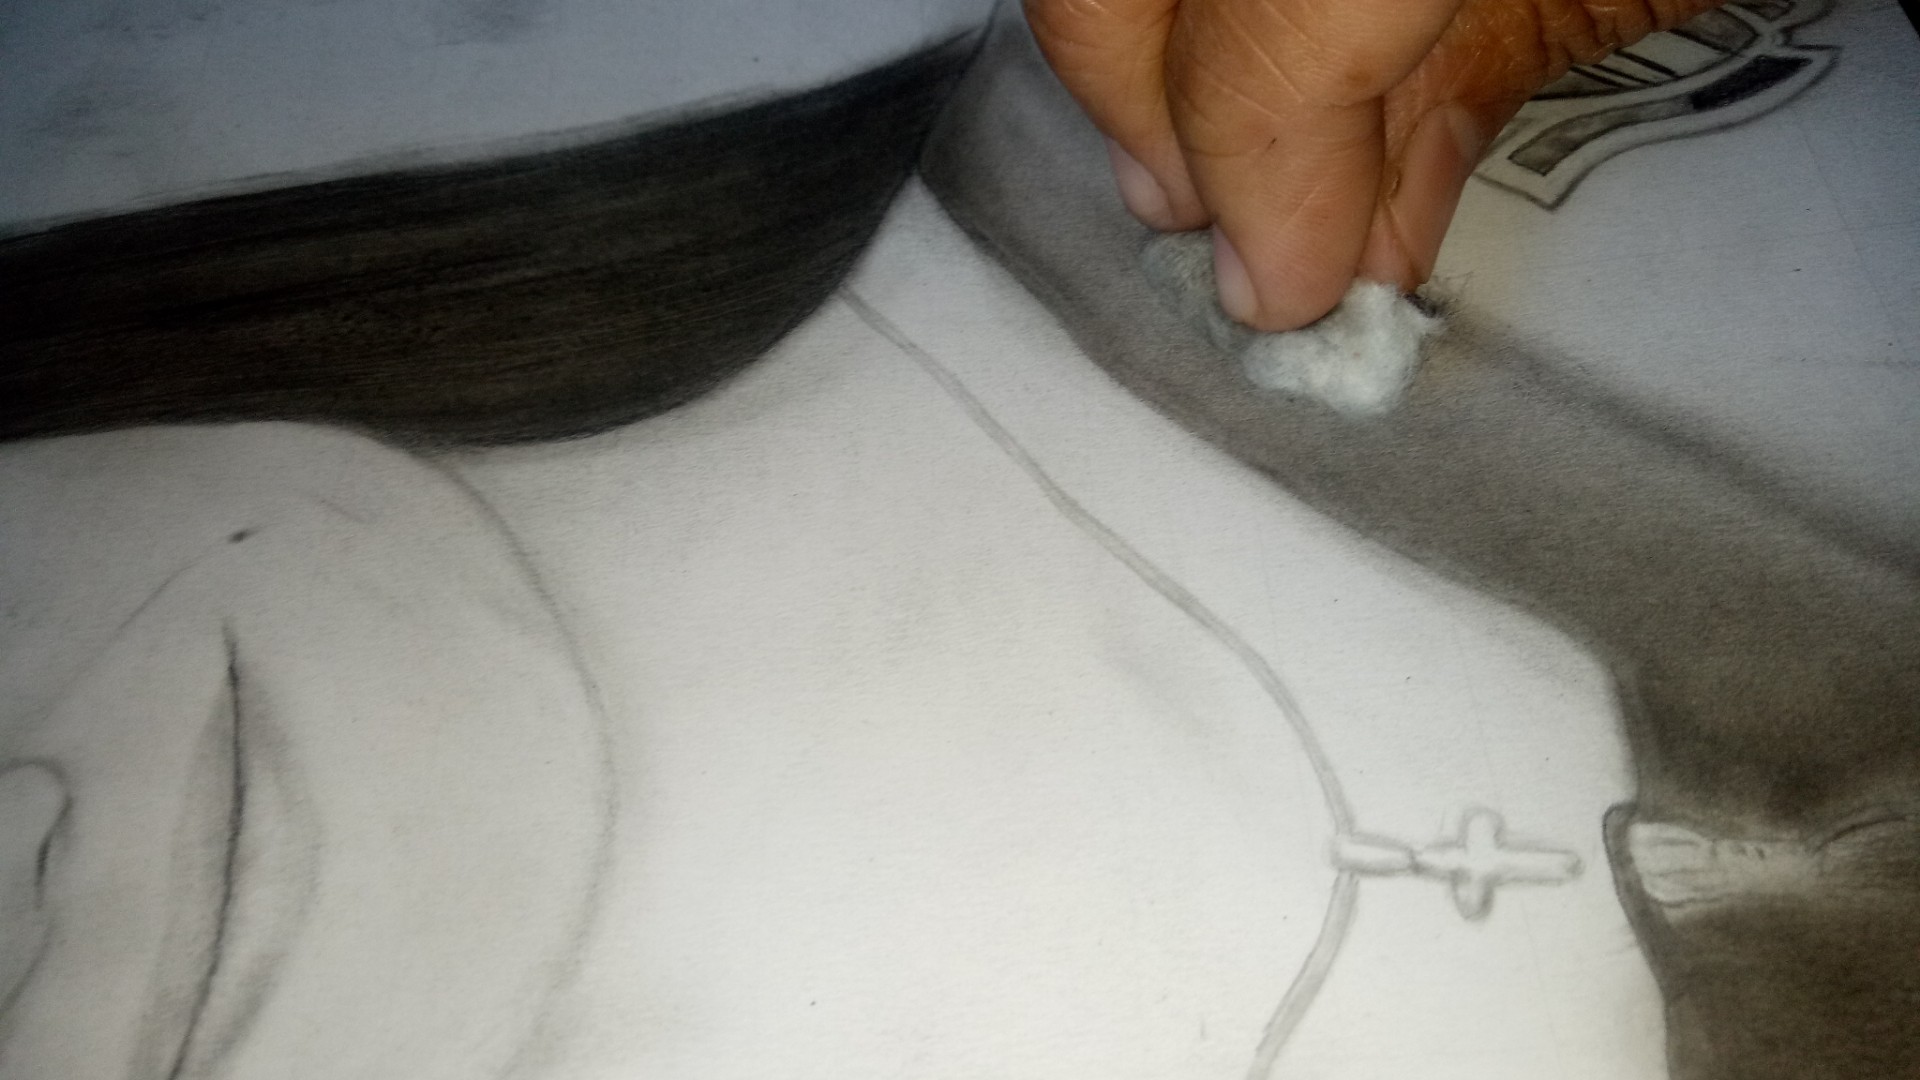
I used cotton balls to blend the charcoal on the clothes. This helps also to have a balance tone of darker shades everytime I add charcoal powder.
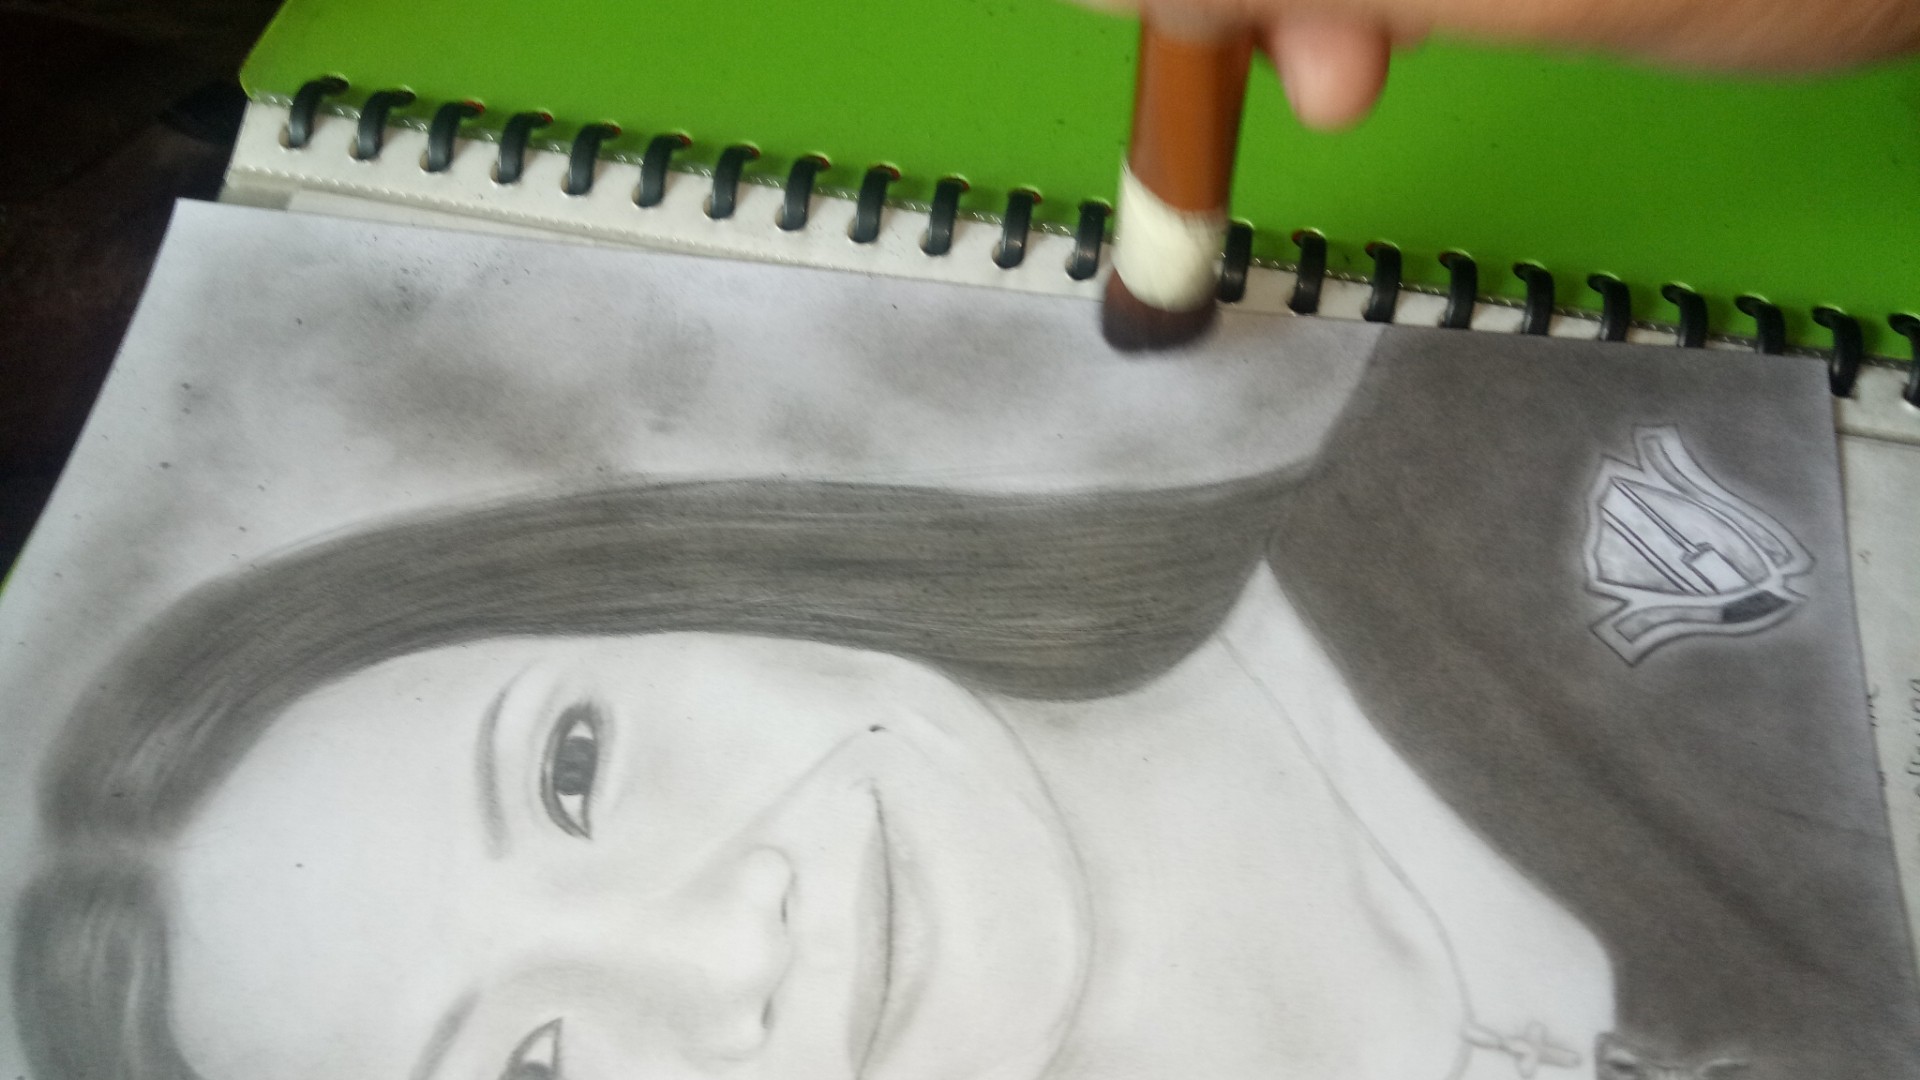
I apply charcoal powder several times to achieve more intense and dark shades but I think my charcoal powder was not a good quality type of it.
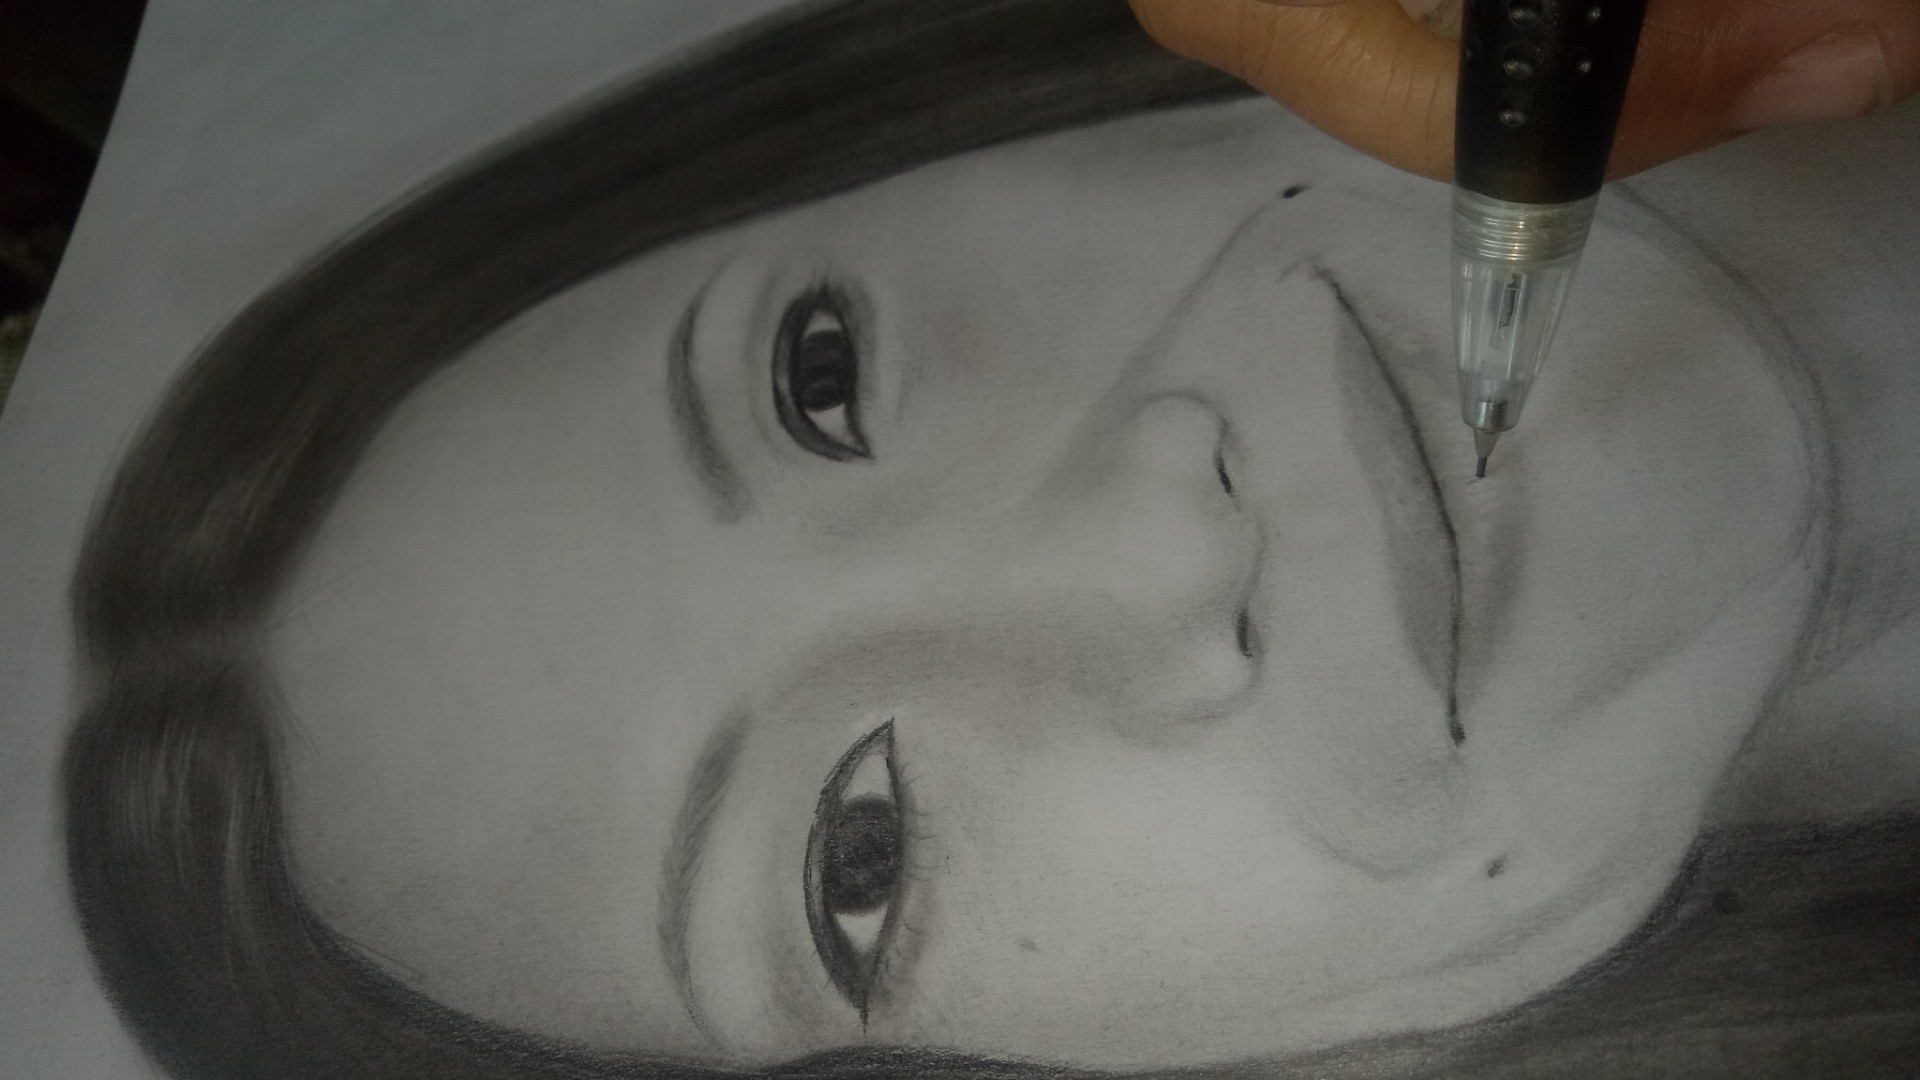
Putting shadows, shadings of skintone was one of my weak area needed to improve. There are some chance that I overdo the skintone which lead to darker shade compare to my reference. Aside from that, I also have to work highlighting using kneaded eraser. Highlight makes the skintone of a drawing to glow and to be more realistic.
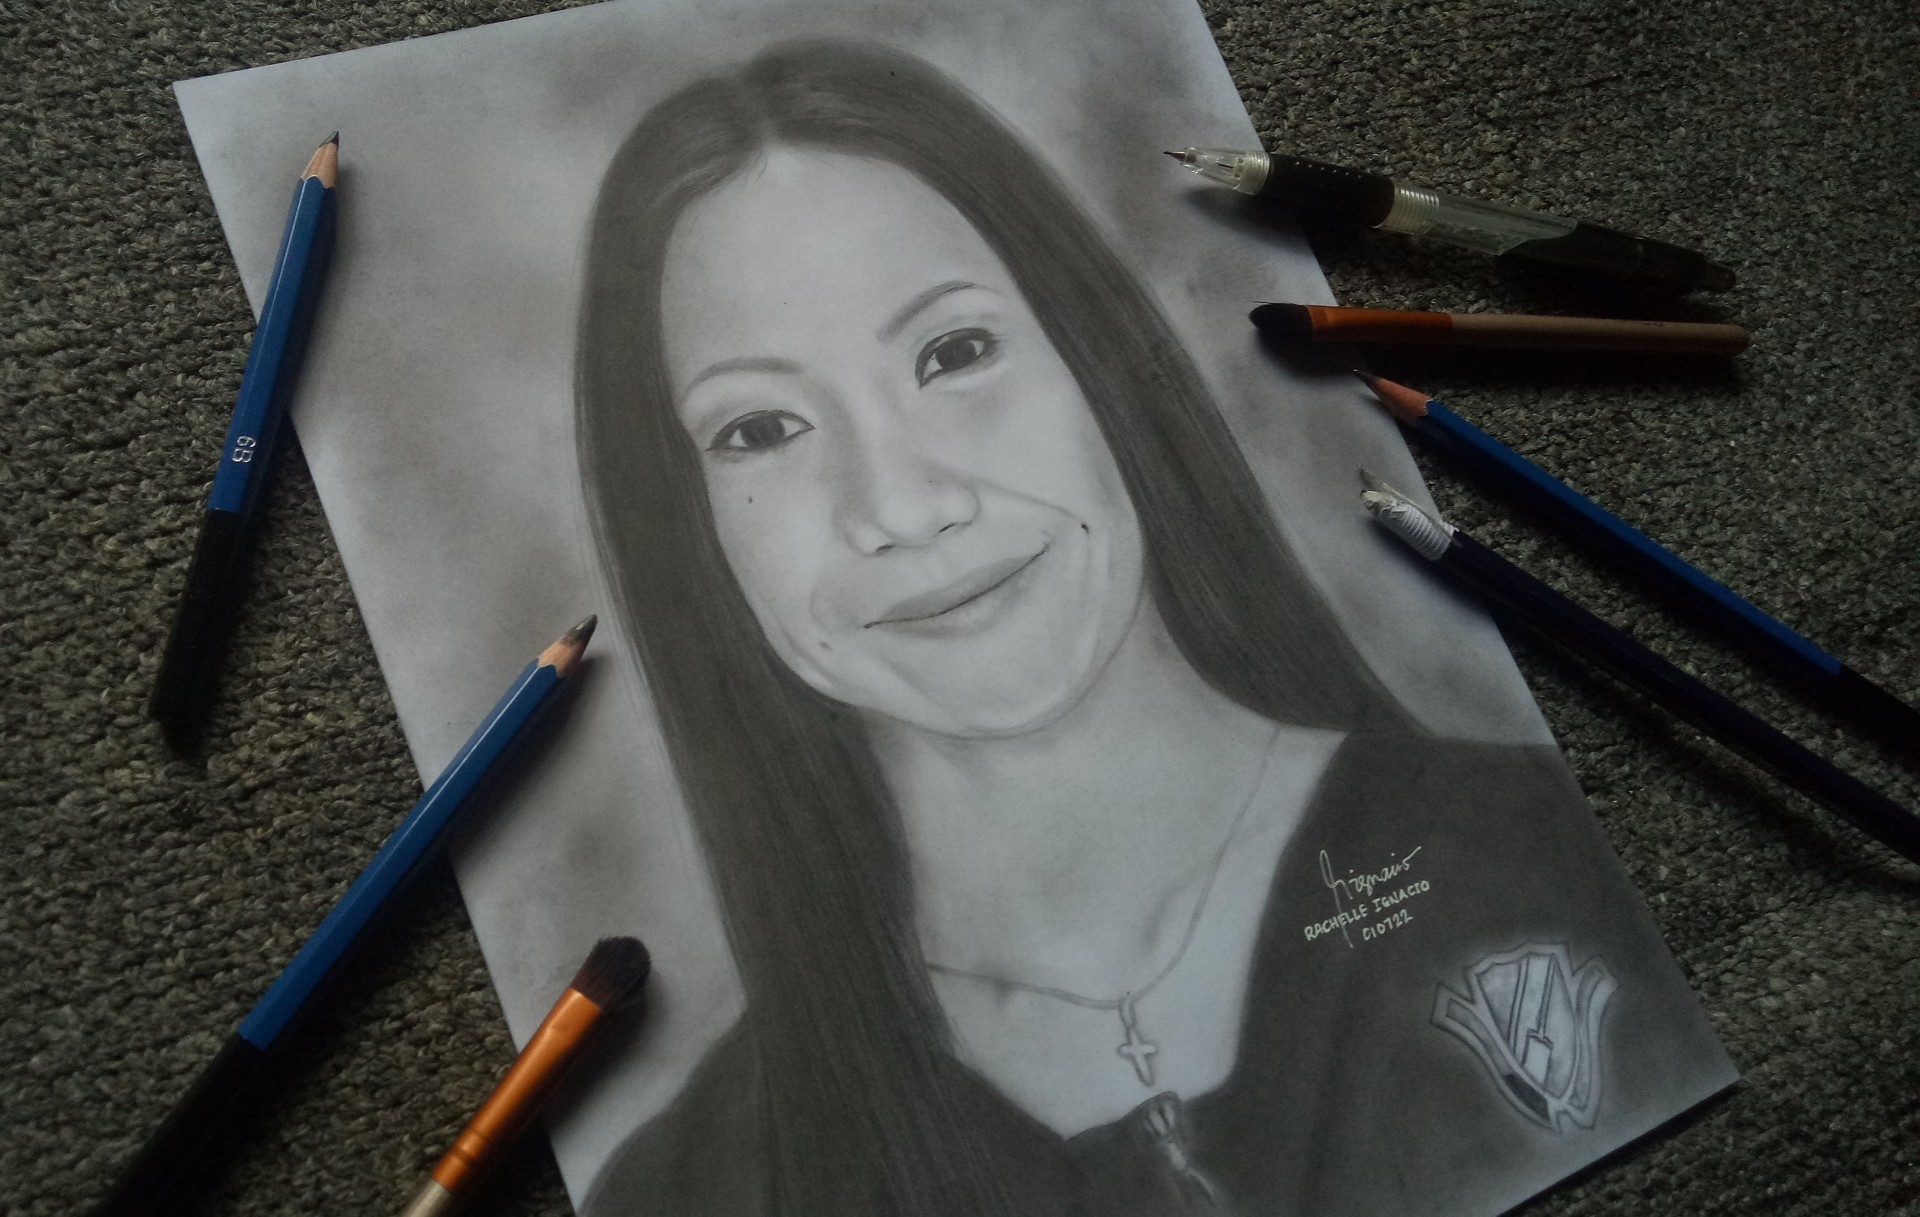
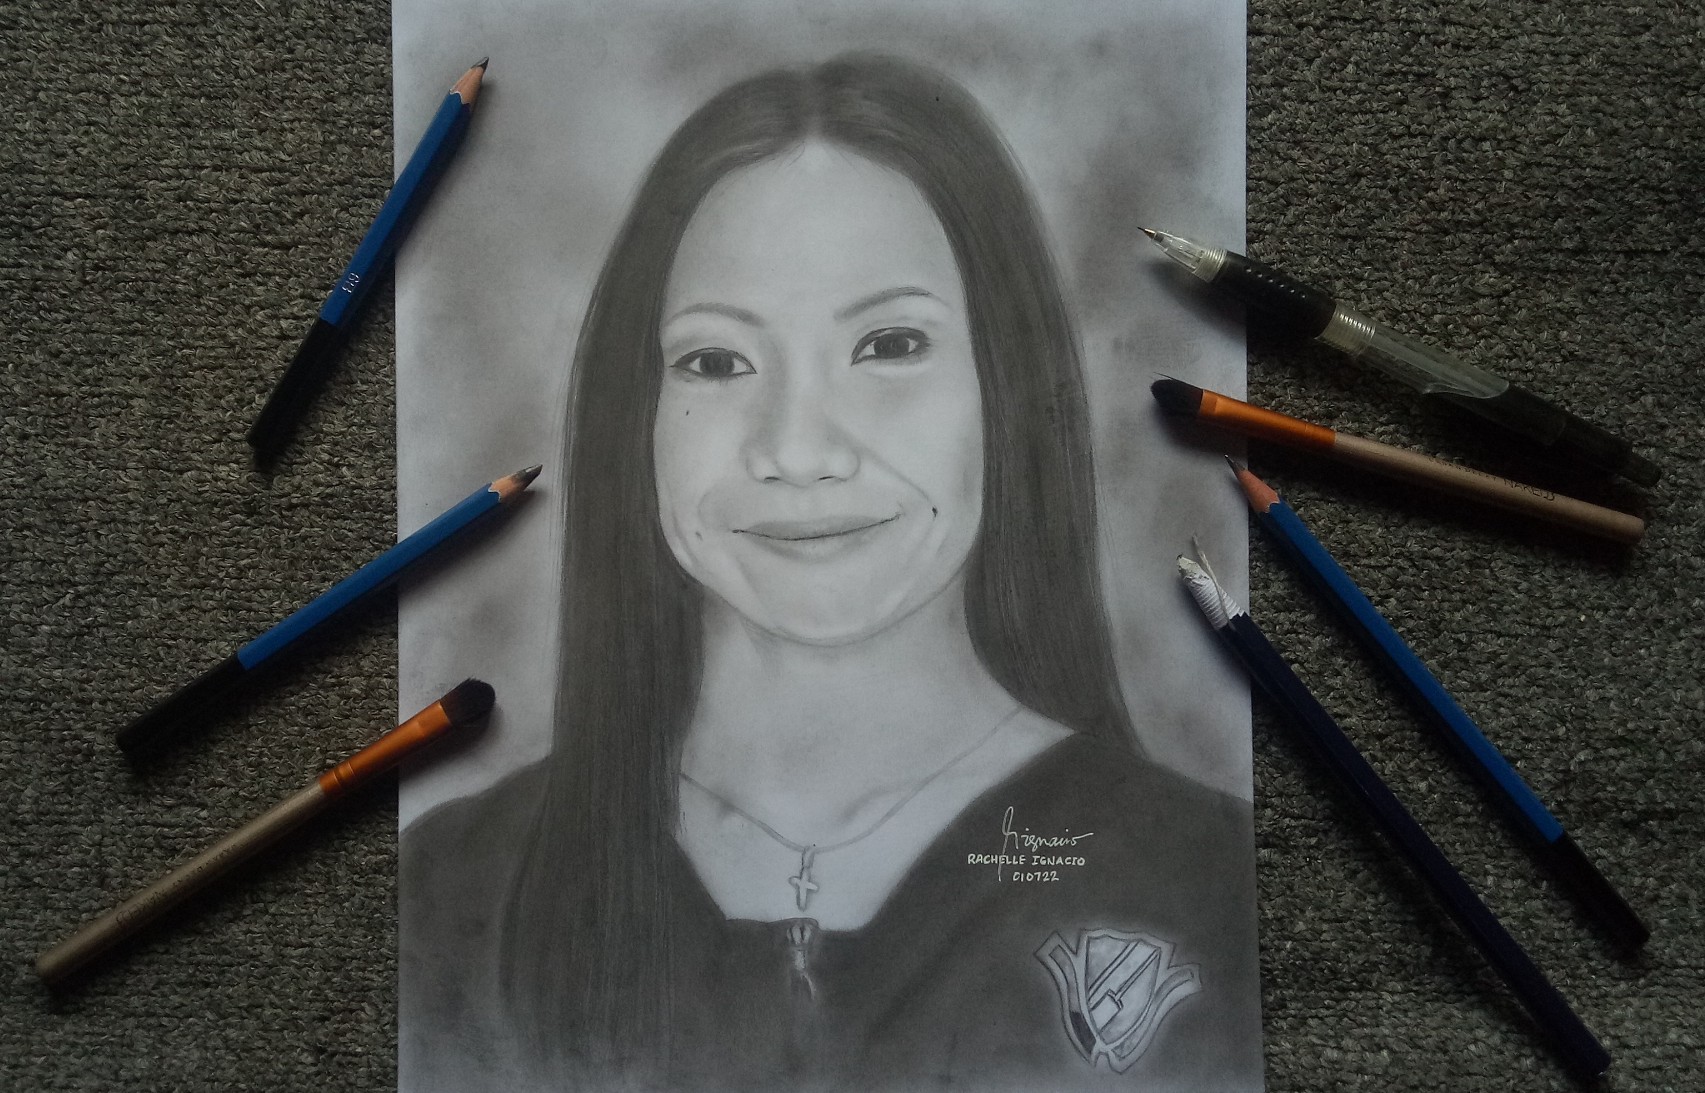
This is the final and closer look of my drawing. My camera didn't get the best lighting and angle than my eyes actually see it. I used white ballpen for my signature and ofcourse the date when I finished it. I hope you'll like my simple drawing. Thanks!
Thank you for sharing this amazing post on HIVE!
Your content got selected by our fellow curator @rezoanulvibes & you just received a little thank you via an upvote from our non-profit curation initiative!
You will be featured in one of our recurring curation compilations and on our pinterest boards! Both are aiming to offer you a stage to widen your audience within and outside of the DIY scene of hive.
Join the official DIYHub community on HIVE and show us more of your amazing work and feel free to connect with us and other DIYers via our discord server: https://discord.gg/mY5uCfQ !
If you want to support our goal to motivate other DIY/art/music/homesteading/... creators just delegate to us and earn 100% of your curation rewards!
Stay creative & hive on!