Last fall, we tried this fruit. In general, it was necessary to choose a good fruit, give it enough to ripen, use it and - voila! - you become a fan of this tasty, satisfying and, most importantly, useful product.
But that is not all.
In addition to the above qualities of avocado - you will find in it a small bonus - his seed. Which you can turn into a real fruit tree. And since the tree grows fast and high - the bonus is not so small)

I knew not only about the science of avocado sprouting on toothpicks in the water, but also about the fact that the process can stretch for several months. And since this fruit completely penetrated our vegetable diet, I began to send seeds to a dark corner "to the water" one by one, hoping that at least someone could get out of this whole crowd.
Very soon the first couple gave roots and was planted in a pot.

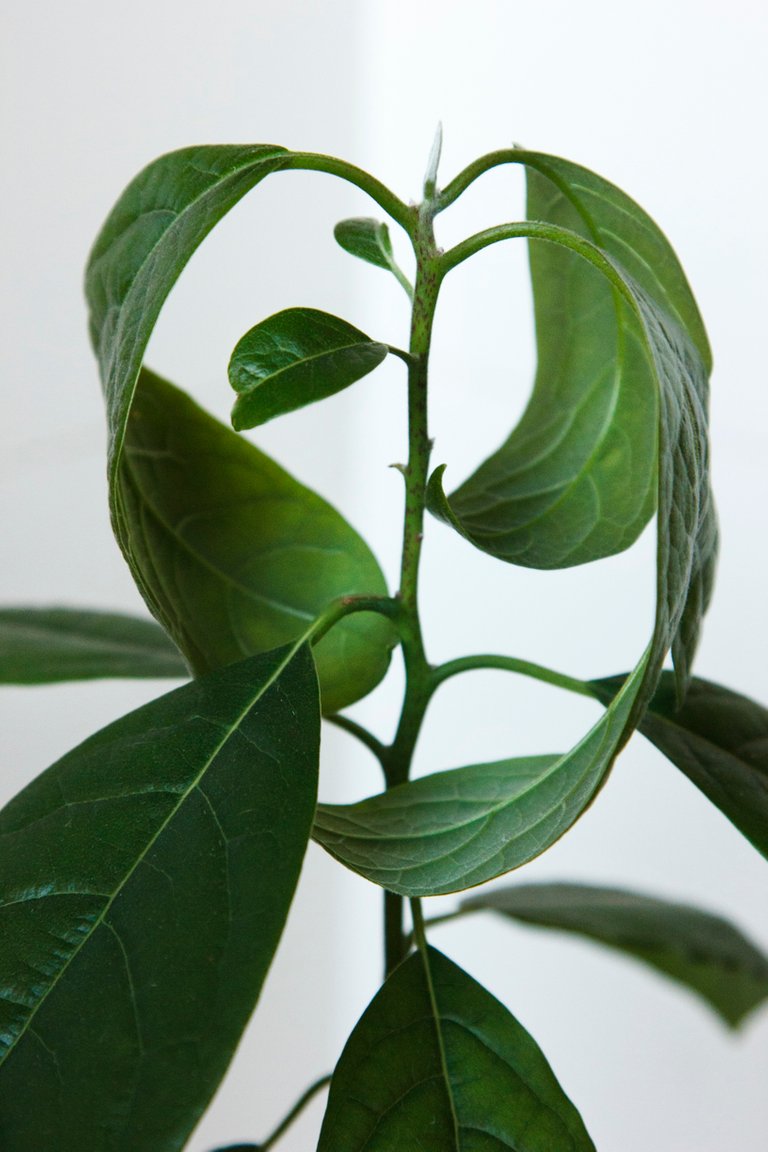
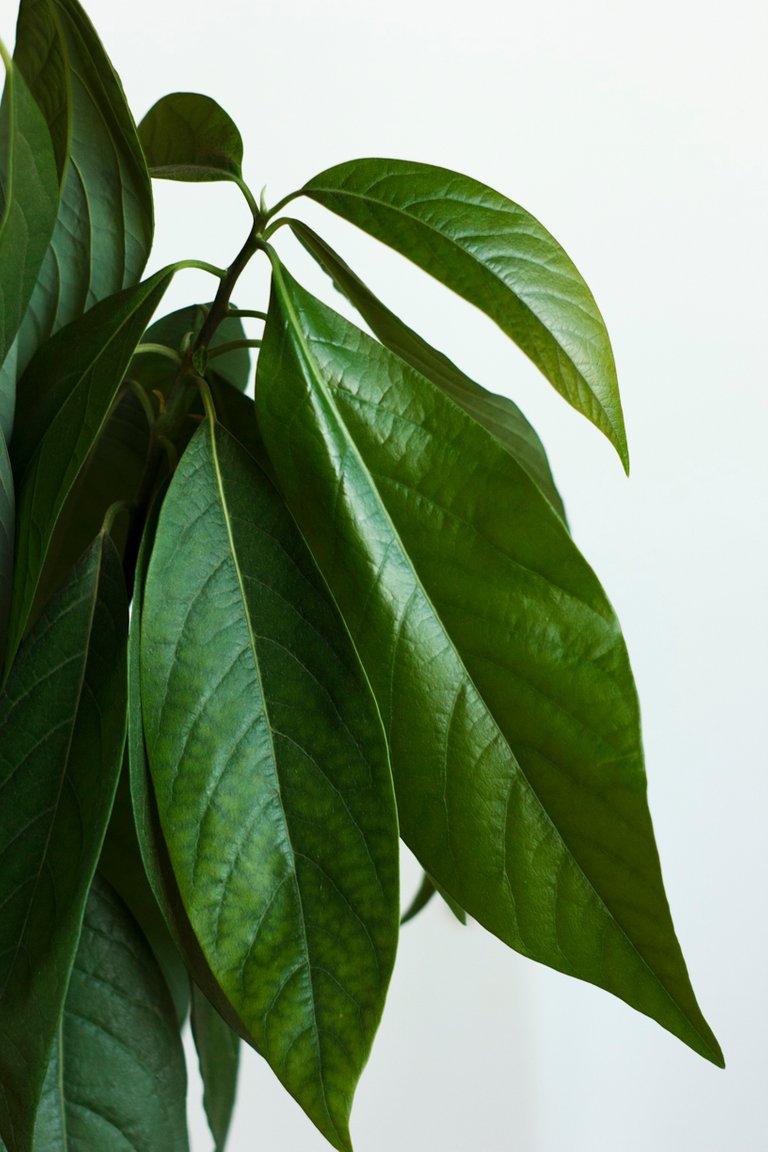
In just 6 months, I sprouted more than a dozen avocados. The very first to date reached 60 luxuriant and green centimeters - we left them, and the remaining young trees, gradually continuing to go one by one, decided to transfer the distribution of flowers. And now it's time to write recommendations for care.
I created a hint in Pinterest with useful links to tips on growing avocados (you can also use it).
And for the sake of importance, she decided to write her own instructions)
So, you hold the seed of Avocado and really want to grow a real tree from it. What to do?
First, make sure that the seed is suitable for germination - it is not spoiled or is not someone's home. Try to assess visually how many "forces" in the seed for germination)
If you want the seed to be light, it should be gently peeled off the top layer of the peel.
Scratches and damage darkens. However, it can be used for decorative purposes - to draw a pattern on it or a pretty face.
And lovers of counting - can sign seeds by numbers)

Take a toothpick and a small glass beaker with clear water. After determining the number of cotyledons in the seed (usually two) - insert a few millimeters of toothpick in them just above the middle of the seed.
So that they can hold it, but not pierce too hard - so as not to damage the seeds inside.
Immerse the seed in the water halfway through the blunt end, put it in the penumbra and be patient. Do not forget to change the water in the glass and monitor its level.
Most likely, your seed sprouts!

When the seed splits and gives a root, wait until it looks like a seedling, at least two centimeters or more.

Then you can prepare for planting in the pot.
It is preferable to use plastic pots, since clayeys have a porous structure, and this helps to supercool the roots.
In addition, the plastic is lighter)
When buying plastic pots - I pay attention to their marking and choose the materials to be processed, and if the pot becomes unusable - it can be disposed of.

I like to use pots with a tear-off tray and a lot of holes at the bottom.
It is necessary to make a good drainage, at least two centimeters, so that the water does not stagnate, and the roots do not rot. The soil must be loose.
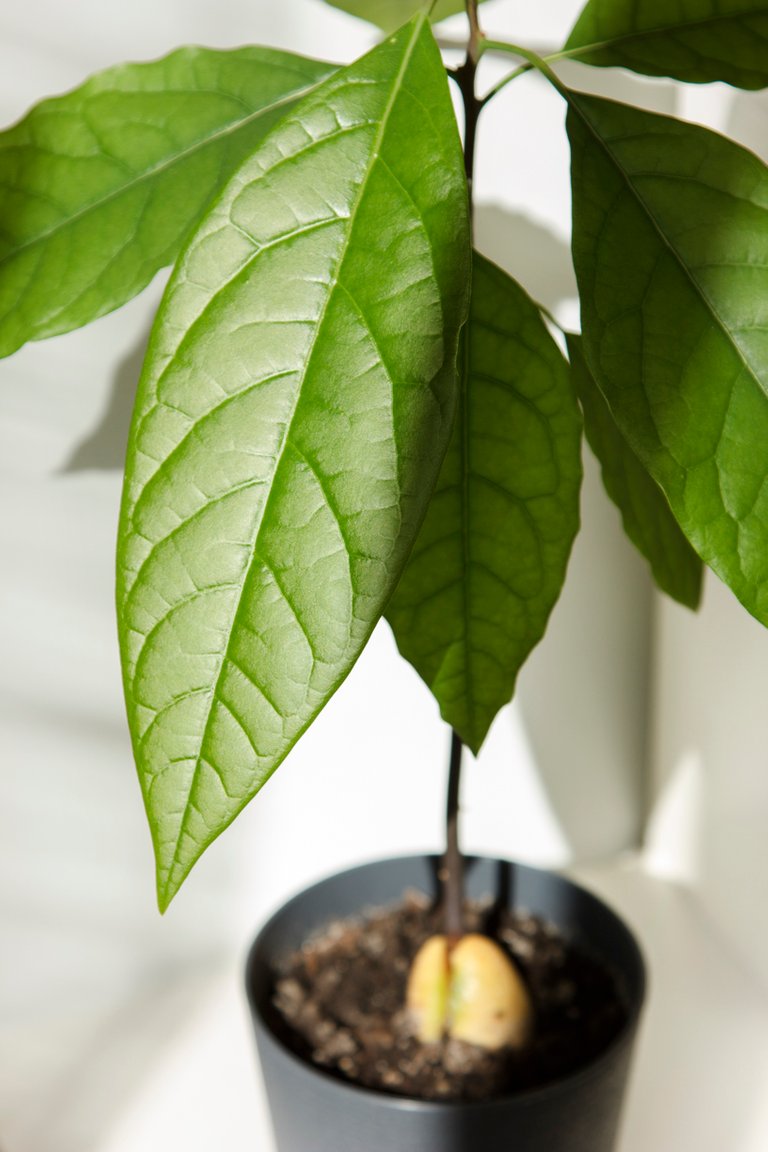
Make a groove in the ground and gently place the seed there, trying not to damage the roots.
Fill with water. Do not bury it - leave most of the surface. When the barrel hardens and the seed darkens - you can simply remove the unnecessary parts.

In the first year the plant needs to be transplanted 2-3 times as it grows, gradually increasing the size of the pot.
The root grows downward, and to avoid growth growth, use a tall outdoor pot. Also note that it should not be too large in relation to the plant.


Light, heat and moisture.
Give your avocado enough light, but protect it from direct sunlight, as well as from drafts.
The optimum temperature in winter is 13-18 degrees with moderate watering (at low temperatures it can lose leaves and sleep until spring), in summer the temperature is 24-30 with abundant watering.
Observe the moisture level in the soil - do not let it dry, but do not plant dirt. Use water at room temperature. Easy spraying of water on the leaves, as well as a tray with expanded clay and water, installed next to the pots - perfectly copes with the maintenance of moisture, which is so fond of avocados.


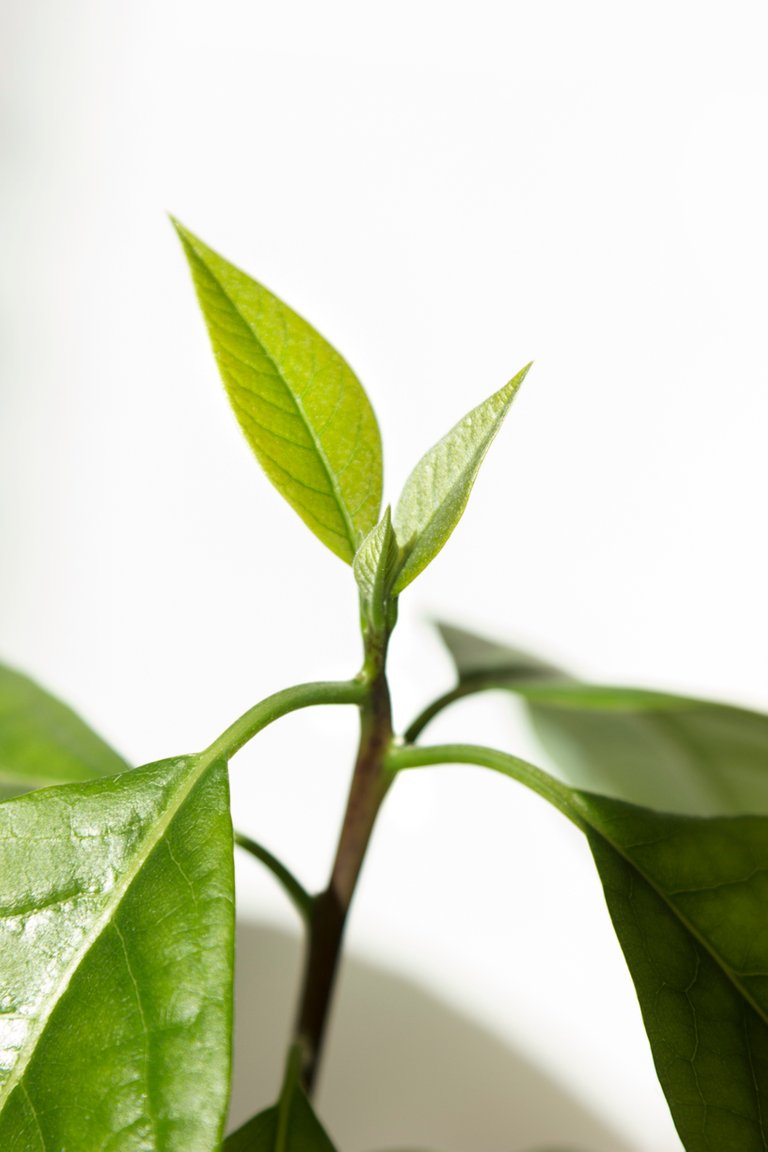
To form a beautiful crown, young plants need to pinch the tip. The first time this is done on the 7-8th sheet. This stimulates sleeping buds located on the trunk at the base of the leaves, and the tree begins to develop lateral branches. Which should also be suppressed, but after 5-6 leaves.


Avocados need to be given fertilizers in spring and summer. More on this in the links.
To evenly distribute the leaves along the trunk, turn the pot on the light from different sides.
Provide access to light for young shoots, pushing away large leaves and fixing them one by one.


Follow these simple conditions by care, and the avocado will please you with its beautiful growth, flowering and even fruits!


Since our avocados are still too young for flowering (this happens within 3-5 years), till now I can not share with you how this happens. However, on the Internet you can find information not only about the bloom of a tree, but also about its fruit bearing.
So I'll wait patiently for the first harvest, but for now I'm enjoying the beautiful green greenhouse that suddenly grew in our house with the onset of sunny days)
I will be glad to your questions, comments and additions!
Maybe you also have something to share?
Seed in glass like facehugger! :-))) Good tutorial and nice photo!