As I have mentioned before I love drawing Mandala art pieces. I started a new piece a few days ago and I wanted to take you through the process. So I took pictures after every day’s work so that you can see how I eventually got to the finished piece.
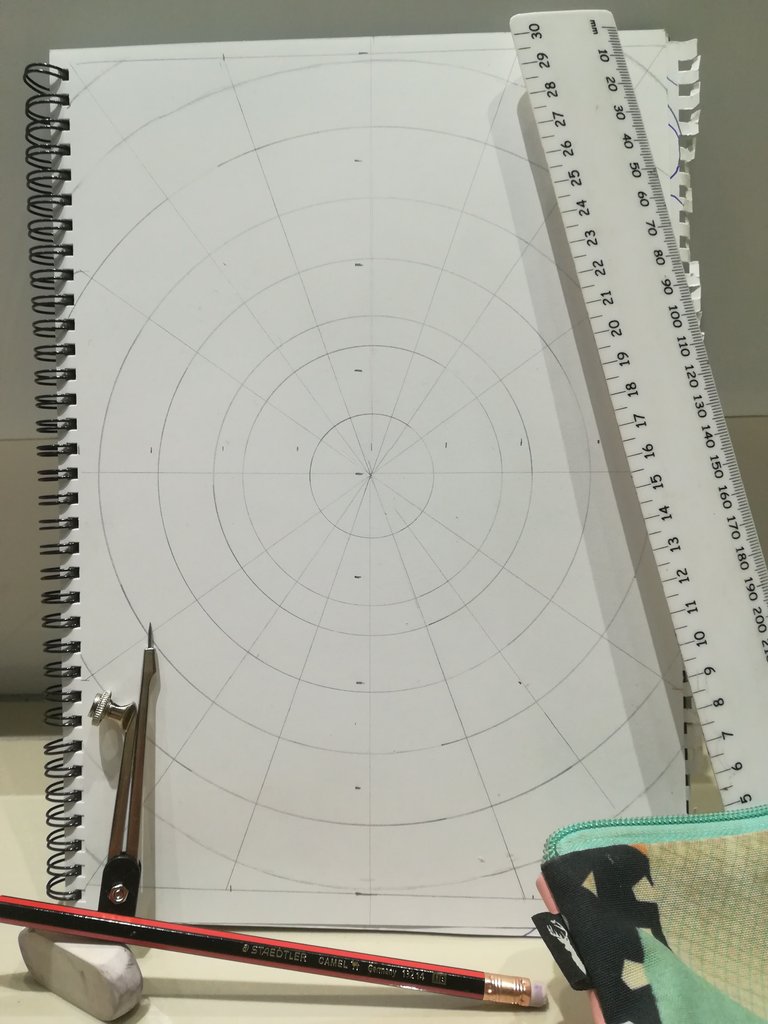
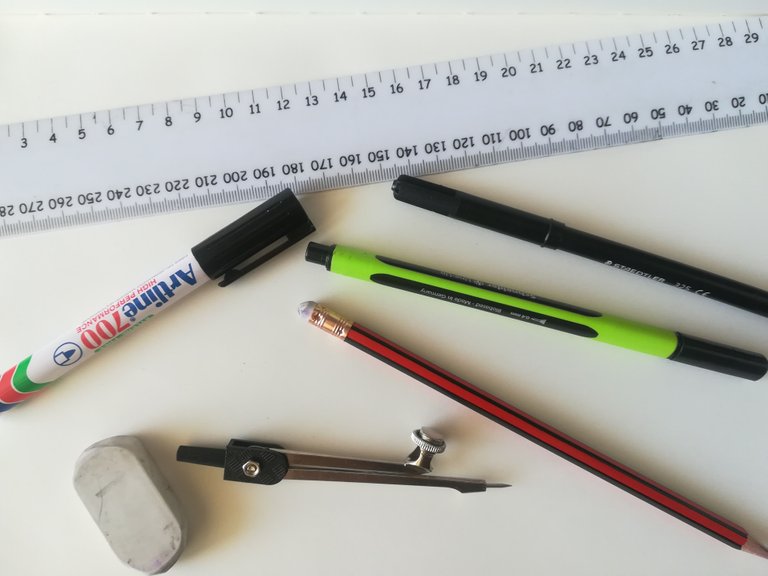
So I started by drawing a grid set on a A4 paper. This is actually the first time that I used the grid set in a mandala artwork and I really loved drawing with it! I think it made my art piece more precise and the patterns looked more detailed.
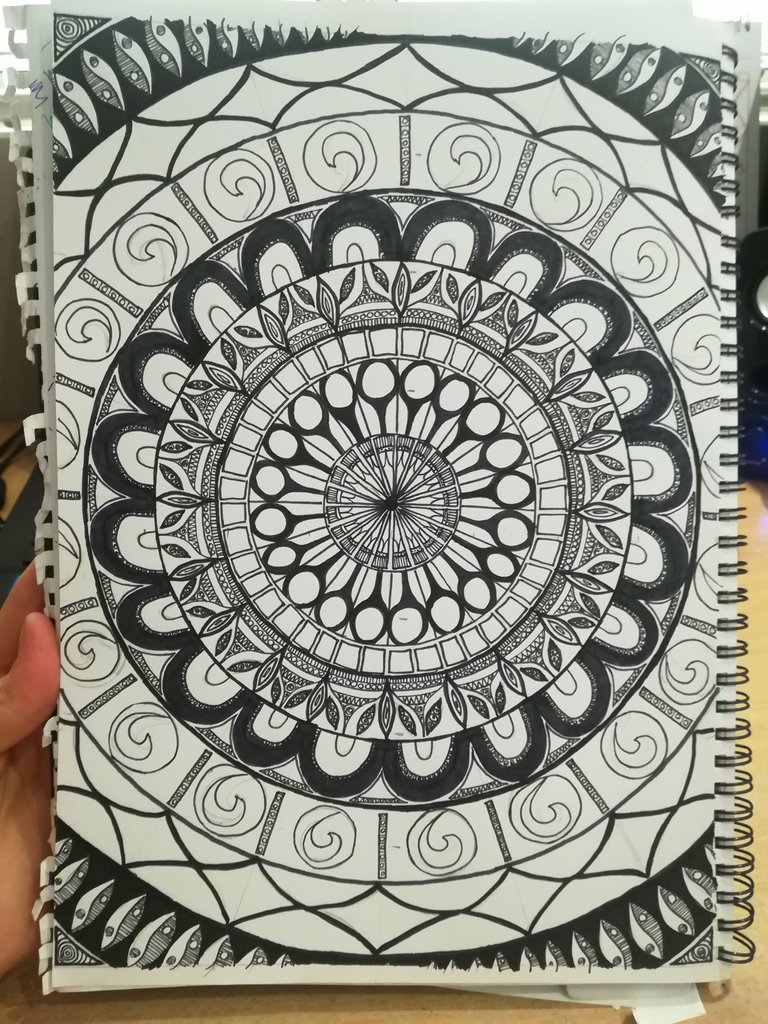
Then I started filling in the basic patterns I wanted to focus on in each sphere. At this point I left a lot of space blank as I wanted to think carefully about the smaller details before filling it in.
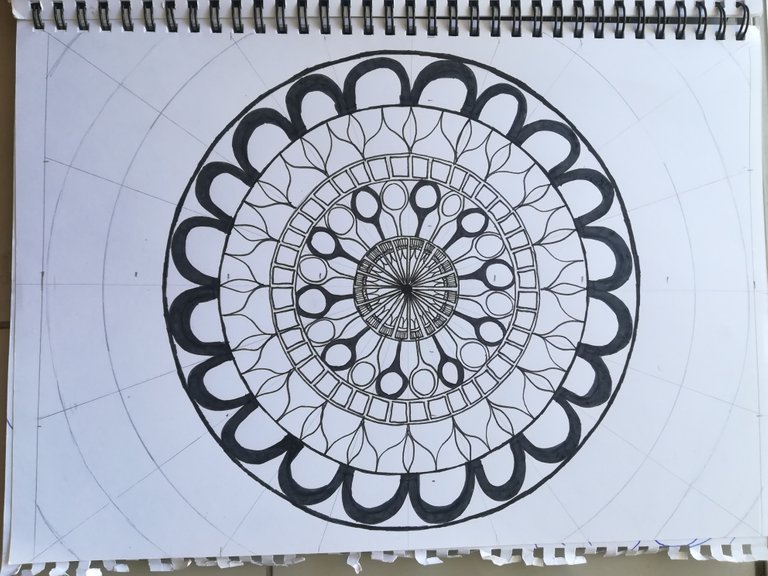
The basic patterns done
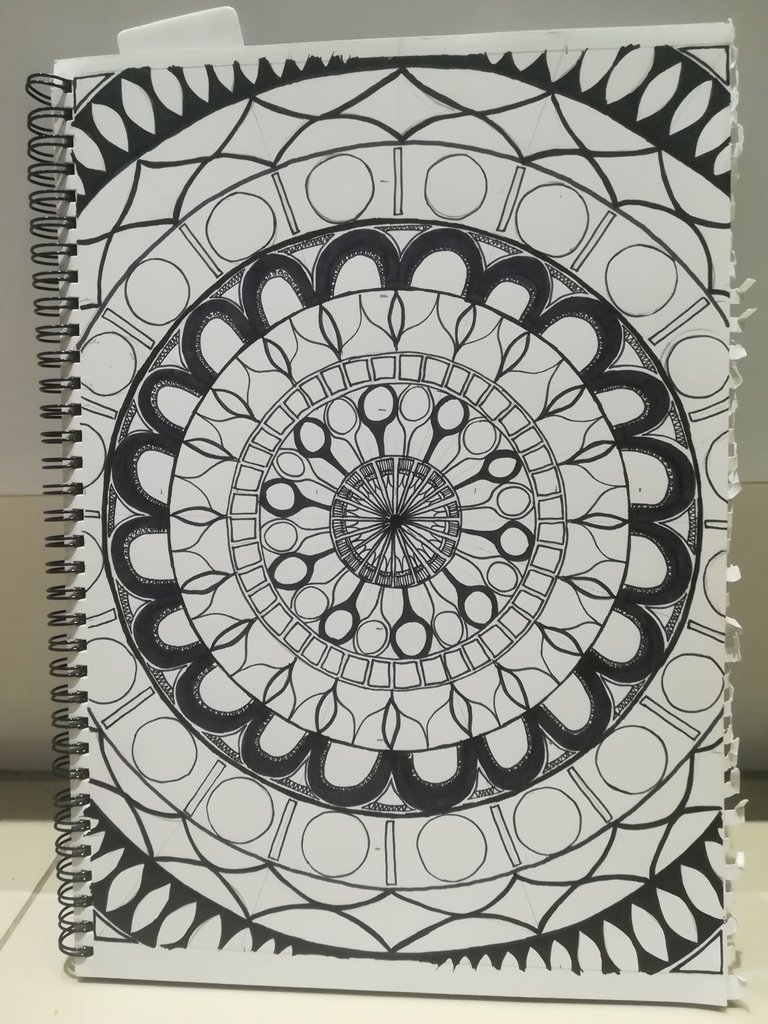
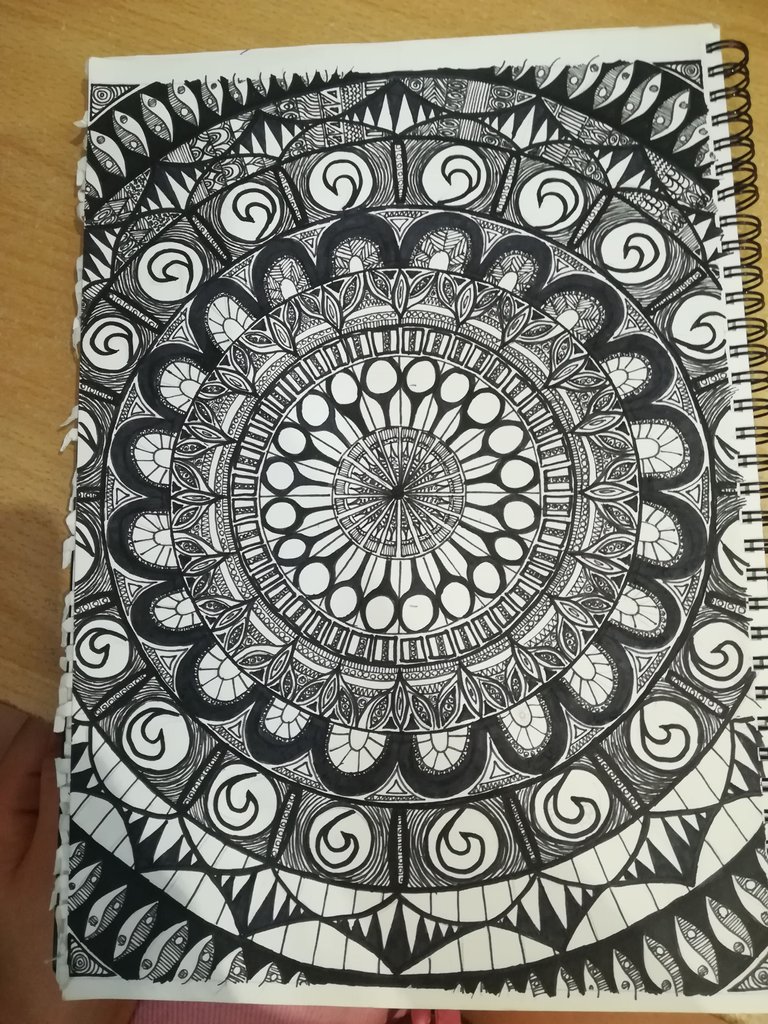
Then I started filling in the details, trying not to over complicate things and ensure that I don’t use too much of the same pattern. It’s very important to place the right pattern in the right place for a “balanced” art piece.
More detail...
Putting in some final touches
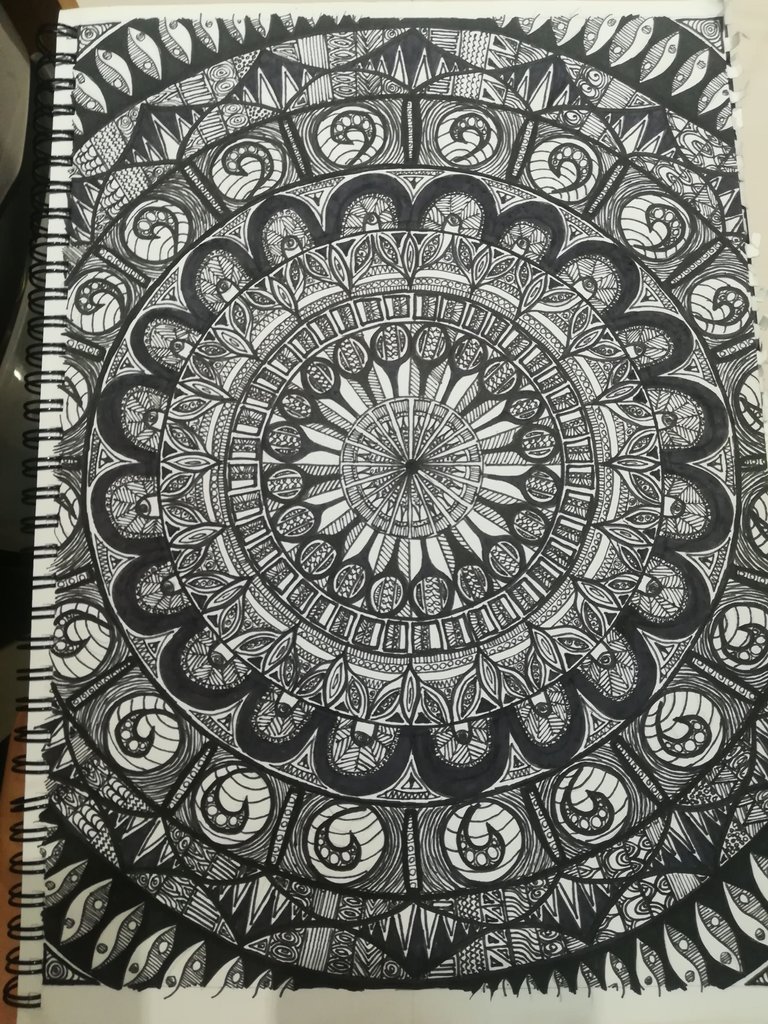
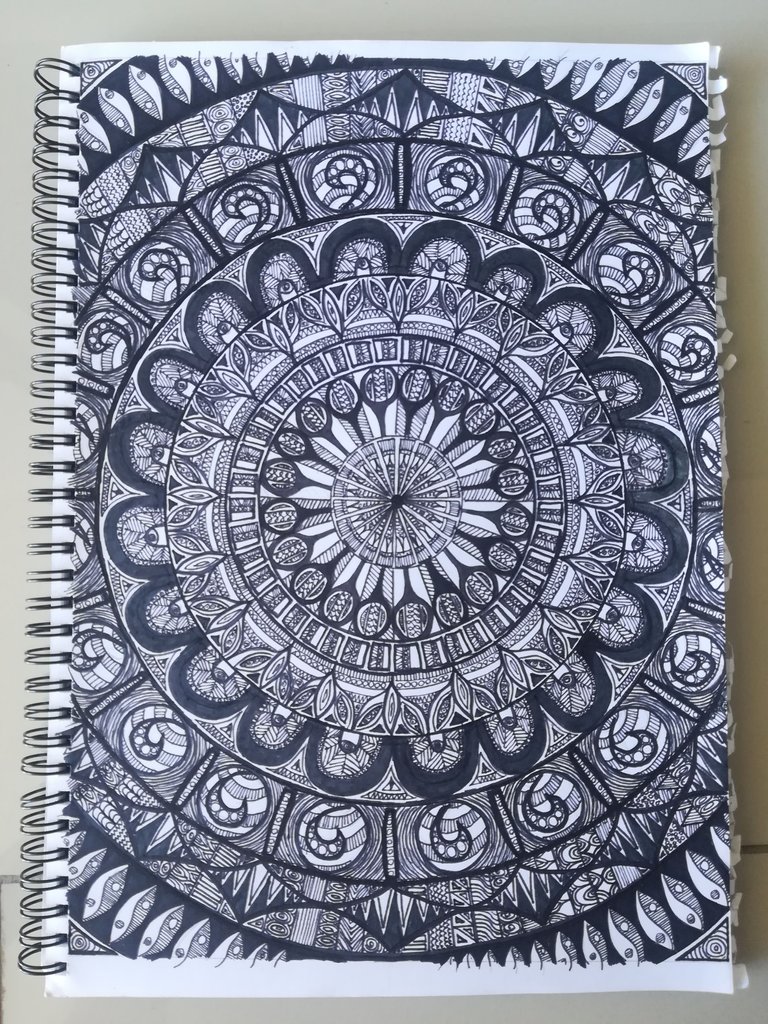
The final Piece!!
The pens and stationary I used for my drawing
I really hoped you enjoyed this post and liked all the progress photos! I will definitely be doing this again in the future.
Incredible discipline and very steady hands. Good step by step pictures, and the result is beautiful. This is a great post.
Thank you so much for the Comment! It really means a lot that people like my art work.
Beautiful piece.