This Photo Eye Makeup Tutorial is a little different since the look that I created is for special occasions such as concert, special dinner, and celebration.

As I stated in the previous photo tutorial, I went shopping in a craft store so that I can get different types of items to create new looks and THIS one is the second Photo Makeup Tutorial with one of the items I bought.
This time, I’m not using any Holographic Flakes, but I’m using some very Little Stones mainly to make my eyes attractive.
So, let’s cut the chase and get into the Photo Makeup Tutorial:
Step 1: False Eyelashes.
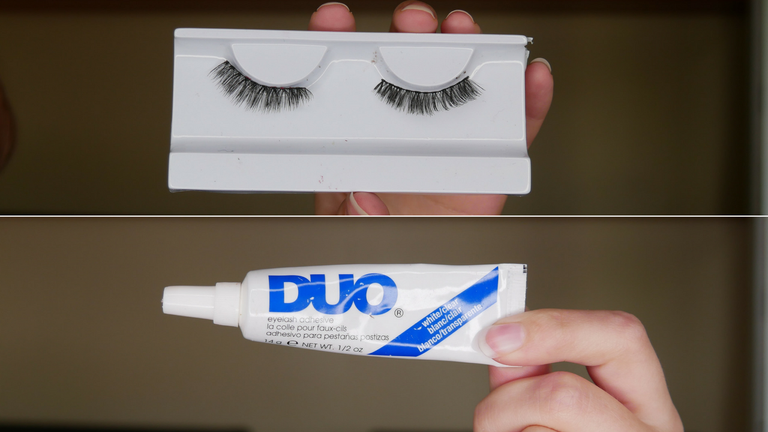
Get yourself a pair of false eyelashes and some lash glue.
When it comes to choosing the style of your false eyelashes, it is advisable to opt for medium dramatic lashes. If they are too natural, it won’t look that special, and if you’re using too heavy and thick-loaded lashes, you won’t be able to see the eye makeup. Pick something in between (;
Moving on to the glue, I’m using the white Duo Lash Glue that dries down transparent. You can also get black eyelash glue that will still be black when it’s dry. Also, you can get latex- free eyelash glue. Choose the one that works best for you!
Step 2: Apply your falsies.
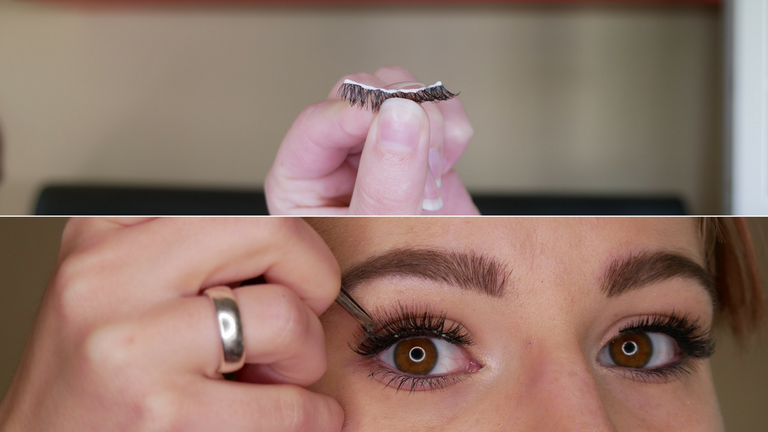
Applying false eyelashes can be a nightmare so I’m planning to do an in-depth Photo Tutorial on how you can apply them correctly.
But for now, trim them to your lash size add some glue to the lash-bandage (with a q-tip, brush or dip the lashes into the glue) let the glue get tacky for a few seconds and apply them as close as possible to your natural lashes. You can use your fingers or tweezers to press them onto your eyelids.
Step 3: Add Eyeliner.
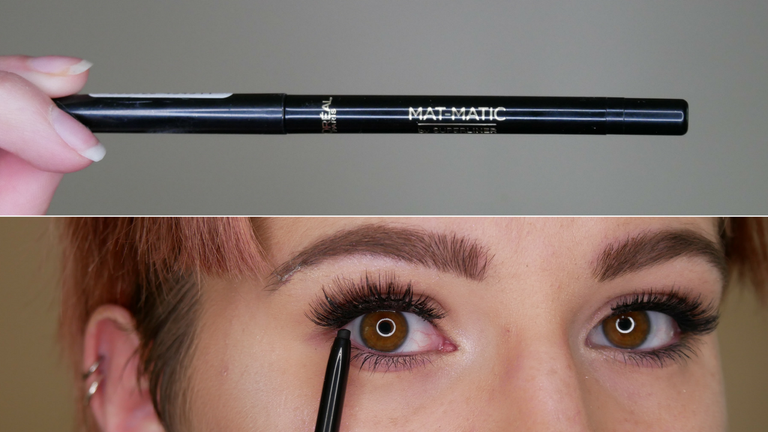
Pick a black pencil eyeliner and add this to your upper waterline and between your lashes so that you won’t notice the little gab between your natural lashes and false eyelashes.
Step 4: Add Lash Glue.
Now for the actual eye makeup, I’m keeping it simple, but I feel it’s enough!
Of course, I have already my base on so I’m moving onto the eyes.
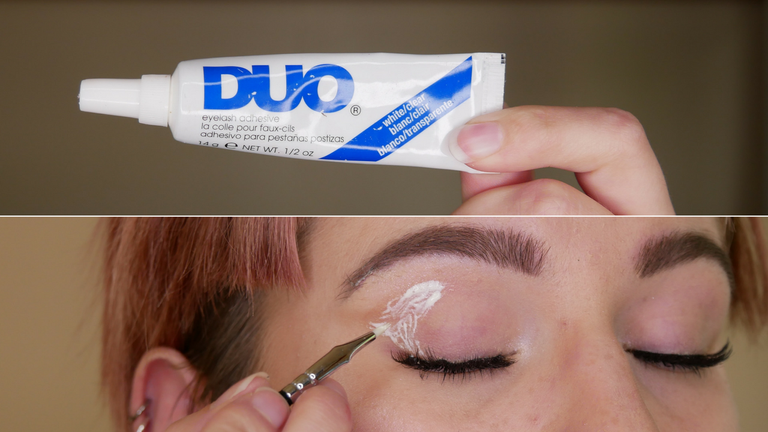
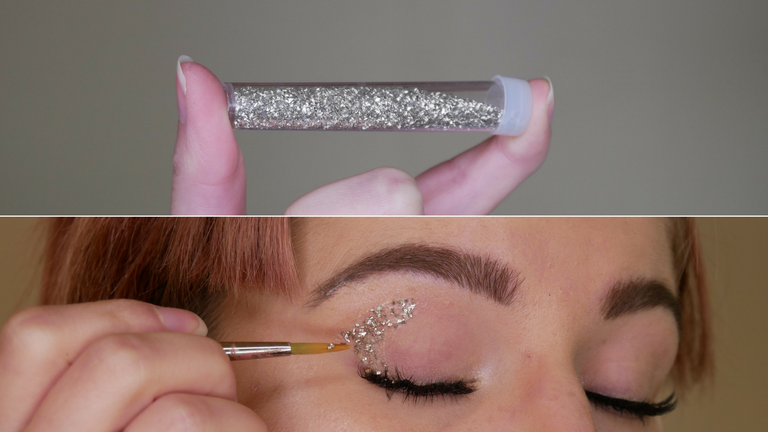
Take a flat synthetic lip or flat eyeshadow or eyeliner brush to apply the lash glue to your mobile lid.
Keep the glue at the outer “V” of your eye corner and bring it above your natural crease in a “<” or half-moon shape.
Step 5: Add The Little Stones.
So here you can see the tiny stones that I was talking about! These aren’t pearls there are really like tiny stones in a silvery/yellow shade.
Use any type of synthetic brush where you know that you can stick these stones to the glue and still keep the shape. I’ve chosen a long thin (kind of eyeliner) brush.
So, apply the stones to the glue. I started from the outer part of my lash line to the outer point of my eye shape and brought it back to the “mid-section” above my crease similar to a half-moon shape.
The stones should be visible when you’re having your eyes open.
Step 6: Highlight.
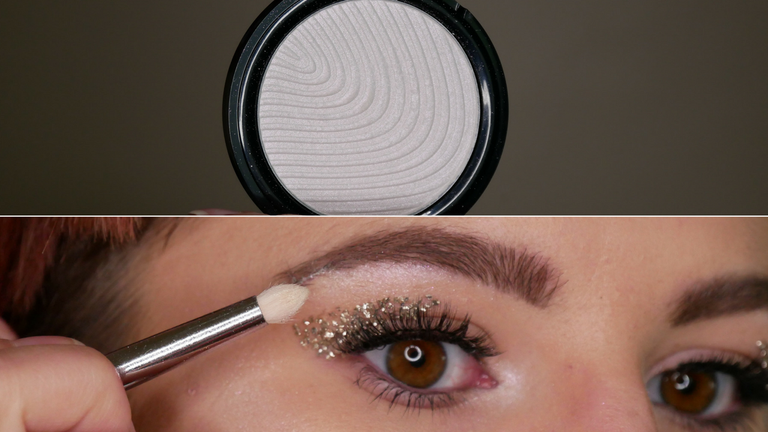
Never forget to highlight your face! Doesn’t matter if it’s shimmery, sheer or matte!
Highlight the highest points of your face including the inner corner of your eye and under your brows. Your eyes should sparkle!
Step 7: Lips.
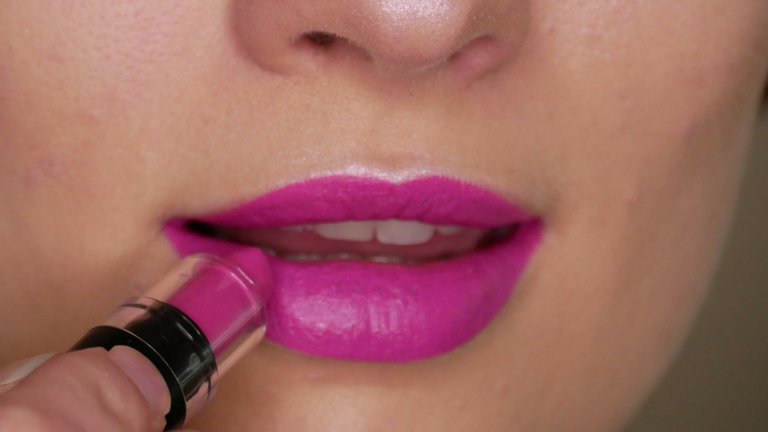
I’ve added a bright pink fuchsia type of lipstick. Since the look is sparkly and glowy, I can’t get over adding a bold color to my lips. Of course, you just could add a natural lipstick or just a tinted gloss – this will give you more elegance but if you’re going out – I would choose a bold color for my lips (:
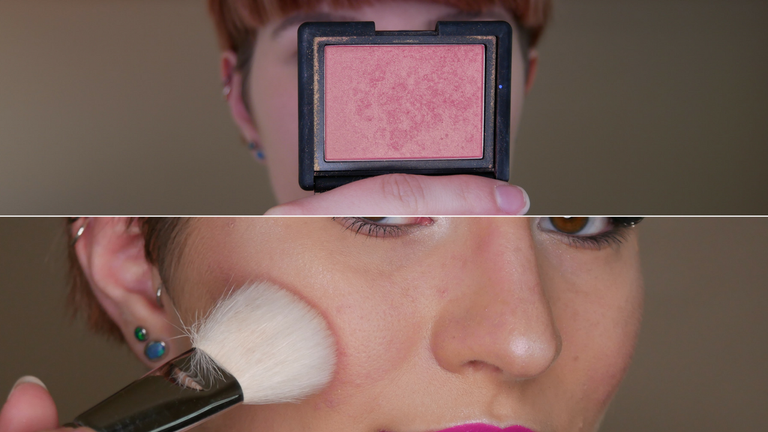
And lastly, add a little bit of blush to your cheeks, I’ve chosen one that is pink but has a golden shimmery in it. My skin looks fresh, glowy and playful.
Exceptional Communities on Steem
Exceptional Services an Dapps On Steem
Join The Ecological Movement Become a Part Of


Gonna try this out
Awesome job!! I love fuscia lipsticks, I think they are the right amount of bold but not completely over the top either.