This is a DIY on fixing a torn crotch on the seat of your kid’s walker. I’m really not a DIY type of guy so please bear with me. 😅
Step 1. Dettach the seat of your kid’s walker. Usually, they’re just knobs and holes made to lock each other by clicking them together. It’ll be easy to dettach without destroying it. 😜
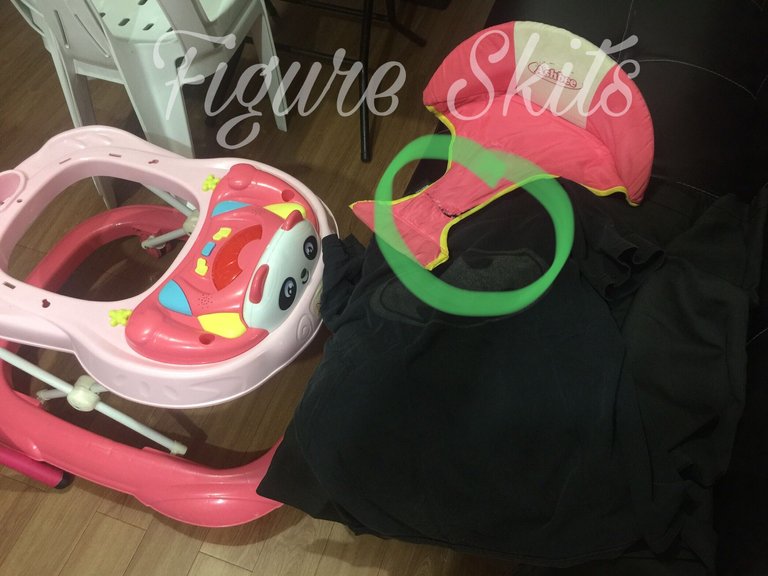
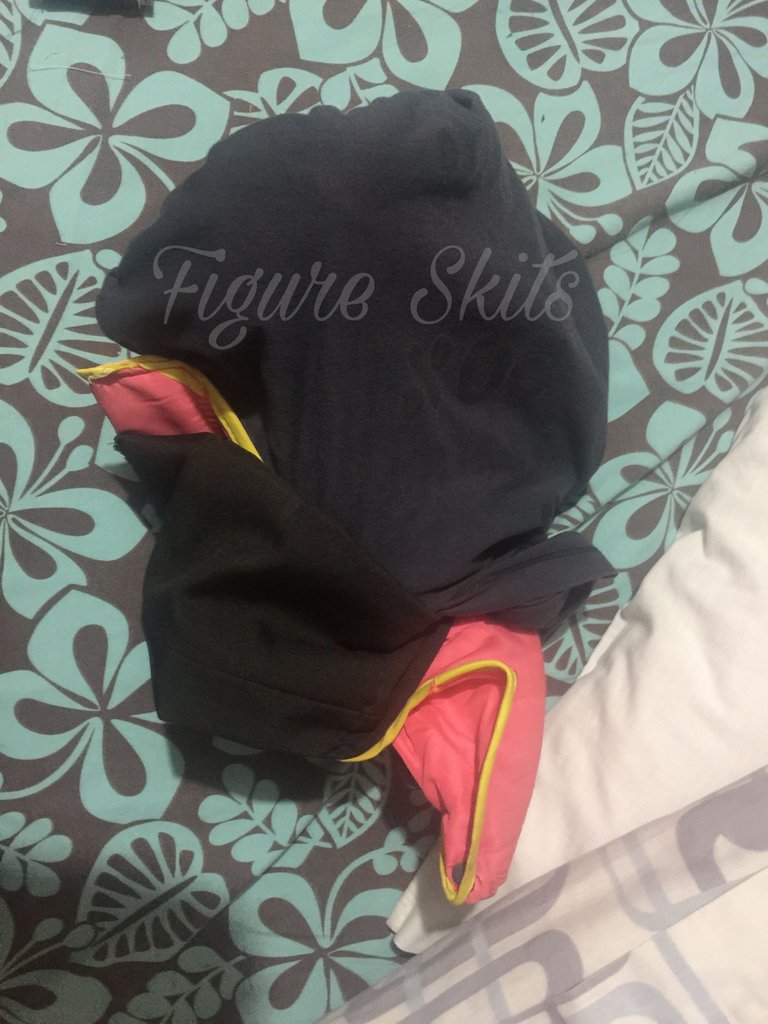
As you can see in this picture, there’s a torn segment on the crotch part of the walker’s seat which will make it accident-prone. That’s the part that we’re going to fix.
Step 2. Find a sewing kit...
Step 3. Open it to make sure that it is. If it is, proceed to the next step. If not, have a break. ✌️😅

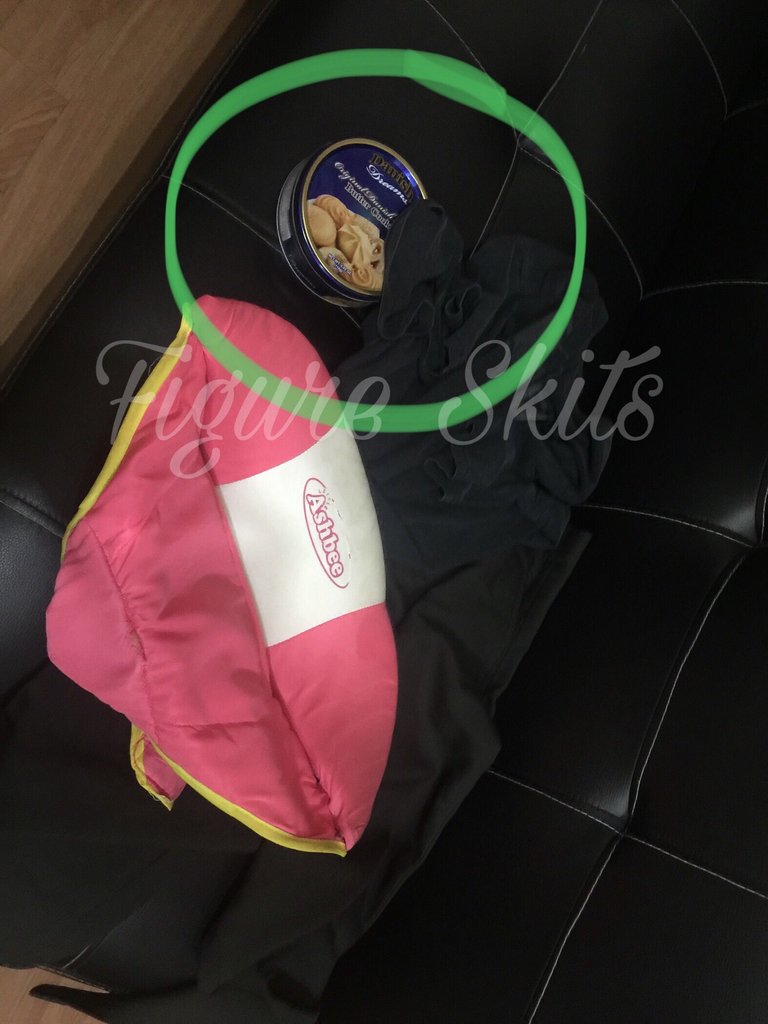
Step 4. Once you’ve checked the sewing kit (or had a snack AND found a sewing kit), find some fabrics. Old ones will do. In my case, I’ll be using my old shirt, and my old pants (because they don’t fit me anymore).
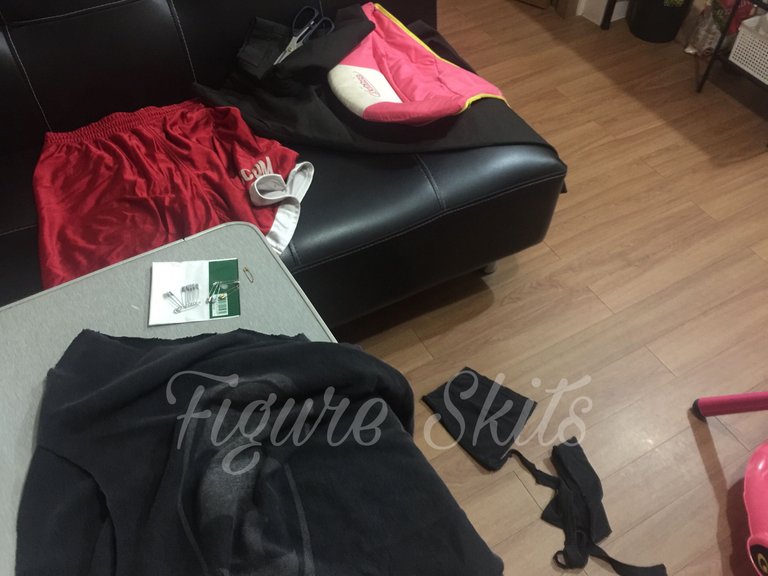
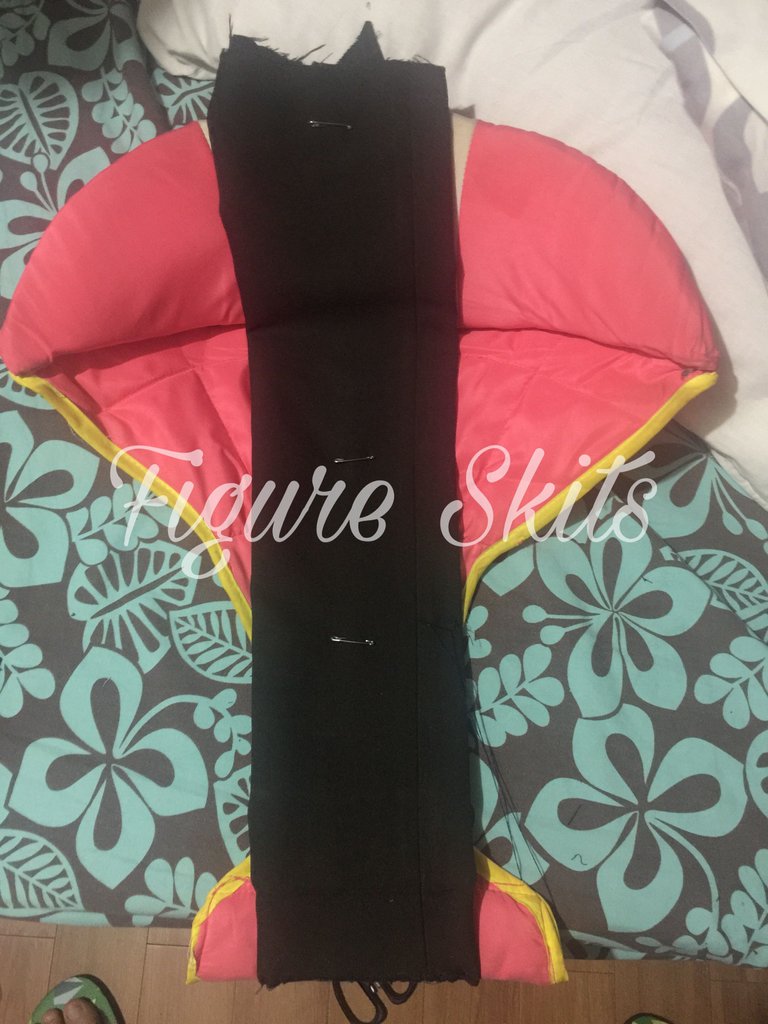
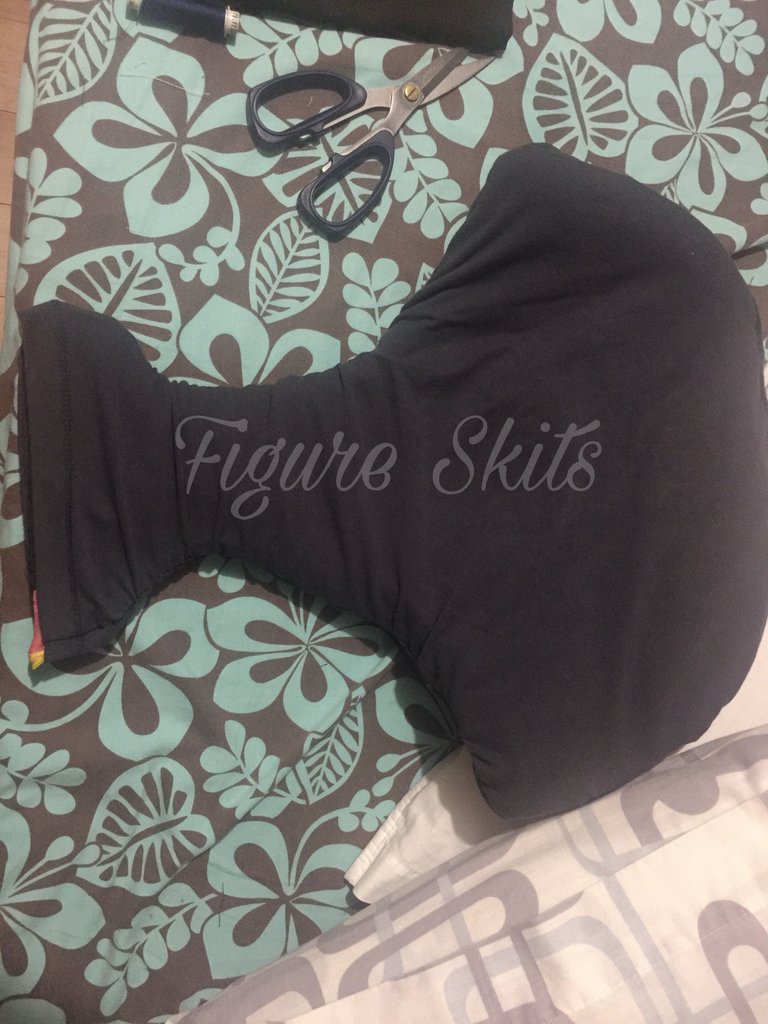
Step 5. Once you’ve decided on the fabric, reinforce the crotch part with the fabric. In this case, I’m using part of my pants. They are durable (or so I think it is) because they are made out of linen (I guess). Pin them together to make it stable then sew around it, covering all the linings.
Step 6. Find a fabric to cover the whole seat. You may use any material. In this case, I’m going to use my old shirt because it is cool because it is made out of cotton, it does not fit me anymore, and I’m already sober for quite some time. 🤓👍

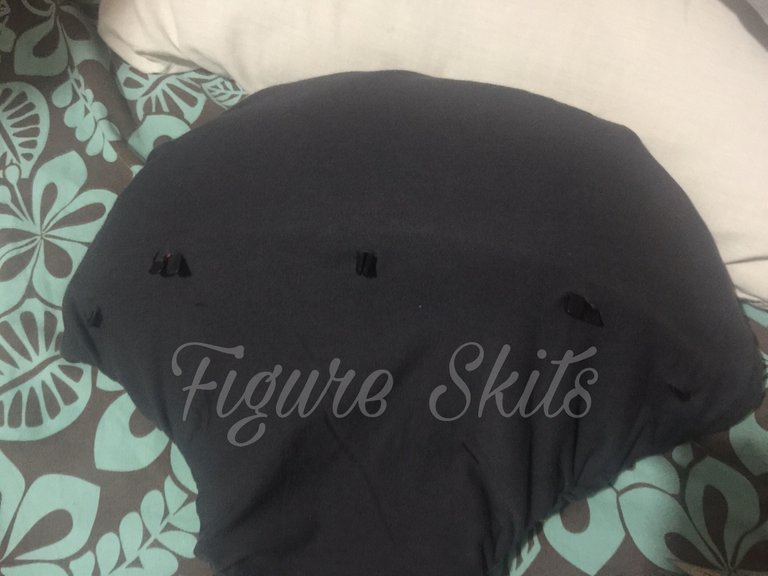
Pin the edges and sew around it, covering all the linings except one part (for inverting).
Step 7. Once you are done sewing the linings/edges, invert the seat so that it exposes the inner part (which is the outer part) of your cover and insert the walker’s seat.
Sew the remaining part that’s left unsewn.
Step 8. Cut some holes for the knobs
Step 9. Fit the knobs of the seat into the holes of your kid’s walker. 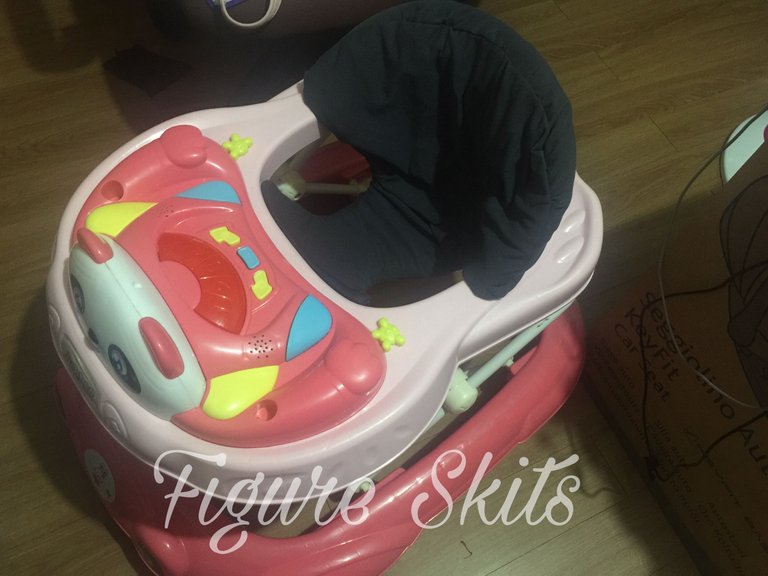
IT IS NOW READY TO USE!!!
P.S. I used black cloth to make obvious the part that we fixed (plus, my wife will kill me if I use her pink shirt and pants). You can use any type of cloth and color you want. You can also do accurate measurements for the seat using tapemeasure. I used old shirt because I’m lazy to take measurements. 😅
I hope you find this useful, guys! See you again later! 😜👍
For more interesting stories and/or tips, visit my blog and follow me at https://steemit.com/@figureskits or visit my page https://m.facebook.com/figureskit/ and don’t forget to like and share
I'd say it worked like a charm!!! Replace the batteries on the panel and you'll have an instant ride on police car that sings "I'm a barbie girl".