We are doing a textured ceiling in our small house remodel, it was a 14x45 office mobile home but we are making it into a small house now. We have redone all the electrical in it and will have to put all the plumbing in it, as there was none, putting up walls to divide it into rooms.
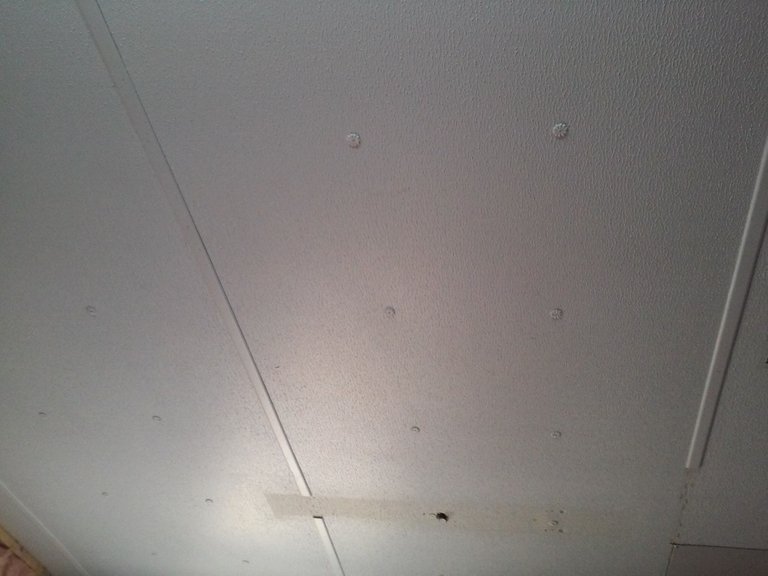
All of that I was ok with because growing up in school I worked with different contractors and learned a lot of this stuff. Doing drywall and textures and that realm of things I had no idea about, so it was a learning process for me. The ceiling had the old trim pieces to cover the joints and some of them were missing as they had fluorescent lights in it and had to cut a section out. It had the square headed screws with the stars in between the strips to help hold the drywall on the ceiling up. This is what I am talking about.

Someone had ripped the old electric wires out of it also, why we also replaced the electric wiring in the mobile home, so we had to patch the ceiling with sheets of drywall in places. So the call was made to texture the ceilings, I was not sure about this as I have never done it. We went looking up videos and such how to do it and got it figured out somewhat them we went on to look for the best roller to get, as they said that was the easiest way to texture. We went to Lowes and got some joint compound, any joint compound will work is what I was told, got the cheapest bucket they had and got this roller.

We knew it was going to rain for a couple of days and that the garden work would have to wait so we could get this done in the small house. I got the mixer on the drill and added some water to half of the bucket of joint compound, it is best to buy an extra bucket from this project, You only want to mix what you think you will need. I tried at pancake batter thickness and it was too runny so I thicken it up a little by adding some more joint compound.
It took about 3 hours, with breaks as holding arms above head makes you tired fast if not used to it, to get the 10x14 room we were doing done. It is thick going on but you have to keep working it in opposite directions and it will turn out nice. If you can have two people doing this it is easier, have one spread it on about a 1/8 of an inch with a trowel and the other roll over it and move it around on the ceiling. It will move easily with the roller as you make the texture you want.
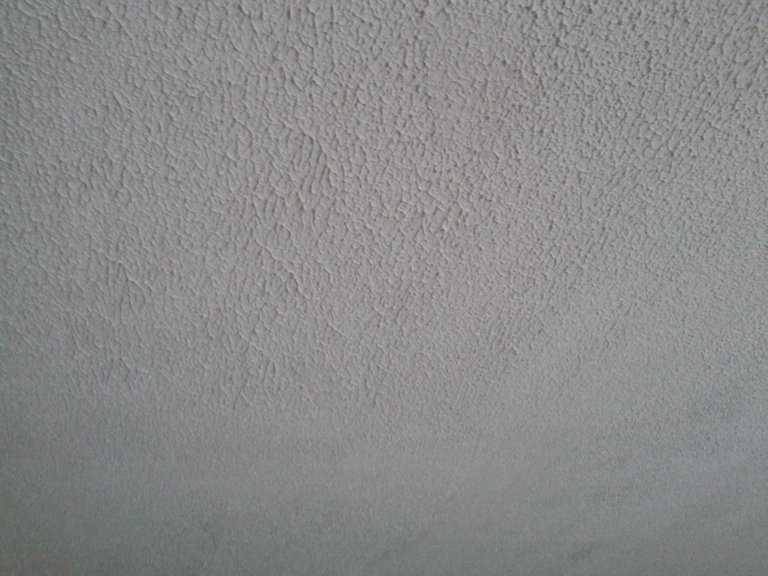
Here is the ceiling when I was done, this is the wet joint compound, let it dry about 24 hours before priming and painting it.

It is really good at covering most all of your imperfections and making it look like it was perfect, well almost perfect, or you would not have textured it. LOL. This is a great skill to have if you remodel or even build your own home. I would say this was a success at learning something new and yes, in my case an old dog can learn new tricks. So go try to learn something new, do not be scared because better to have tried and not done it very good that to have never given yourself the opportunity to learn something new. Thanks to @kiaraantonoviche for doing this challenge. Have a great night/day, whatever it is in your neck of the woods.


Good job. You've done it yourself and it's perfect. If there is a mistake, just say it must be like that. That's what I always say if I did not do something good.
😃😃
Thanks, I made a few but that is just fine! That just adds character.
Awesome! You've been entered into the challenge, thank you!
Thanks! Learned something new at the right time. LOL
I just did some ceiling work myself this past week and was thinking I was going to have to do the same thing. I did not however have to do it but thanks for sharing as I would have had to look this process up myself!
This worked great for me and it will be a good thing to keep in the "can do" box for a time when it is needed.