Hello steemians friends, and art lovers..
Still with me @bangby how are you steemian friends today?
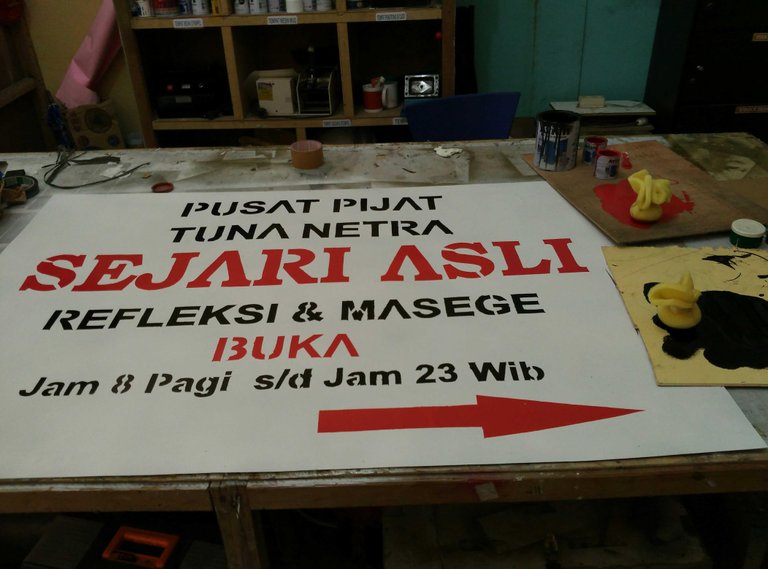
Are you still in good shape today, and how your work or art today is going smoothly or there are obstacles. on this day is still in my job but this time with a different job that is my job @bangboy how to make blind brand in a way like painting using oil cet and here's the following pictures and peoses I work.
Materials needed :
- Cat
- Brush
- Foam
- Red and black paint
- Thick paper
- Almanium
- Paper soles
The first stage

Image 1
Provide a paper mall that we have printed to start the job

Image 2
Provide the materials we need such as oil painting, foam mall and others

Image 3
Next we take the mall we have cut then we paste it into the almanium that we have painted.

Image 4

Image 5

Image 6
The second stage we start working with the foam and paint.
We start with the red paint according to the concept and the message. The brand this time is quite different from the usual, if usually made of wooden paper brands using hecter, but this time I just need to use paint brush foam and brand mall that has been in prin.

Image 7

Image 8

Image 9

Image 10

Image 11

Image 12

Image 13
#And here's a second stage video:
The Next Stage enters the black paint section:

Image 14
Here we start using black paint, we only need two colors to make a brand of stamp like this, because the customers themselves who choose the color and here is the picture of the picture that I have taken.

Image 15

Image 16

Image 17

Image 18

Image 19
Make cao brand like this we have to be careful and careful, what if we hurry hunt then the result can be destroyed or messy, work like this we have to learn first, and here is a short duration of the video that I share to the friend steemian for more clear.
Lainnya
Furthermore, the opening of the mall we have attached to the aluminum is what we branded a red and black color.

Image 20

Image 21

Image 21
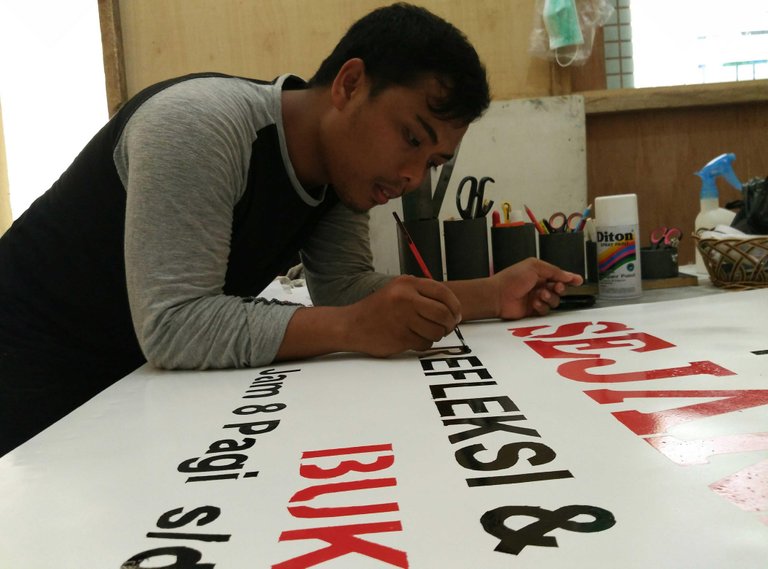
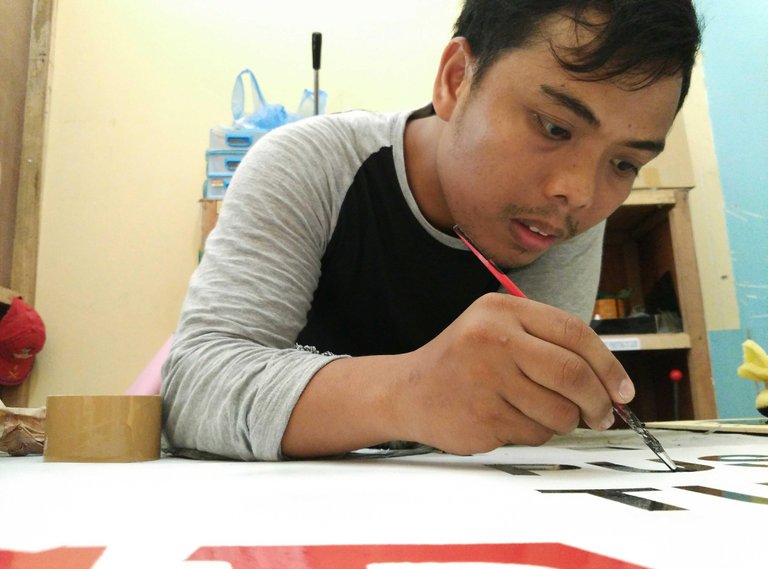
The next stage of brand letters that we have stamped before, the letter we connect is a letter that is disconnected or letters that are less tidy then we rampi it back. It's like this when I'm connecting disconnected letters.

Image 22

Image 23

Image 24

Image 25

Image 26

Image 27

Image 28

Image 29

Image 30
Connecting this letter also we should slowly but surely, what if our hands tremble then the letters we connect will be a hassle, I use a small size brush 3A to easily connect the letters that are disconnected after we stamped before.

Image 31

Image 32
Here's a third short duration video so the clue for the less obvious with my image:
Videos on top of how I connect letters that have not been connected.

Image 33

Image 34
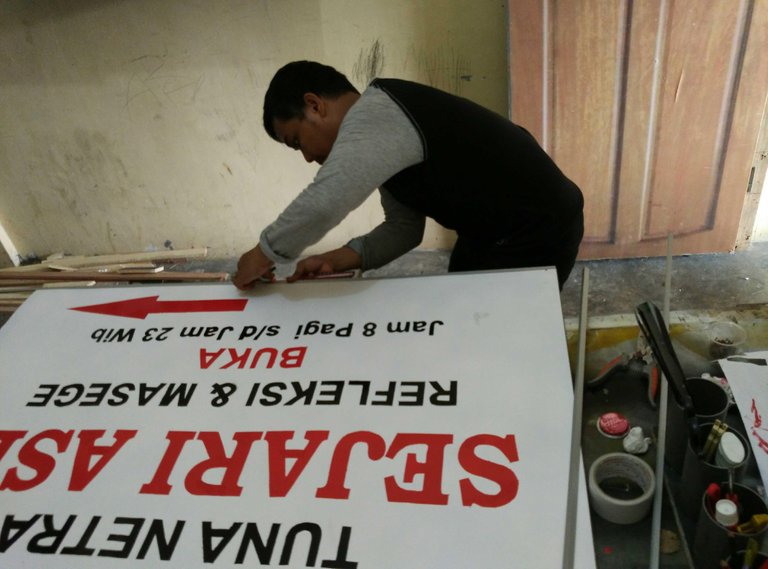
The last stage we begin to install the elbows of the four sides of the brand we have captured :

Image 35

Image 36

Image 37

Image 38

Image 39
Here is the last material needed:
- Elbow aluminum
- Aluminum scissors
- Nails half an inch
- Hammer
- Elbow meter
Here are the results of my last video that I've shared here for the less obvious with the images I share with my fellow steemian friends.

Image 40

Image 41
Well this is the result of my work on this day, may be useful for us all especially for myself. For those who are less willing to apologize because I also still learn and still need a lot to learn, if you like in my post follow my blog @bangboy for friend steemian friends do not stop bekusya turuslah bekarya whatever your job do not ever complain. And remember no matter how small our work is more noble than we are silent. See you again at my next job thanks many who have visited my blog.
Di share naek ne
Umak mantap x cok, di share naek ni