its ya boy acryptokid :)
i will show you today how to create this industry standard music video promotion 🔻 for instagram!
lets start to make steemit little bit more professional ! be sure to follow me i will drop more hot stuff here !
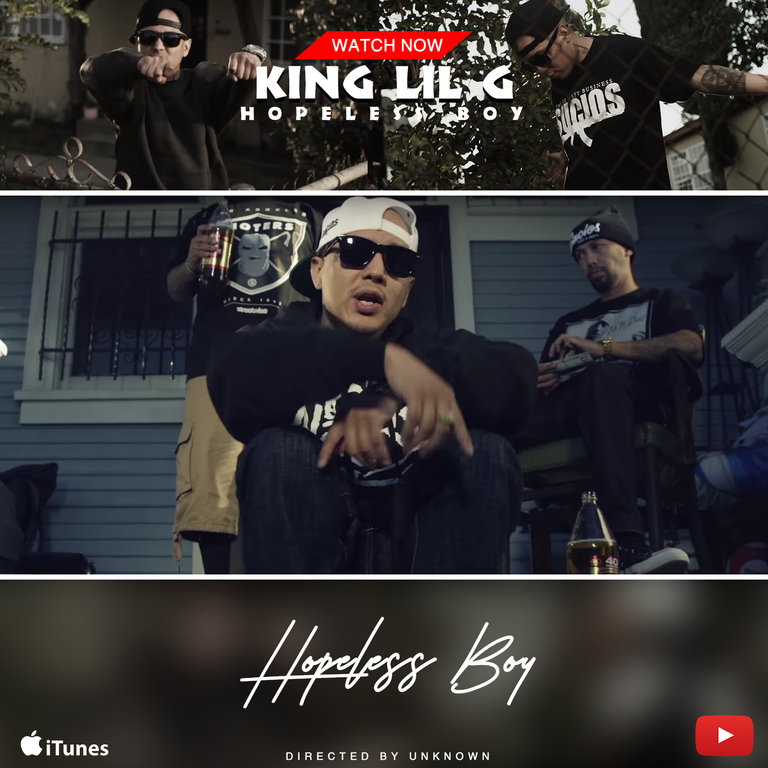
#kinglilg his new album is coming "Paint the City Blue" support him please !
lets start.
1.
open your photoshop , create a new document with the size "1500x1500pxls | resolution 72 pxls/inch"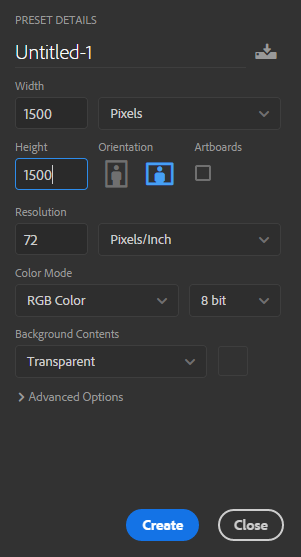
2.
use the "rectangle tool" and the background color "black"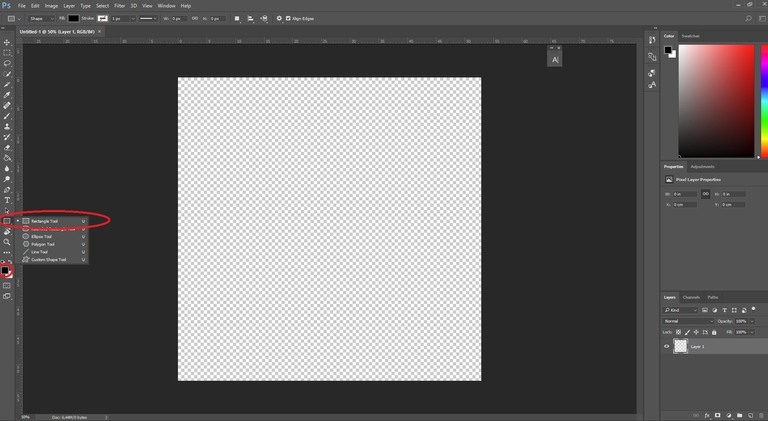
3.
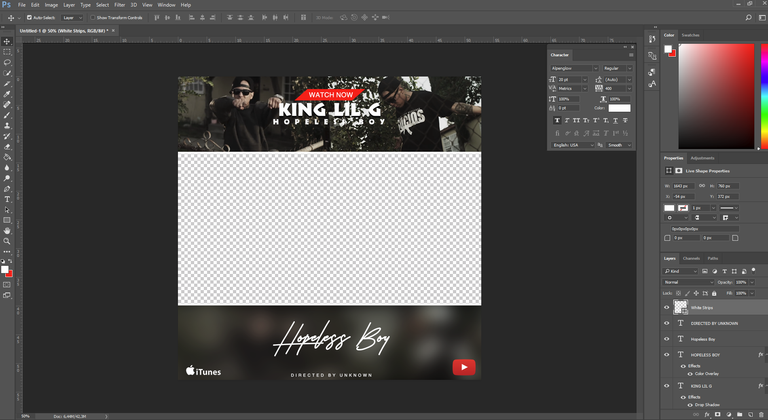
add on the top and on the bottom "bars" like this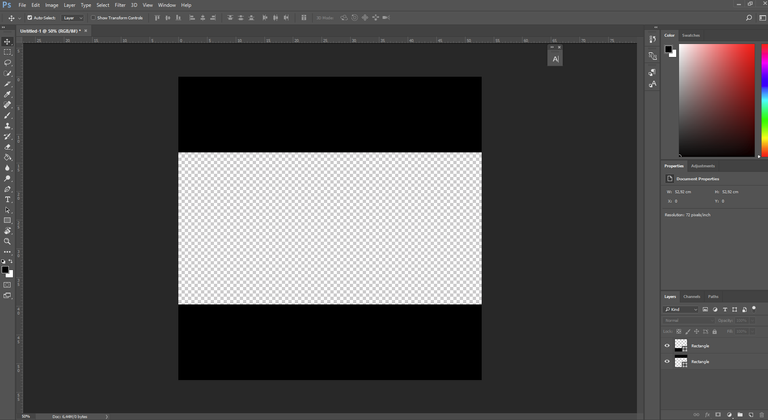
4.
change the background color now to "red" and create a "rectangle" like this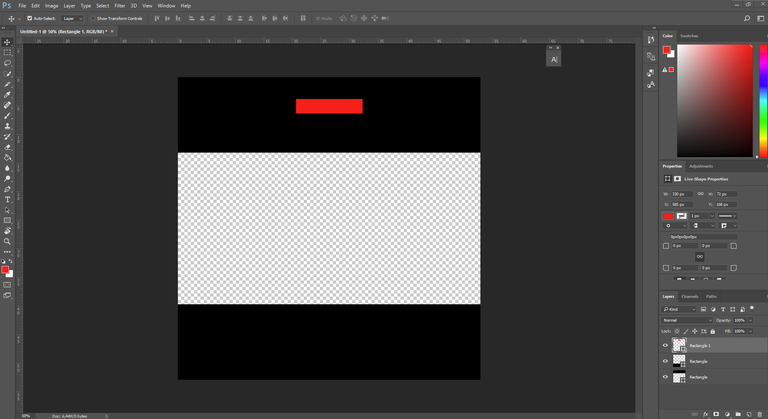
5.
mark the "red rectangle" with click on it - press now "STRG + T" click with the right mouse button and choose "skew"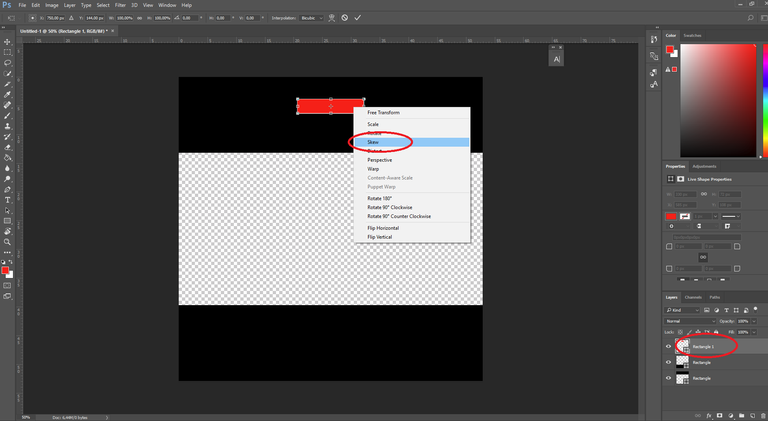
6.
place your mouse over the "red rectangle" and slide it a little bit to the right side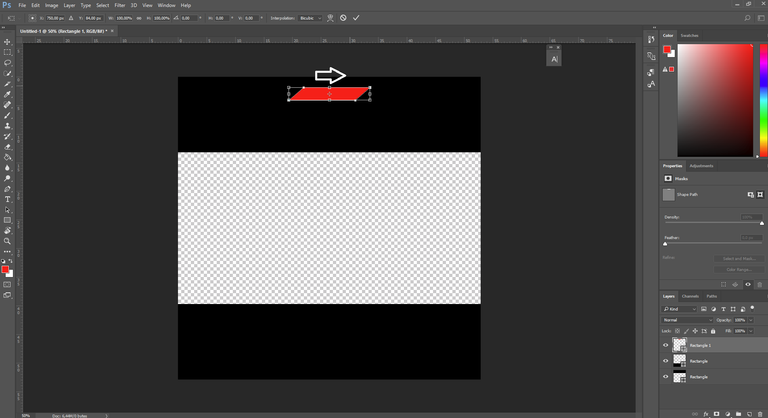
7.
use the "text tool" and a "white background color" and write "watch now" in the "red rectangle"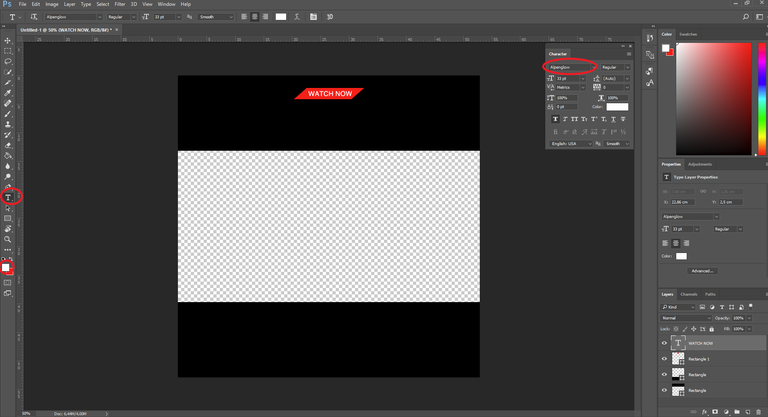
8.
open the video u want to use for this "music video promotion" in "full screen and click on "pause"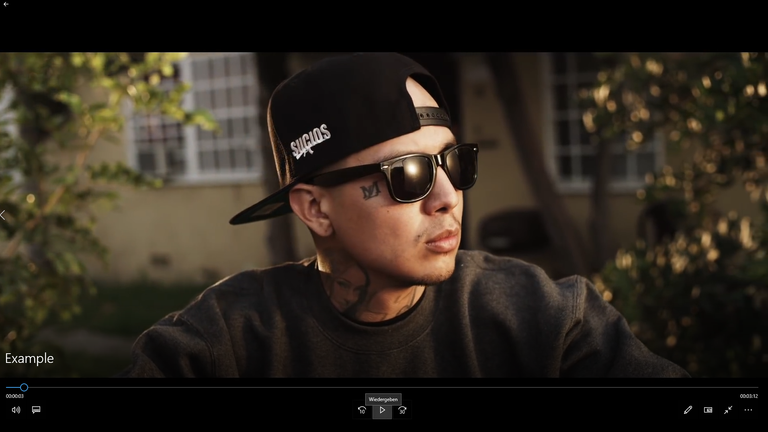
9.
now search for the best "scenes" to make a screenshot from it.. and save it in a folder on the desktop !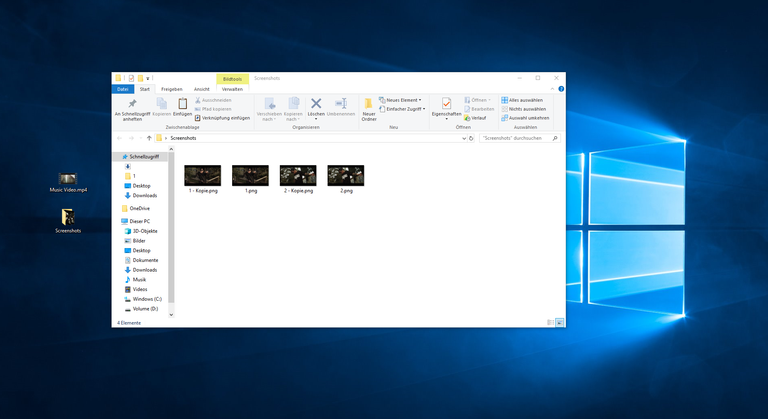
10.
Drag and drop the pictures into photoshop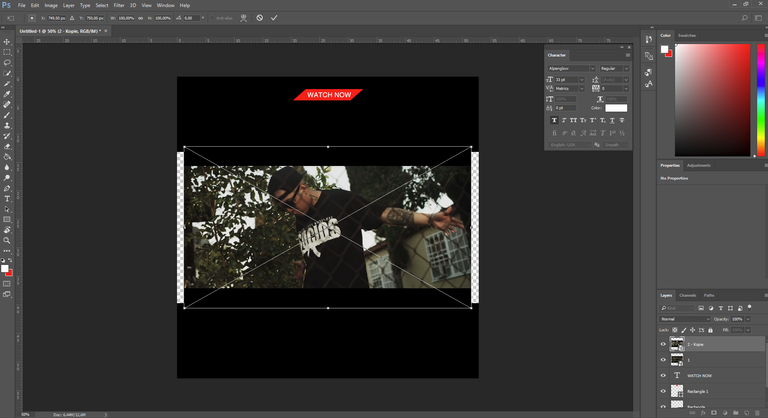
11.
move the screenshots over the "rectangles"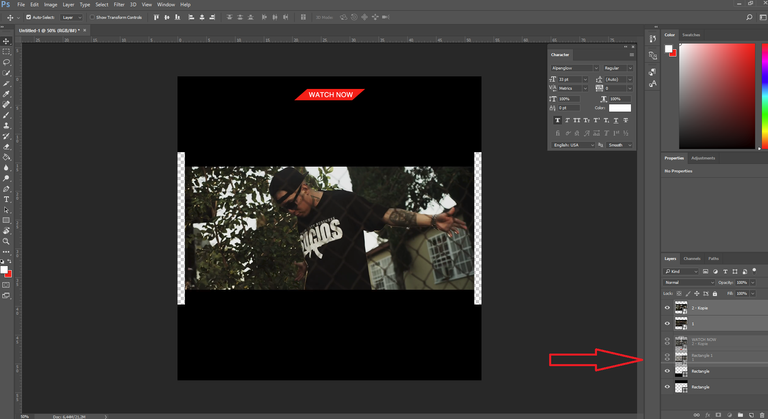
12.
mark the two black rectangle and press "STRG + E" to connect both rectangles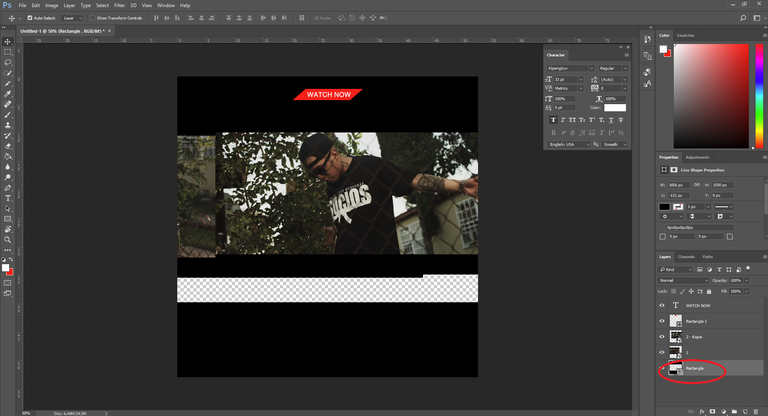
13.
go now with the mouse beetwen screenshot and rectangle press and hold the key ALT and click with the left mouse button on it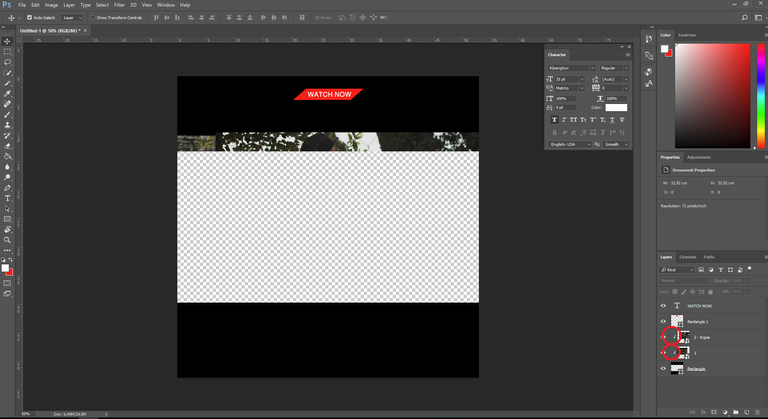
14.
now place the "screenshot" how ever u want it ( u can change the sizes with pressing STRG + T )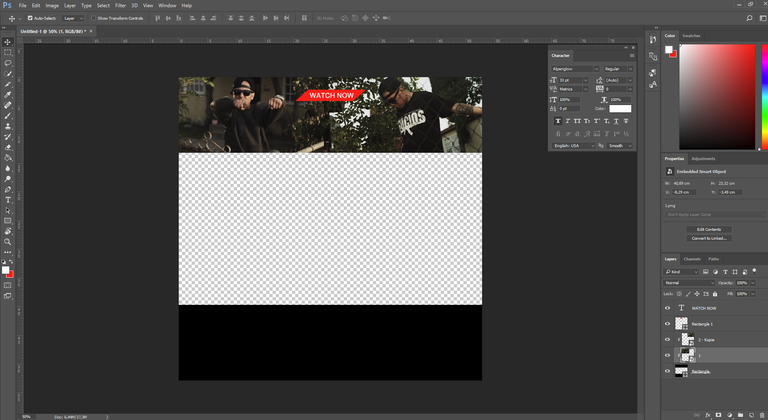
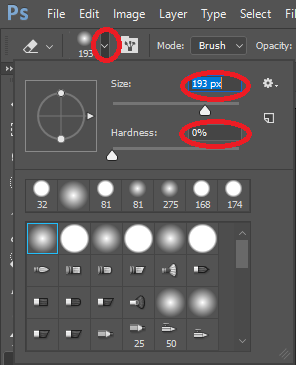
15.
select the "eraser" and take my settings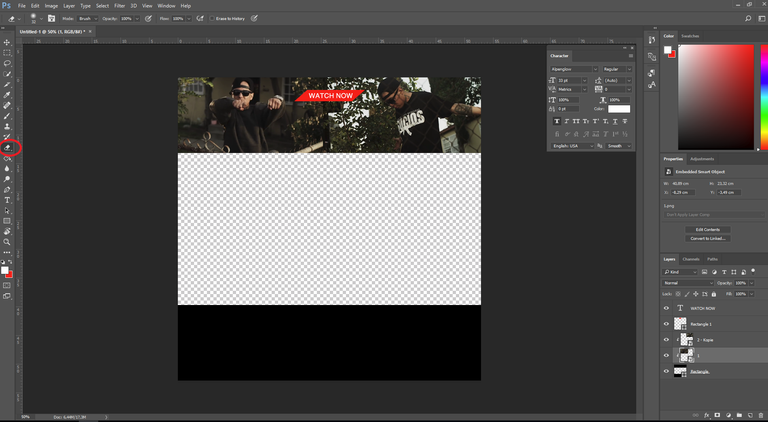
16.
click now on the picture and press "OK" if this message pops up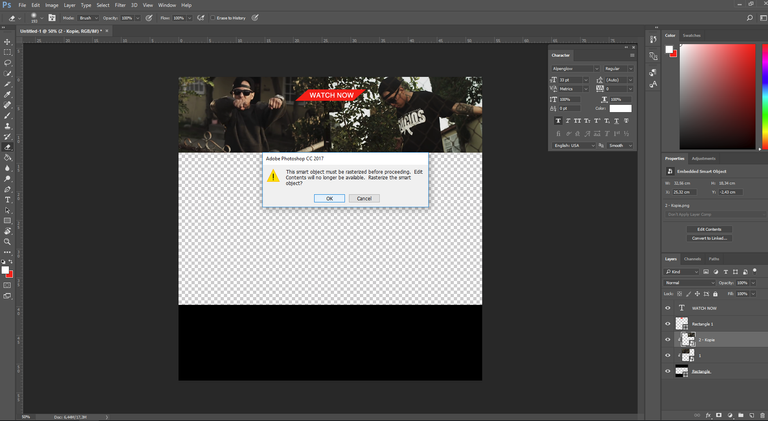
17.
remove the edges with the "eraser" to get a clean "tansition"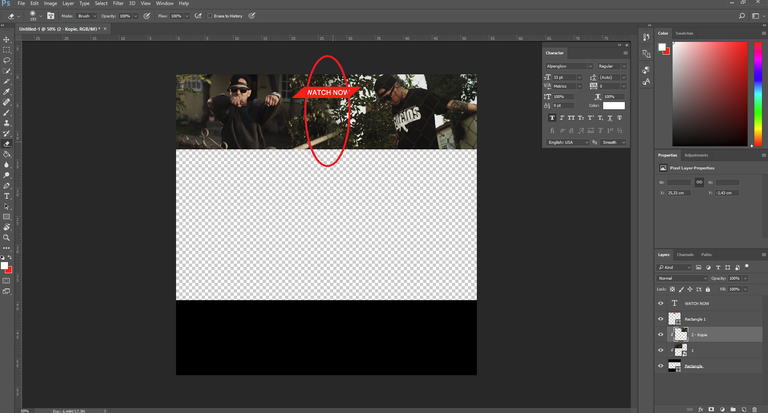
17.
now mark the "2 screenshots" and press "STRG + E" to connect both"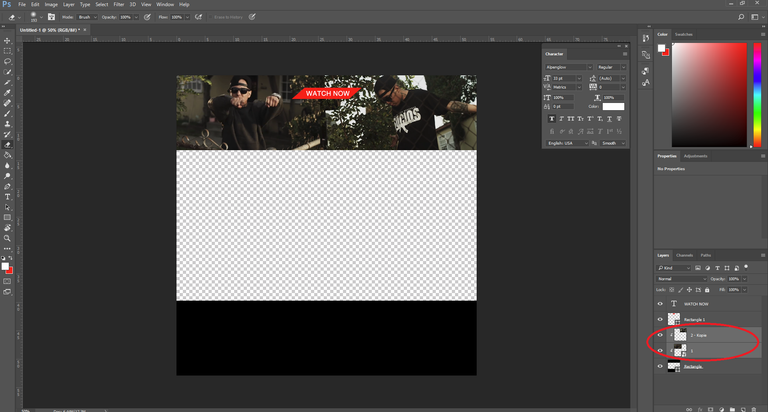
18.
click on the screenshot and press "STRG+J" to create a copy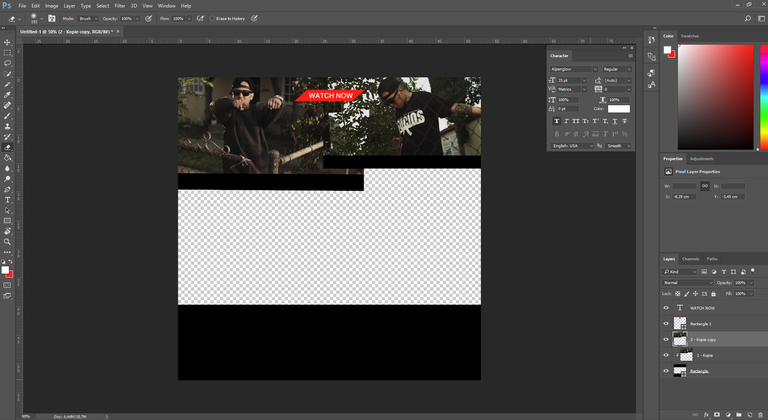
19.
drag the copy of the screen shot to the bottom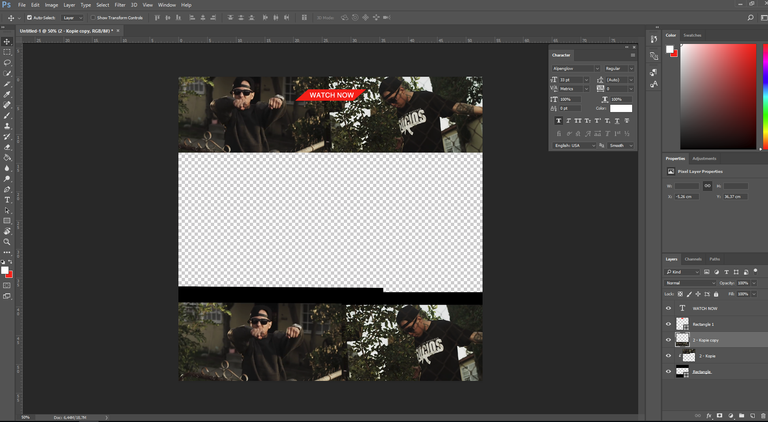
20.
go now again with the mouse beetwen screenshot and rectangle press and hold the key "ALT" and click with the left mouse button on it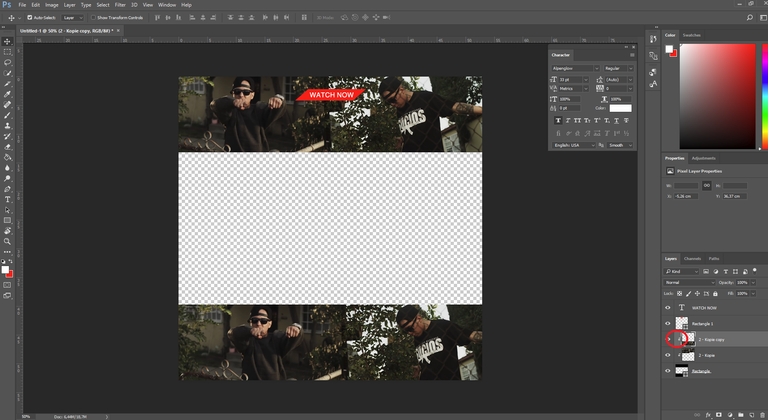
21.
mark the screenshot , go to "filter" select "blur" "gaussian blur"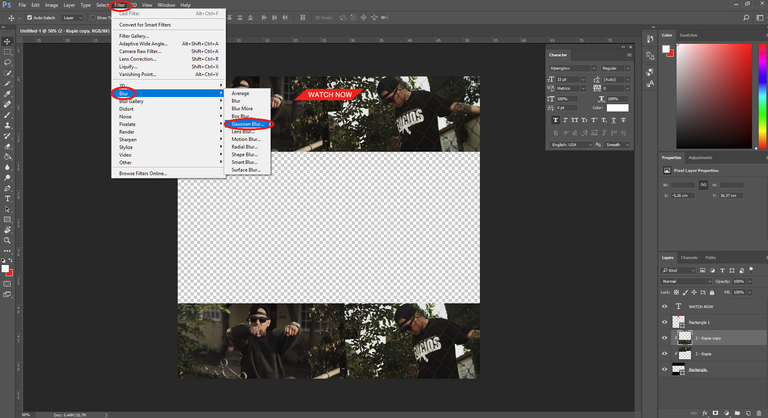
22.
use a radius u like and press "OK"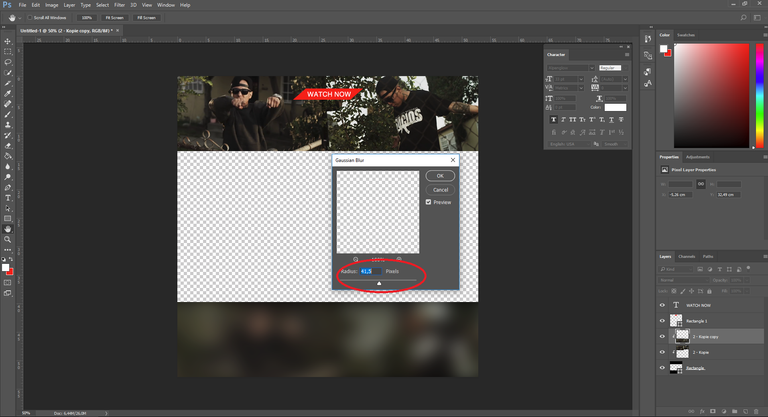
23.
safe a icon u want to use from here on your desktop... or search your own brands on google


24.
drag and drop your brands to photoshop and place it where ever u want :P
25.
The last step , choose a nice FONT and add all informations u want to show
#i used for the Header the Font "BORED FJORD"
#i used for the Bottom the Font "ARION TYPEFACE & ALPENGLOW"