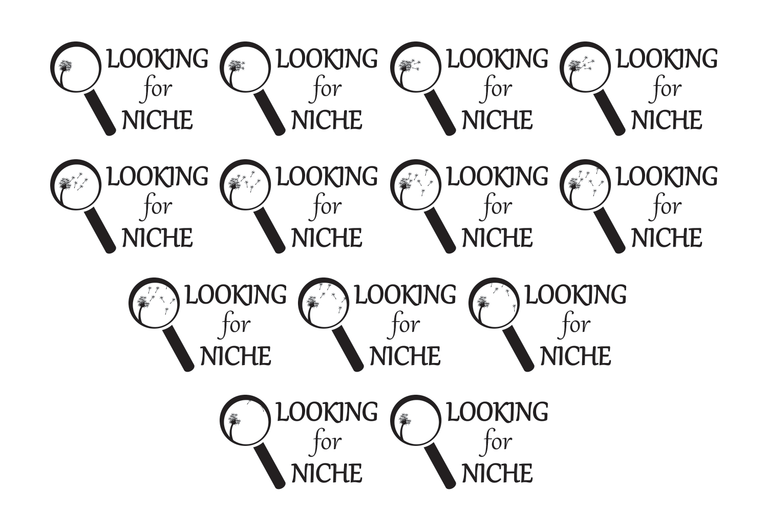
A few days ago I participated in the Looking For Niche logo contest.
LINK: https://steemit.com/contest/@rawbinhutt/logo-contest-1-looking-for-niche
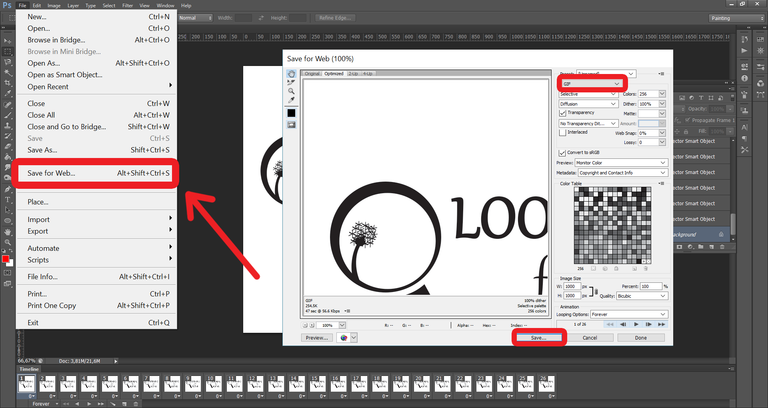
I wanted to make something special and I had seen few logos here before that were made as a gif. So I got an idea to try some gif logo too. I have not done this before, that is why I had to watch some tutorials, but finally I found it as very easy. Today I am going to write about how I proceeded.

First of all I made vector logo in Illustrator. I decided to create a dandelion with seed head in magnifying glass. The motion I wanted to construct consisted in its seeds flying away.


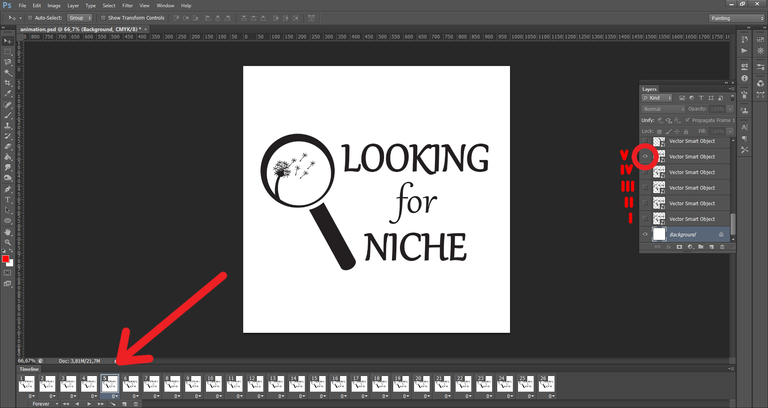
After that u can notice that there came up another window with one frame on the bottom of your Photoshop screen.

There are two important buttons. One is for adding new frames and the other one is for setting a time gap between two frames. Under that there is a button put on forever by default. It says that your frames are going to move into an infinity and that is exactly what you want from a gif.

Before you start with adding your pictures in there, there is one more thing you should do. On the other side of Timeline window there is another important button. When you click on it, there is 'Create New Layer for Each New Frame' button that you have to turn on and 'New Layers Visible in All Frames' button that you have to turn off.

After adding your sequence of pictures, in every frame you have you should make visible that layers, that are exactly part of the current move.


Well written
Thanks a lot! :)