Steemit is an awesome platform. Steemit is a great community. Steemit is the best place I know of online, to go and find interesting articles about just what you want.. none of the spammy ads and forced upon you content like you find with so many other online sources. (not naming any names here, but 2 big ones come to mind)
I thought I would write a post about One little thing I found (funny enough, it was by reading another person's post about it here on steemit.) I figured it out, but I had to try a few times, and I have been online and working with computers for over 20 years now.. I used to repair PC's and do computer tutoring back in Hawaii. So, I am not afraid to get into anything on the computer, fail many times, but then ultimately learn to do something. I don't think most people are that way.. the are often scared to try anything they are unsure of.. my mom is even scared she will press the wrong button and break the whole internet! :P
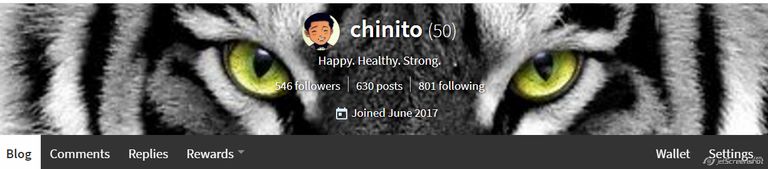
The one little thing I am talking about, is being able to setup a custom pic as the background for your steemit profile page. Here is mine. I chose the tiger eyes since that looks cool to me. I like seeing that image each time I come to steemit. I really feel it motivates me 1% more to visit steemit.. just to see that image.. and overall it makes me do something.. just that 1% more of something to add to steemit as a whole.
What I can hopefully do now is explain how to set your own custom background, and explain it step by step.. using lots of pictures.. so that even my mom could get it. OK, let's start.
Go to some source (could be a pic you took on your phone or something from pixabay.com, etc) and find a picture that you want to use as your background.
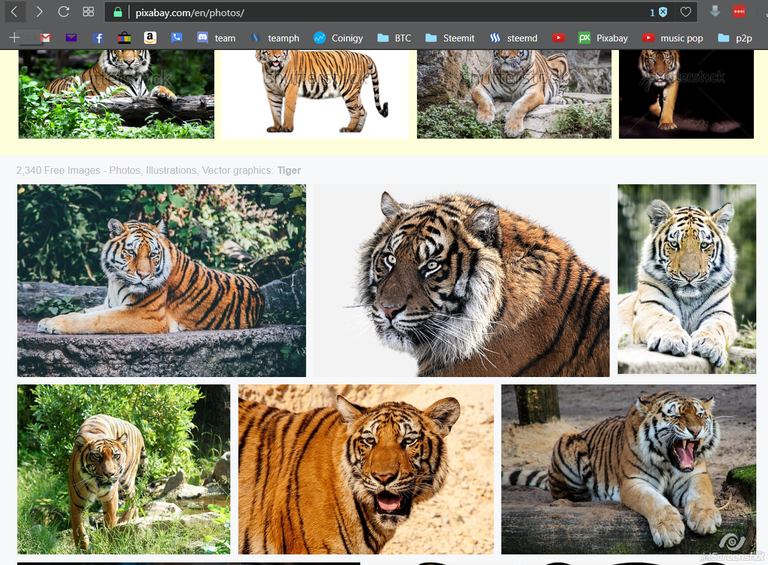
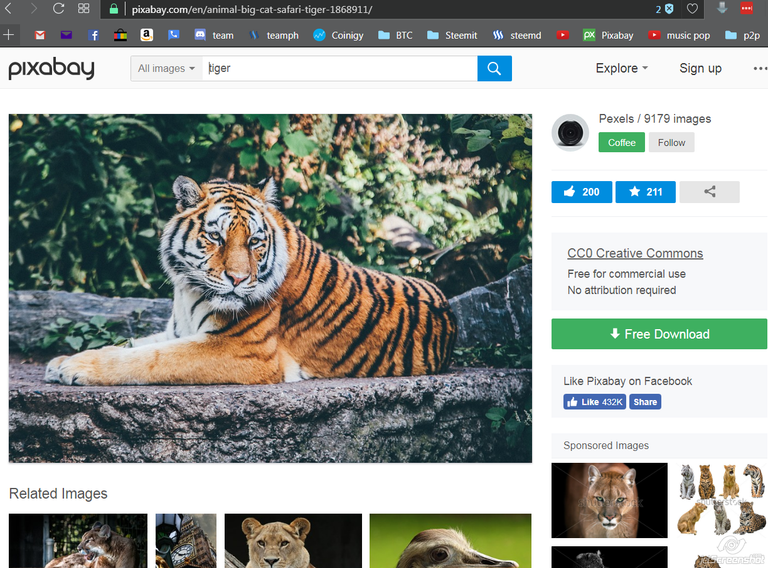
Click on the picture to make it full size.
Now right click with your mouse and 'save image as' ,

a new window will open up asking where to save it.
Save to your desktop by clicking on 'Desktop' (you might have to scroll up on the left panel of the explorer window.. desktop will be at the top of the list) then click 'Save'.
Now you need to host that pic online somewhere, so steemit knows where to find it. Hosting just means you save it somewhere. For this I use http://imgur.com
go ahead and sign up for a free account if you don't already have one.

Now that you're signed in, hover your mouse over your account name, in the upper right corner, and click on 'images' in the drop down menu.

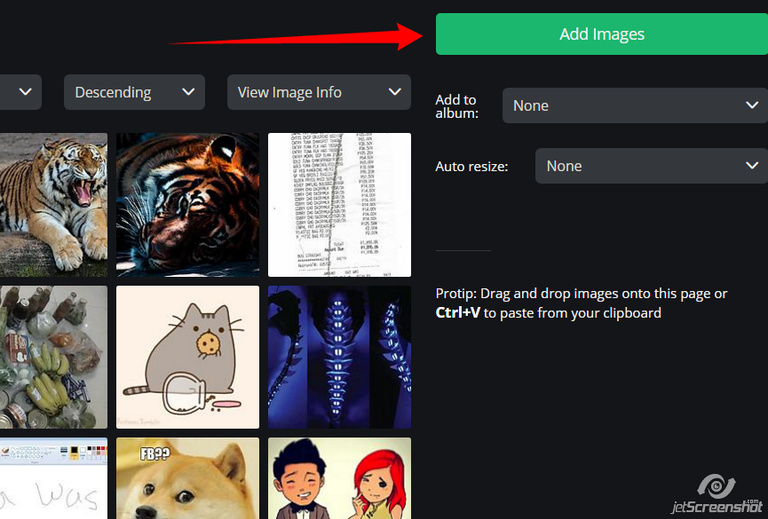
Click on "add images'
now just click 'Browse' and find your pic.

Double click on your pic to choose it or click once on it to highlight it, then click on 'open'.
Now the picture gets added to your images.

Click on the pic and a new window opens up showing a large view of it.

Click on the 'copy' button for the direct link. (this is what steemit needs for the background)
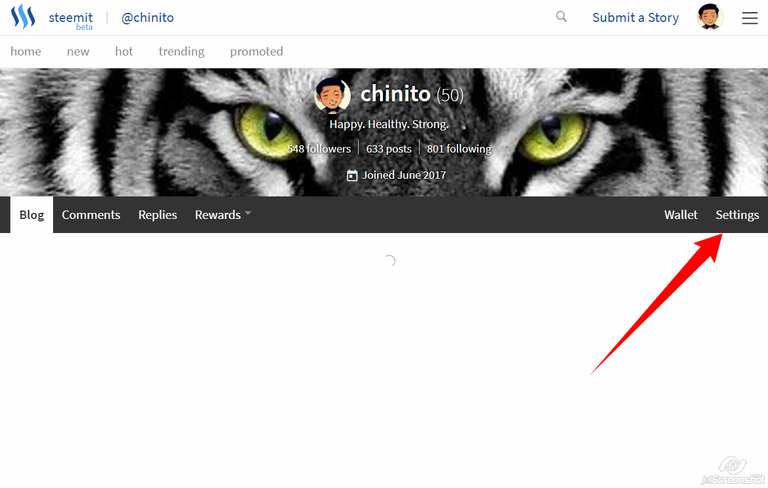
Go to your steemit blog. Click on 'settings'.
Paste your link that you saved in the 'COVER IMAGE URL' field
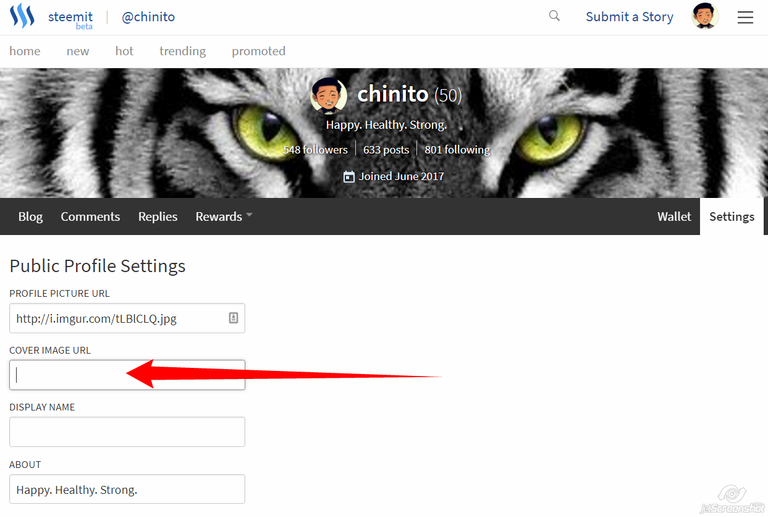
(right click in blank field, then click 'paste')
Click on 'update'. You will have to enter and submit your steemit password to make this change.
Here's what I got..
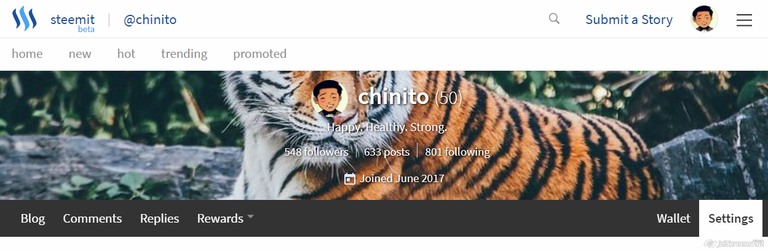
Rudolph the red nose Tiger.
I found, after several attemps, that you don't want any image that is too busy or with some big central image. At first I chose a few classic full body tiger pictures,

But I found that it was very difficult to see my steemit name and info with all that going on in the background. I finally settled on the eyes pic,

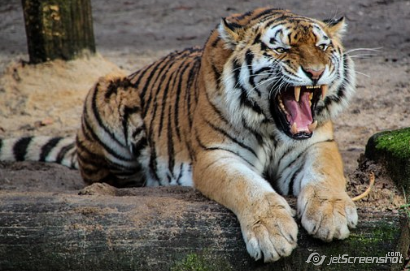
It's really just this pic of the full tiger face,
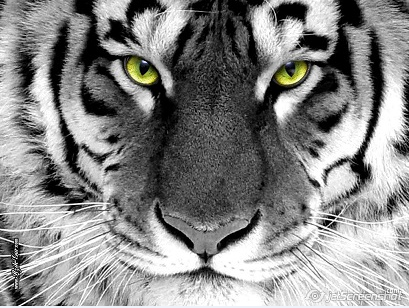
And then I used paint to open it and select just that portion of the image that I wanted, then saved that. I then uploaded the new eyes image to imgur.com and then copied that link and pasted it to my steemit account. all good now. :)
Try a few images that you think would work until you find one that looks nice on your profile. Leave me a comment about how it all works out for you, or if you need further instructions. I might make another howto showing how to crop and resize images fast and easy.
Thanks for reading and I hope I could help out anyone with this post. We are all in steemit together and I am learning that the way forward is by contributing something of use and helping out as I can.
Sincerely,
Ben

Really good tutorial. :)
Awesome!
This post has been upvoted by the @teamphilippines curation trail.
Thank you for supporting our TeamPhilippines Movement by upvoting, resteeming, delegating, or donating to this account to allow us to support our growing team more and more each day!
Great Post @chinito ! Thanks for helping all of us get some awesome steemit pages!
This post has been selected to be featured in the #TeamPhilippines Daily Issue for today.
See You in the TeamPhilippines Chat!
you've just answered a lingering question in my head haha
now i can personalize my profile background
Can you make another tutorial on how to make that rectangular black photo below your name?
First tutorial I've used and commented on, so easy to follow but it would be nice to know what actual size the photo has to be so you can resize and upload that way. Like the dimensions
hi and thanks for the comment. :) yeah, there's probably a way to find out for sure but i just eyeball it. cool background pic u chose..