
Pear Bark
Last week I harvested the first pears this season from my orchard. I posted how I canned the pear slices in a lite syrup. Now I will show you what I did with the peels and cores. Anybody up for pear candy?
First wash, peel, core and slice the pears, setting the peelings and cores aside. This is what we will use to make Pear Bark. a fruit roll-up type of candy, made from the parts of the pear that would normally be thrown away.
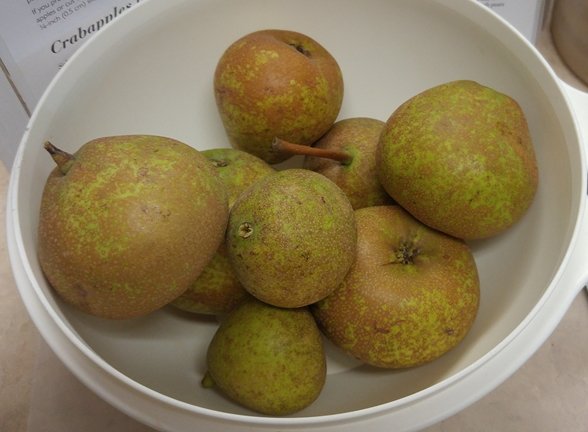
Place the peels and cores into a saucepan and cover with water. Put on the stove and heat to a simmer.

When the contents are simmering, add a bit more water and cook the peels and cores for about 30 minutes, stirring occasionally so they don’t scorch. Also, if the liquid level goes down, add more water.
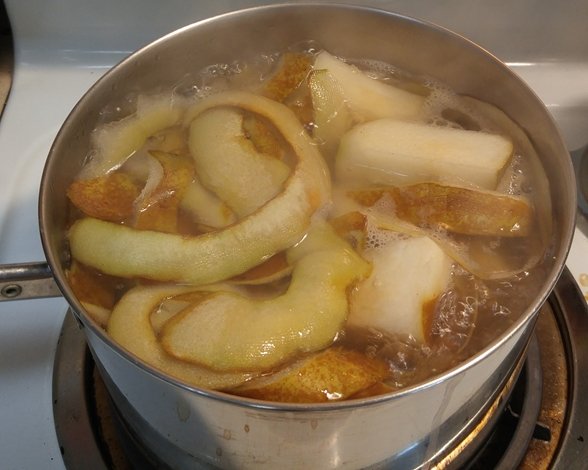
When the peels and cores are beginning to soften you will need to add your natural sweetener. I used a combination of raisins (I had a couple of small boxes like you send to school in children’s lunches) and some dehydrated fig pieces. You can also use raw honey.
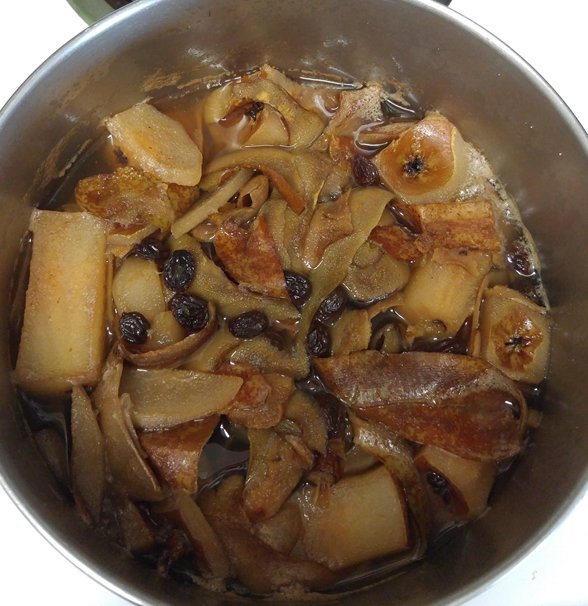
Add about ¾ cups of the natural sweetener to the pan and continued cooking. In another half hour everything should be almost mushy. Puree the contents in the pan with an immersion blender or in your counter top blender. Try to get things very smooth. Then continue to cook, stirring constantly until the puree thickens.
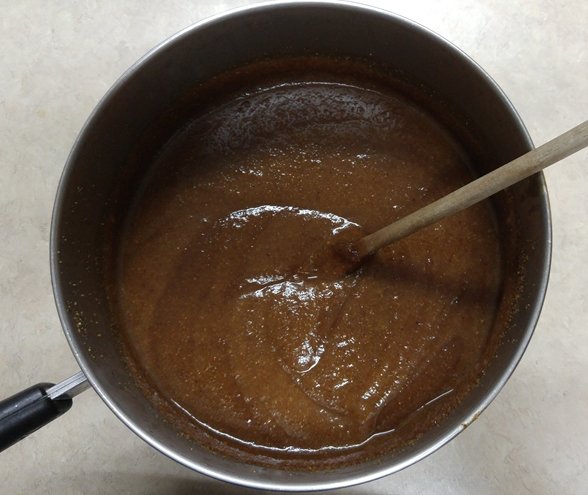
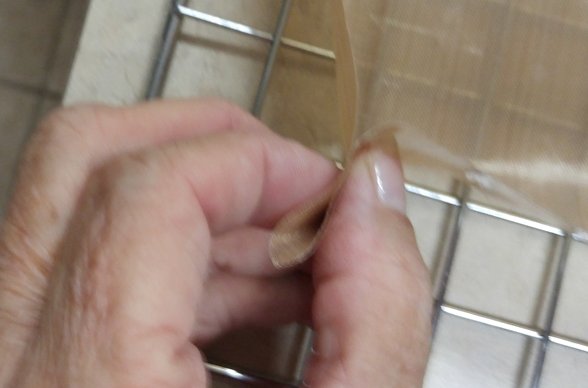
Taste the puree and if it is sweet enough it is time to prepare your dehydrator sheets for the drying process. If not, you can add more raisins, figs, or raw honey. You will need to make a very shallow box with your fruit roll-up sheets. This will allow the puree to dry without running over the edges of your dehydrator trays. Pinch the corners together as in the picture.
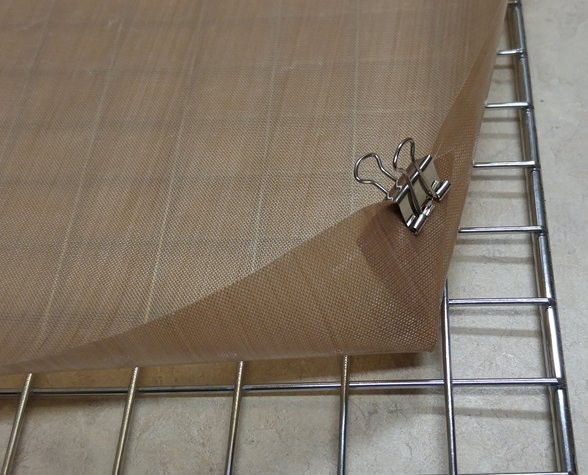
Next, take some small clips like these ACCO clamps and secure the corners. Put the containers on individual dehydrator trays.
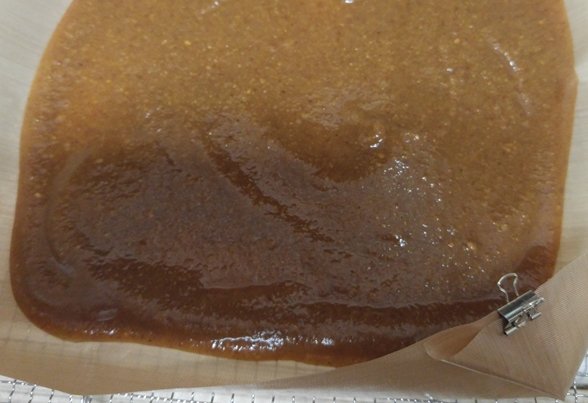
Pour some of the puree into each container and spread it out evenly with an off set spatula. You will want the puree to be no more than ½ inch thick, and thinner is better as it will dry more easily. Never less than ¼ inch or it will be too thin.
Place trays with containers in dehydrator,

Set the temp on 135 degrees F and set the timer for 15 hours.

Close the dehydrator and allow it to do it’s thing. At the end of 15 hours, turn each tray 90 degrees and set the timer for an additional 5 hours. After the 20 hours total have passed remove the trays to your counter and allow things to cool a little.
Peel the dried puree (or bark) from the fruit roll-up sheets and place them on parchment paper.
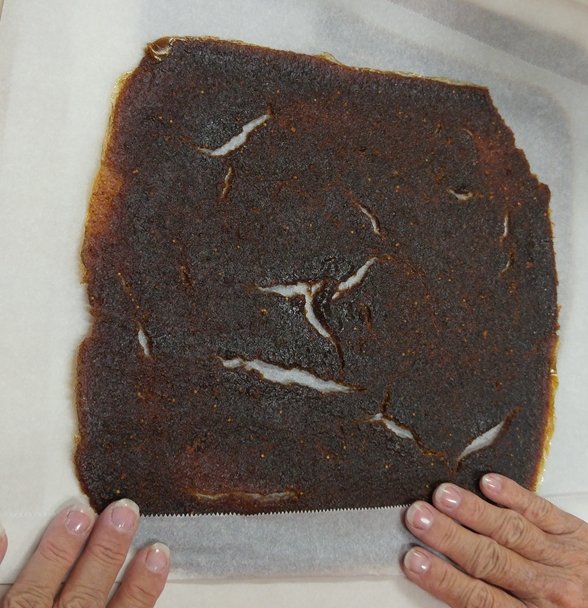
When completely cooled, fold up the parchment, and roll the dried puree into a roll . Take it slowly so things will roll instead of crack. You will have what looks like a jelly roll.
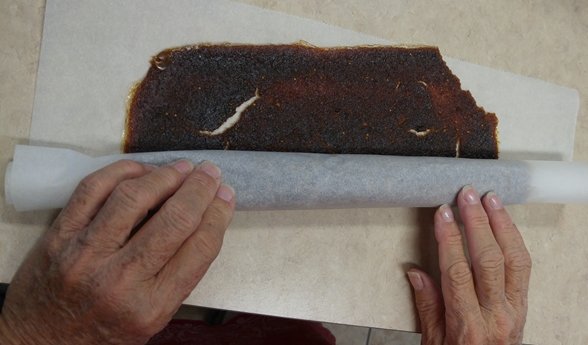
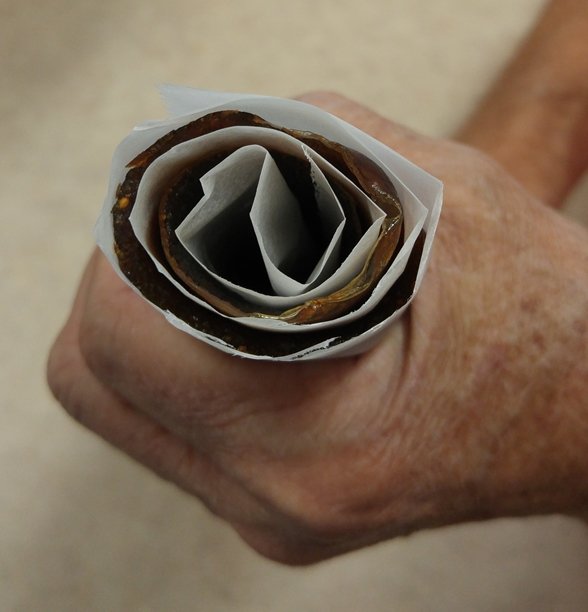
Next you will want to cut the rolls into 1 inch slices. In my house, chores of this type can not be done without supervision. As I was placing the bark on the parchment my helper came in. My helper is Carribe, a Blue and Gold Macaw, one of 3 macaws who share our home with us.
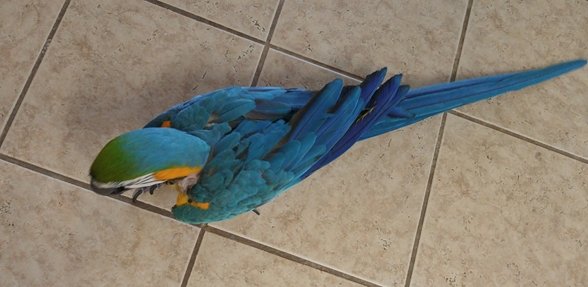
The parchment will allow the bark to be peeled and eaten in small amounts rather than a huge chunk that sticks to itself. Notice that my supervisor checks the thickness of each slice.
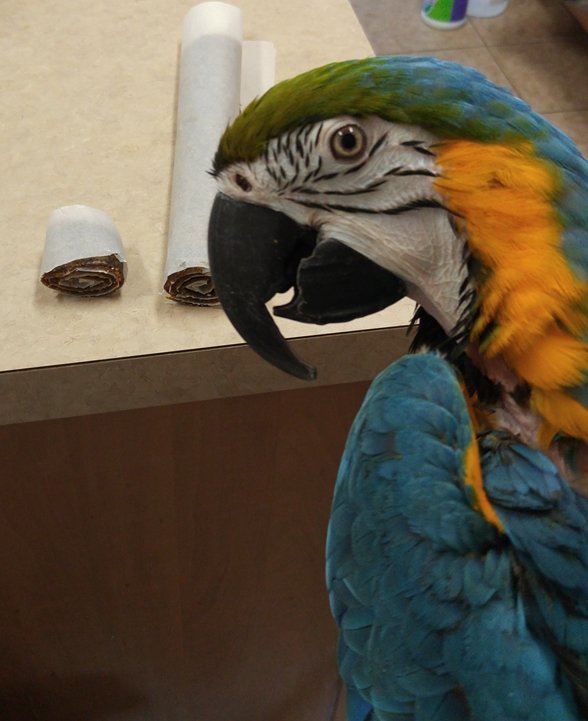
Store this Pear Bark in glass, covered tightly. It is a great snack. Birds and kids love it.
Please note, I am not an expert in food preservation, or pickling, or even homesteading. I am just a woman who loves to put up food to feed my family. These are the steps I followed to make my version of Pear Bark.
If you found something interesting, educational or inspirational in this post, stay tuned for more adventures in food and everyday life with:
Kate, the Busy Boomer


Hi Kate , I'd love to try this, and your instructions are full enough to be really useful... but me being English I have one or two questions... As you probably realise, we aren't usually as self sufficient as you lot our, and dehydrators are not on our must-have list. In fact, I'd never even heard of them till I read your article. Now, I do dry herbs and things, but use either the microwave or an egg incubator. I can see a dehydrator would do a much better job, and I do have one intended for a room which would probably do the job if I put it plus pears into a tall cupboard - not ideal so I wondered if you had an alternative suggestion. Meanwhile I'll look on ebay etc. but I don't hold out much hope of finding one over here. The next question to which the answer is probably obvious, is that you appear to have dumped cores into the mix complete with pips? IS that right? Lastly, I'm guessing this could be done with any fruit.... any idea how long it keeps, given the opportunity? Upvoted and followed
@elaine54, I have had some success using cookie pans (flat with a small lip around the edges. I usually put the fruit on parchment paper and place in a very, very low oven. It takes longer, but it does work. As to your other question, I dump everything into the pan except the stems. Apparently the pips are OK to eat after cooking for such a long time and then dehydrating as no one has gotten ill from my pear bark. If you have a bit of room in your garden there are many YouTube videos on building your own dehydrator. Those are usually solar, but there are definite advantages to that as well. Good luck finding what you can use well. If you have any questions, please don't hesitate to contact me. I'll try to help.
Thanks very much for your very helpful reply Kate. No shortage of sun where I am, so I'll go off in search of those videos! Meanwhile I do have cookie pans and an aga rayburn with a cool oven!
Also, please remember to turn the leather over on the parchment paper when it is almost dry so the bottom gets a bit of time too.
Thanks for that reminder... I wouldn;t have done otherwise
#elaine54 Oh! I see many pans of fruit leather in your future. Good job.
Nice watchful helper brightly colored too :D interesting treat thanks for sharing
@freakygeak, he is beautiful, but oh so bossy! Thanks for your kind words.
amazing idea
@padmakshi, Thanks for your kind words. My Mom taught me to use everything. Daddy used to tell us that she was so tight she could make a penny squeal!
Oh my God . Very amaizing recipe. Thank you for this. I loved it. I bet you are a professional chef.
@kingjan, nope, not a chef. I did have a very small catering company many years ago. Loved it, but it was too much work, and too few clients. Thanks for the kind words.
This looks lovely! And I love your overseer 😄
he is beautiful,
Hasaan, thanks for your kind words. Carribe is the eldest of our three macaws, and by far the most adventuresome. He loves to go for a walk to see what is going on in different parts of our home. The other two usually stay on the8ir cages and call for me to come get them.
very thanks you
@artwithflo, thanks, you should see me trying to cook, or do anything else with all three on shoulders or arms. Can get a bit crowded too!
Haha, that must look funny! I guess they don't want to miss anything huh
@artwithflo, they have the intelligence of a human 3 year-old, and the curiosity to go with it. I'm constantly amazed at how smart they can be. Yes it looks funny, and when I wash dishes, Gandi loves to bathe in the running water. This makes for a very wet kitchen.
Really great recipe! I hope to try it with some pears from my neighbors' tree!
@wholesomeroots, If you like pears you won't be disappointed. My first batch of pear bark was several years ago, and I did it as an experiment. I just hate throwing away good food, so decided to just "experiment" and see what came of it. Hubby loved it, so when I had a pear harvest again this year, I decided to just try it again. It turned out better this time, and I think it was the dried figs. They add a richness the last batch didn't have. Thanks for the kind comment.
Amazing! I would love to try a piece of that when we get together for my live YouTube show next Saturday morning :)
@daddykirbs, I have some with your name on it. Thanks for the comment.
Love this post!!
@mericanhomestead, thanks for the kind comment. Like I say in my closer, if you see something you like here, stay tuned, there will be more.
YUM!!! :D
@freedom acres, they really are yum.
I just had homemade mango rollupz last week. This is definitely something to make for the kiddoz!
@bigbeard. I wish I had known about them when my kiddos were young. My youngest is now 38! her kiddos loved rollups when younger. Thanks.
Excellent Post, Thank you for Sharing and Congratulations on Your Recent Homesteading Selfie Challenge Win! I Recently Pulled out my Dehydrator and Made Some Beef Jerky. Your Fruit Roll Process Looks Better Than What I've Done in the Past, So I Look Forward to Trying Yours Out!