*This post is what I intended to write on my last post but what came out there wanted to be written instead of this. So tonight you get a two-fer. This is a quick tutorial on how to replace a heating element in an electric oven. This is HOW I DID IT. It's not intended to be an instructional guide and you any risks you take attempting to do a repair like this are your own. Electricity will kill you. *
IT REALLY IS THAT SIMPLE
If you have an electric oven in the house and the oven stops working, it might be as simple as a heating element. There are usually two of them. A top element and a bottom. I'm going to show you how I replaced the element and got back in the baking game for about $20-$30.
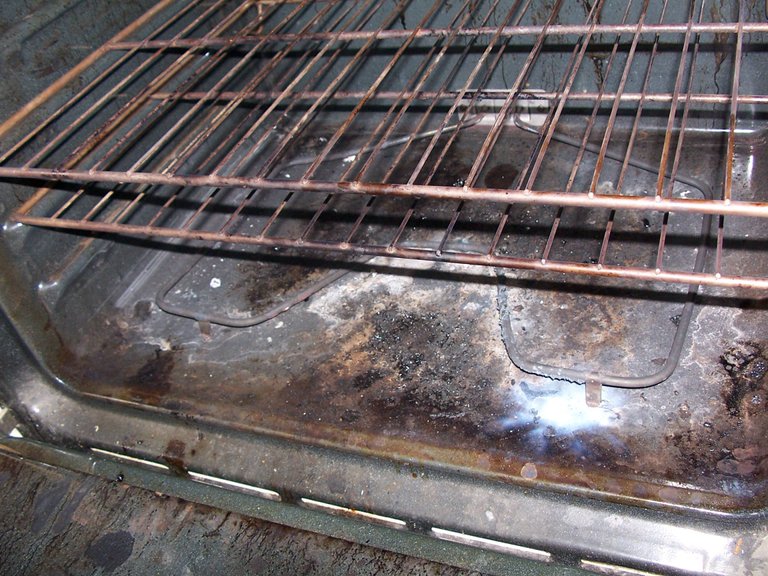 The stove wasn't heating properly. Upon inspection, something was wrong. It looks like some liquid spilled over and hit the element
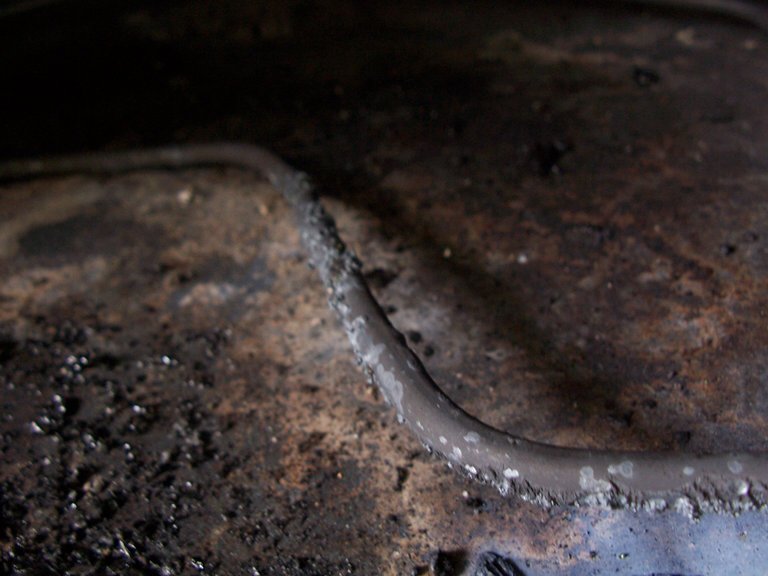
Upon closer inspection it looks like the element had a short. The typical mode of failure is that form repeated heating cycles it develops small cracks and then fails and shorts out like this.
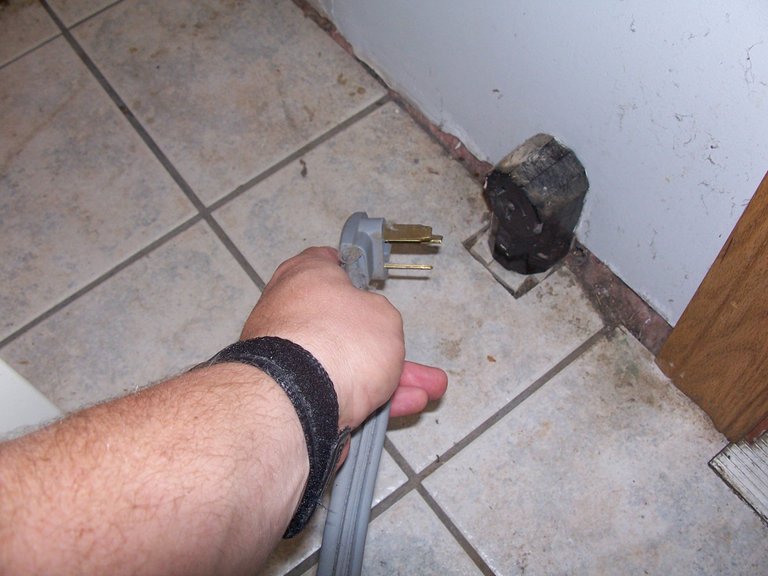 Before we go any further... unplug the oven. Let's save some money but let's not be risky about it.
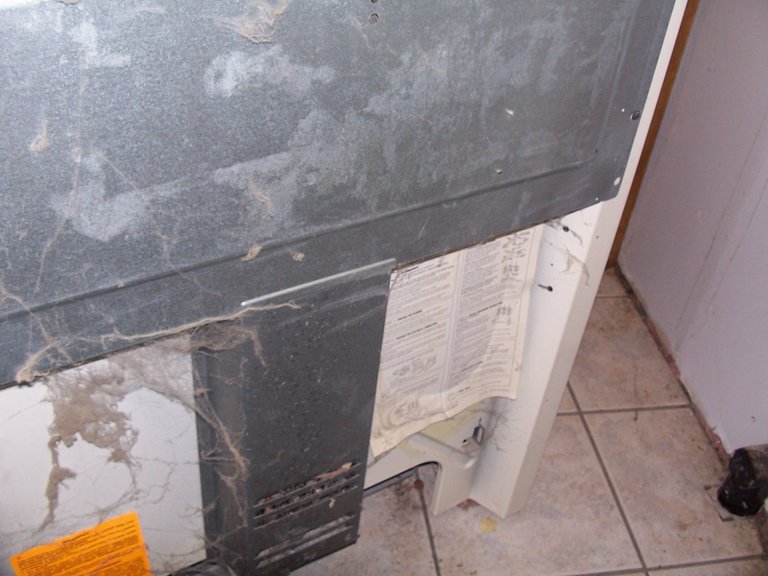 While you have it pulled it out, you may as well clean the cobwebs up too!
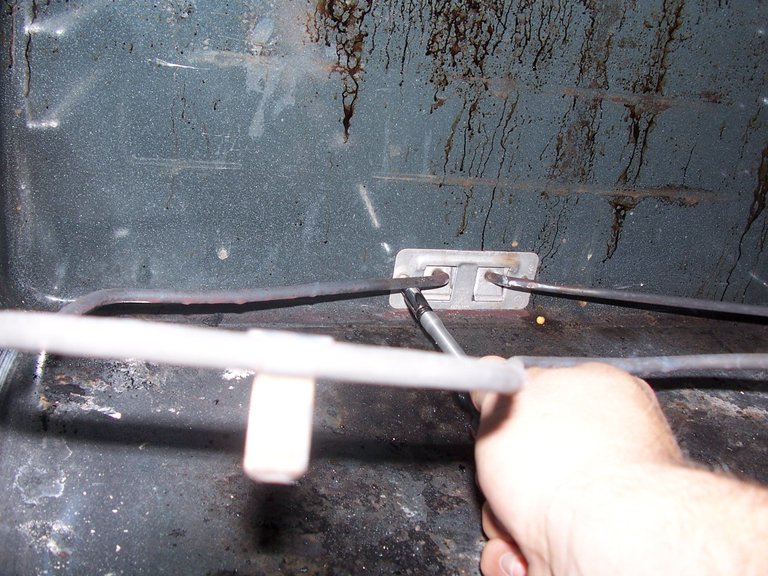 *Unscrew the element mounting plate at the rear of the oven.These were a 1/4" Slotted Hex Head Screw. You may have been able to remove them with a flat-head screw driver but this is the best way. *
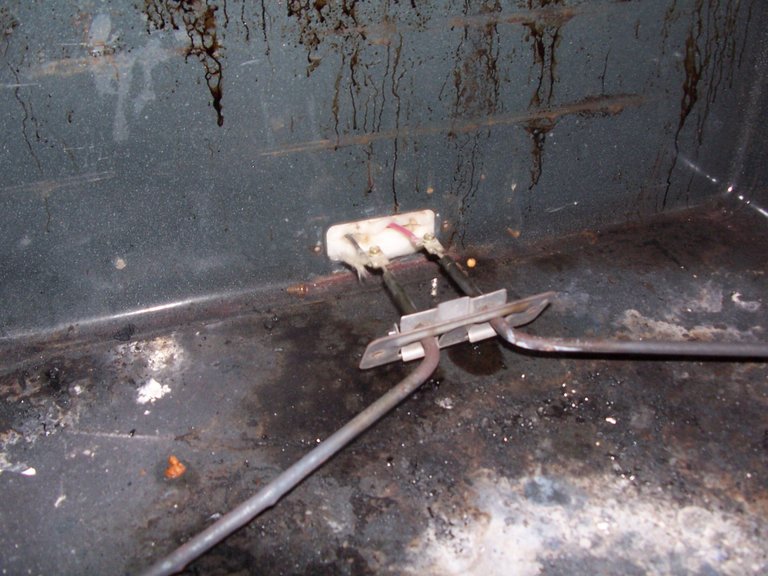 Pull the heating element out to expose the power connection. Red is positive and black is negative.
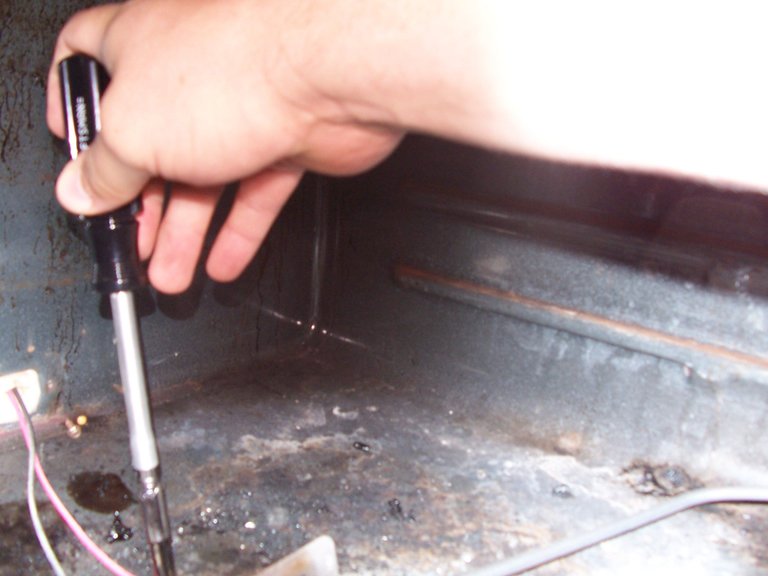 These were also 1/4" slotted hex head. Remove them. Don't lose them!
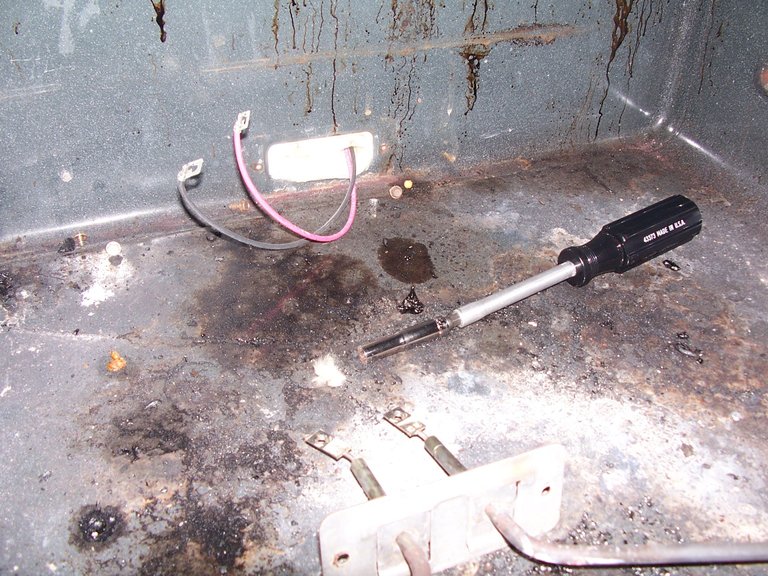
Everything disconnected.
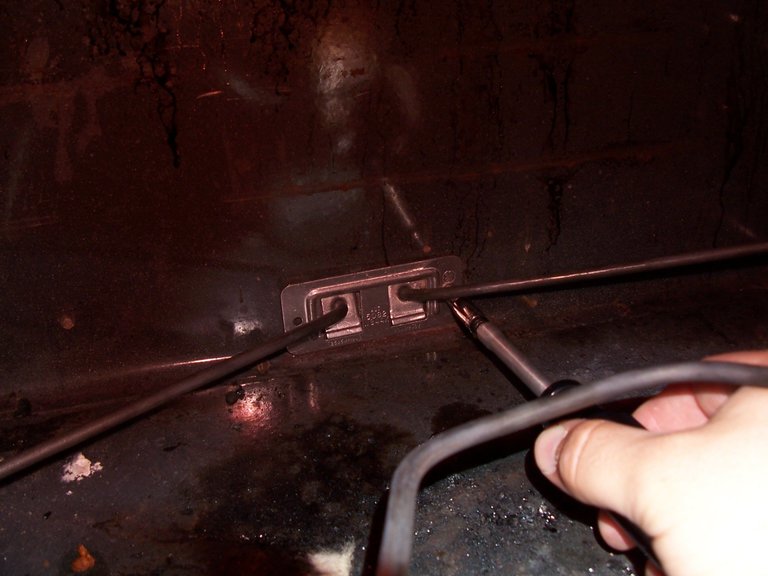 Put the new element in and reconnect everything in the reverse order that you removed it.
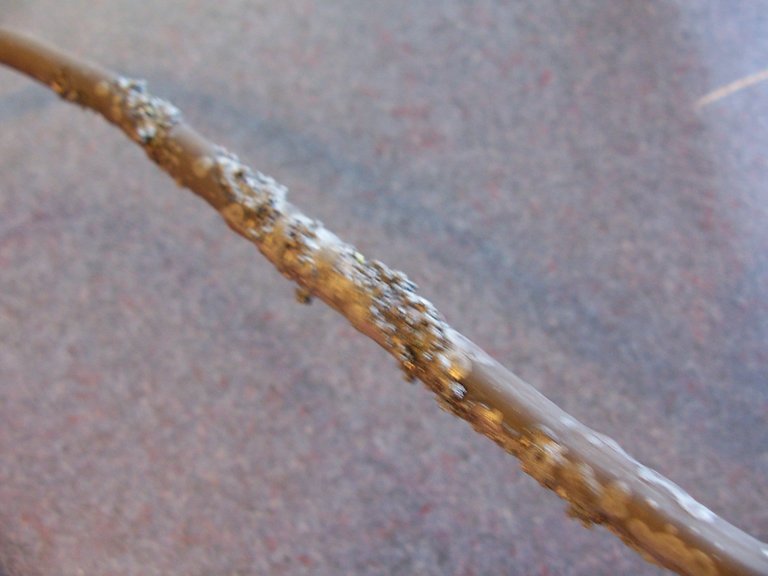
Close up of the damage.
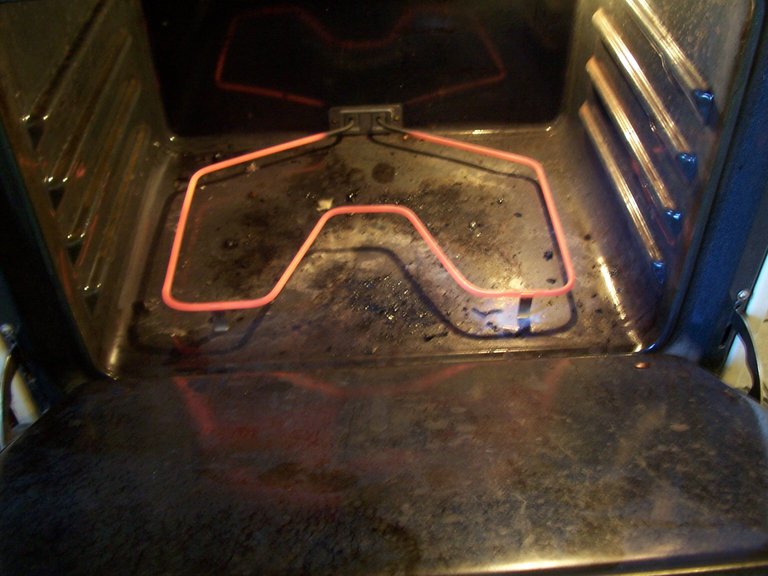
The new element in action.
Remember: GROW WHERE YOU ARE!

If you found this helpful, engaging or even entertaining, please consider and upvote, a resteem, a follow and a comment!
@homesteaderslife I've had to replace a heating element in a stove so I know how to do it, but great write-up on how it is done. This should be valuable to others who don't know how its done!
Thanks @underthekiltfarm. I've been pretty busy the past few days, so I'm just getting around to responding to comments!
Awesome thanks so much!
My pleasure. Hopefully it's useful to someone!
It sure is, I Iove learning tips like this, great blog (:
Thank you sir!
Have you ever actually seen one burn out? Ours did a few years ago while we were cooking. It's amazing. It starting spitting sparks like a literal sparkler as it went from one end of the element all the way around to the other. I was just standing there staring at it in awe as it burned it's way around. Luckily there wasn't a lot of smoke and like you said it was a cheap fix.
We heard it, but didn't see it. Not sad I missed it. LOL!
Great little post #homesteaderslife. Love seeing people show how easy it is to fix something that others might just throw away. Clear and concise, perfect.
Thanks @talltuck! I appreciate the feedback.