YOU DON'T HAVE TO SPEND A FORTUNE FOR AN EGG INCUBATOR
Let me show you how I arrived at this outcome
SUPPLIES
Styrofoam cooler with lid.
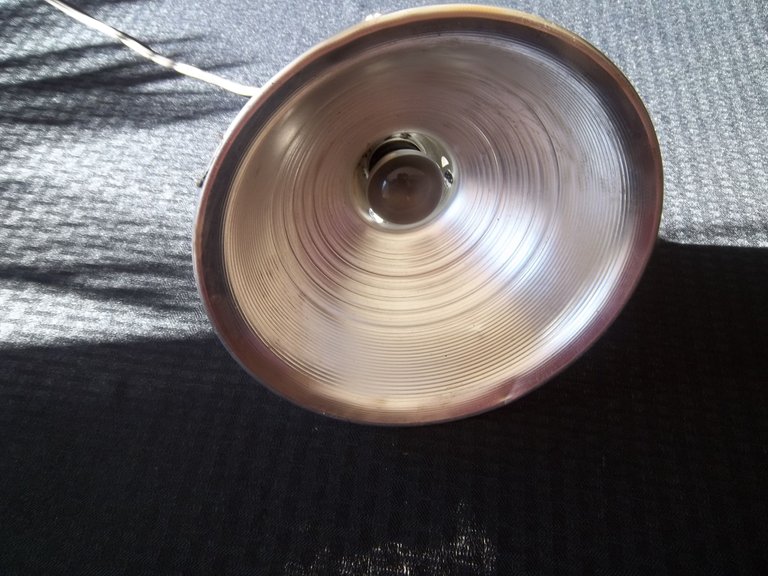
Inexpensive clamp shop light, (about 6 to 9 dollars at any home improvement store)
1 roll of duct tape.
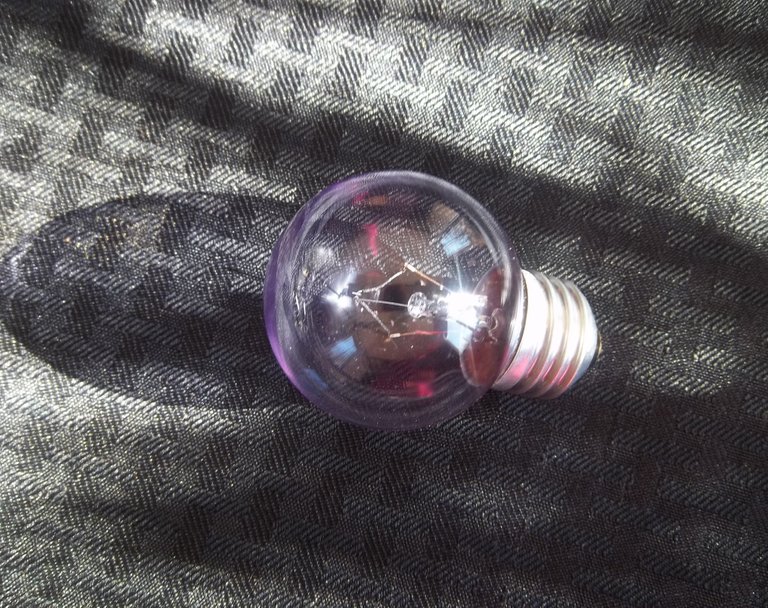
Pack of 15 watt appliance light bulbs, (get the pack of 2, just in-case one burns out, you have a backup.)
Thermometer, that you will hang in the cooler from the lid.
Fertilized eggs, I used a little over 2 dozen.
A graphite pencil.
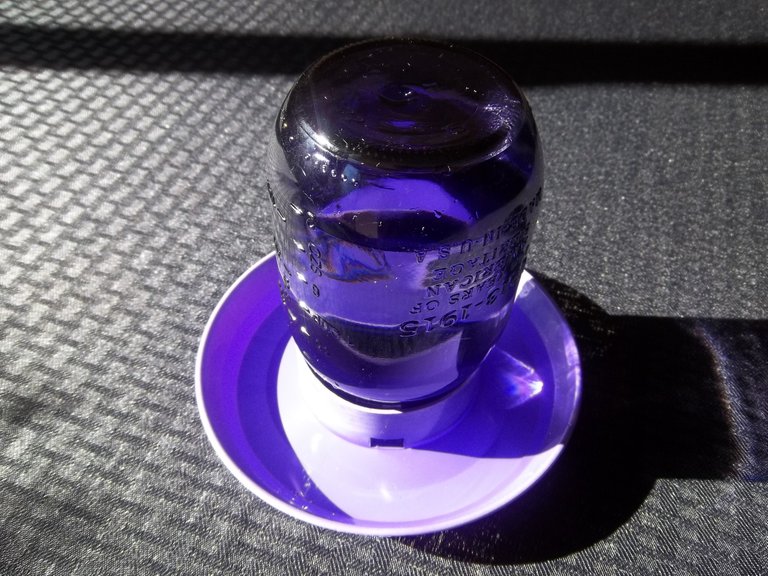
2 small glass bottles, with a nice wide opening. I reused glass vitamin bottles.
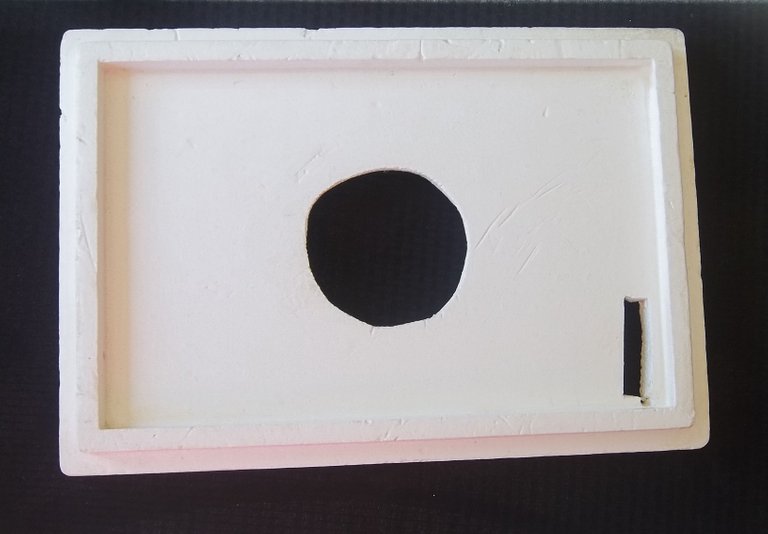
Placing the shop light onto your cooler lid, trace the circumference. Cut out your pattern a bit small than your traced line, so that the lip of the shop light will set easily on top. Then cut a small rectangle on one end, large enough to fit your thermometer though. ( you will want to be able to pull your thermometer out for readings, without taking the lid off.)
Duct tape the edges of the light to the lid, in-case it's bumped the light will remain in place.
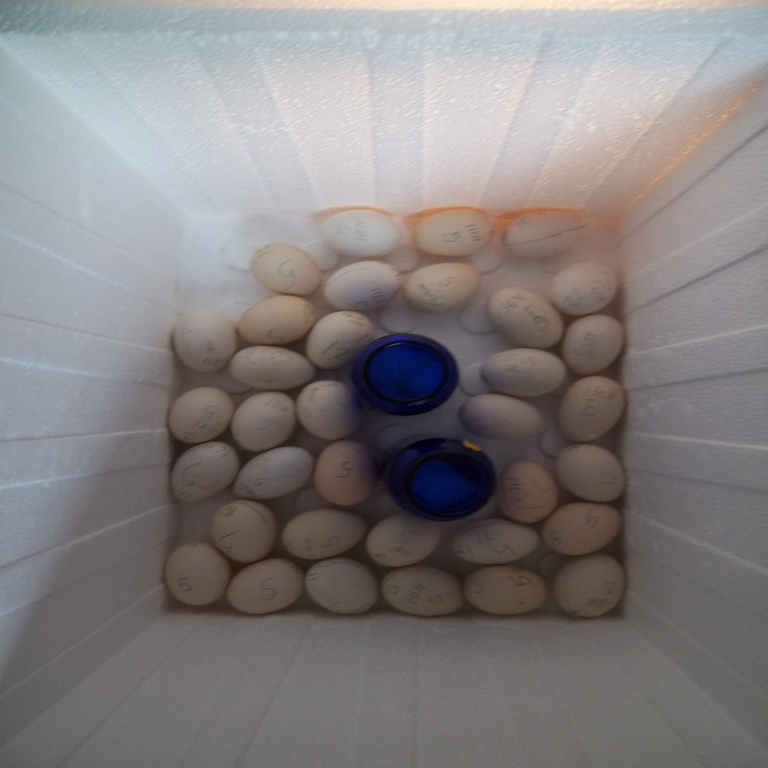
Divide your eggs by thirds, gently marking the sections 1, 2, 3, with the pencil. Fill your bottle with clean water and set it in the center, under the light. Place the eggs around the bottle of water all showing number 1 up.
(Pay no attention to the number 5 showing on my eggs, it's my lucky number, I also wrote HEN on them, because I wanted hens. All turned out to be hens except 1, which really beats the odds!)
You will need to turn your eggs three times per day. The numbers will help you keep track and ensure that you have turned them to the right side for that time period.
The temperature must remain between 99 to 102 degrees Fahrenheit at all times. If it's to high, enlarge the rectangle that you cut into the lid for the thermometer. If it's to low, cover the thermometer hole a somewhat with a piece of duct tape.
It takes 21 days for chicken eggs to hatch. The relative humidity needs to be at 50 to 55% until day 20. The last 3 days, you will need to add your second bottle of water to bring the relative humidity up to 65% for hatching. I also changed the water daily, when it needed topping off.
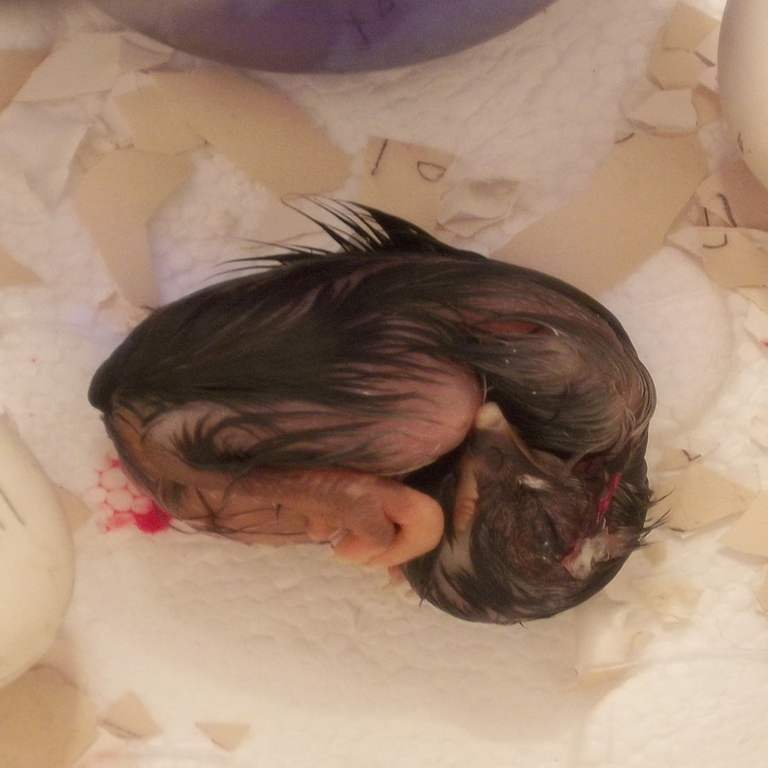
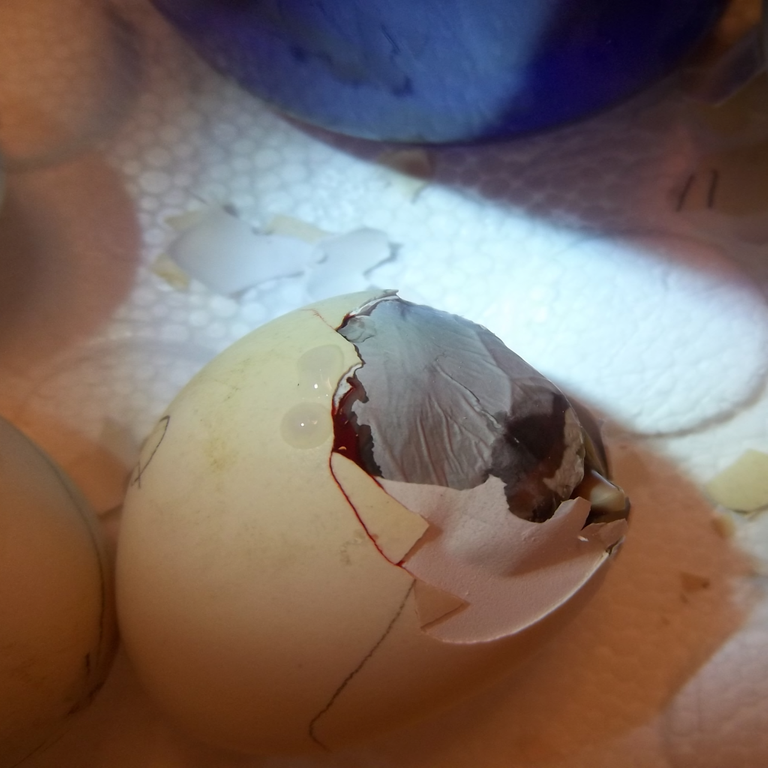
Day 20 is also the last day you will turn the eggs. The chicks will orientate themselves the last three days. You may hear them peeping inside the eggs. You will notice a tinny (pip,) or crack in the shell. The chick will work in a circular motion until it is able to push the egg apart with it's legs.
IMPORTANT, no matter how much you want to, DO NOT HELP THE CHICK HATCH. Let mother nature take it's course, the chick knows what it is doing.
When the chick is out, clean away the spent shell and let her rest. She has done many hours of hard work.

Transfer your chicks to a brooder. This is an enclosure with a heat light, bedding, food and water. The brooder must stay at 95 degrees Fahrenheit the first week, lowering the temperature by 5 degrees each week thereafter, about 5 to 8 weeks or until you have a consistent 75 degrees.
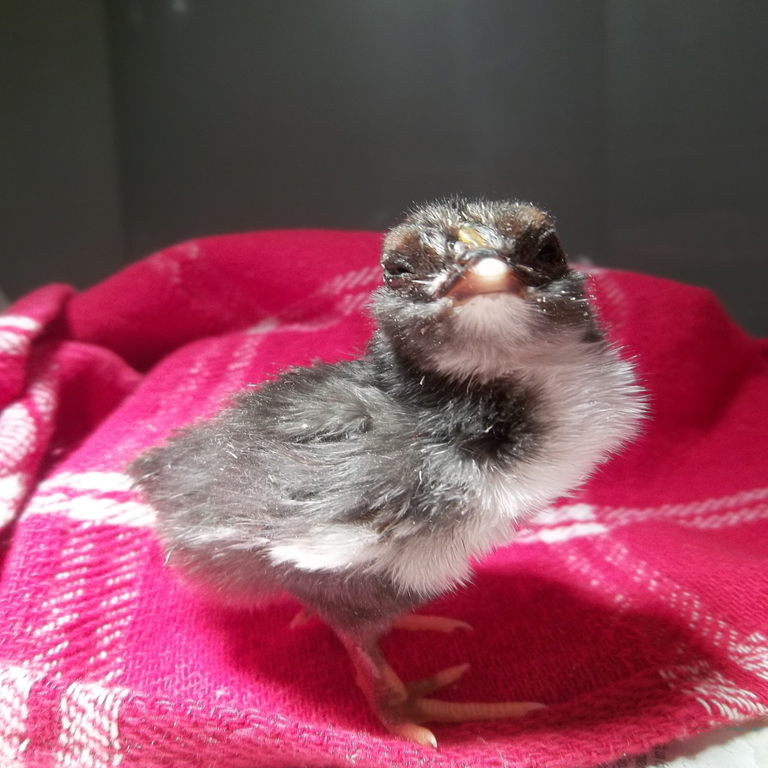
Place food, (starter mash), and fresh water into your brooder right away. On the third day dip every chicks beak into the water, to be sure that they have all drank.
You can tap your finger near the food and they will learn to eat. I had gravity feed water dishes, that are available at any feed store. It can take any size mason jar. Later you can get a larger gravity feed food and water container.

All photographs are my own original content.
You have really solved a problem today in Nigeria
That's wonderful news, happy I could help!
My pleasure
Thank you for contributing your knowledge to help others! Sotall.org Knowledge Directory of Steemit Posts has linked to this post. You can see your link here.
I hope it can help us all to thrive and grow, thank you for sharing it @fernowl13.
You might like the post I created on bees @fernowl13.