Hi dere, and welcome to da yooper blog, eh!
Last Monday, I went back out to my daughter's house to do some more work on the greenhouse. I didn't have a lot of materials to work with this time, just working with stuff that was already there waiting to be put on.
Of course, I had to take a couple of pictures of her garden to share with you, so here they are.
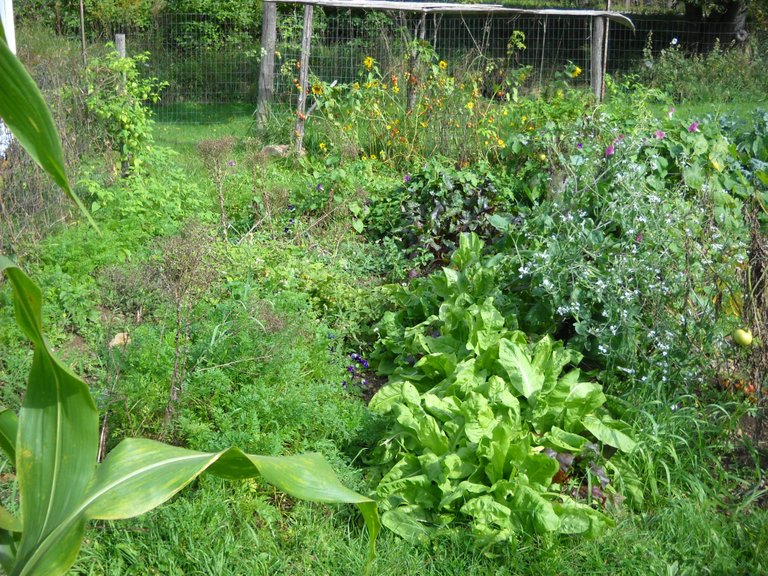
This is one of the beds in front of the greenhouse, there's a lot of different plants in there. Carrots, chickory, beets, and who knows what else.
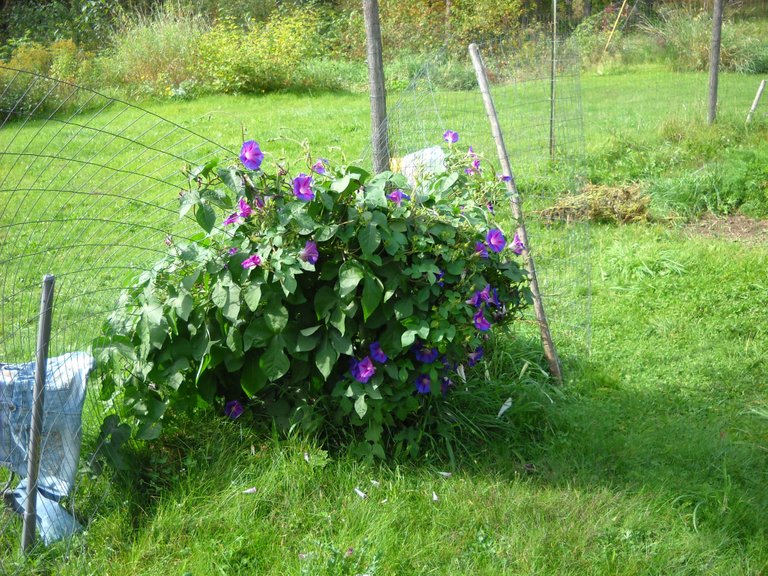
She has these lovely vineing flowers growing on her fence. I think they're Morning Glories, but I could be wrong. I forgot to ask her what they are.
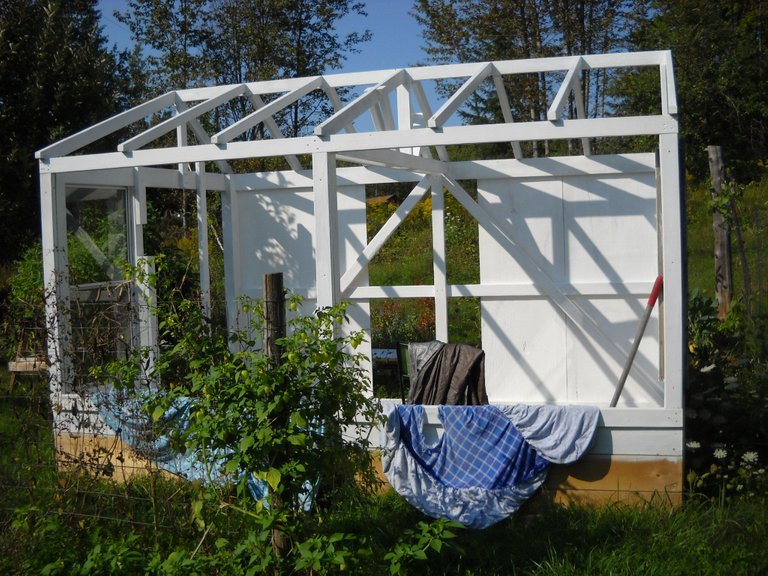
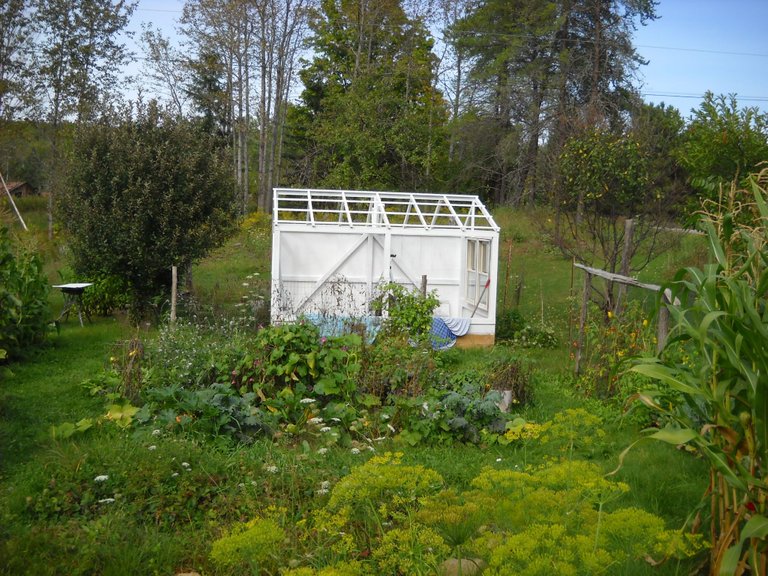
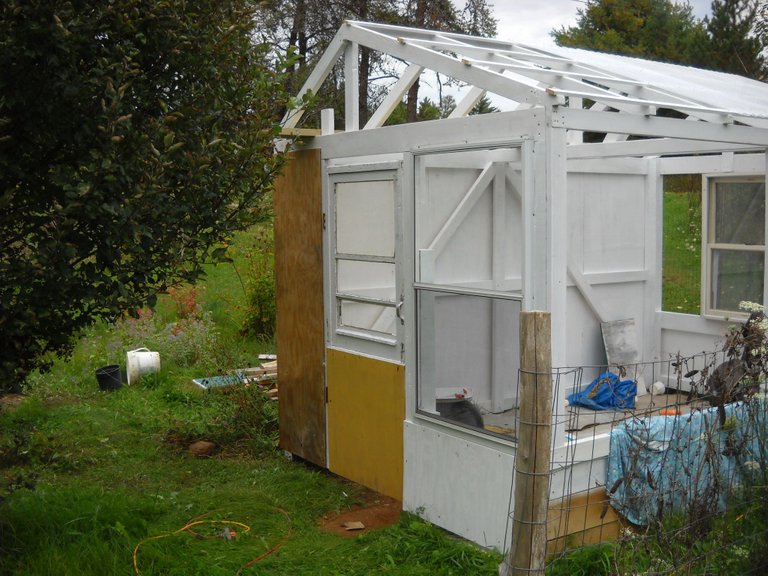
Now on to the greenhouse. When I went out there the first time on the 10th, this is what it looked like.
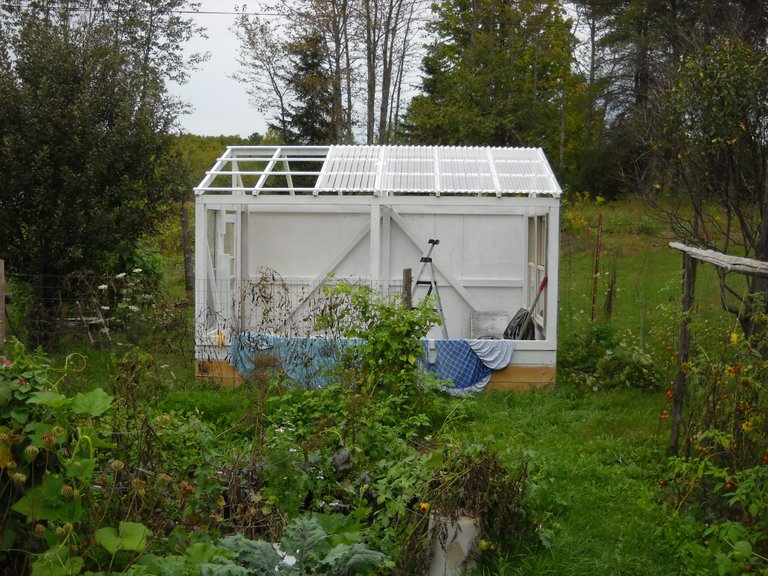
I didn't take a picture when I was done that day because it was getting dark, so I took one before I started on it on Monday.
I managed to get several things done on Monday. I hung the door, and put up the plywood for the wall between the door and the back corner, and then I put the 4 roof panels that I had out there up on the roof, one at a time, and screwed them down with the proper roof panel screws. That was all I was able to get done on Monday.
I still need 2 more clear roof panels for the front of the roof to get that finished. I just ordered them today on line from the orange big box store. They have them in the right length, 6 feet, and they get shipped to the local store for free. I just have to go over there and pick them after they arrive. I expect it to take a week, maybe 2. No big deal for free shipping. These panels are the good polycarbonate panels, not the PVC panels that we used on our greenhouse. The polycarbonate panels are more damage resistant, and more UV resistant, so they last longer. Of course, they're also a bit more expensive.
I still need to find out what color she wants for the back roof panels, I'm probably going to use steel panels for that. I thought about plywood, but you have to cover that with shingles or tarpaper or something like that, and it ends up costing more than the steel panels do. I also need to find something for the front wall, either PVC panels or polycarbonate, but the length is inconvenient, the space is about 5 feet tall, so there's going to be some cutoff pieces. I guess I'll figure that out when I get to it.
Well, that's it for this post, I hope you enjoyed it!

Thanks for stopping by and checking out my post. eh!
I'm going to be waiting until this post is 5 days old before I use any of the voting bots, that way, everyone who upvotes the post gets a bit of a boost in their curation award. I'll be doing this from now on.
Also, I have set my rewards for the posts to 50/50, now that I have passed 500 SP of my own. I wanted to get to 500 SP so that I could use the slider for my upvotes. It helps extend my voting power.
Feel free to leave a comment or question if you would like.
And always remember to keep on steeming on!
What a lucky daughter you have. The greenhouse is looking great. Glad you are using the proper screws. They really do make a difference. Let's just say, I learned the hard way, haha.
Thank you!
Wow ...you are very handy! It is very pretty also ..i like the white paint..Many blessings wished for this new greenhouse!
Happy Day!
Melissa
Thank you!
The white paint on the inside helps reflect the light off the walls toward the plants.
This post received a 20% vote by @mrsquiggle courtesy of @scooter77 from the Minnow Support Project ( @minnowsupport ). Join us in Discord.
Upvoting this comment will help support @minnowsupport.
It looks like the greenhouse is coming along pretty well.
Thanks!
Looking good! I like those clear roof panels. Sounds like they should last a long time.
Congrats on the slider, too. That will make things a lot easier to manage.
Thanks!
I'm hoping the slider will help, but I'm always cruising through my feed looking for something to upvote.
Such a pretty spot and fun project.