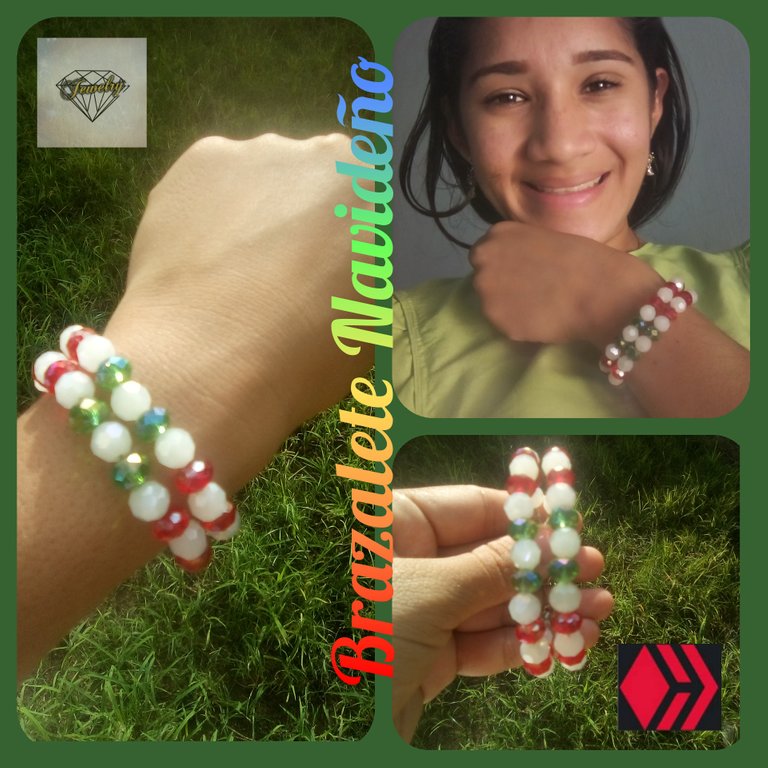
Materiales a utilizar
- Piedras blancas
- Piedras Rojas
- Piedras Verdes
- Alambre de cobre
- Piqueta
Paso 1
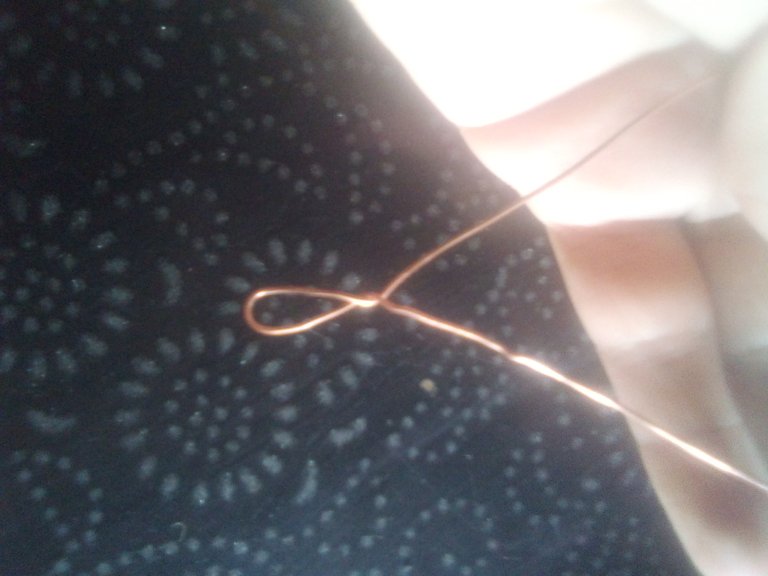
Primero se agarra el alambre y se le hace un giro de dos centímetro dejando una circunferencia pequeña para la parte del trancado permitiendo que al meter las piedras no se una y puedan quedar dobles una vez ya terminado se hace el comienzo de meter las piedras por orden .
Paso 2
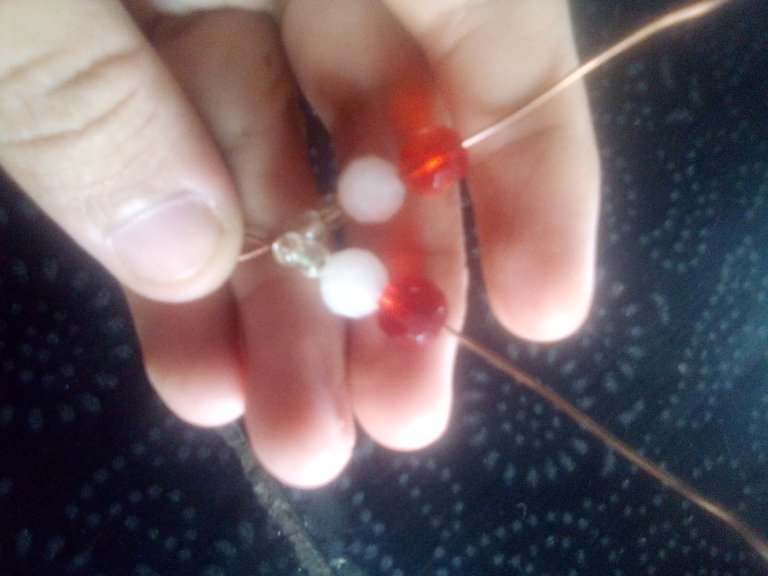
Una vez ya metidas las piedras se hace por orden de color.
Primero que todo se comienza con dos piedras transparentes , luego con las blancas y después con las Rojas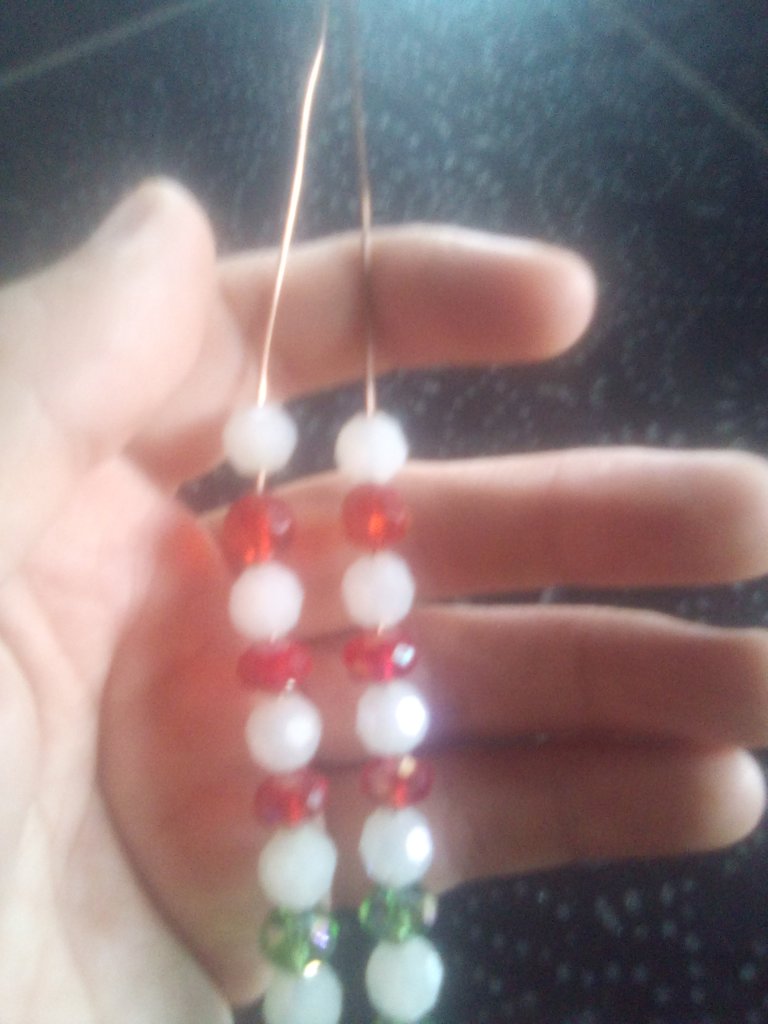
Paso 3
Siempre debemos tener en cuenta que cantidad de piedras que se van a poner de un lado para así saber las que van del otro lado eso siempre nos ayuda a que quede todo perfecto .
Paso 4
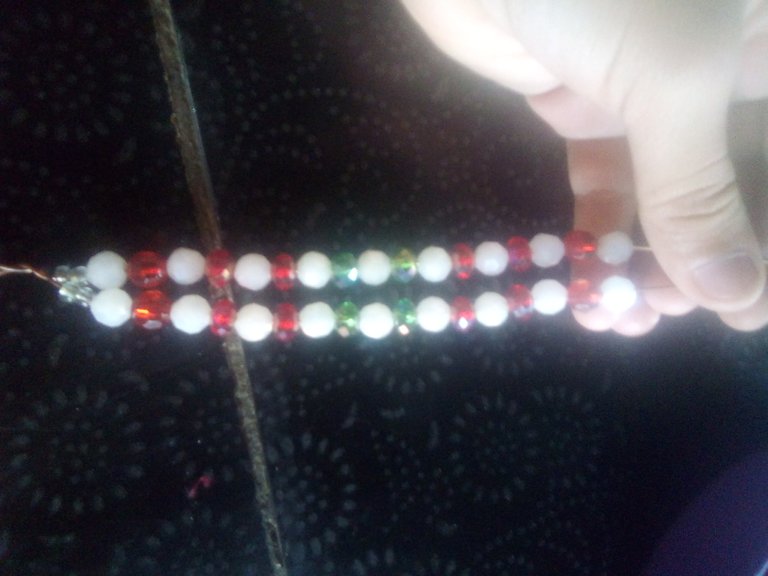
Después de haber metido las piedras blancas y rojas en el centro meter las piedras verdes y una vez ya metidas las piedras verdes hacer el mismo procedimiento del otro lado siempre contando las piedras blancas.
Paso 5
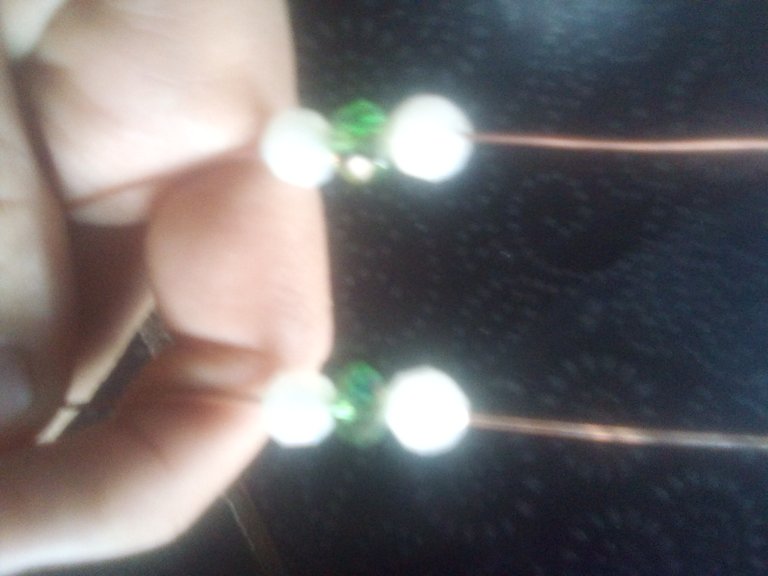
Ya terminado de meter todas las piedras al final con uno de los alambres .
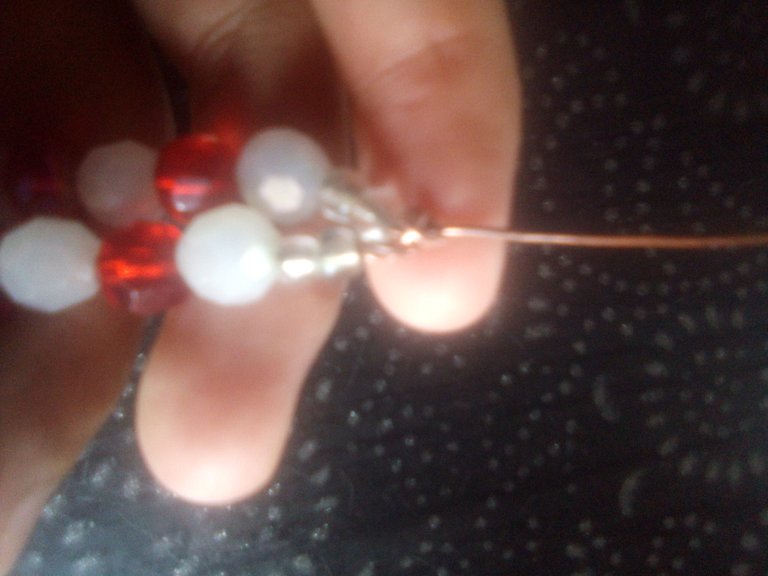
Primero se agarra el alambre y se le va dando un giro alrededor del otro siempre tratando de apretar para que así no quede flojo el brazalete y se le puede dar mínimo 3 vueltas .
Paso 6
Una vez ya dada las vueltas con la piqueta se corta y se va aplastando de modo que no se vallan a cortar .
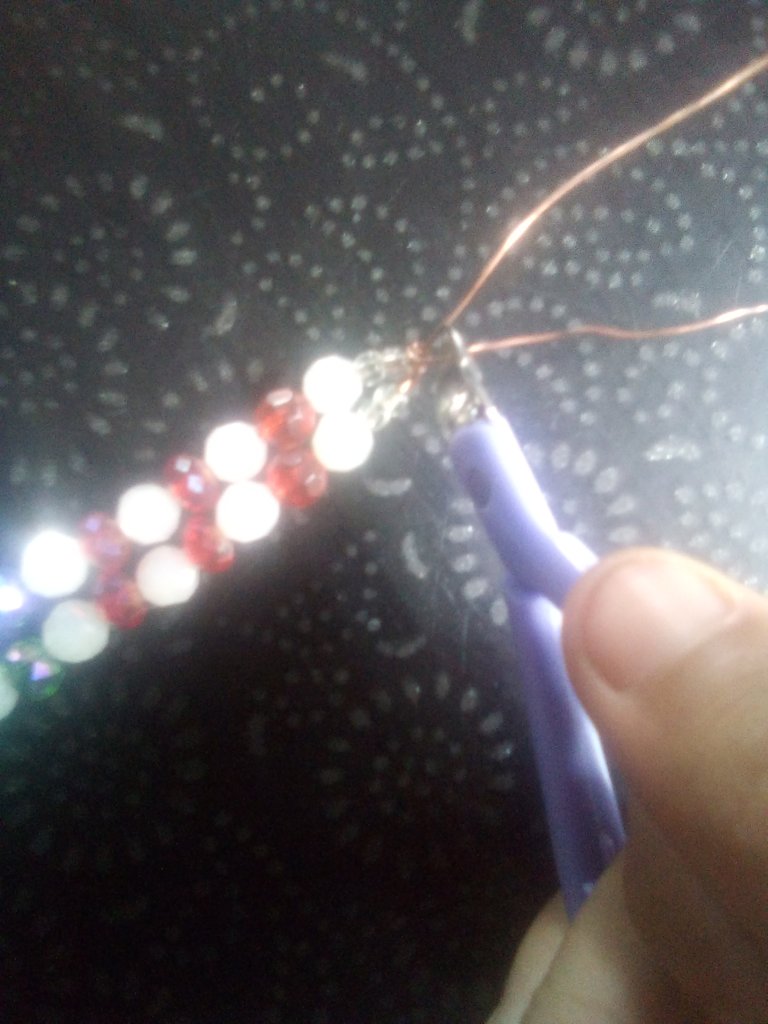
Es muy importante tener en cuenta que se hace mejor si se corta al final ,
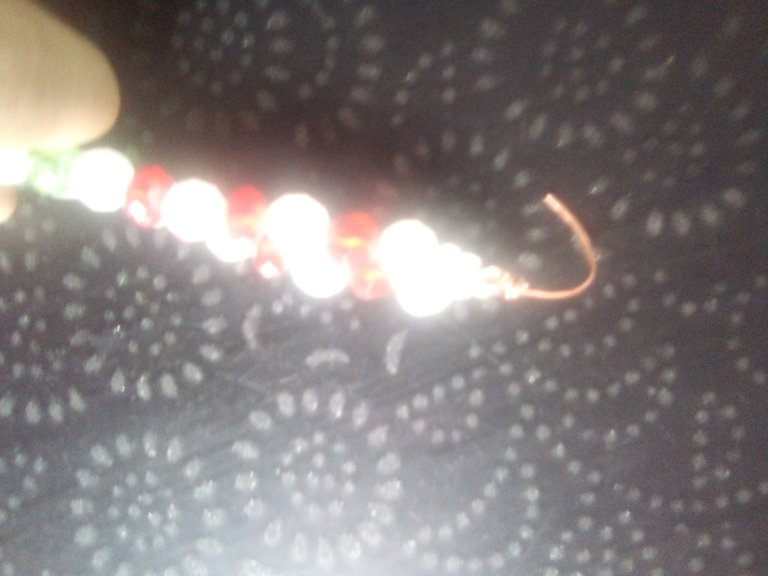
Ahora viene la parte de los trancados lo primero es con un lado hacer un giro con un nudo de tres veces y al final cortar lo que quede de alambre eso permite que el otro alambre quede solo para así poder hacer el círculo cuyo agujero es donde va encajado el broche
.
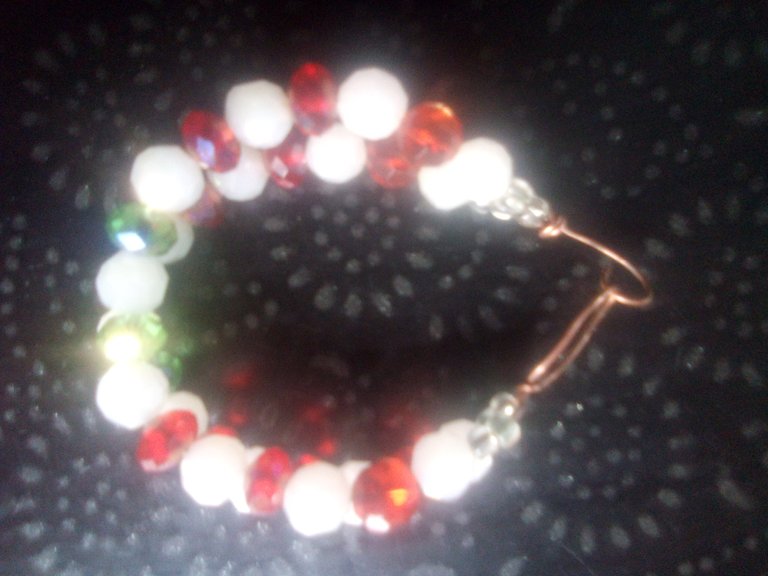
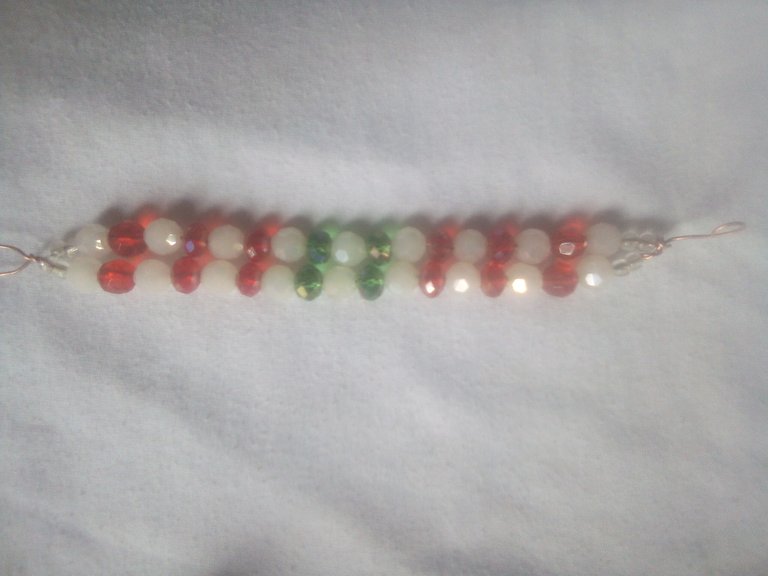
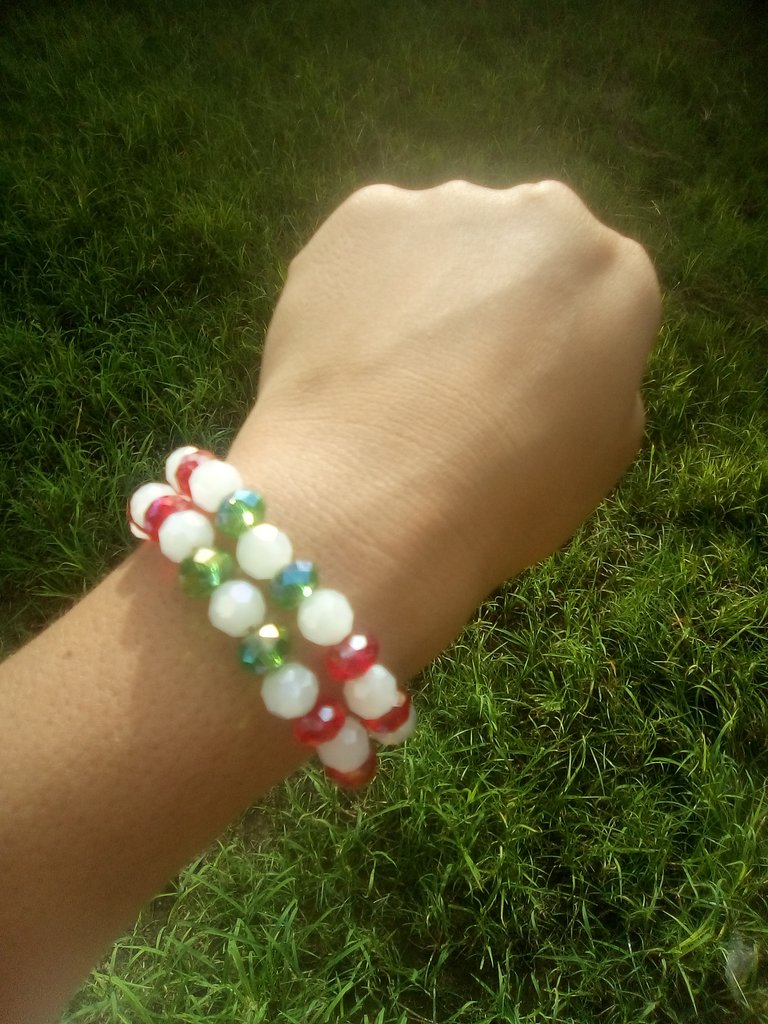
Bueno este brazalete es fácil de hacer no sé necesita de mucho materiales solo estos aplicados que les dejo aquí hermoso para lucir en todo momento y mucho más en estas fechas navideñas.
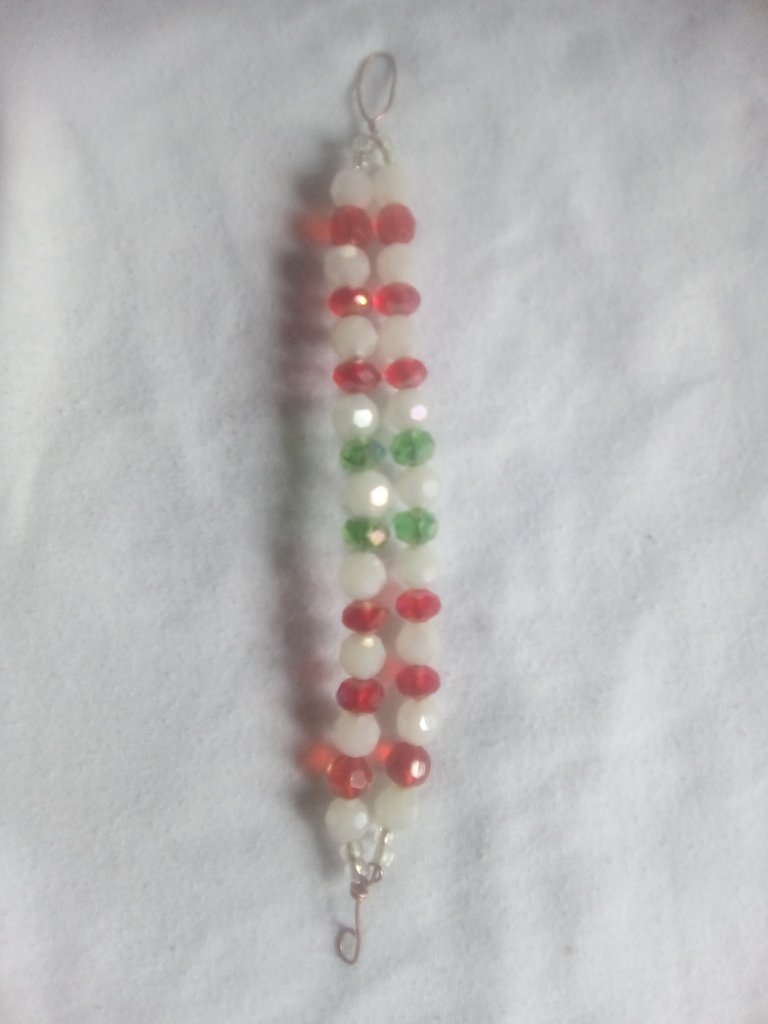
Así hemos terminado este hermoso Brazalete, espero les guste y sobre todo puedan animarse en hacerlo.
Les agradezco por leer y espero puedan comentar sobre la publicación, tomaré cada consejo en práctica.
Mucho éxito en Todo!
Les Deseo una Feliz Navidad en este Mes lleno de Alegrías y Emociones Bendiciones para todos
Las imagenes son de mi autoria y fueron Tomadas a traves de un Telefono Alcatel.
Traductor utilizado: Deepl traductor
La edición de las fotos la realicé mediante la aplicación de canva.

Materials to use
- White stones
- Red Stones
- Green Stones
- Copper wire
- Picket
**Step 1

First the wire is grabbed and a twist of two centimeters is made leaving a small circumference for the part of the locking allowing that when putting the stones do not join and can be double once already finished the beginning of putting the stones in order is made.

**Step 2
Once the stones have been put in, the stones are placed in order of color.
First of all, start with two transparent stones, then with the white ones and then with the Red ones 
**Step 3
We must always take into account the number of stones that are going to be placed on one side in order to know which ones are going to be placed on the other side. This always helps us to make sure that everything is perfect.

**Step 4
After having placed the white and red stones in the center, place the green stones in the center and once the green stones have been placed, do the same procedure on the other side, always counting the white stones.

**Step 5
Once you have finished putting all the stones at the end with one of the wires.
First grab the wire and twist it around the other one, always trying to tighten it so that the bracelet is not loose and you can twist it at least 3 times.

**Step 6
Once you have made the turns with the pickaxe, cut them and flatten them so that they are not going to be cut.

It is very important to keep in mind that it is better if you cut at the end,

Now comes the part of the locking the first thing to do is with one side make a turn with a knot three times and at the end cut the remaining wire that allows the other wire is left alone so you can make the circle whose hole is where the brooch is embedded.
.


Well this bracelet is easy to make, you don't need a lot of materials, just these appliqués that I leave here, beautiful to wear at all times and much more in this Christmas season.

So we have finished this beautiful bracelet, I hope you like it and above all can be encouraged to do it.
I thank you for reading and I hope you can comment on the publication, I will take every advice into practice.

All the best!
I wish you a Merry Christmas in this Month full of Joys and Emotions Blessings to all.
The images are my own and were taken with an Alcatel Phone.
Translator used: Deepl translator
I edited the photos using the canva application.
Beautiful!
👋🏼🤩👋🏼
Está hermosa la pulsera, me encantan la combinación de colores navideños ❤️
Estan muy bonitos amiga. sencillos pero muy bien combinados cada perla para estas navidades
Pude darme cuenta de que llevan los colores emblemáticos de la navidad...eso es un lindo toque.
Me encanta. Por fin pude ver cómo las hacen con una hilera doble, siempre las hice sencillas.
Excelente idea para combinar nuestro vestuario navideño. Gracias por compartirlo. 💚❤️🎅