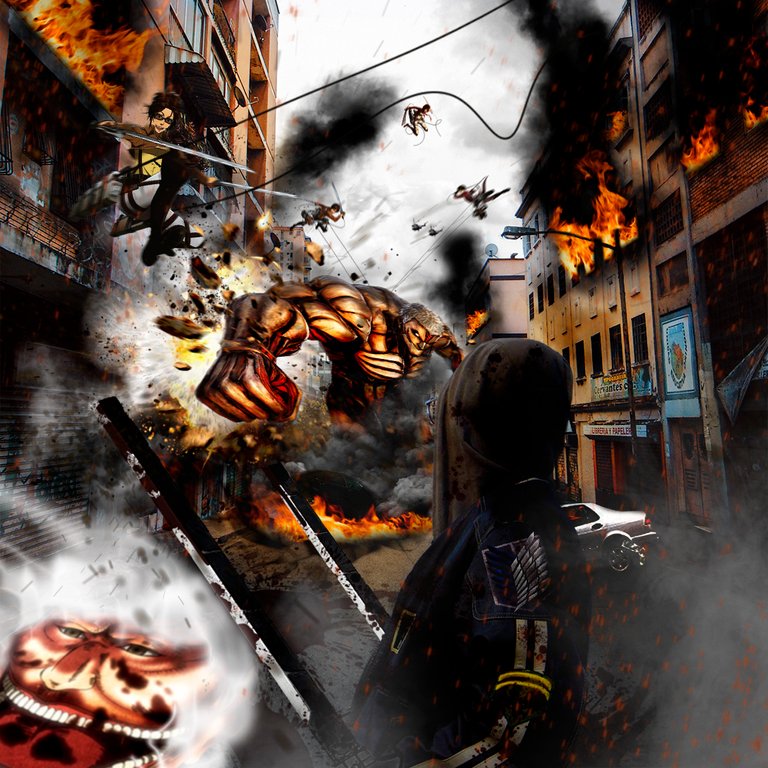
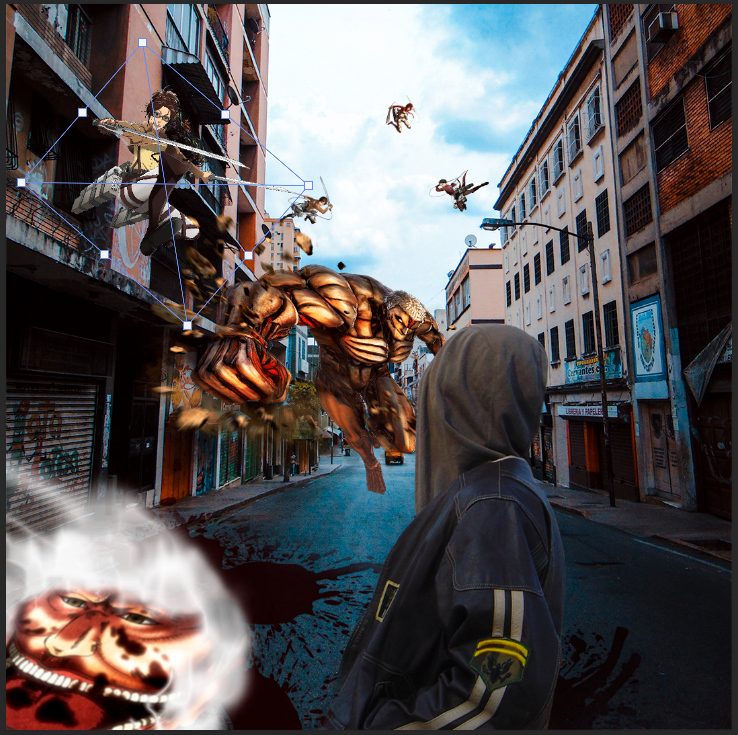
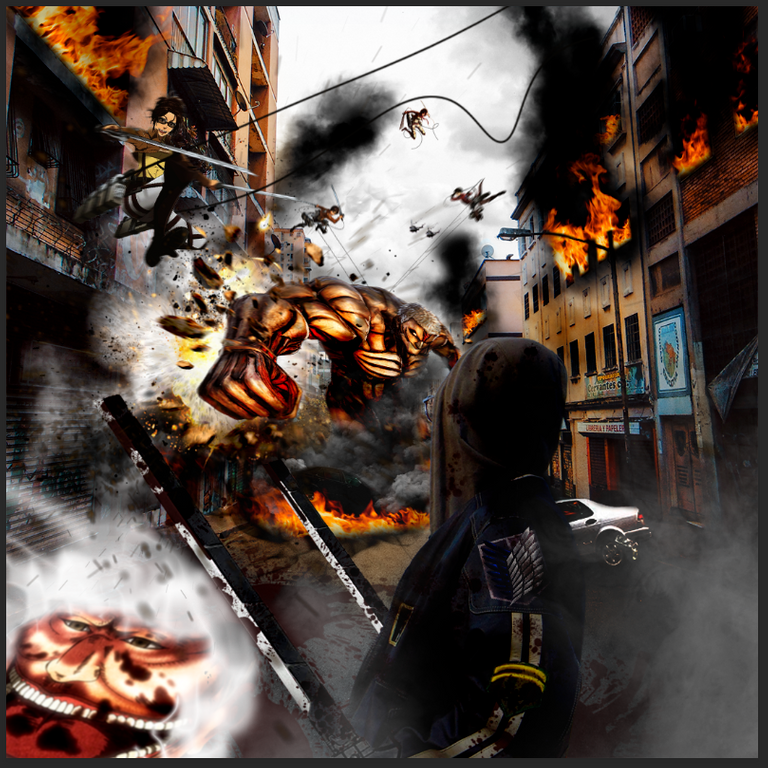
Hola querida comunidad de Hive y Graphic Desing, espero que se encuentren de maravilla, en el día de hoy quiero compartir con ustedes, otro de mis trabajos de fotomontaje, esta vez esta basado y totalmente inspirado en una de mis series de anime favoritas, (A.O.T) Shingeki no Kyojin muchos de ustedes la conocerán debido a su increíble trama y sus escenas de acción súper épicas de combate contra titanes, por eso quise recrear unos de esas batallas en las calles de mi ciudad. Para este montaje utilicé una gran variedad de recursos PNG, Pinceles y muchas capas de fusión, con máscaras, aplicando casi todos mis conocimientos en Photoshop y Lightroom, para lograr igualar y recrear una de esas increíbles batallas de titanes, pero en la actualidad.
Hello dear community of Hive and Graphic Desing, I hope you are doing great, today I want to share with you, another of my photomontage works, this time is based and totally inspired by one of my favorite anime series, (A.O.T) Shingeki no Kyojin many of you will know it because of its incredible plot and its super epic action scenes of combat against titans, so I wanted to recreate one of those battles in the streets of my city. For this montage I used a variety of PNG resources, brushes and many blending layers, with masks, applying almost all my knowledge in Photoshop and Lightroom, to achieve to match and recreate one of those incredible battles of titans, but in the present time.
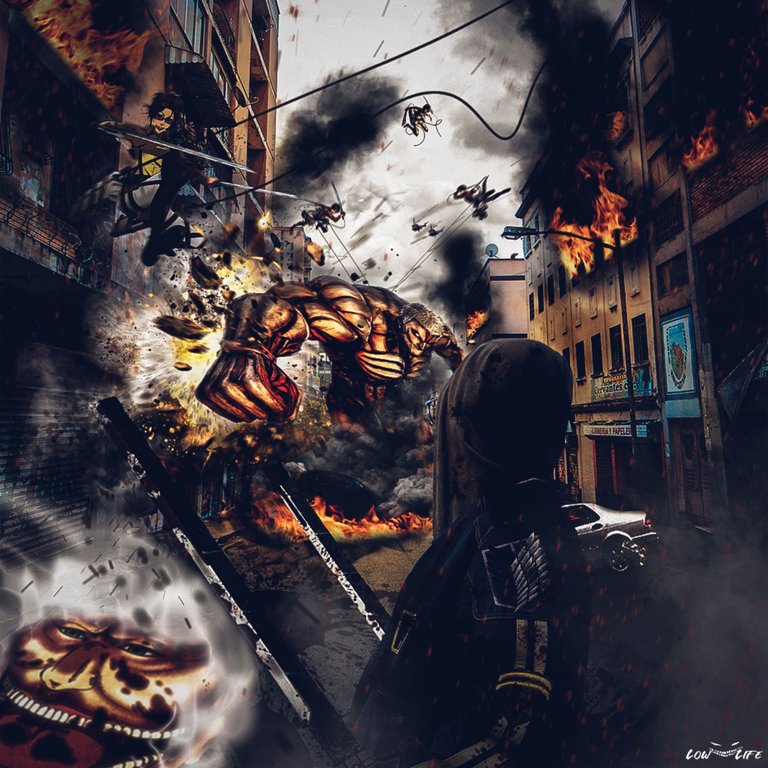
Como siempre tratare de explicar todos los pasos, efectos y configuraciones que aplique en cada capa para lograr matizar este montaje, también dejare los recursos utilizados con sus respectivos links para que puedan descargarlos si gustan.

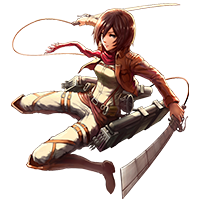
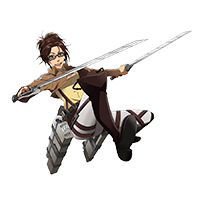
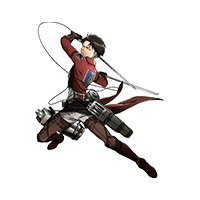
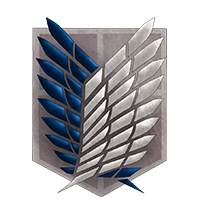
Sources ~ Recursos
Bloody Brush Pack ~ Paquete de brochas Sangrientas
Clic en las imágenes para ir a sus fuentes.
Click on the images to go to their sources.

The first step as always, was to create a new project of 1080x1080px with a resolution of 300 dpi, then I proceeded to add the photograph that would be the background of everything, ie the Rivas Street one of the busiest streets of my city, with Ctrt+ T adjust its size to then make the cuts of my photograph and the first resource that would be the titan that will be dead on the ground. For this I used the quick selection tools and the option of "subject selection ", to then perfect the crop with the selection tool and mask application, once the crop with mask of the two images was done, I positioned them with Ctrl + T and with Right Click to change the perspective of the titan, thus giving it the feeling that it is on the ground and not in front of me.
El primer paso como siempre, fue crear un nuevo proyecto de 1080x1080px con una resolución de 300pp, luego procedí a agregar la fotografía que sería el fondo de todo, ósea la Calle Rivas una de las calles más concurridas de mi ciudad, con Ctrt+ T ajuste su tamaño para luego realizar los recortes de mi fotografía y del primer recurso que sería el titán que estará muerto en el suelo. Para esto utilice las herramientas de selección rápida y la opción de “selección de sujeto”, para luego perfeccionar el recorte con la herramienta de selección y aplicación de mascara, una vez realizado el recorte con mascara de las dos imágenes, las posicione con Ctrl + T y con Clic Derecho para cambiar la perspectiva del titán, así darle la sensación que está en el suelo y no de frente.
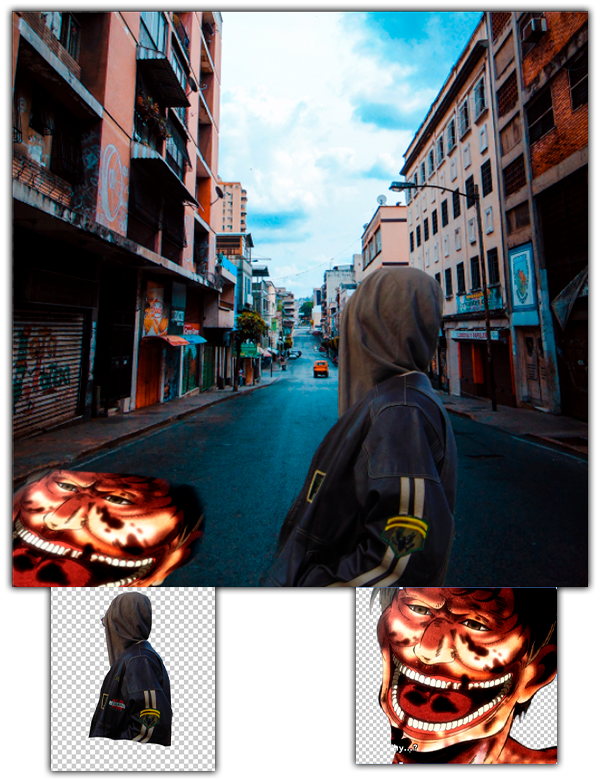
I erased some details of the titan with the layer mask and black brush so I could apply the following effect to it, I also did this on my cropped photo to remove certain details from the crop.
Borré algunos detalles del titán con la máscara de la capa y el pincel negro para poder aplicarle el siguiente efecto, también lo hice sobre mi fotografía recortada para eliminar ciertos detalles del recorte.

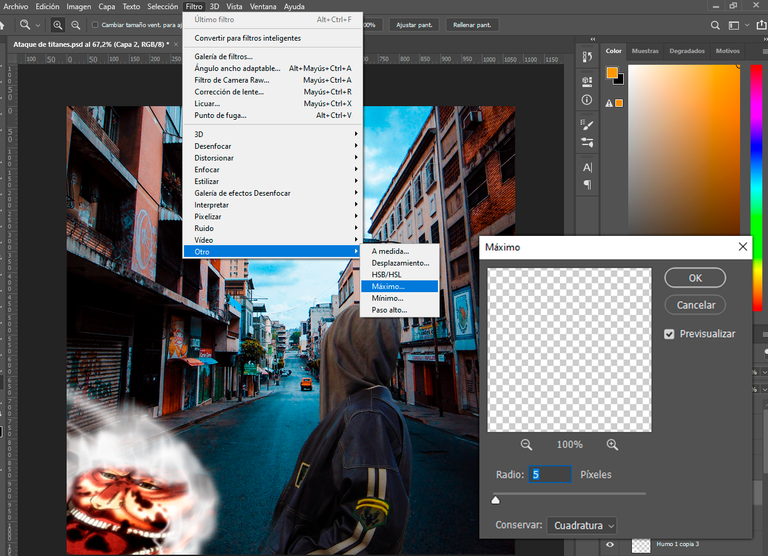
For the second step I wanted to create the distinctive smoke that the titans emit once they are knocked down or defeated, for this I created 3 vicious layers above the others and made several strokes of different sizes with the white blurred brush on the three layers, giving the shape that the smoke is being hit by a stream of air and that it is being emitted from the titan. Then to make the smoke effect, I selected the first layer and went to the Filter > Other > Maximum window, and added the setting of 5 pixels, do the same with the other two layers, but with 10 and 15 pixels, to get this result.
Para el segundo paso quise crear el distintivo humo que emiten los titanes una vez que son derribados o derrotados, para esto cree 3 capas vicias por encima de las demás y realice varios trazos de distintos tamaños con el pincel blanco difuminado en las tres capas, dando la forma de que el humo está siendo golpeado por una corriente de aire y que está siendo emitido del titán. Luego para realizar el efecto de humo, seleccioné la primera capa y fui a la ventana de Filtro > Otro > Máximo, y agregue la configuración de 5 pixeles, realice lo mismo con las otras dos capas, pero con 10 y 15 pixeles, para obtener este resultado.
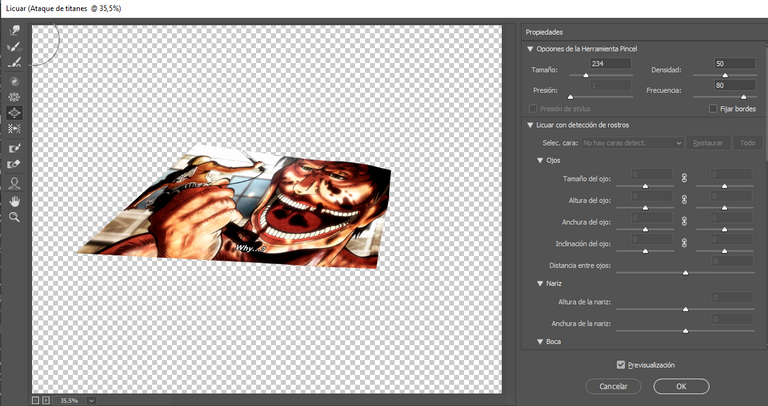
Then on the layer of the titan on the floor, add a Liquify filter with Mayus + Ctrl + X to make the titan's face a little more level and not so stretched, with the Inflate tool then duplicate the layer and add a Gaussian Blur filter with a radius of 5px to give the effect of heat emanating from the titan's body.
Después en la capa del titán en el piso, agregue un filtro de licuado con Mayus + Ctrl + X para nivelar un poco más la cara del titán y que no esté tan estirada, con la herramienta Inflar luego duplique la capa y agregue un filtro de Desenfoque Gaussiano con un radio de 5px para darle el efecto de que emana calor del cuerpo del titán.

For the third step, I proceeded to add the blood of the defeated titan, for this I used a special brush which allows me with a simple touch of the cursor to create a pool of blood on any selected layer. Create three different layers below the titan layer, but above the layer of the fundus, I chose a brush color according to the thick color of the blood and mark the parts of the floor that I wanted to be stained in the three layers, then with Ctrl + T and right click adjust the size and perspective of them, then group the 3 layers in a group and add a blend effect of Soft Light to show a little asphalt behind them, then with a layer mask in the group I erased some details.
Para el tercer paso, procedí a agregar la sangre del titán derrotado, para esto utilicé un pincel especial el cual me permite con un simple toque del cursor crear un charco de sangre en cualquier capa seleccionada. Cree tres capas distintas debajo de la capa del titán, pero por encima de la capa del fundo, escogí un color del pincel acorde al color espeso de la sangre y marque las partes del piso que quería que se manchara en las tres capas, luego con Ctrl + T y clic derecho ajuste el tamaño y perspectiva de las mismas, para después agrupar las 3 capas en un grupo y agregar un efecto de fusión de Luz Suave para que se notara un poco el asfalto detrás de ellas, luego con una máscara de capa en el grupo borre algunos detalles.

In the fourth step add the other characters, Eren, Mikasa, Reiner, etc... And modify the size, perspective and orientation of each one with Ctrl + T and Right Click to look like this.
En el cuarto paso agregue a los demás personajes, Eren, Mikasa, Reiner, etc… Y modifique el tamaño, perspectiva y orientación de cada uno con Ctrl + T y Clic Derecho para que quedara de la siguiente manera.
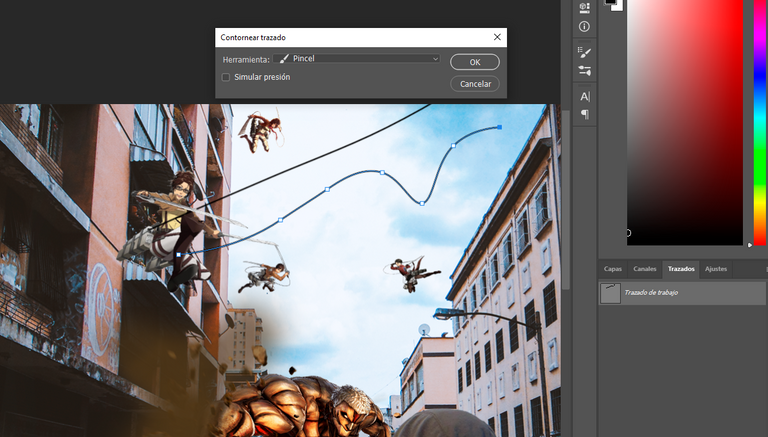
Then I realized that they seemed to be floating in the air or directly about to launch a coordinated suicide, so I added the wires of the maneuvering equipment with the stroke and brush tools. For this I made new stroke layers with the mentioned tool and with a brush of 1 pixel of diameter I outlined the same stroke with Right click, then I did the same with each character and lowered the opacity to 50% to give the effect of remoteness to the cables.
Luego me di cuenta que parecían estar flotando en el aire o directamente a punto de lanzarse a un suicido coordinado, así que le agregue los cables del equipo de maniobras con las herramientas trazo y pincel. Para esto hice nuevas capas de trazo con la mencionada herramienta y con un pincel de 1 pixel de diámetro contornee el mismo trazado con Clic derecho, luego realice lo mismo con cada personaje y baje la opacidad a un 50% para darle el efecto de lejanía a los cables.
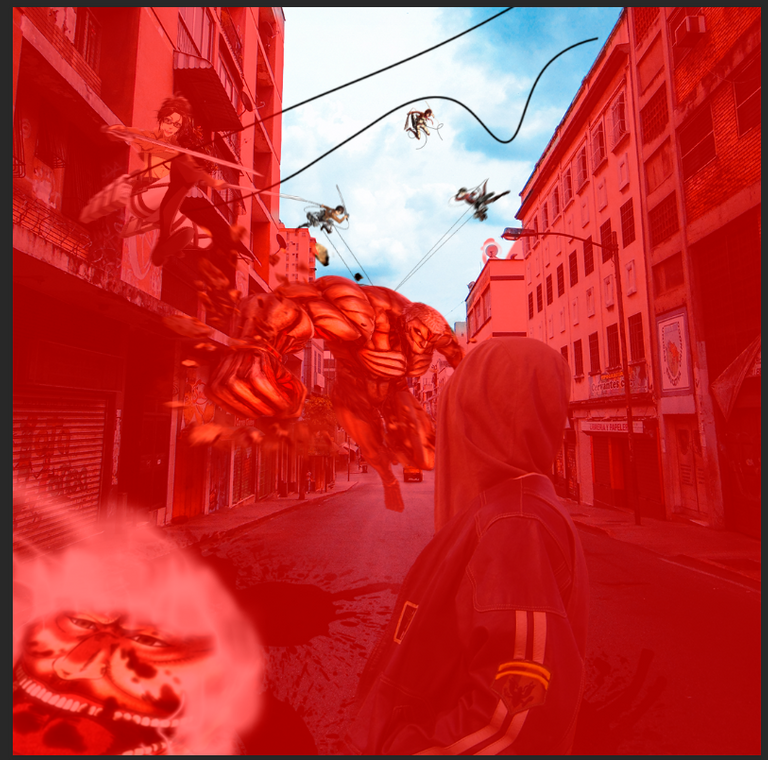
Mikasa flew away 😂 ~ Mikasa voló para otra parte 😂
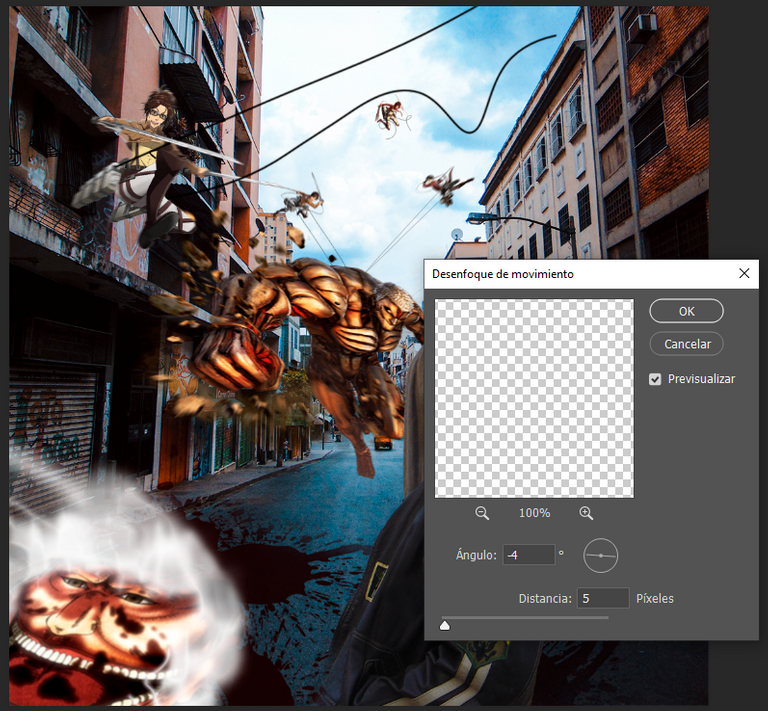
Finally I added in each one of the characters a Motion Blur filter, but not before sorting and grouping all the layers of the characters and strokes in groups, once that was done, I went to the window Filter > Blur > Motion Blur, adjust the angle and distance of each one of the characters depending on their position, to give that effect that they are in movement and as the layers are in smart mode, in the filters a layer mask is added with which I can modify the amount of flow of this effect with a brush. I focused Hanji's face and part of Reiner's body with the brush to look like this.
Por ultimo agregue en cada uno de los personajes un filtro de Desenfoque de Movimiento, no sin antes ordenar y agrupar todas las capas de los personajes y trazos en grupos, una vez hecho eso, me fui a la ventana Filtro > Desenfocar > Desenfoque de Movimiento, ajuste el angulo y la distancia de cada uno de los personajes dependiendo de su posición, para darle ese efecto de que están en movimiento y como las capas están en modo inteligente, en los filtros se agrega una máscara de capa con la que puedo modificar la cantidad de flujo de este efecto con un pincel. Enfoque la cara de Hanji y parte del cuerpo de Reiner con el pincel para que quedara de la siguiente manera.

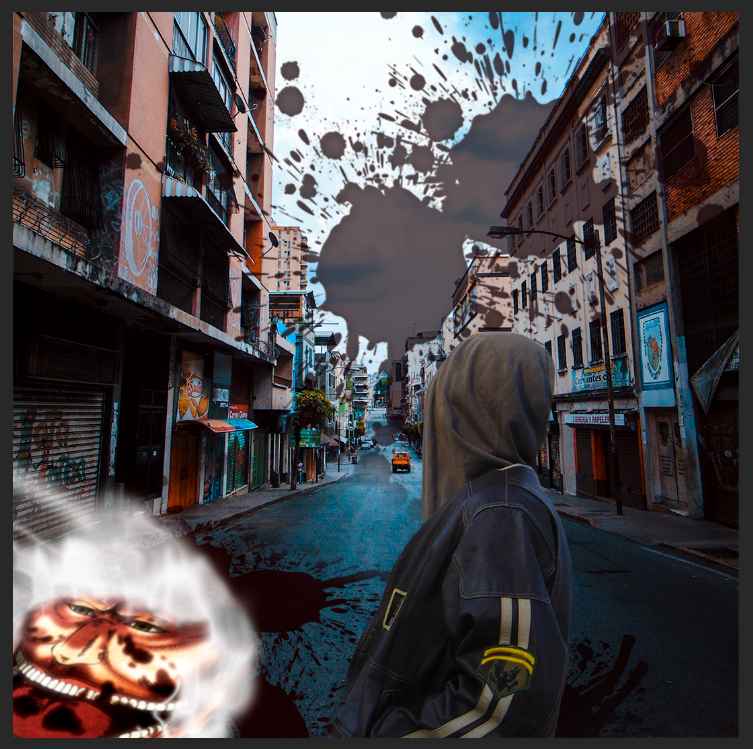
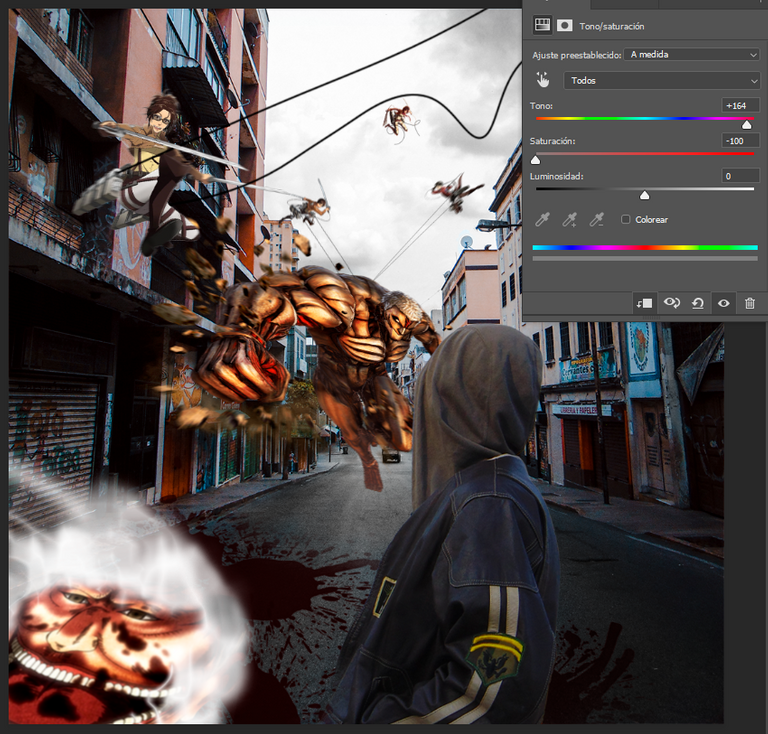
For the fifth step I wanted to change the color of the sky to gray to give a more dramatic look to the image, for this I made a selection with the magnetic lasso tool around the entire contour of the sky in the background layer, then with the mask selection tool I further refined the selection.
Para el quinto paso quise cambiar el color del cielo, colocarlo gris para darle un aire más dramático a la imagen, para esto hice una selección con la herramienta de lazo magnético alrededor de todo el contorno del cielo en la capa del fondo, luego con la herramienta de selección de mascara perfeccione más la selección.
After creating the new layer, create a new Hue and Saturation layer, on top of the new sky clipping layer, then create a clipping mask with Alt + Right Cycle between the two layers so that the hue and saturation layer only affects the sky clipping, after that lower the saturation of the layer to a -100, to make it totally white and finally on the new sky layer mask, with a white brush add the effect to the asphalt of the street and certain places of it.
Después de crear la nueva capa, cree una capa nueva de Tono y Saturación, encima de la nueva del cielo recortado, luego cree un recorte de mascara con Alt + Cic Derecho entre las dos capas para que la capa de tono y saturación solo afecte al cielo recortado, después de eso baje la saturación de la capa a un -100, para ponerlo totalmente blanco y por último en la máscara de la nueva capa del cielo, con un pincel blanco agregue el efecto al asfalto de la calle y ciertos lugares de esta.

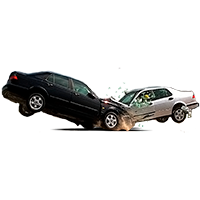
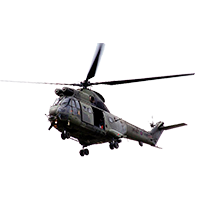
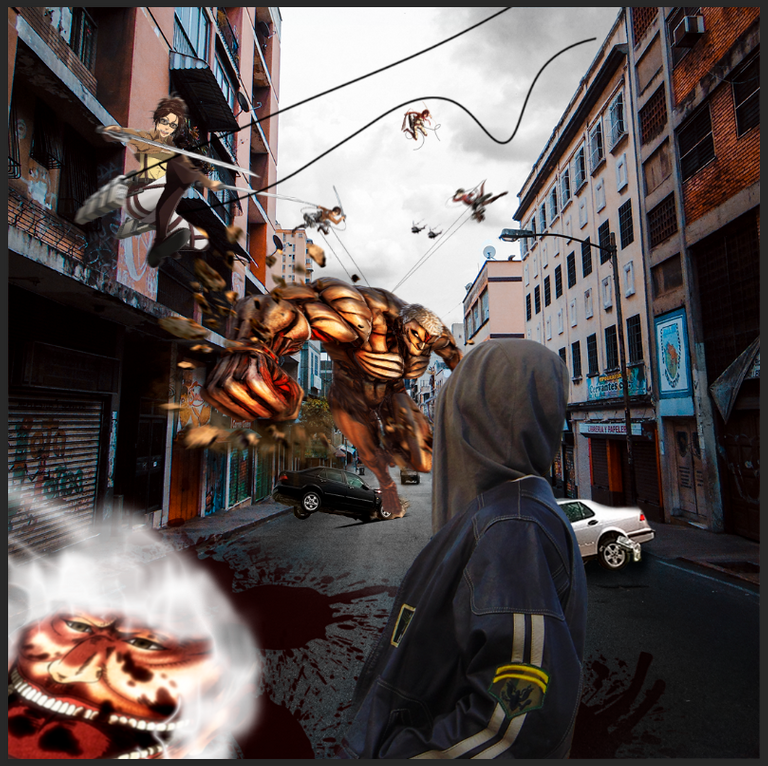
In the sixth step, I added the other PNG resources, the cars and helicopters, for the cars I put the layer under the Reiner layer, duplicated the layer and added a mask to each one, then with a black brush I hid the parts that I didn't want to be noticed, and added a shadow under the white car with a dark brush and a new layer, then I added a motion blur filter to make it look more natural and lowered its opacity to 65%. For the helicopters I just duplicated the layer, put them on top of each other and with Ctrl + T I resized and rotated them.
En el sexto paso, agregué los otros recursos PNG, los autos e helicópteros, para los autos puse la capa debajo de la capa de Reiner, duplique la capa y le agregue una máscara a cada una, después con un pincel negro oculte las partes que no quería que se notaran, y agregue una sombra deja bajo del auto blanco con un pincel oscuro y una nueva capa, luego le agregue un filtro de desenfoque de movimiento para que se viera más natural y baje su opacidad a un 65%. Para los helicópteros solo duplique la capa, las puse encima de todas y con Ctrl + T cambie su tamaño y rotación.
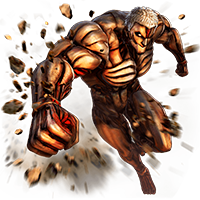
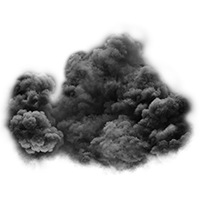
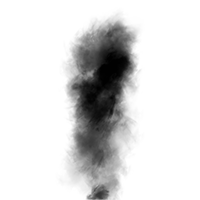
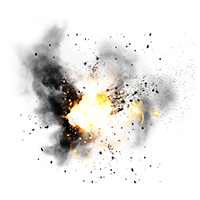
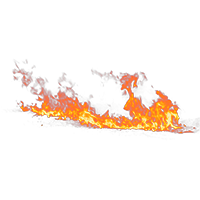
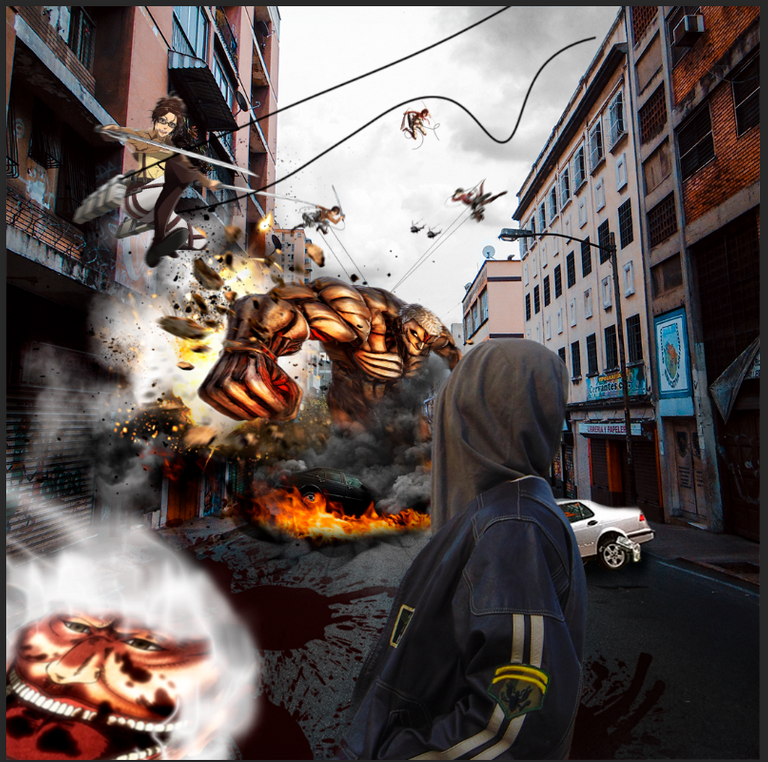
Then I added the other PNG assets, the explosion, the fire, the smoke curtain. But first create a layer below the black car layer, and in the same way that I created the smoke for the defeated titan, create several layers with a white brush, with the Maximum filter I gave the corrosive smoke effect, combine the layers and with a fill layer and a clipping mask (Alt + Right Click) between the two layers, change the color of the smoke to black. Then add the assets, the hand explosion, the gray smoke curtain and the fire, position them so that they were above and behind Reiner and with Ctrl + T and Right Click, resize and rotate their position, then add a mask layer on each of the asset layers and with a blurred black brush and a flow of it varied between 70% and 10%, merge as much as possible the layers together to achieve the following effect.
Luego agregue los otros recursos PNG, la explosión, el fuego, la cortina de humo. Pero antes cree una capa debajo de la capa del auto negro, y de la misma manera que cree el humo para el titán derrotado, cree varias capas con un pincel blanco, con el filtro Máximo le di el efecto de humo corrosivo, combine las capas y con una capa de relleno y una máscara de recorte (Alt + Clic Derecho) entre las dos capas, cambie el color del humo a negro. Luego agregue los recursos, la explosión de la mano, la cortina de humo gris y el fuego, las posicione de manera que quedaran por encima y detrás de Reiner y con Ctrl + T y Clic Derecho, cambie su posición tamaño y rotación, luego agregue una capa de mascara en cada una de las capas de recurso y con un pincel negro difuminado y un flujo de este mismo variado entre 70% y 10%, fusione lo más que pude las capas entre sí para lograr el siguiente efecto.
The flow of the brush determines the amount of ink that the brush emits when pressed, when you lower this parameter the flow is less constant which gives more smoothness when blending certain layers or coloring certain layers.
El flujo del pincel determina la cantidad de tinta que emite este mismo a la hora de presionarlo, cuando bajas este parámetro el flujo es menos constante lo que da más suavidad a la hora de combinar ciertas capas o colorear ciertas capas.

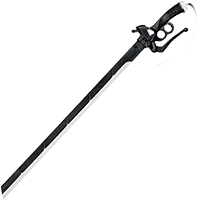
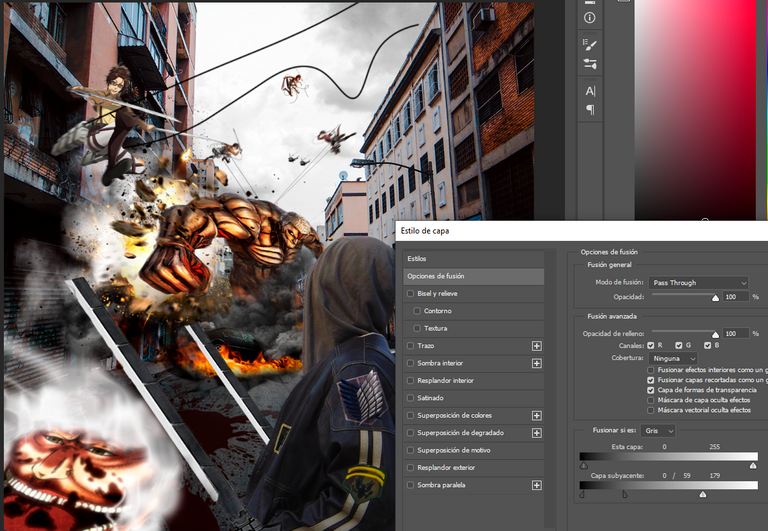
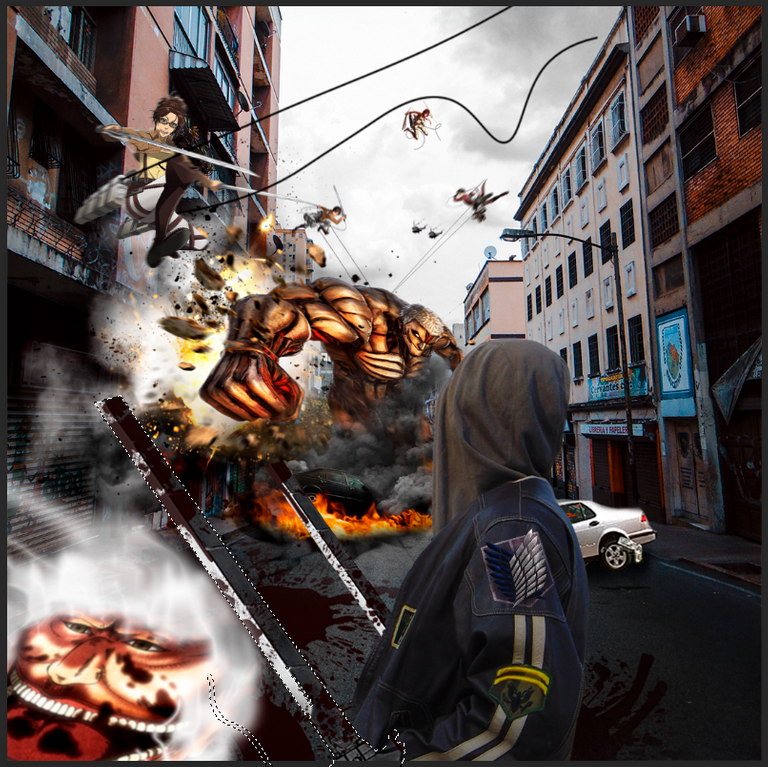
Already the image was looking pretty good, but it looked like I was dithering the whole show with my hands in my pockets, so for the seventh step I proceeded to enlist in the reconnaissance faction. I added the swords next to my arms and the mythical recon squad badge on my arm, set the size of these with Ctrl + T, duplicate the badge layer and add a mask on each of the two layers, with a black brush and a smooth 10% flow mark certain parts of the badge outline, then change the blend mode of the two layers to Highlight and Overexpose Color, lower the opacity of the main "badge layer" to 23%, then group the two layers into a group and alter the gray blend with the following parameter, all to give the effect that it is stamped on the leather of my jacket.
Ya la imagen estaba quedando bastante bien, pero parecía que me estaba vacilando todo el show con las manos en los bolsillos, así que para el séptimo paso procedí a enlistarme en la facción de reconocimiento. Agregue las espadas a la par de mis manos y la mítica insignia de la brigada de reconocimiento en mi brazo, configure el tamaño de estas con Ctrl + T, duplique la capa de la insignia y agregue una máscara en cada una de las dos capas, con un pincel negro y un flujo suave de 10% marque ciertas partes del contorno de la insignia, luego cambie el modo de fusión de las dos capas a Luz Fuerte y Sobreexponer Color, baje la opacidad de la “capa insignia” principal a un 23%, luego agrupe las dos capas en un grupo y altere la fusión de grises con el siguiente parámetro, todo para que diera el efecto de que esta estampado en el cuero de mi chaqueta.
(Antes de realizar el recorte de mi fotografía elimine varios estampados de mi chaqueta con la herramienta Tampón de clonar)
(Before cropping my photo, I removed several prints from my jacket with the Clone Stamp tool)
Then I went on to put the heavy stuff, in the same way I did with the blood on the floor of the destroyed titan, create a new blank layer, and with Ctrl + Right Click on the sword box to create an exact selection of the sword outline, load that selection on the blank layer so that with the dark crimson brush and the blood drops bit, stain the whole sword in the following way.
Después pasé a poner la cosa más heavy, de la misma manera que hice con la sangre en el piso del titán destruido, cree una nueva capa en blanco, y con Ctrl + Clic Derecho sobre el recuadro de la espada para crear una selección exacta del contorno de esta, cargue esa selección sobre la capa en blanco para que así con el pincel carmesí oscuro y la broca de gotas de sangre, manchar toda la espada de la siguiente manera.
(Al estar marcada la espada con una selección cuando marquemos con la broca no va pintar más allá del centro de esta misma.)
(As the sword is marked with a selection when marking with the drill bit, it will not paint beyond the center of the sword.)
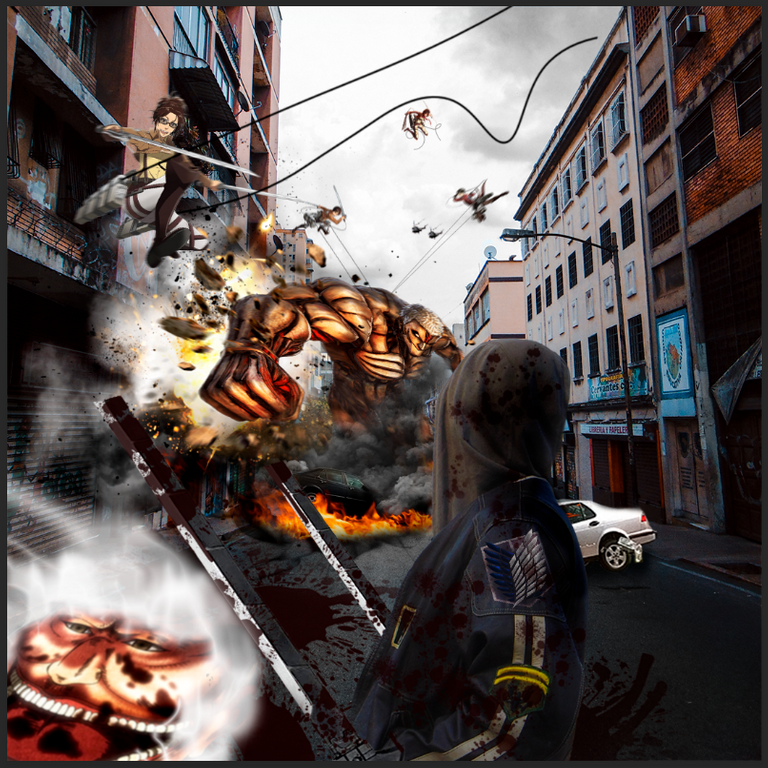
Finally I created a new white layer to stain the blood all over my suit, in the same way as the previous one but this time in more quantity, then I added a shadow behind me with a new layer and with a black brush, I changed the blending mode of this layer to Soft Light to give more presence to the colors of the flames in front of me.
Por ultimo cree una nueva capa en blanco para mancharme de sangre todo el traje, de la misma manera que la anterior pero esta vez en más cantidad, después agregue una sombra detrás de mí con una capa nueva y con un pincel negro, cambie el modo de fusión de esta misma a Luz Suave para darle más presencia a los colores de las llamas al frente de mí
.

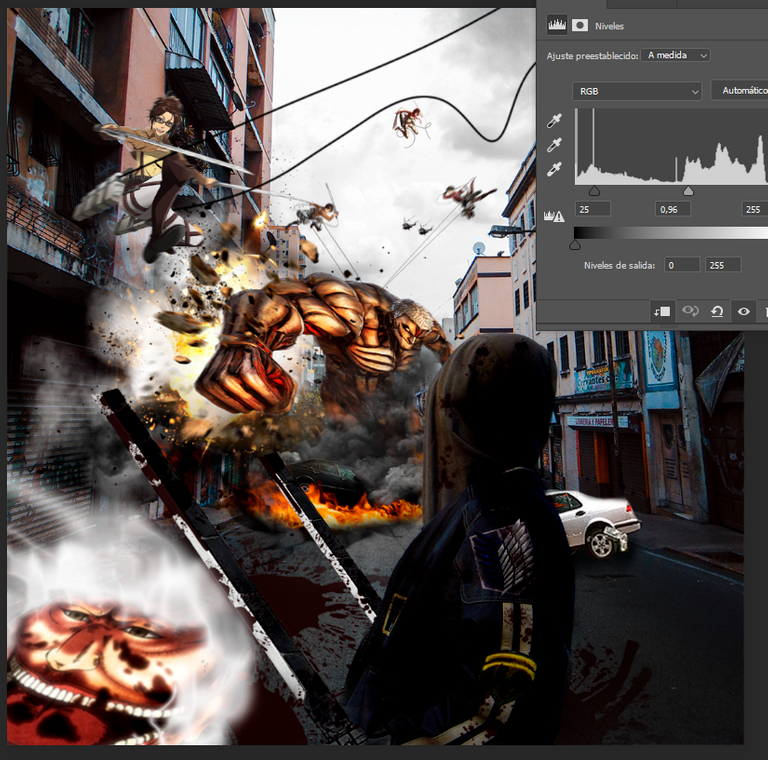
For the eighth step I started to level the color and shadows of all the objects outside the image, for this I had to group all the layers in folders, after sorting the layers I added several layers of levels and curves adjustment starting with me, to finish in each of the characters and cars, each one with a clipping mask to affect only the selected group and not the whole image.
Para el octavo paso comencé a nivelar el color y las sombras de todos los objetos ajenos a la imagen, para esto tuve que agrupar todas las capas en carpetas, después de ordenar las capas agregue varias capas de ajuste de niveles y curvas comenzando por mí, para terminar en cada uno de los personajes y autos, cada uno con un recorte de mascara para que solo afecte al grupo seleccionado y no a toda la imagen.
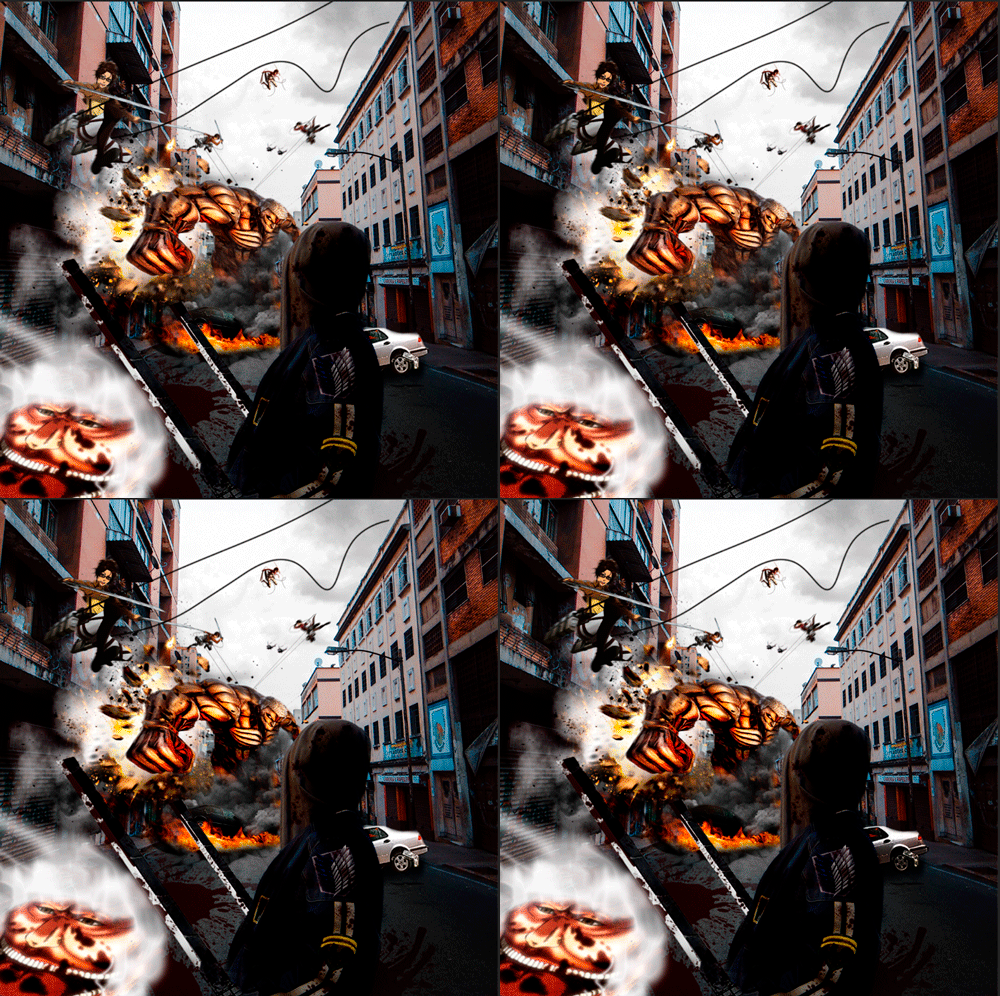
After adjusting the shadows and illuminations of each character, I started to set fire all around, for this I added again the fire resource and the smoke pillar resource, then I made several copies of these two layers, I positioned them with Ctrl + T where I wanted them to be and then I added a layer mask on each of the layers and with the black brush and a flow varied between 60% and 20% I gave the mass fire effects. All these layers grouped on top of the main background layer.
Después de ajustar las sombras e iluminaciones de cada personaje, comencé a incendiar todo alrededor, para esto agregue de nuevo el recurso de fuego y el recurso de pilar de humo, luego hice varias copias de estas dos capas, la posicione con Ctrl + T donde quería que fueran para después agregar una máscara de capa en cada una de las capas y con el pincel negro y un flujo variado entre 60% y 20% darle los efectos de incendio en masa. Todas estas capas agrupadas sobre la capa de fondo principal.
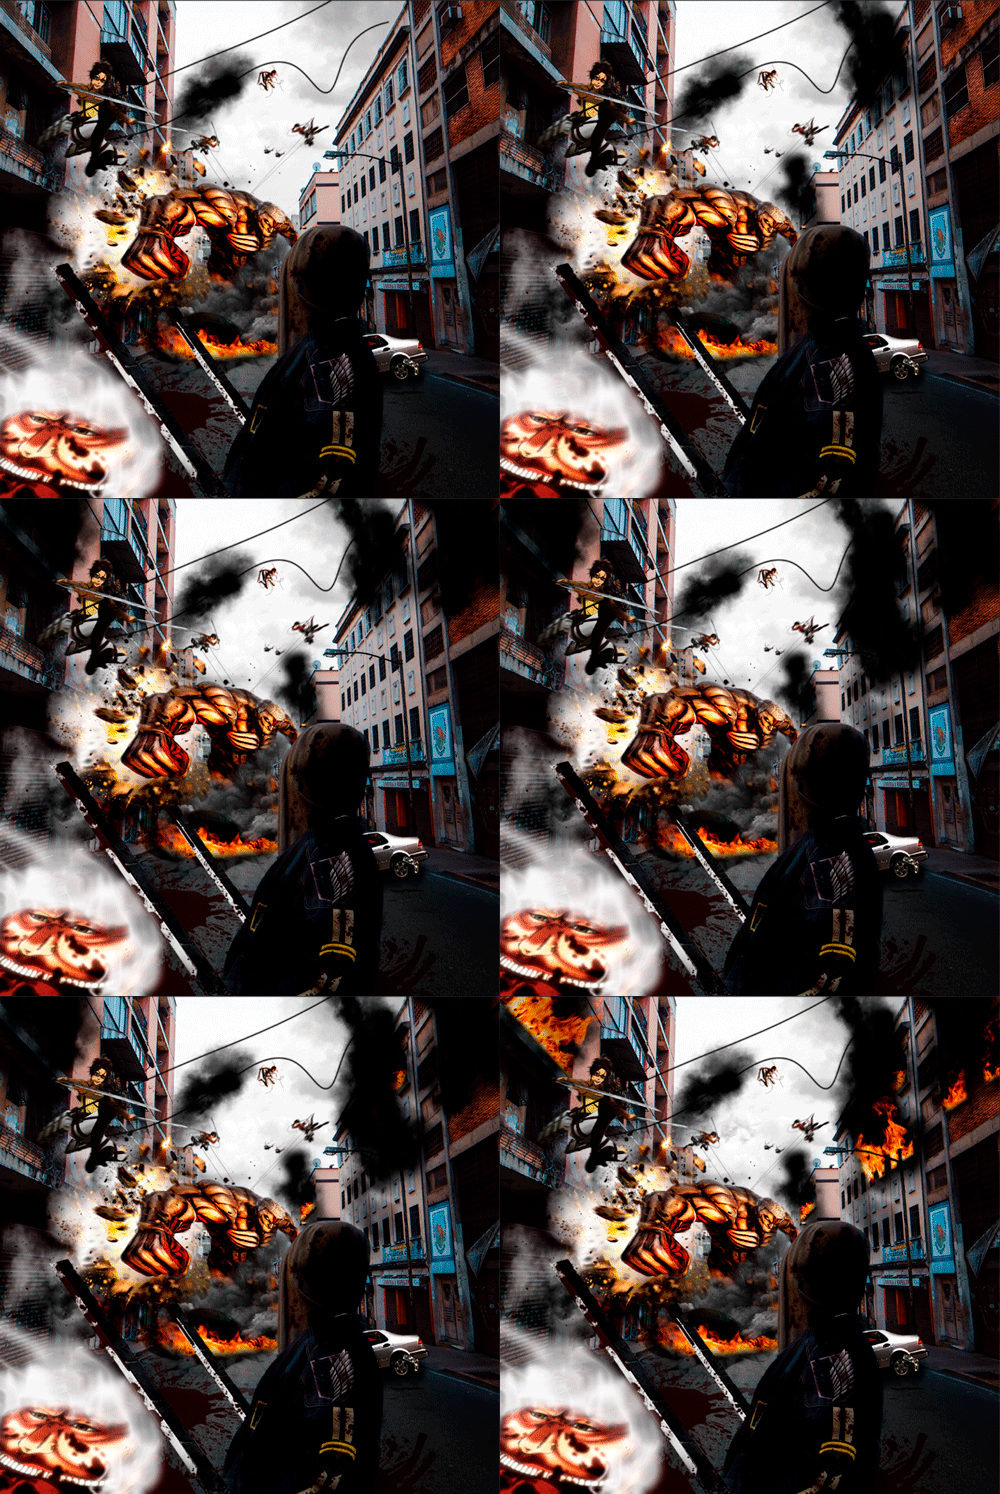

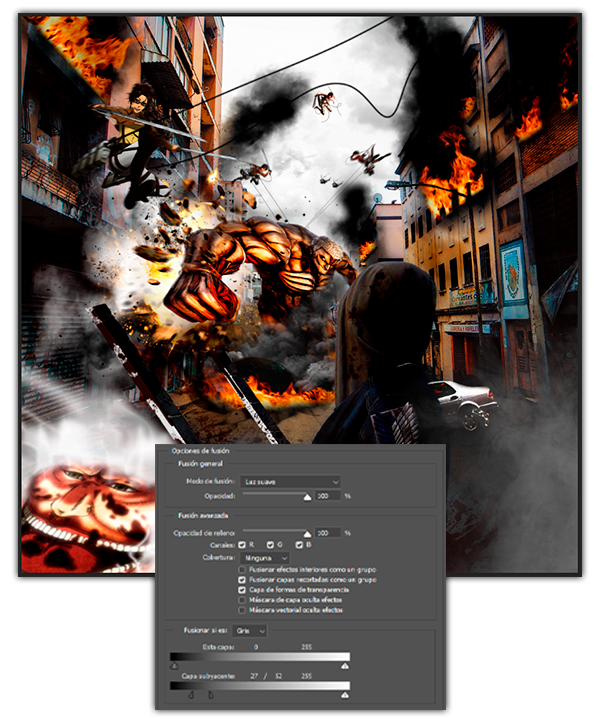
To finish with the ninth step in Photoshop, add a new empty layer above the sky and background layer, this to create a lighting with a yellow brush and a flow of 40% light effect emanating from the flames around the entire street, after coloring all the parts where it would hit that light, change the blend mode of this layer to Soft Light and merge the gray colors of the underlying layer to contrast more with the shadows. I then added a Smoke Overlay resource, above the group where the clipping of my photograph is and set the blending mode of this Overlay to Lighten, then added a layer mask and with the 60% flow dark brush, I erased certain parts to give it the effect that the smoke is going around me.
Para finalizar con el noveno paso en Photoshop, agregue una nueva capa vacía por encima de la capa del cielo y del fondo, esto para crear una iluminación con un pincel amarillo y un flujo del 40% efecto de luz emanante de las llamas alrededor de toda la calle, después de colorear todas las partes donde golpearía esa luz, cambie el modo de fusión de esta capa a Luz Suave y fusione los colores grises de la capa subyacente para que se contrastara más con las sombras. Luego agregue un recurso Overlay de humo, por encima del grupo donde está el recorte de mi fotografía y puse el modo de fusión de este Overlay en Aclarar, despues le agregue una mascara de capa y con el pincel oscuro de flujo del 60%, borre ciertas partes para darle el efecto que el humo va alrededor de mí.
For the last details I added some dust particles around the explosion to simulate wall fragments at high speed, duplicate the two layers to form more quantity and position them with Ctrl + T, with some layer masks and a black brush I hid the parts near the fist, so that this did not lose presence and gave the effect that come from the wall.
Para los últimos detalles agregue unas partículas de polvo alrededor de la explosión para simular fragmentos de pared a gran velocidad, duplique las dos capas para formar más cantidad y las posicione con Ctrl + T, con unas mascaras de capa y un pincel negro oculte las partes cerca del puño, para que este no perdiera presencia y diera el efecto que vienen de la pared.
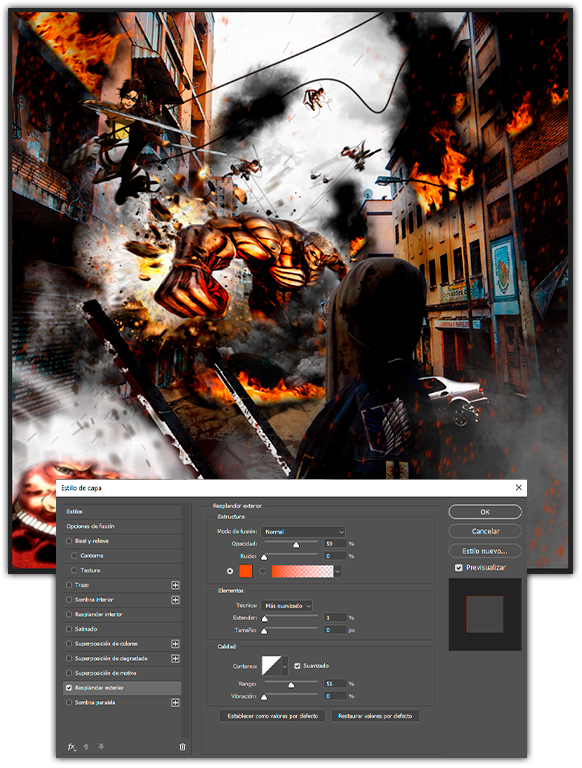
Finally I added 3 new layers of different particles, and placed them near the flames and around me, then with a mask I removed certain parts that were left over and gave each of the layers a motion blur with a range of 8 pixels and various angles varying from the position of the particles, then I grouped all the layers and gave them a general effect of Outer Glow group with double click on the group, I placed the following parameters to give effect to the ash particles around the entire stage.
Por ultimo agregue 3 capas nuevas de partículas distintas, y las coloque cerca de las llamas y alrededor de mí, después con una máscara elimine ciertas partes que sobraban y le di a cada una de las capas un desenfoque de movimiento con un rango de 8 pixeles y varios ángulos variando de las posición de las partículas, después agrupe todas las capas y les dé un efecto general a grupo de Resplandor Exterior con doble clic sobre el grupo, coloque los siguientes parámetros para así darle efecto a las partículas de cenizas alrededor de todo el escenario.

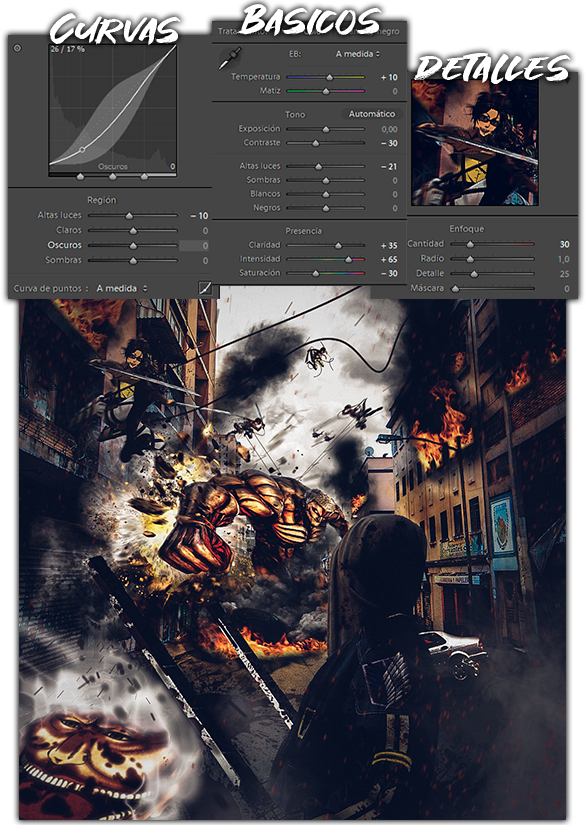
The last details and the filter to match everything in the image I gave it in Lightroom once I exported it, I lowered the contrast a little along with its high lights, then I lowered the saturation and raised the intensity to give it a colder and duller atmosphere, but without losing presence, I lowered a little the high lights of the tone curve and gave a little more focus to the filter in general and the result was the following.
Los últimos detalles y el filtro para igualar todo en la imagen se lo di en Lightroom una vez que la exporté, bajé el contraste un poco junto con sus luces altas, luego bajé la saturación y subí la intensidad para darle un ambiente más frio y opaco, pero sin perder presencia, bajé un poco las luces altas de la curva de tonos y le di un poco más de enfoque al filtro en general y el resultado fue el siguiente.

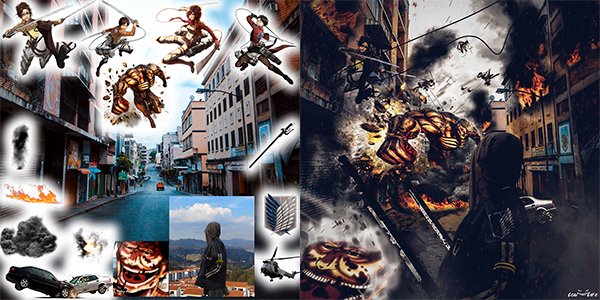
Photographs @angelsbravo ~ Fotografia @angelsbravo
And well dear friends this has been all the background of this montage, which is undoubtedly one of my favorites and one of which I put more love and effort, I hope you liked it and remember that any advice or help is welcome from me, I also hope it has been helpful if you want to do something similar or apply any of these effects in their editions, without further comment I hope you have a great week and see you next post!
Y bueno queridos amigos este ha sido todo el trasfondo de este montaje, que sin duda es uno de mis favoritos y uno de los cuales más cariño he empeño le puse, espero que les haya gustado y recuerden que cualquier consejo o ayuda es bien recibida de mi parte, espero también que les haya servido de ayuda por si quieren hacer algo parecido o aplicar alguno de estos efectos en sus ediciones, sin más que comentarles espero que pasen una excelente semana y ¡hasta próximo post!


Este post ha sido propuesto para ser votado por el equipo de curación de Cervantes.
Muchas gracias por su curación! 🥳
Pero es que te quedó íncreible! se nota el trabajo que le dedicaste.
Excelente! 20 pts
Muchas gracias, me alegro que te haya gustado. 😄
This is freaking awesome!
I’ve never seen this anime before, but I love the style and how you made use of so any different characters. This one came together quite well, nice work.
Thank you very much bro, I'm very glad you liked it! I seriously recommend that you watch that anime, it is too good and has a very absorbing plot, you will definitely like it! 👌🏻
El resultado es increíble. te felicito!
Muchas gracias, me alegra que te gustara! 😊