¿Qué tal amigos como están? Espero que se encuentren excelente, la tarde de hoy quiero compartir con ustedes otro trabajo de edición fotográfica realizado por mi, junto el paso a paso que utilice para realizarla, es una edición bastante sencilla que consta de un solo recurso y un simple cambio de filtro.
How are you friends? I hope you are feeling great, this afternoon I want to share with you another photo editing work done by me, along with the step by step I used to make it, it is a fairly simple edition that consists of a single resource and a simple change of filter.
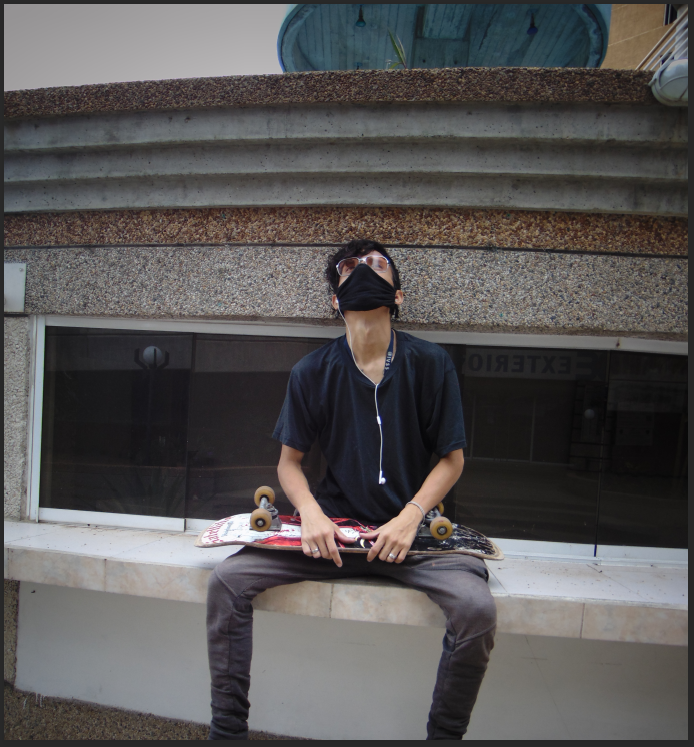
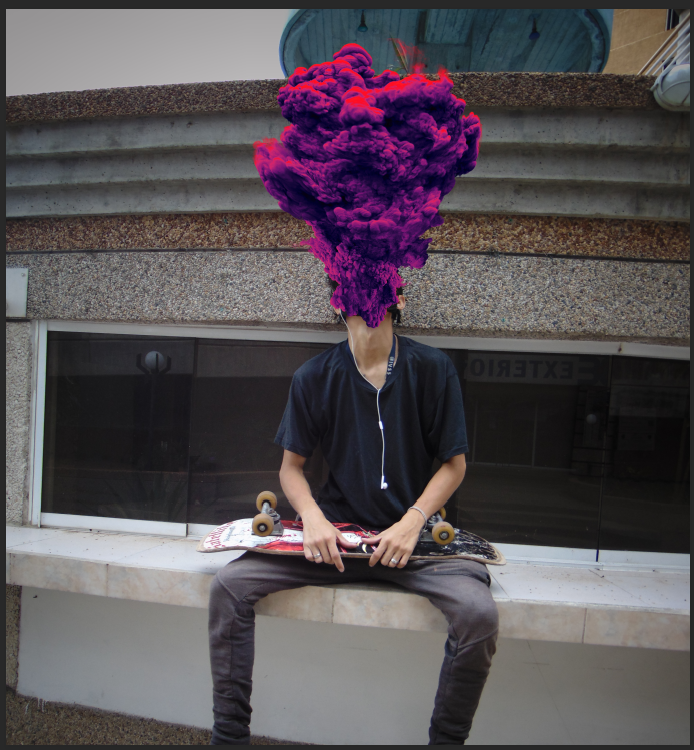
Lo primero que hice fue abrir un nuevo proyecto con la fotografía que quería editar en Adobe Photoshop y recorte ciertas partes con la herramienta Recortes.
The first thing I did was to open a new project with the photo I wanted to edit in Adobe Photoshop and cut out certain parts with the Cuts tool.
Luego agregue el recurso PNG de la explosión de humo y con Ctrl + T ajuste el tamaño necesario para que pareciera que viene de mi cabeza.
Then I added the PNG resource of the smoke explosion and with Ctrl + T I adjusted the size to make it look like it came from my head.
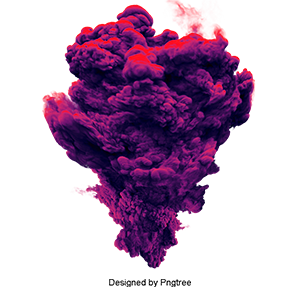
Clic en la imagen para ir su fuente.
Click on the image to go to its source.
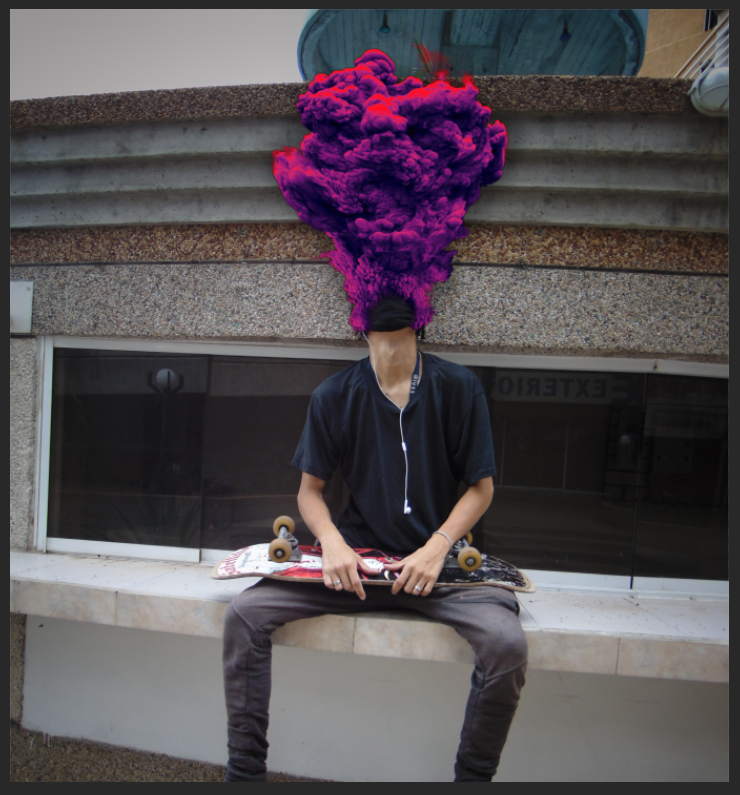
Después resterice la capa del humo y con la herramienta Tampón de Clonar cubrí las orejas con un poco mas de humo, para después agregarle una Mascara de Capa y con el pincel negro suave mostré parte de la mascarilla para que quedara de la siguiente manera.
Then I resterilized the smoke layer and with the Clone Buffer tool I covered the ears with a little more smoke, then I added a Layer Mask and with the soft black brush I showed part of the mask so it looked like this.
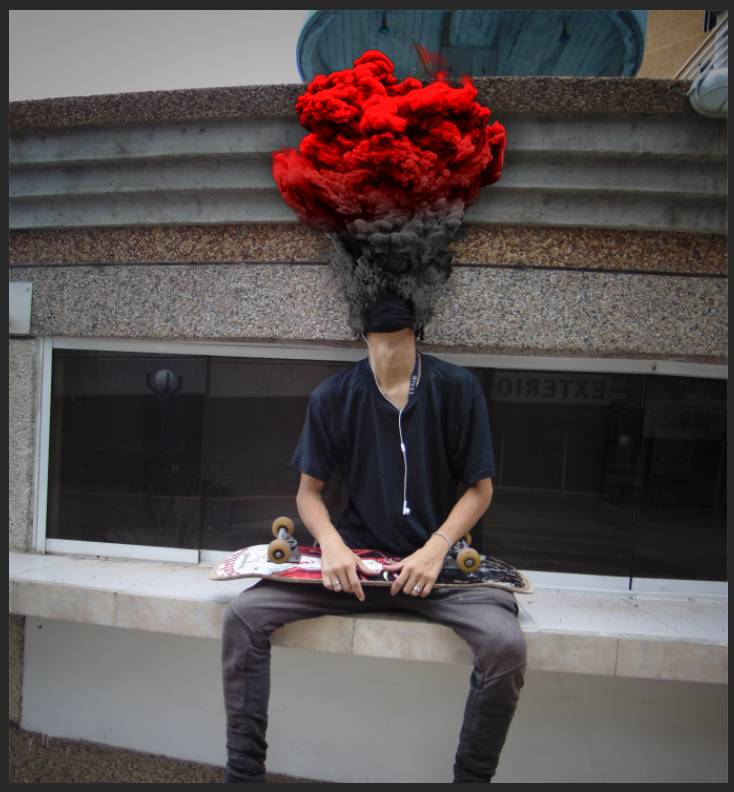
Luego agregue una nueva capa de Degradado sobre la capa de humo y Alt + Clic derecho entre las dos capas para que esta solo afecte la misma, configure los colores en negro y rojo y el eje de estos mismos colores y el modo de difusión de la capa en Color para que quedara de la siguiente manera.
Then I added a new Degrease layer over the smoke layer and Alt + Right click between the two layers so that it only affects the same one, set the colors to black and red and the axis of these same colors and the diffusion mode of the layer to Color so that it looked like this.
también agregue una capa vacía atrás de la capa de humo y con el pincel negro y semi transparente agregue una sombra detrás del mismo.
Also add an empty layer behind the smoke layer and with the black and semi transparent brush add a shadow behind it.
Por ultimo exporte la imagen JPG a Lightroom 5.6, para añadirle un filtro nuevo, una vez ahí aumente un poco el contraste, los blancos y disminuí los negros de la fotografía, le di un tono mas dramático a los colores oscuros y mas viveza a los colores rojos, subí un poco la nitidez y disminuí la luz en los bordes de la imagen.
Finally I exported the JPG image to Lightroom 5.6, to add a new filter, once there I increased a little the contrast, the whites and decreased the blacks of the photograph, I gave a more dramatic tone to the dark colors and more vividness to the red colors, I increased a little the sharpness and decreased the light in the edges of the image.
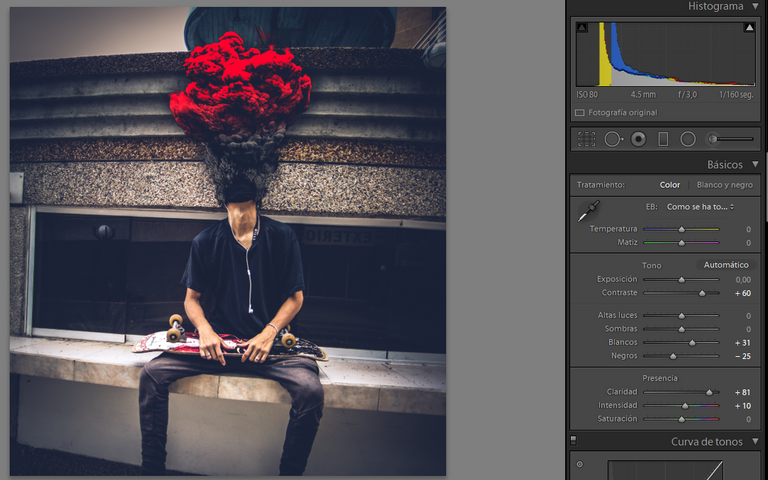
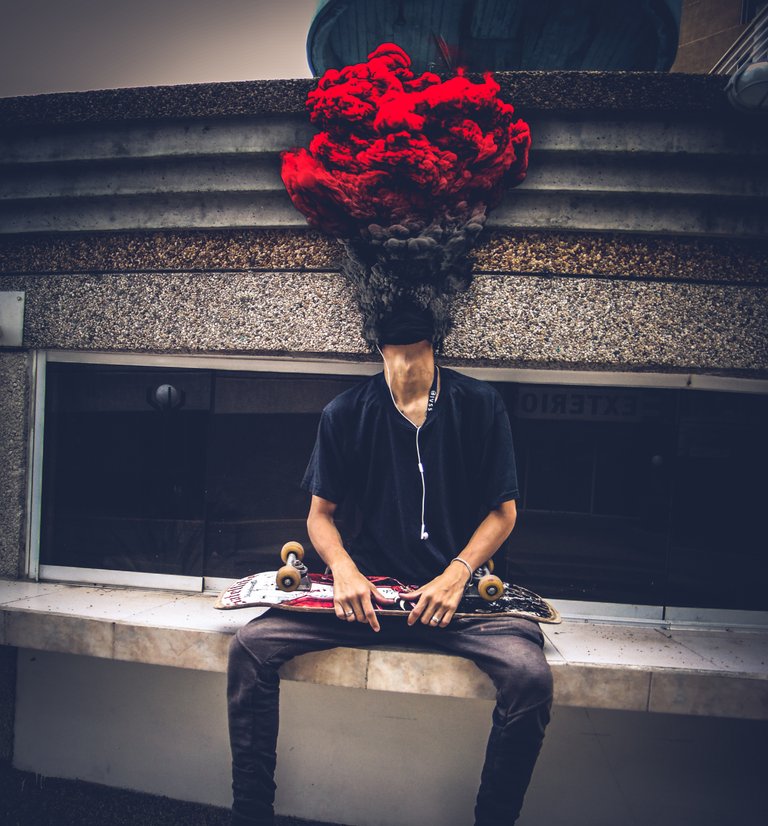
Y el resultado fue este amigos, una edición en relativa bastante sencilla.
And the result was this friends, a fairly simple relative editing.
Bueno amigos espero que les haya gustado y que les haya servido de ayuda o referencia para algún proyecto que necesiten realizar, sin mas que comentarles hasta la próxima entrada y que tengan una bonita semana!
Well friends, I hope you liked it and that it has been helpful or a reference for any project you need to do, without further comments until the next post and have a nice week!

Awesome concept. The finished product looks fantastic, great blending bro.
Thank you very much for your support brother, it is very significant! soon I will upload new projects, a hug and thank you very much !! 😄😄
I look forward to more. I added you to my favorites so that I don’t miss your future posts.
¡Felicidades! Esta publicación obtuvo upvote y fue compartido por @la-colmena, un proyecto de Curación Manual para la comunidad hispana de Hive que cuenta con el respaldo de @curie.
Si te gusta el trabajo que hacemos, te invitamos a darle tu voto a este comentario y a votar como testigo por Curie.
Si quieres saber más sobre nuestro proyecto, acompáñanos en Discord: La Colmena.
Siempre agradecido por su apoyo!!
Congratulations @lowlifevzla08! You have completed the following achievement on the Hive blockchain and have been rewarded with new badge(s) :
Your next target is to reach 5000 upvotes.
You can view your badges on your board and compare yourself to others in the Ranking
If you no longer want to receive notifications, reply to this comment with the word
STOPCheck out the last post from @hivebuzz:
Many thanks!! 😊
You're welcome @lowlifevzla08 😉👍
Support us back and vote for our witness.
You will get one more badge and bigger upvotes from us when we notify you.
Muy interesante el resultado y tu trabajo digital de montaje fotográfico. La imagen alcanzada, aparte de su carácter surrealista y cercano al cómic, contiene una significación conceptual sugestiva. Saludos, @lowlifevzla08.
Tu post ha sido votado por @CELFmagazine, una iniciativa autónoma en favor del contenido de calidad sobre arte y cultura. Apóyanos con tu voto aquí para mantener y mejorar nuestra labor. Nuestra comunidad es #hive-111516
Your post has been upvoted by @Celfmagazine, an autonomous initiative in favour of quality content on art and culture. Support us with your vote here to maintain and improve our work. Our community is #hive-111516
Muy agradecido por tu análisis y apoyo un saludo!!