Feliz navidad para todos los miembros de la comunidad #DIYHub, bienvenidos a mi blog!
Es grato para mi saludarles, deseando se encuentren bien, y estén teniendo un día de descanso en compañía de familiars y amigos!
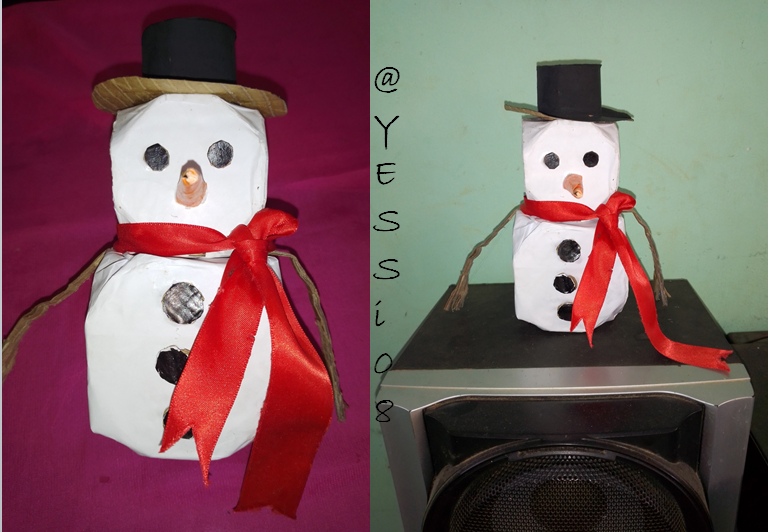
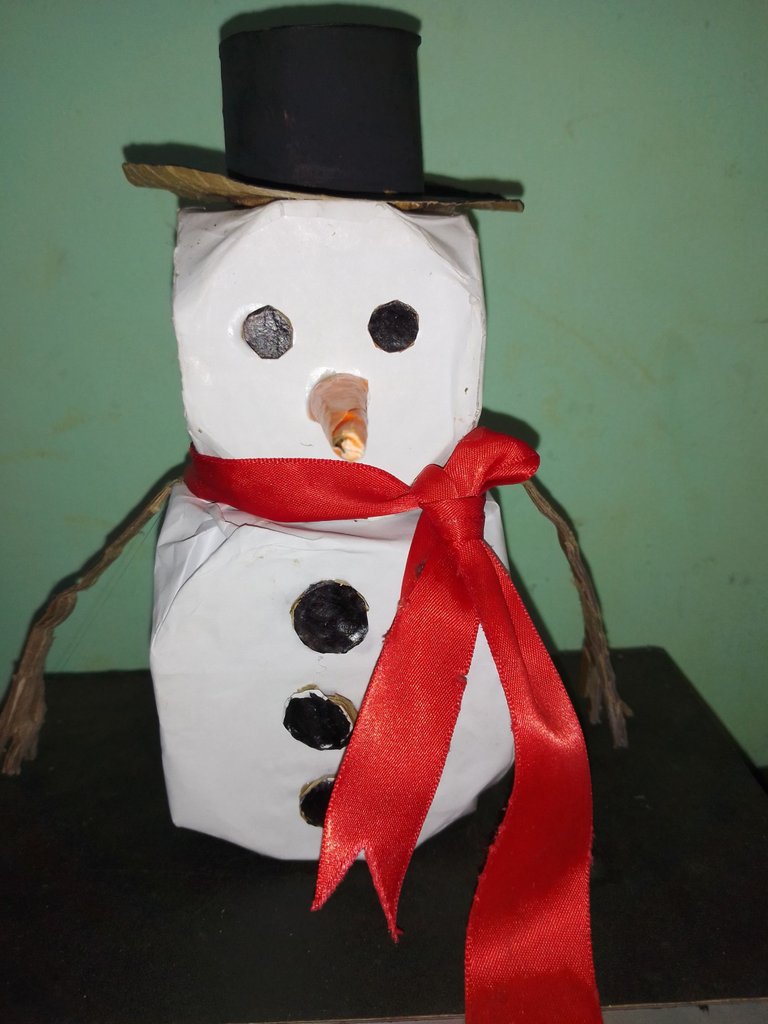
Hoy les quiero compartir un #tutorial para elaborar un hermoso muñeco de nieve, a base de carton; ideal para colocar en la pared, estantes, o incluso en el equipo de sonido, sencillo y económico de realizar.
Acompañenme en el paso a paso:
Merry Christmas to all members of the #DIYHub community, welcome to my blog!
It is a pleasure for me to greet you, wishing you are well, and are having a day of rest in the company of family and friends!
Today I want to share with you a #tutorial to make a beautiful snowman, made of cardboard; ideal to place on the wall, shelves, or even on the stereo, simple and inexpensive to make.
Join me in the step by step:

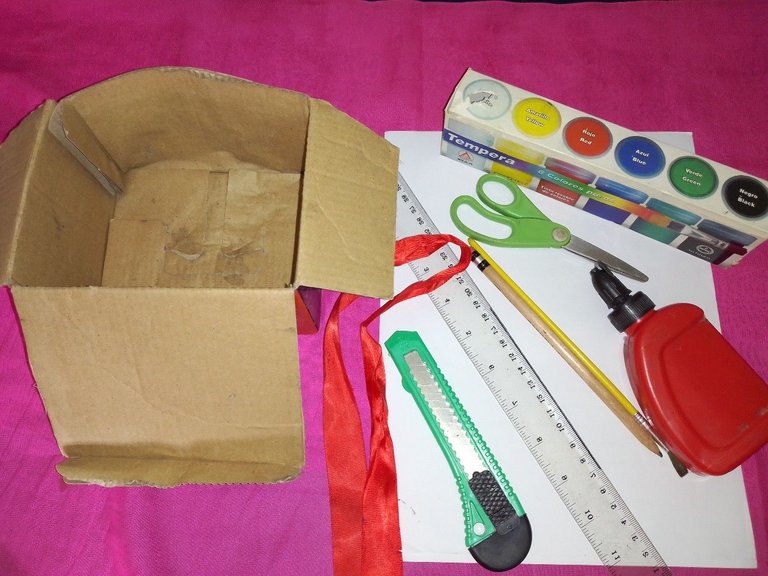
1 caja de cartón
hojas blancas
pega y silicón
pintura negra
tijera
1 trozo de cinta rojo
regla
1 cardboard box
white sheets
glue and silicone
black paint
scissors
1 piece of red ribbon
ruler

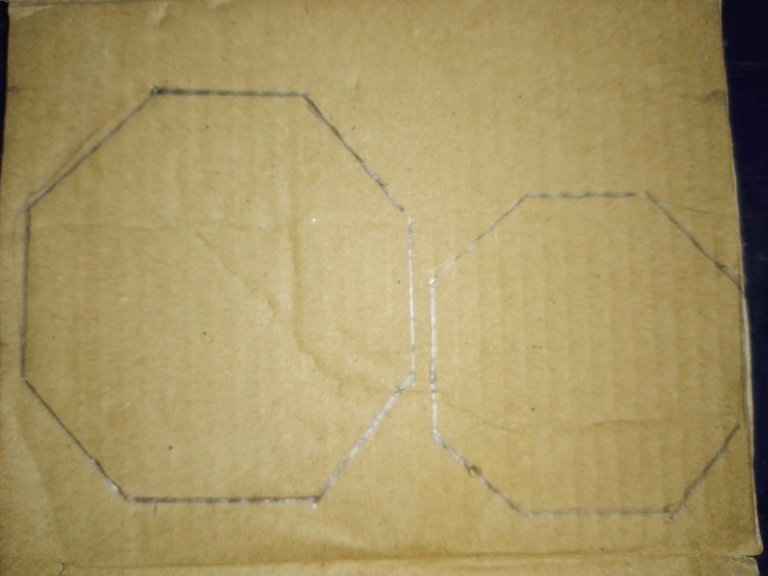
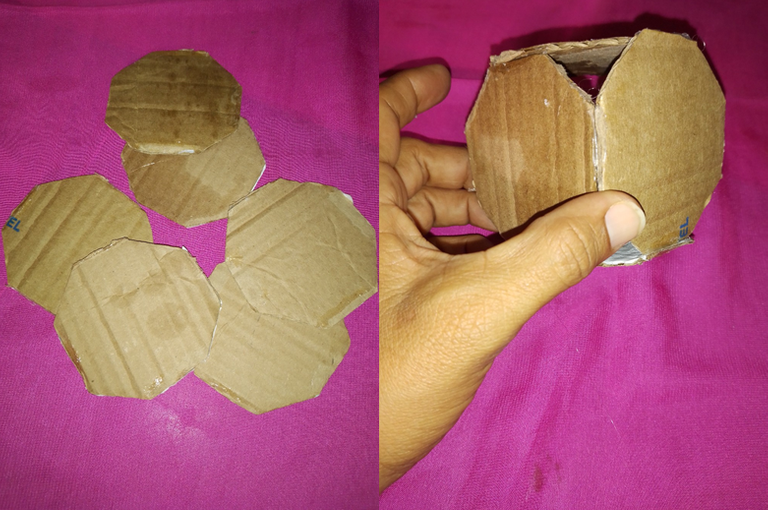
En la caja se marcan 6 octaedros (figura deométrica e 8 lados) grandes y seis pequeños, para formar el cuerpo y la cabeza del muñeco.
Mark 6 large and 6 small octahedrons (8-sided geometric figure) on the box to form the body and head of the doll.

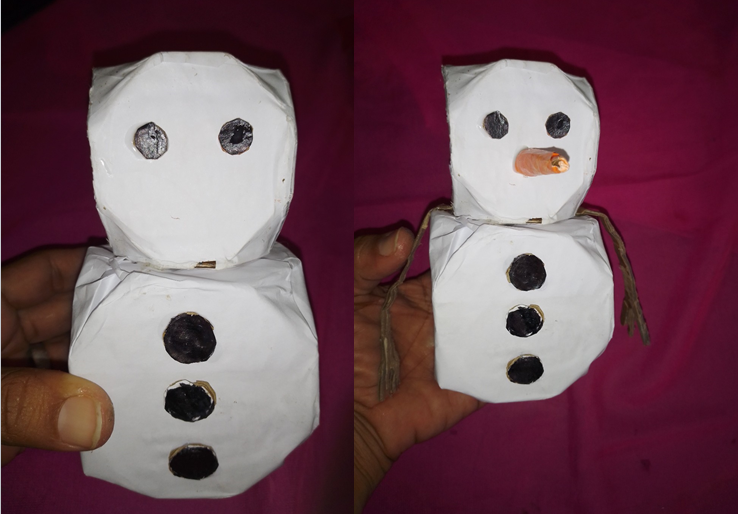
Se recortan y se pegan formando una especie de cubo; luego se forran con hojas blancas.
Cut them out and glue them together to form a sort of cube; then line them with white sheets of paper.
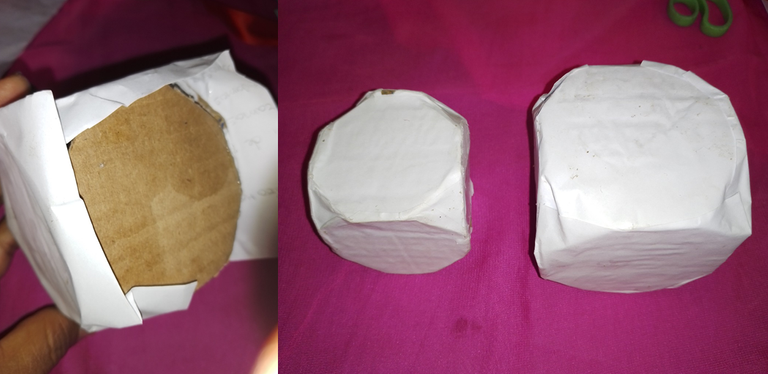

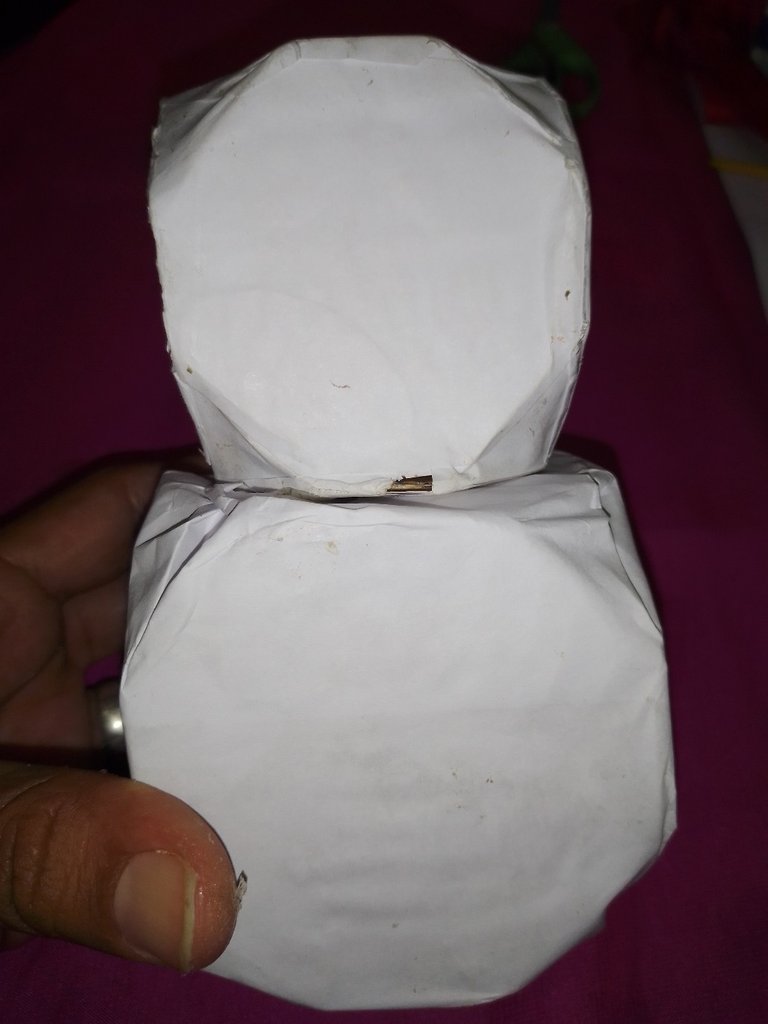
Se forma el muñeco pegando el cubo pequeño encima del grande.
The doll is formed by gluing the small cube on top of the large one.

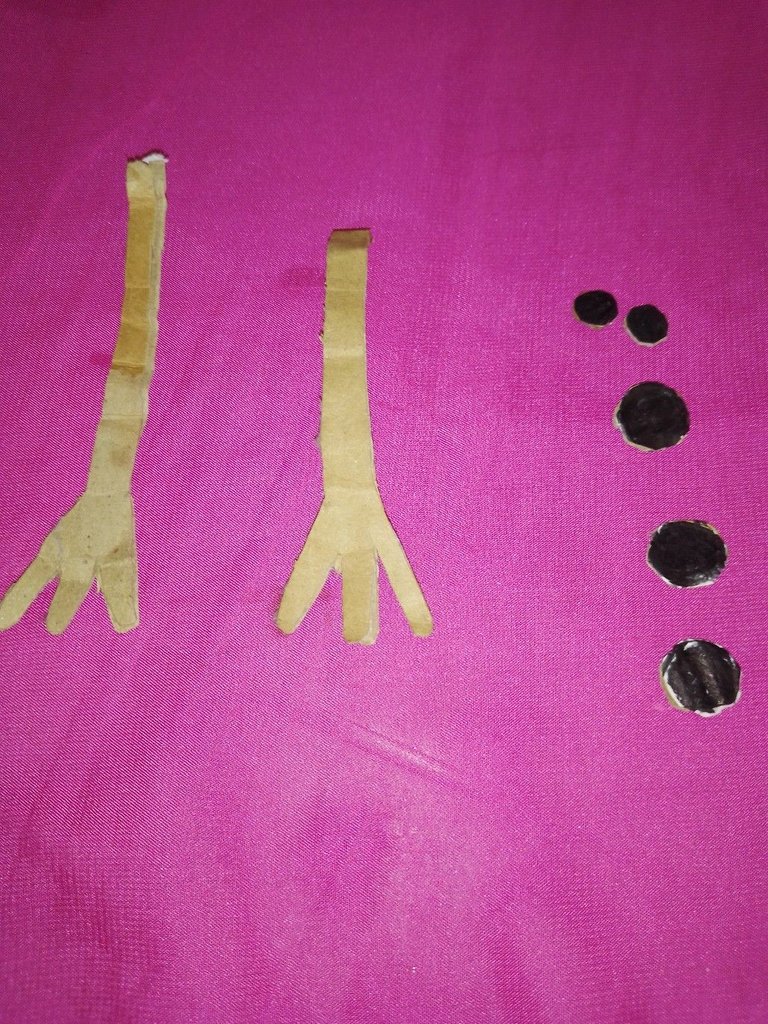
Recorto las manos del muñeco, y 2 circulos negros que serán los ojos y 3 más grandes que seran los botones, y los pego al muñeco.
I cut out the hands of the doll, and 2 black circles that will be the eyes and 3 larger ones that will be the buttons, and glue them to the doll.

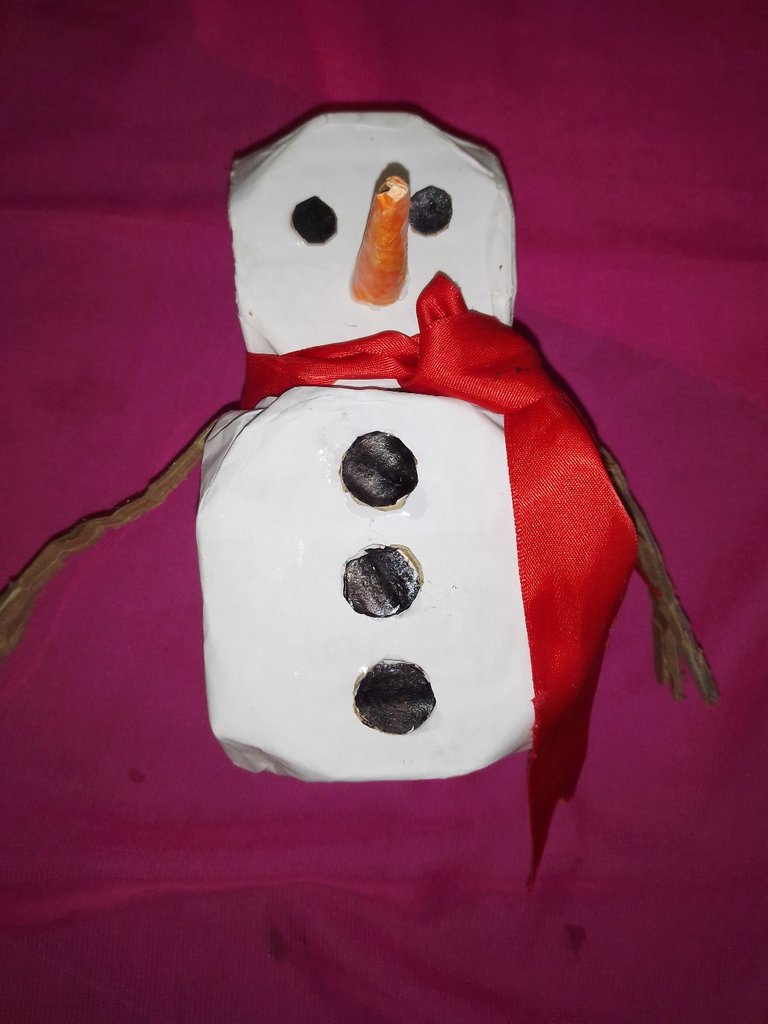
Coloco la cinta roja por el cuello, para crear la bufanda que lo carateriza.
I place the red ribbon around the neck, to create the scarf that characterizes him.

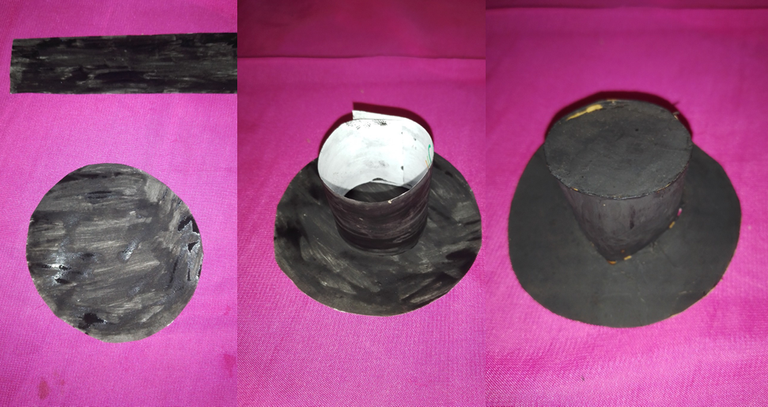
Finalmente hago un sombrero recortando un circulo y una tira de 2 cm de grosor, las cuales pinto de negro, y lo armo.
Le coloco el sombrero pegandolo con silicón, y queda terminado.
Finally I make a hat by cutting out a circle and a 2 cm thick strip, which I paint black, and assemble it.
I glue the hat with silicone, and it's finished.
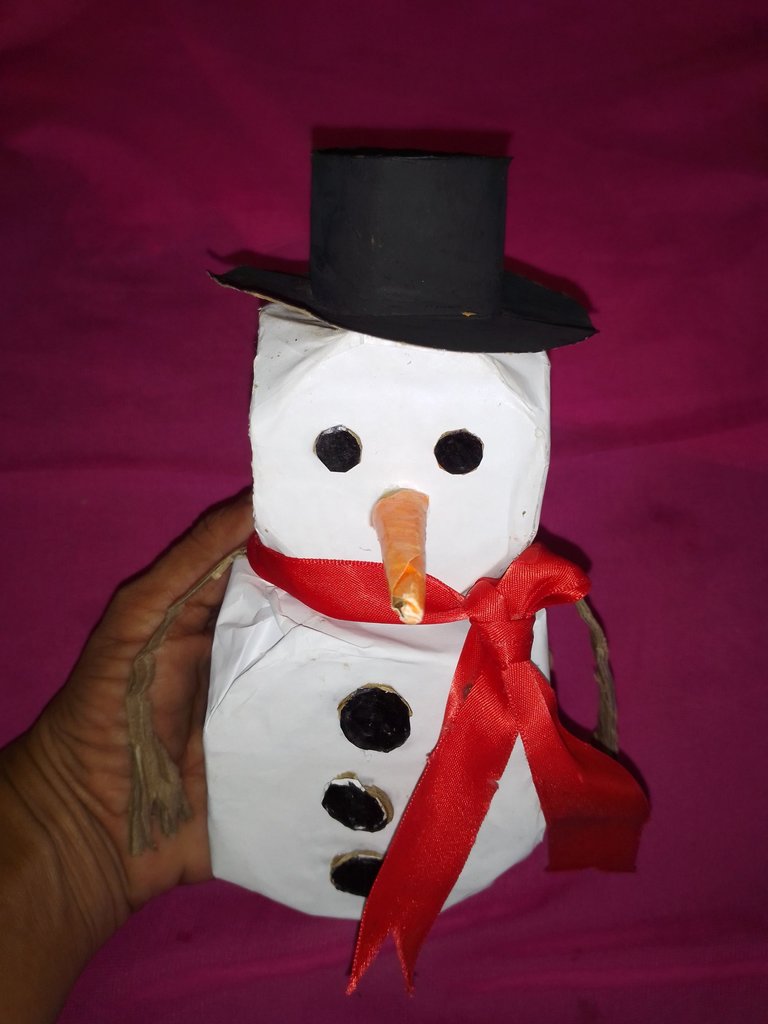

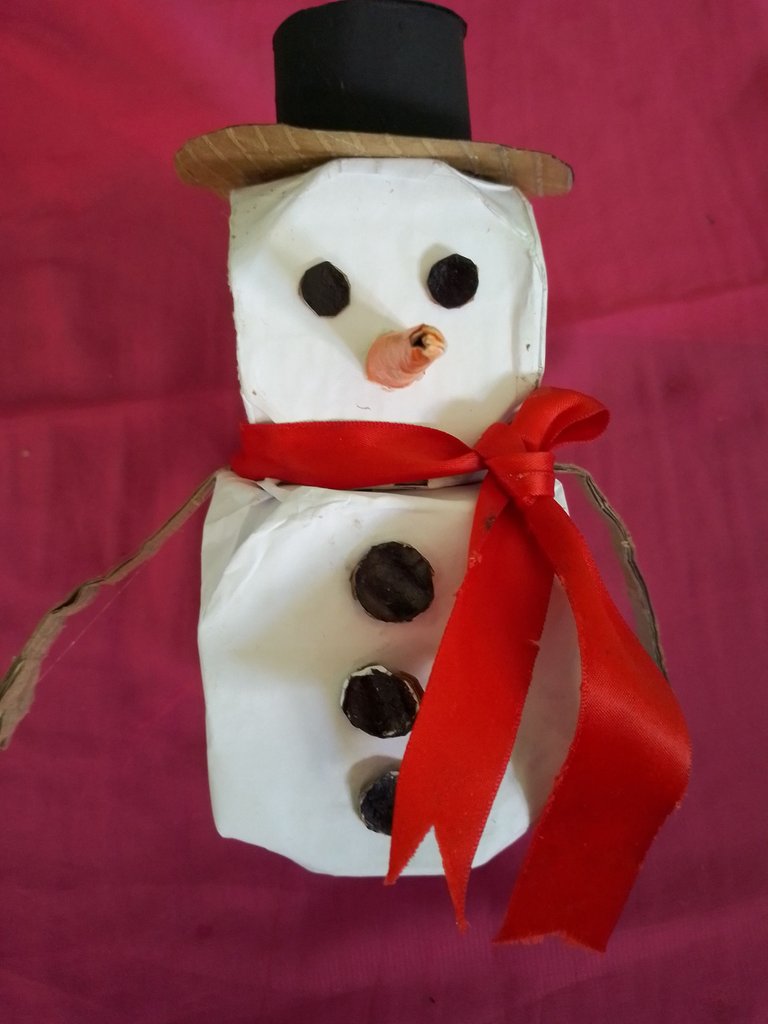
Listo el muñeco de nieve!
The snowman is ready!

Gracias por visitar mi post.
Dios te bendiga!
Thanks for visiting my post.
God bless you!
Translated with https://www.deepl.com/translator
      Todas las imágenes son de mi autoría, capturadas con mi teléfono ZTE.

   All images are my own, captured with my ZTE phone.
Thank you for sharing this post in the DIYHUB Community!
Your content got selected by our fellow curator semarekha & you just received a little thank you upvote from us for your great work! Your post will be featured in one of our recurring compilations which are aiming to offer you a stage to widen your audience within the DIY scene of Hive. Stay creative & HIVE ON!
Please vote for our hive witness <3
This is without a doubt the best creativity for this period, and you have used the paper and other materials properly, all in all to present something great.
Greetings @semarekha , I'm very happy for your comment; the idea is always, to keep improving, and to present good work!
I also love recycling, all the ornaments I've made I've used them to make my own.
Blessings to you!
Nice Tutorial. The outcome look so beautiful
Thank you @christy01 , for your comment!
Blessings!