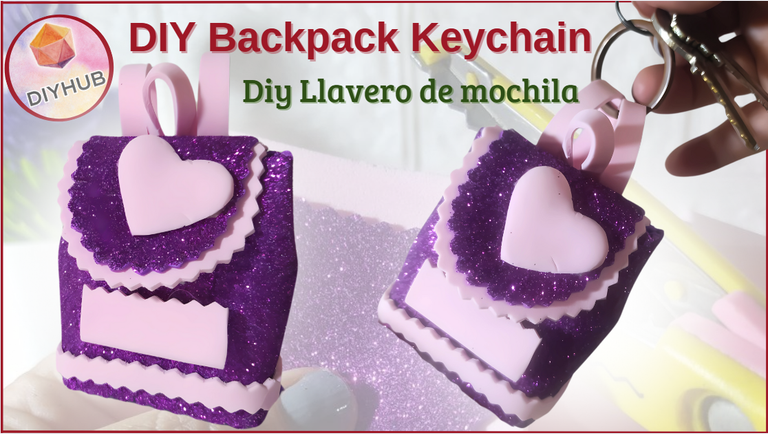
Greetings, Diy Hub Community I hope you are doing great. Today I made a DIY Hub on a Backpack Keychain, made with few materials, basically it is foam, in two colors that look great together.
This accessory has several possibilities, since you can put it on the rearview mirror of the car, as a souvenir for children's parties, to decorate your desk, and as is the case that I made it for a Keychain and gave it to my daughter. I invite you to see the following Tutorial.
Saludos, Comunidad Diy Hub deseo que estén súper bien. Hoy realicé un Diy Hub sobre un Llavero de Mochila, realizado con pocos materiales, básicamente es foami, en dos colores que lucen muy bien juntos.
Este accesorio tiene varias posibilidades, ya que bien lo puedes colocar en el espejo retrovisor del carro, como souvenir para fiestas infantiles, para decorar tu escritorio, y como es el caso que lo realicé para Llavero y obsequiarlo a mi hija. Te invito a ver el siguiente Tutorial.

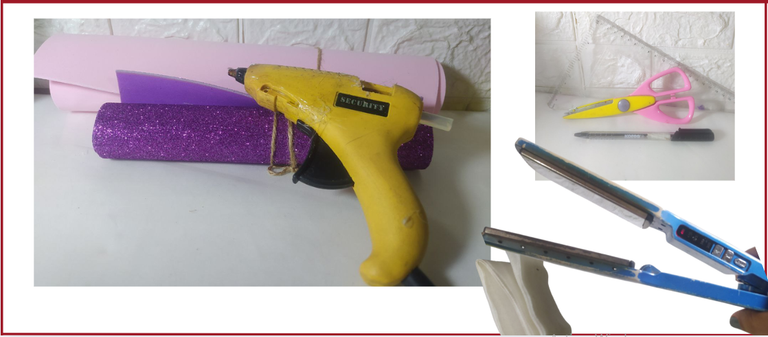
- Pink and purple frosted foam.
- Hot glue gun.
- Zigzag scissors.
- Ruler, pen.
- Hair straightener or clothes iron.
- Velcro.
- Foami rosado y morado escarchado.
- Pistola de silicón caliente.
- Tijera de forma zig zag.
- Regla, bolígrafo.
- Plancha de cabello o de ropa.
- Velcro.

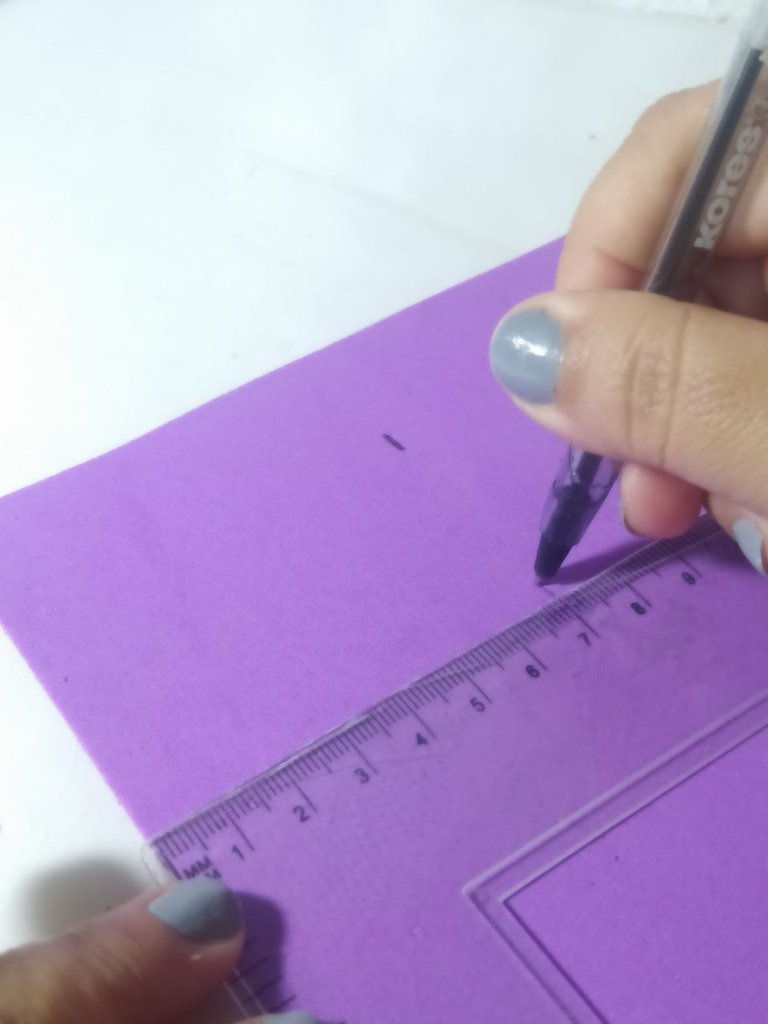
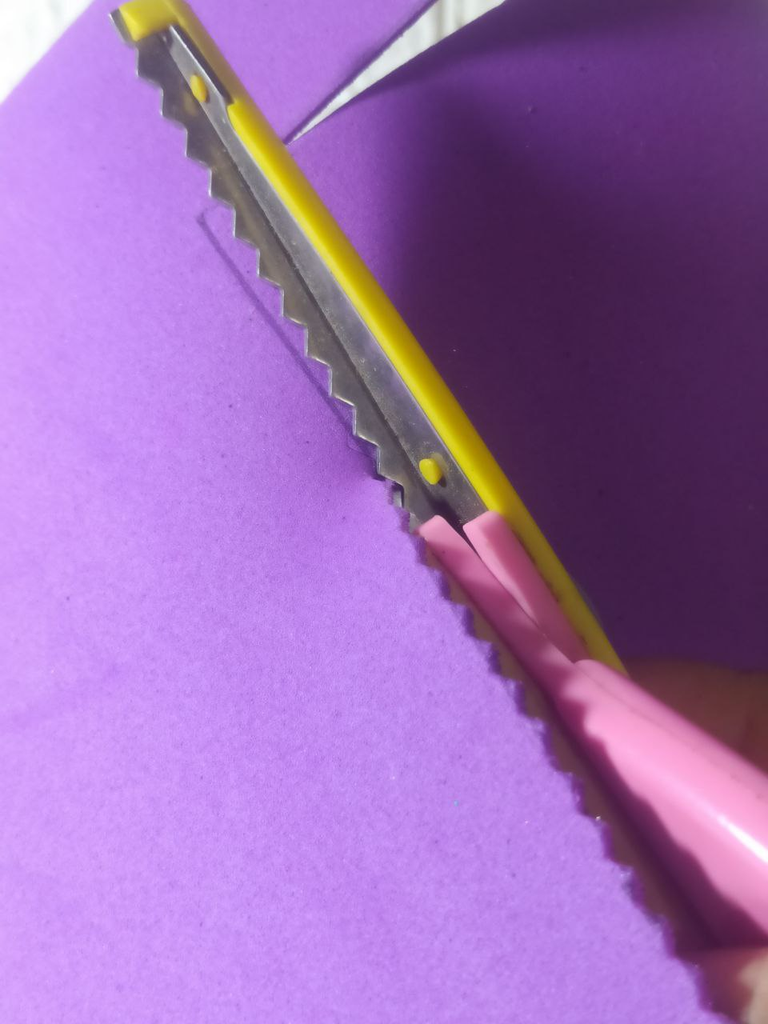
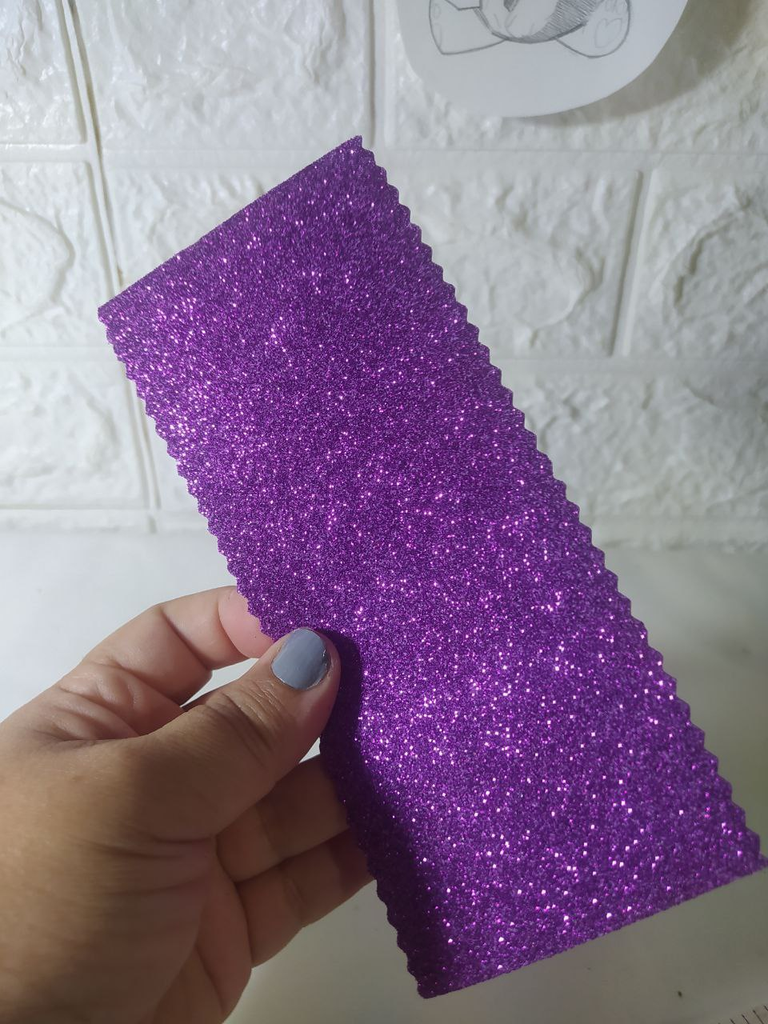
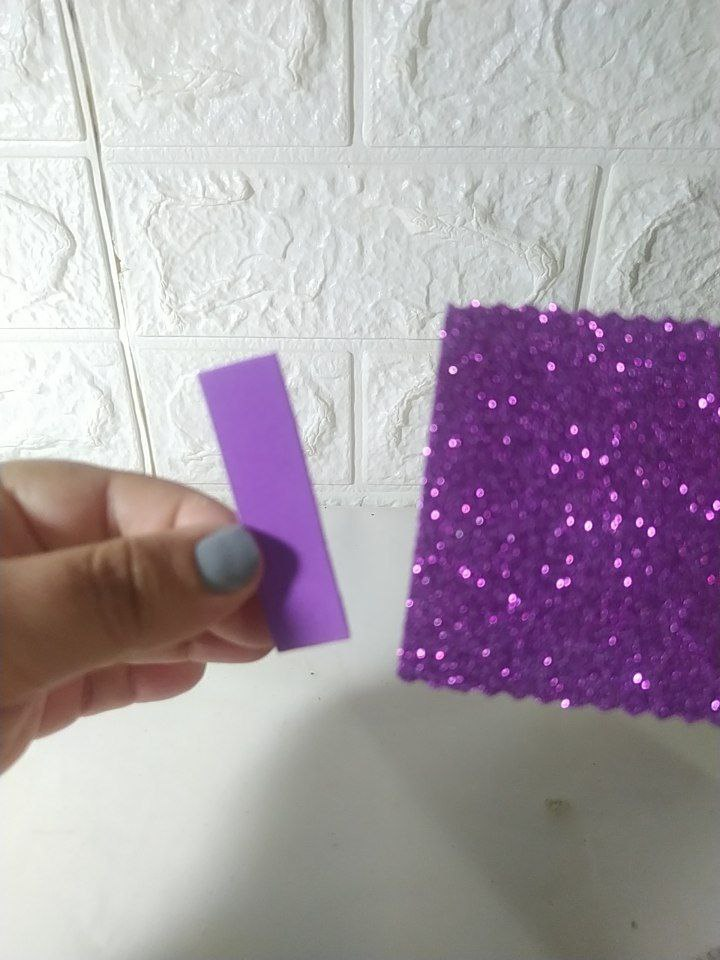
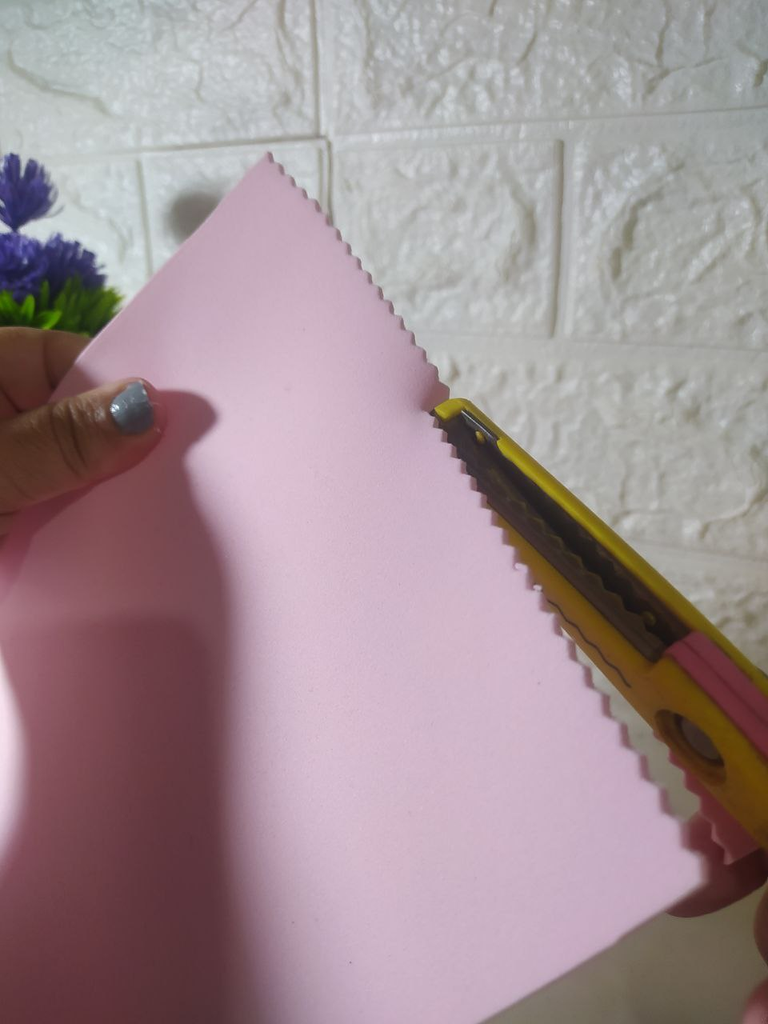
Cut a strip of 16cm by 6.5cm along the longest ends with zigzag or wave scissors. This piece will be the body of the backpack and to connect the ends, cut a small piece of the same foam.
Corta una tira de 16cms por 6,5cms por lo extremos más largos con la tijera de zig zag u ondas, esta pieza será el cuerpo del morral y para conectar los extremos corta un trozo pequeño de ese mismo foami.
 |  |  |  |
|---|
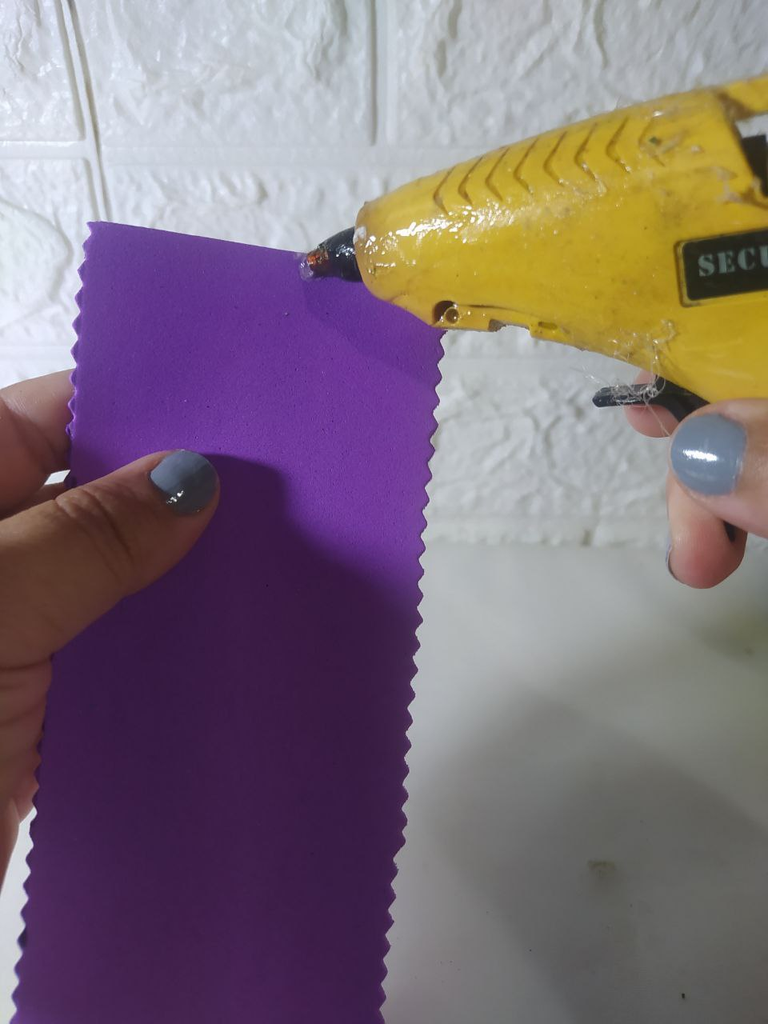
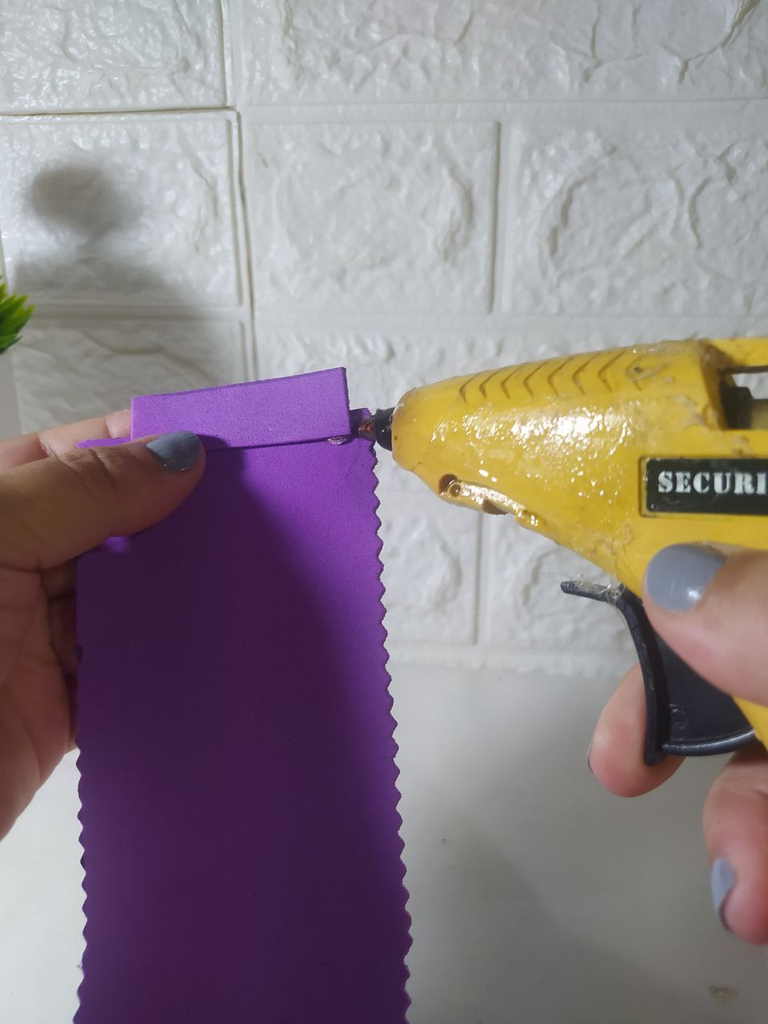
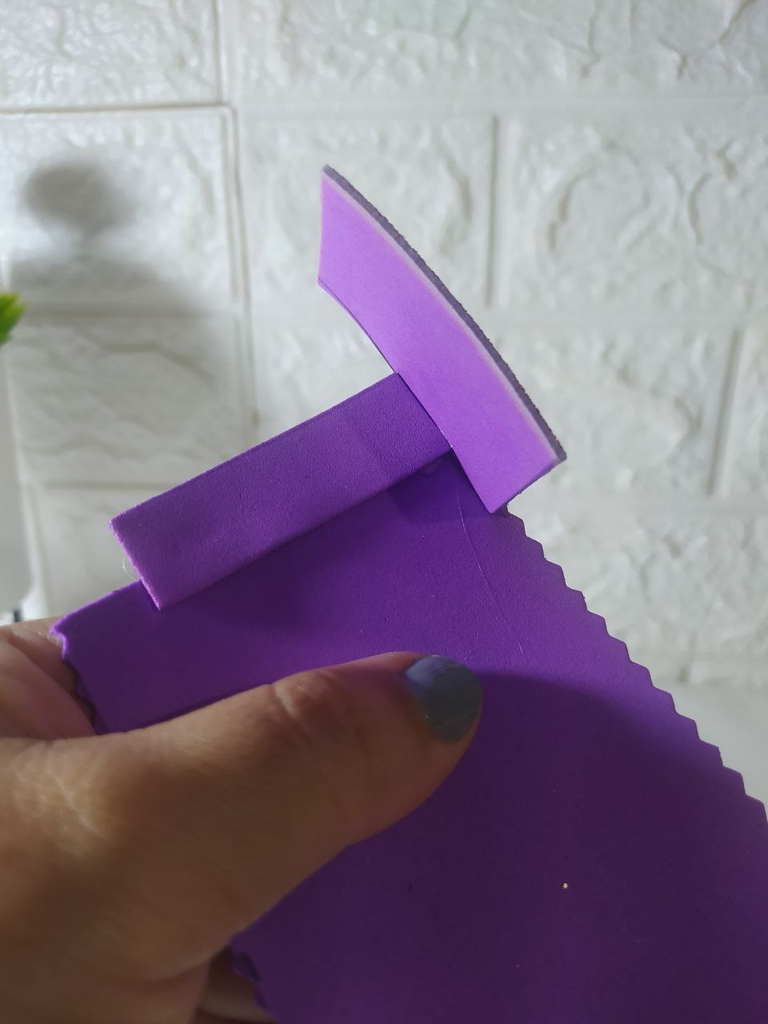
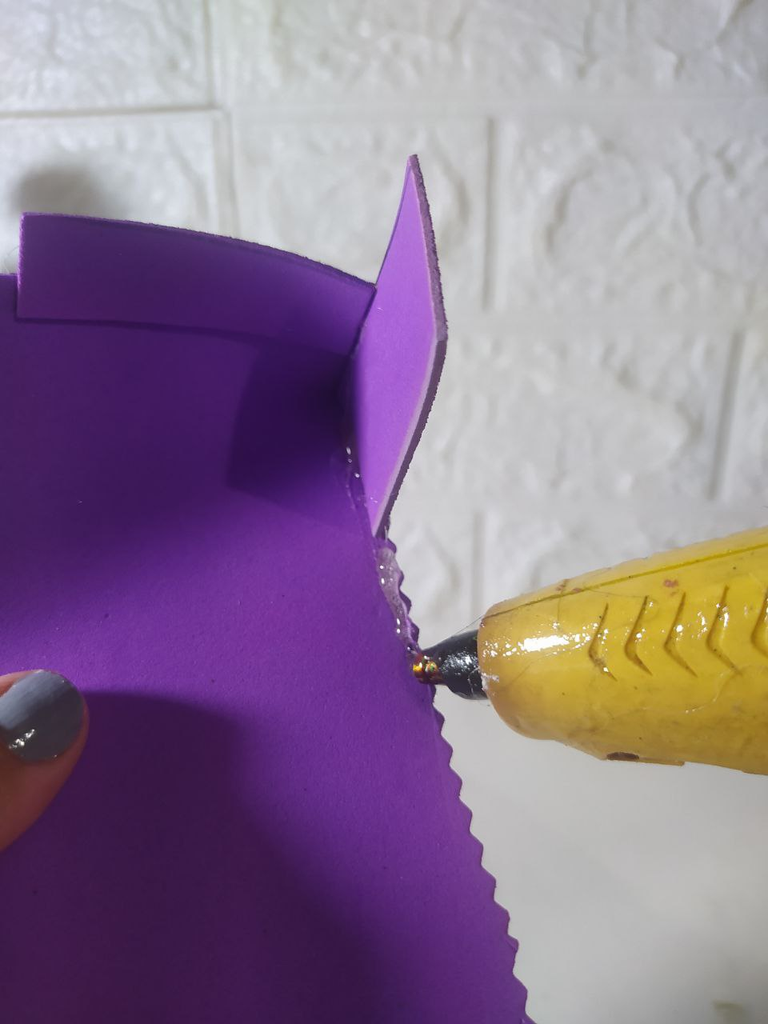
Glue the connecting piece to one end. For the bottom of the backpack, cut another piece of foam measuring 5cm by 3cm. Using hot silicone, glue the base you just cut to the entire length of the previous piece.
Pega el trozo para conectar en uno de los extremos. Para el fondo del morral corta otro trozo de foami de 5cms por 3cms. Colocando silicón caliente pega la base que acabas de cortar a todo un largo de la pieza anterior.
 |  |  |  |
|---|
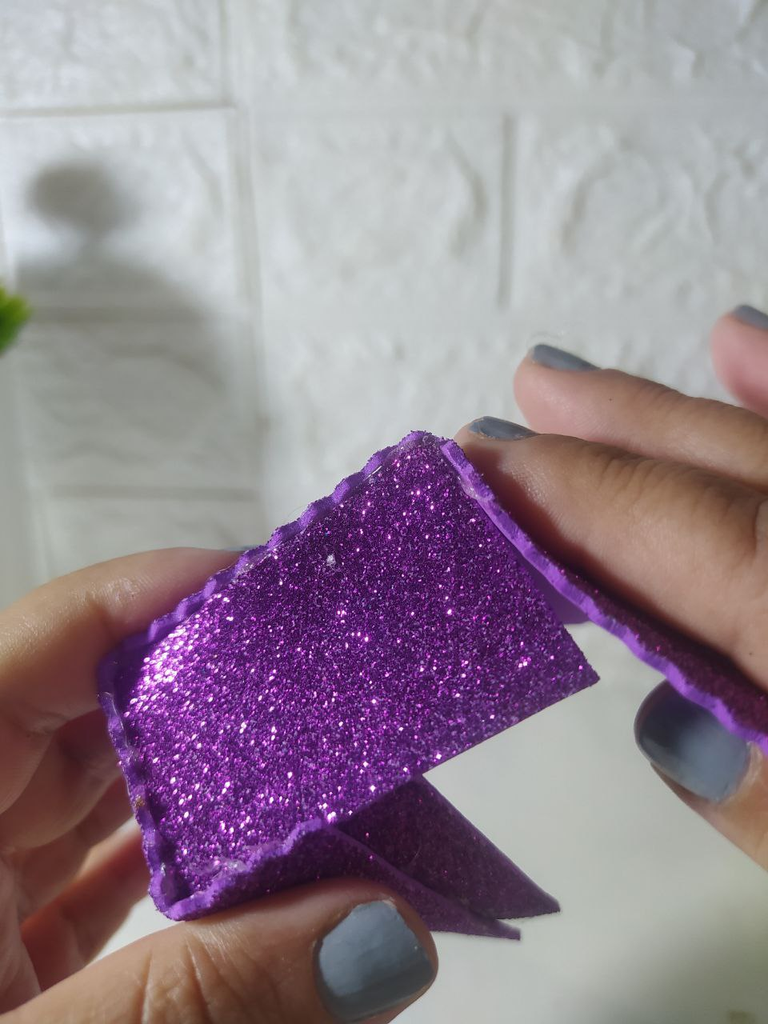
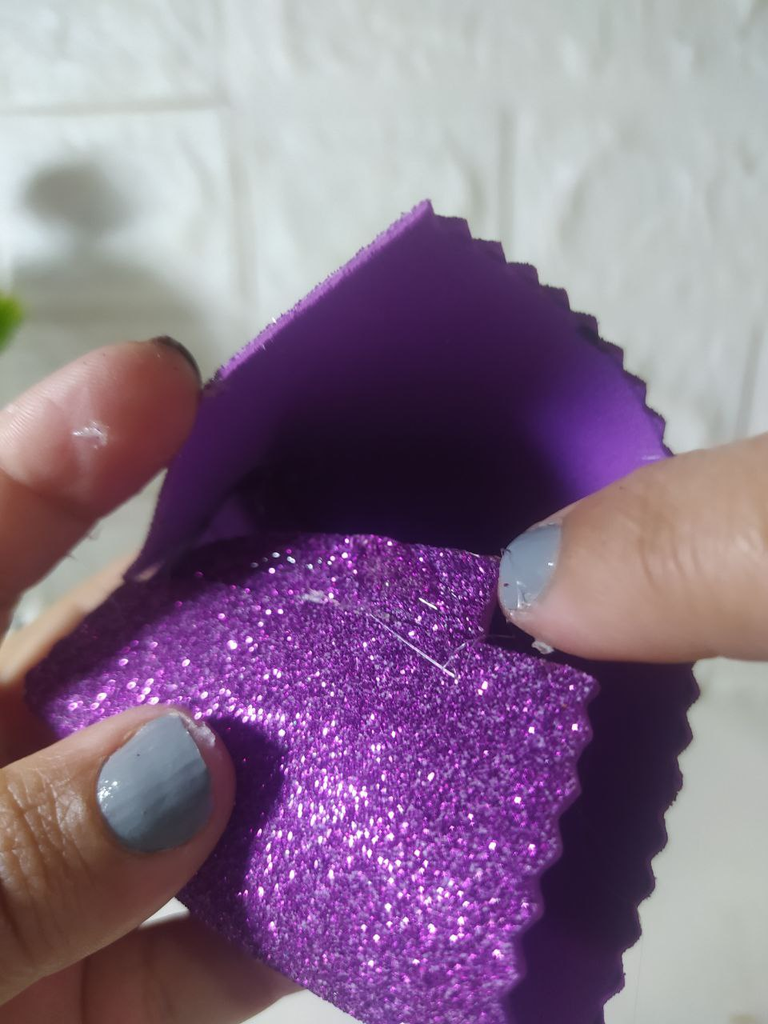
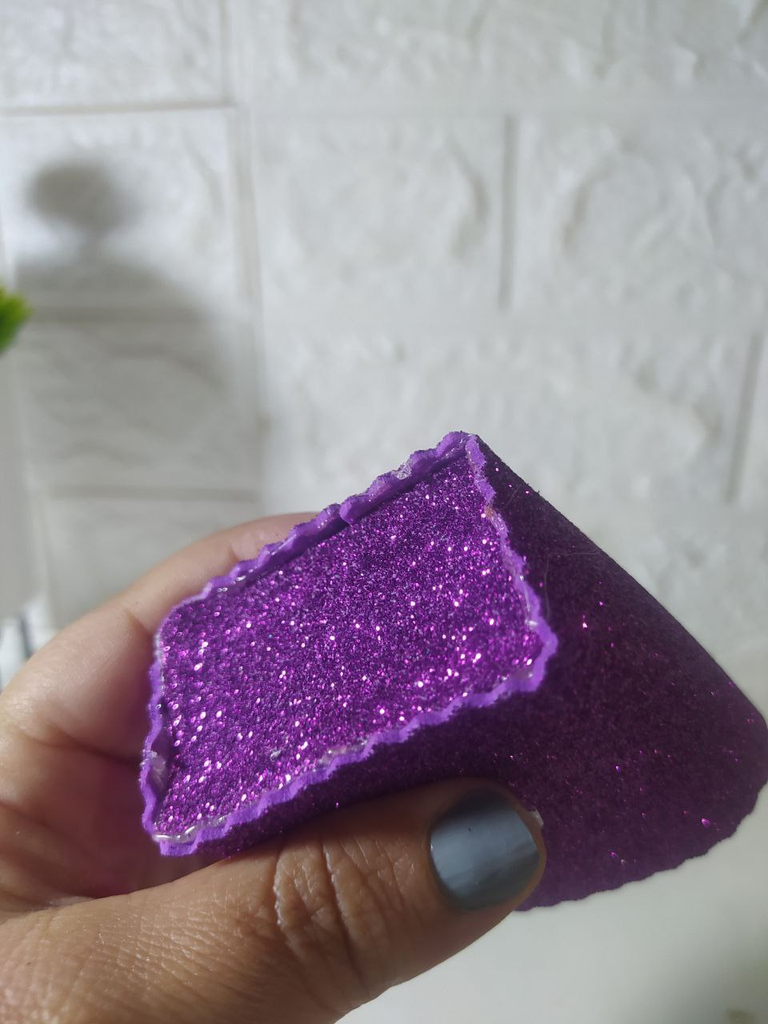
By turning it all the way around and gluing that end to the first, the base of the backpack is ready.
Al dar la vuelta completa, y pegar ese extremo al primero, ya queda lista la base del morral o mochila.
 |  |  |
|---|
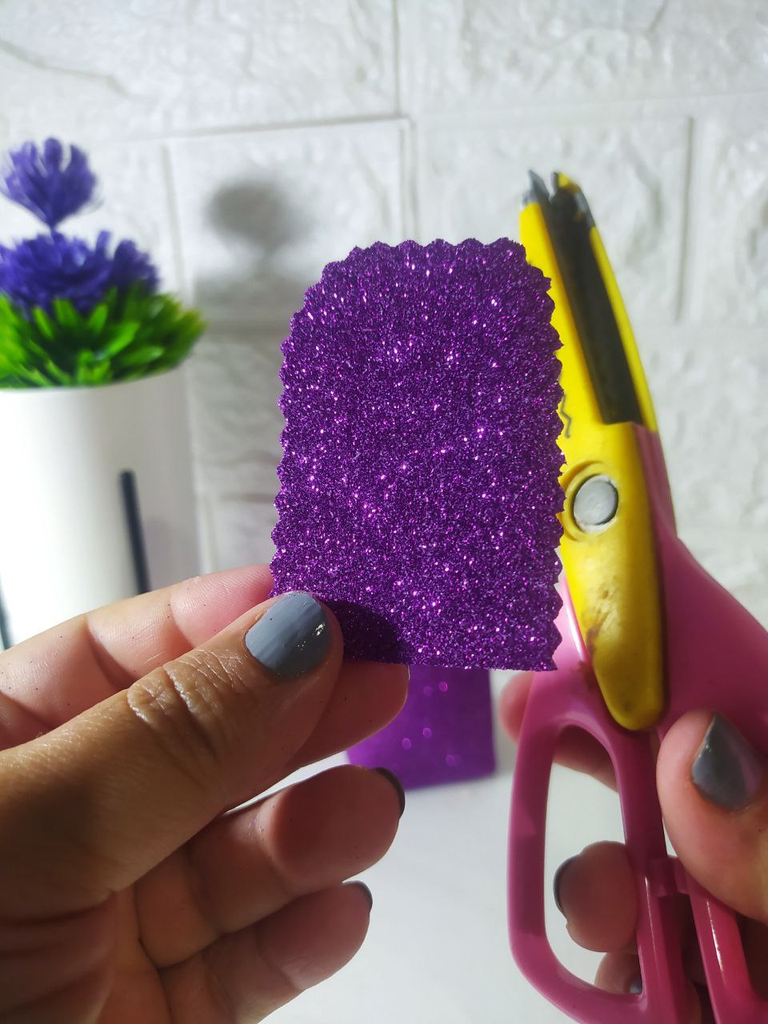
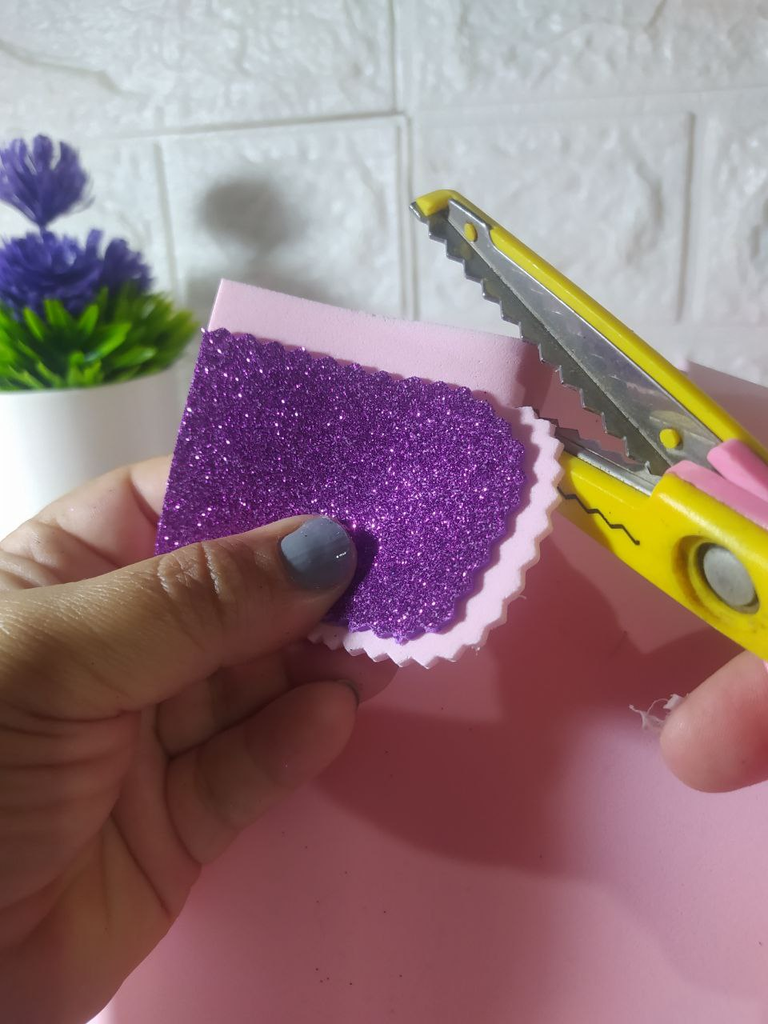
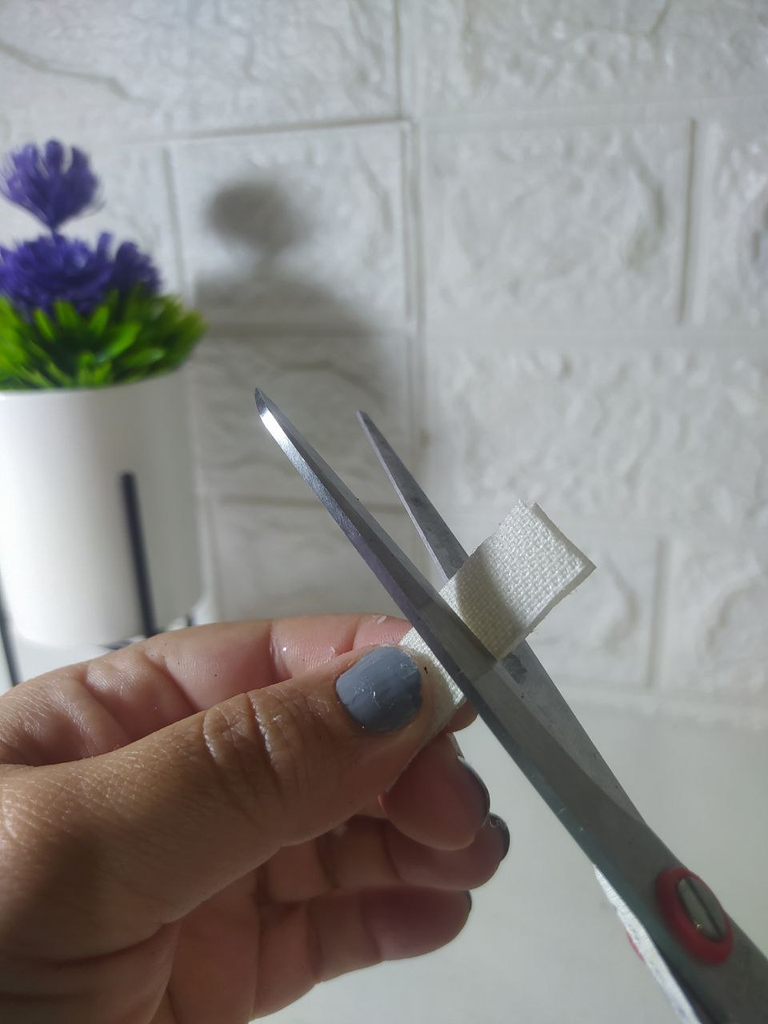
To make the backpack cover, cut a piece of foam measuring 7cm by 4.5cm and cut it with scissors as you can see in the following photo. Place it on the pink foam and simply cut around it, leaving a space so that the two-colour design can be seen.
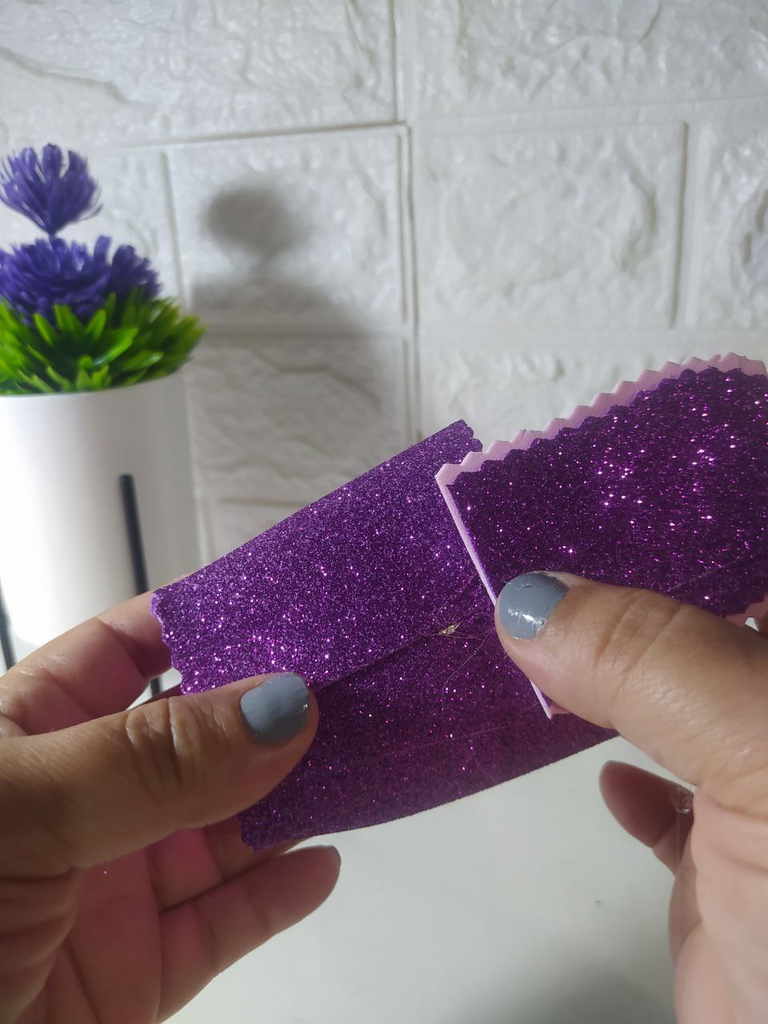
Stick it to the back of the backpack. Now to make the clasp, we'll do it with a small square of Velcro.
Para hacer la tapa de la mochila, corta un trozo de foami de 7cms por 4,5cms y corta con la tijera de forma como puedes ver en la siguiente foto. Coloca sobre el foami rosado y simplemente corta alrededor dejando un espacio para que se vea ese diseño de dos colores.
Lo pegas en la parte de atrás de la mochila. Ahora para hacer el broche, lo haremos con un cuadradito de velcro.
 |  |  |  |
|---|
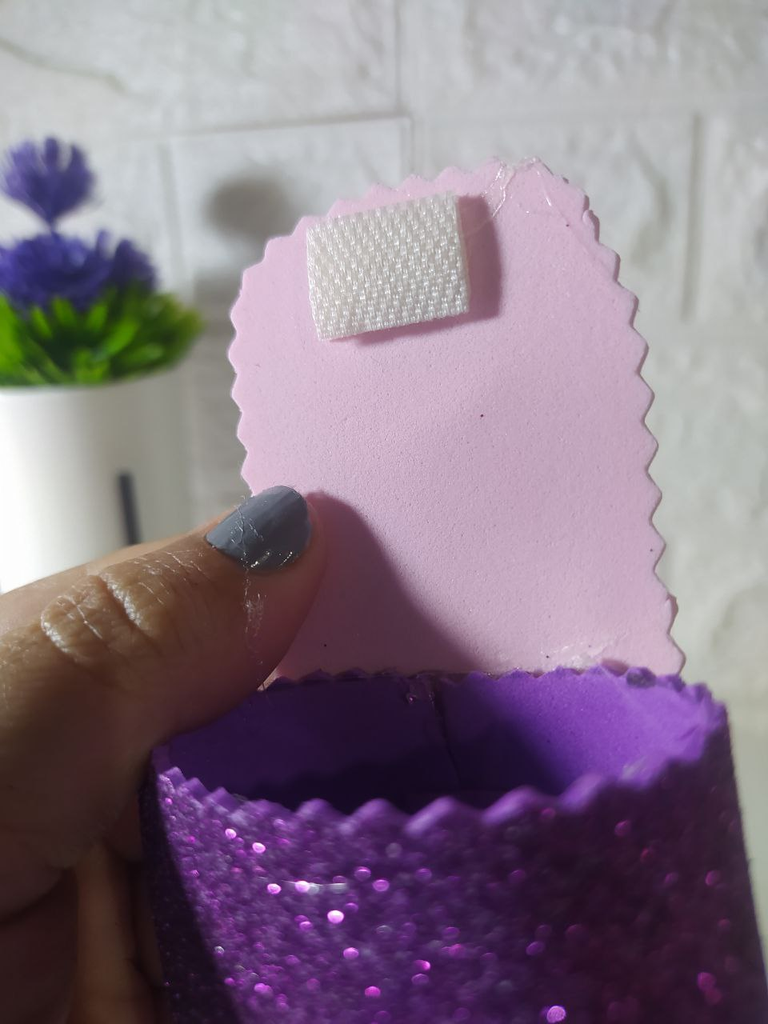
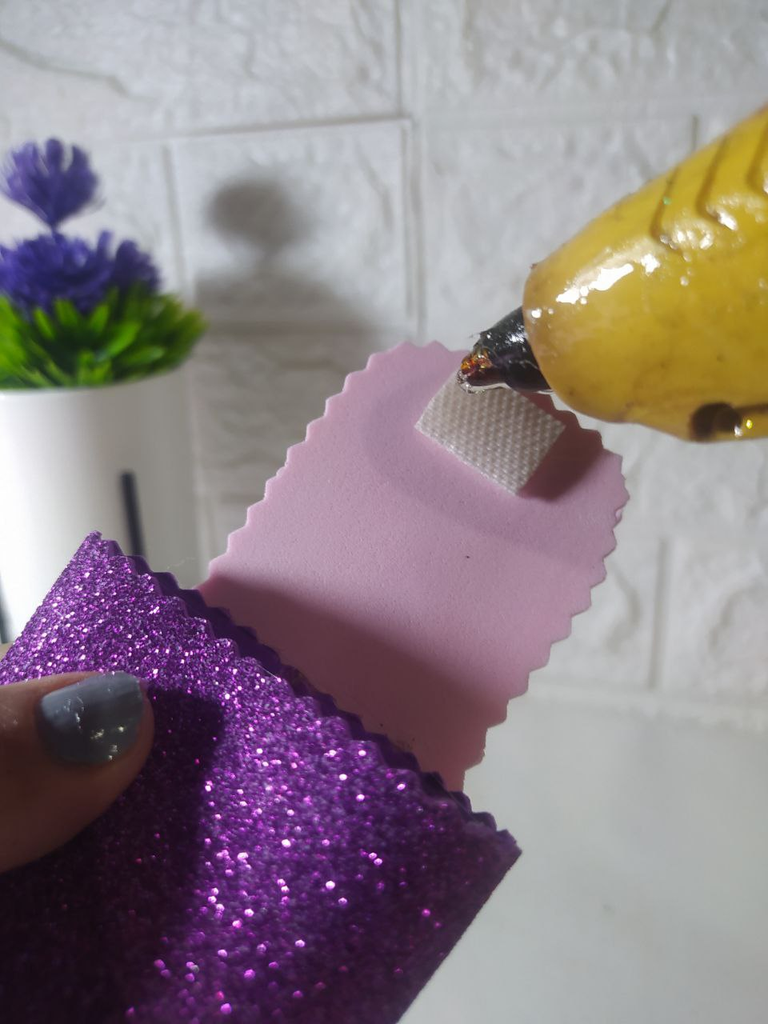
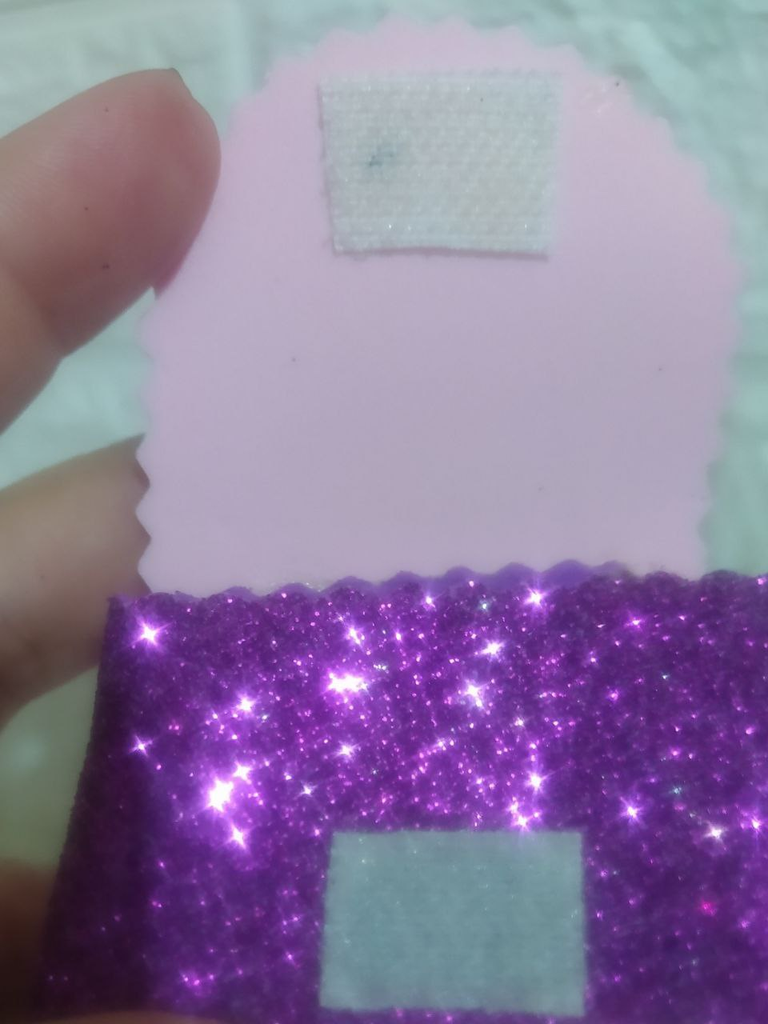
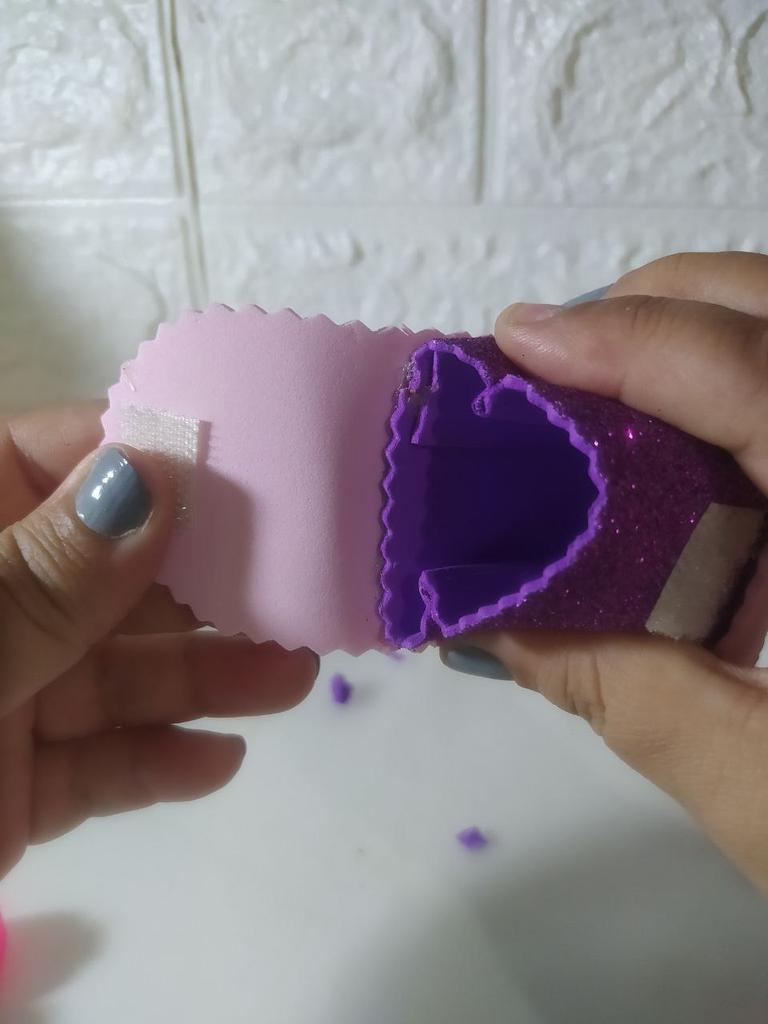
We glued the velcro to both the lid and the body of the backpack. This backpack can be opened and closed.
Pegamos el velcro tanto en la tapa, como en el cuerpo de la mochila. Esta mochila si se puede abrir y cerrar.
 |  |  |
|---|
For decoration: Cut a heart out of pink foam and you can inflate it a little by applying a little heat with a hair straightener or clothes iron, leaving it alone for a few seconds will inflate it. This is optional but it is a detail that adds value.
Para Decoración: Corta un corazón en foami rosado y puedes inflar un poco, colocándole un poco de calor con la plancha de cabello o de ropa, dejándolo solo unos segundo se logra inflar. Esto es opcional pero es un detalle que va sumando.
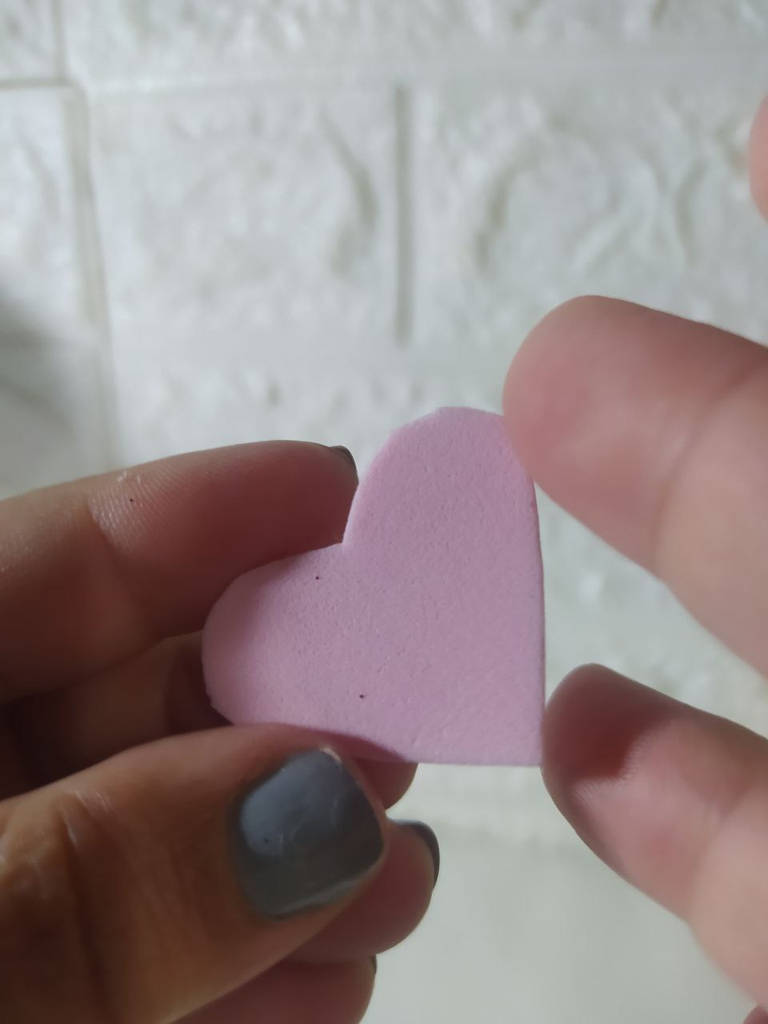 | 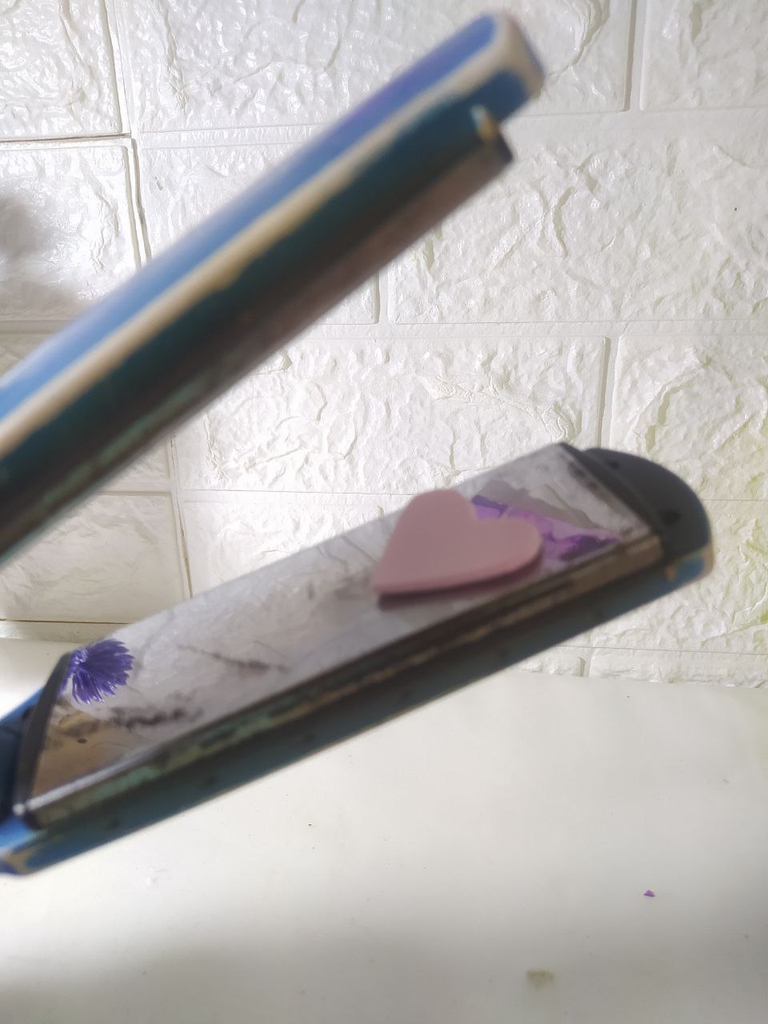 | 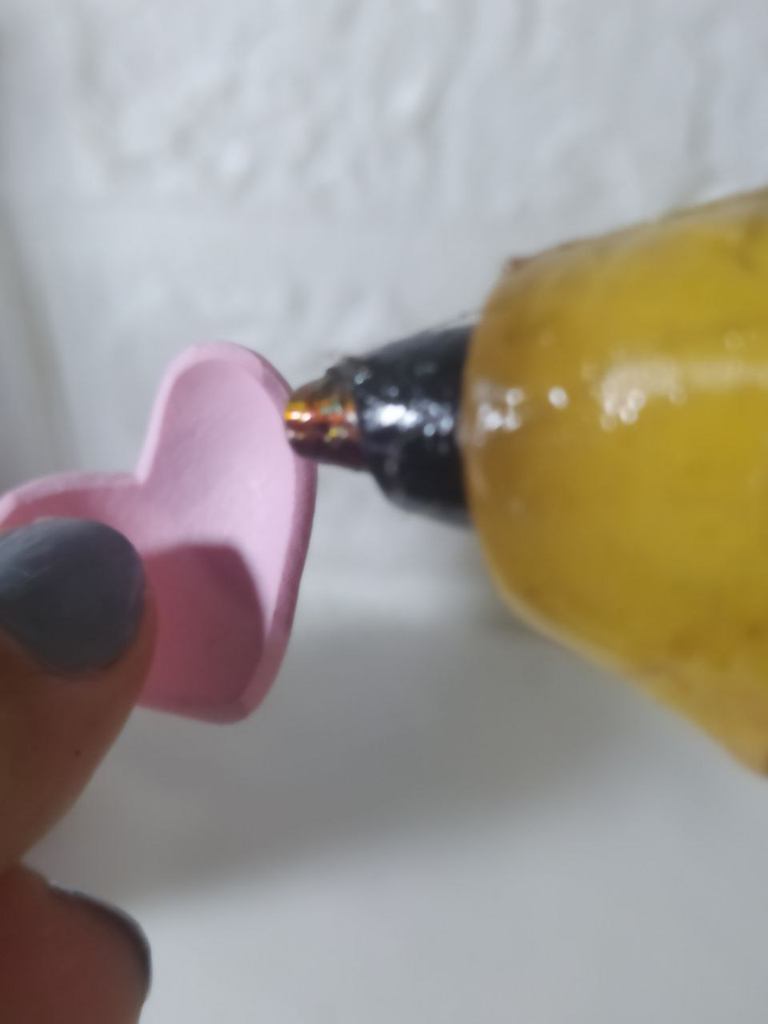 | 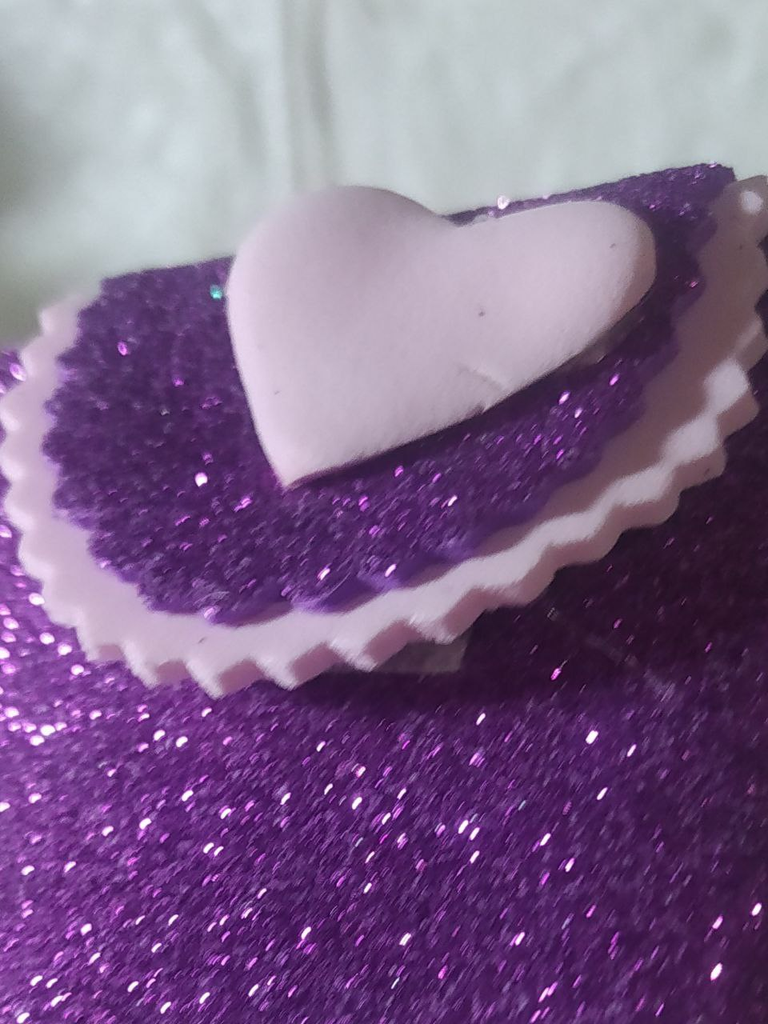 |
|---|
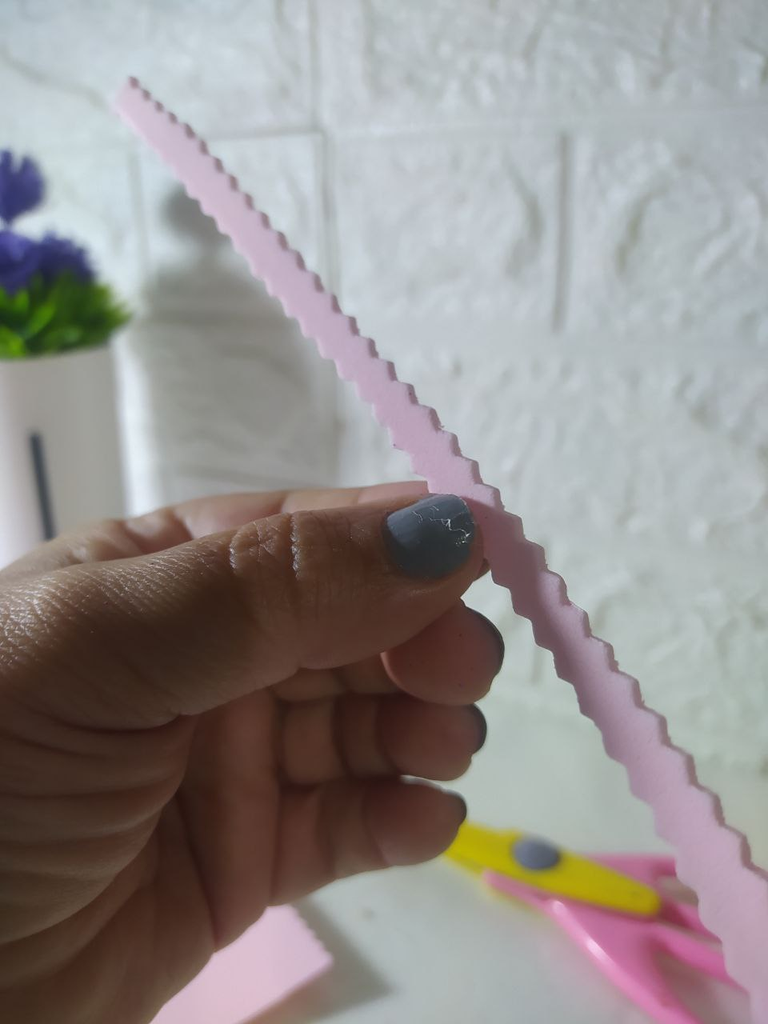
For decoration: Cut a strip of pink foam measuring 0.50cm by 16cm, shape it with scissors. Then, glue it to the bottom of the backpack.
Para Decoración: Corta una tira en foami rosado de 0,50cms por 16cms, hazlo con la tijera de forma. Luego, lo pegas en la parte baja de la mochila.
 |  |  |
|---|
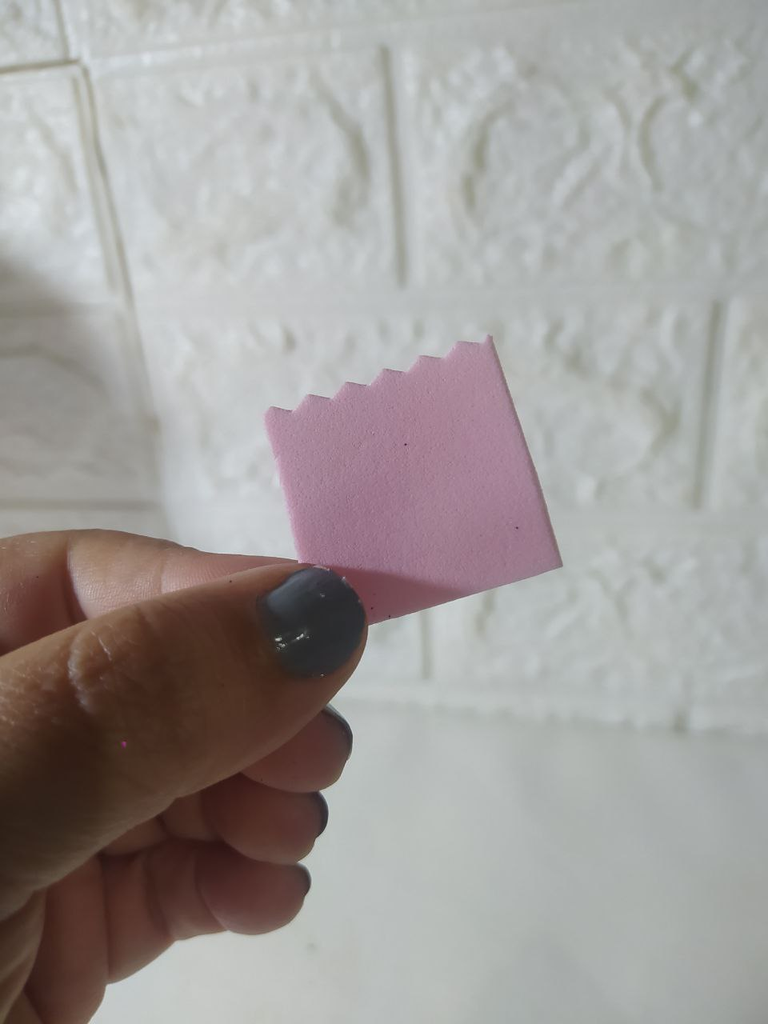
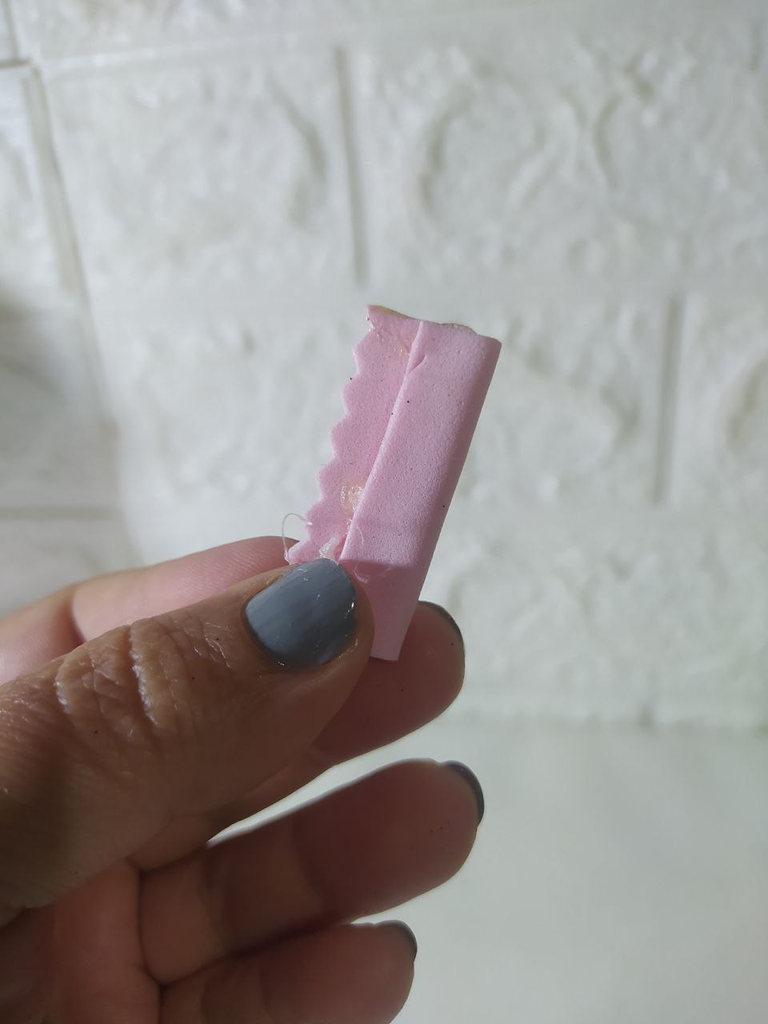
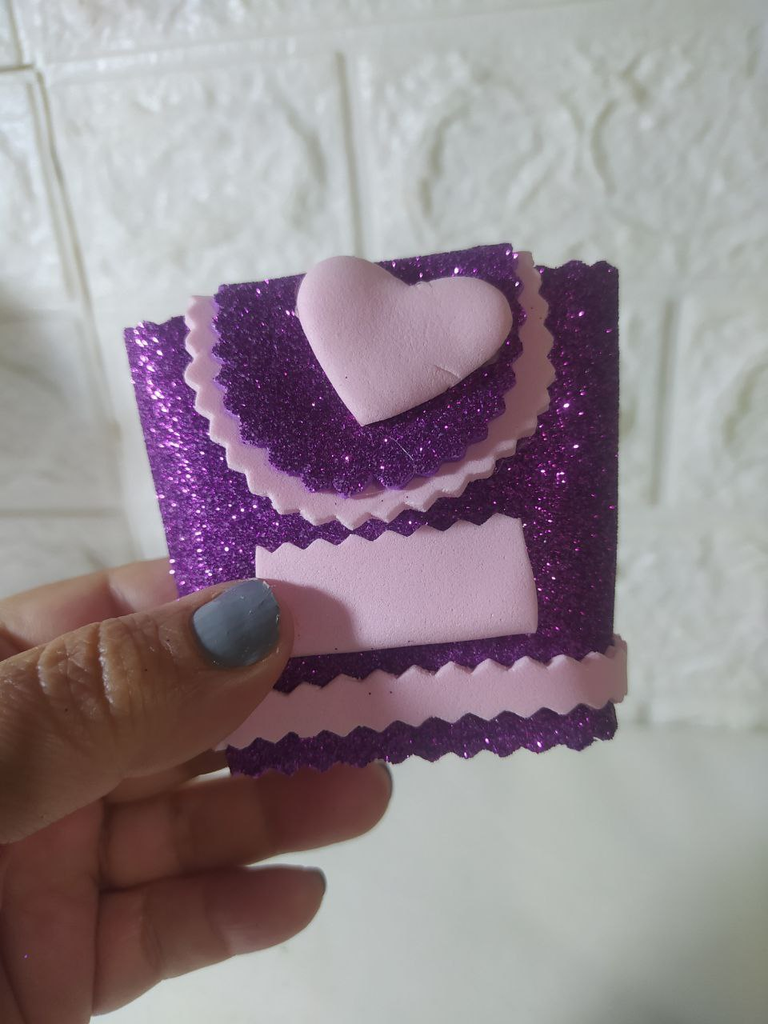
For decoration: Cut pink foam into 2.50 cm by 4 cm pieces. Use scissors to shape one end, fold it and glue it to the backpack to make it look like an external pocket.
Para Decoración: Corta en foami rosado 2,50cms por 4cms. Un extremo con la tijera de formas, dóblalo y lo pegas en la mochila, para que de la apariencia de un bolsillo externo.
 |  |  |
|---|
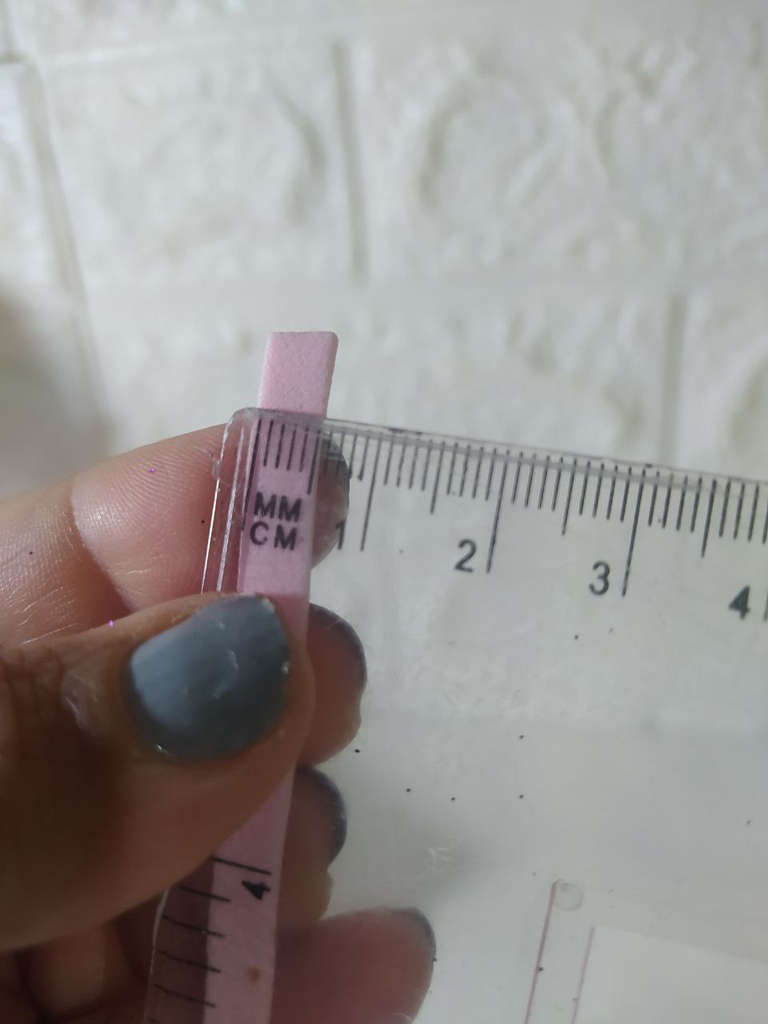
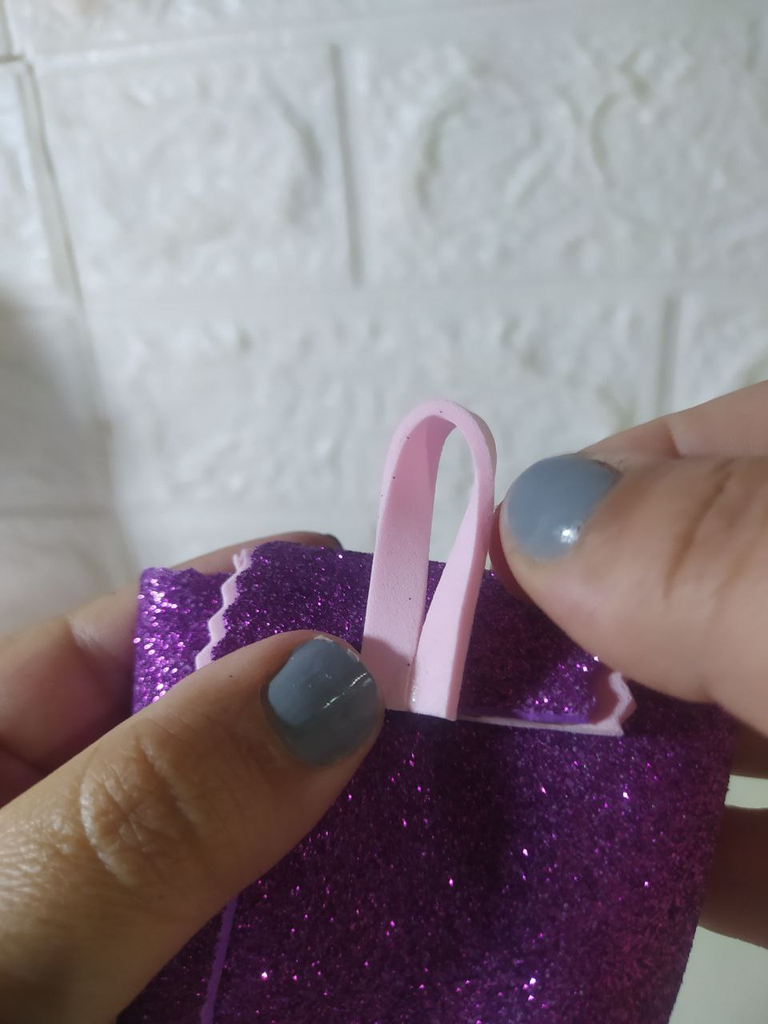
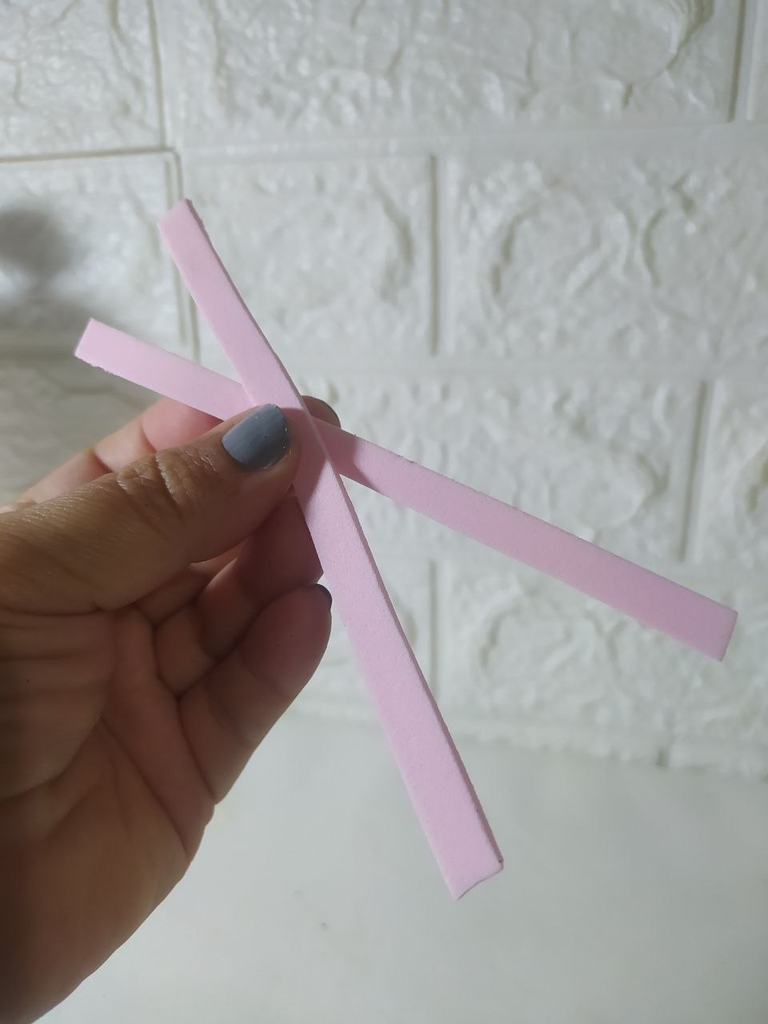
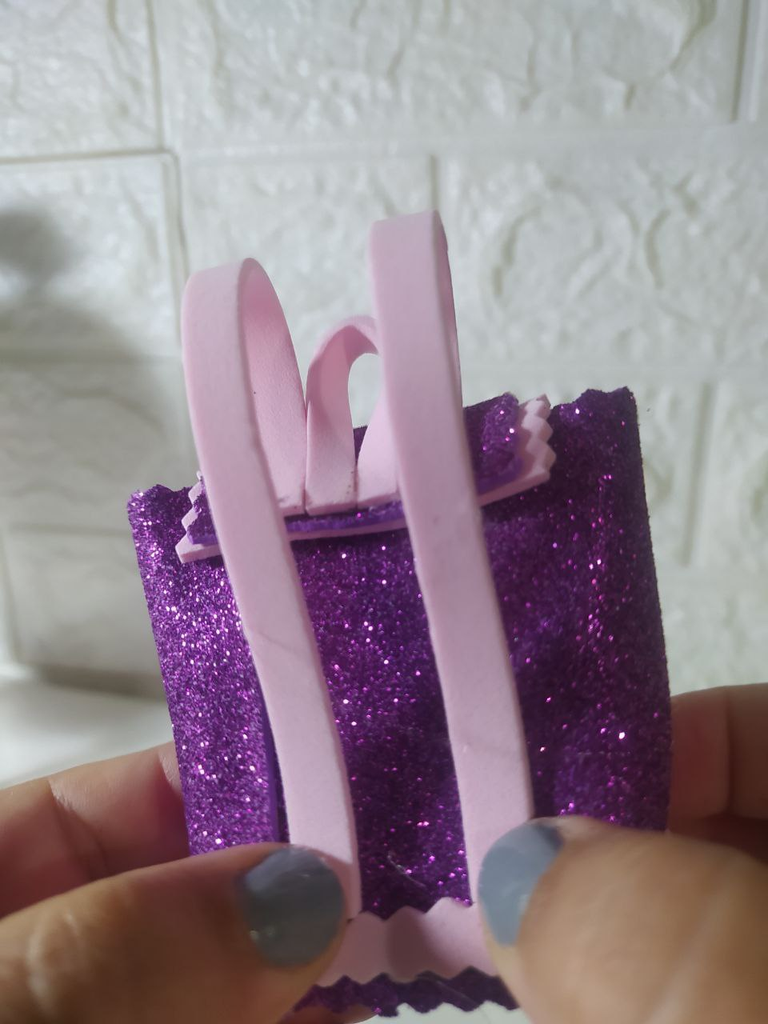
Cut 0.50cm strips and place one 7cm strip in the centre as shown in the photo, and two 14cm strips on the sides.
Corta tiras de 0,50cms y coloca una de 7cms en el centro como se ve en la foto, y dos tiras 14cms a los lados.
 |  |  |  |
|---|
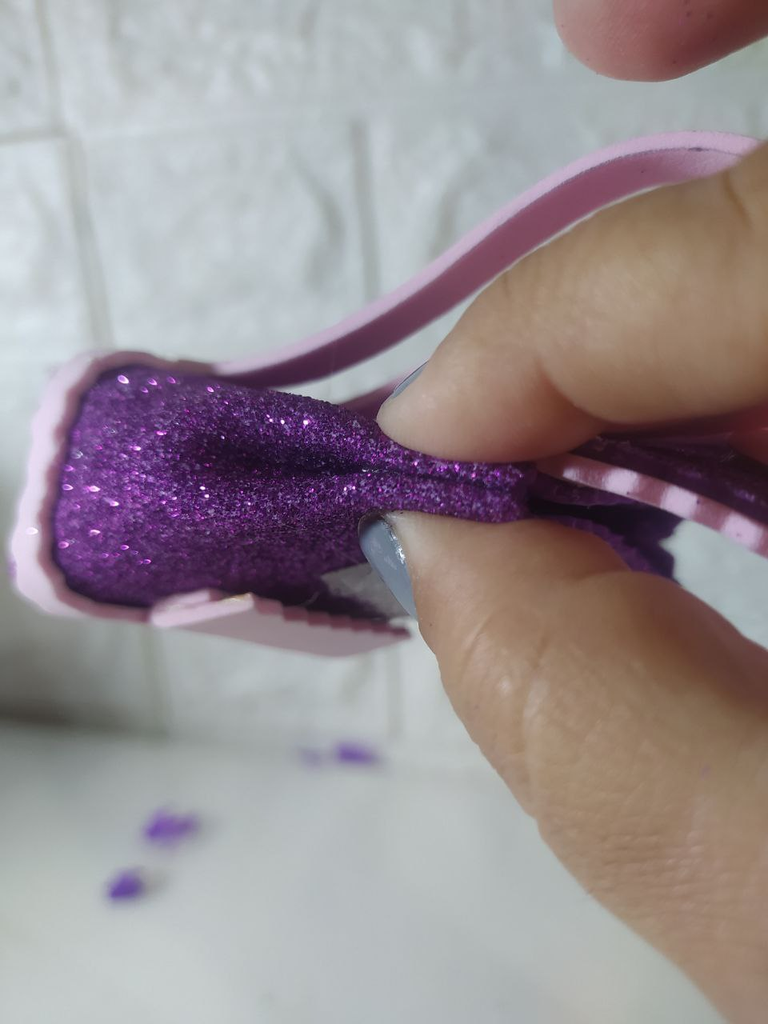
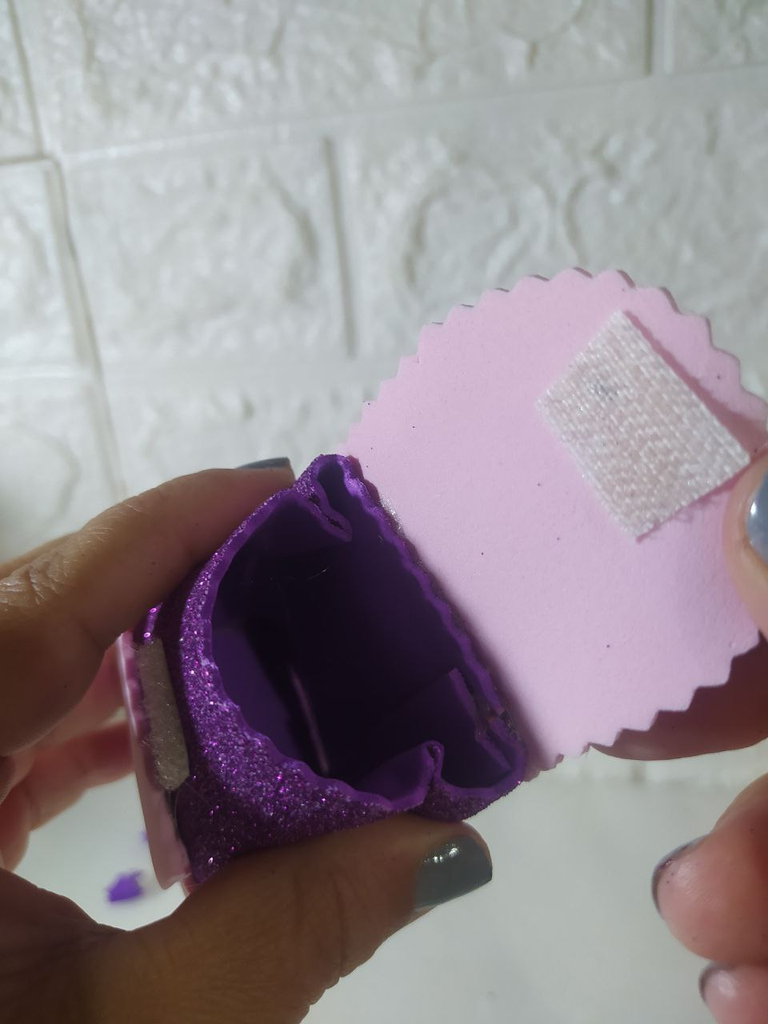
Finally, place a dot of silicone on the sides to create the next fold. This will give the backpack a nicer shape.
As you can see, there is still some space inside.
Para finalizar, en los laterales coloca un punto de silicón para que se forme el siguiente pliegue. Esto dará una forma más bonita a la mochila.
Como puedes ver queda cierto espacio interior.
 |  |
|---|
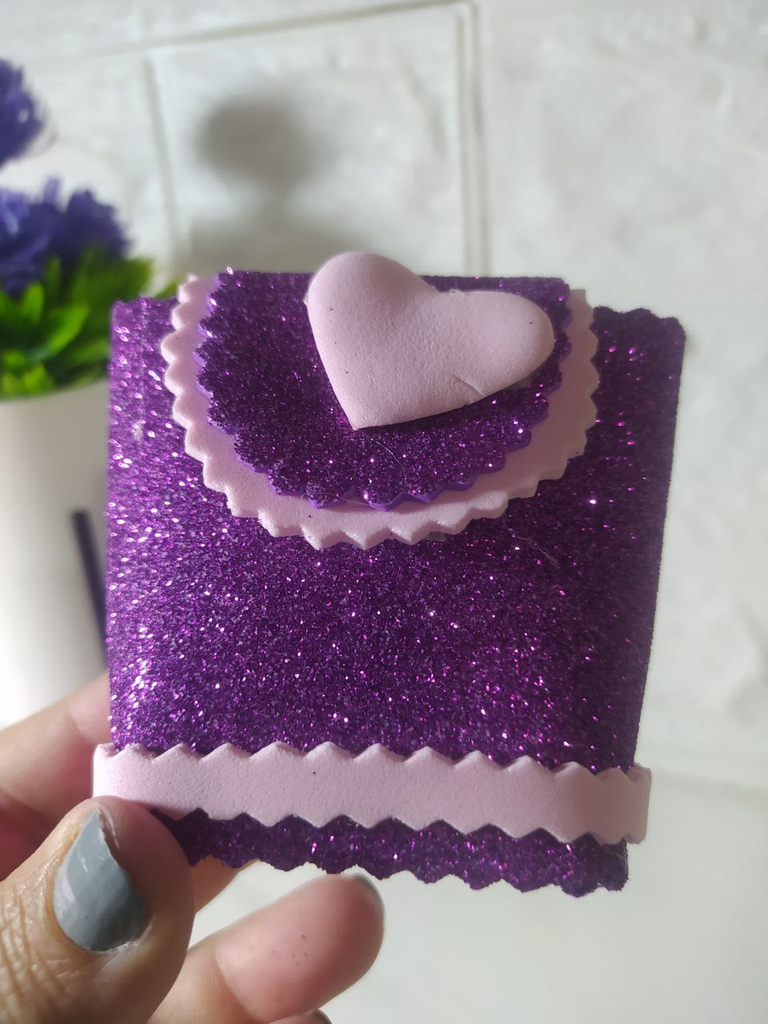
This is the final result of this backpack made with foam. You can experiment with other colors, it is important that both colors look nice.
Este es el resultado final de esta mochila realizada con foami. Puedes experimentar con otros colores, es importante que se vean bonitos ambos colores.
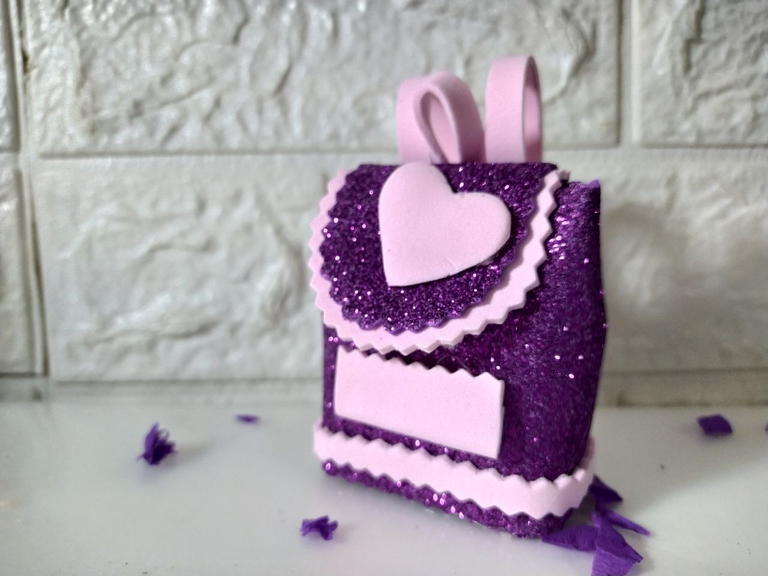
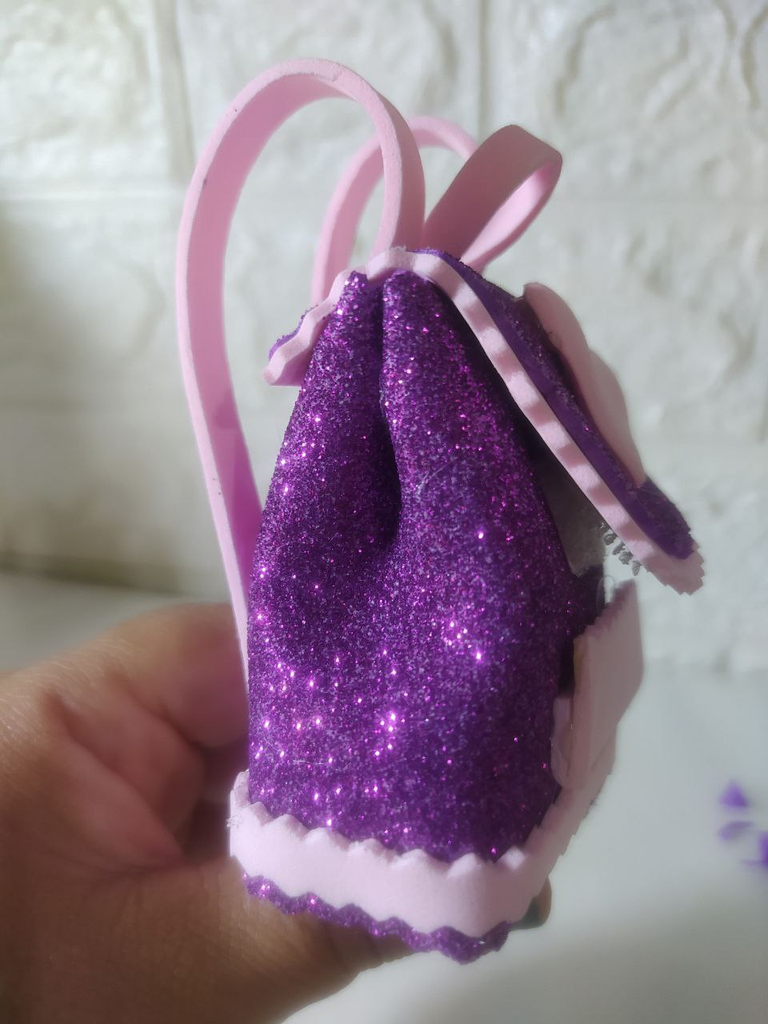
Despite being a small accessory, importance was given to details on all its sides, it is very important that it really looks beautiful and well cared for in its elaboration.
A pesar de ser un accesorio pequeño, se logró dar importancia a detalles en todos sus lados, es muy importante que realmente se vea hermoso y cuidado en su elaboración.
 |  |
|---|
I hope you enjoyed this tutorial, and that it will be useful if you want to use it in the examples I gave you at the beginning of this post. All the details can be modified and customized to your liking.
If you got this far, I really appreciate it and I'll see you in the next post.
Deseo que les haya gustado este tutorial, y que les sirva en caso que quieran usarlo en los ejemplos que les dije empezando esta publicación. Todos los detalles se pueden modificar y personalizar a tu gusto.
Si llegaste hasta aquí, te lo agradezco mucho y nos vemos en la siguiente publicación.
I took the photos with my phone Redmi Note 8
Apps I used:
Canva Pro for Cover, Collage and Banners
I used Deepl Translator
My social networks:
Discord: YennysYaneth#0189
Twitter: @yennysferm
Instagram: @yennysyaneth
Las fotos las tomé con mi teléfono Redmi Note 8
Apps que utilicé:
Canva Pro para la Portada, Collage y Banners
Utilicé el Traductor Deepl
Mi redes sociales:
Discord: YennysYaneth#0189
Twitter: @yennysferm
Instagram: @yennysyaneth
This post has been shared on Reddit by @yennysferm71 through the HivePosh initiative.
Share an amazing skill of making Keychain. Which inspires beauty as the most unique piece of art. The contribution of art to the history of human life is immense. Thank you so much for sharing this wonderful art with all of us. But the use of glitter paper is very nice.
Such a cute little keychain. Big enough to help keep the key safe. Nicely done.
Thank you for your rating and support. I'm so glad you liked it.
Como siempre maravilloso trabajo, ese mini bolsito de llavero, te quedo demasiado tierno, demasiado cuchi me encanta 😍
!discovery 35
This post was shared and voted inside the discord by the curators team of discovery-it
Join our Community and follow our Curation Trail
Discovery-it is also a Witness, vote for us here
Delegate to us for passive income. Check our 80% fee-back Program
Te ha quedado espectacular amiga! Saludos
Te quedó lindo, me quedo con él, gracias mami 😍😍
Sending Love and Ecency Curation Vote!
 Follow Eceny's curation trail to earn better APR on your own HP. : )
Lovely keychain. I like the color.
que lindo y original, buen trabajo!
how nice and original, good job!
Congratulations @yennysferm71! You have completed the following achievement on the Hive blockchain And have been rewarded with New badge(s)
Your next target is to reach 60000 upvotes.
You can view your badges on your board and compare yourself to others in the Ranking
If you no longer want to receive notifications, reply to this comment with the word
STOPCheck out our last posts: