As I mentioned in the previous step, step 2 is to glue the moss, for this I take the cold silicone and start sticking it all over the wire, although I had to stop, because it needs to be held with the base, so I continued the next day. After having the skeleton glued to the wooden base and with what would be the first layer of moss, I realized that it looked very thin and with several holes, but gluing the moss is really complicated, then it occurred to me to pour white glue, so that it would not come loose so much and harden better, and thus give better shape, I think it would have been much better to put in a container half water with white glue and let it soak for a while, there it was.
To cover the base and make it more attractive, I took some brown moss that I had and gave it that old pine feeling, I don't know, something like that.
STEP 3: The decoration of our little tree.
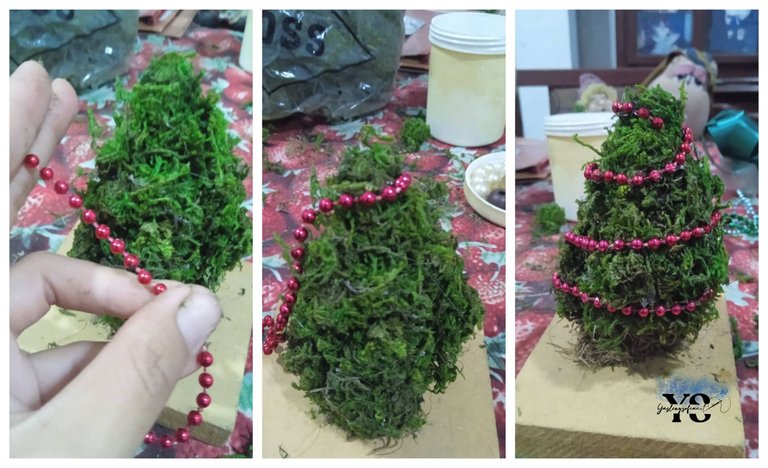
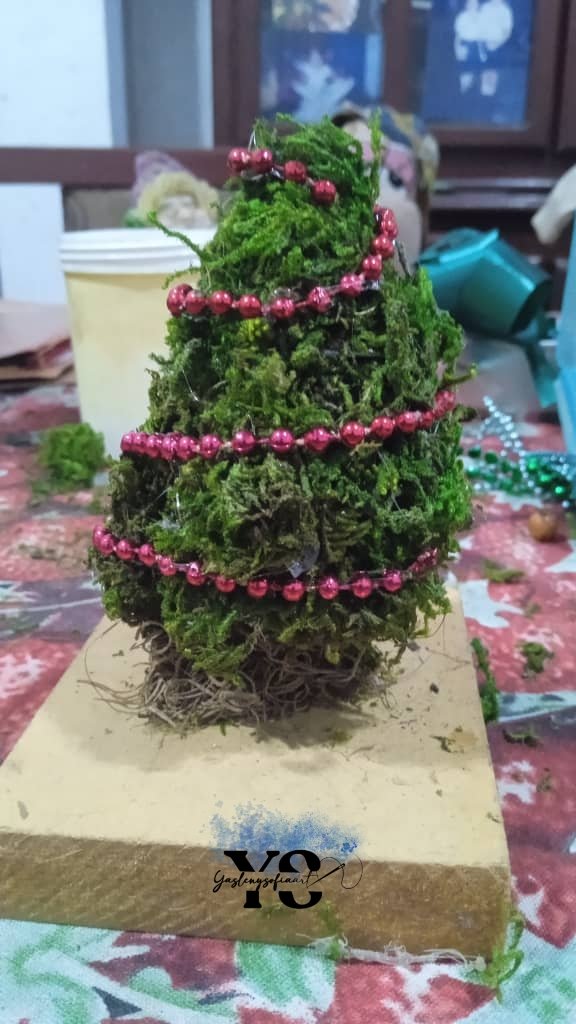
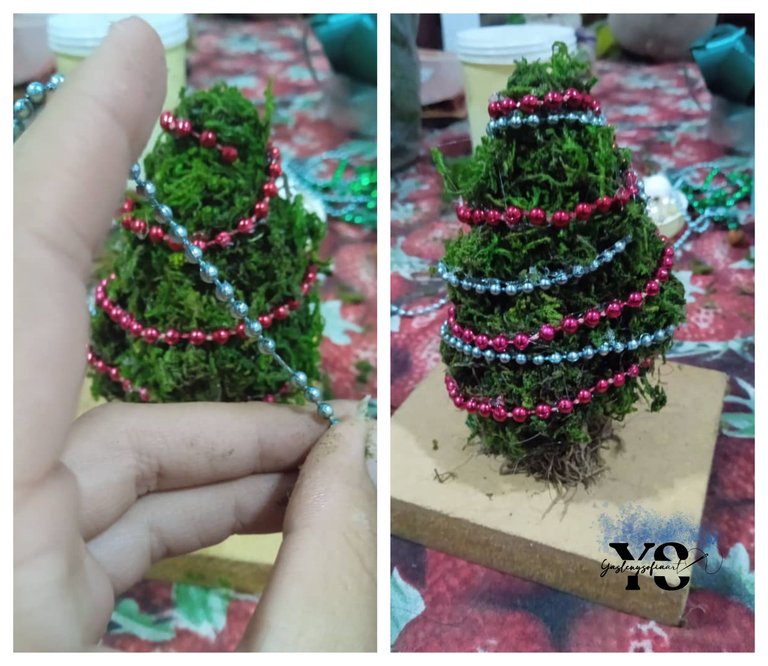
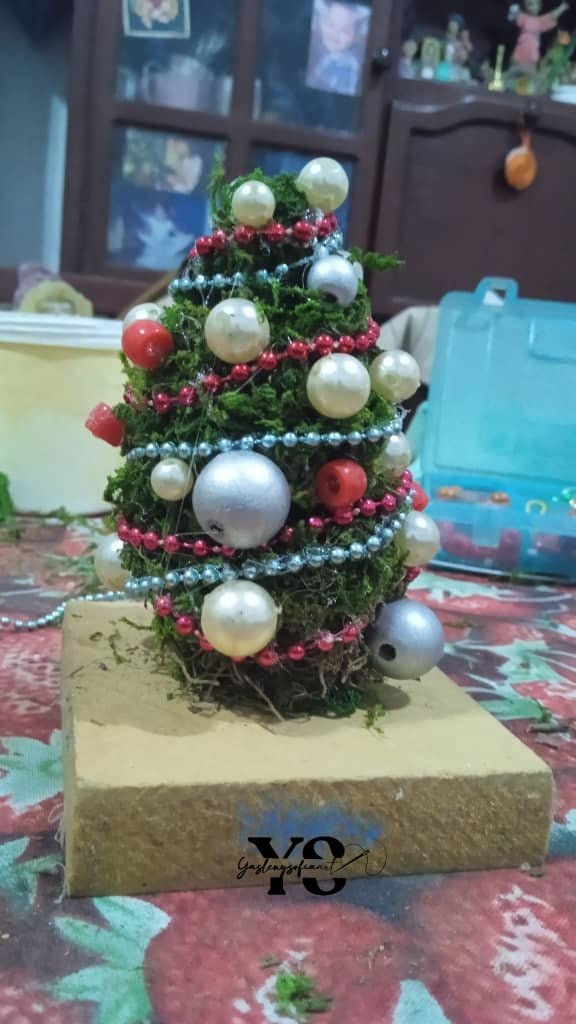
Here if it is total creative freedom and with whatever you have at home, in particular, I used as this string of seeds (sorry, I do not know what they are called) that gave me those vibes like Christmas lights, so I took a red one and with the hot silicone I was sticking it little by little to avoid damaging the moss, rolling all over the cone shape, I helped myself with the tweezers so that my fingers were not hurt. I did the same with the blue one.
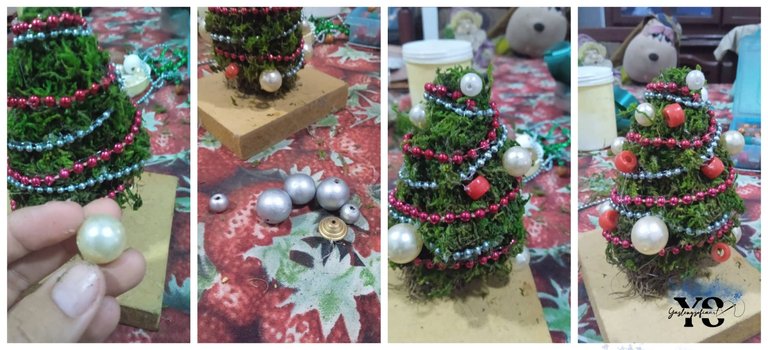
Now came what would be the backstage, a long time ago I was given many seeds, very nice and what better to use them for this occasion, taking some that are pearls of different sizes, other silver and a few red. Here my mini Christmas tree was already taking shape, letting my creativity flow.
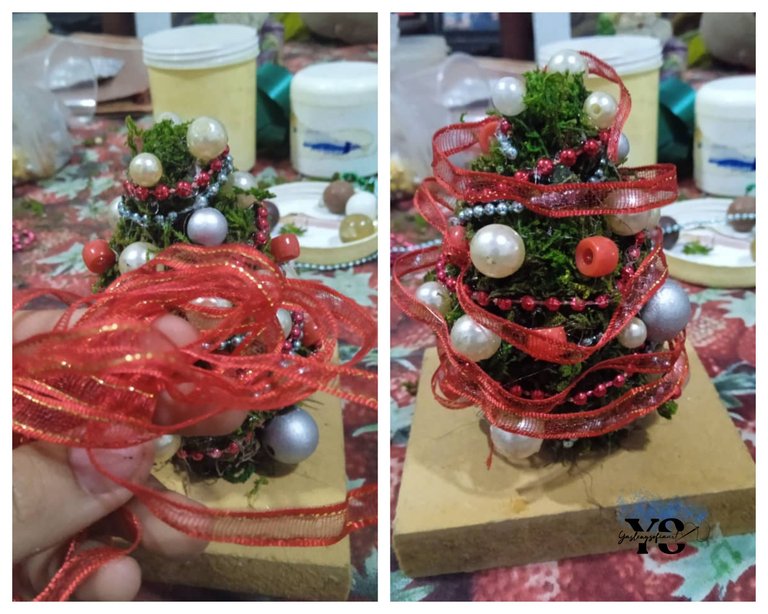
I already had the scenery, but I felt that I was missing more details and I remembered that sometimes my mom used to put a colored mesh on the tree and that gave it a lot of color, so I took a nice red ribbon, which has some golden lines and I glued it around the tree, but this ribbon was not completely glued, but I left it loose in certain parts. When I found the ribbon, I came across some little bell ornaments that my mom had and glued them on as well.
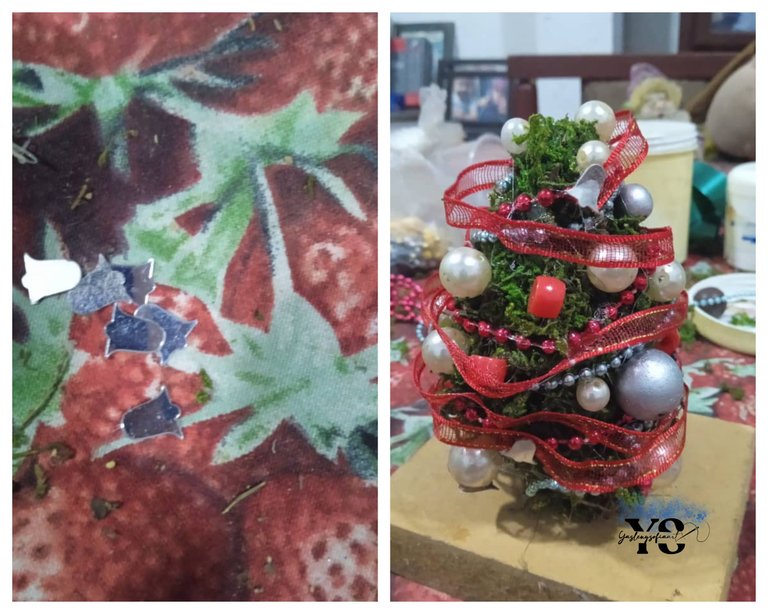
That's how it was coming along, but wasn't it missing something else?
STEP 4: The star in the cup.
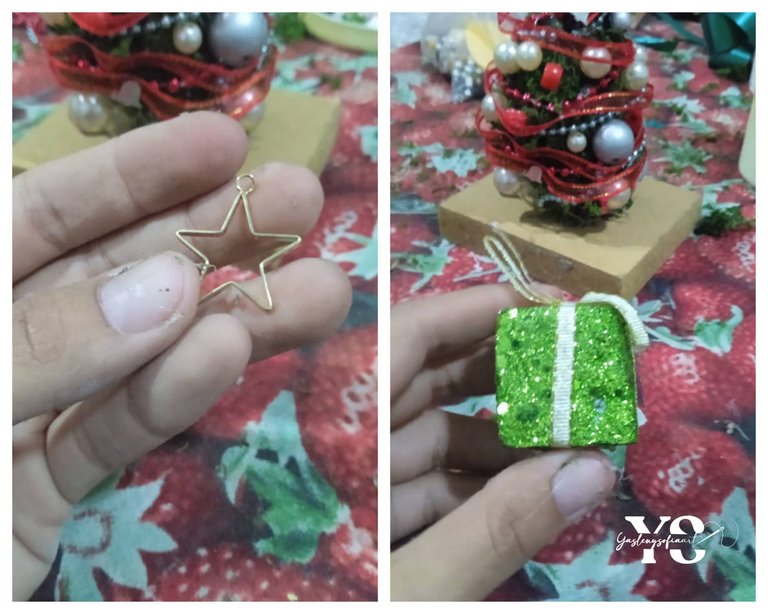
And yes, something was missing on my tree, and the star, here I did not know what to do, if I made the shape with hot silicone but I did not have how to paint it later, then it occurred to me to look among the materials to make bracelets that my sister had saved, there was a star charm and it was perfect for the size of my tree; besides getting the star, I came across a small Christmas gift that must have been from an old decoration and I said, well, to give it another touch, although this can be made of cardboard and with Christmas motif paper, I to save myself that and that was that little ornament without doing anything.
THE RESULT…
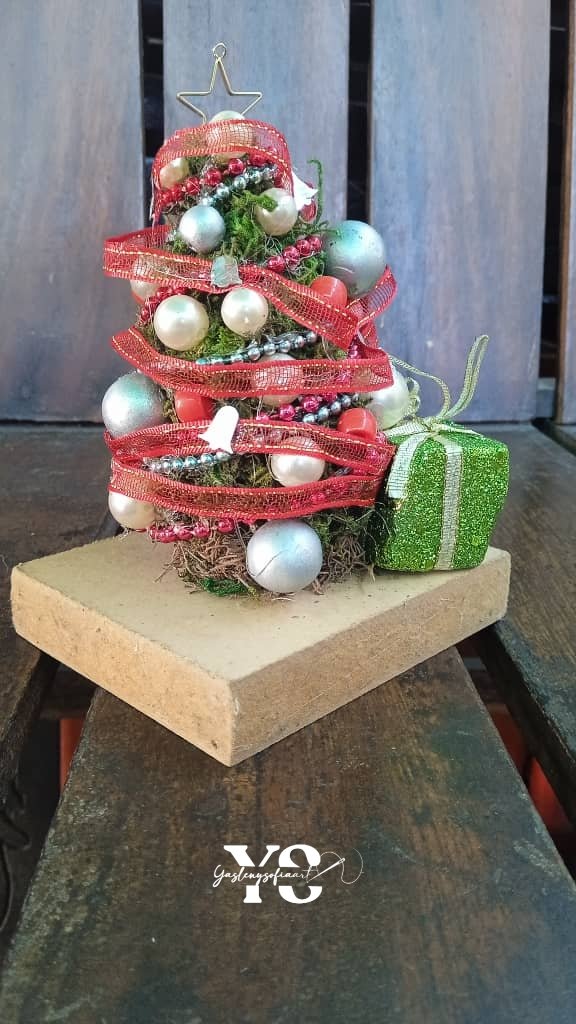
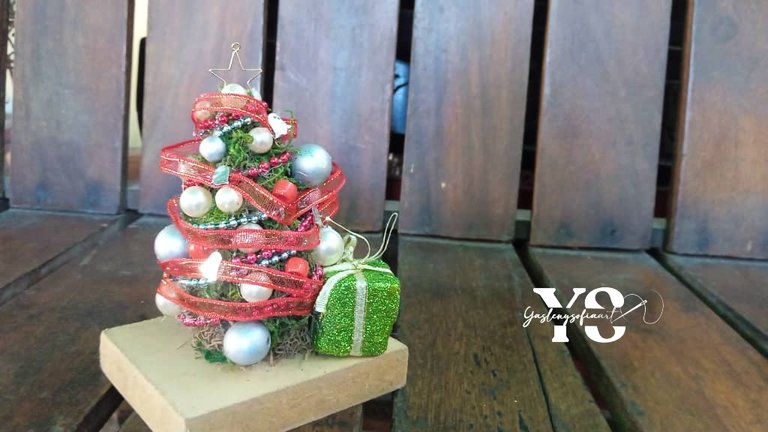


I really loved this mini tree and the good thing is that I did not spend on anything, only on the silicone rods, my sister did not trust the process, she looked at the poor pine tree with nothing, but as soon as she saw it she wanted to keep it, unfortunately, this beautiful ornament would go to my room. The one I saw in the store, they made it with circular tubes and paid a strip of garland all around it, of course you could see the part of the tubes behind it, however, if you want to make it bigger, it could be supported by the garlands.
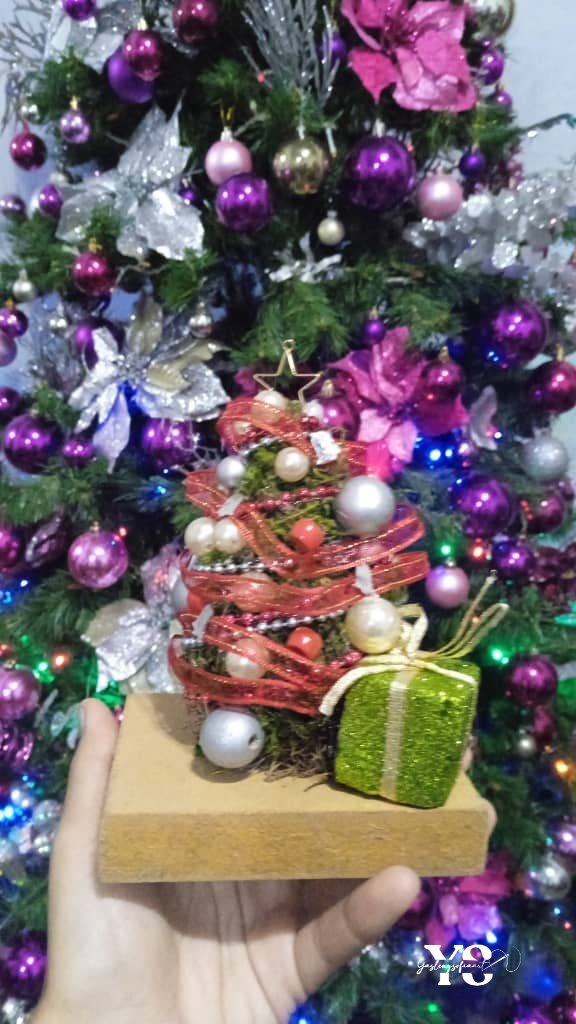
I will be pleased to read your opinions about it and if you would dare to make your own Christmas tree. Happy Holidays.

The images are from my personal archive, taken with my Redmi 9A cell phone. Cover designed in CANVA. Text translated in DeepL.

Thank you for reading my post. I hope you liked it. I will be attentive to answer your comments. You can visit my blog, follow my content and social networks.

FACEBOOK / INSTAGRAM / TWITTER

ESPAÑOL
Saludos comunidad de @DIYhub…
Primeramente les deseo unas felices fiestas a todos y me entusiasma el participar en este Concurso Navideño que nos ofrece la comunidad y sus aliados, para esta ocasión tomé de inspiración de un árbol que hicieron en una tienda de manera particular, aunque lo vi rápido, más o menos entendí la idea, así que no fue que la recree como tal, porque use fue materiales que tenía ya en casa y en un tamaño más pequeño, pero siento que es ideal si no tienes como comprar un árbol de navidad y no te quieres perder de tener tu propia decoración. Espero les guste el resultado tanto como a mí.

-Alambre, preferiblemente uno bastante grueso, no de bisutería.
-Musgo.
-Tijera.
-Silicon liquido frio.
-Barras de silicón.
-Pistola de silicón.
-Accesorios que tengas en casa, sea pepitas de cualquier tamaño y color, cintas, tiras de pepitas.
-Alicate y pinza.
-Un pedazo de madera.
-Cola blanca.


PASO 1: Armazón de la forma del árbol con alambre.
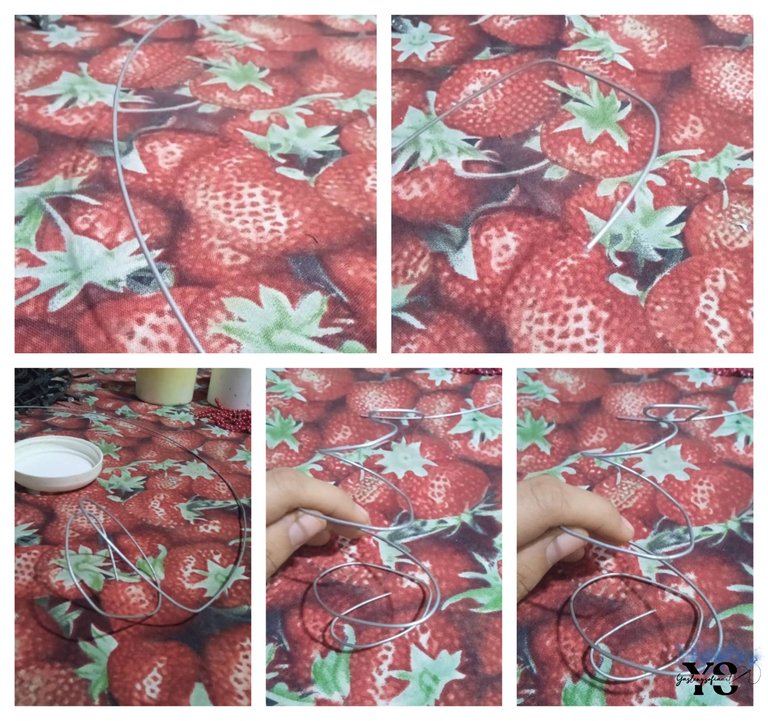
Como primer paso, es hacer el esqueleto (por así decirlo) de este árbol, recordando que la forma de árbol es un cono con su respectiva base, así que tomamos un pedazo de alambre, yo corté como 35 cm aproximadamente, pero todo depende del tamaño que deseemos de este. Yo empecé a enrollar desde lo que seria la base del árbol hasta la copa de este, pensé que seria sencillo, pero la verdad no, es preferible ir enrollando en espiral el alambre con las manos y luego ir ajustándolo con las pinzas y con el alicate terminando quitando los sobrantes de la copa.
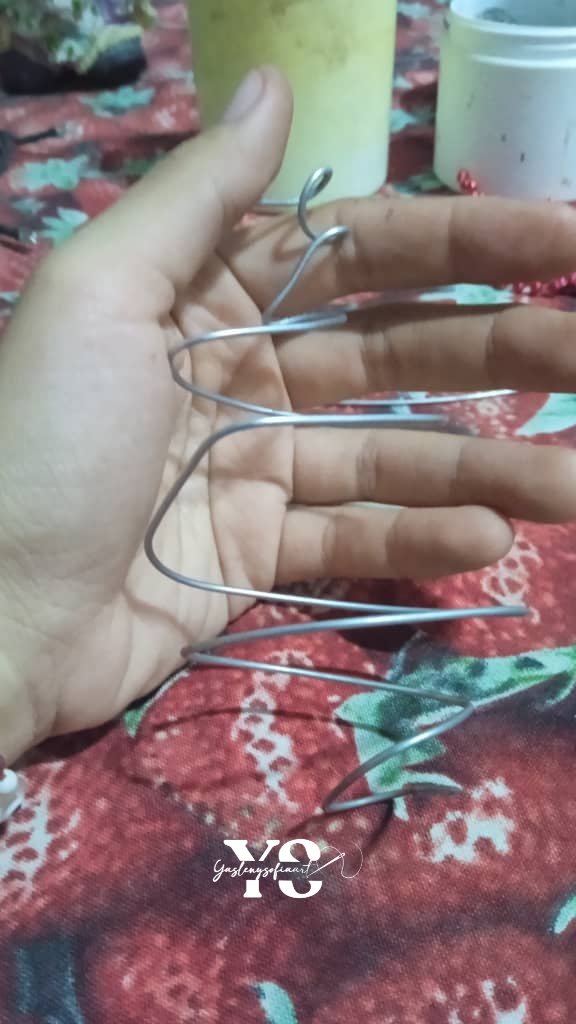
Así más o menos tendría que verse este esqueleto.
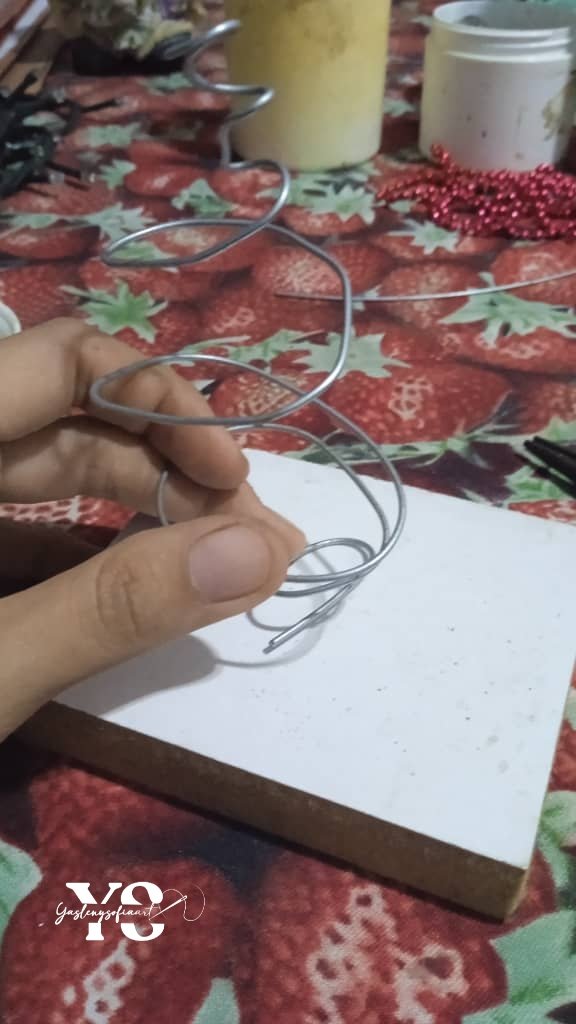
Aquí si me di cuenta que necesita pegarlo a una base de madera o lo que tengas a la mano, pero no tenia barras de silicón, así que me tocó esperar hasta el día siguiente para comprarlas. Aun así, adelante lo que sería el paso 2.
PASO 2: Pegar el musgo al alambre.
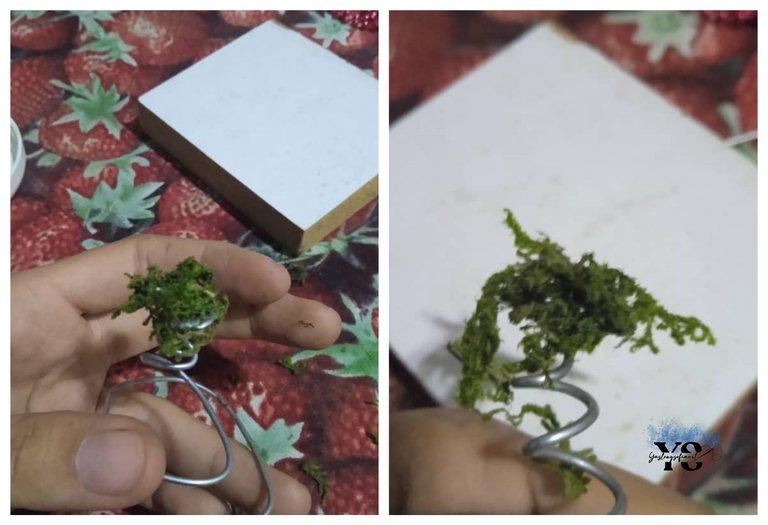
Como hice mención en el paso anterior, el paso 2 consiste en pegar el musgo, para ello tomo el silicón fría y comienzo adherirlo por todo el alambre, aunque tuve que parar, ya que, si necesita que se sostuviera con la base, por lo que continué al día siguiente. Después de tener el esqueleto pegado a la base de madera y con lo que seria la primera capa de musgo, me di cuenta de que se veía muy flaco y con varios huecos, pero pegar el musgo es realmente complicado, ahí se me ocurrió echarle cola blanca, para que este no se soltara tanto y se endureciera mejor, y así darle mejor la forma, creo que hubiese sido mucho mejor, poner en un envase mitad de agua con pega blanca y dejarlo remojar un rato, ahí quedó.
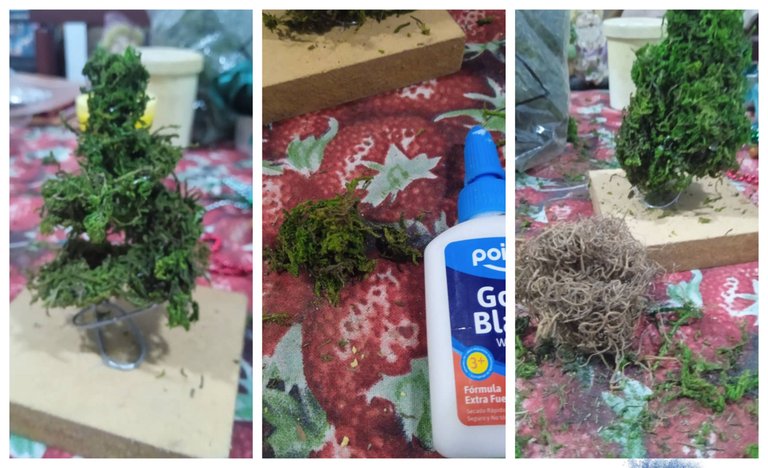
Para tapar la parte de la base y hacerlo más vistoso, agarre un musgo de color café que tenia y le dio como esa sensación de pino viejo, no sé, algo así.
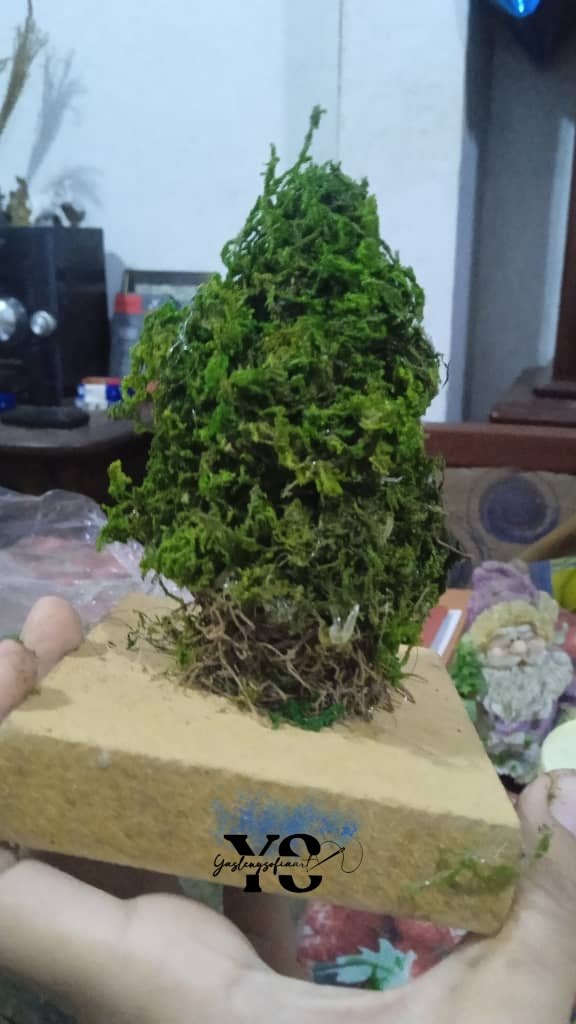
Este es el resultado. Siendo sincera no sabia si me quedaría, pero confiaba en el proceso. 😅
PASO 3: El decorado de nuestro pequeño árbol.


Aquí si es total libertad creativa y con lo que tengas en casa, en lo particular, usé como este cordón de pepas (disculpen, no sé como se llaman) que me daban esas vibras como las luces navideñas, así que tomé una de color rojo y con el silicón caliente la fui pegando poco a poco para no dañar el musgo, enrollando por toda la forma de cono, me ayudé de la pinza para que mis dedos no salieran lastimados. Así mismo hice con la de color azul.

Ahora venían lo que serían las bambalinas, hace un buen tiempo me regalaron muchas pepas, bien bonitas y que mejor que usarlas para está ocasión, tomando unas que son perlas de distintos tamaños, otras plateadas y unas cuantas rojas. Aquí ya estaba tomando forma mi mini árbol navideño, dejando fluir la creatividad.


Ya tenia las bambalinas, pero sentía que me faltaba más detalles y recordé que en ocasiones mi mamá le ponía una malla de color al árbol y eso le daba bastante vistosidad, por lo que tomé una cinta roja bien bonita, que tiene como unas líneas doradas y la pegué rodeando el árbol, pero si que está cinta fuese pegado por completa, más la dejé suelta en ciertas partes. Al encontrar la cinta, me topé con unos pequeños adornos de campana que tenia mi mamá y se los pegué también.

Así iba quedando, pero ¿no le faltaba algo más?
PASO 4: La estrella en la copa.

Y si, faltaba algo en mi árbol, y la estrella, aquí no sabia que hacer, si hacer la forma con silicón caliente pero, no tenía como pintarlo después, en eso se me ocurrió buscar entre los materiales para hacer pulseras que tenia guardado mi hermana, estaba un dije de estrella y quedó perfecta para el tamaño de mi arbolito; además de conseguir la estrella, me topé con un pequeño regalo de navidad que debió ser de una vieja decoración y dije, pues para darle otro toqué más, aunque esto lo pueden hacer de cartón y con papel de motivos navideños, yo para ahorrarme eso y que estaba ese pequeño adorno sin hacer nada.
EL RESULTADO…


Realmente amé este mini arbolito y lo bueno es que no gasté en nada, solo en las barras de silicón, mi hermana no confiaba en el proceso, miraba con extrañez el pobre pino sin nada, pero en cuanto lo vio se lo quería quedar, lamentablemente, este bello adorno se iría para mi cuarto. El que vi en la tienda, lo hicieron como con tubos circulares y le pagaron una tira de guirnalda en todo su alrededor, claro se veía la parte de los tubos por detrás de esta, no obstante, si lo quieren hacer más grande, podría apoyarse de las guirnaldas.

Estaré complacida de leer sus opiniones al respecto y si se atreverían hacer su propio árbol navideño. Felices fiestas.

Las imágenes son de mi archivo personal, tomadas con mi celular Redmi 9A. Portada diseñada en CANVA. Texto traducido en DeepL.

Gracias por leer mi post. Espero que les haya gustado. Estaré atenta a responder sus comentarios. Pueden visitar mi blog, seguir mis contenidos y redes sociales.

FACEBOOK / INSTAGRAM / TWITTER


Este arbolito está precioso🎄 me encanta que no te rindieras y confiaras en el proceso jeje sin duda valió la pena✨ todo quedó perfecto, pero siento que el regalito fue el plus que hizo lo navideño más navideño aún☺️
!diy
Realmente cuando lo vi solito con el musgo pegado, si dudada algo, pero también sabia que faltaban sus adornos. El regalito le dio su toque. Muchas gracias 🤗
Actually, when I saw it on its own with the moss attached, I did have some doubts, but I also knew it was missing its decorations. The little gift gave it its touch. Thank you very much 🤗
que bonito! jeje quedo genial
how nice! hehe it was great
Muchas gracias 😊
Thank you very much 😊
Such a lovely and creative way to create a mini tree. The ornaments add a nice depth to it. Good work
Muchas gracias, si, los adornos le dieron otro punto de vista 🤗
Thank you very much, yes, the ornaments gave it another point of view 🤗.
Se ve bonito Me gusto el regalito se ve cuchi
En cuanto lo vi en la caja, me dije tiene que ir en mi mini arbolito y si que le quedó muy bien 😊
As soon as I saw it in the box, I said to myself it has to go on my mini tree and yes it looked great 😊.
You can query your personal balance by
!DIYSTATS