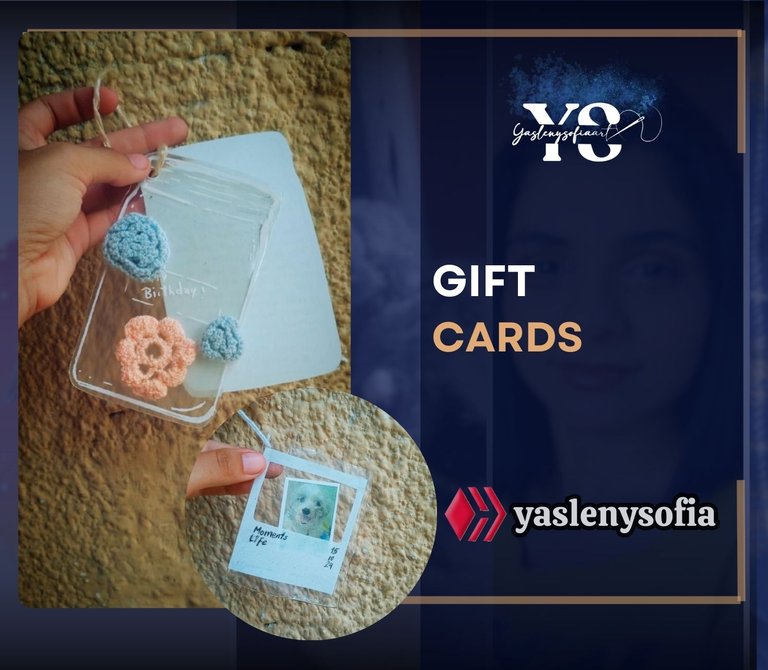
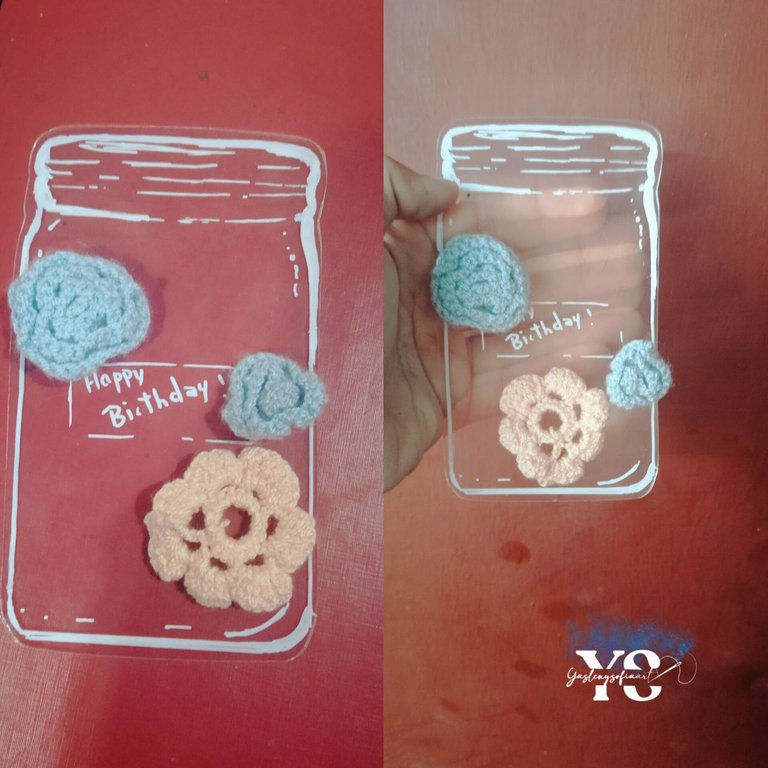
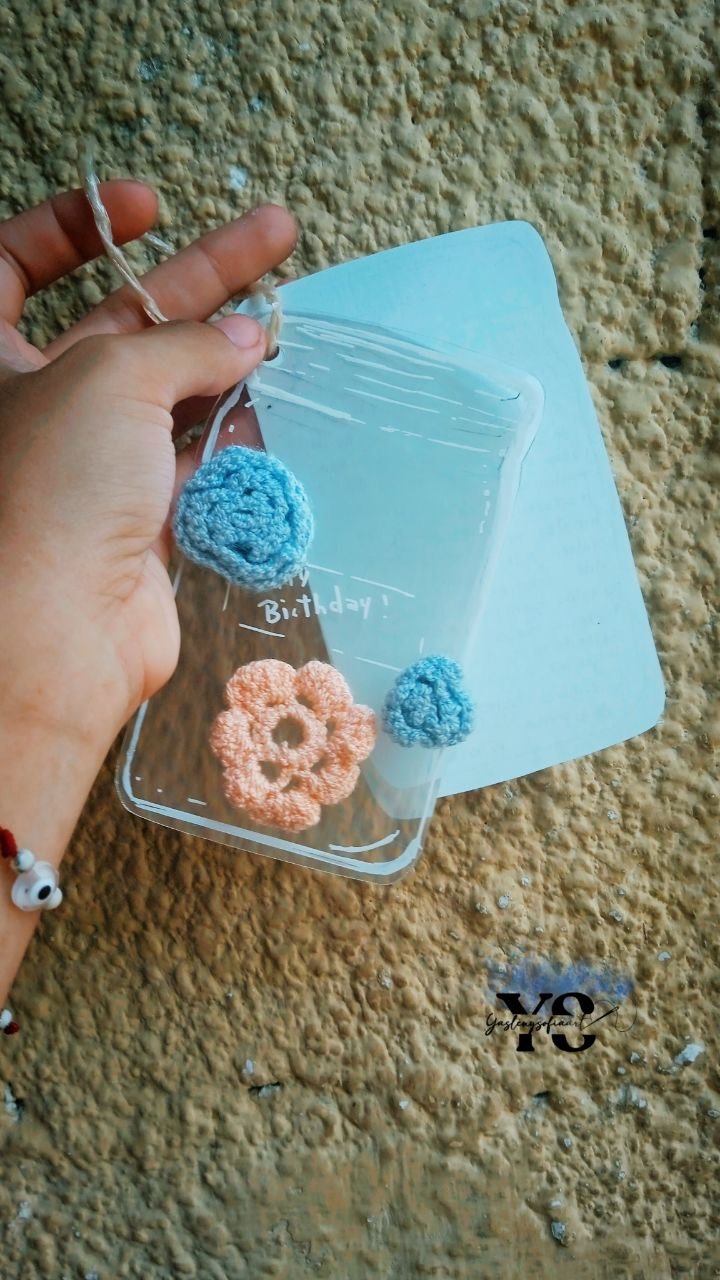
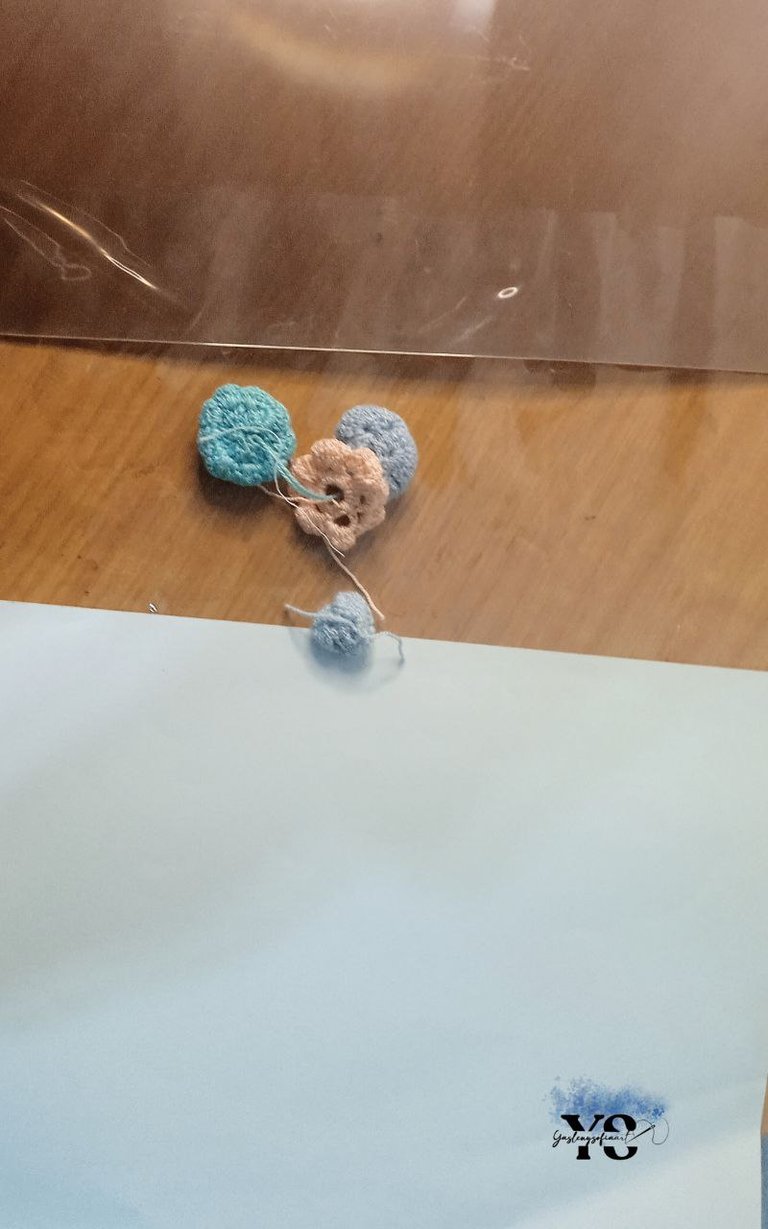
In my case, I used some crochet flowers that my mom had made a long time ago, to use them I preferred to paste them on this card and because I did not have the time to make them in macrame, but if you want to know how to make the roses in this technique, I leave you the link of my work of bouquet of roses, where I explain the step by step to make them. If you want to use real flowers, I recommend you to make two sides of the figure in acetate, so that they are covered.
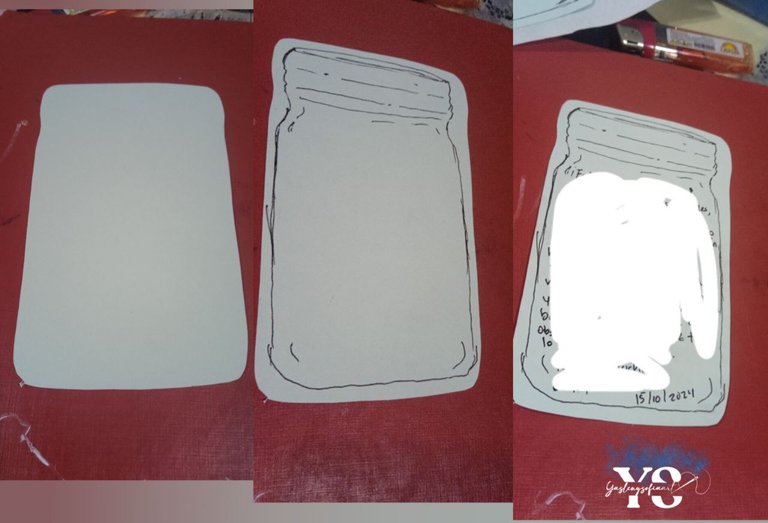
STEP 4: Cut out the figure on cardboard for writing.
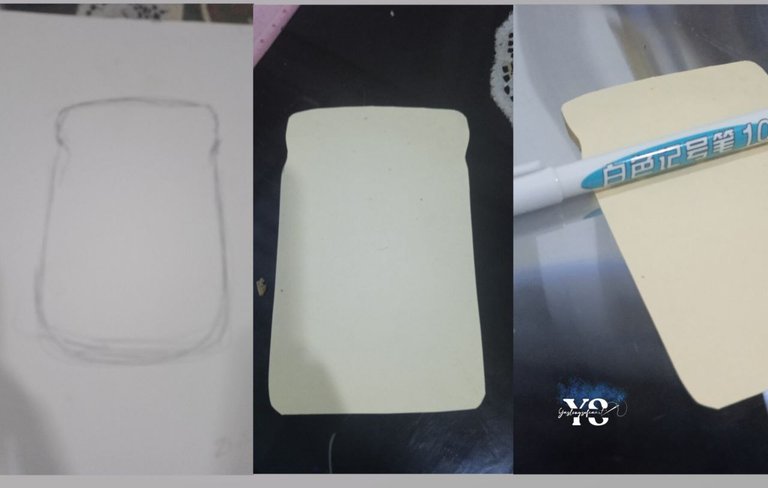
Once we have the pattern, we transfer it to a cardboard of the color we want, in my case, I took a light blue one and cut it in the same shape as the figure. We make the same details as the acetate and write what we want on it, or if you want to print everything with the details of the figure, it will be much cleaner.
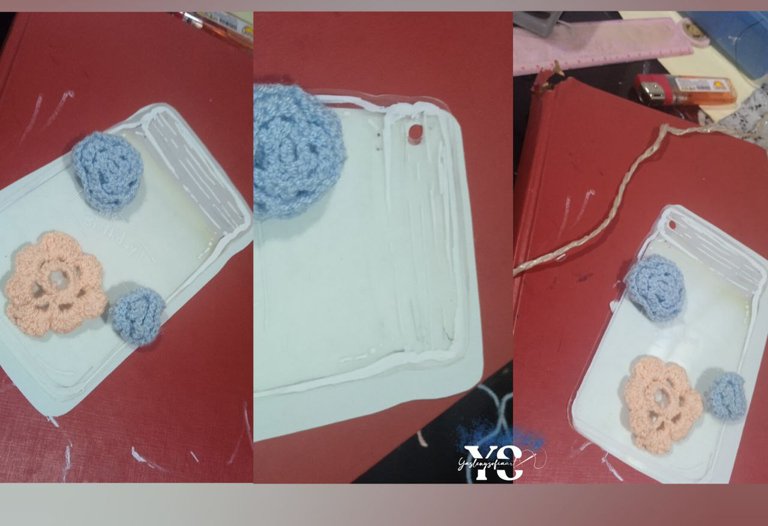
STEP 5: Joining the acetate figure to the cardboard figure.
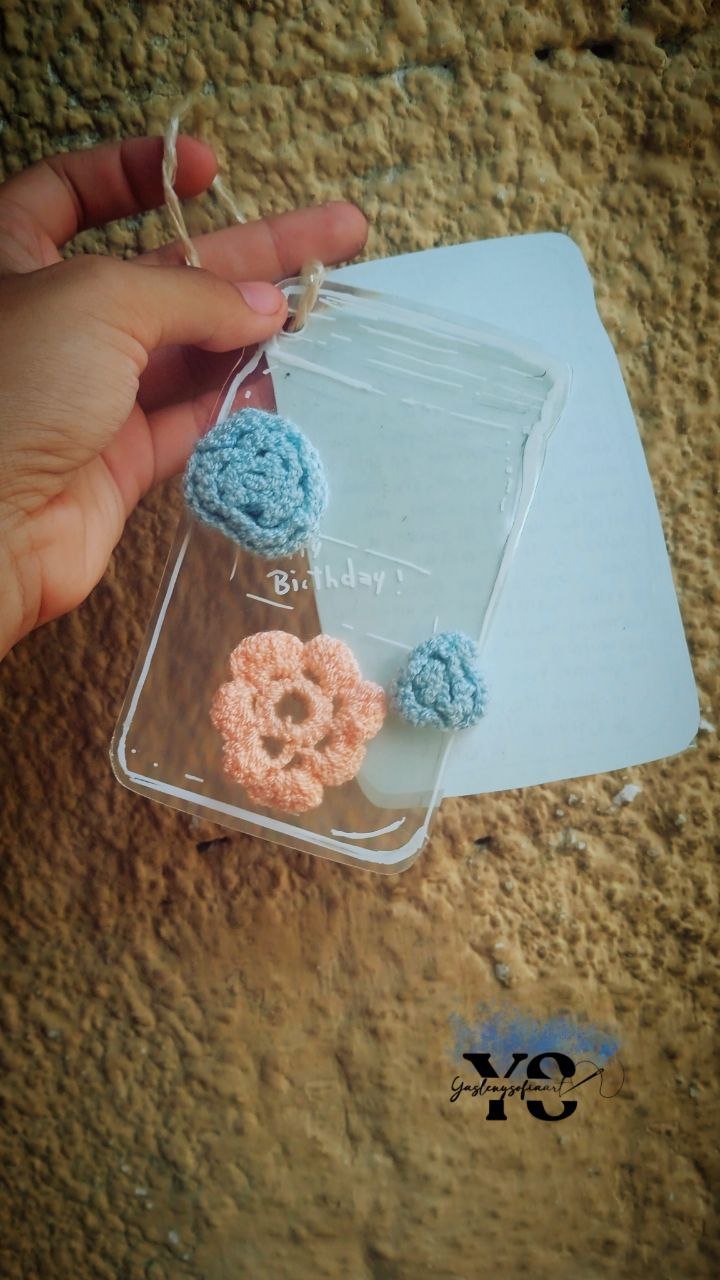
A small hole is opened in both figures, in the upper corner, and a small jute cord is passed through it, tying a knot to close it.
STEP 6: Making a polaroid-type photo card.
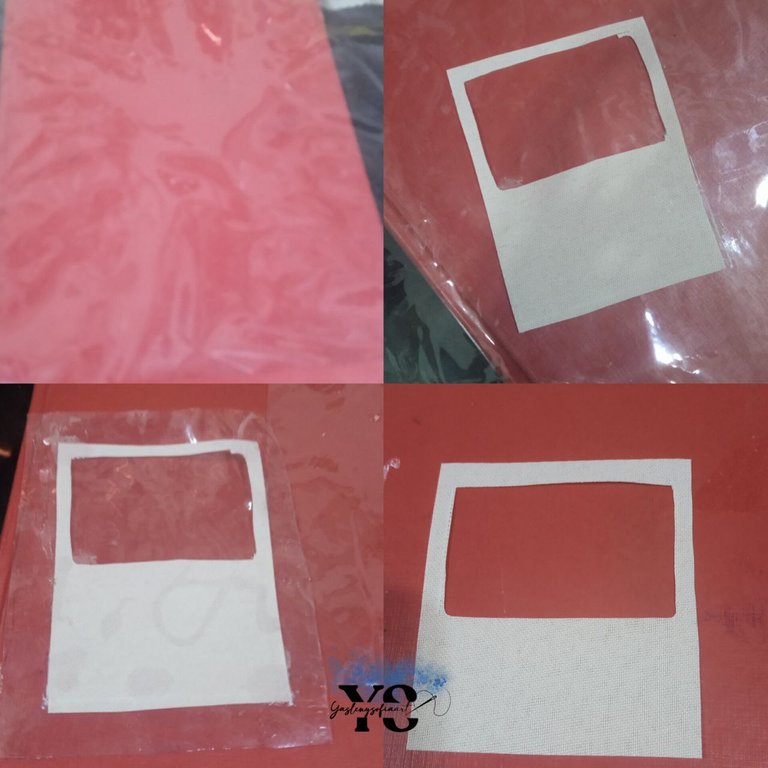
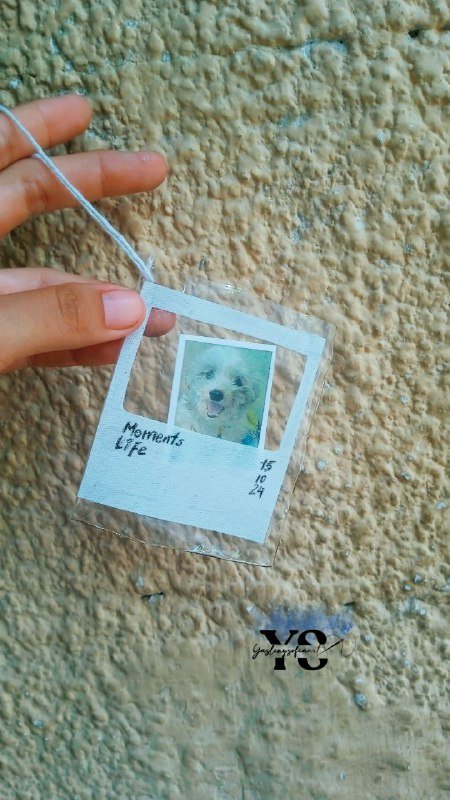
In this case, I also wanted as a small detail, taking advantage of the plastic fabric, a card to keep a polaroid type photo. In this case, we cut a piece of plastic about 10 cm long by 5 cm wide, because it will be folded in half, wallet style.
To join two of the 3 open edges, just heat the edges, without burning and the plastic will be joined. To make the frame, just take a piece of cardboard, make the shape as shown in the image and glue it to the plastic.
STEP 7: Attach a cord.
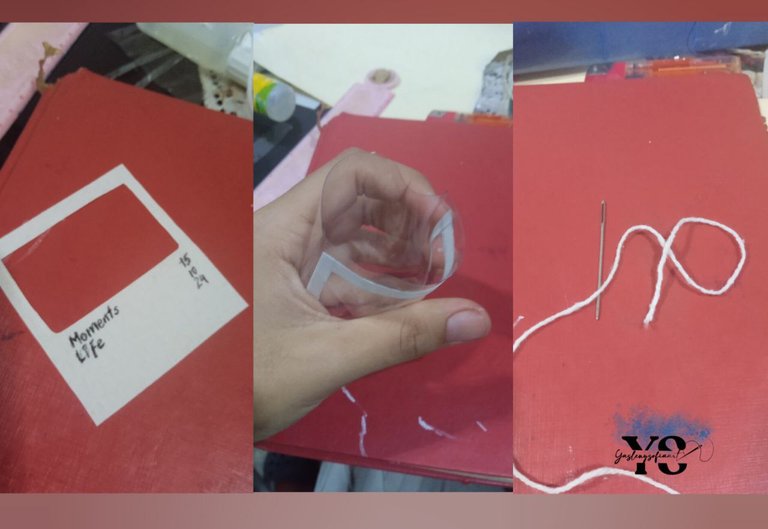
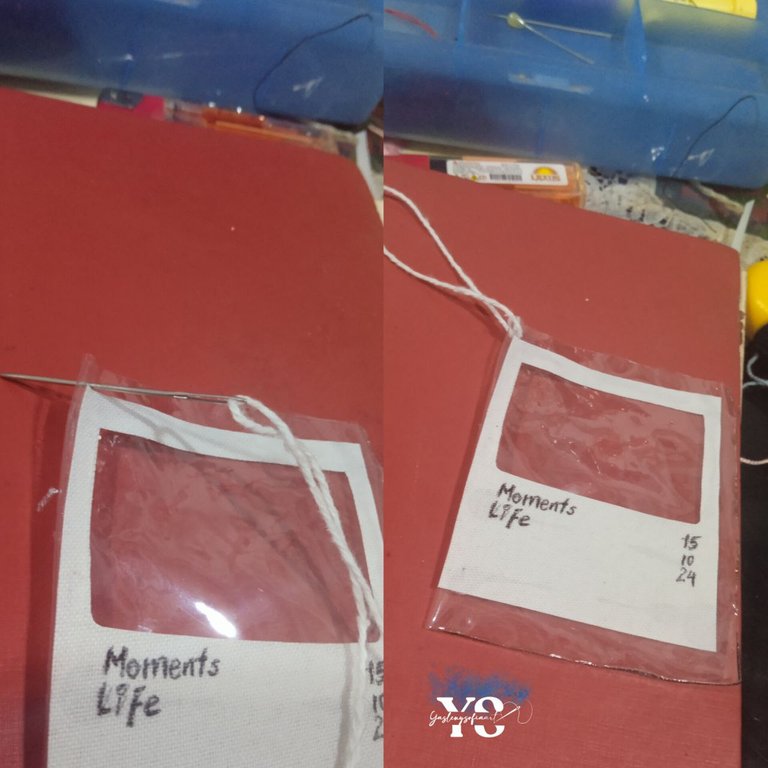
If you want to write some words on the frame, you can do it, in my case, I wrote moments, life and the date of the birthday girl. With a needle, we open a hole in the plastic and pass a small piece of wick through it; we tie a knot so that it can be hung.
RESULTS....

The images are from my personal archive, taken with my Redmi 9A cell phone. Cover designed in CANVA. Text translated in DeepL.

Thank you for reading my post. I hope you liked it. I will be attentive to answer your comments. You can visit my blog, follow my content and social networks.
FACEBOOK / INSTAGRAM / TWITTER

ESPAÑOL
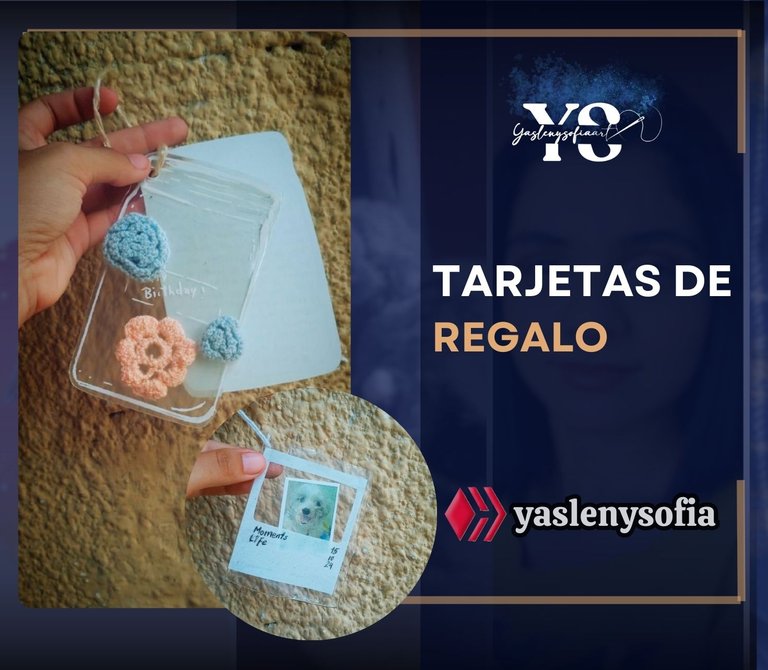
Saludos comunidad de @DIYHub, hoy les traigo una manera de hacer unas tarjetas para felicitar o para cualquier destino de una manera que sirva también para decorar o tener a la mano.

-Lamina de acetato transparente o plástico
-Tijera
-Flores, pueden ser naturales o hechas en crochet o macramé
-Silicon transparente
-Cartulinas (del color de preferencia)
-Hilo pabilo o cordón Yute
-Marcador blanco para vinil, plástico o acetato
-Marcador negro

PASO 1: Realización del modelo de la figura en una cartulina.
Lo primero es hacer el patrón de la figura que deseamos hacer la tarjeta, puede ser una en forma de botella de perfume, de un jarrón, lo que deseen, en mi caso es la forma rectangular alargada de una botella y tengamos el marcador blanco a la mano.
PASO 2: Traspaso del patrón a la lámina de acetato y dibujo de detalles.
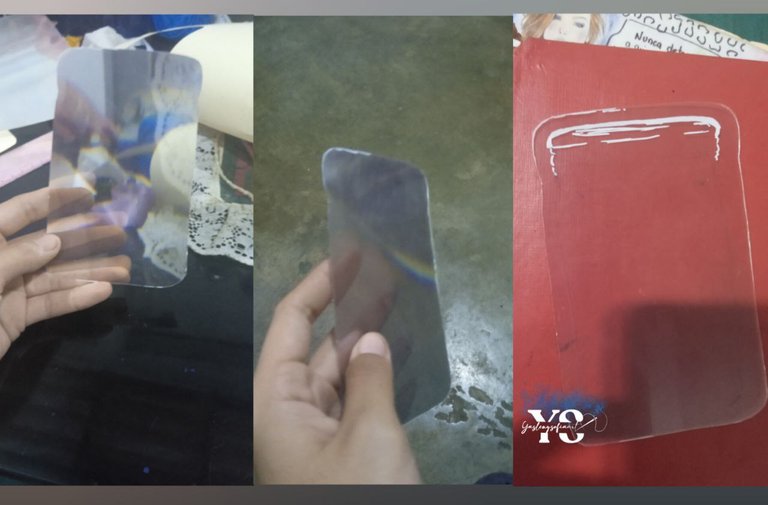
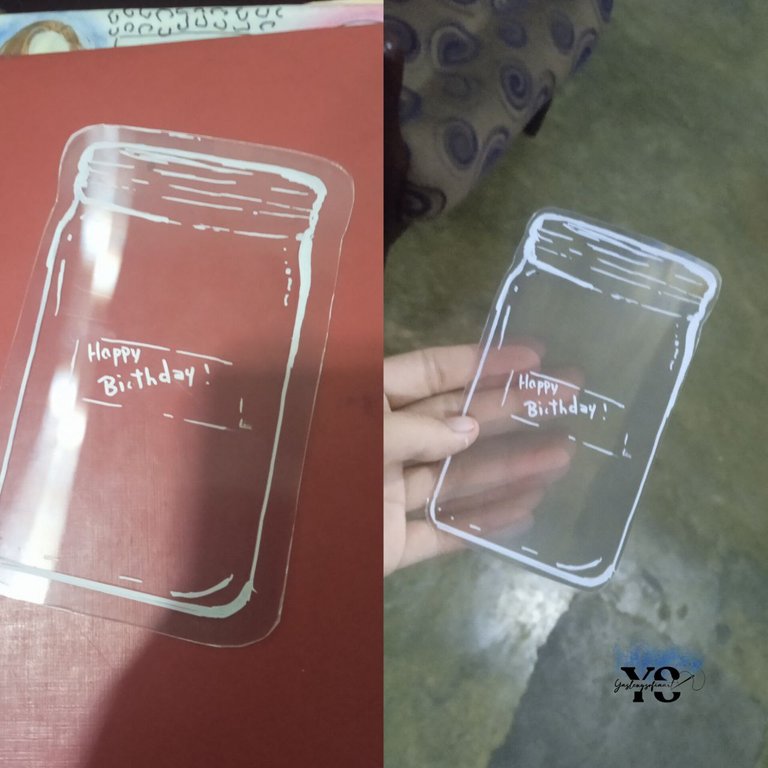
Después de la realización de la figura en cartulina, pasamos ese patrón a la lámina de acetato, como se nota en la foto. Luego de ello, dibujamos los detalles de la figura, que si el contorno y demás, con el marcador blanco, en mi caso, le escribí las palabras Happy Birthday, ya que es una tarjeta de felicitación por un cumpleaños.
PASO 3: Pegar las flores
En mi caso, usé unas flores en crochet que mi mamá había hecho hace bastante tiempo, para darle uso preferí pegarlos en esta tarjeta y porque no me daba el tiempo para realizarlas en macramé, pero si desean saber como hacer las rosas en esta técnica, les dejo el link de mi trabajo de bouquet de rosas, donde explico el paso a paso para hacerlas. Si desean usar flores reales, le recomiendo hacer dos caras de la figura en acetato, para que así queden cubiertas estas.

PASO 4: Recorte de la figura en cartulina para el escrito.
Ya teniendo el patrón, se traspasa a una cartulina del color que deseamos, en mi caso, tomé una de azul clarito y la corté de la misma forma de la figura. Se hace los mismos detalles que la de acetato y escribimos lo que deseemos en ella, o si lo quieren imprimir ya todo con los detalles de la figura, saldrá mucho más limpio todo.

PASO 5: Unión de la figura en acetato con la de la cartulina.
Se abre un pequeño orificio en ambas figuras, en la esquina superior y se traspasa un pequeño cordón de yute, haciendo un nudo para cerrarlo.

PASO 6: Realización de la tarjeta para foto, tipo polaroid.
En este caso, también quería como pequeño detalle, aprovechando que tenia tela de plástico, una tarjeta donde se guardara una foto tipo polaroid. En ese caso, cortamos un trozo del plástico de unos 10 cm de largo por unos 5 cm de ancho, pues se doblará a la mitad, estilo cartera.
Para unir dos de los 3 bordes abiertos, solo pasamos calor por las orillas, sin quemar y el plástico se unirá. Para hacer el marco, solo tomamos una cartulina, le hacemos la forma como se ve la imagen y la pegamos a este plástico.

PASO 7: Ponerle un cordón.
A la parte del marco, si desean escribirle unas palabras, pueden hacerlo, en mi caso, escribí moments, life y la fecha de la cumpleañera. Con una aguja, nos ayudamos abrirle un orificio al plástico y pasar por el, un pequeño pedazo de pabilo; se le hace un nudo para que así se pueda colgar.


RESULTADOS….


Las imágenes son de mi archivo personal, tomadas con mi celular Redmi 9A. Portada diseñada en CANVA. Texto traducido en DeepL.

Gracias por leer mi post. Espero que les haya gustado. Estaré atenta a responder sus comentarios. Pueden visitar mi blog, seguir mis contenidos y redes sociales.

FACEBOOK / INSTAGRAM / TWITTER

Posted Using InLeo Alpha
