Hola queridos amigos de esta comunidad les deseo una semana llena de bendiciones y prosperidad para todos espero que estén muy bien con grandes energías y con bonitas ideas para esta hermosa y creativa comunidad de @di un gusto saludarlos nuevamente a todos.
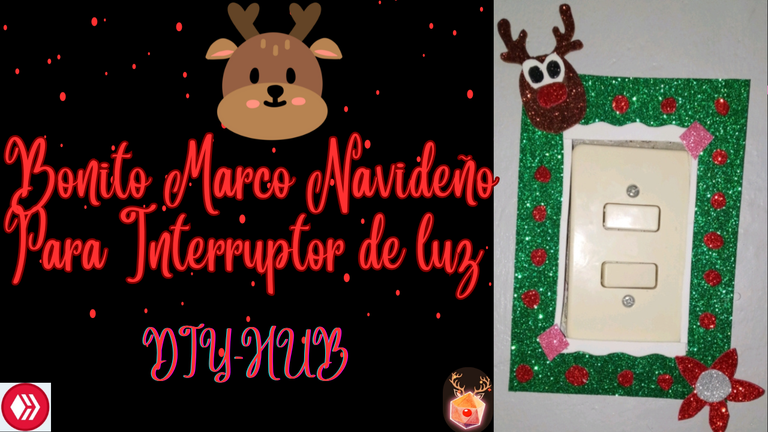
El día de hoy quiero mostrarles cómo realizar un marco navideño para interruptor de luz muy lindo y fácil de hacer para estas navidades y así tener cómo decorar los interruptores espero que esta idea les pueda ayudar a todos y se animen a realizarlo en casa.
Los materiales que utilicé para el interruptor de luz el marco fueron los siguientes :
- Foamy verde, rojo, rosado,marrón, negro, blanco,plateado
- Tijera
- Regla
- Silicón
Comencemos a elaborar!!!
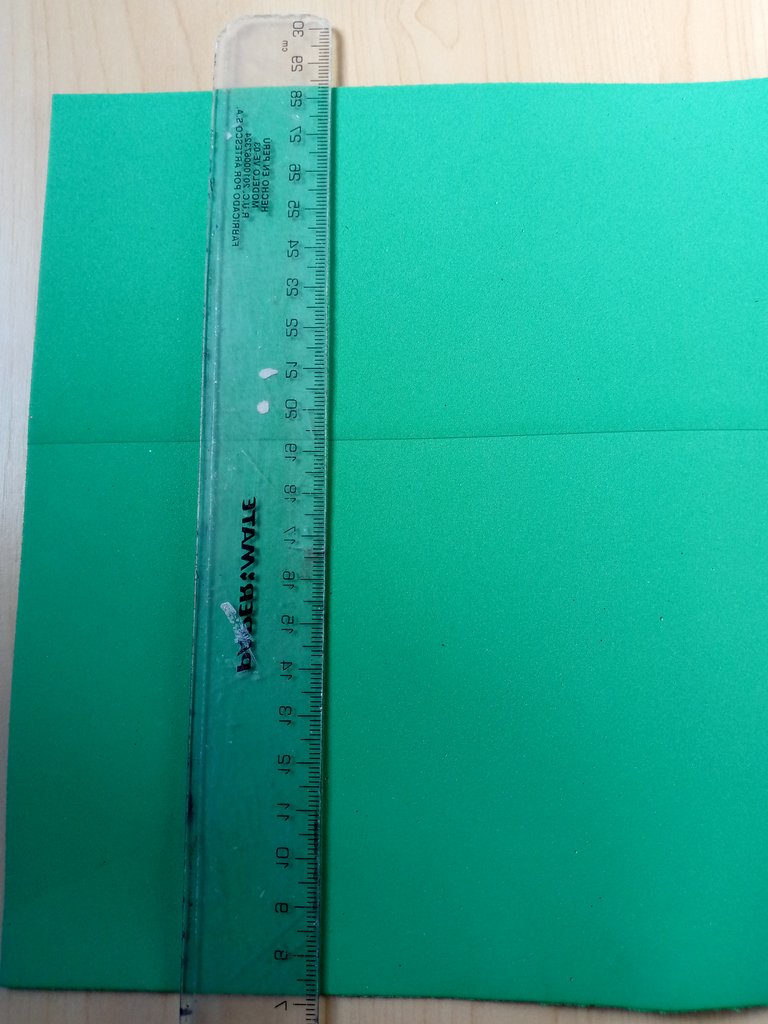
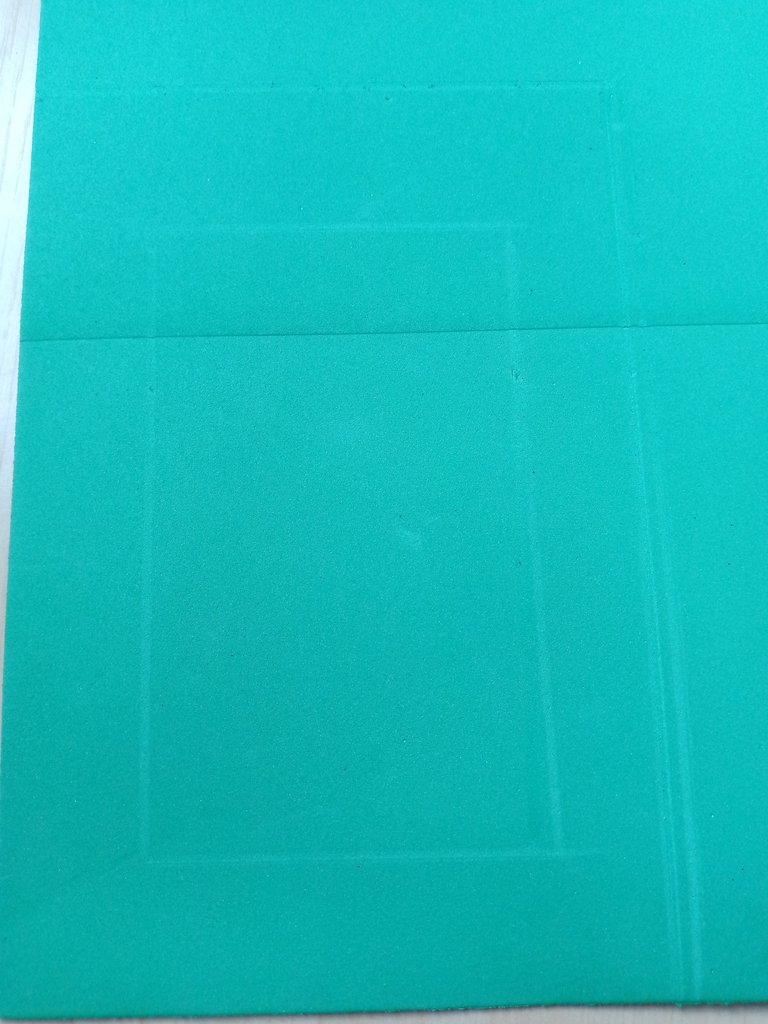
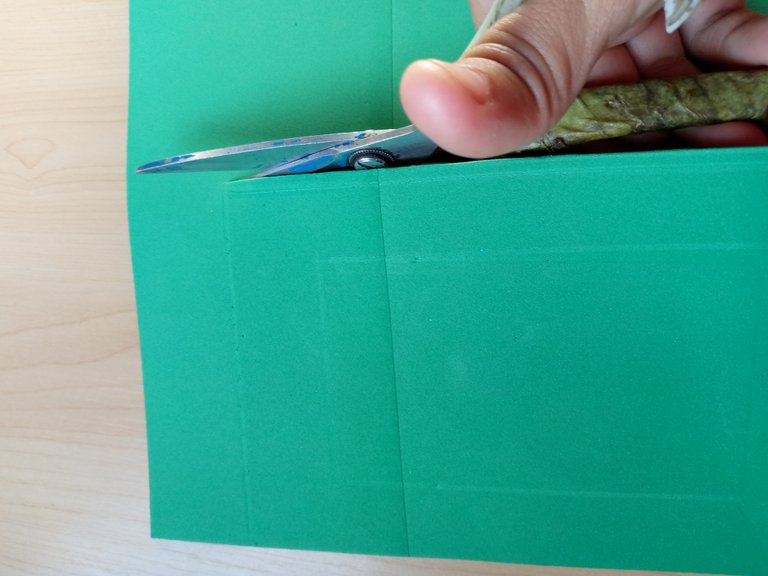
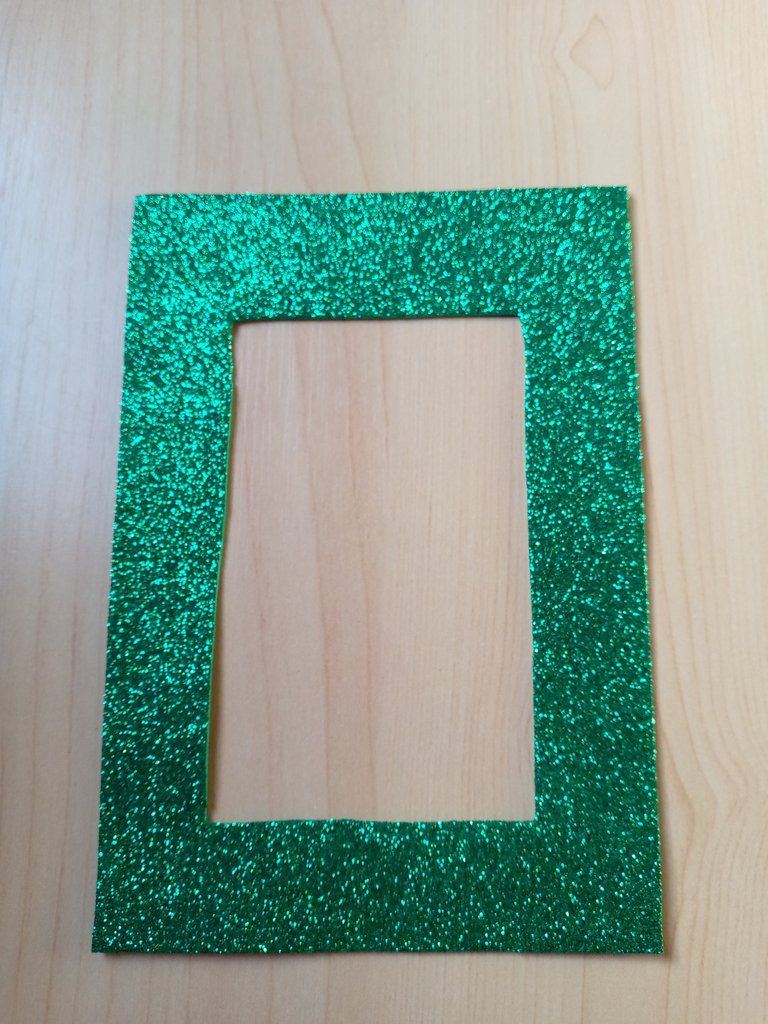
Vamos a tomar el foami verde junto con la regla y con la punta de la tijera vamos a marcar 7 cm de ancho y 12 de largo haciendo un cuadro en la parte del medio de las partes laterales y después lo que vamos a hacer es recortarlo una vez ya listo va a quedar así de esta manera teniendo en cuenta que este a la hora de recortar el foami tenemos que hacerlo delicadamente porque es muy frágil y puede quedar mal el corte entonces quedará así.
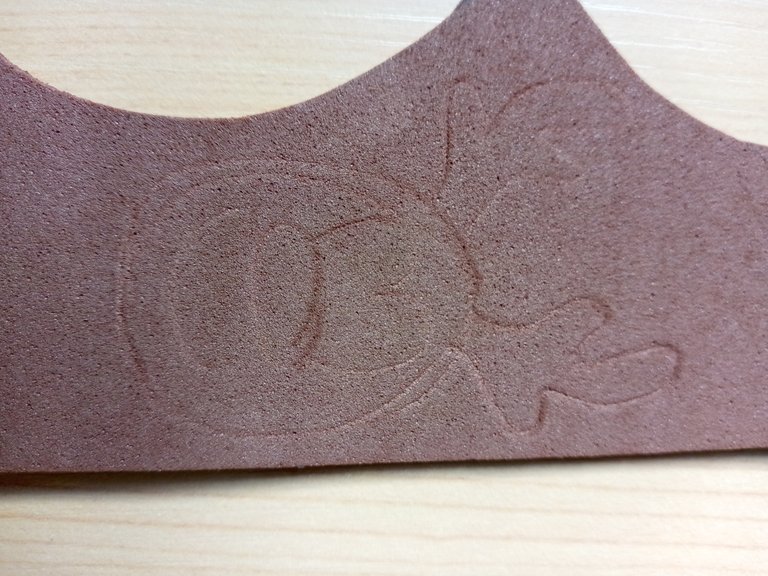
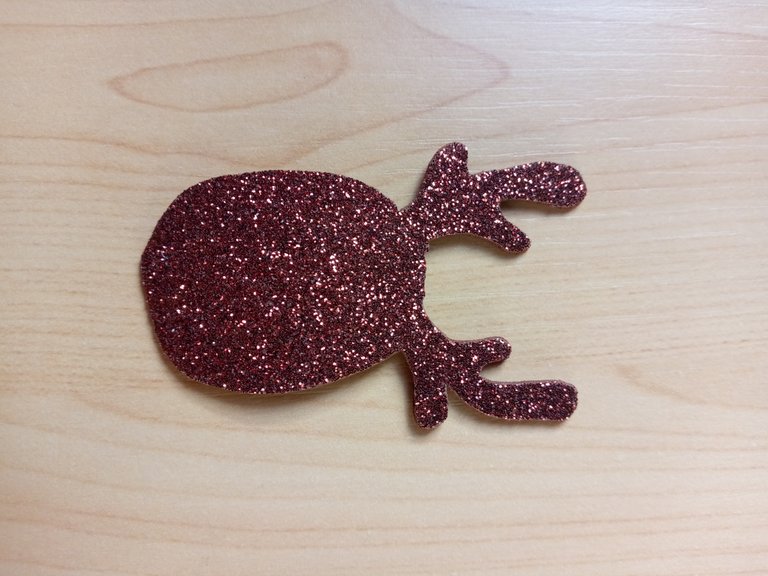
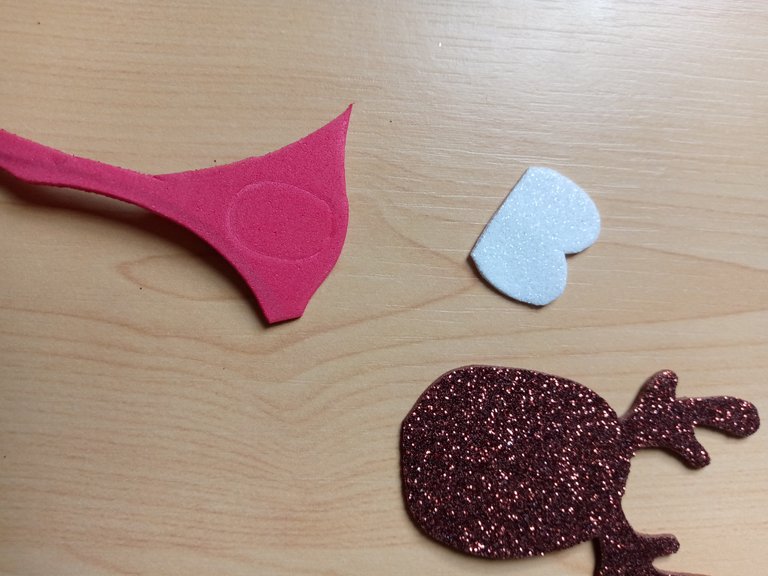
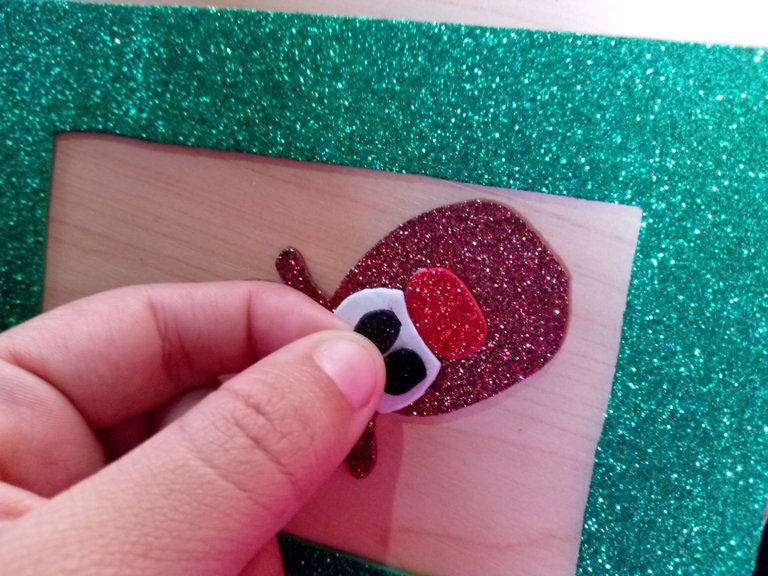
Ahora con el foami marrón vamos a dibujar con la punta de la tijera un reno la forma de la cara haciendo el círculo y sus cachitos con tres partes de esta manera la vamos a recortar delicadamente junto con el foami blanco vamos a hacer un tres a dibujarlo con la punta de la tijera también y este lo vamos a recortar y con el foami escarchado rojo vamos a dibujar un círculo ovalado y los ojitos con foami negro y esto lo vamos a tener listo para estructurar la parte de la cara así de esta forma.
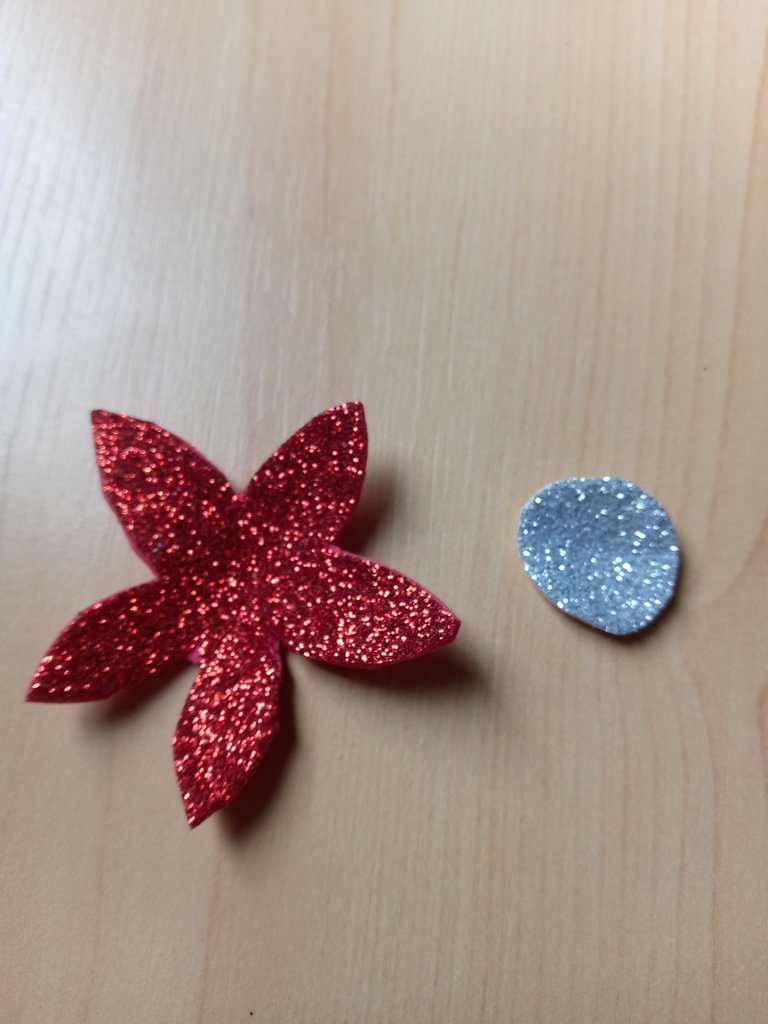
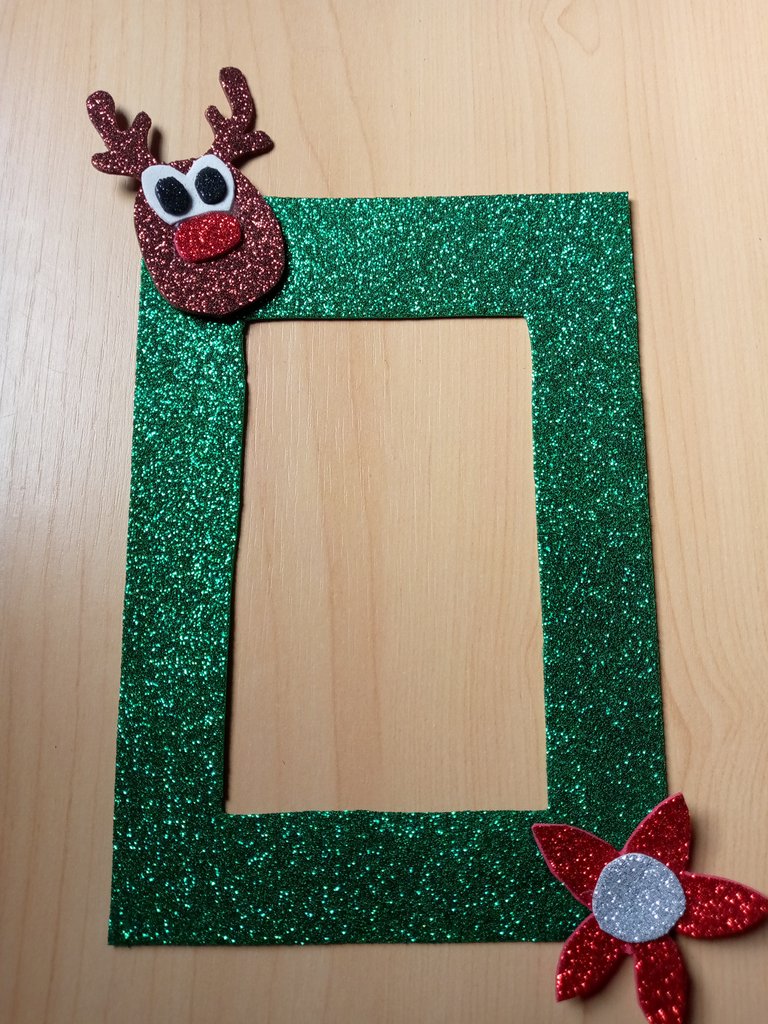
Una vez ya listo nos vamos a encargar de realizar una pequeña flor de cinco pétalos con el centro en plateado un pequeño círculo y este lo vamos a pegar en las esquinas izquierda y derecha de ambas partes para así darle un poquito de intensidad a nuestro marco para el interruptor de luz.
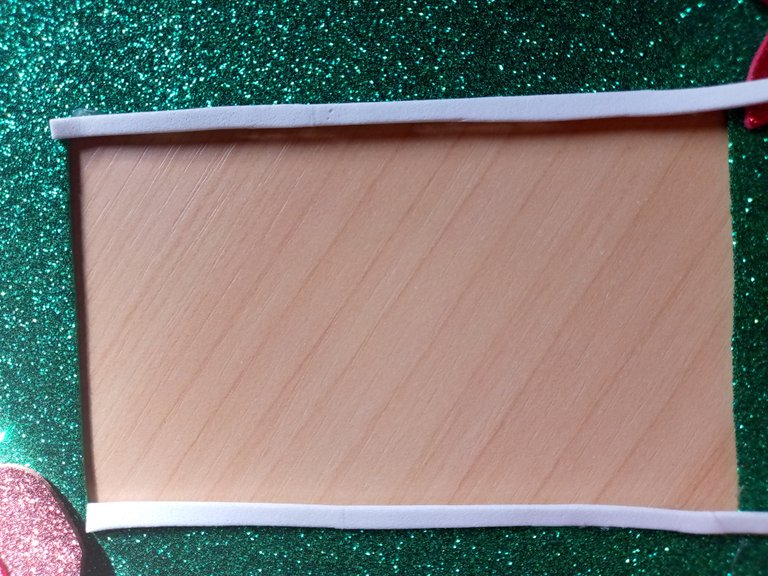
Luego con el fue a mi blanco vamos a hacer unos pequeños delineados y en la parte de abajo unas pequeñas acuarelas y la vamos a pegar para darle un fondo al marco y encima de este vamos a colocar unas pequeñas estrellitas en las esquinas del cuadro así de esta forma.
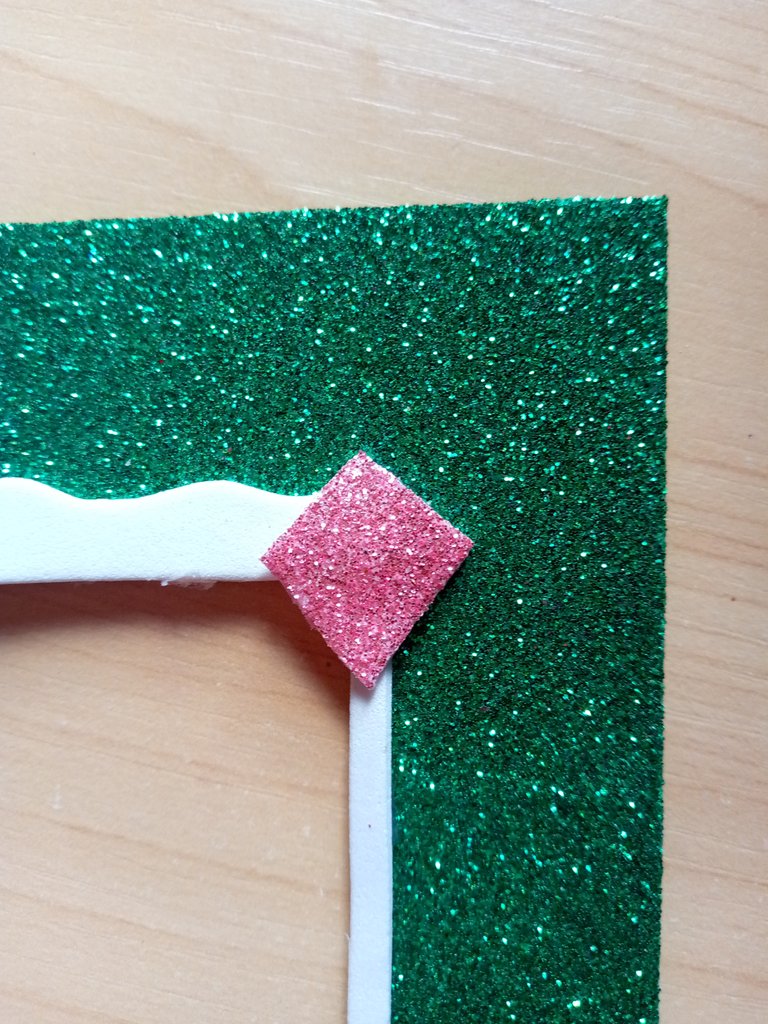
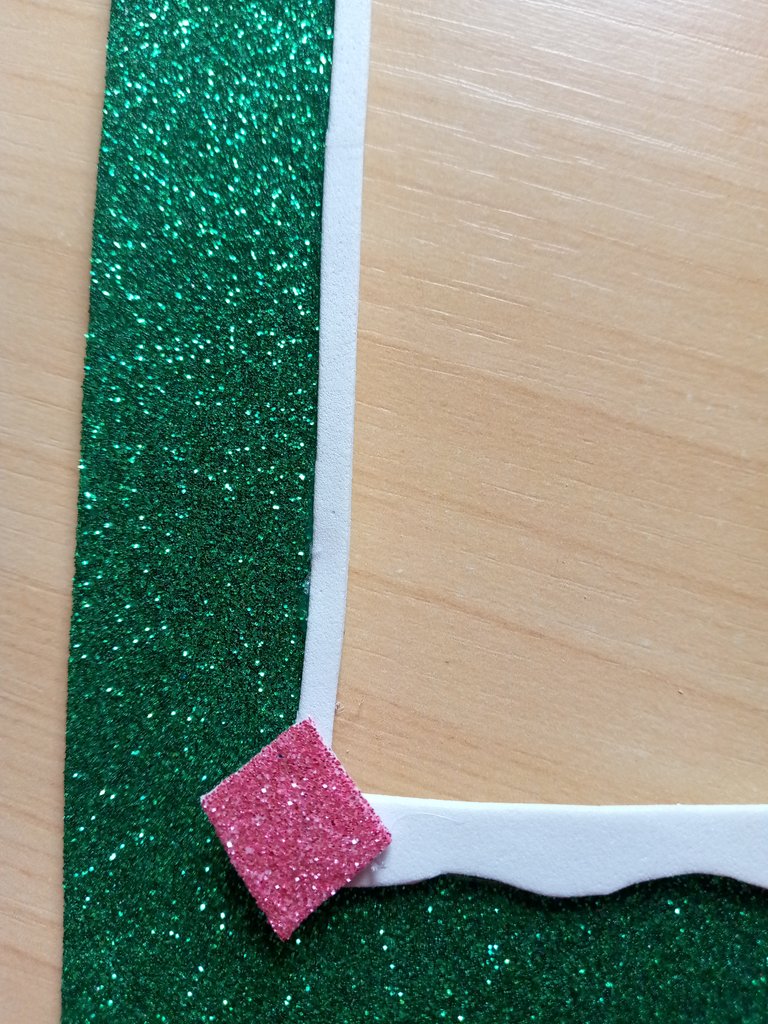
Después con el foami escarchado rojo vamos a hacer pequeños círculos y esto lo vamos a pegar alrededor del foami verde así de esta manera y ya pegados todo habremos terminado nuestro hermoso marco navideño.
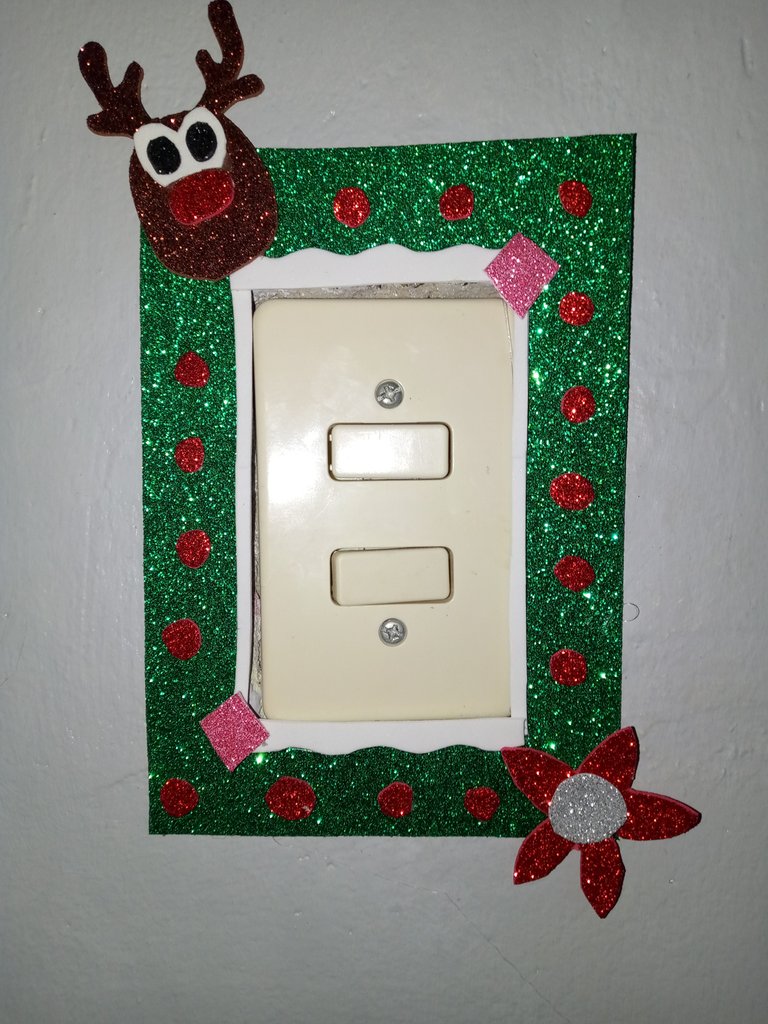
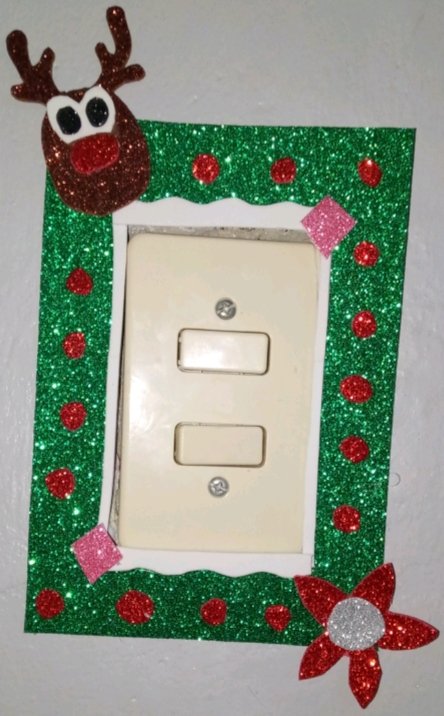
Bueno mis queridos amigos esto fue el resultado de cómo quedó nuestro marco navideño para el interruptor de luz de nuestra casa espero que les haya gustado les mando muchos saludos y bendiciones para estas fechas navideñas.
Hasta la próxima!
Las imágenes son tomadas por mi teléfono tecno.
Traductor utilizado:https://www.deepl.com
La imagen fue editada mediante la aplicación de canva.

Hello dear friends of this community I wish you a week full of blessings and prosperity for all I hope you are very well with great energy and beautiful ideas for this beautiful and creative community of deep hop a pleasure to greet you all again.
Today I want to show you how to make a Christmas frame for light switch very nice and easy to do for this Christmas and so have how to decorate the switches I hope this idea can help you all and encourage you to make it at home.
The materials I used for the light switch the frame were the following :
- Foamy green, red, pink, pink, brown, black, white, silver.
- Scissors
- Ruler
- Silicone
Let's start making!!!!
We are going to take the green foami together with the ruler and with the tip of the scissors we are going to mark 7 cm wide and 12 cm long making a square in the middle of the side parts and then what we are going to do is to cut it once it is ready it will look like this taking into account that when cutting the foami we have to do it delicately because it is very fragile and it can be badly cut so it will look like this.


Now with the brown foami we are going to draw with the tip of the scissors a reindeer the shape of the face making the circle and its little pieces with three parts in this way we are going to cut it delicately together with the white foami we are going to make a three to draw it with the tip of the scissors also and this we are going to cut it and with the red frosted foami we are going to draw an oval circle and the little eyes with black foami and this we are going to have it ready to structure the part of the face in this way.


Once ready we are going to make a small flower of five petals with the center in silver a small circle and we are going to glue it in the left and right corners of both parts to give a little intensity to our frame for the light switch.


Then with the white one we are going to make some small outlines and at the bottom some small watercolors and we are going to glue them to give a background to the frame and on top of this we are going to place some small stars in the corners of the frame like this.


Then with the red frosted foami we are going to make small circles and we are going to glue them around the green foami and in this way and already glued everything we will have finished our beautiful Christmas frame.

Well my dear friends this was the result of how was our Christmas frame for the light switch of our house I hope you liked it I send you greetings and blessings for this Christmas season.

See you next time!
The images are taken by my techno phone.
Translator used:https://www.deepl.com
The image was edited using the canva application.c
Que lindo te ha quedado! Es una gran idea para dar un toque más navideó para la sala de nuestra casa.. Me gusta mucho como te quedó el reno, es mi parte preferida de tu diseño. .
Saludos
Está muy bonito, y me encanta que lleva los colores de la navidad y mucho brillito. Imagino toda la casa con varios de ellos, le daría mucho alegría navideña. Felicidades!
Muchas gracias amiga por tu apoyo me alegro que te gusten estos adornos navideños realmente estan muy lindos, éxitos y bendiciones 🙏🏻
Such a lovely way to decorate the switch and keep the festive mood. Looks really nice. Bravo
Thank you very much always 😊 blessings
Amiga me encanta tu decoración de interruptor con un reno, el que prepare es en otro estilo
Muchas gracias amiga que bueno que te gustó si estaba por hacerlo ya que es muy fácil el paso a paso, y es bueno para las decoraciones navideñas éxitos y bendiciones amiga.