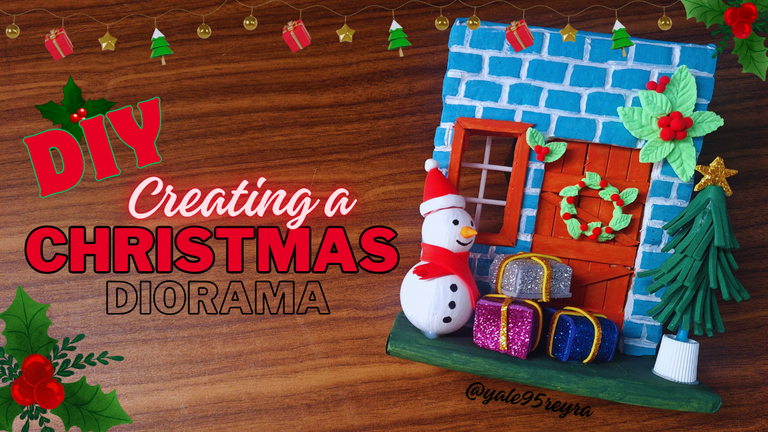
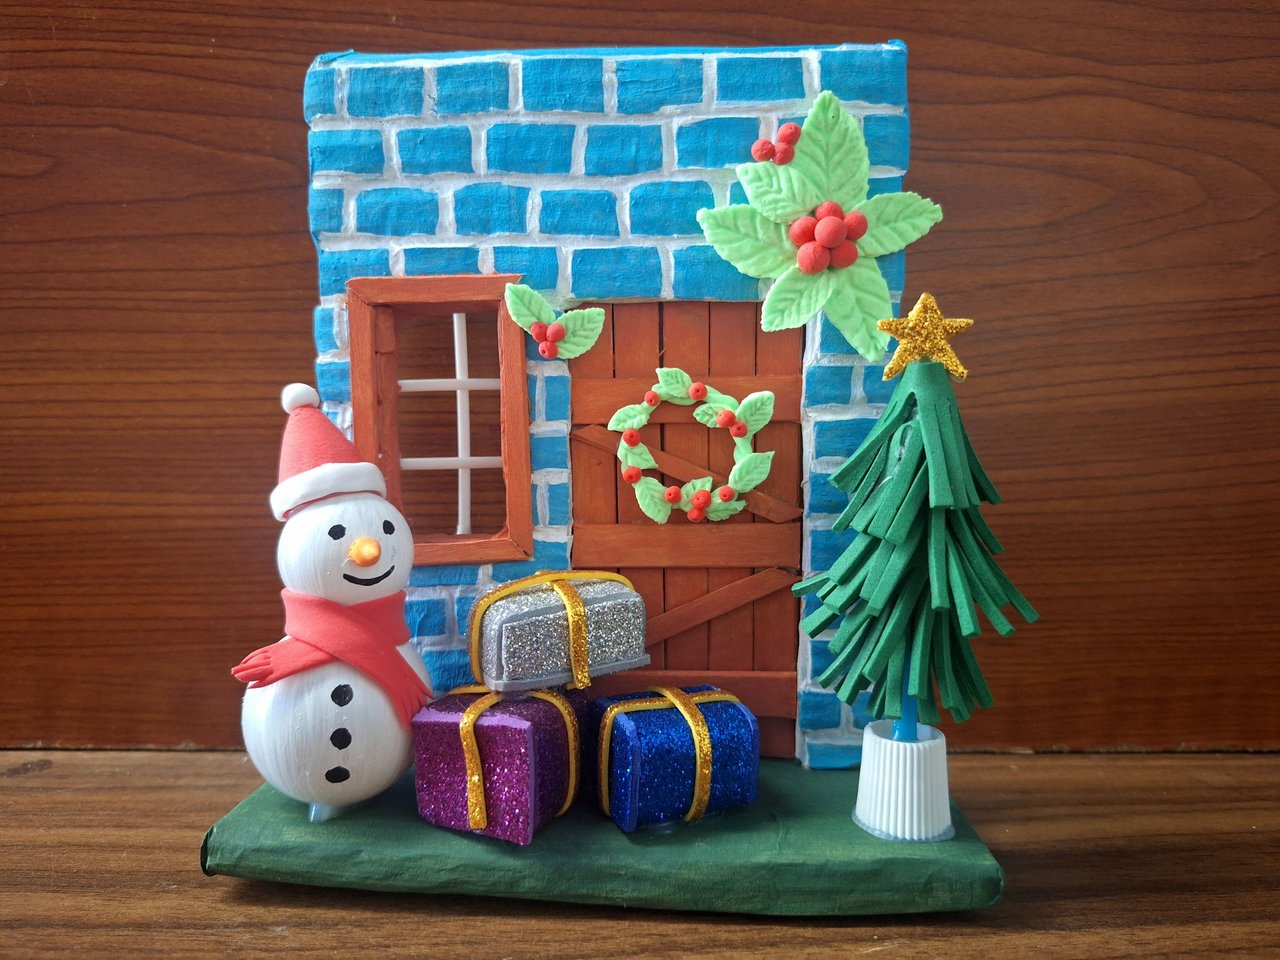
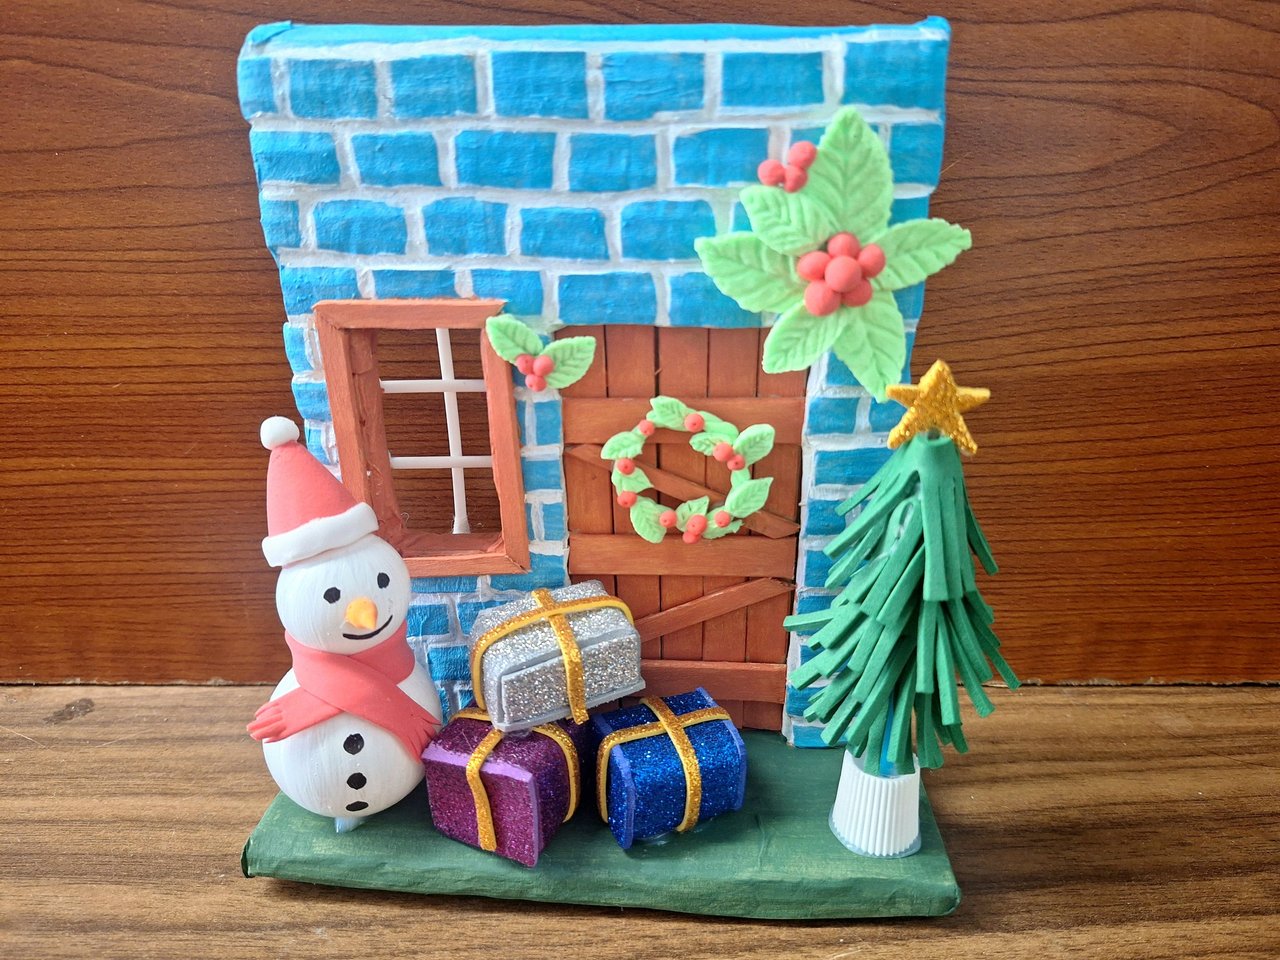
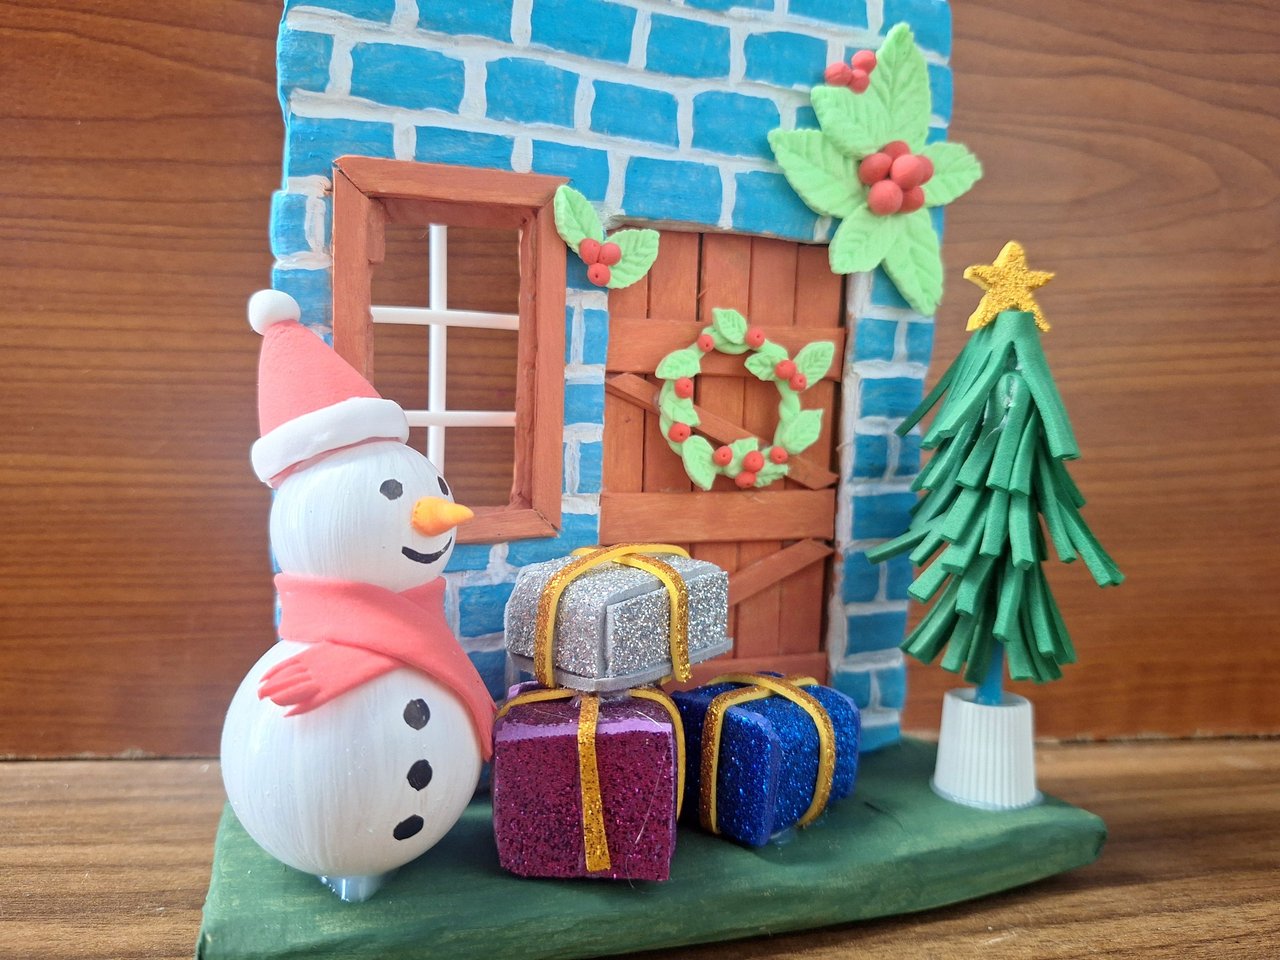
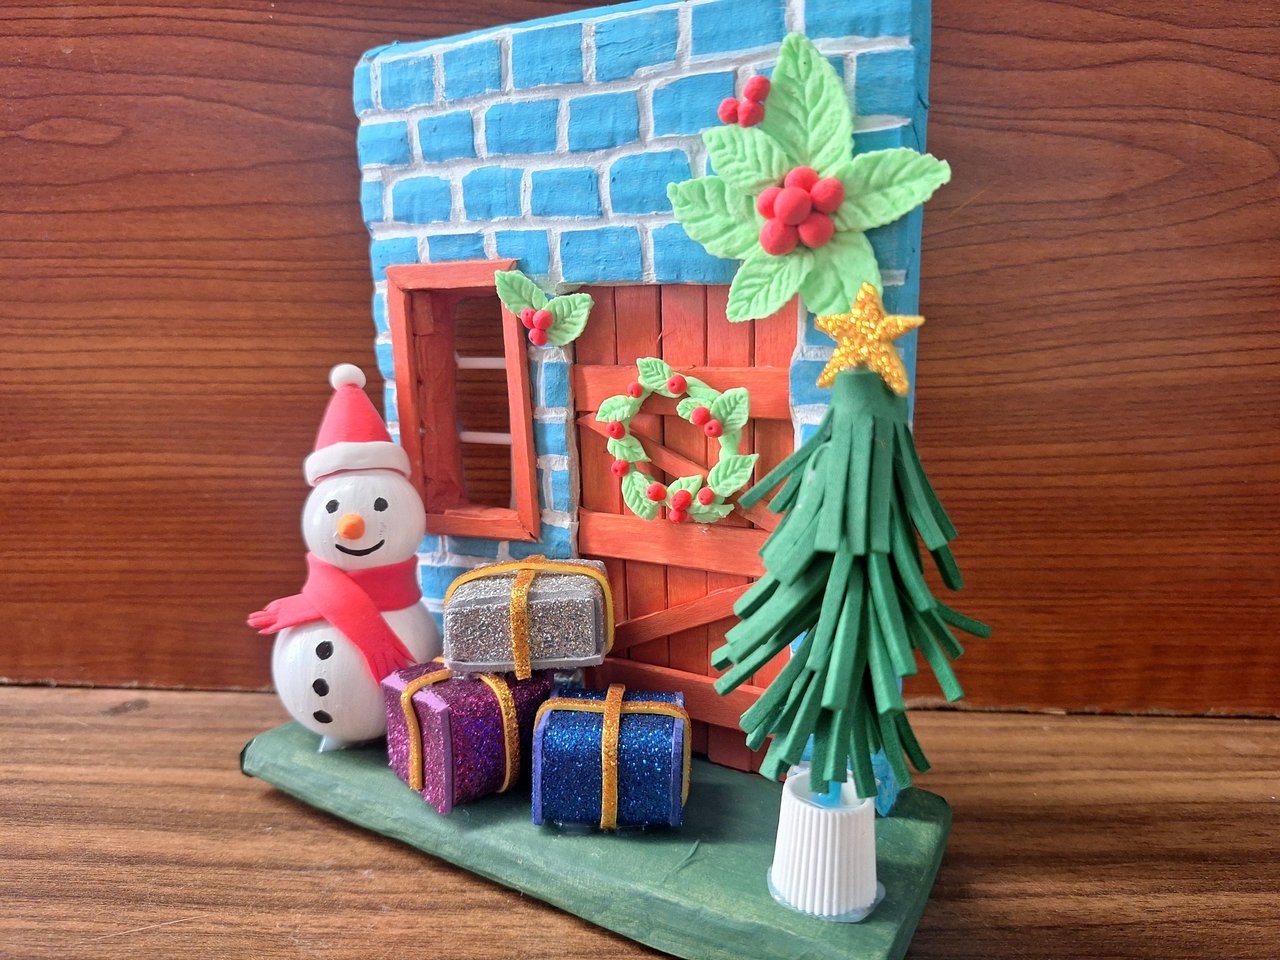
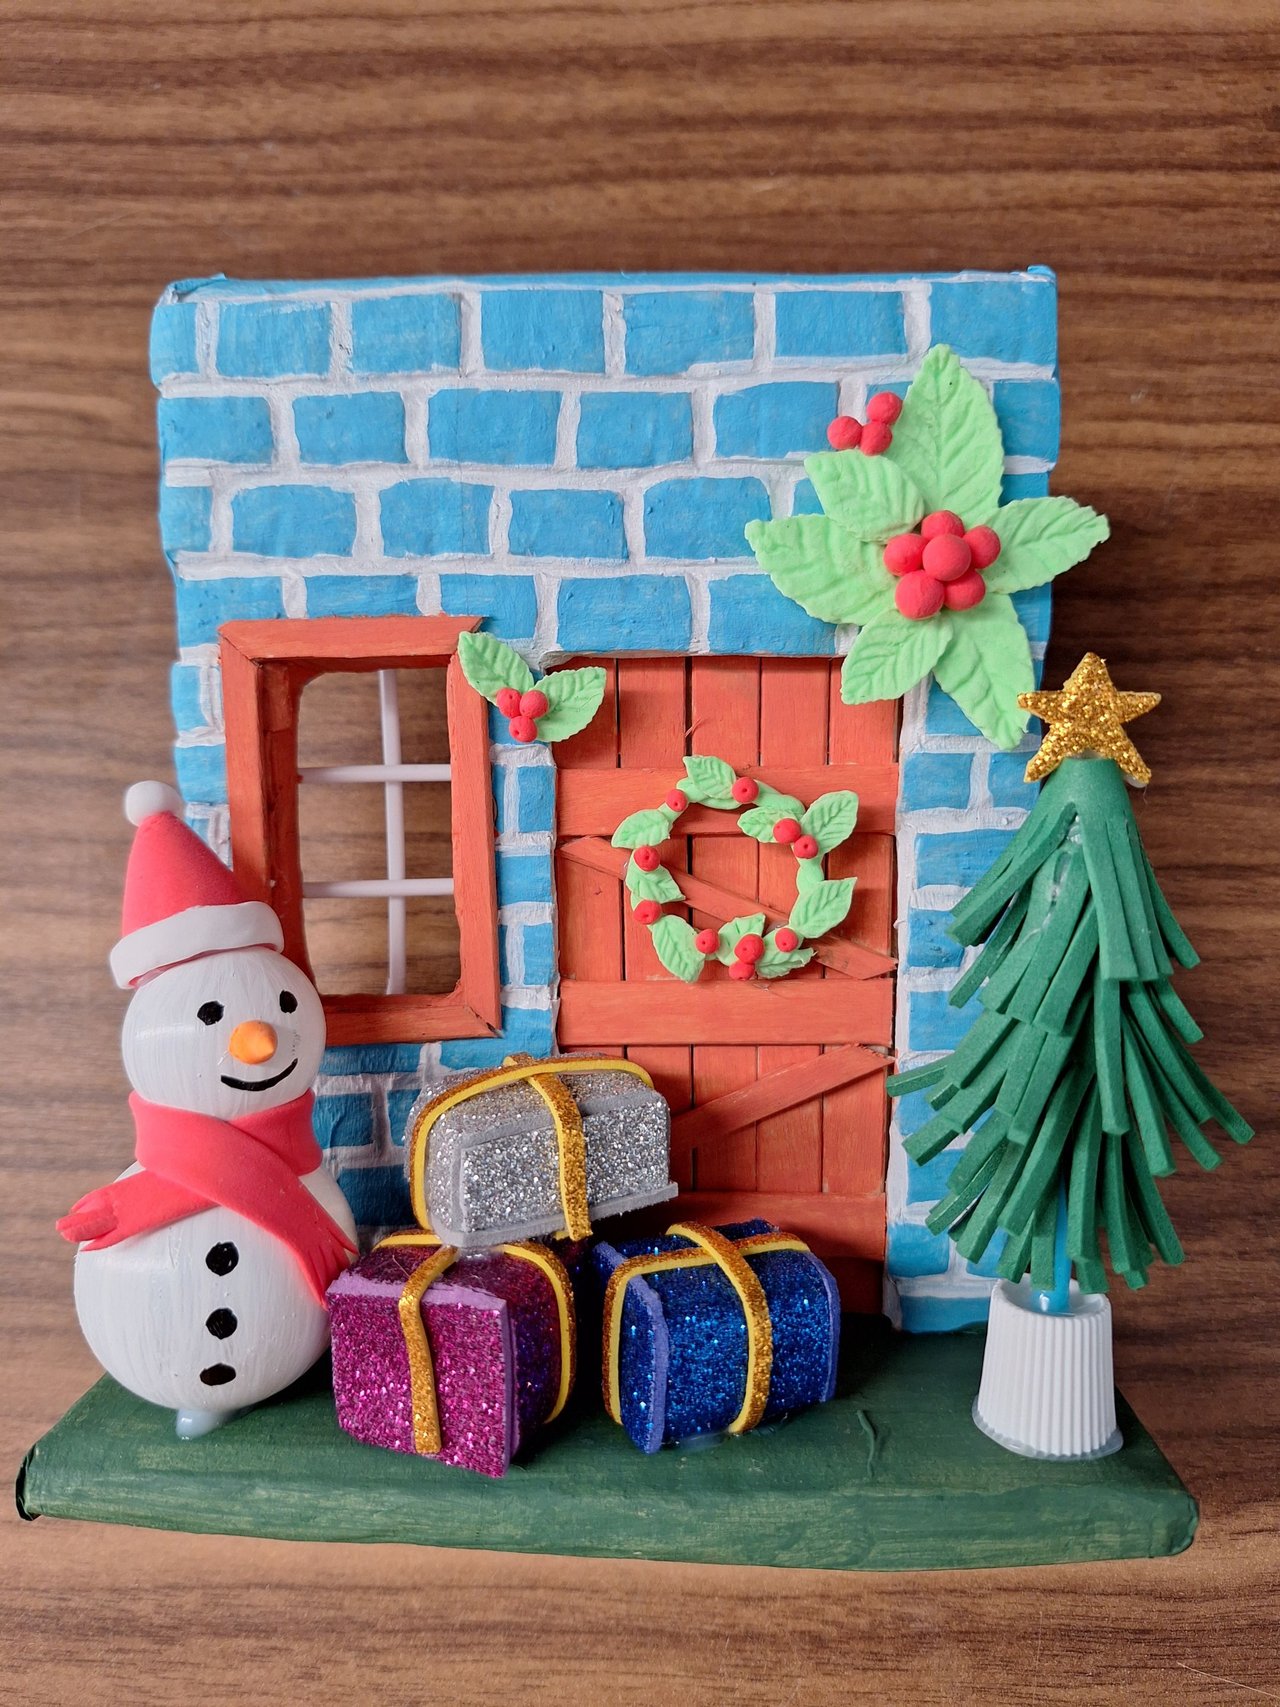
Hello, dear friend, lover of crafts. I am very attracted to dioramas, because I have seen too many designs in which I am always enchanted by the beauty that each miniature piece represents. I was motivated to make one and I want to share it with you. In this one I represent the typical Christmas scene full of ornaments, gifts and a snowman to give a more wintry touch. On the back you can see the facade of a rustic brick cabin, but with a little fantasy touch, since I changed the peculiar red color of the bricks for a light blue tone that makes it look cooler.
Mostly I used recycled materials, as I always keep objects that I am sure I can reuse and take advantage of them to create new decorations. I hope you like it. Below, I show you all the materials used and the step by step of the creative process.
Hola, querido amigo, amante de las manualidades. Me llaman la atención muchísimo los dioramas, pues he visto demasiados diseños en los que siempre quedo encantada por la belleza que representa cada pieza en miniatura. Me motivé a hacer uno y quiero compartirlo contigo. En este represento la típica escena navideña llena de adornos, regalos y un muñeco de nieve para dar un toque más invernal. En la parte posterior podrás apreciar la fachada de una cabaña rústica de ladrillos, pero con un pequeño toque fantasioso, ya que cambié el peculiar color rojo de los ladrillos por un tono azul claro que lo hace ver más fresco.
En su mayoría utilicé materiales reciclados, pues siempre guardo objetos que estoy segura, de que puedo volver a utilizar y aprovecharlos para crear nuevas decoraciones. Espero que te guste. A continuación, te muestro todos los materiales utilizados y el paso a paso del proceso creativo.
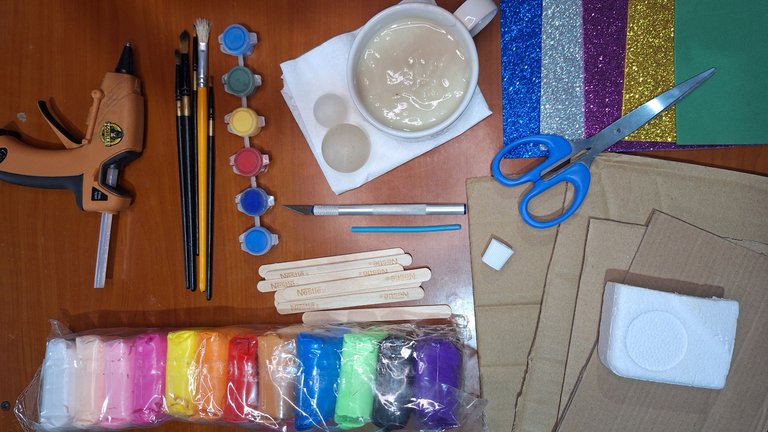
⛄️Materials // Materiales⛄️
- Recycled cardboard / Cartón reciclado
- Polyfoam / Poliespuma
- Wooden pallets / Paletas de madera
- Moldable Foami / Foami moldeable
- Frosted Foami of various colors / Foami escarchado de varios colores
- Liquid glue / Pegamento líquido
- Cooking paper / Papel de cocina
- Paint / Pintura
- Brushes / Pinceles
- Silicone / Silicona
- Cutter / Cúter
- Lollipop stick / Palo de chupa chups
- Toothpaste cap / Tapa de pasta dental
- Scissors / Tijera
- 2 deodorant balls of different sizes / 2 bolas de desodorante de diferente tamaño
⛄️Step by step // Paso a paso⛄️
 |
 |
 |
 |
 |
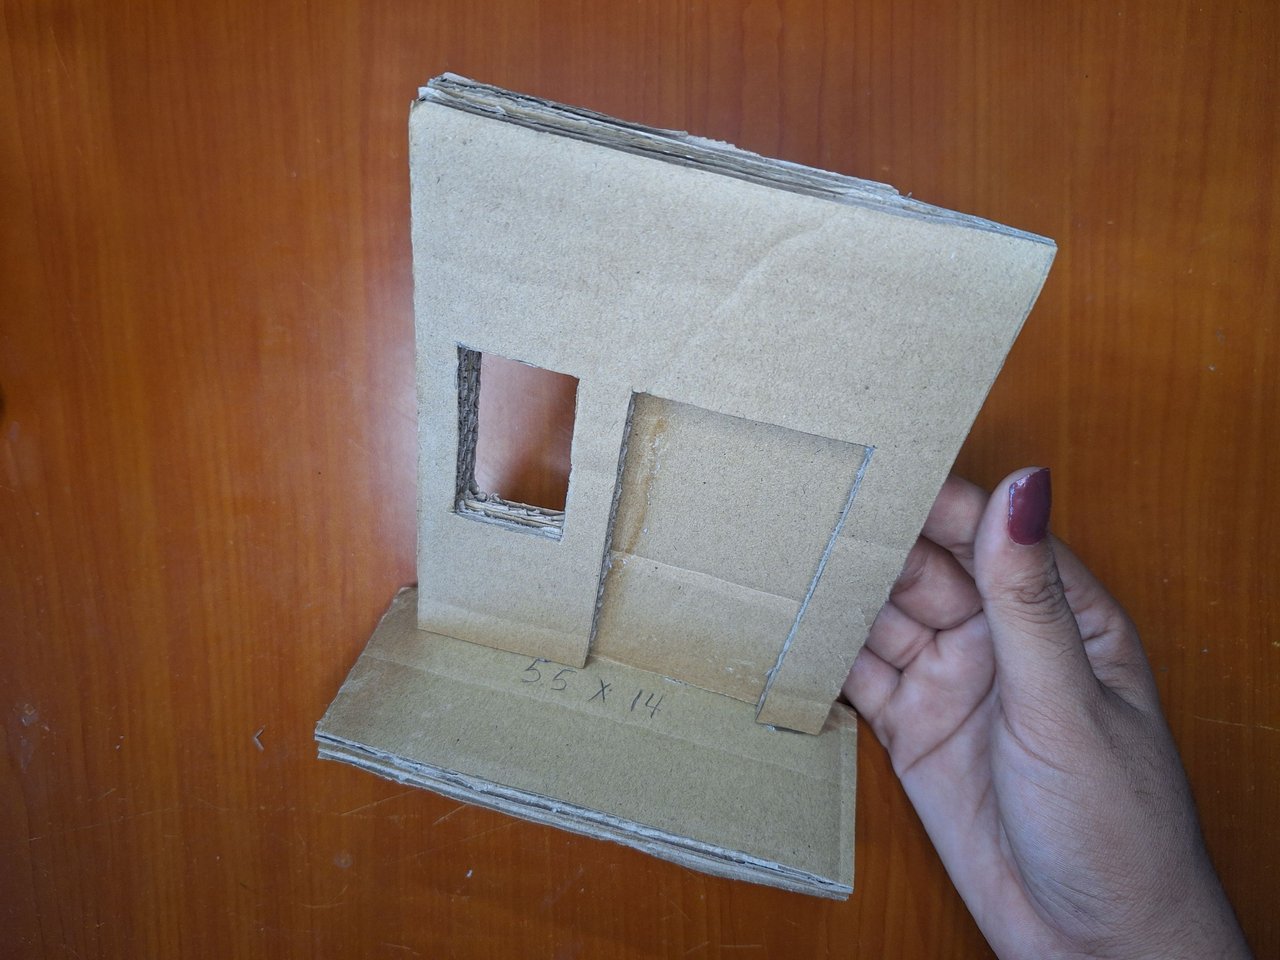 |
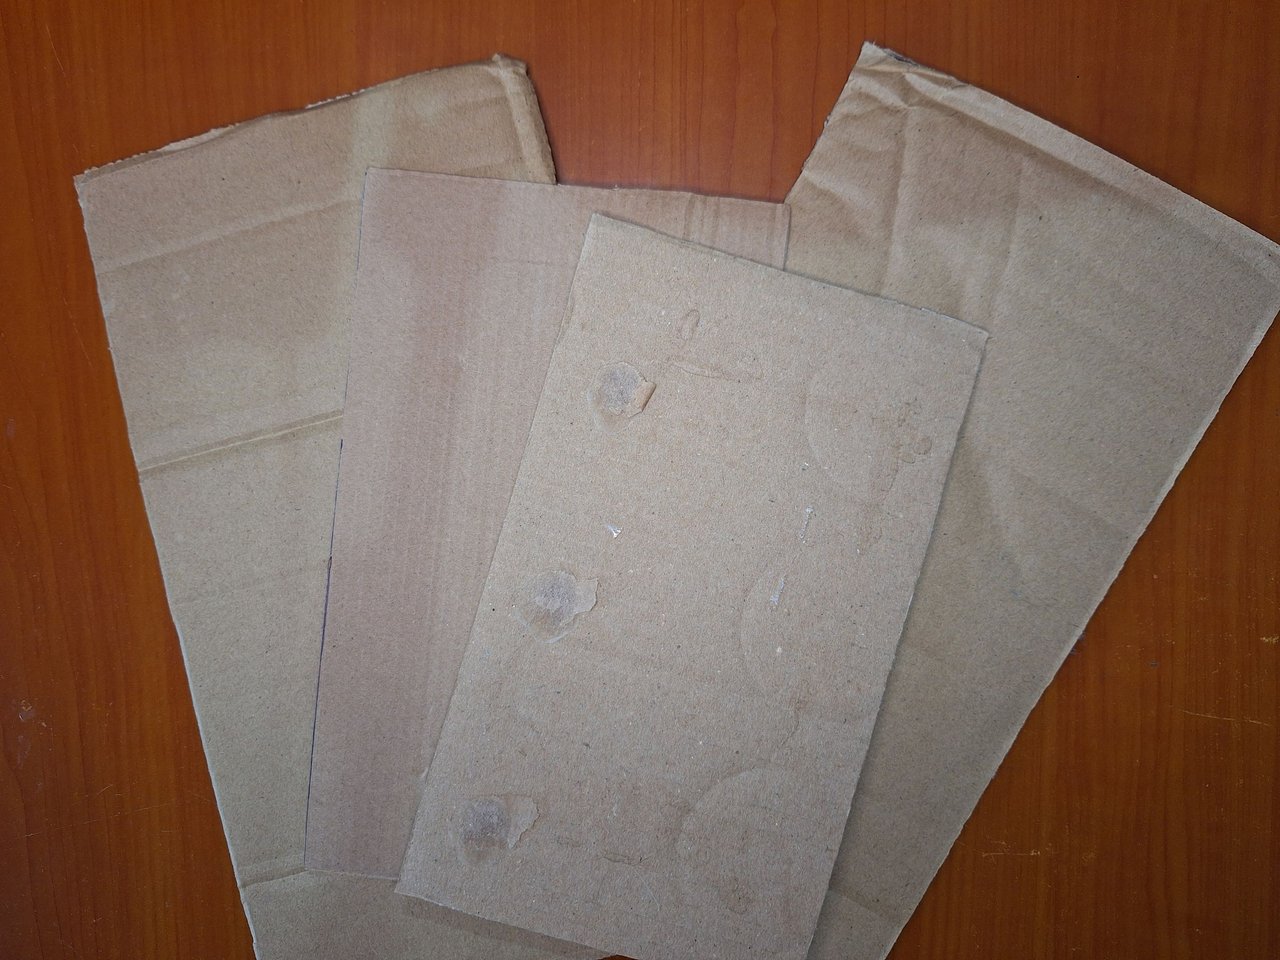
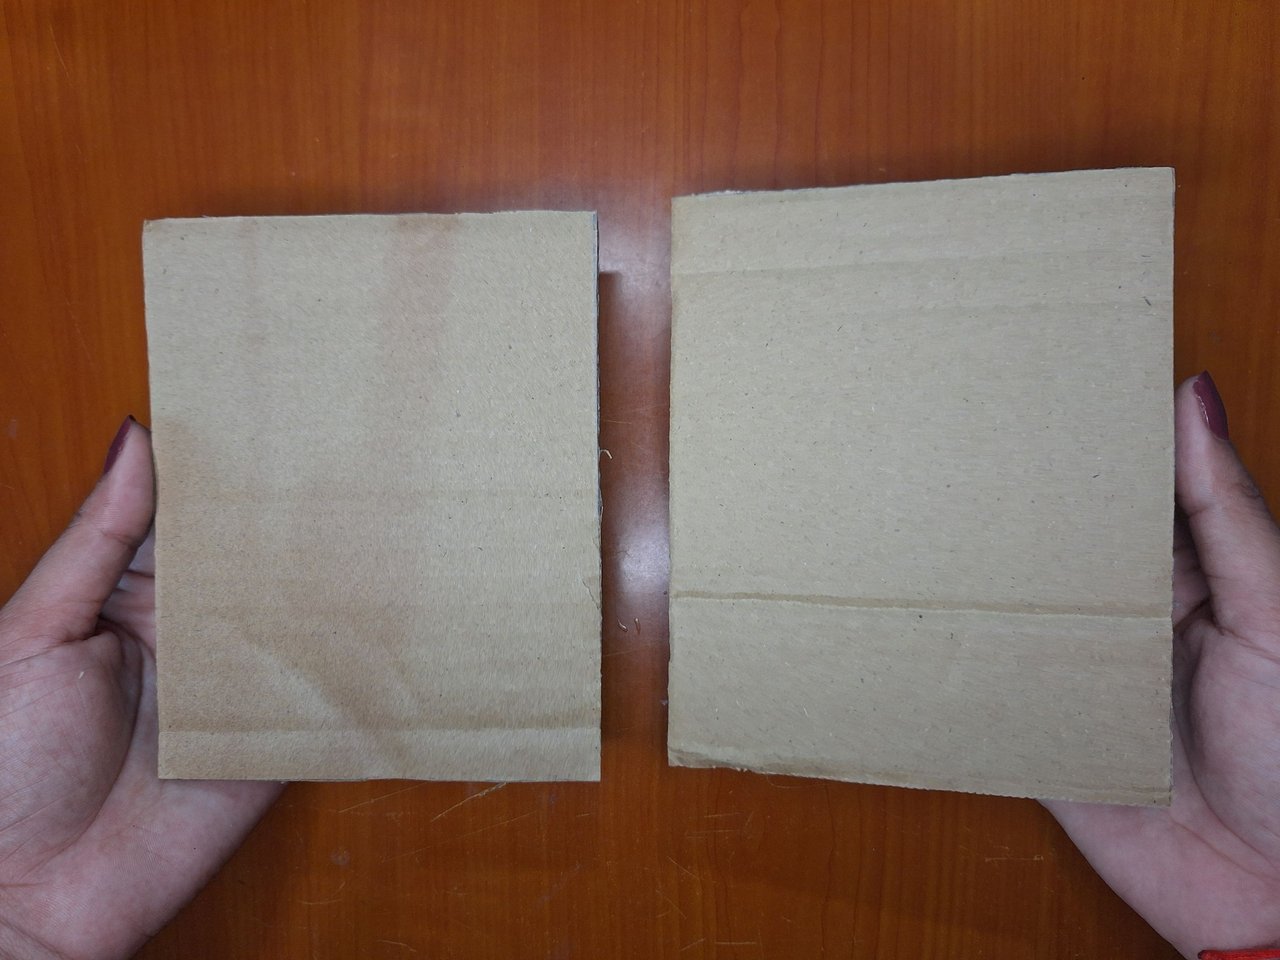
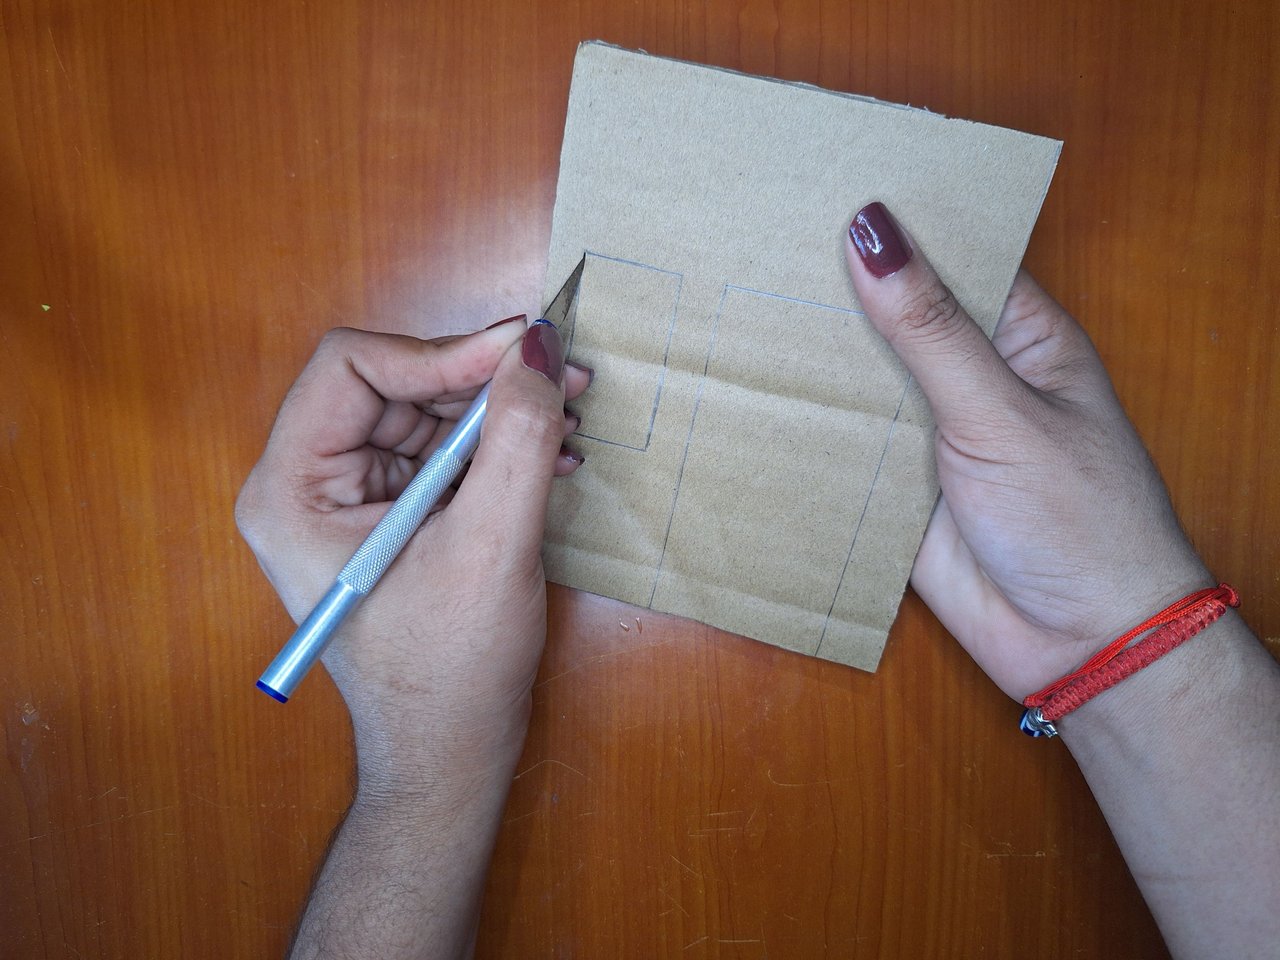
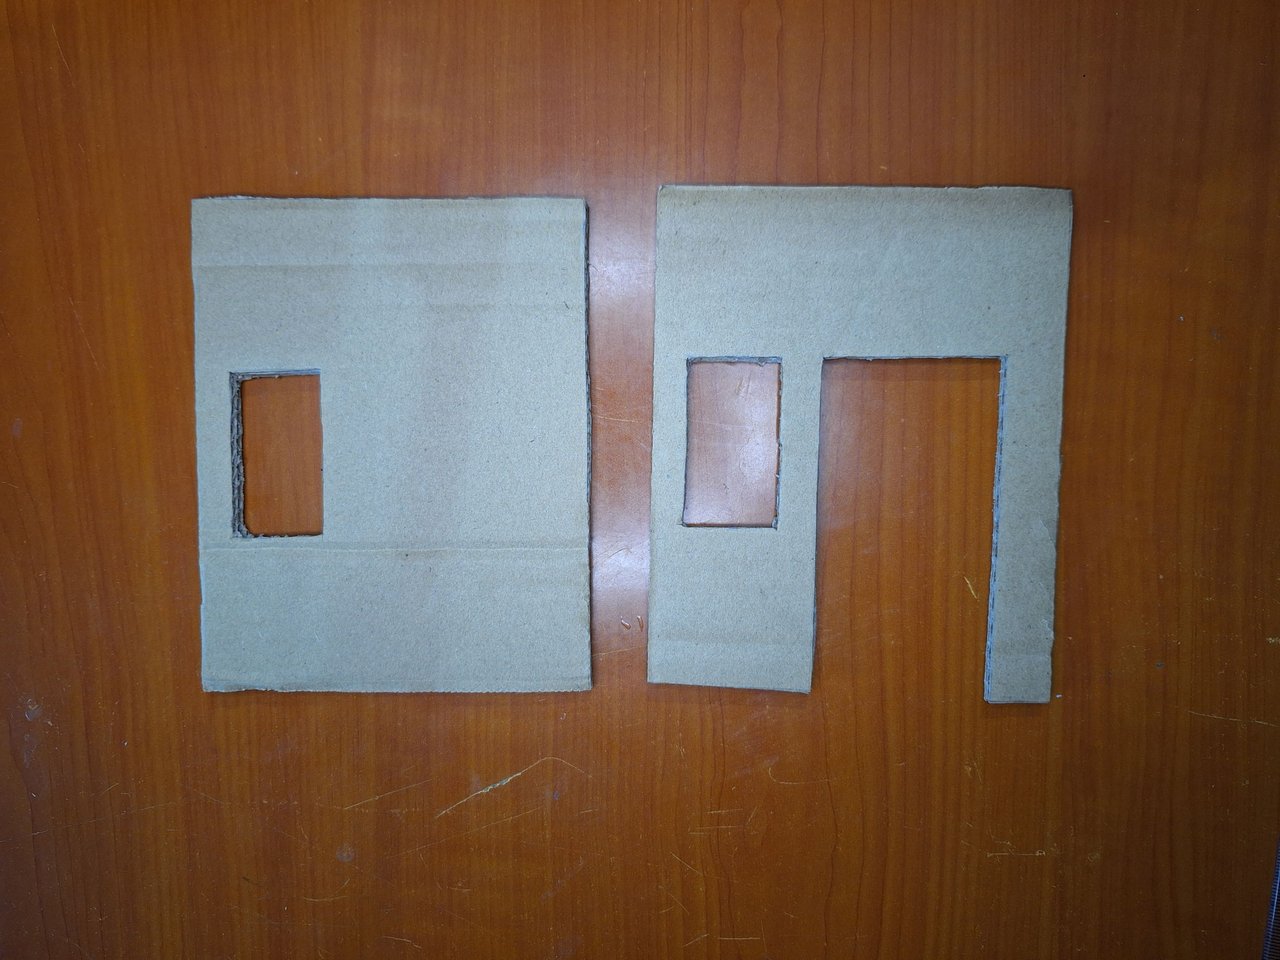
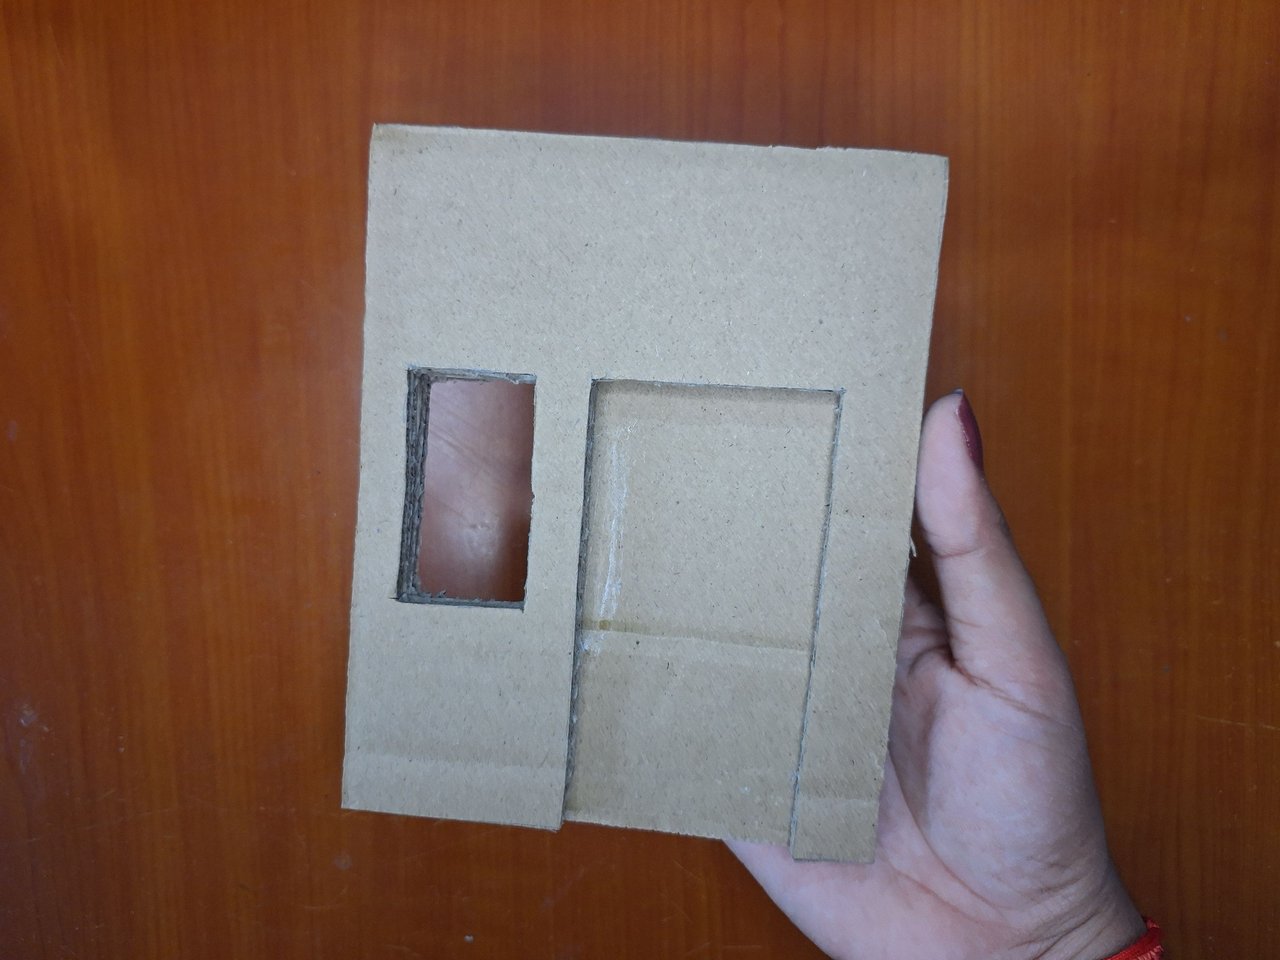
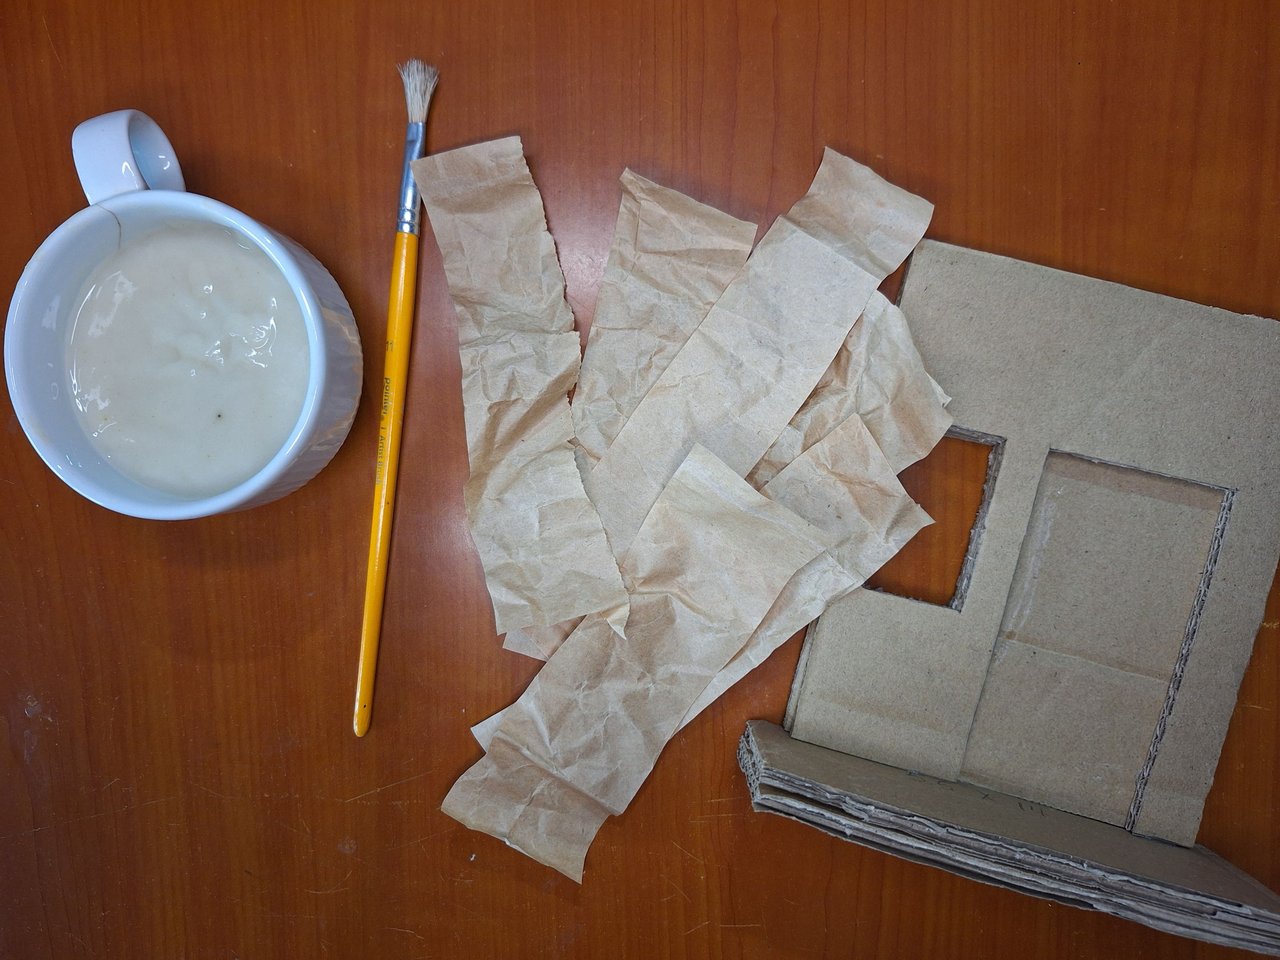
You can use recycled cardboard to make the base, although another option could be polystyrene. On thick cardboard, mark a rectangle measuring 12 cm x 15 cm and cut two identical pieces. On one piece, trace the silhouette of a door and a window and cut with a cutter. Then place the two rectangles one on top of the other, and mark the silhouette of the window on the back cardboard so that it is right in the same place and also cut it. The two pieces are glued together, as shown in the pictures. For the base, cut two rectangles measuring 5.5 cm x 14 cm and place one on top of the other to give it more height.
Puedes utilizar cartón reciclado para elaborar la base, aunque otra opción puede ser la poliespuma. En cartones gruesos, marcar un rectángulo con las medidas 12 cm x 15 cm y cortar dos piezas idénticas. En una pieza trazar la silueta de una puerta y una ventana y cortar con un cúter. Luego colocas los dos rectángulos uno encima de otro, y marcas la silueta de la ventana en el cartón trasero para que quede justo en el mismo lugar y también se corta. Quedando de esta forma que te muestro en las imágenes, se pegan las dos piezas. Para la base, cortar dos rectángulos con las medidas 5.5 cm x 14 cm y se coloca uno encima del otro para darle más altura.
 |
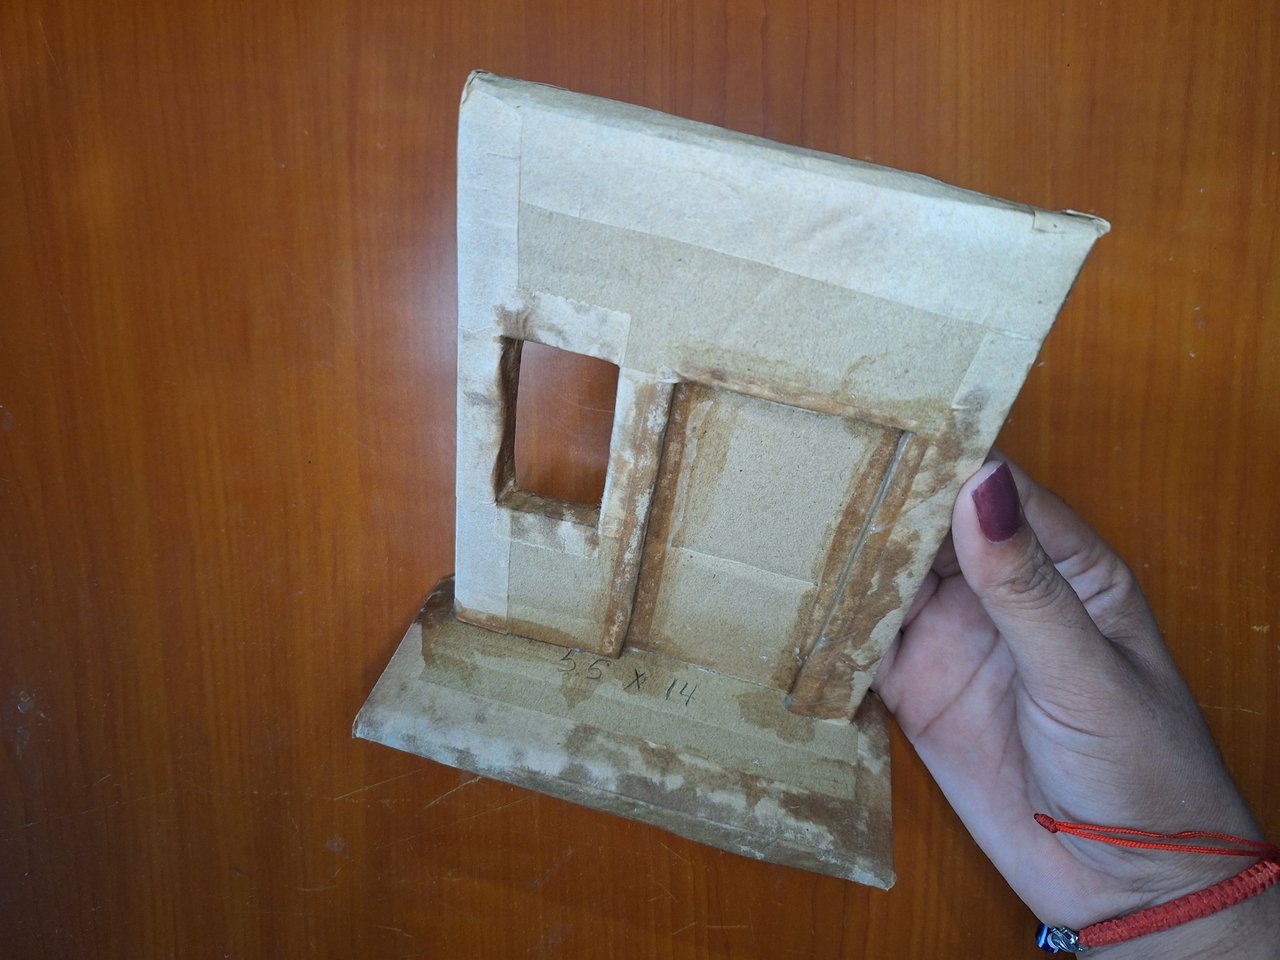 |
Using cartridge paper or a regular sheet of paper and liquid glue, cover all the edges of the cardboard to cover imperfections so that all the layers of cardboard do not show through. This will make it look neater.
Con papel cartucho o una hoja normal y pegamento líquido, tapar todos los bordes del cartón para tapar las imperfecciones y que no se muestren todas las capas de este. Esto hará que se vea más pulcro.
 |
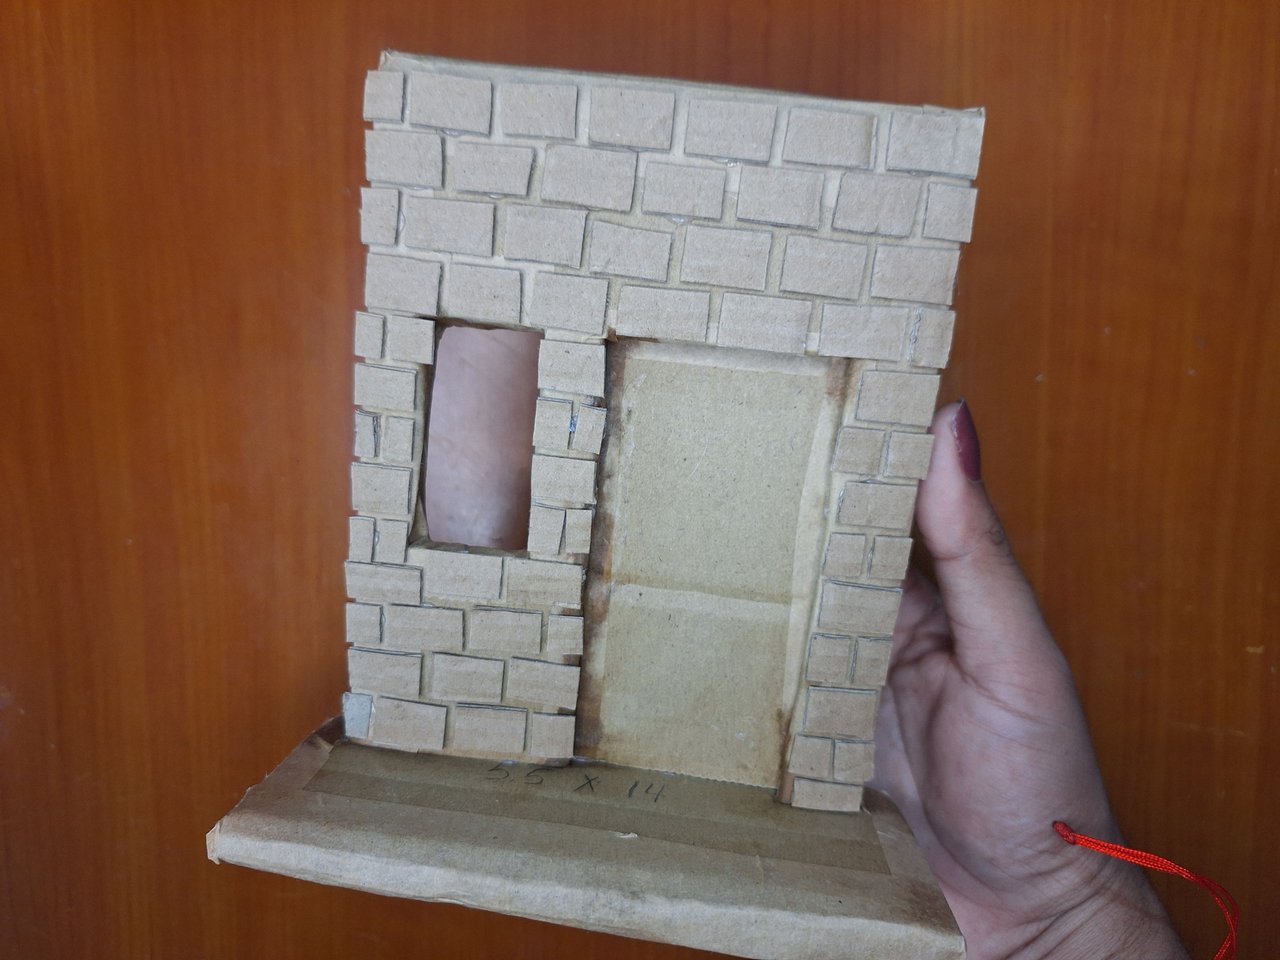 |
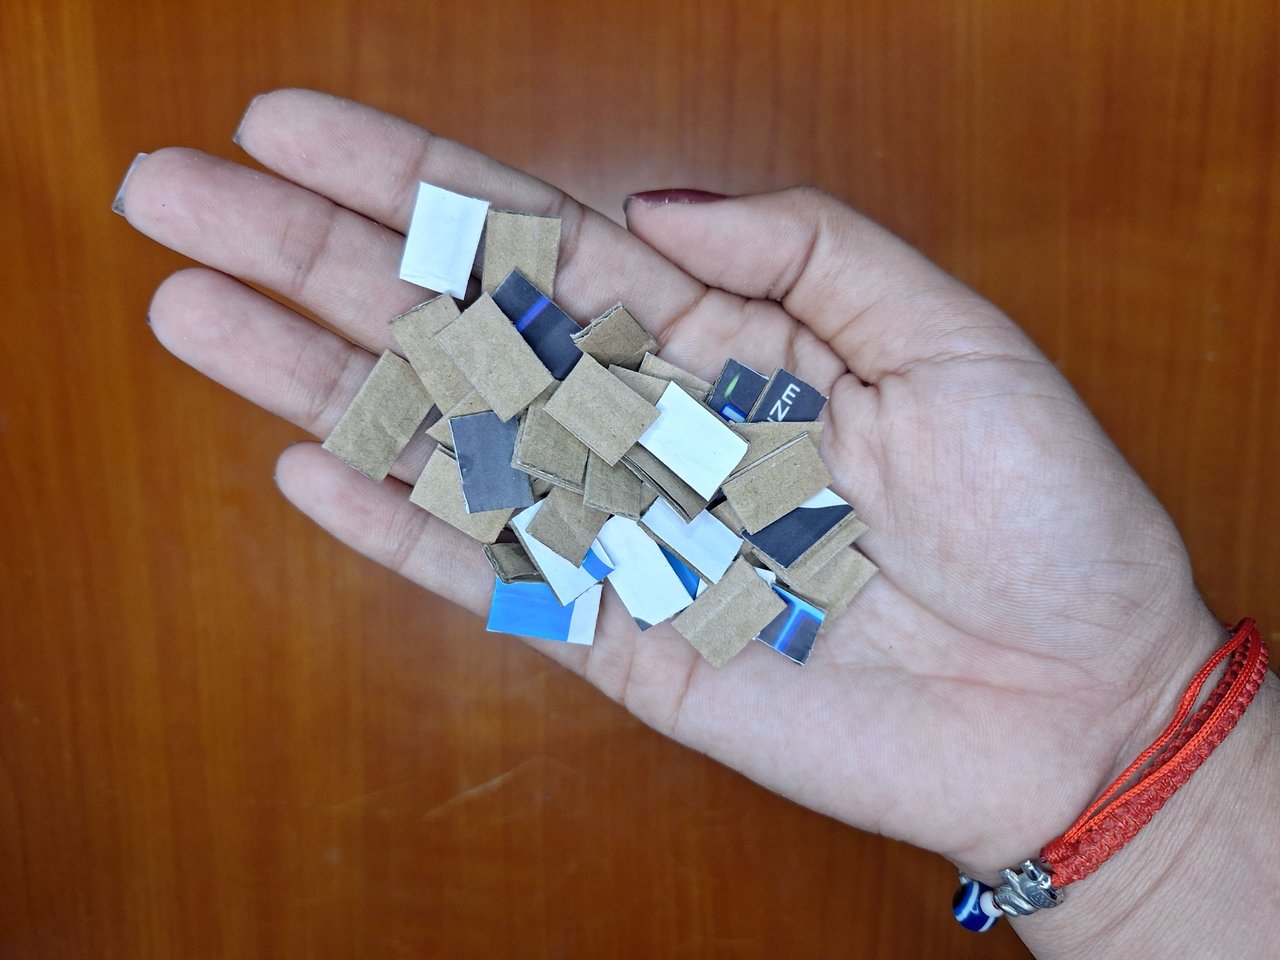
With thinner cardboard, cut small rectangles about 1 cm wide and place them on the entire surface as if they were bricks.
Con un cartón más delgado, picar pequeños rectángulos de 1 cm aproximadamente de ancho y colocar en toda la superficie como si fueran ladrillos.
 |
|
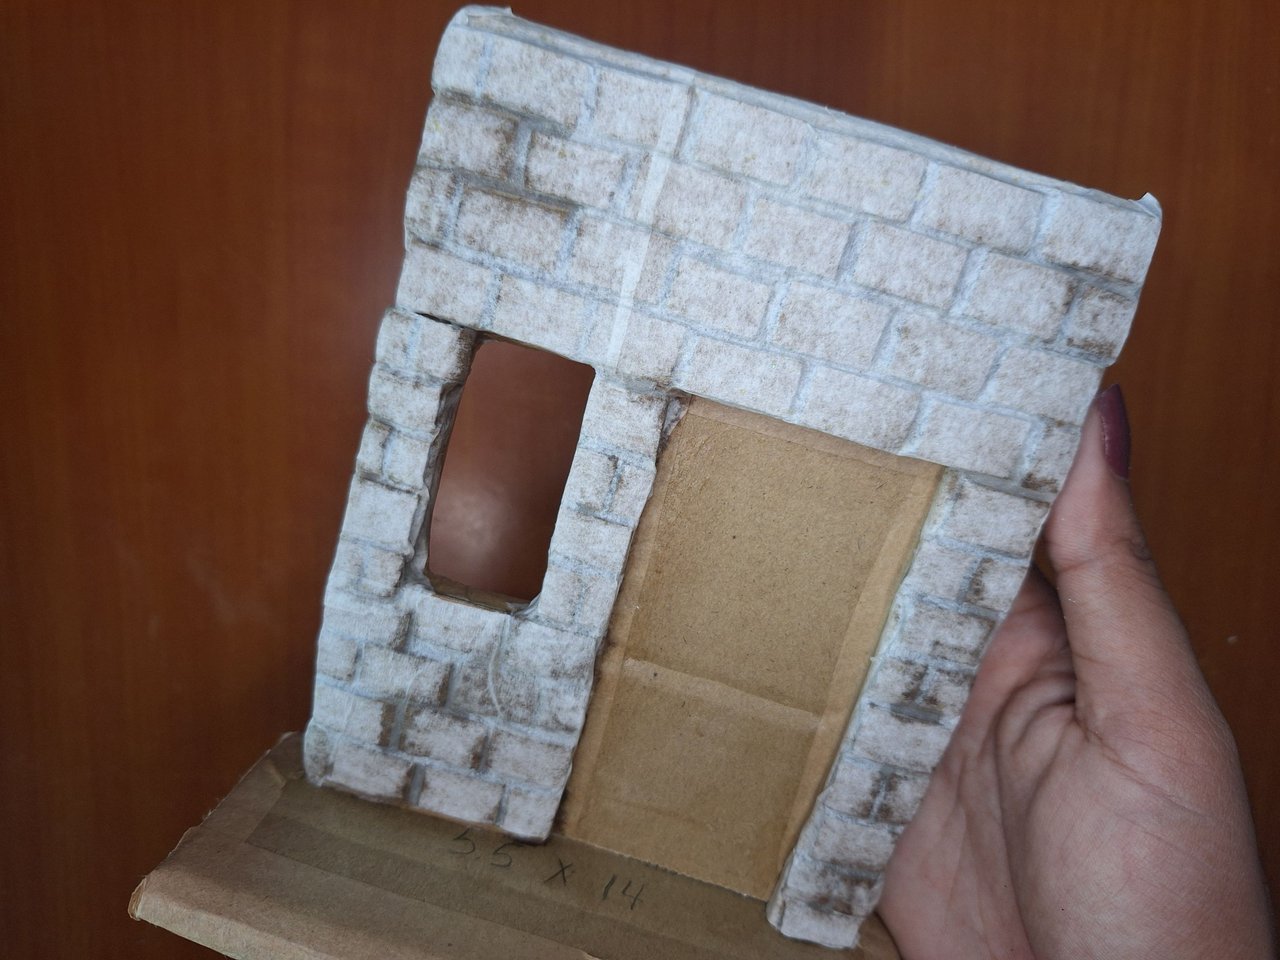 |
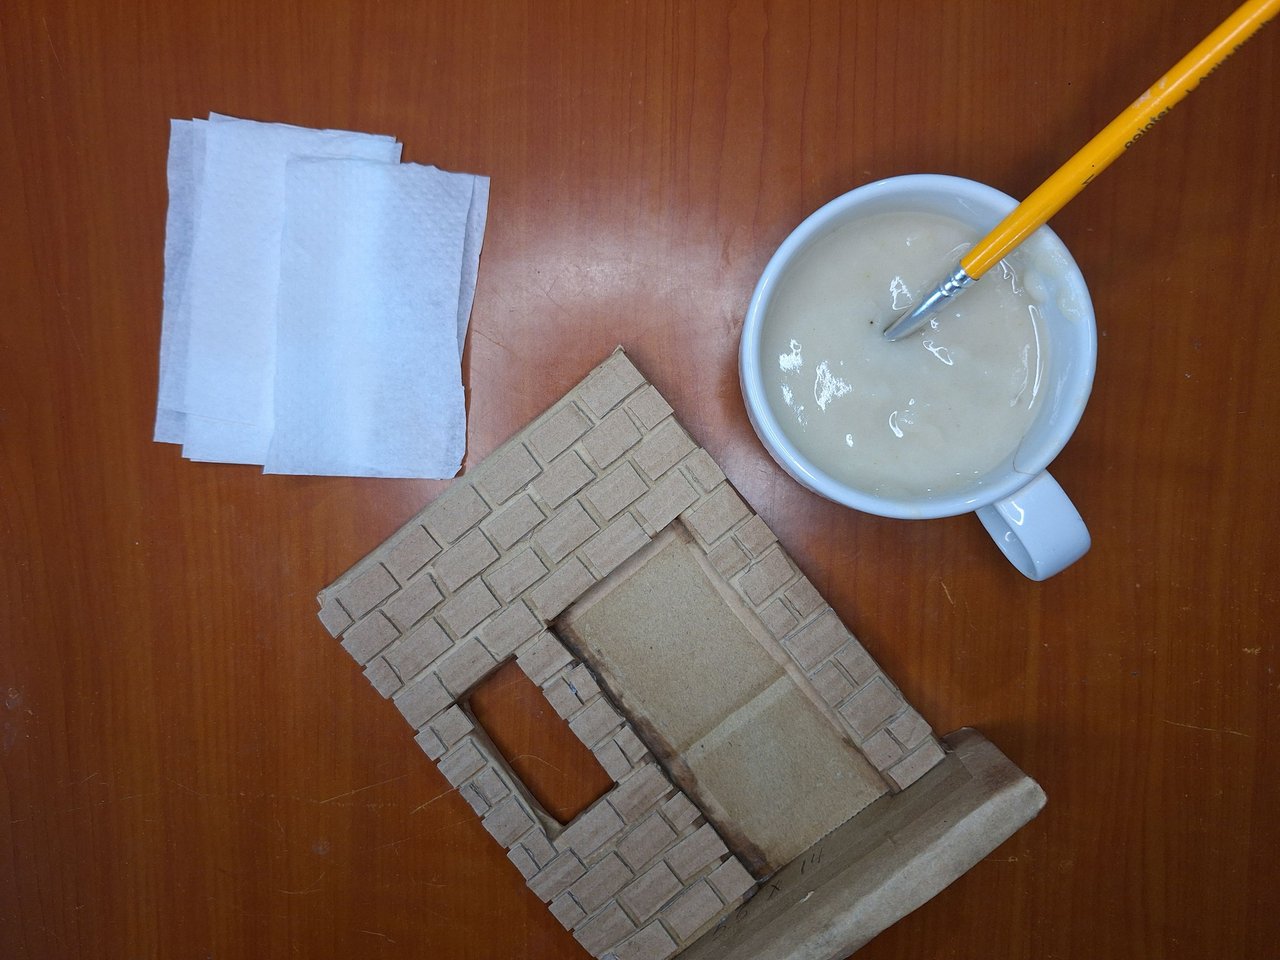
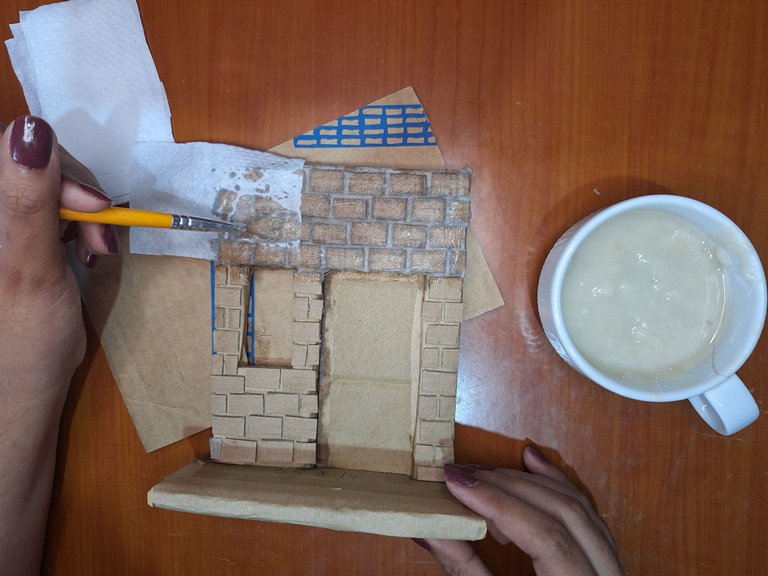
Paper the entire surface of the bricks with kitchen paper and liquid glue, this will make it stronger, the bricks take another texture and look much better. A single layer of paper is enough, then let it dry.
Empapelar toda la superficie de los ladrillos con papel de cocina y pegamento líquido, esto hará que se fortalezca, los ladrillos tomen otra textura y se vea mucho mejor. Con una sola capa de papel es suficiente, luego dejar secar.
 |
 |
 |
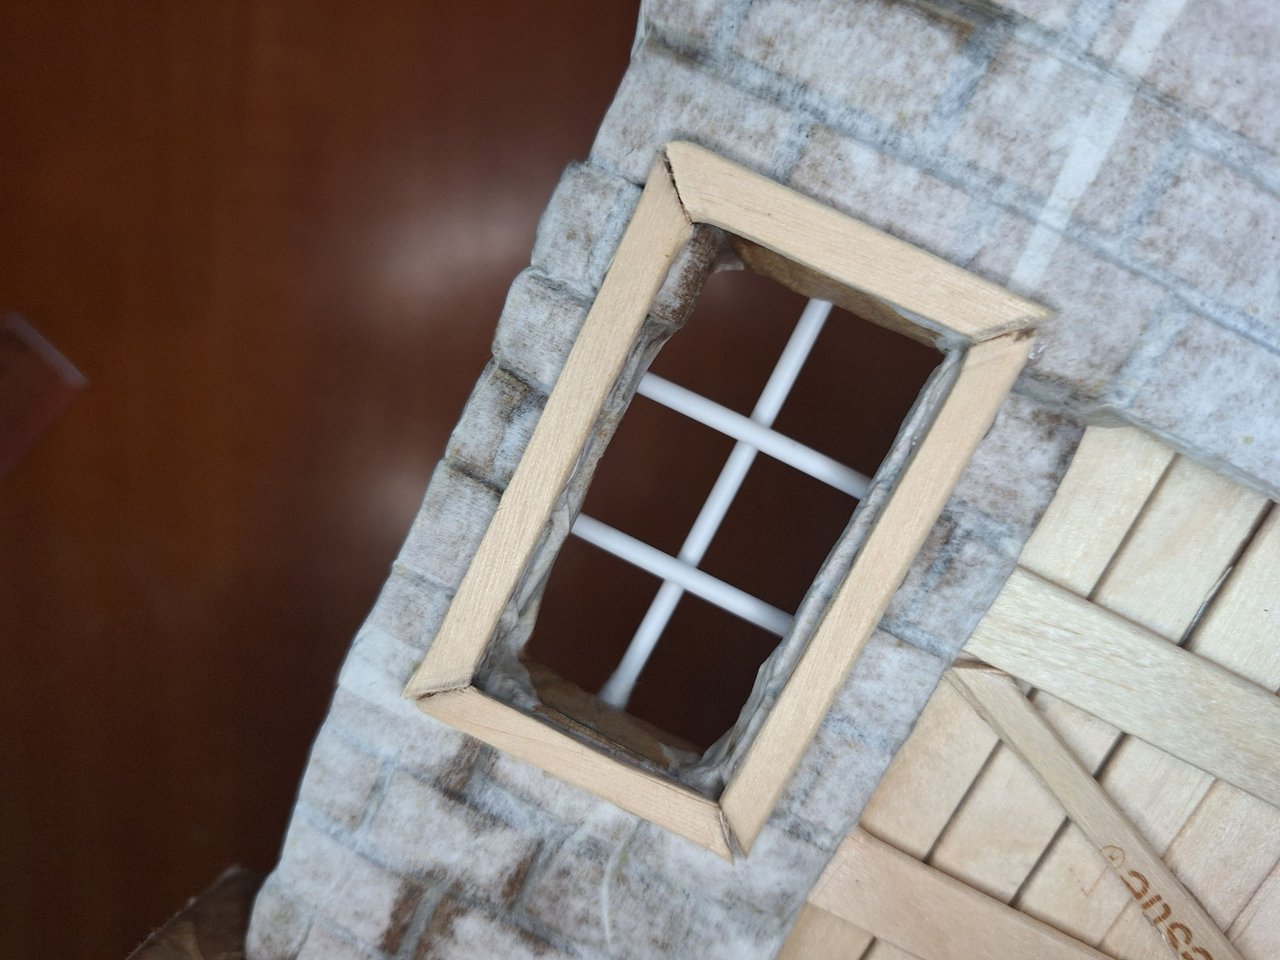 |
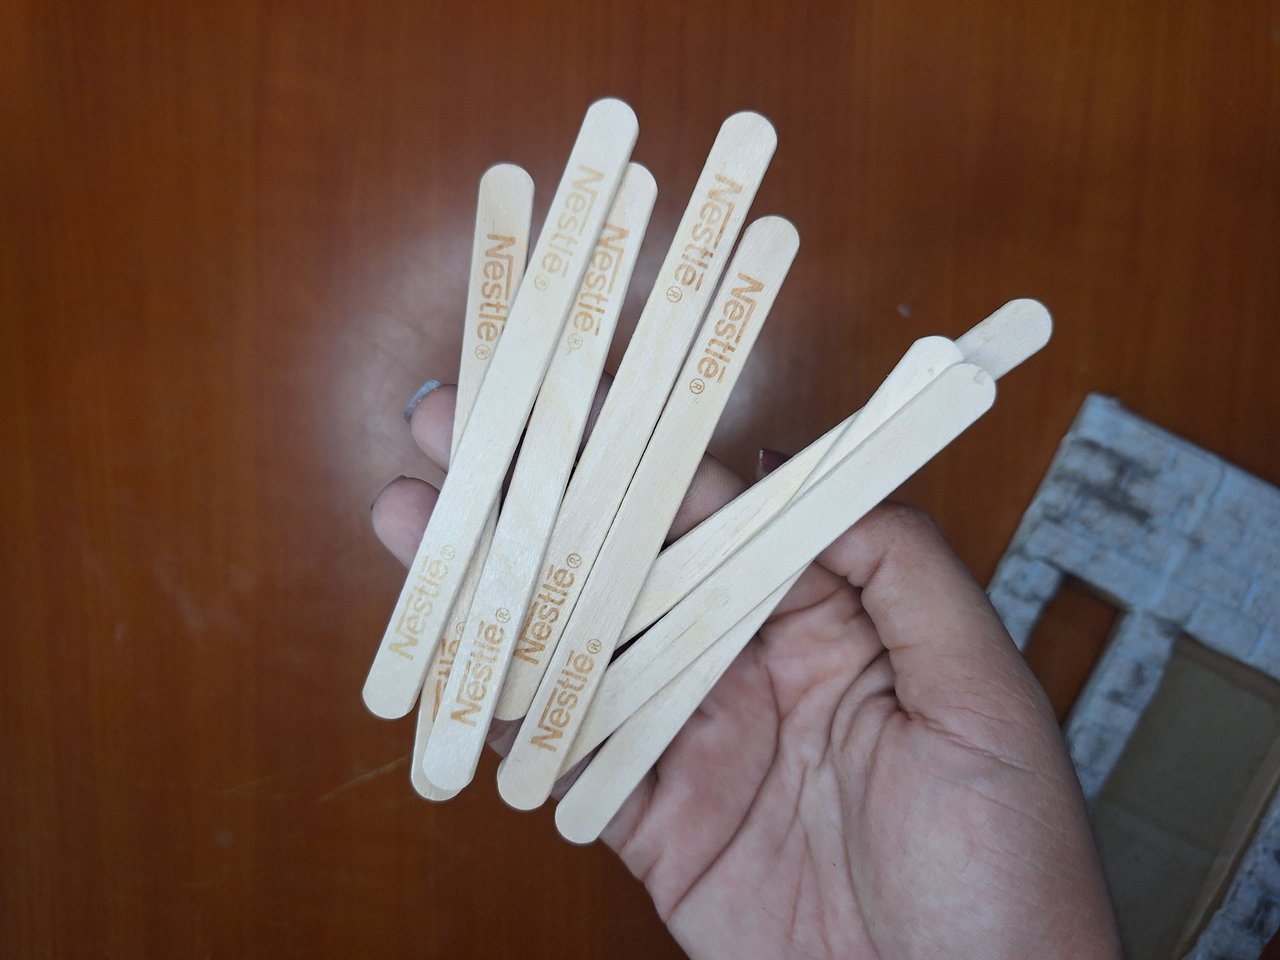
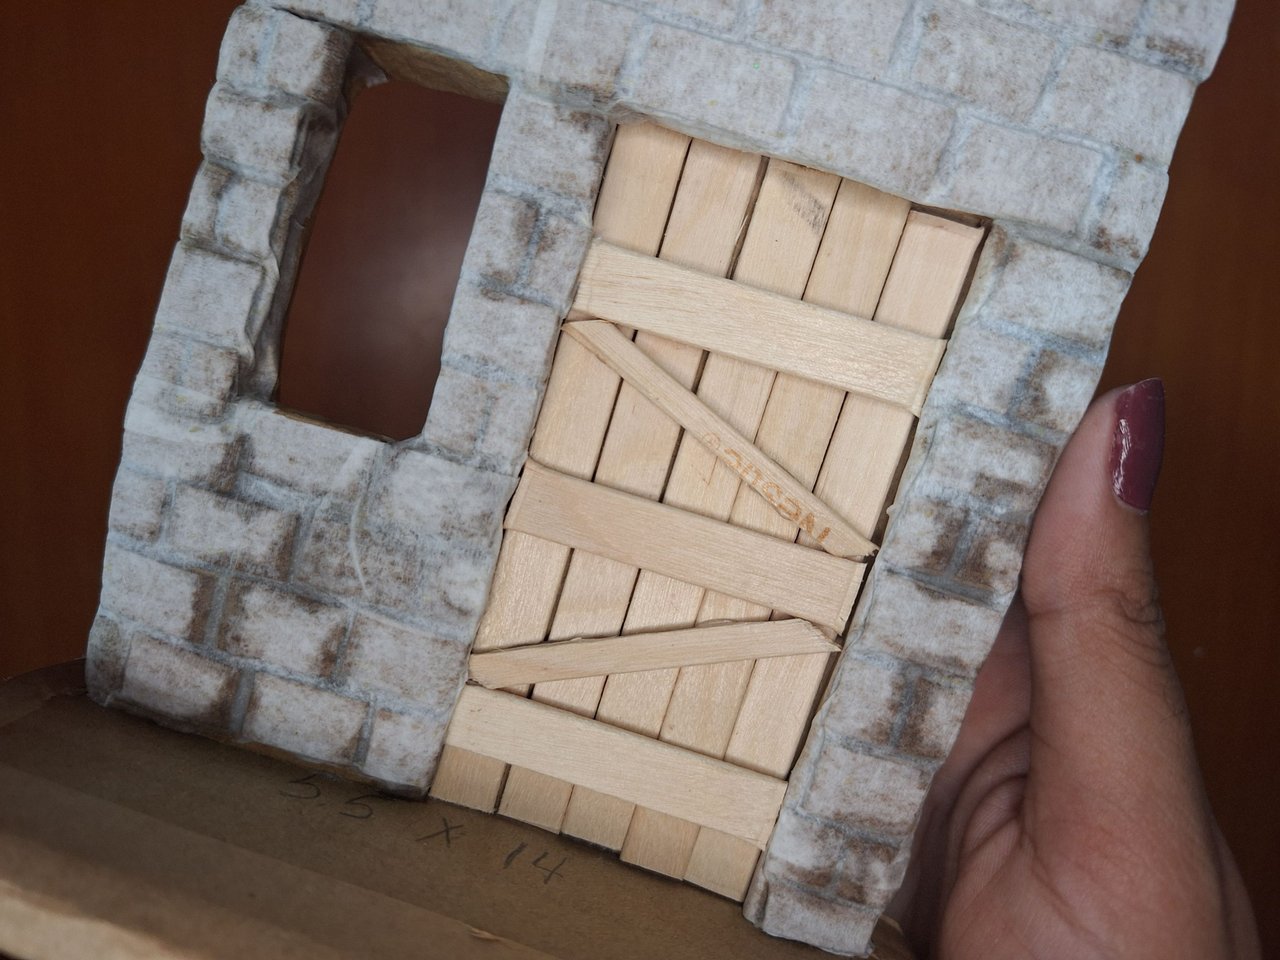
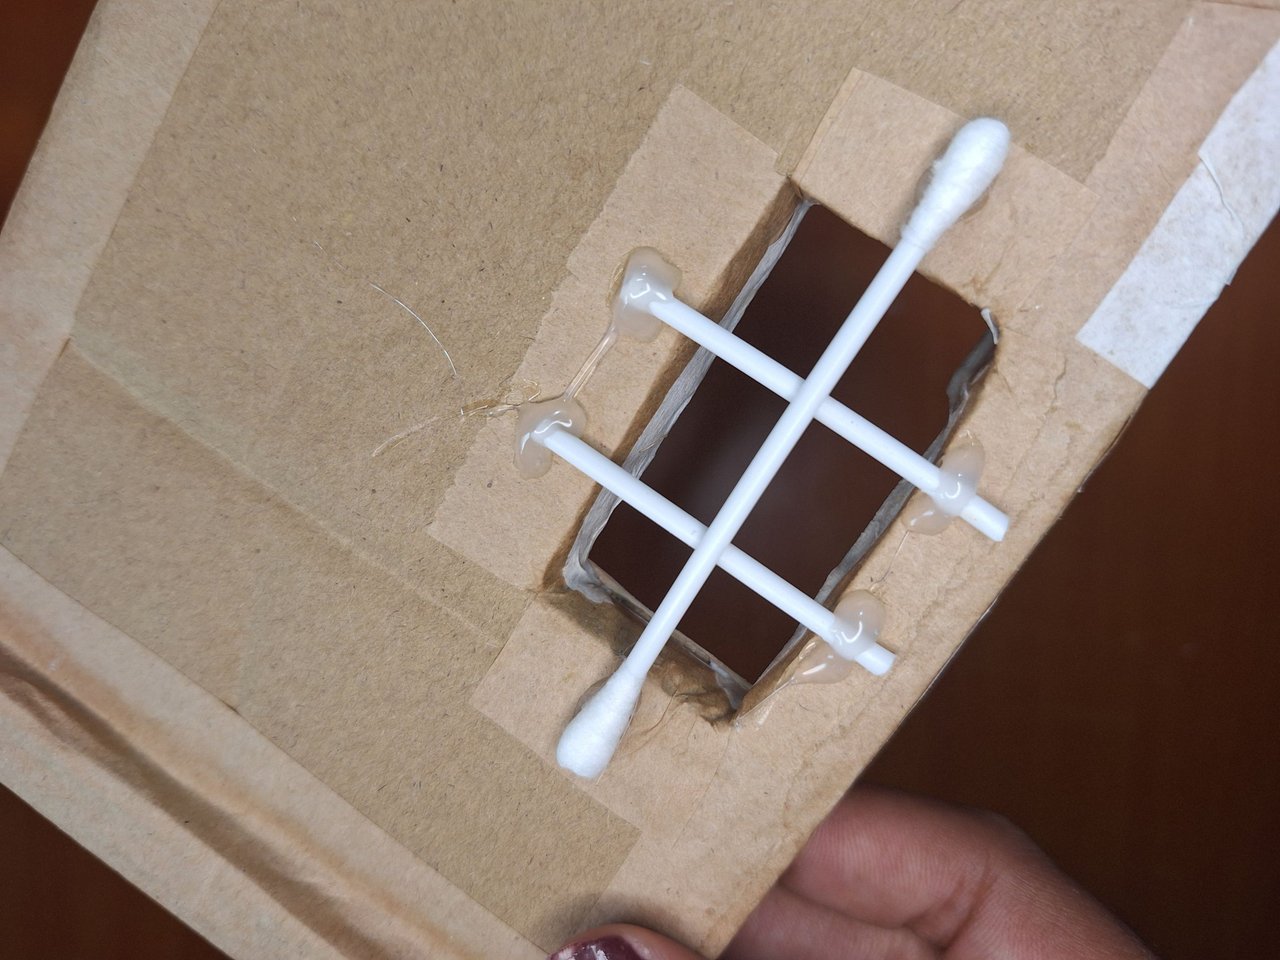
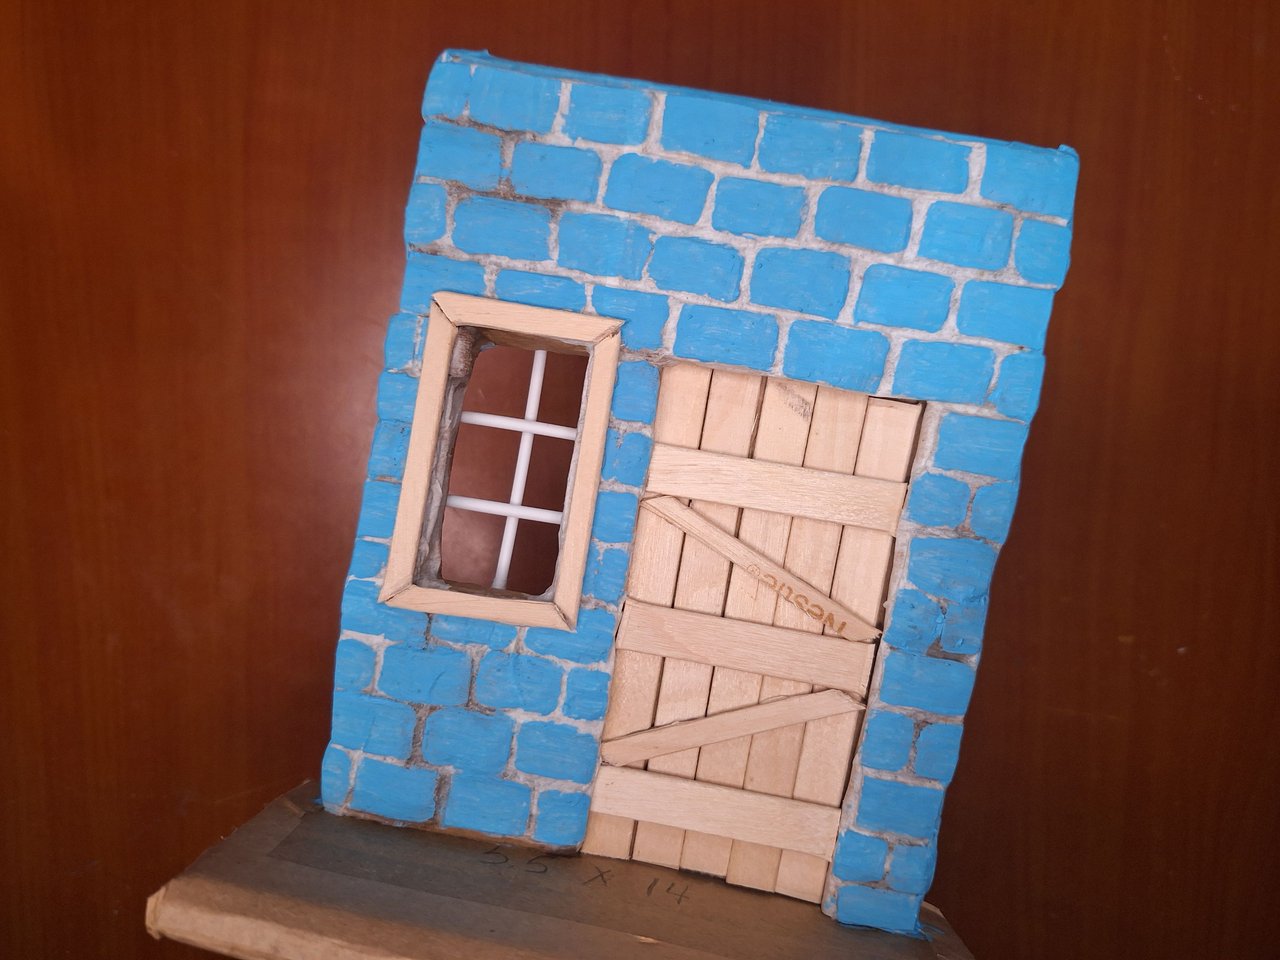
With wooden pallets that I have been saving I made the door and the window frame, I even had to chop them in half because I could not reach them. Even so, I had to use ear swabs for the inside of the window.
Con paletas de madera que he ido guardando elaboré la puerta y el marco de la ventana, incluso tuve que picarlas por la mitad porque no me alcanzaban. Aun así me vi en la necesidad de utilizar hisopos para los oídos para el interior de la ventana.
 |
 |
 |
 |
 |
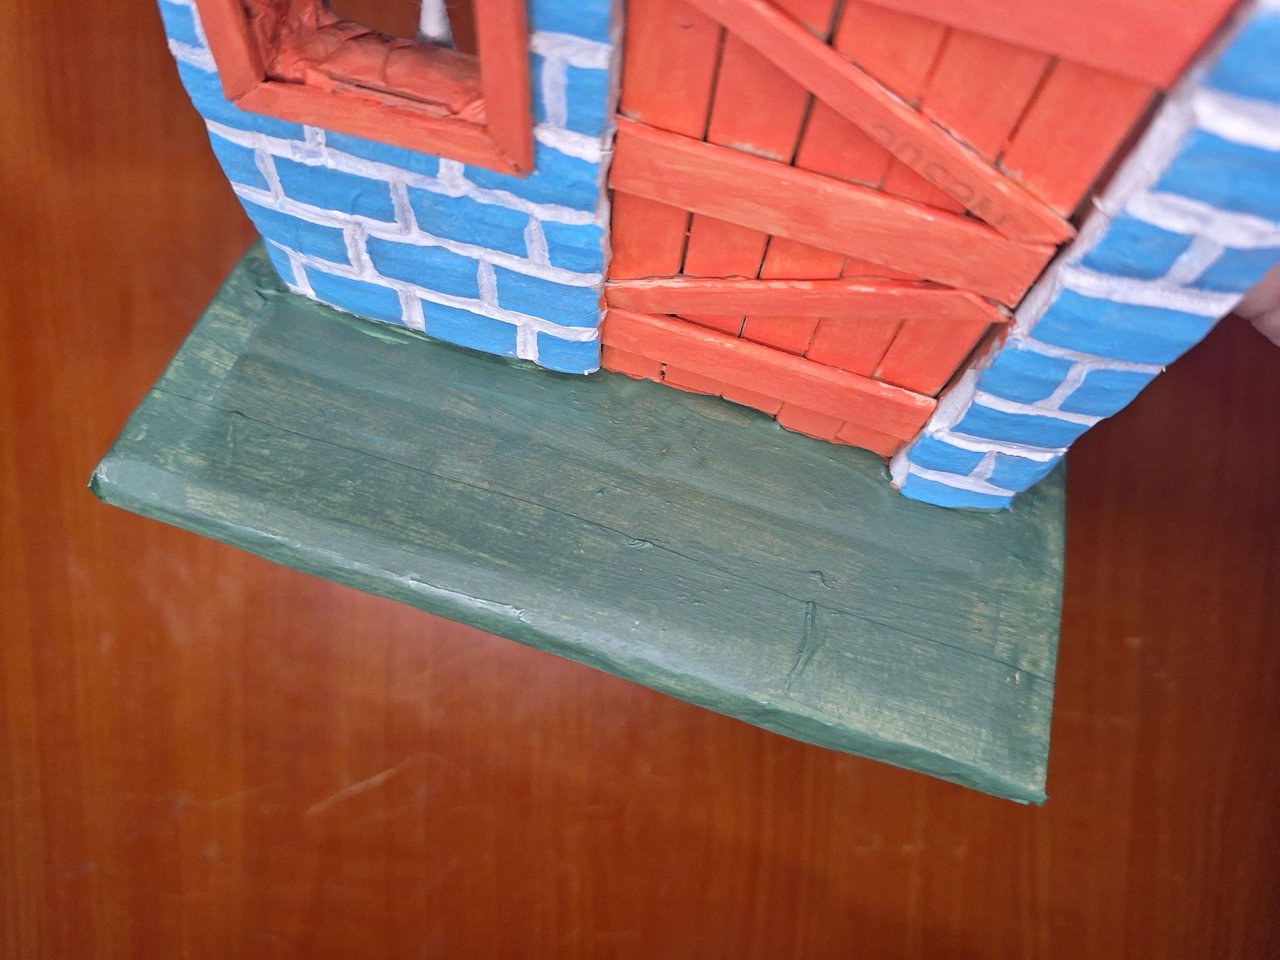 |
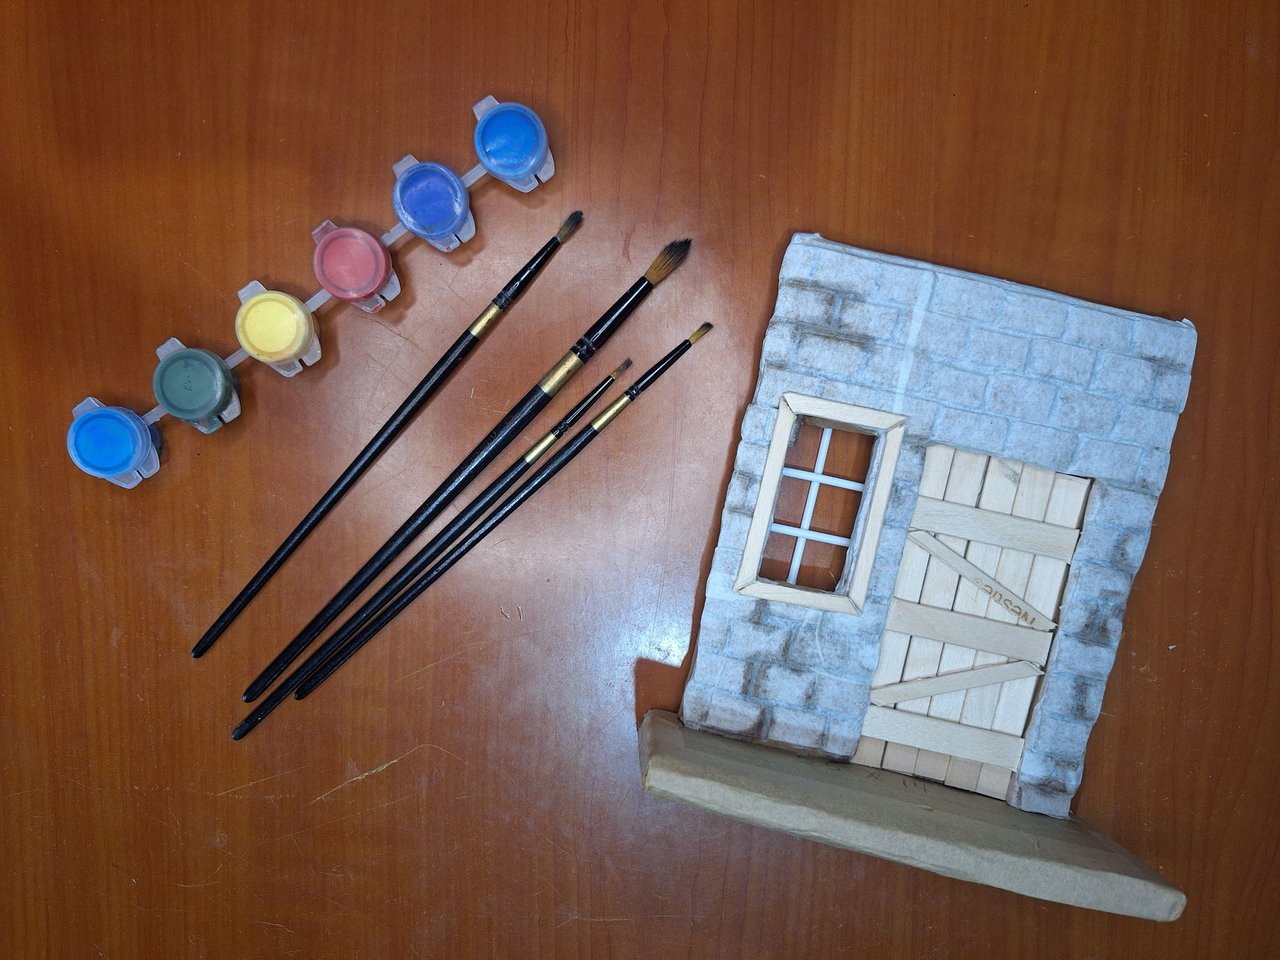
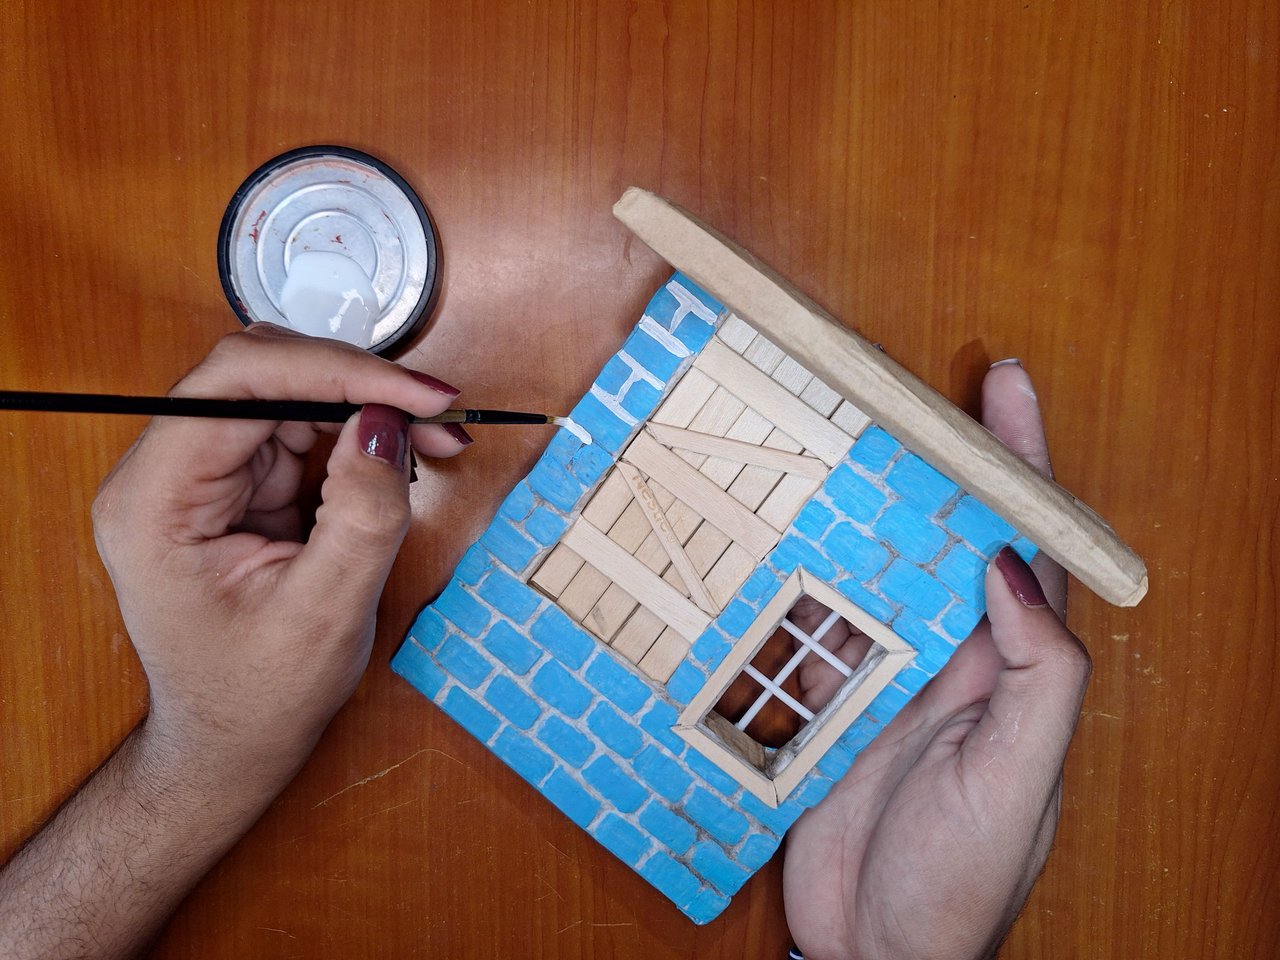
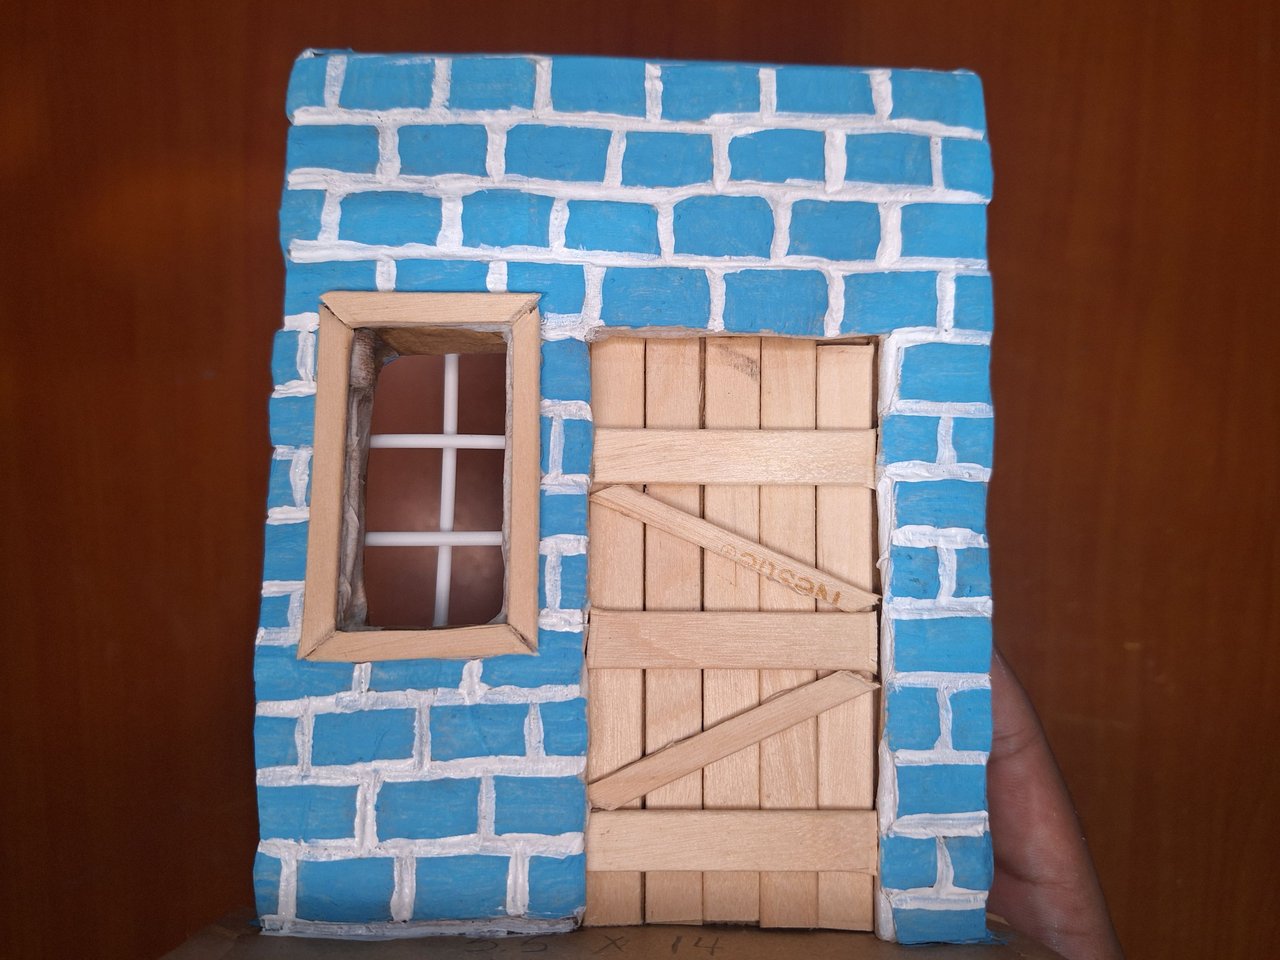
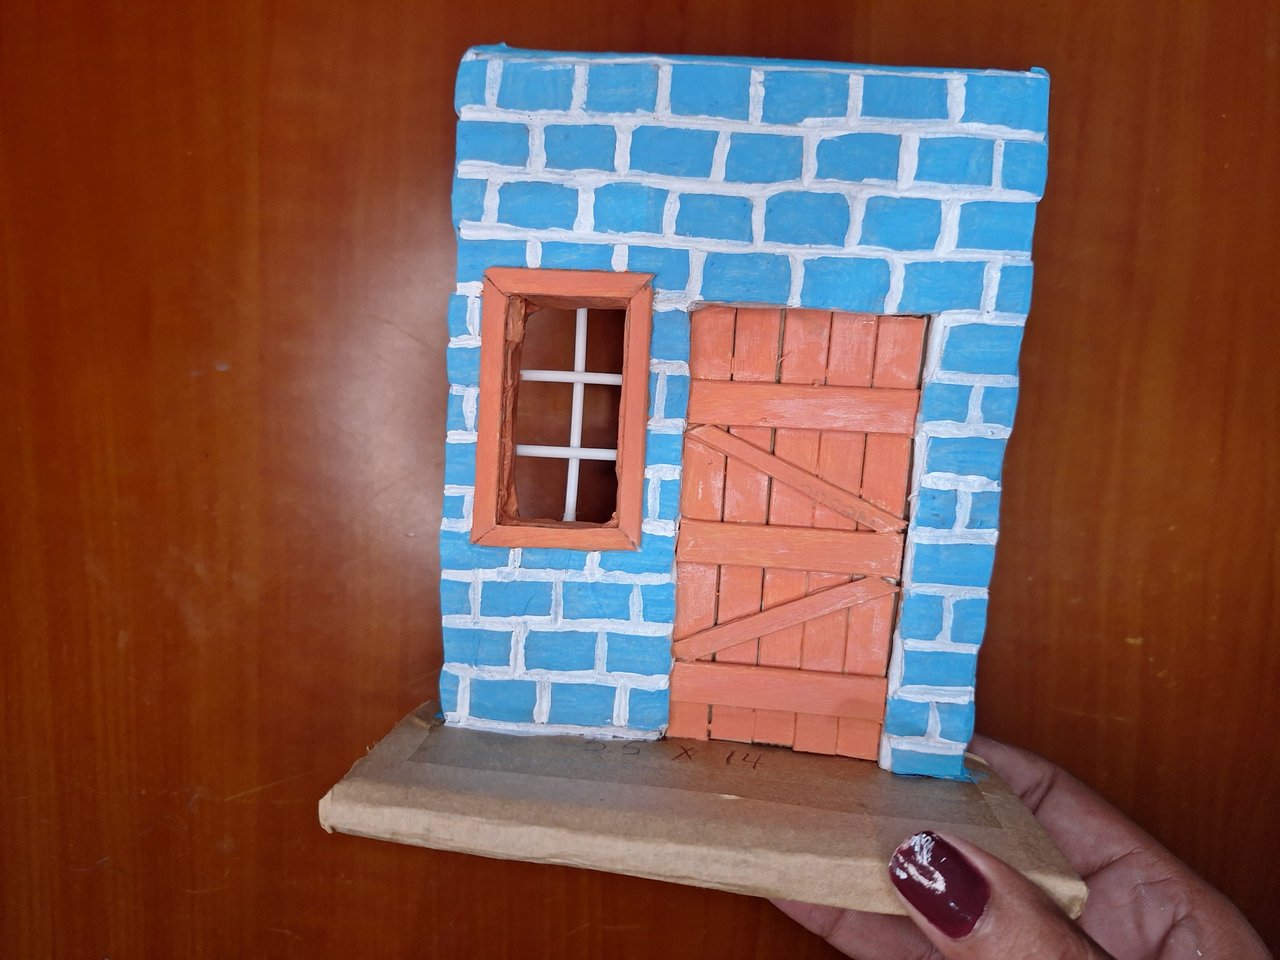
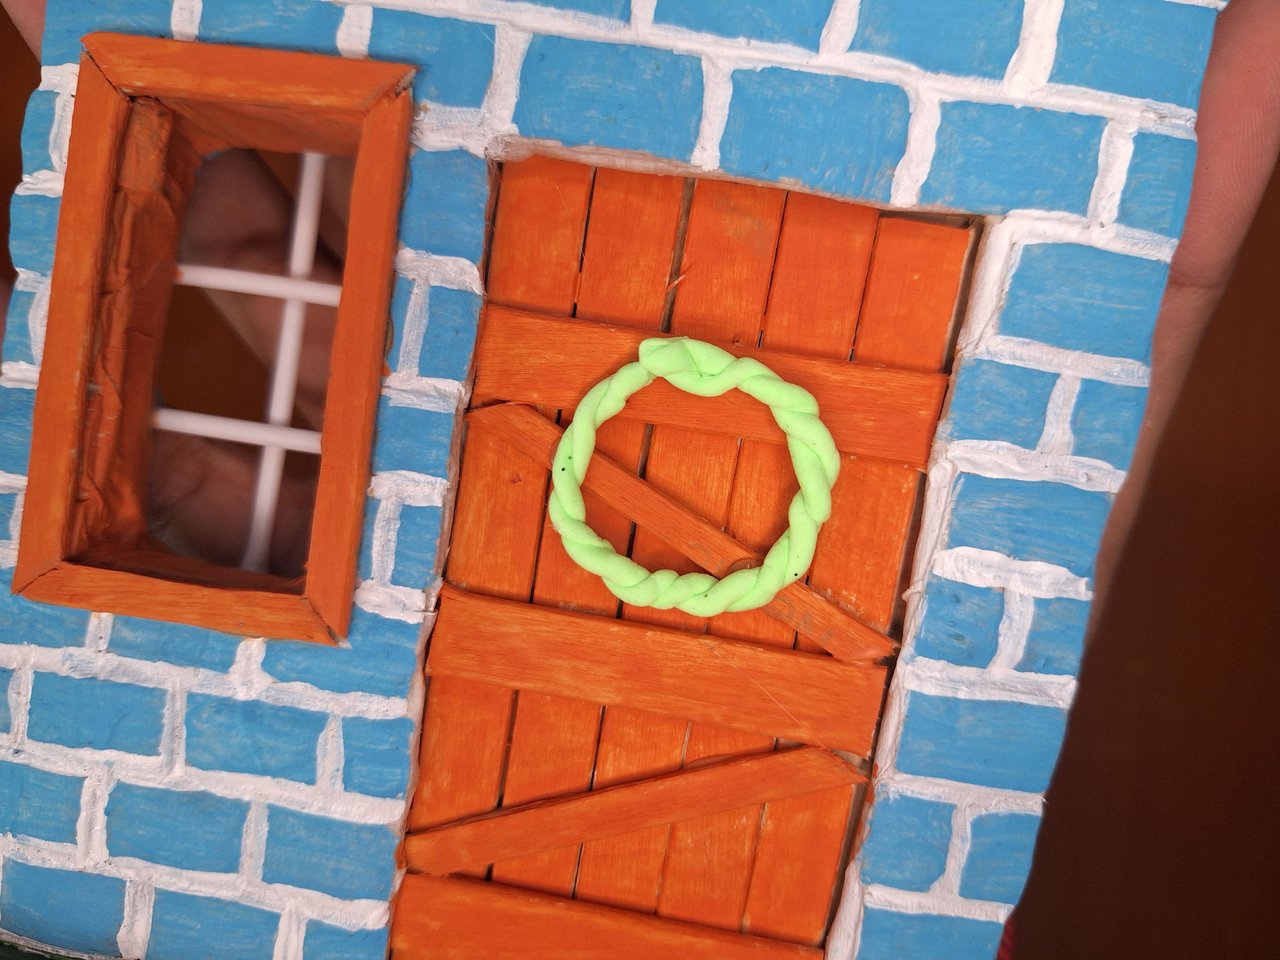
Now you are ready to color it, start with the bricks, I used blue, but a terracotta color would look great. Then, with a thinner brush, outline the partitions with white paint. Then paint the window and door frames and finally the floor green.
Ya está listo para darle color, comienza por los ladrillos, yo utilicé el azul, pero un color terracota se vería genial. Luego, con un pincel más fino, delinear las divisiones con pintura blanca. Luego pintar los marcos de la ventana y la puerta y, por último, el suelo de color verde.
 |
 |
 |
 |
 |
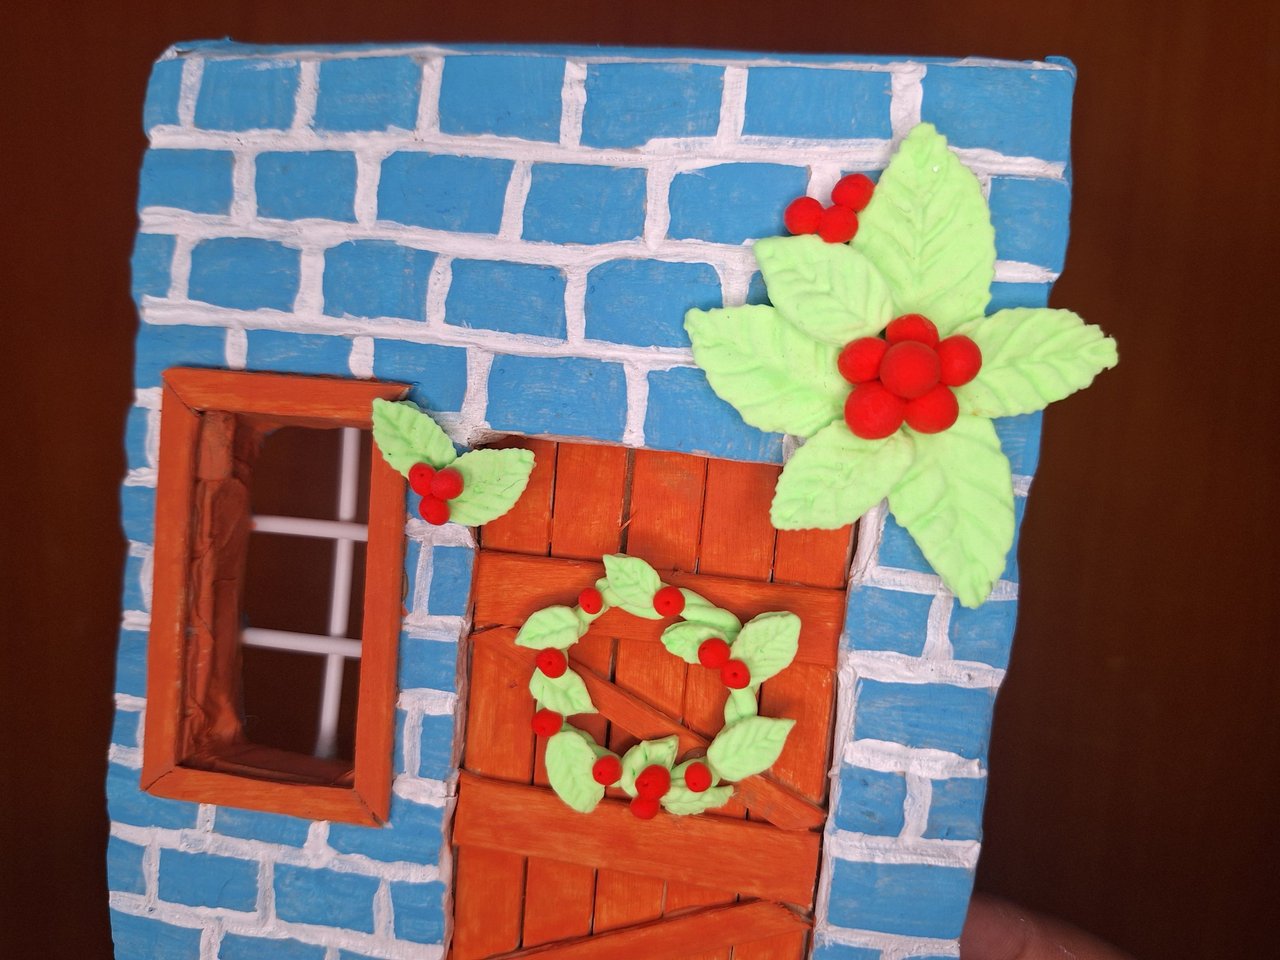 |
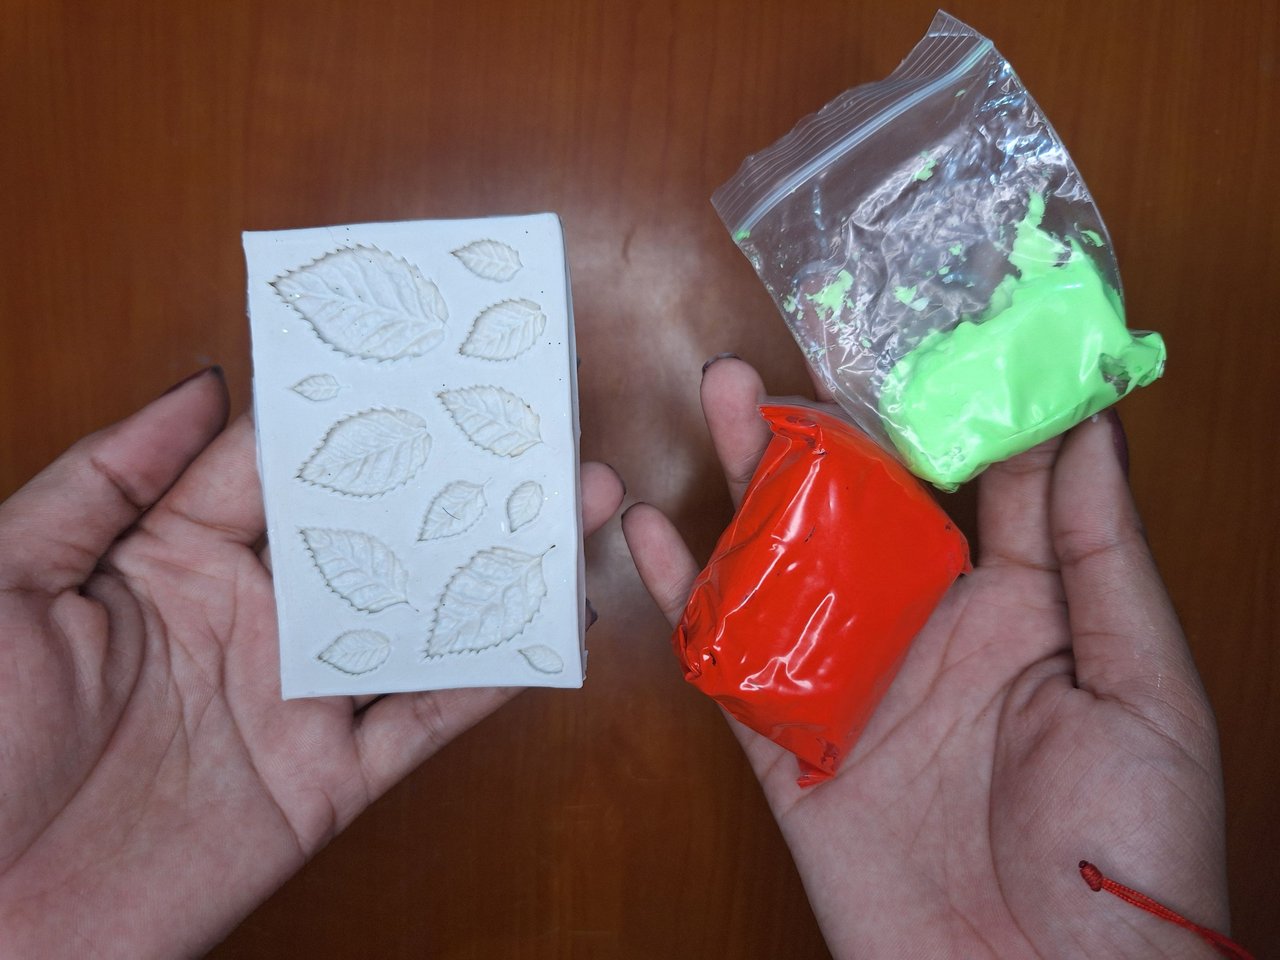
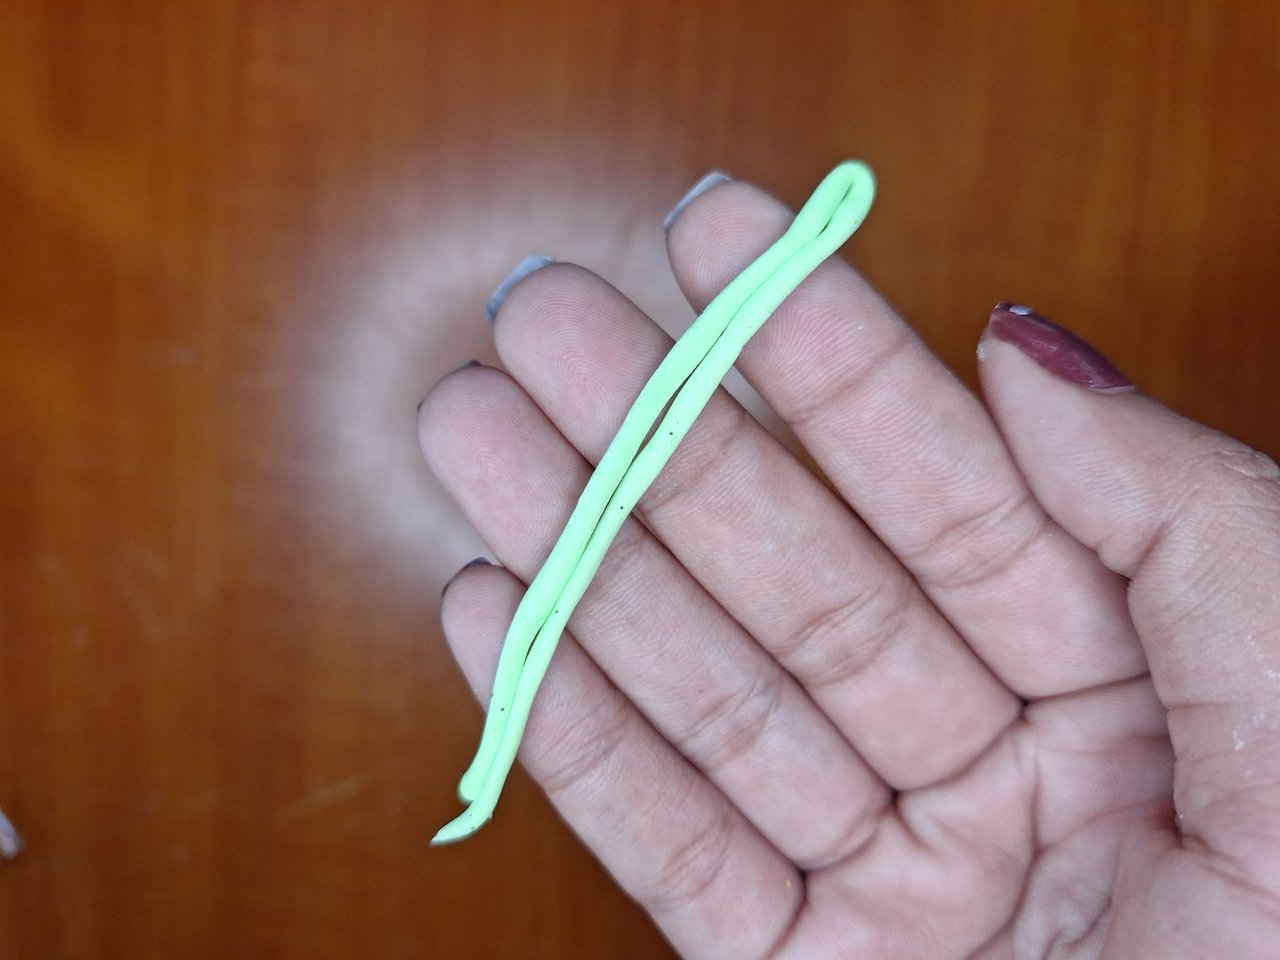
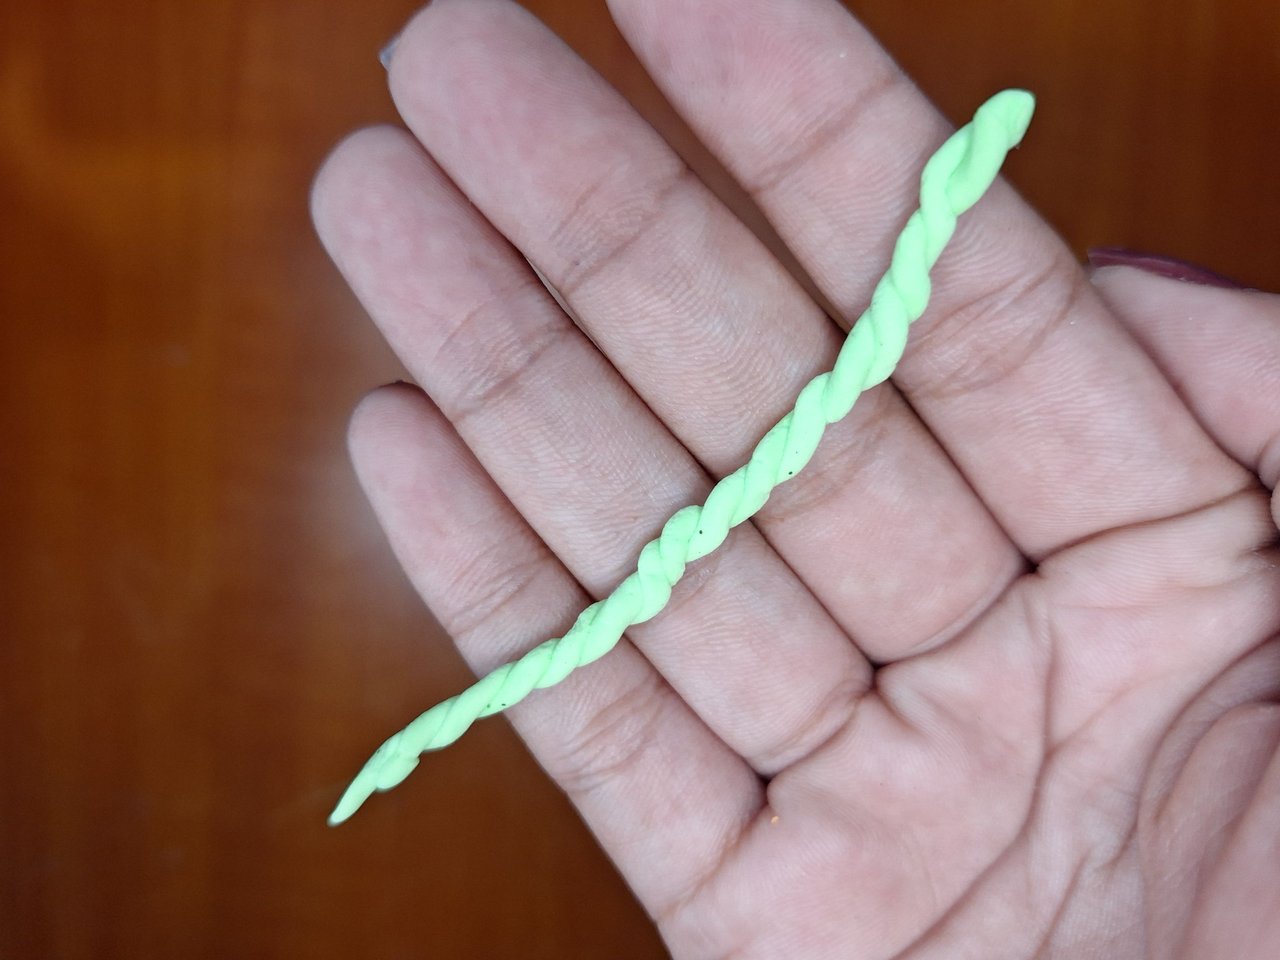
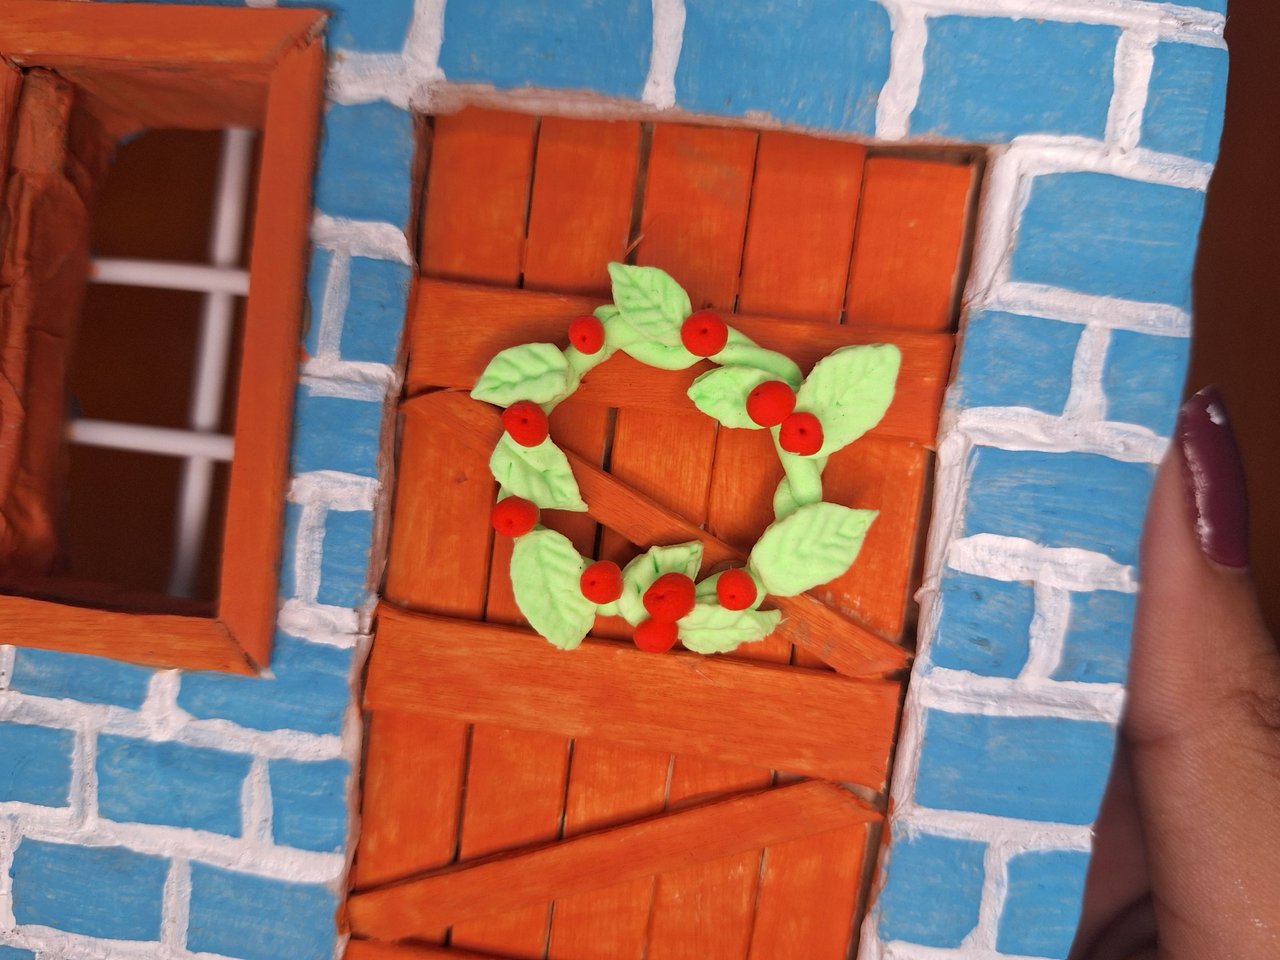
I made the ornaments with moldable foami in green and red, the Christmas colors, starting with the wreath on the door. To do this you must make a thin and long strip and fold it in half. This is twisted and the two ends are glued, obtaining a circular piece. Then, with a silicone mold in the shape of leaves, I made the little leaves. If you don't have one, it doesn't matter, they can be made very easily using an object with a fine tip to mark the lines. On top place a few little red balls. The mistletoe plants placed on the wall are made in the same way.
Los adornos los elaboré con foami moldeable de los colores verde y rojo, los colores navideños, comenzando por la corona de la puerta. Para ello debes hacer una tira fina y larga y doblarla por la mitad. Esta se va torciendo y se pegan las dos puntas, obteniendo una pieza circular. Luego, con un molde de silicona con la forma de hojas, hice las pequeñas hojitas. Si no tienes no importa, se pueden hacer muy fáciles utilizando un objeto con punta fina para marcar las líneas. Encima colocar unas cuantas bolitas rojas. De igual forma se hacen las plantas de muérdago colocadas en la pared.
 |
 |
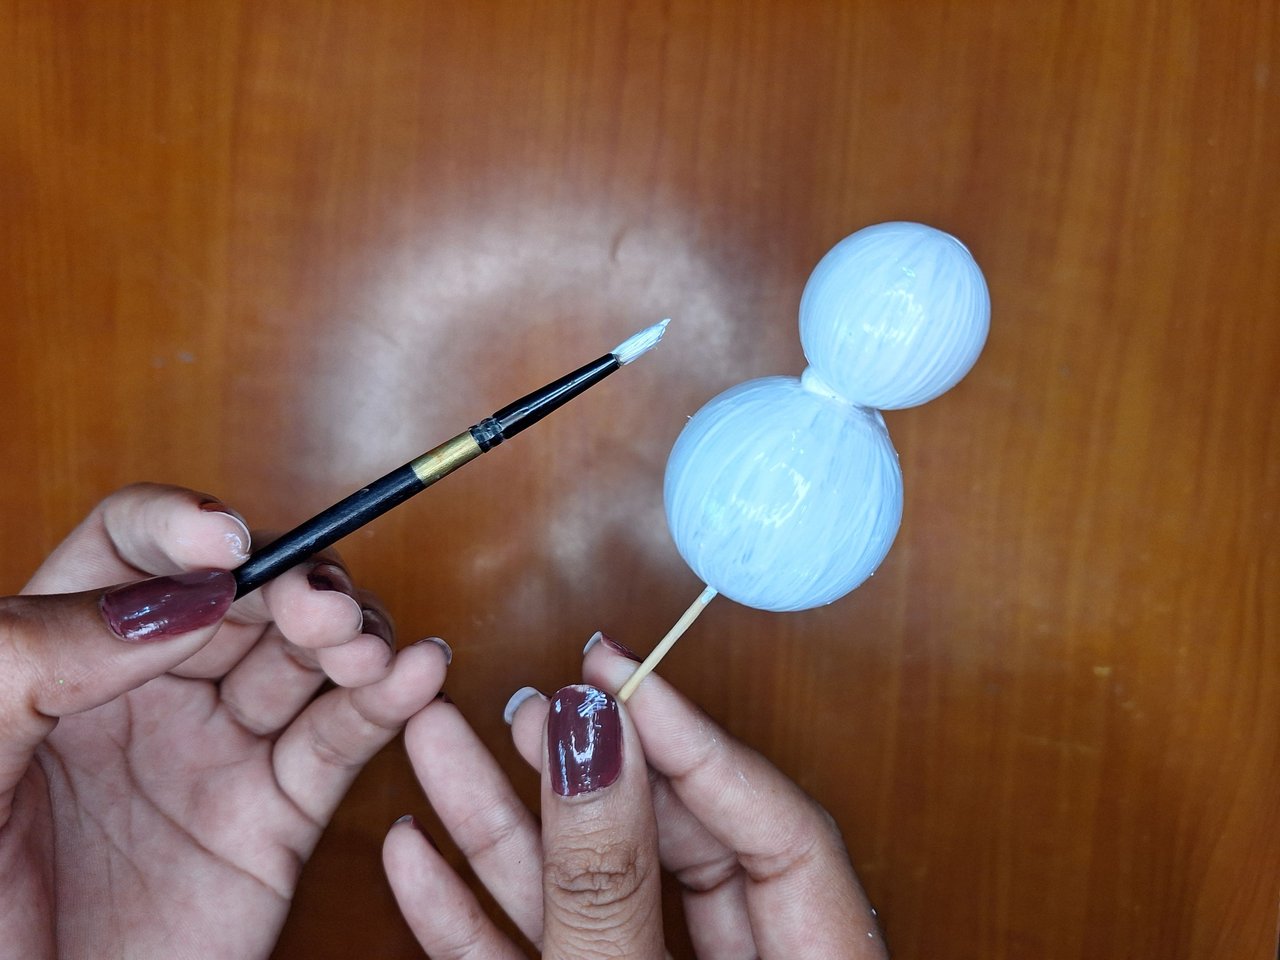 |
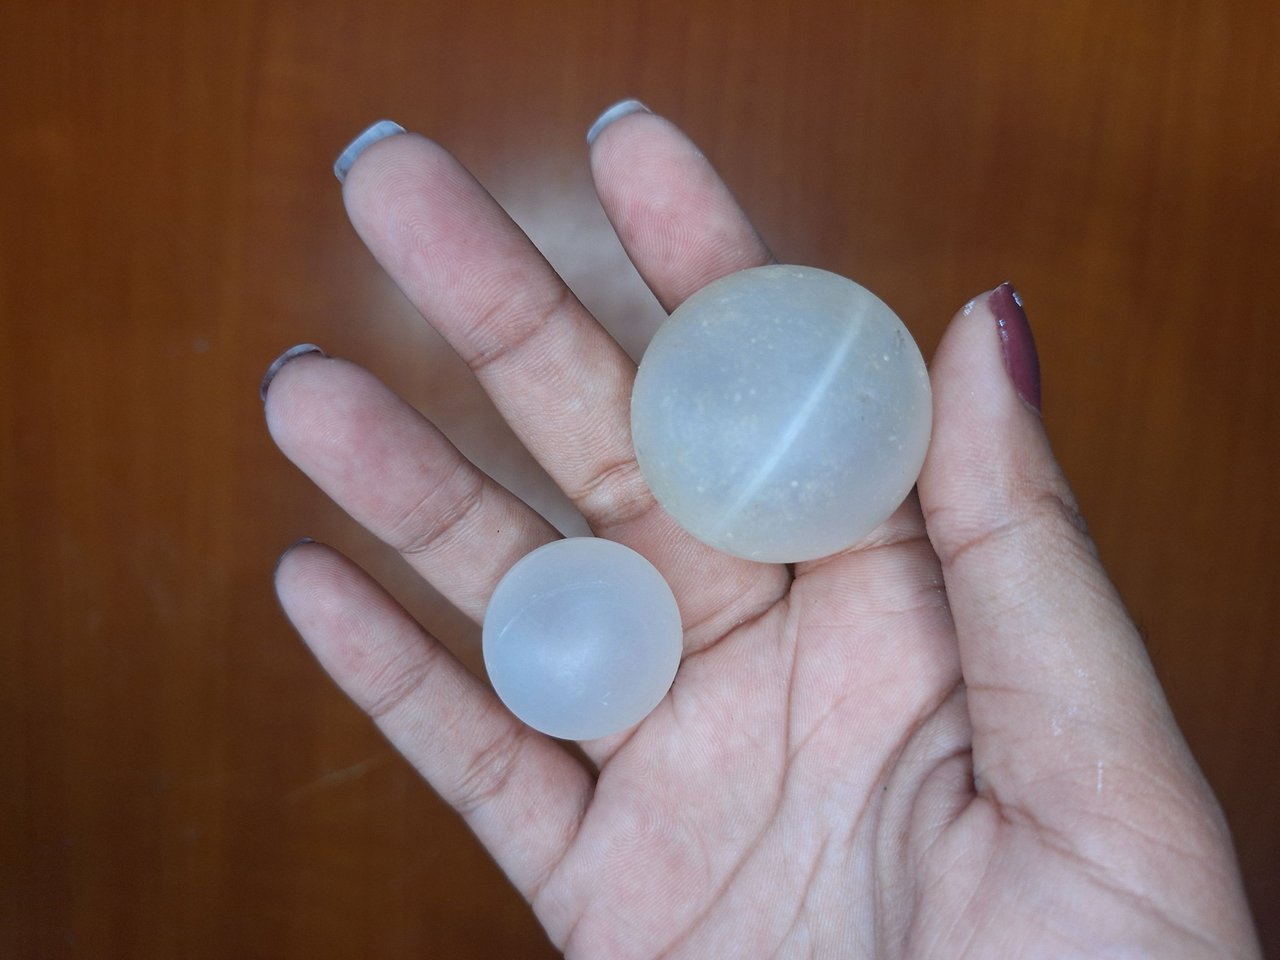
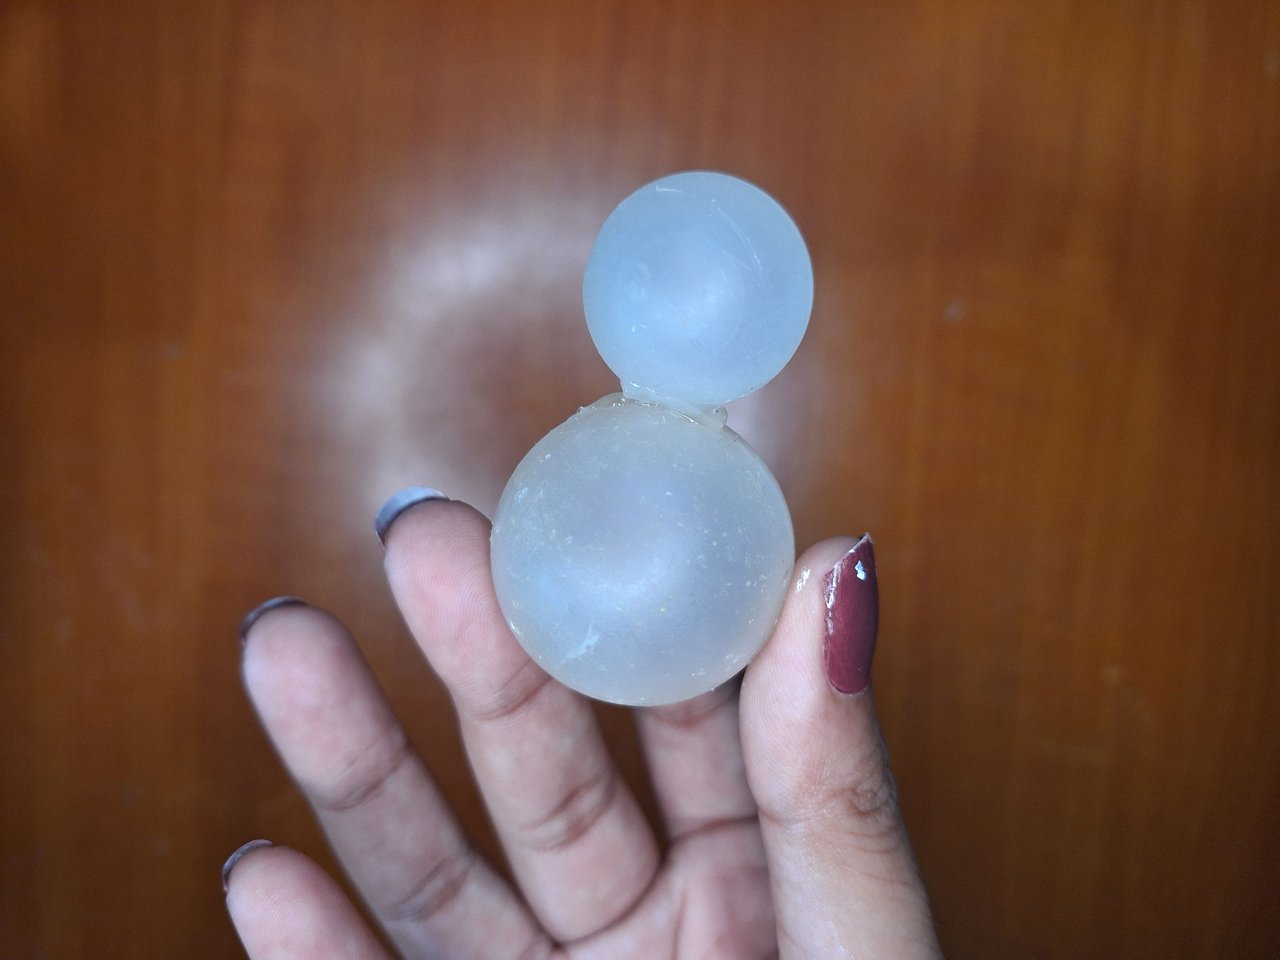
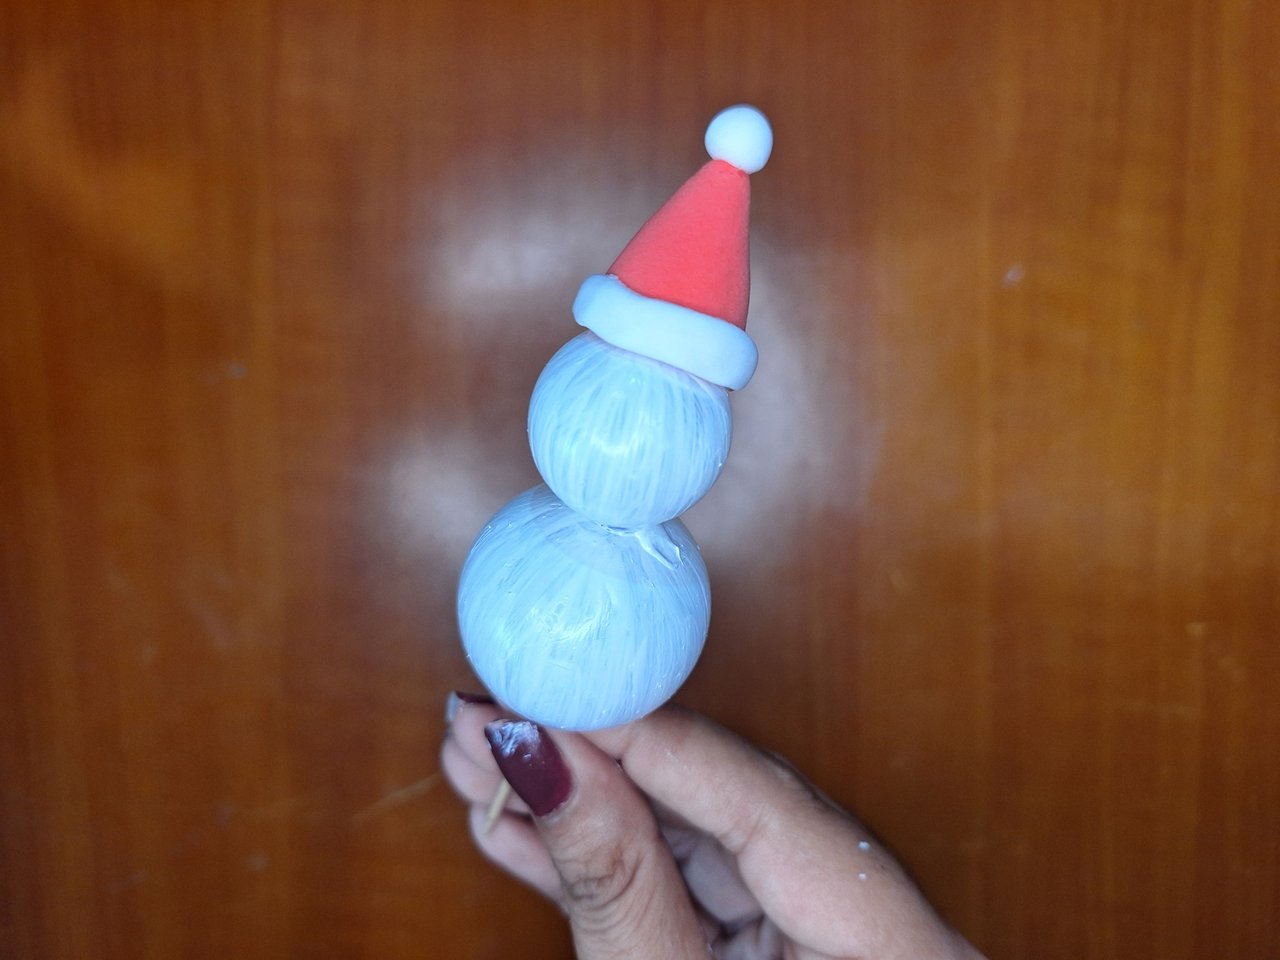
To make the snowman you need two balls, either deodorant or polystyrene. The important thing is that they are of different sizes to define the body of the head. Join the two balls and then paint them white.
Para hacer el muñeco de nieve es necesario dos bolas, ya sean de desodorante o de poliespuma. Lo importante es que sean de diferente tamaño para definir el cuerpo de la cabeza. Unir las dos bolas y luego pintar de color blanco.
 |
 |
 |
 |
 |
|
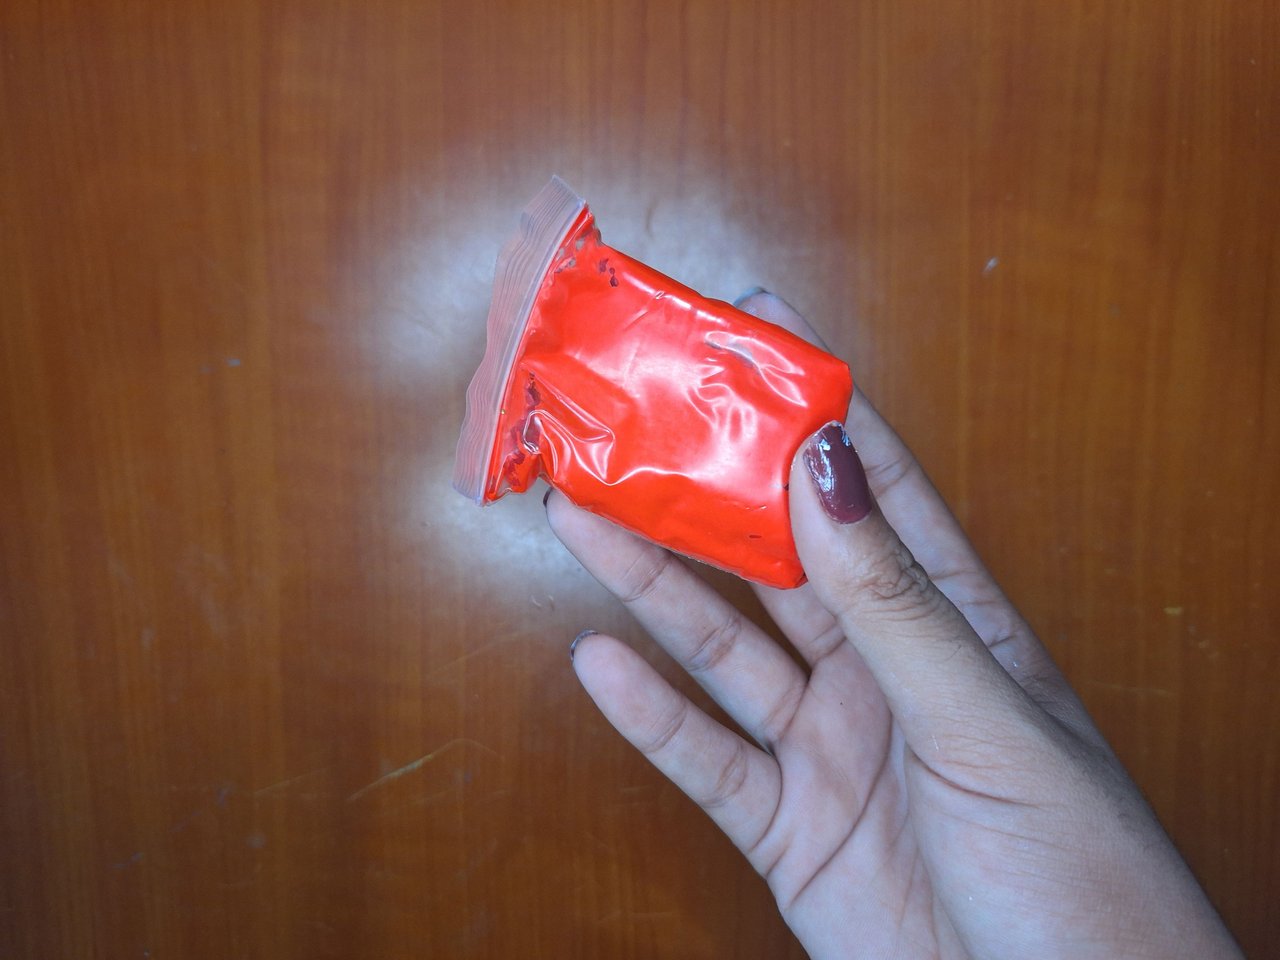
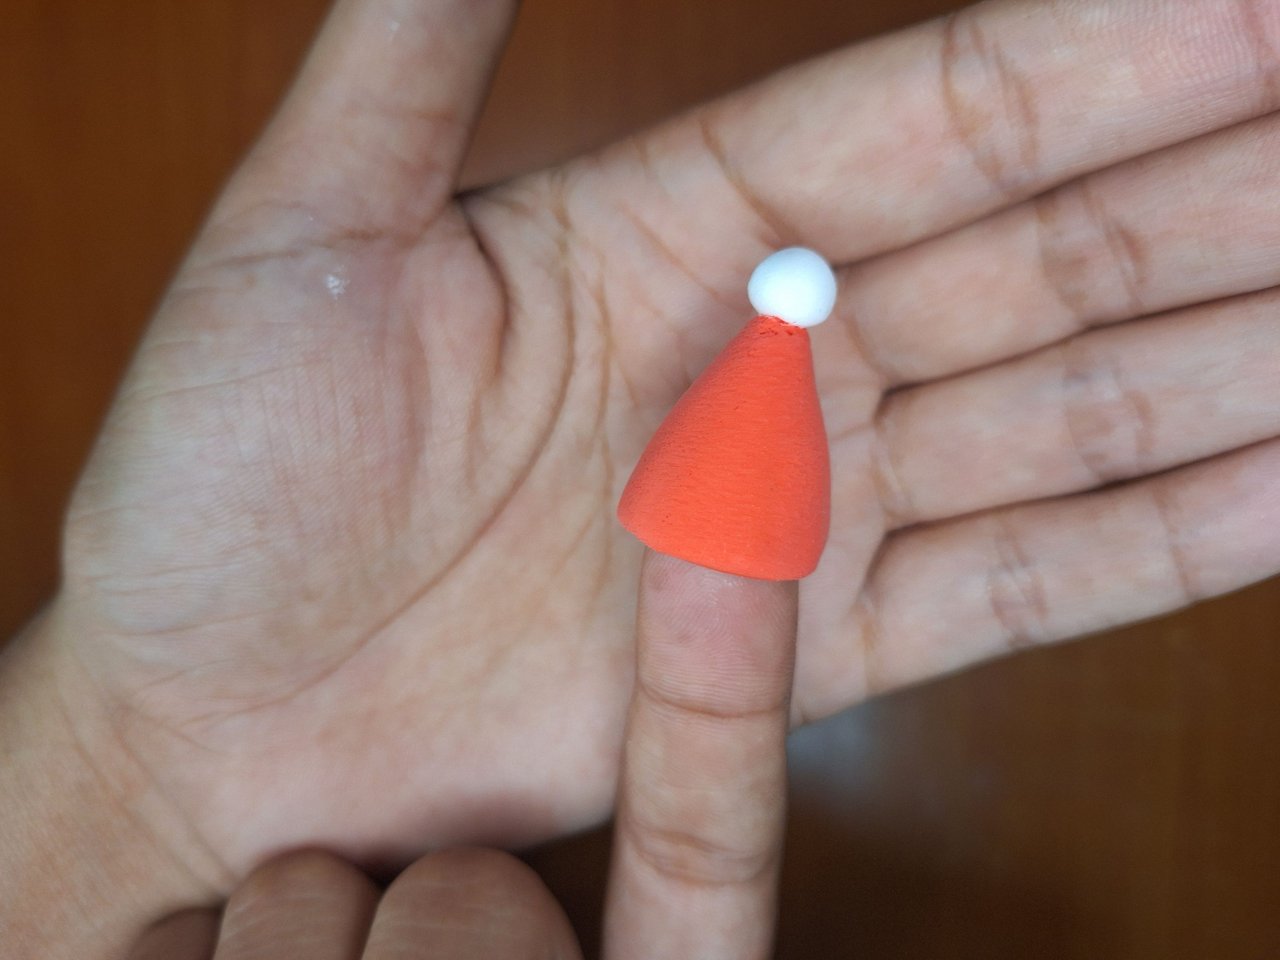
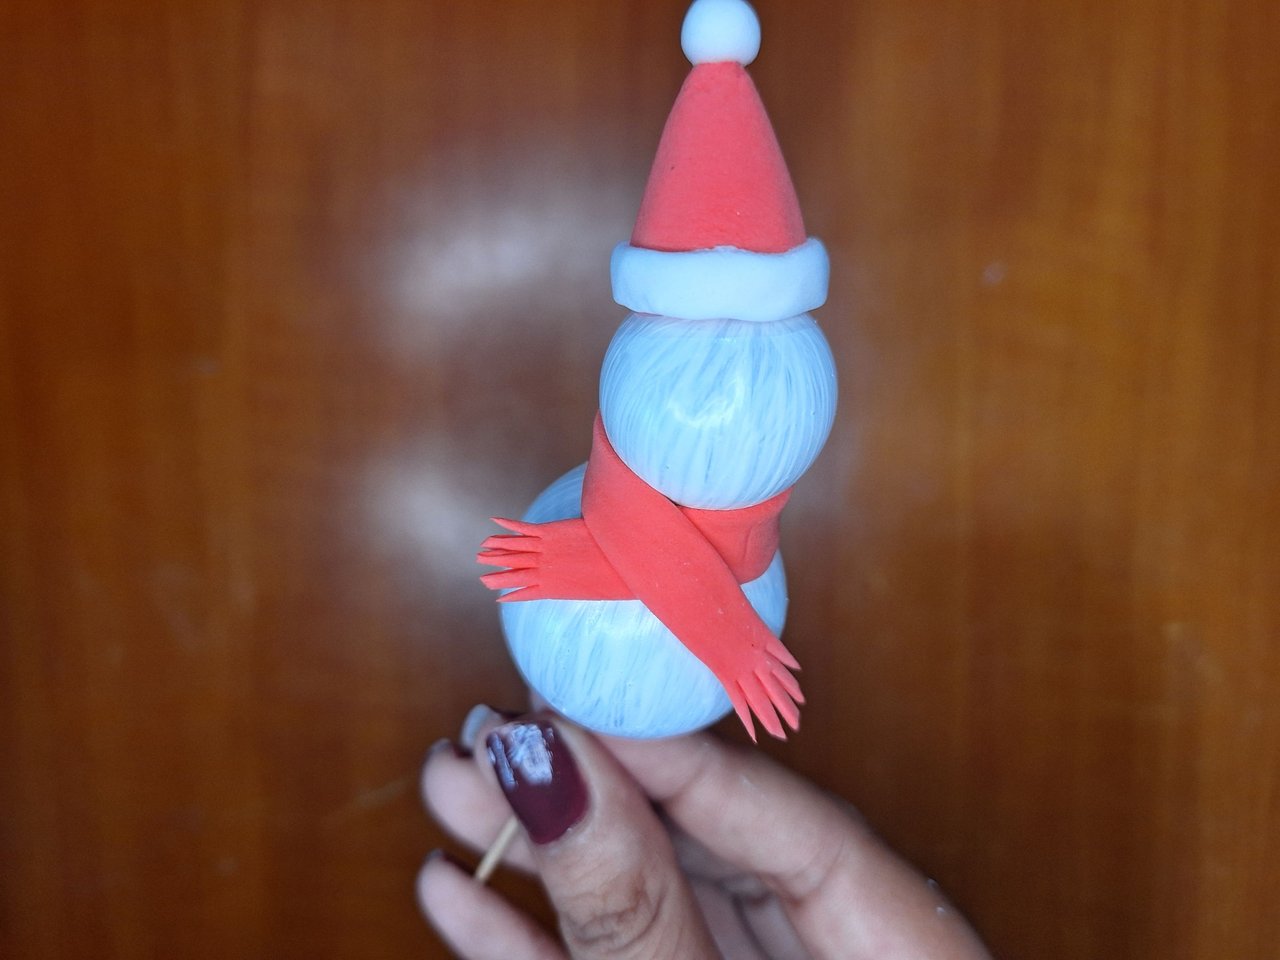
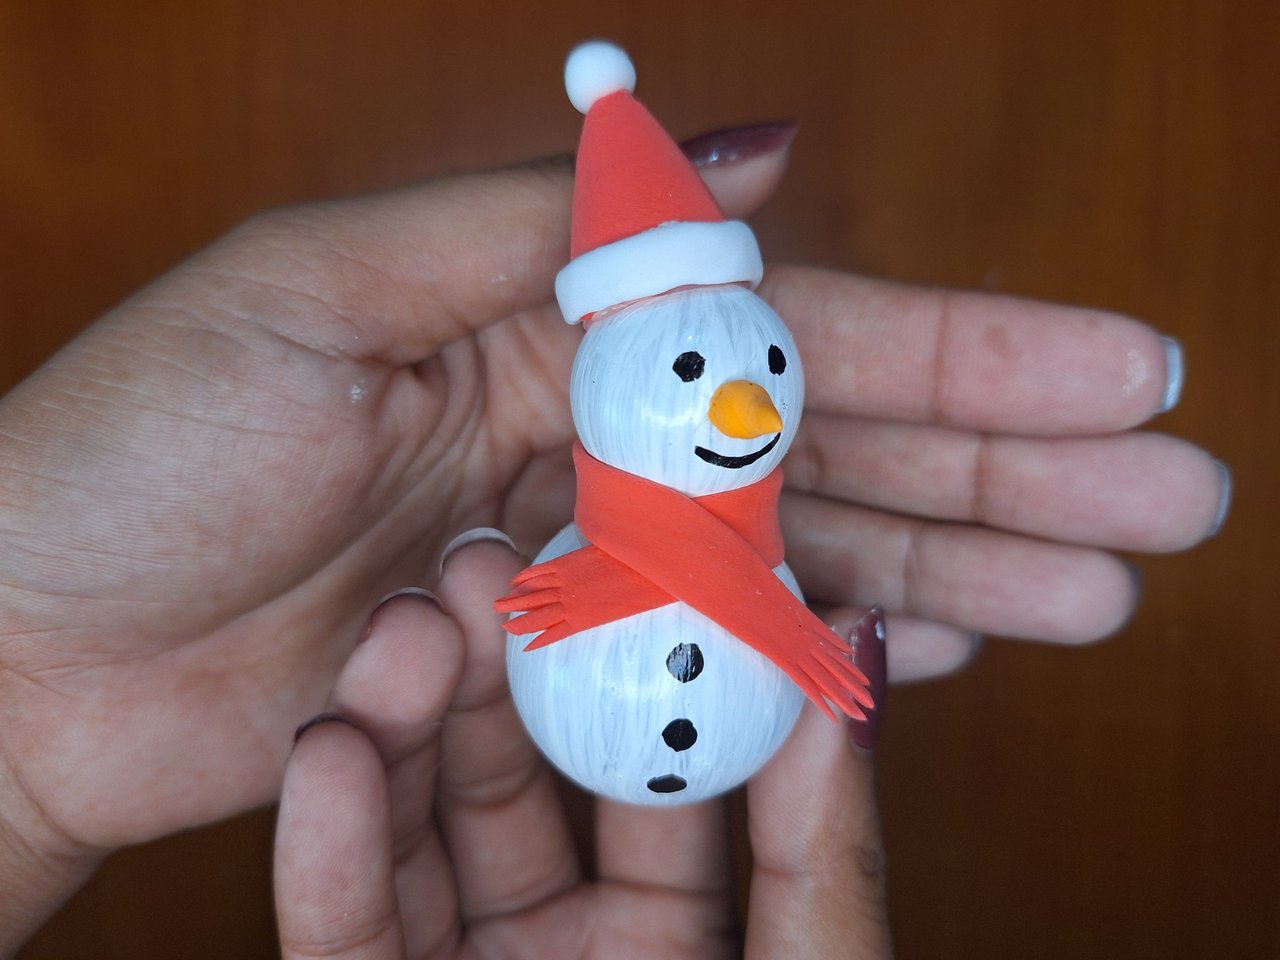
With red moldable foami, make the Christmas hat. This is made in the shape of a cone and at the tip is placed a little white ball that will be its characteristic pompom. Place it on the snowman's head and make a long, flat red strip to form the scarf, just cut the ends with the scissors in the shape of bangs.
Con foami moldeable rojo, elaborar el gorro navideño. Este se elabora con la forma de un cono y en la punta se coloca una bolita blanca que será su característico pompón. Colocar en la cabeza del muñeco de nieve y haciendo una tira larga y plana de color rojo se conforma la bufanda, solo debes cortar con la tijera las puntas en forma de flecos.
 |
 |
 |
 |
 |
|
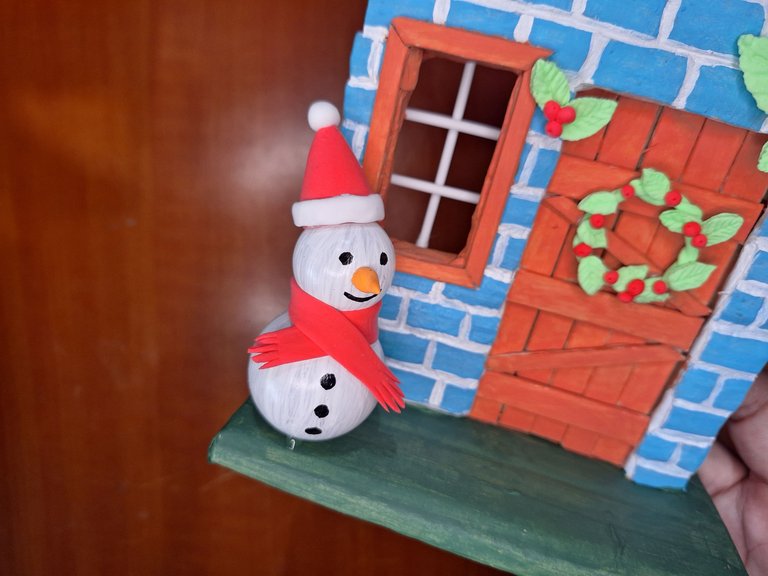
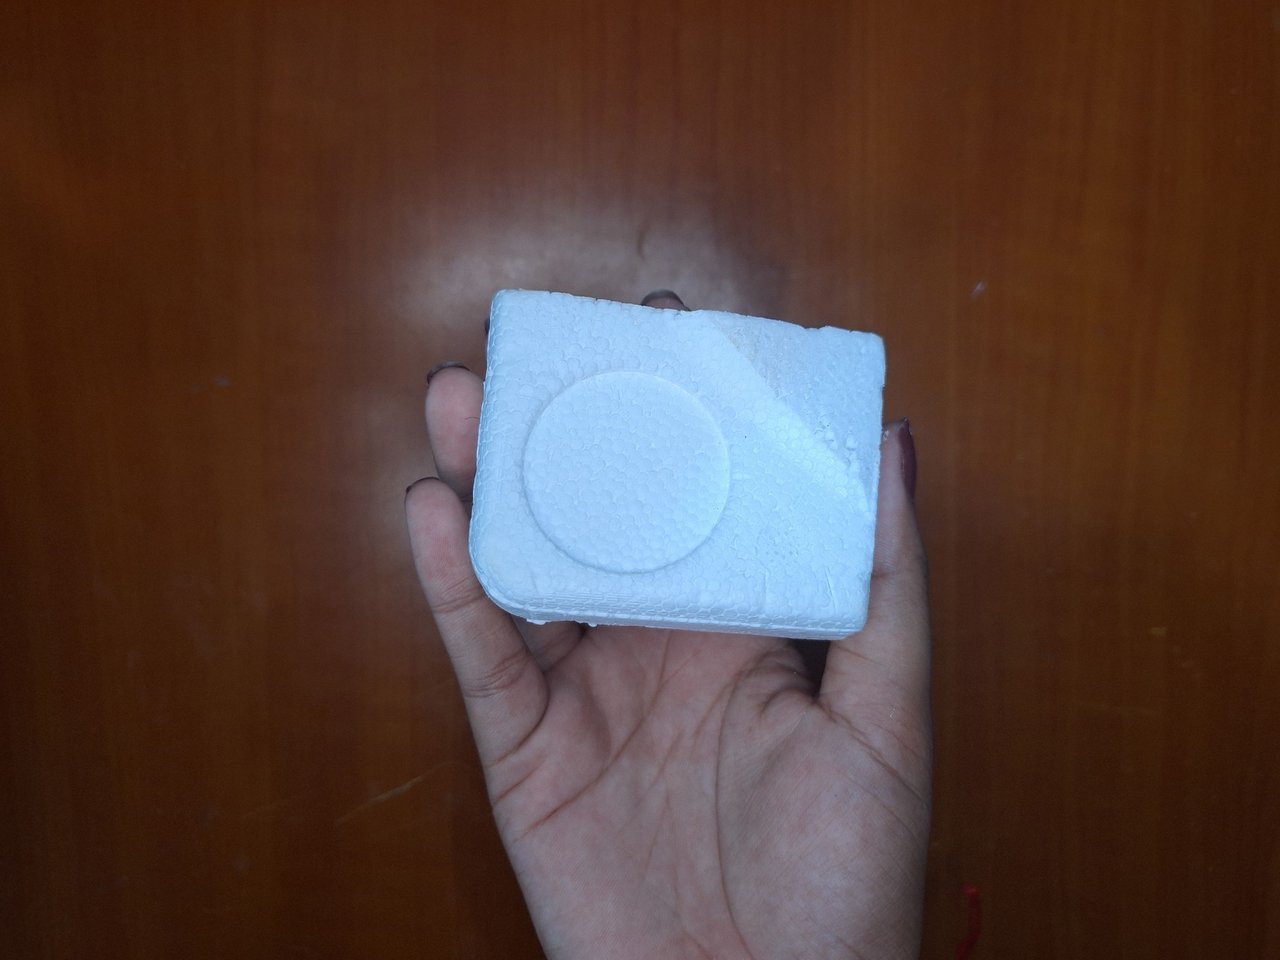
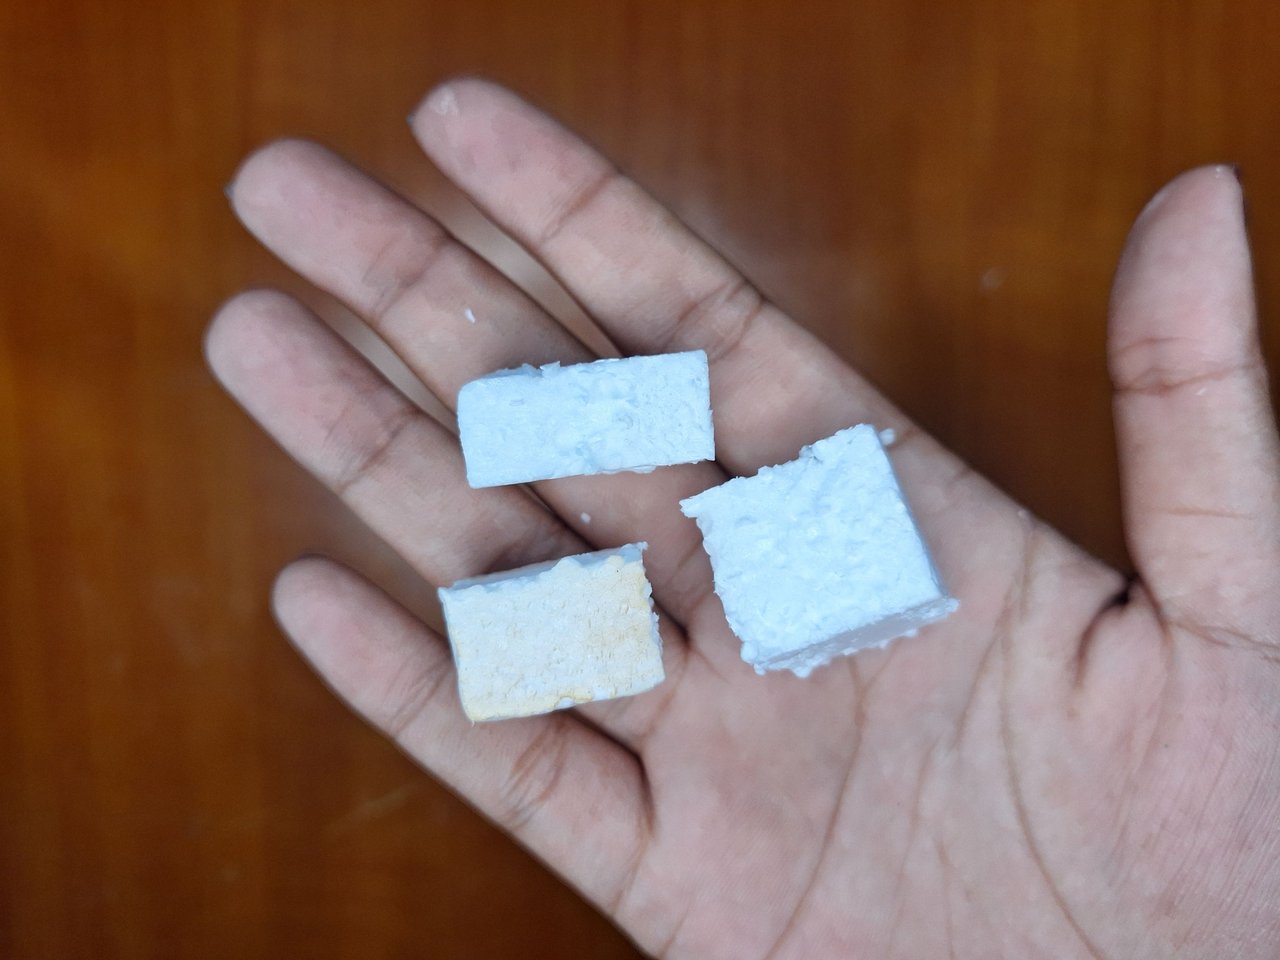
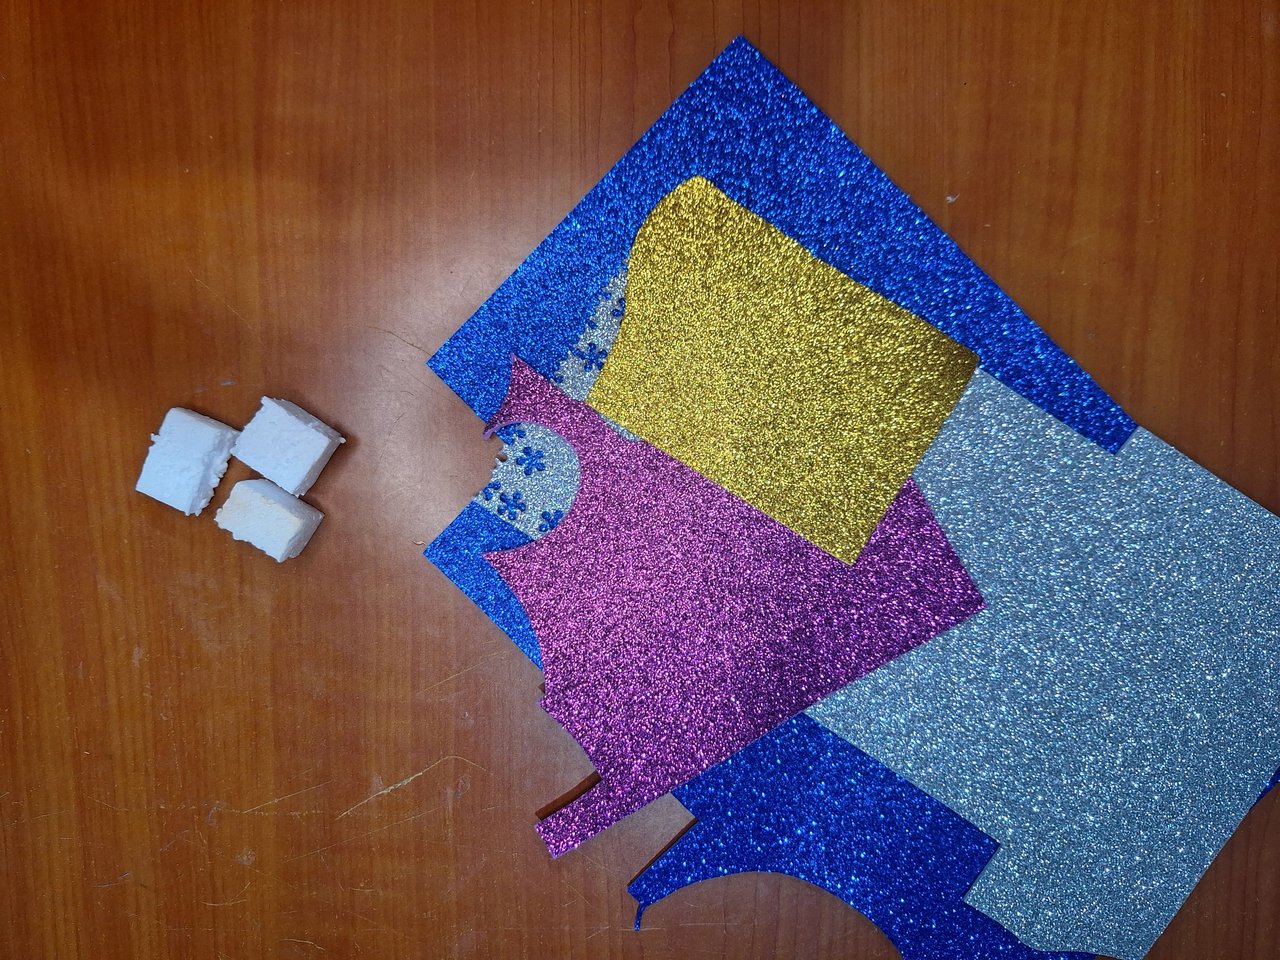
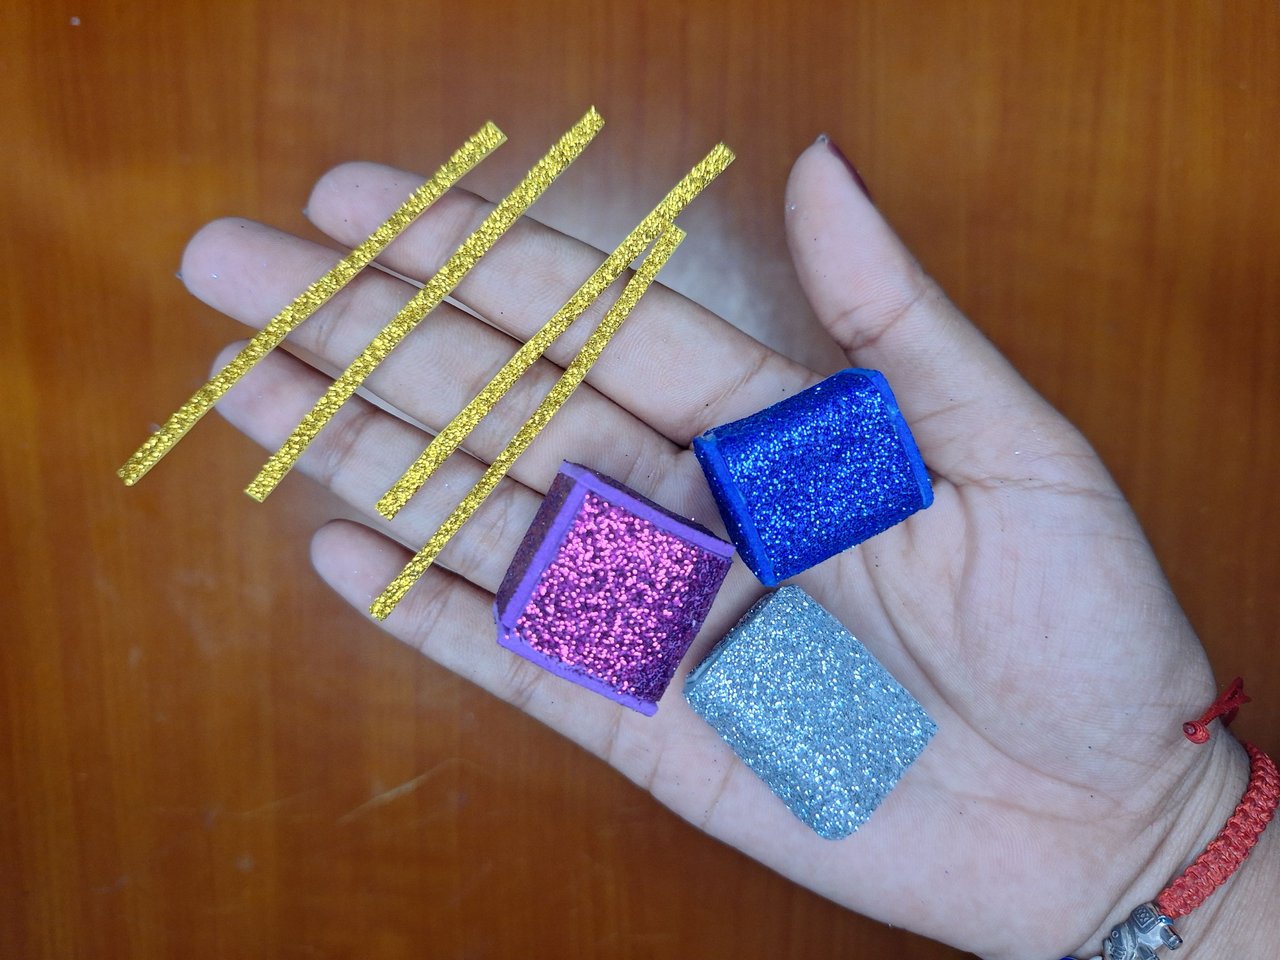
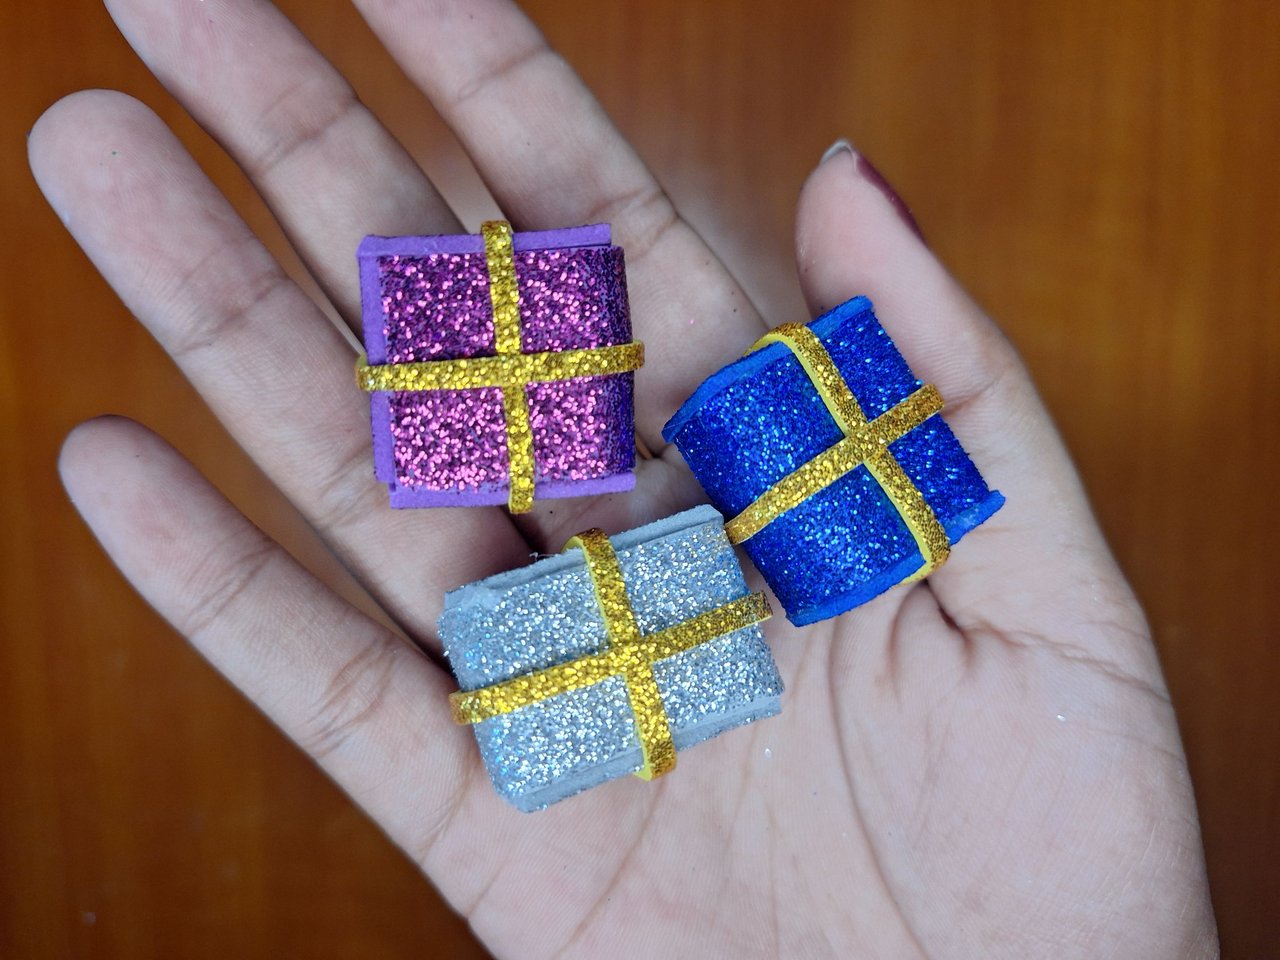
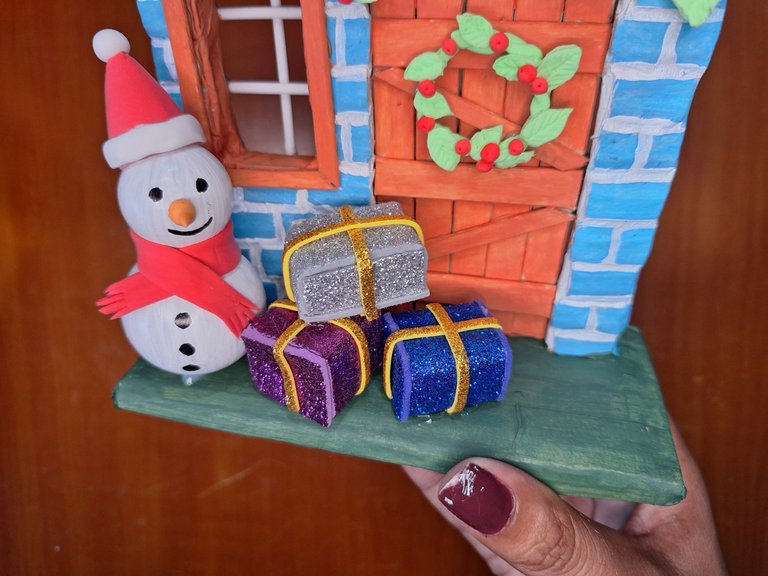
The gifts are just polyfoam cubes lined with different colored frosted foami. The ribbons are thin strips of gold foami that are glued crosswise; they look so adorable. They are then placed next to the snowman.
Los regalitos son solo cubos de poliespuma forrados de foami escarchado de diferentes colores. Las cintas son tiritas finas de foami dorado que se pegan de forma cruzada; se ven tan adorables. Luego se colocan al lado del muñeco de nieve.
 |
 |
 |
|
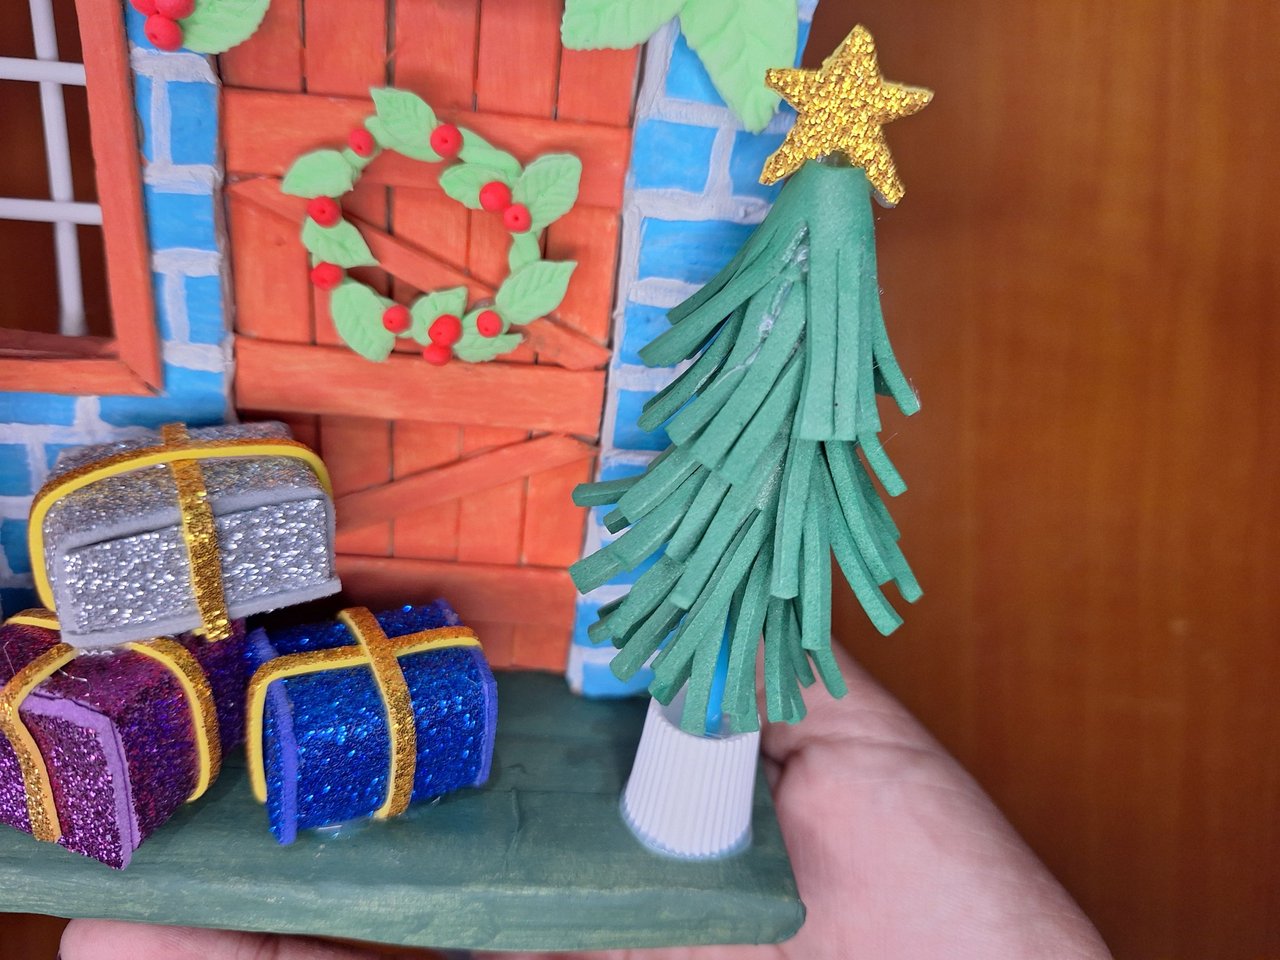 |
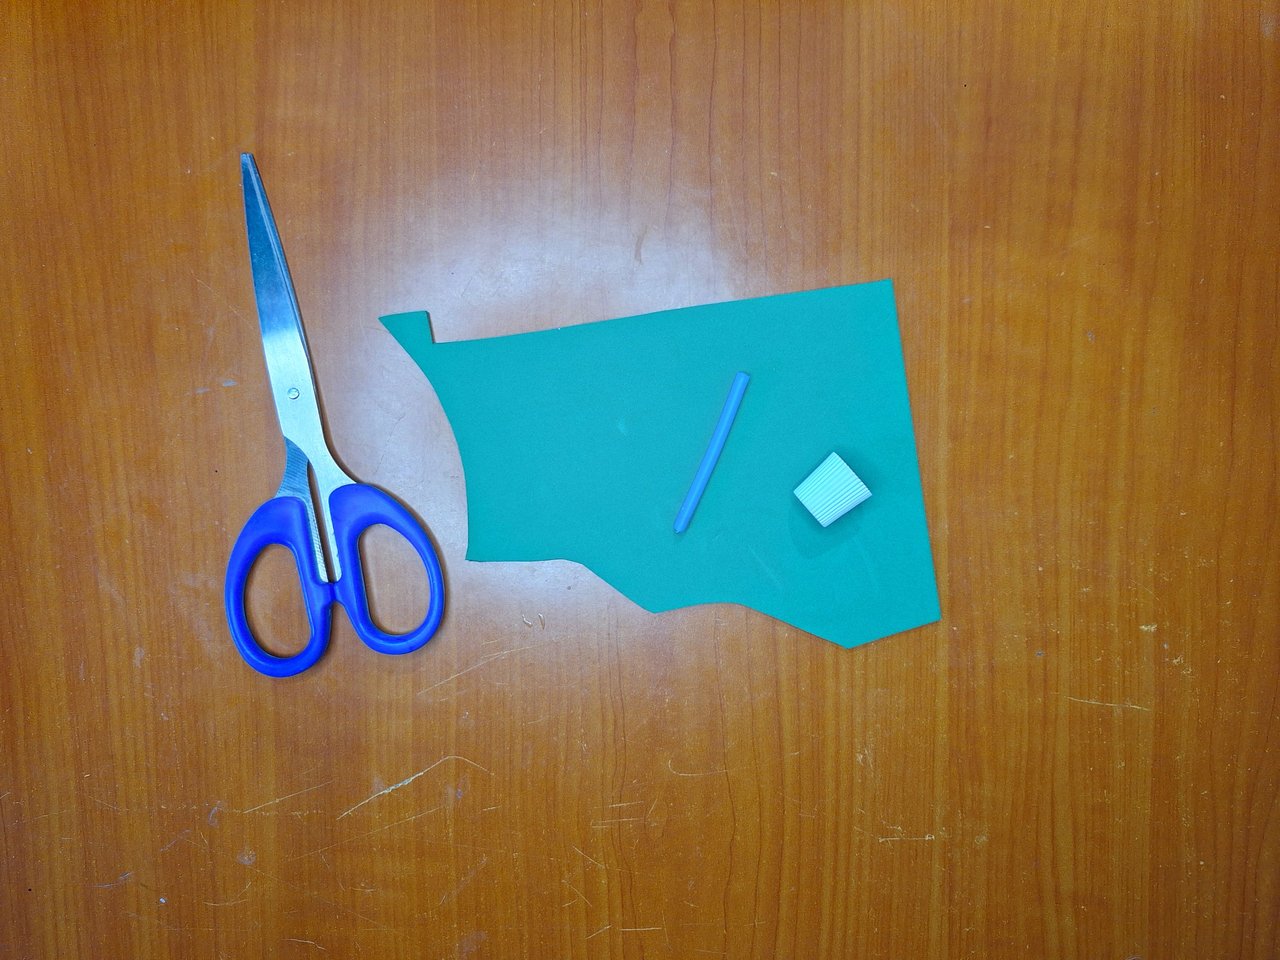
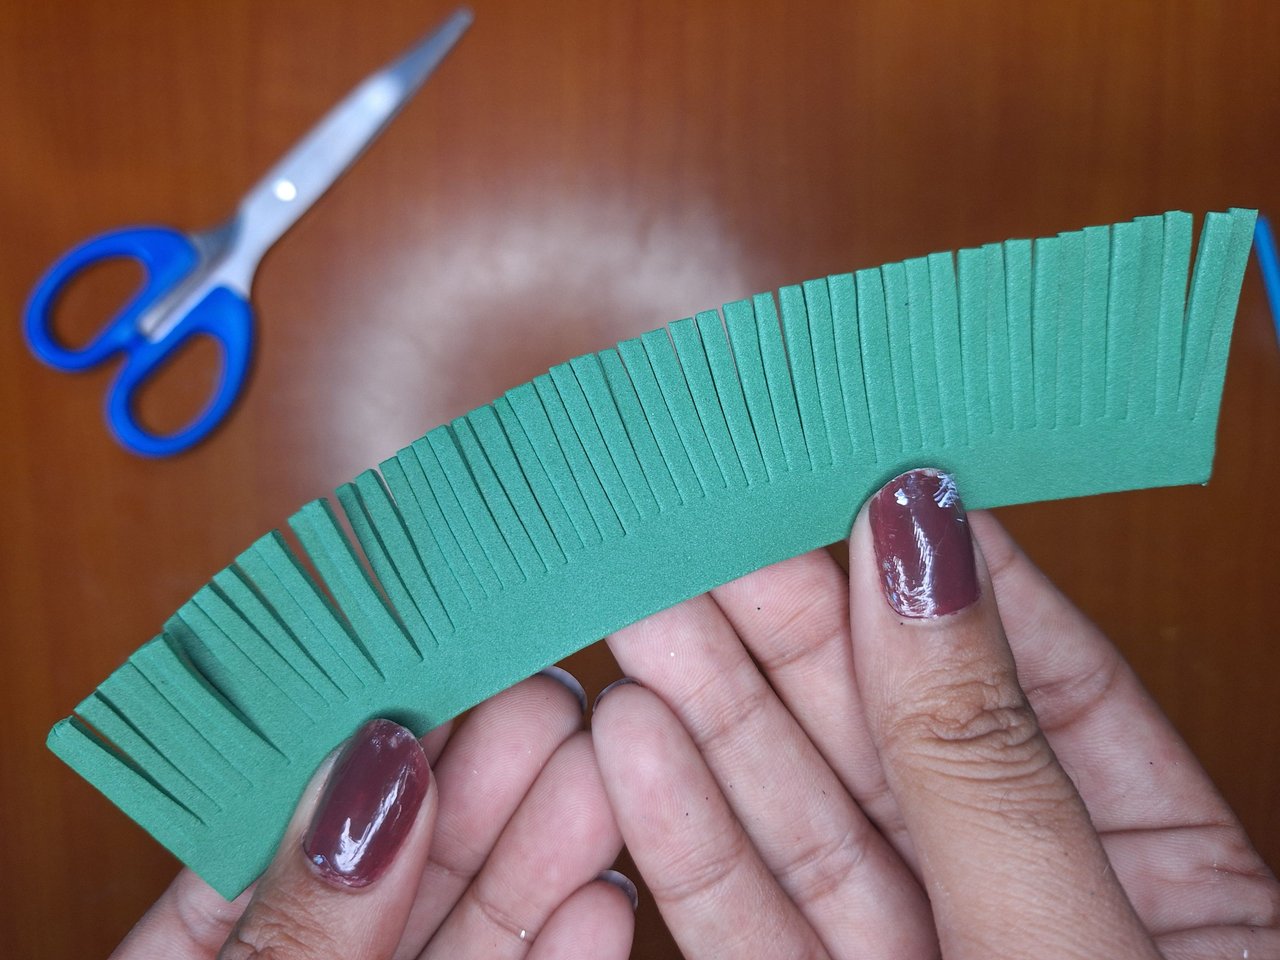
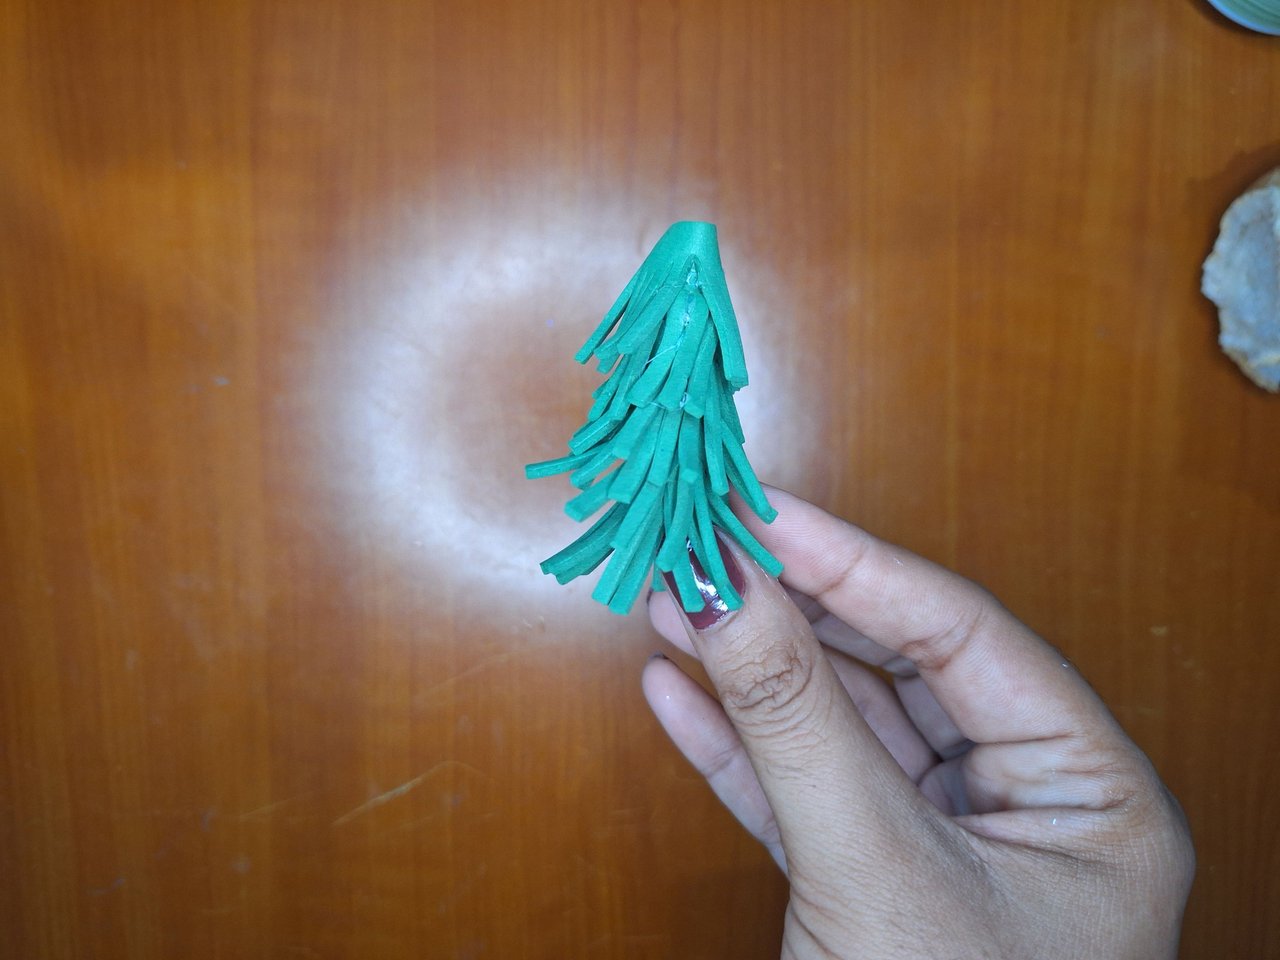
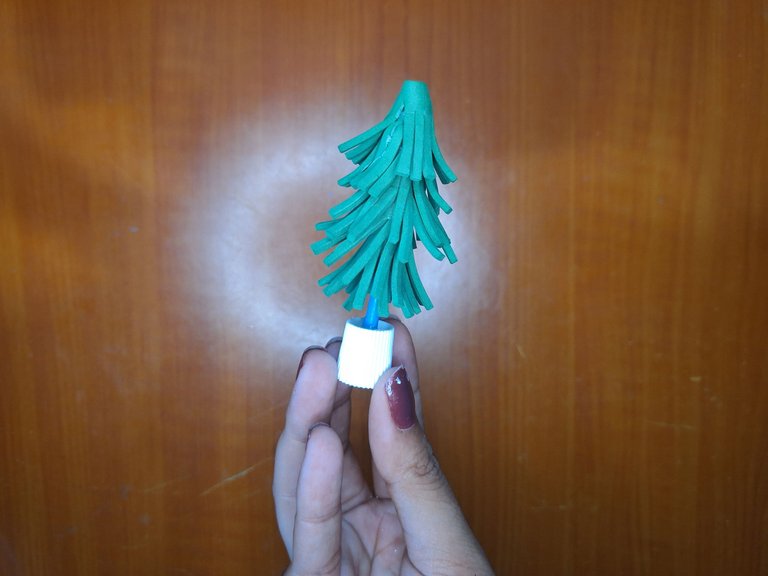
For the Christmas tree, make a 2.5 cm wide strip of green foami and cut it as shown in the pictures. This is rolled on a lollipop stick from the bottom up and a toothpaste cap makes a great flower pot. Finally, I placed a golden star made of frosted foami at the top of the tree.
Para el árbol navideño, hacer una tira de foami verde de 2.5 cm de ancho y cortar de la forma que te muestro en las imágenes. Esta se va enrollando en un palito de chupa-chups desde abajo hacia arriba y una tapa de pasta dental hace muy bien su función de maceta. Por último, coloqué en la punta del árbol una estrella dorada elaborada de foami escarchado.
 |
 |
 |
 |
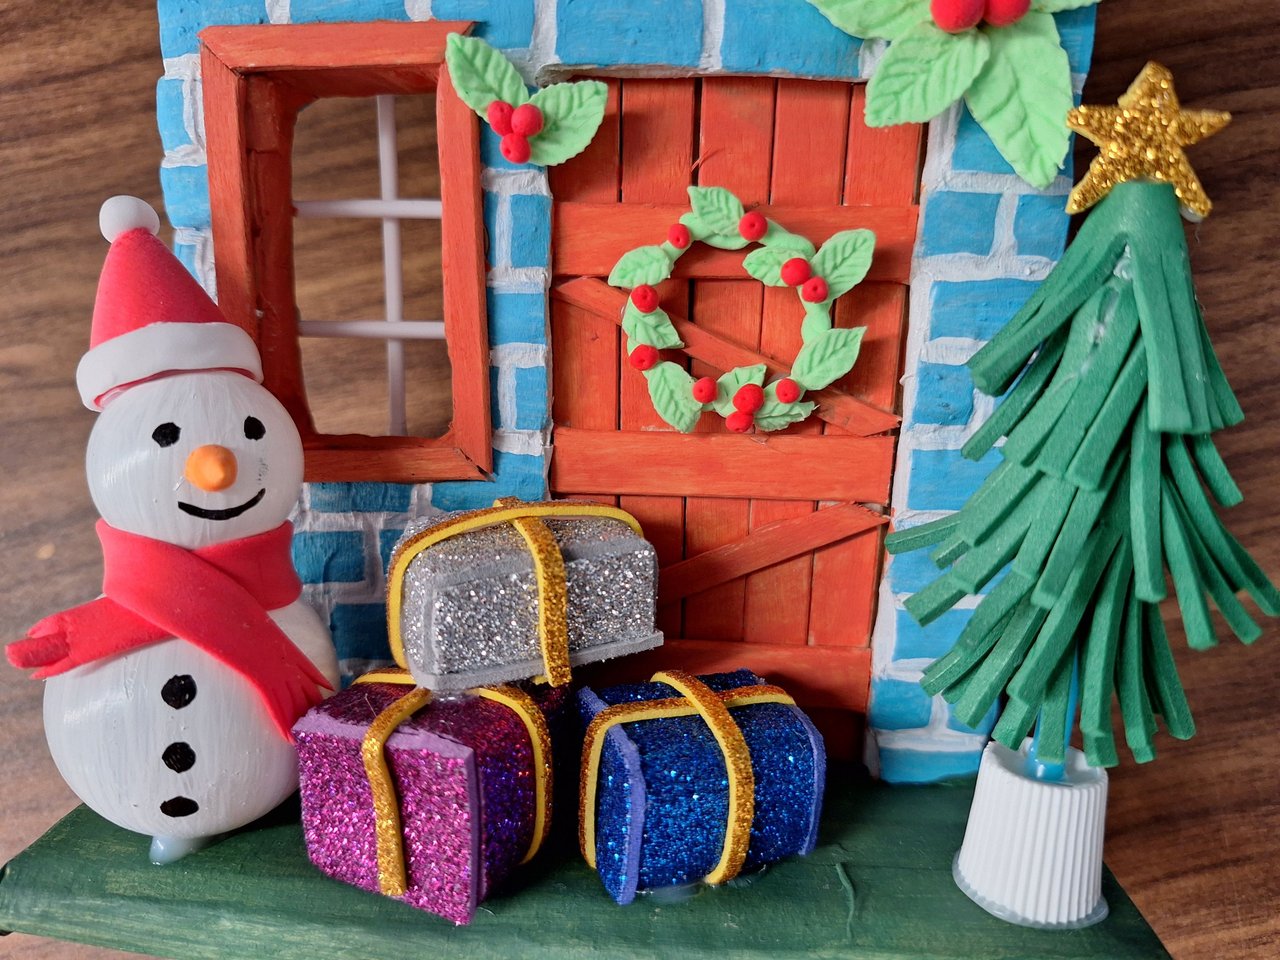
And so this beautiful diorama with Christmas style is finished, it could be an ideal gift for these dates. No doubt it integrates very well in the decoration of any part of the house, I loved how it turned out. I hope you liked it and I encourage you to make one of your own, leave me in the comments what you thought and new suggestions. Best regards.
Y de esta forma se encuentra terminado este hermoso diorama con estilo navideño, podría ser un regalo ideal para estas fechas. Sin duda se integra muy bien en la decoración de cualquier parte de la casa, adoré cómo quedó. Espero que te haya gustado y te animes a hacer uno propio, déjame en los comentarios qué te pareció y nuevas sugerencias. Un saludo.
Cover made in Canva
English is not my native language, translated by DeepL
Hermosa representación de las festividades navideñas. Los regalos se ven grandotes así que deben tener cosas chulas dentro. 😁
Jajaja seguro tienen regalitos así de pequeñitos.
Hermoso trabajo amiga realmente está perfecta la combinación que hiciste me encantó tu diorama éxitos y bendiciones para ti, sigue así de verde encantada con tu post
Muchas gracias por compartir 😊
Muchas gracias, incluye varios elementos navideños aunque faltaron aún, pero me dió mucha satisfacción el resultado, lo amé, me alegro que te haya gustado 🤗🥰
What a beautiful diorama, it turned out very complete with all those Christmas elements. Now you have something to save and take out every year, show off and have conversation topics about it.
Que bello diorama, quedó muy completo con todos esos elementos de la navidad. Ahora tienes algo para guardar y sacarlo cada año, lucirte y tener temas de conversación sobre esto.
Muchas gracias, tiene muchos elementos navideños que al complementarse muestra una linda escena muy representativa de la temporada, la coloqué en la mesita de noche, me hace mucha ilusión al verlo, al menos allí puedo tener un muñeco de nieve frente a mí 😍
Es una ternurita. Que lindo quedó, lo adore
Muchas gracias, me alegro mucho de que te haya gustado 🤗
Es una ternurita. Que lindo quedó, lo adore
Such a creative use of recycled materials. The process is clear and inspiring, especially the snowman and Christmas tree details. This diorama would make a beautiful holiday centerpiece. Great work.
Thank you very much 🥰, it was a long process because it has a lot of details, the snowman ☃️ I think was the best, I loved it, I'm very glad you liked it 🤗.
Uyyyy que bonito quedó, me encantó.
Gracias, quedó chuli heee. 🥰
Congratulations, your post has been curated by @dsc-r2cornell. You can use the tag #R2cornell. Also, find us on Discord
Felicitaciones, su publicación ha sido votada por @ dsc-r2cornell. Puedes usar el tag #R2cornell. También, nos puedes encontrar en Discord
Thank you very much for the support 😍🥰