🎀Realizando una Scrunchie con un estilo diferente.🎀
🎀Making a Scrunchie with a different style.🎀
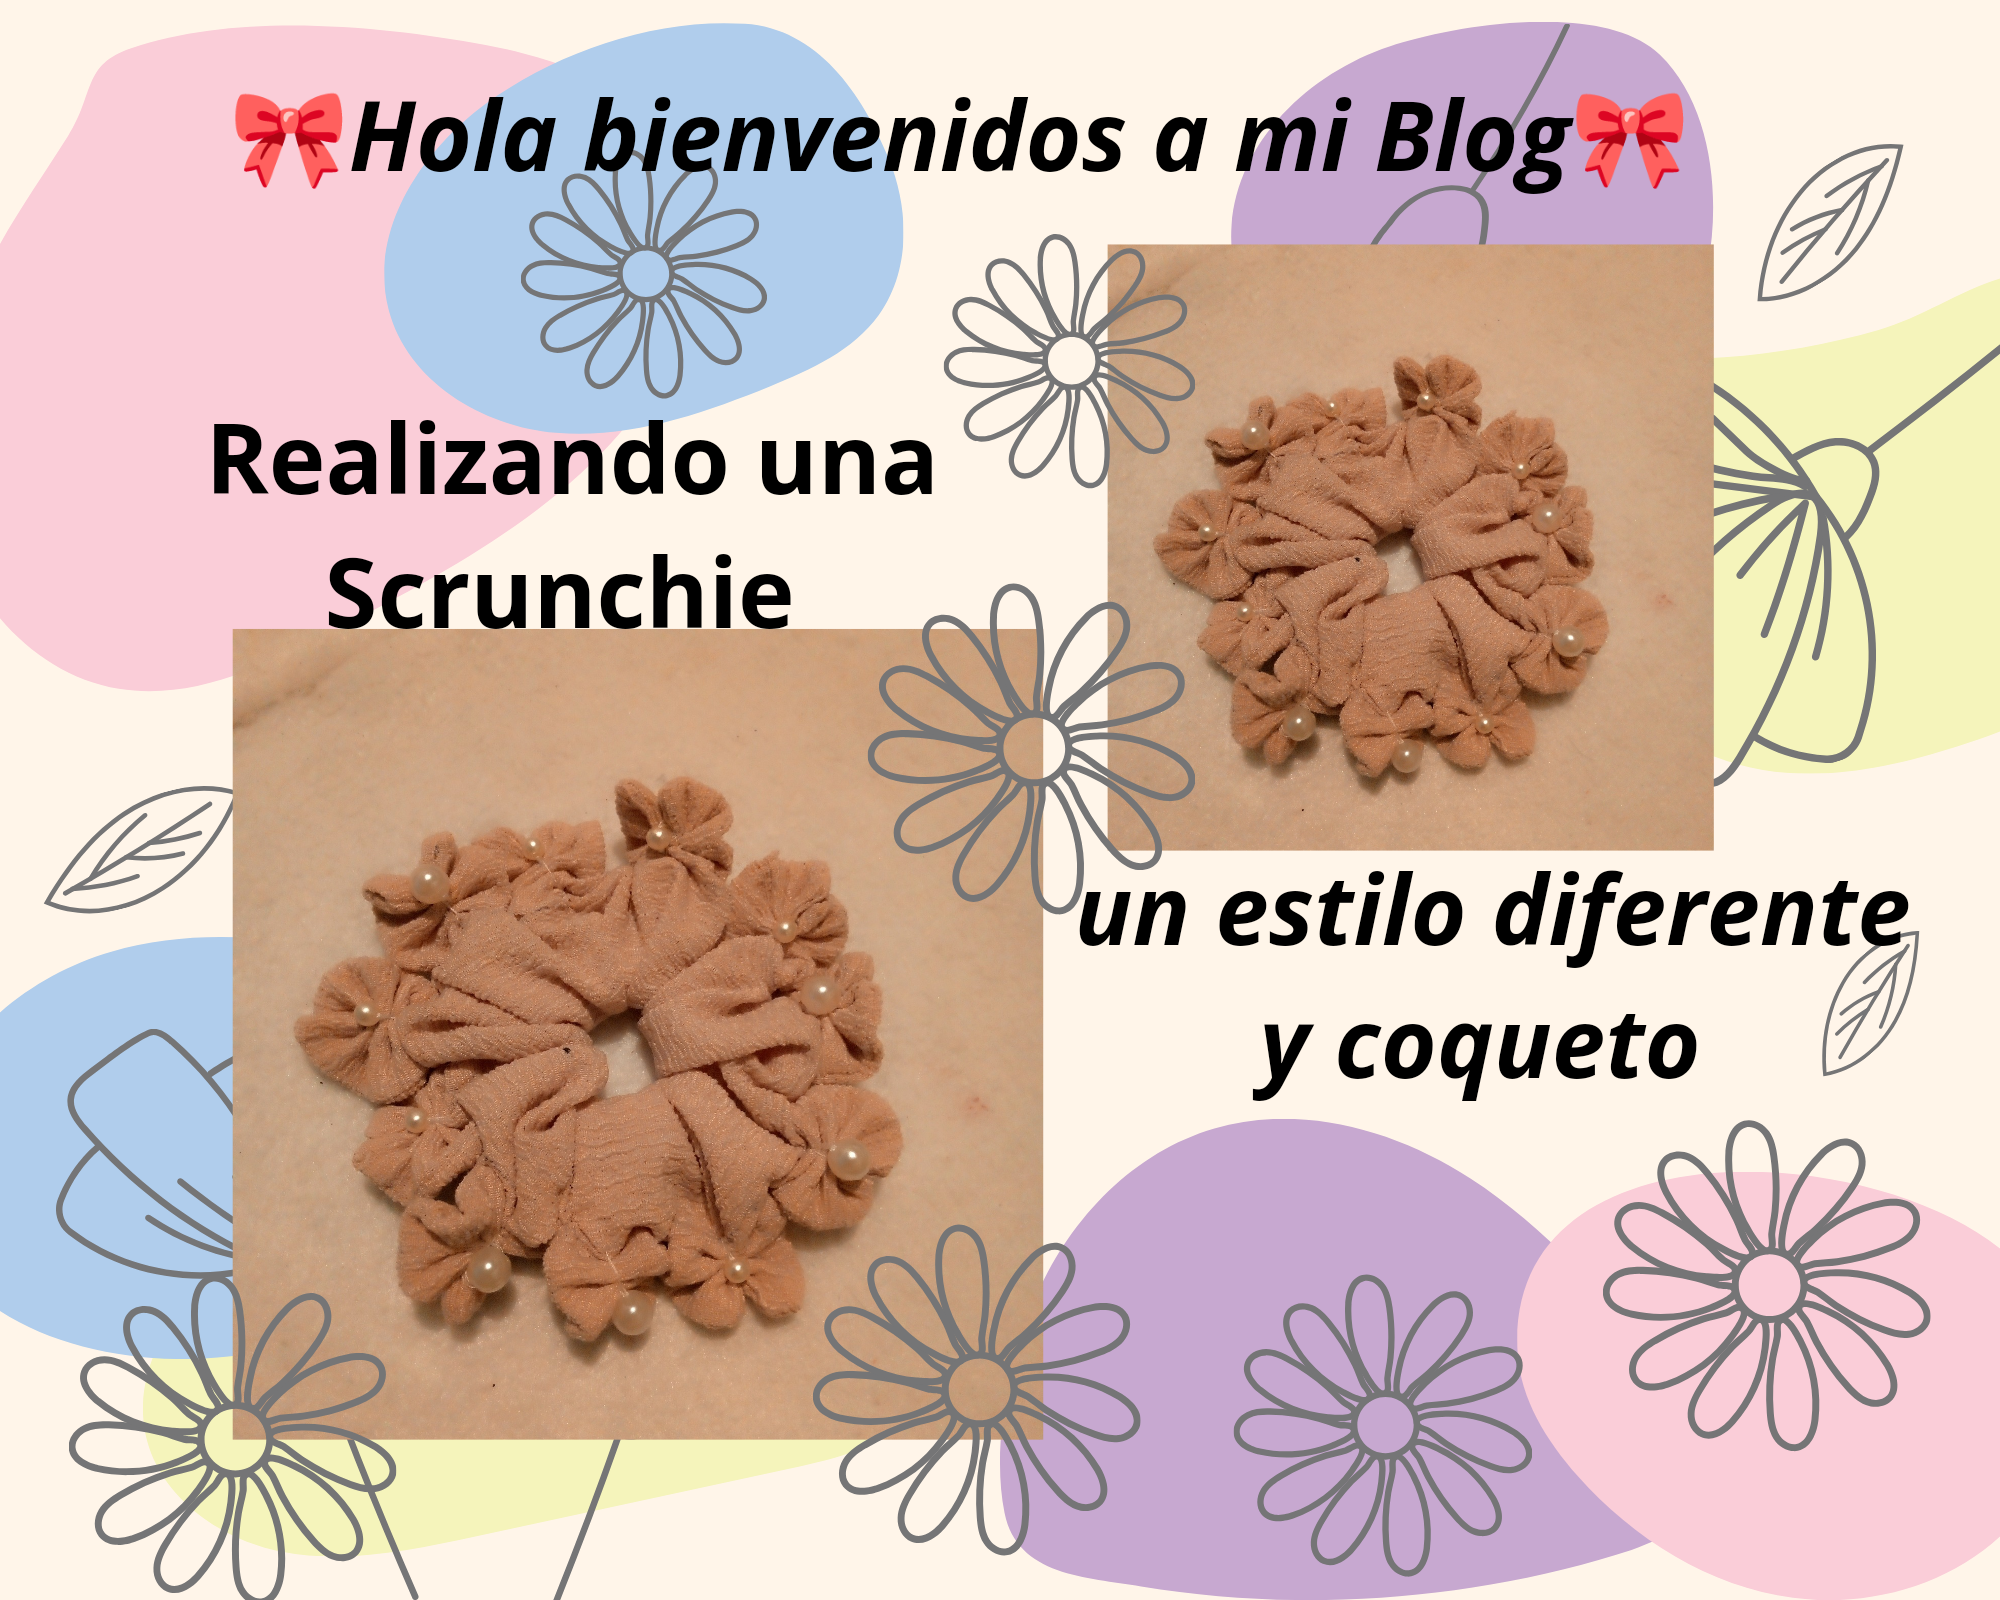
Hello, friends of diyhub, how are you? I send my greetings to you all. On this occasion, I am going to show you how I made a very pretty scrunchie that I learned from a video on YouTube and, for being the first time I made it, it turned out really pretty and I tried to do it as best as possible since this scrunchie model is more youthful and flirtatious with pearl decoration. I will try to give you a step-by-step explanation in case you like it and want to make it yourself. I hope you like it.
📝Materiales utilizados:
📝Materials used:

Pink piece of fabric, elastic band, hand sewing needle, thread in the color of the fabric, a ruler, pencil and beads for decoration.
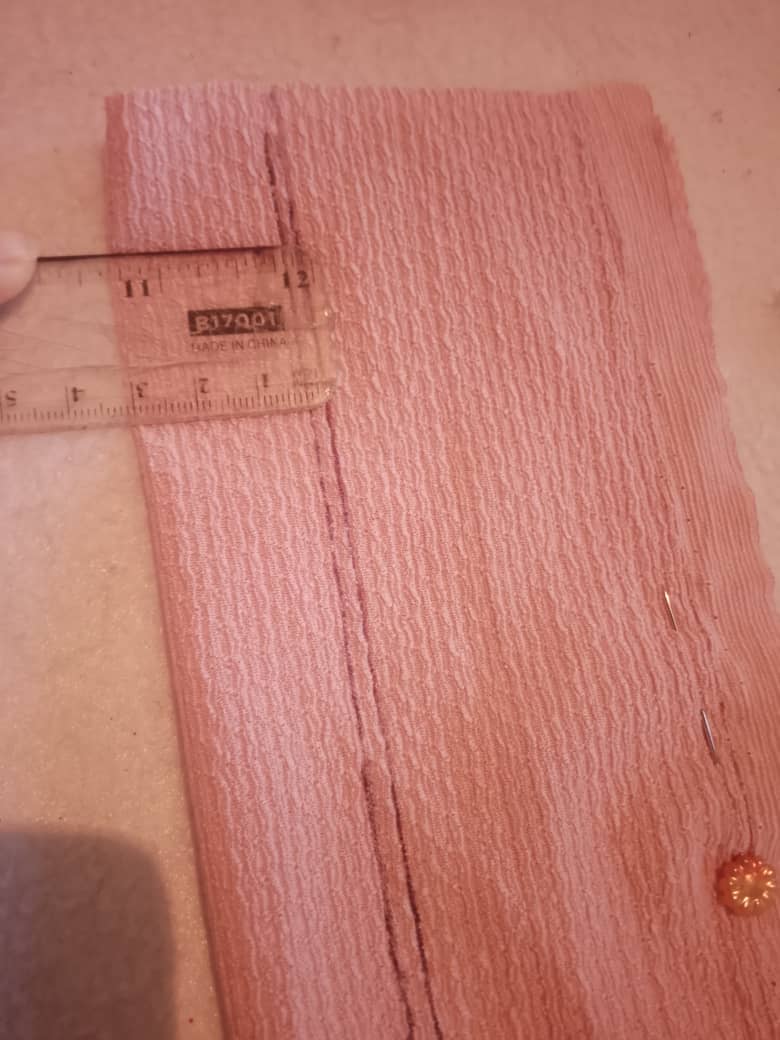
Primero comencé recortando lo que sería la scrunchie las medidas son 49cm de largo y 16 cm de ancho, después doble la tela a la mitad para empezar a dibujar la forma por dónde se va a coser,antes de empezar a dibujar me ayude de unos alfileres para que la tela no se mueva.
First I started by cutting out what would be the scrunchie, the measurements are 49cm long and 16cm wide, then I folded the fabric in half to start drawing the shape where it was going to be sewn, before starting to draw I helped myself with some pins so that the fabric would not move.
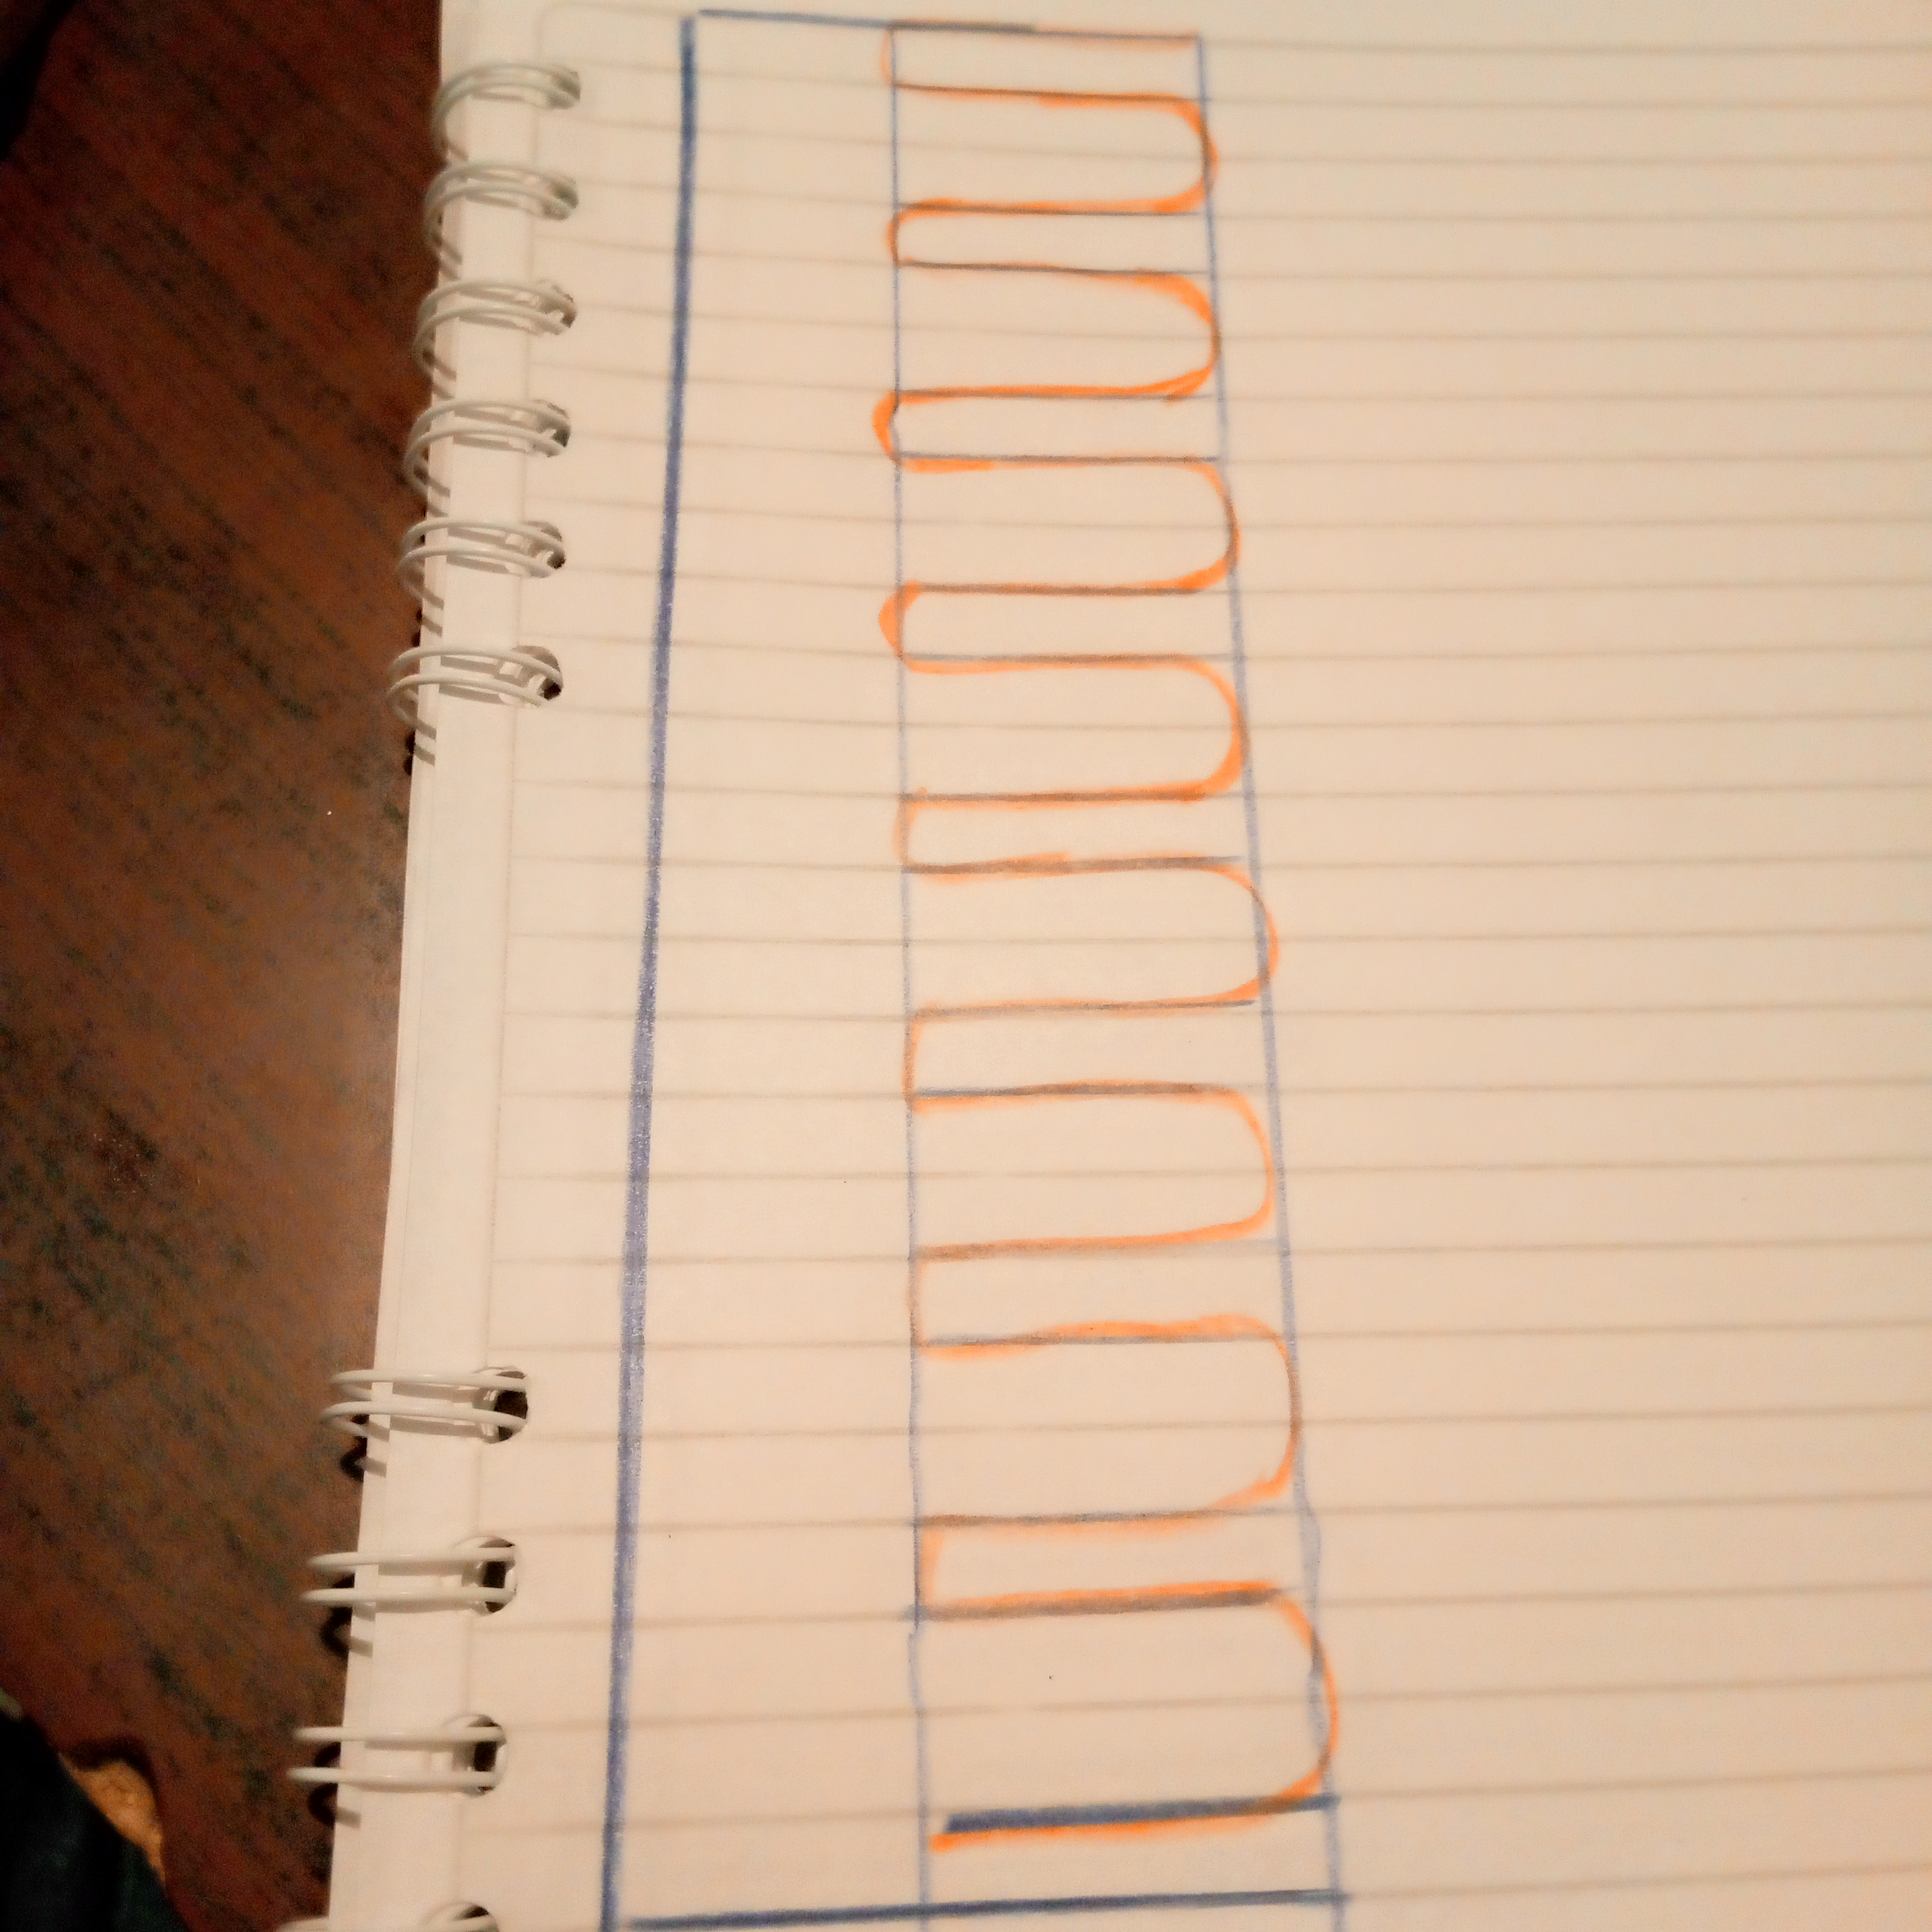
Hay que dejar un espacio de 3cm que es por dónde va la liga elástica, y en el espacio sobrante se hace el dibujo. El dibujo del diseño lo hice en una hoja porque en la tela no se nota dónde cosi entonces dibuje la forma,las líneas azules es el espacio dónde va cada costura y la línea anaranjada es la forma que vamos a coser es parecido a curvas.
You have to leave a space of 3 cm where the elastic band goes, and in the remaining space you make the drawing. I made the drawing of the design on a sheet of paper because on the fabric you can't see where I sewed, so I drew the shape. The blue lines are the space where each seam goes and the orange line is the shape we are going to sew, it looks like curves.
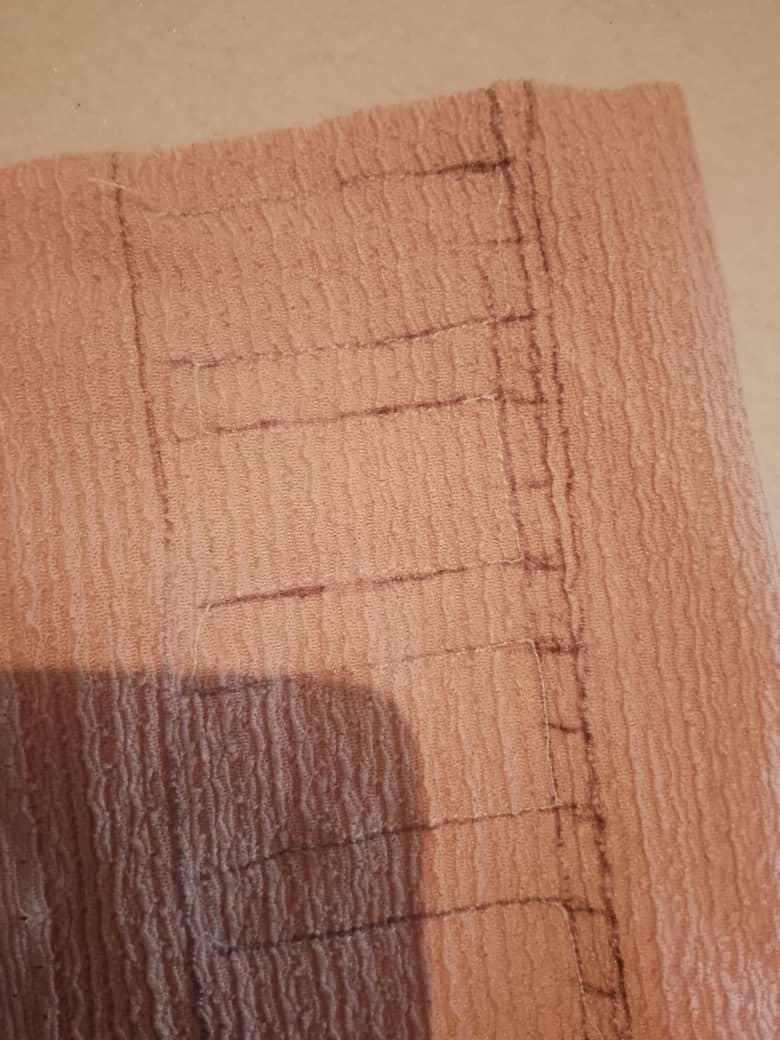
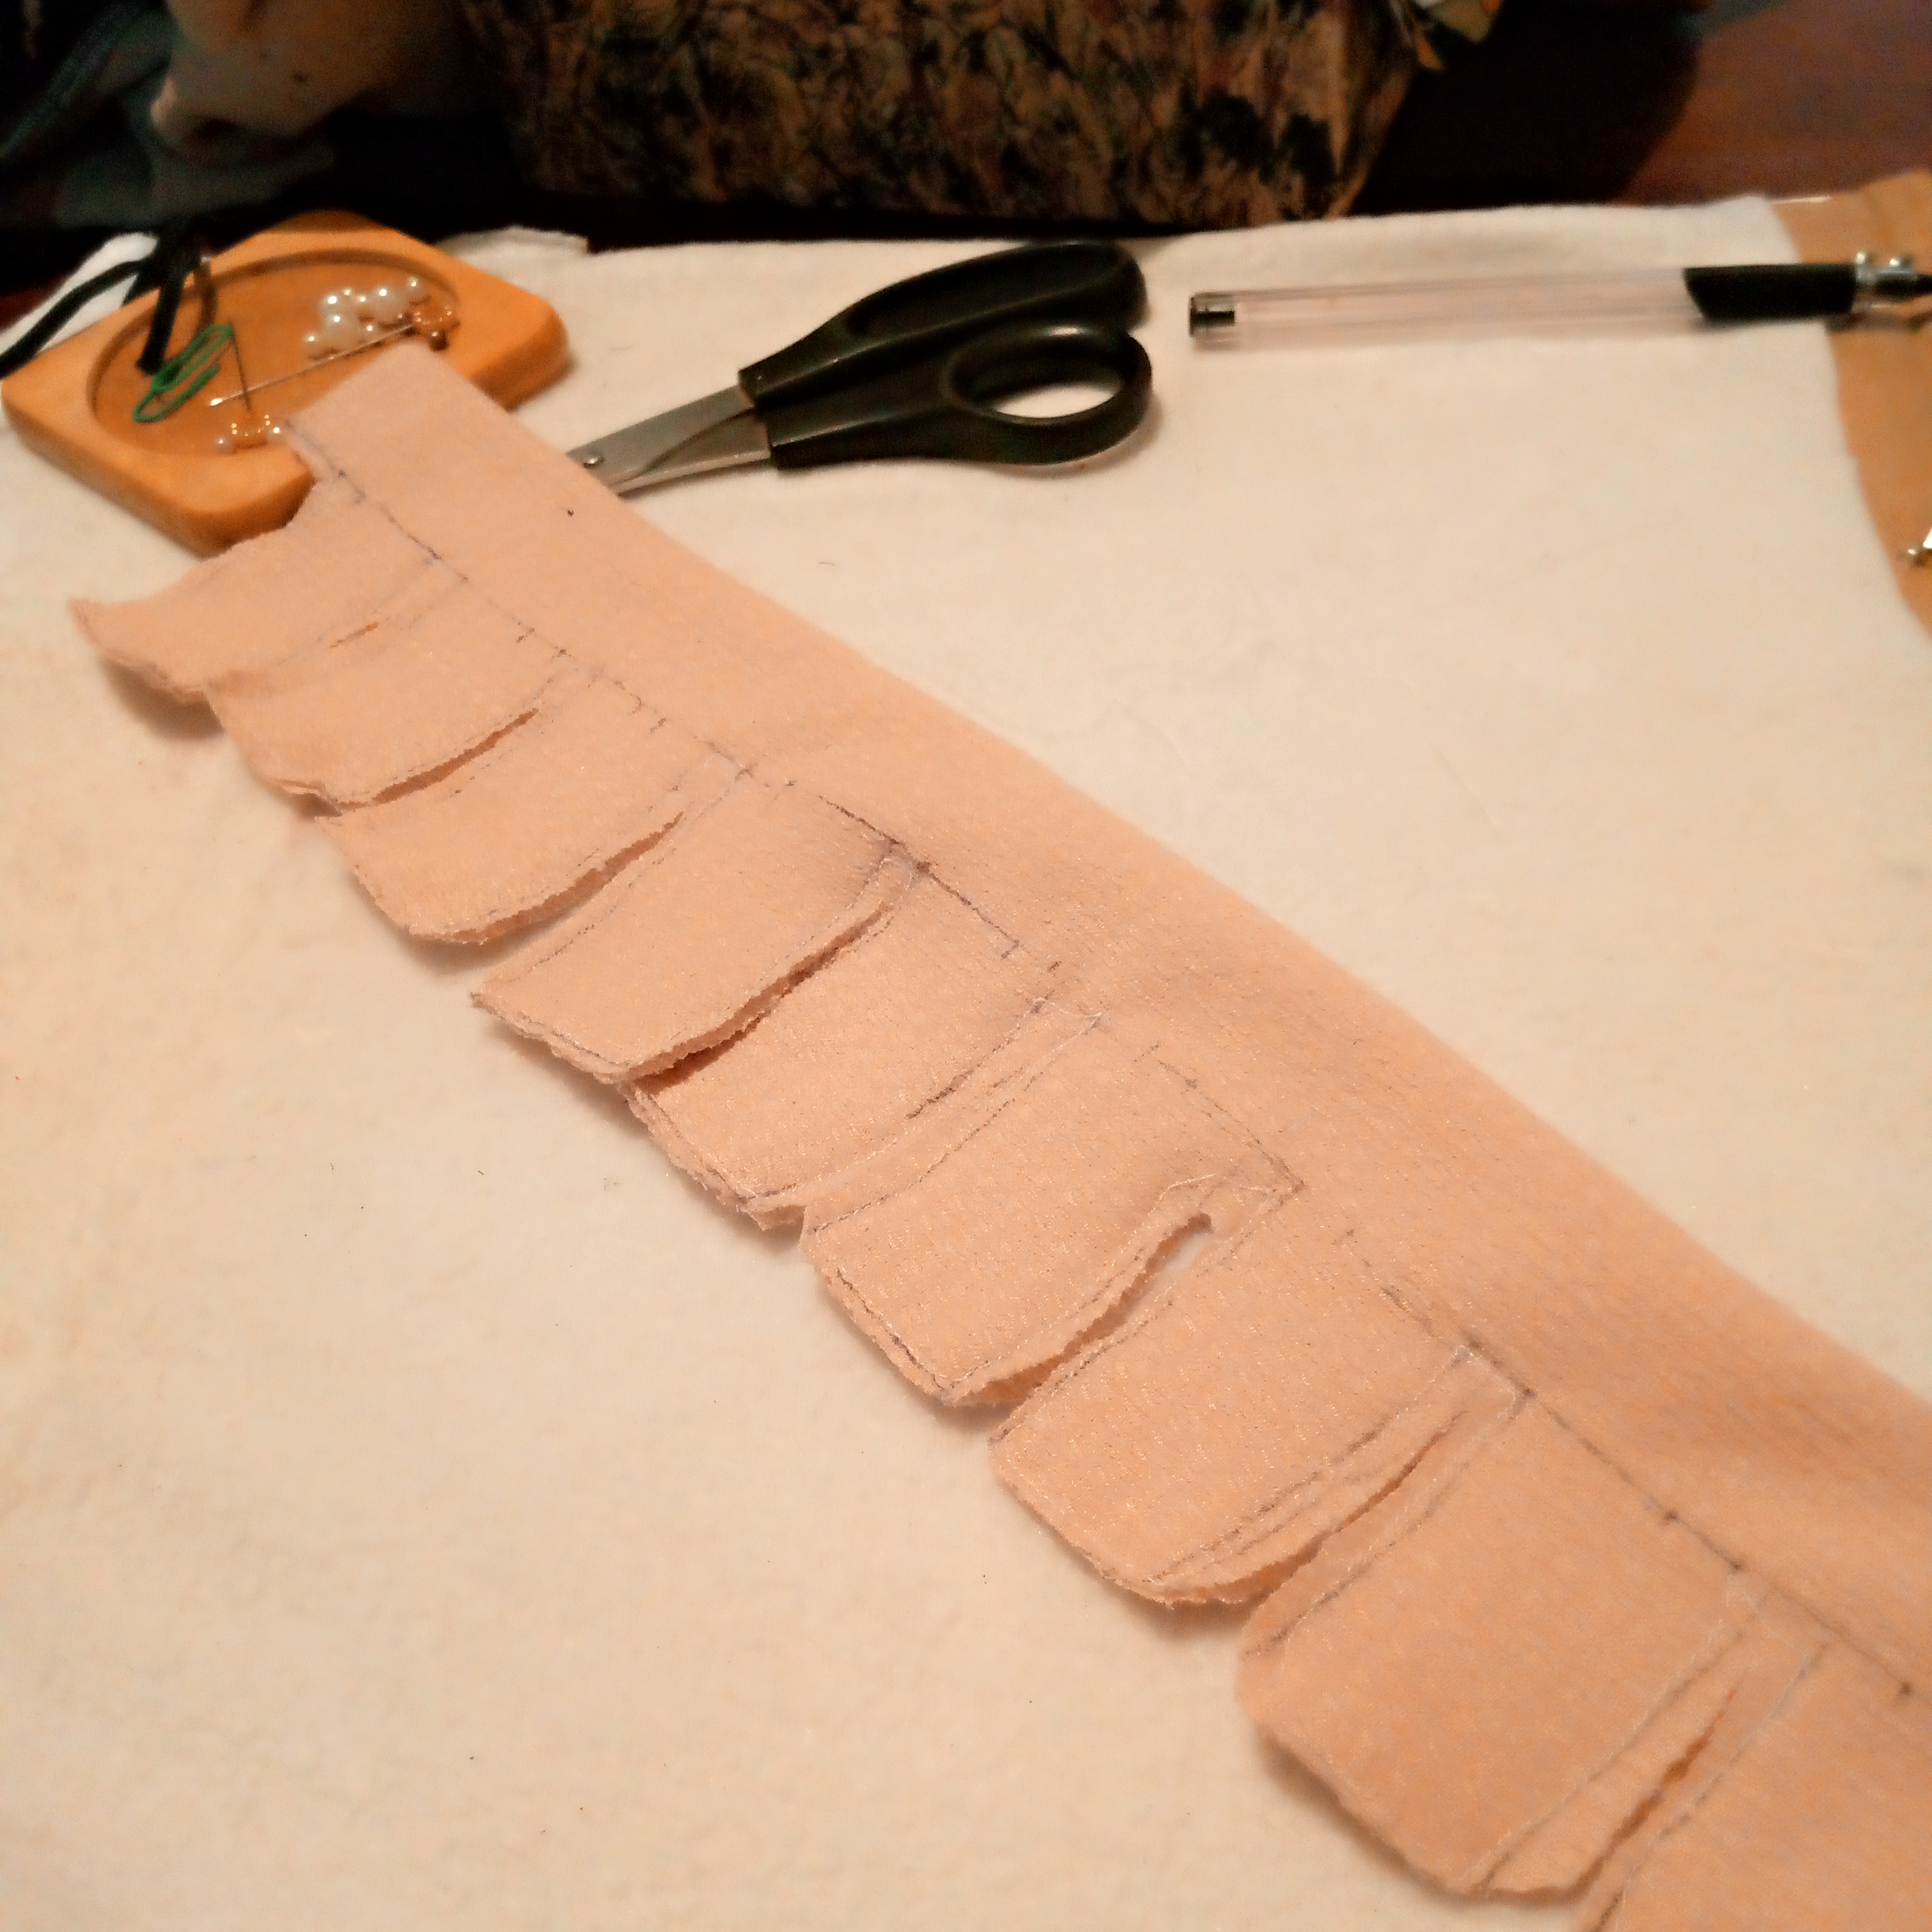
After you sew the scrunchie, turn the fabric over and with the help of a pencil or scissors try to arrange each space of the scrunchie since in the end it looks like it has flower petals.
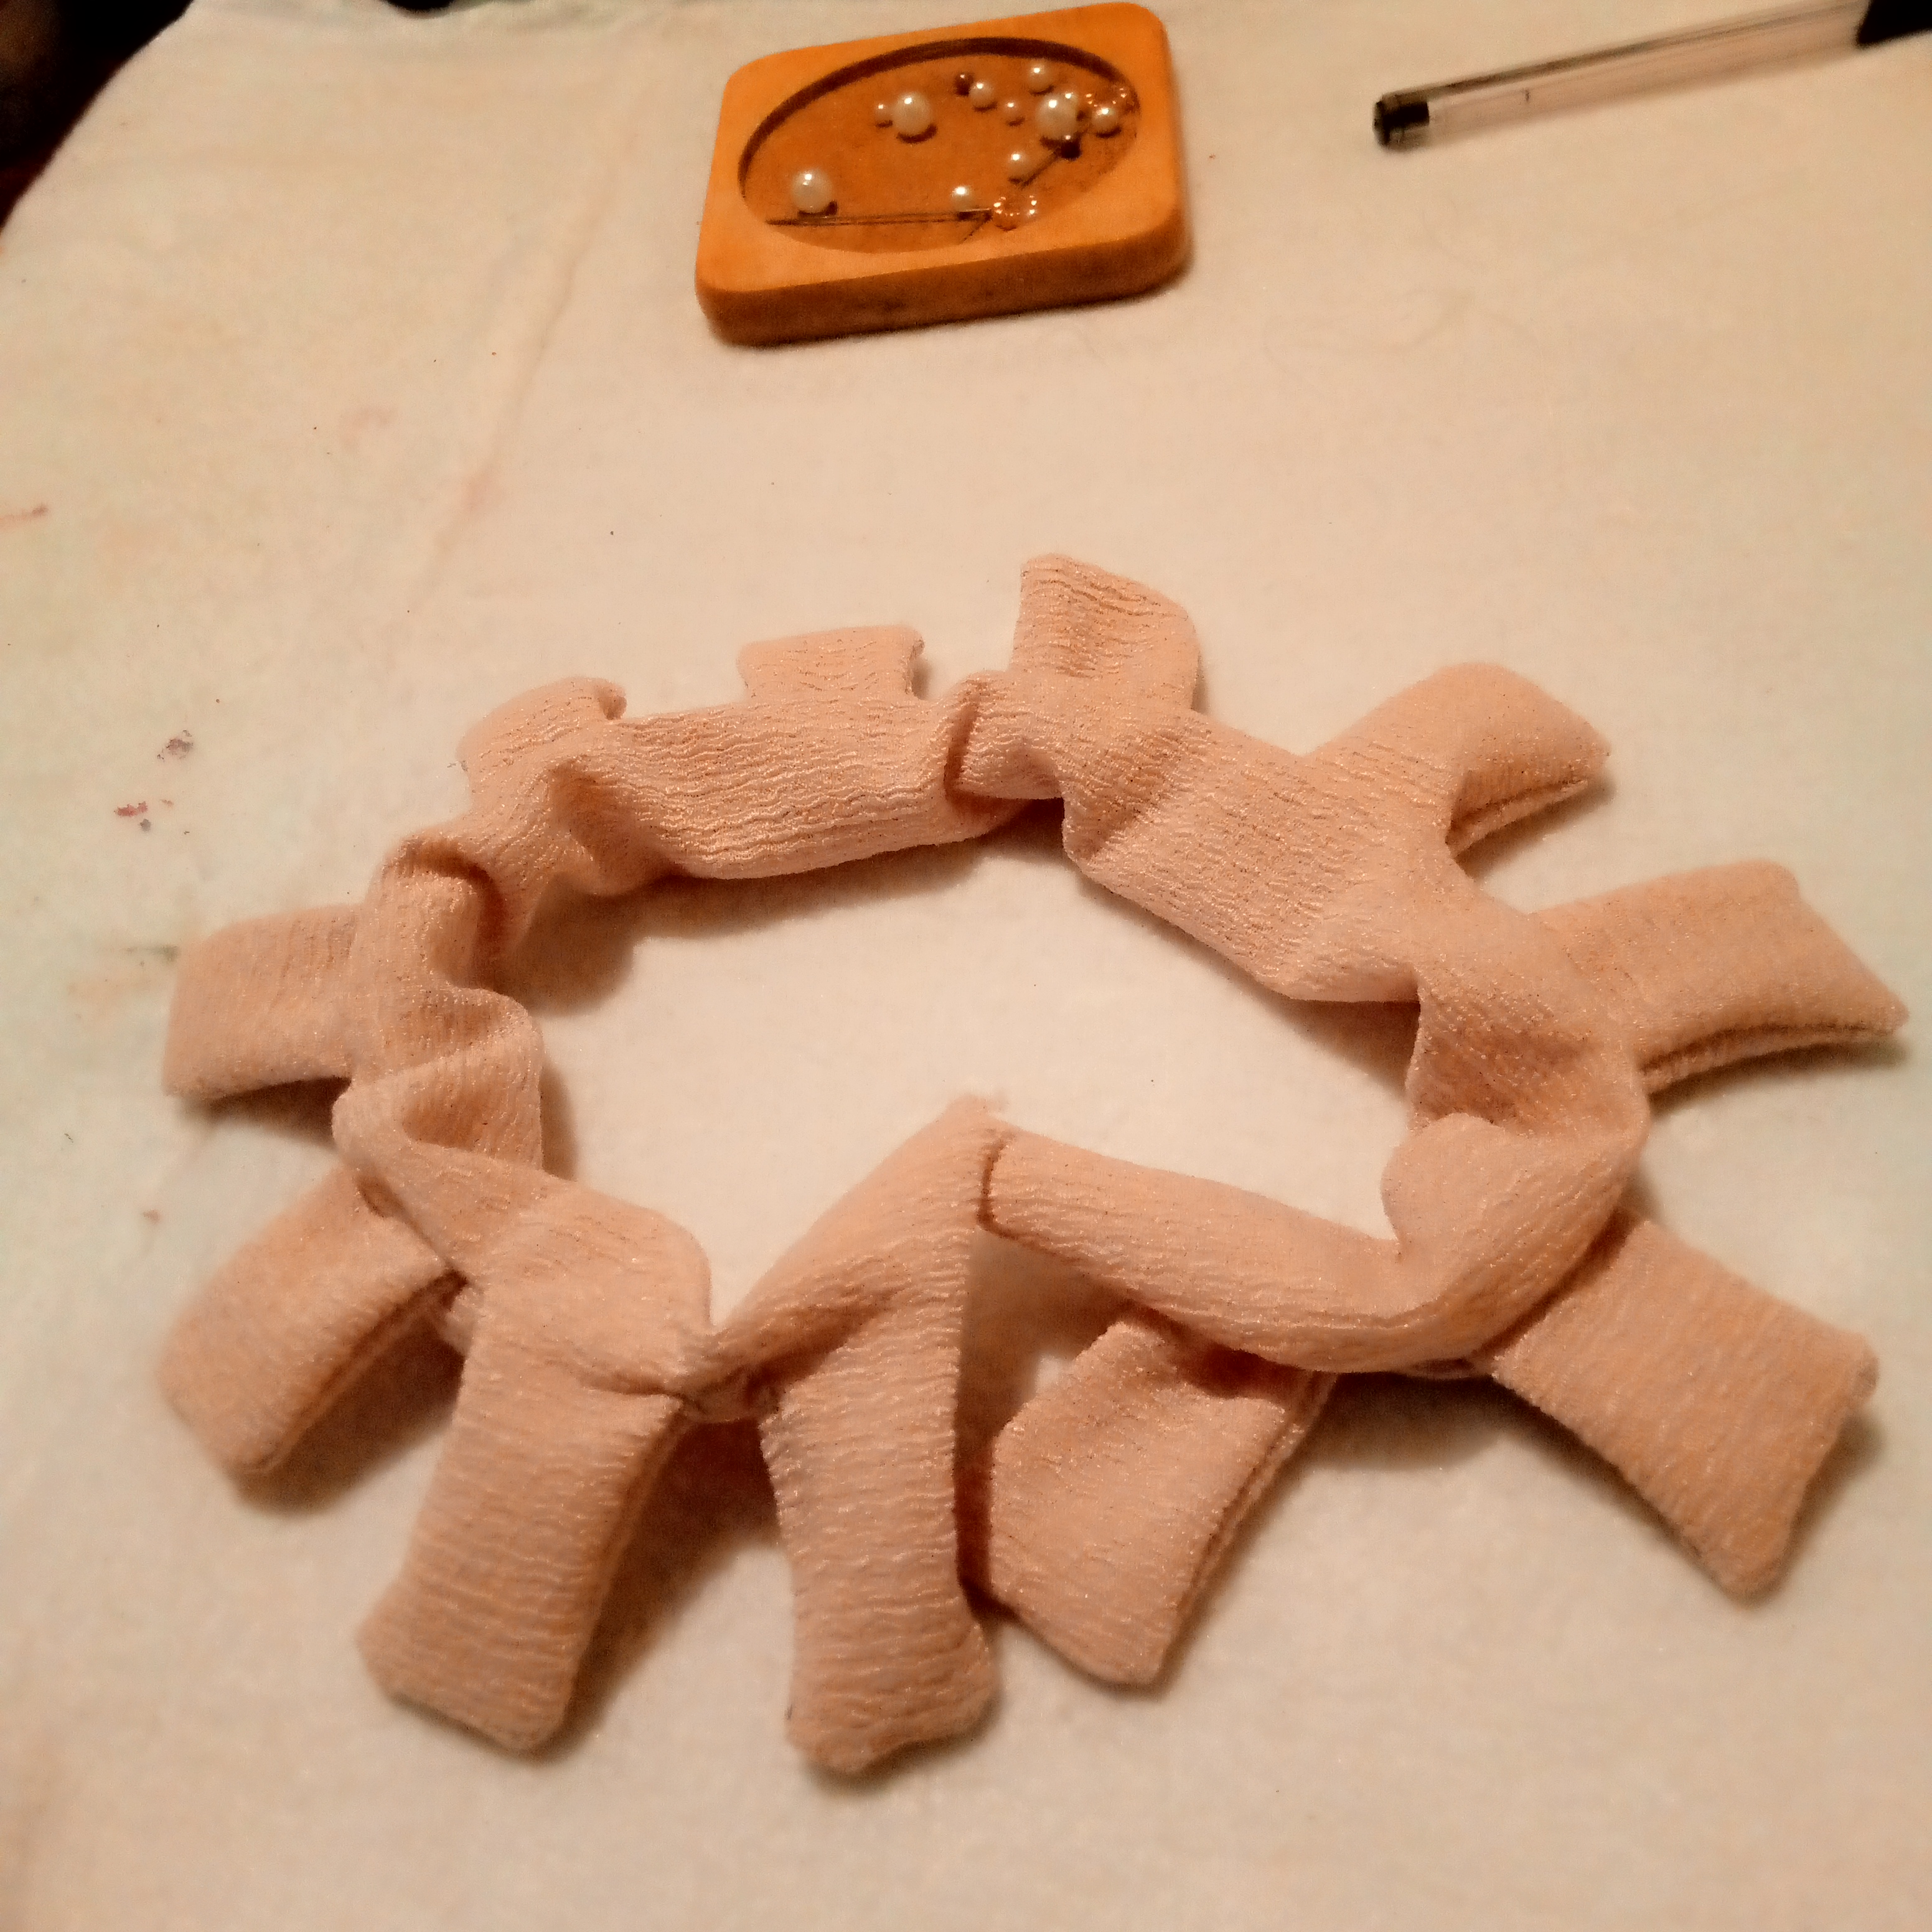
Then I put the elastic band on it, the measurements of the band are 10cm, and I tied a knot so it wouldn't come loose and just in case I also sewed a few stitches.

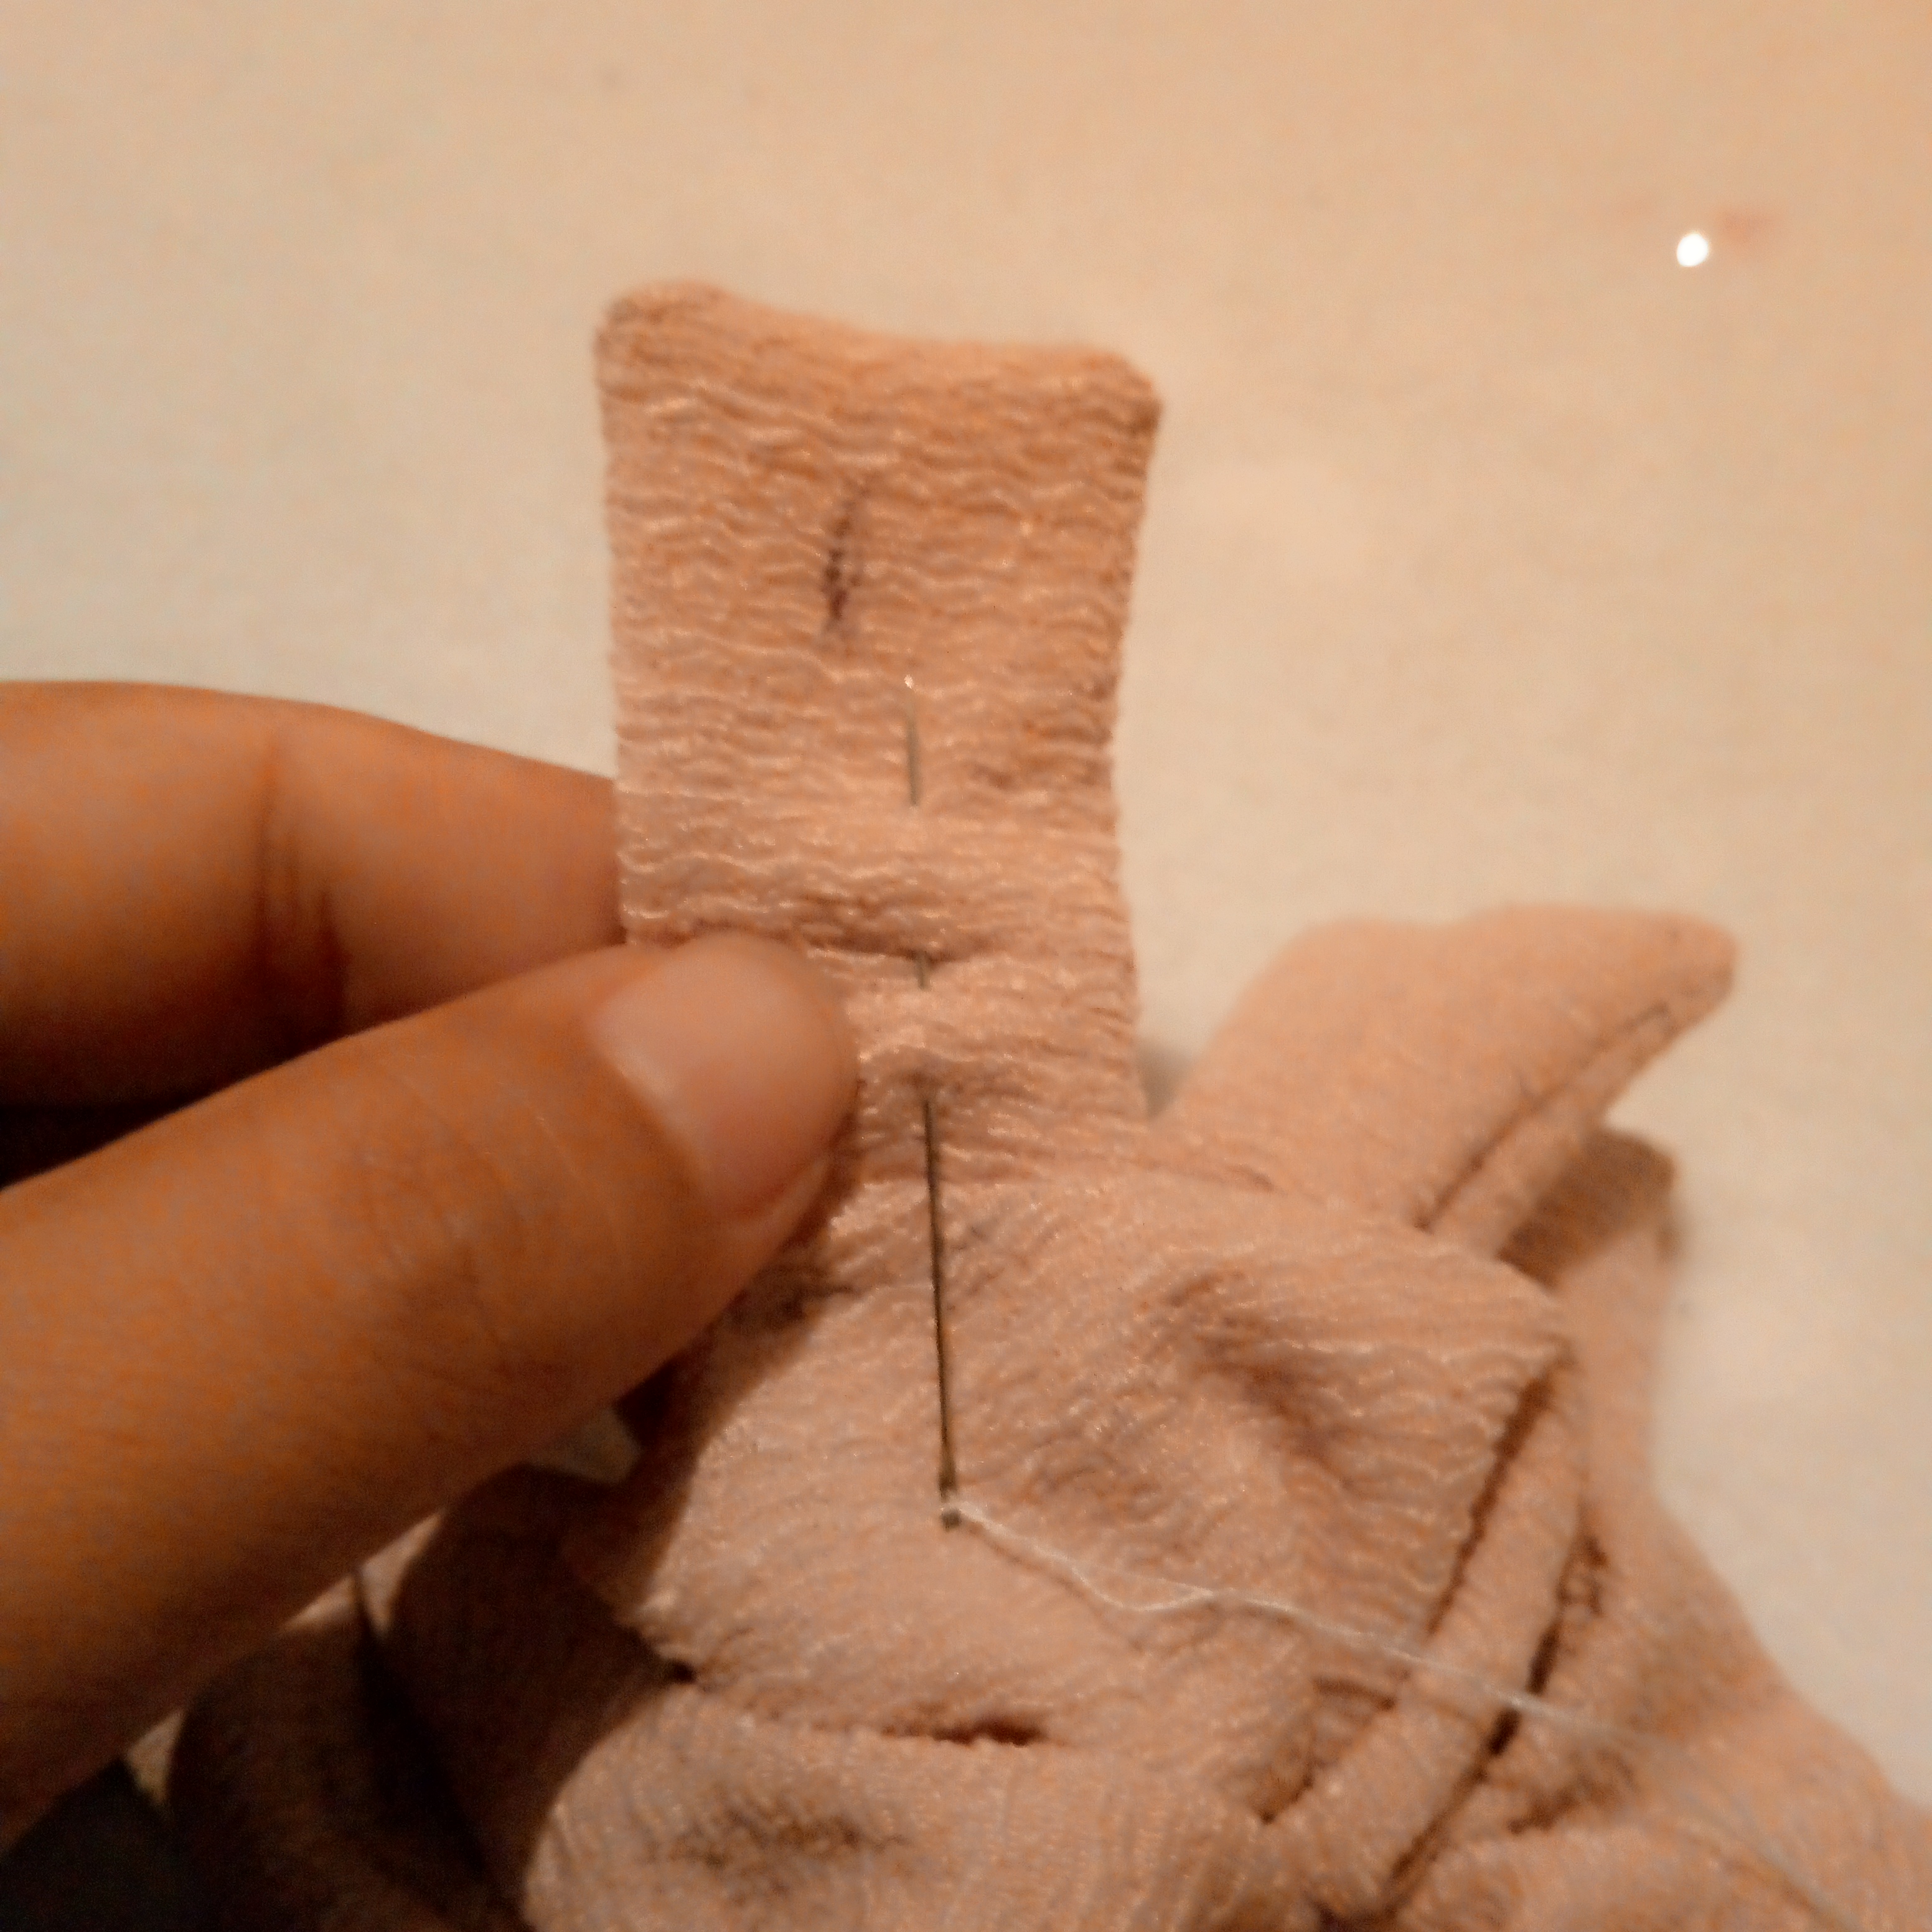
Then I started to sew with the hand needle some small seams up and down, on each petal, the idea is to try to make it look like bows, I also placed the pearl sewn on at once, I also did this process several times because the bow didn't come out and the pearl wouldn't fit in the middle.
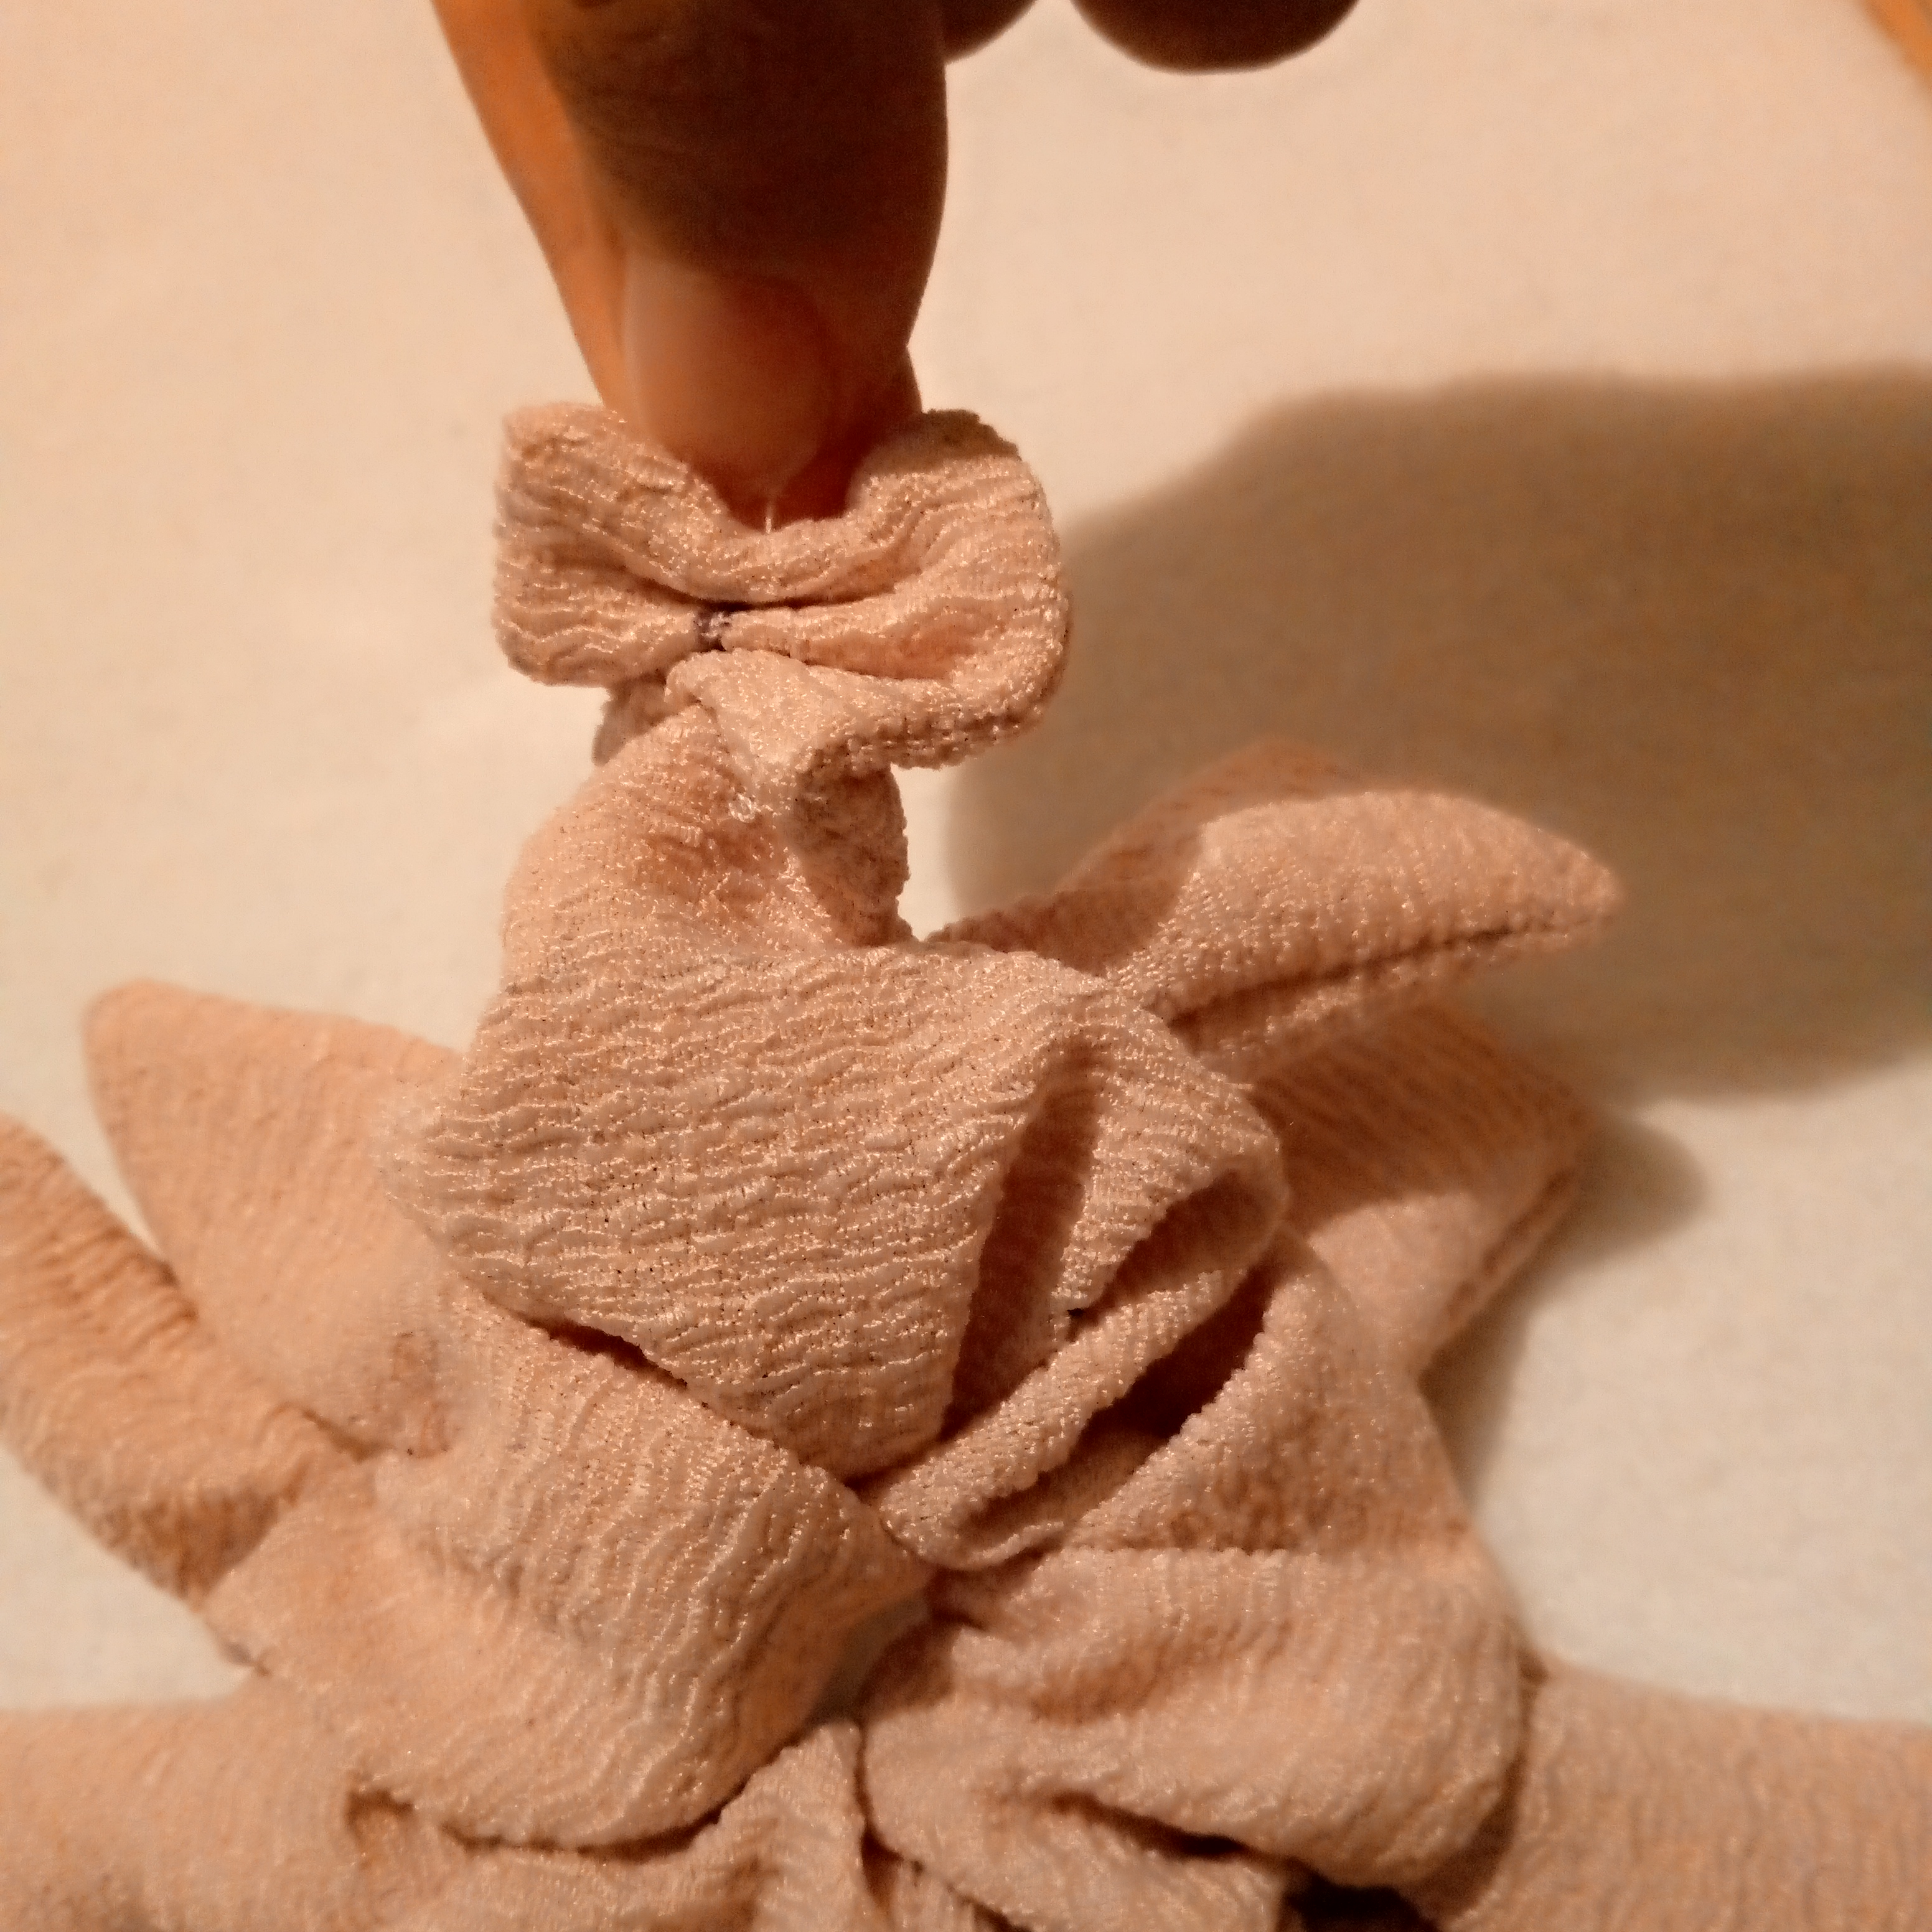
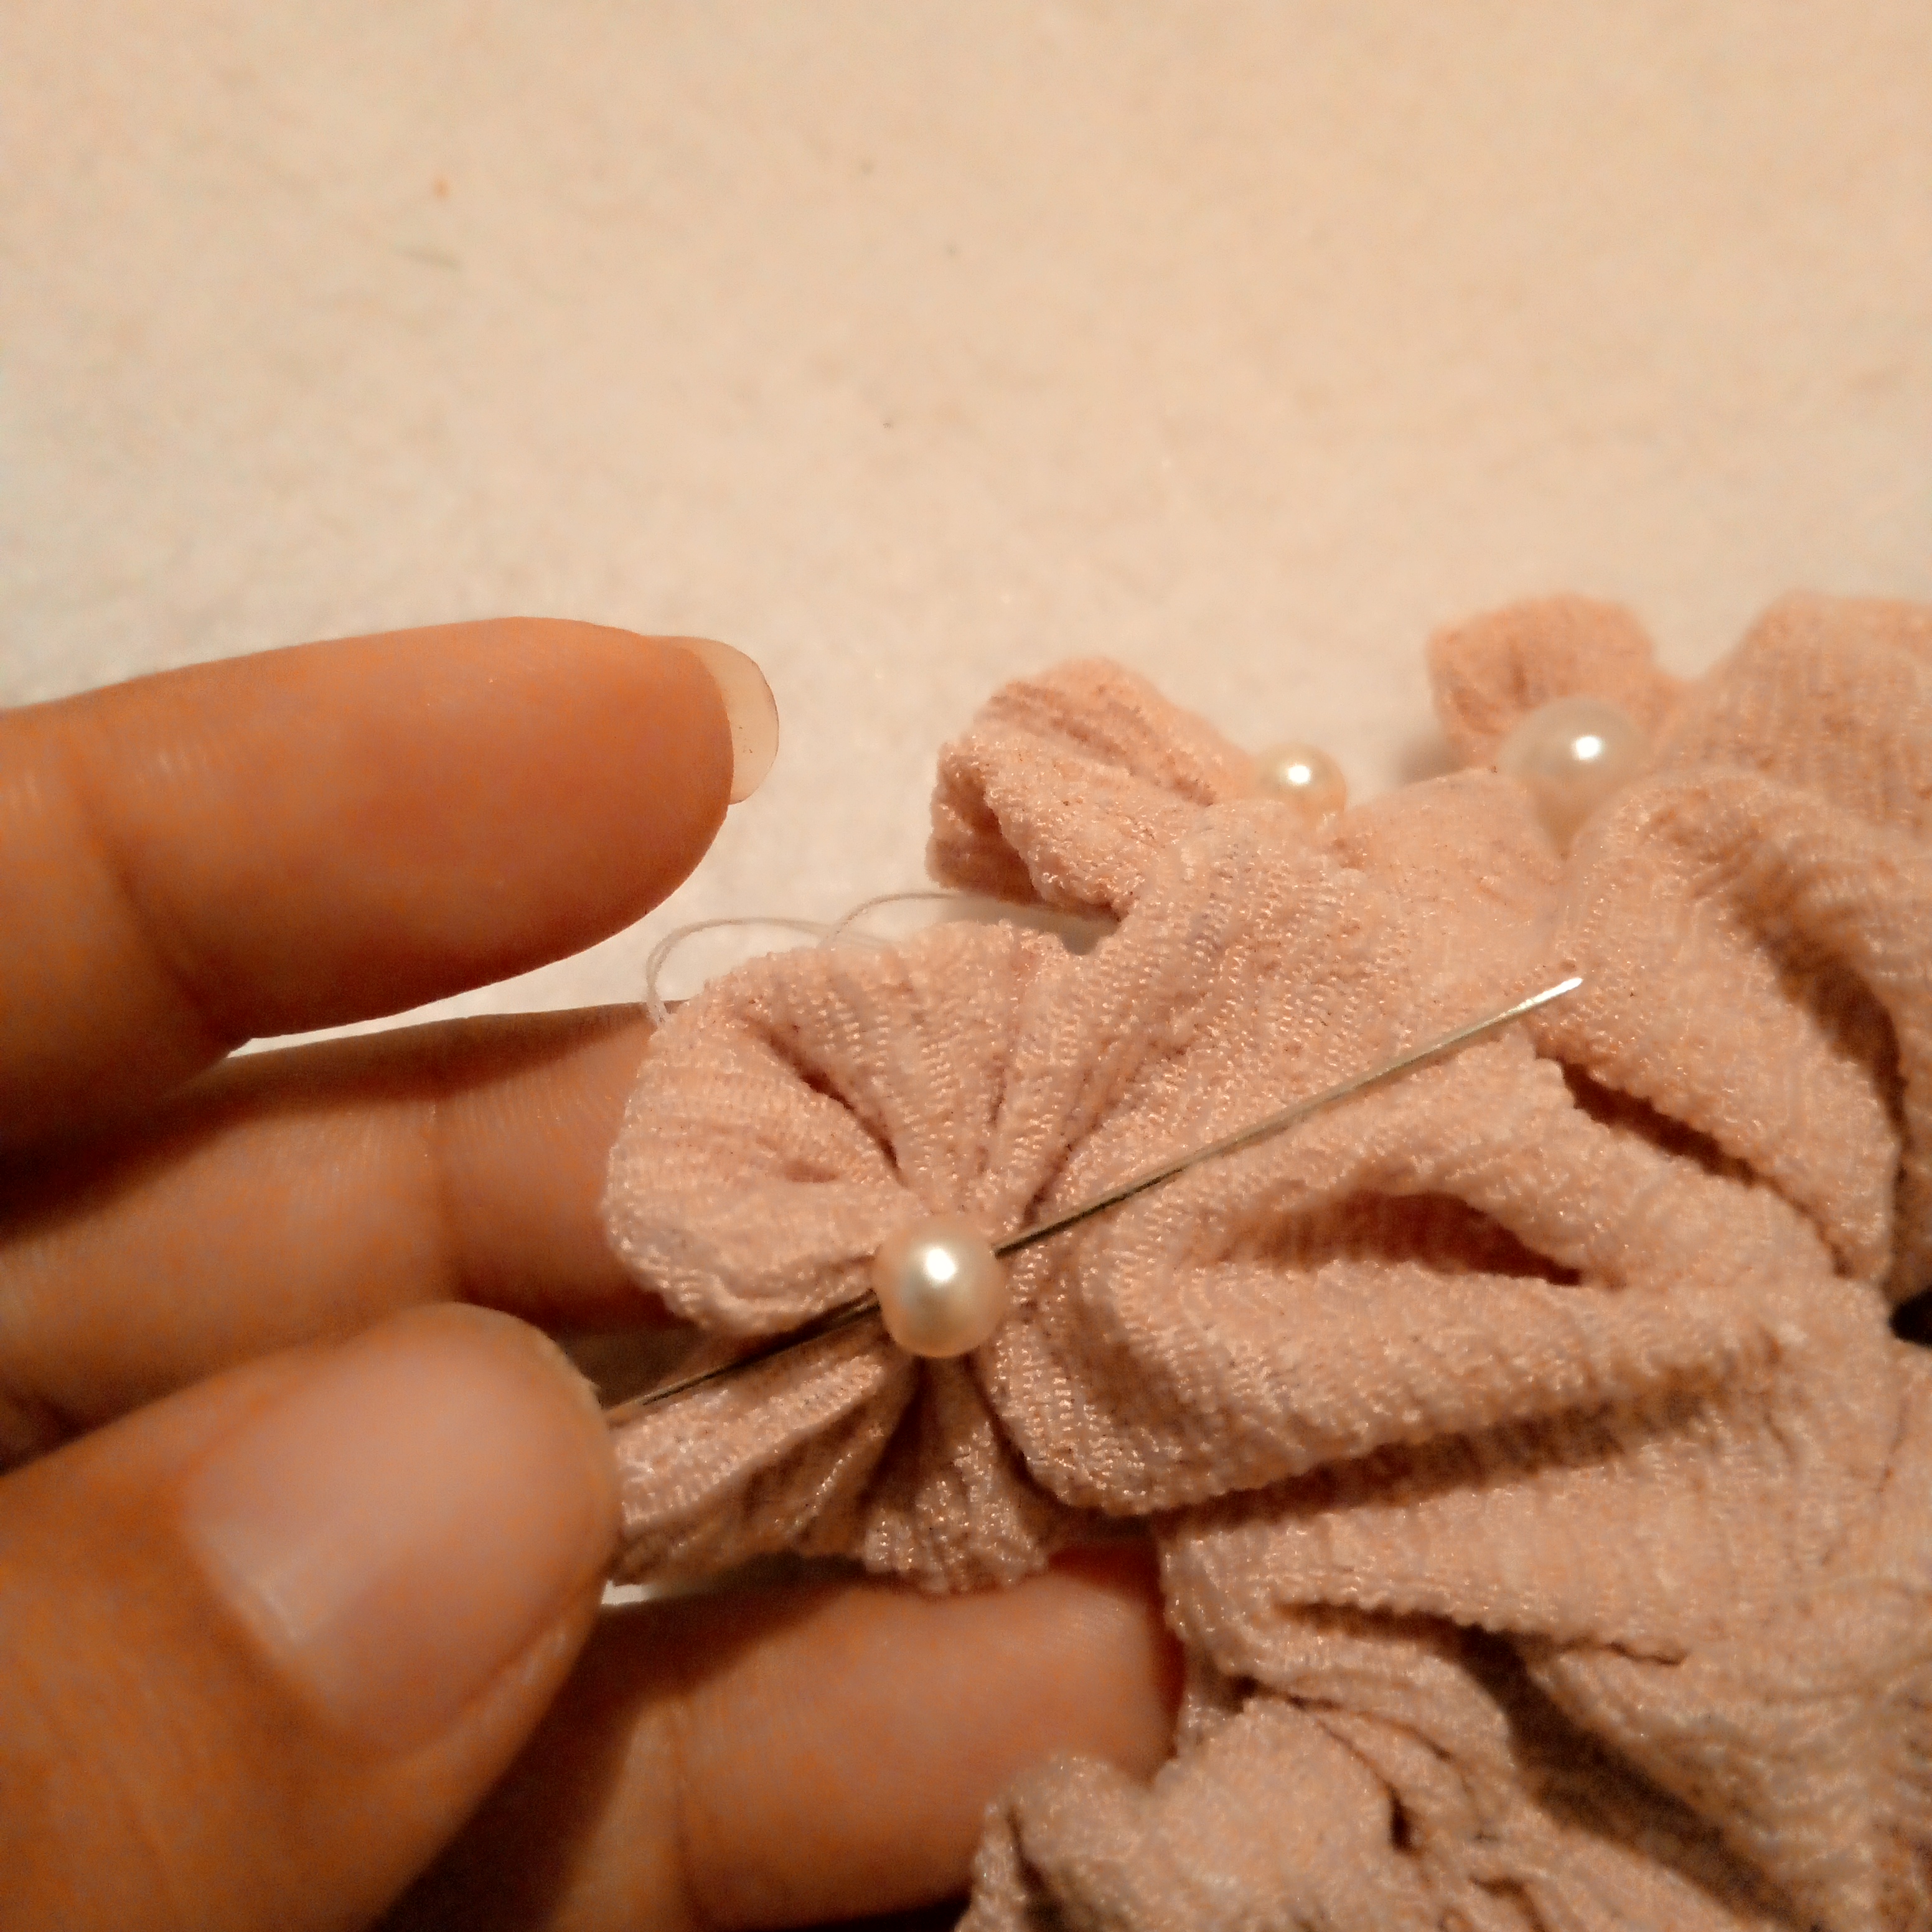
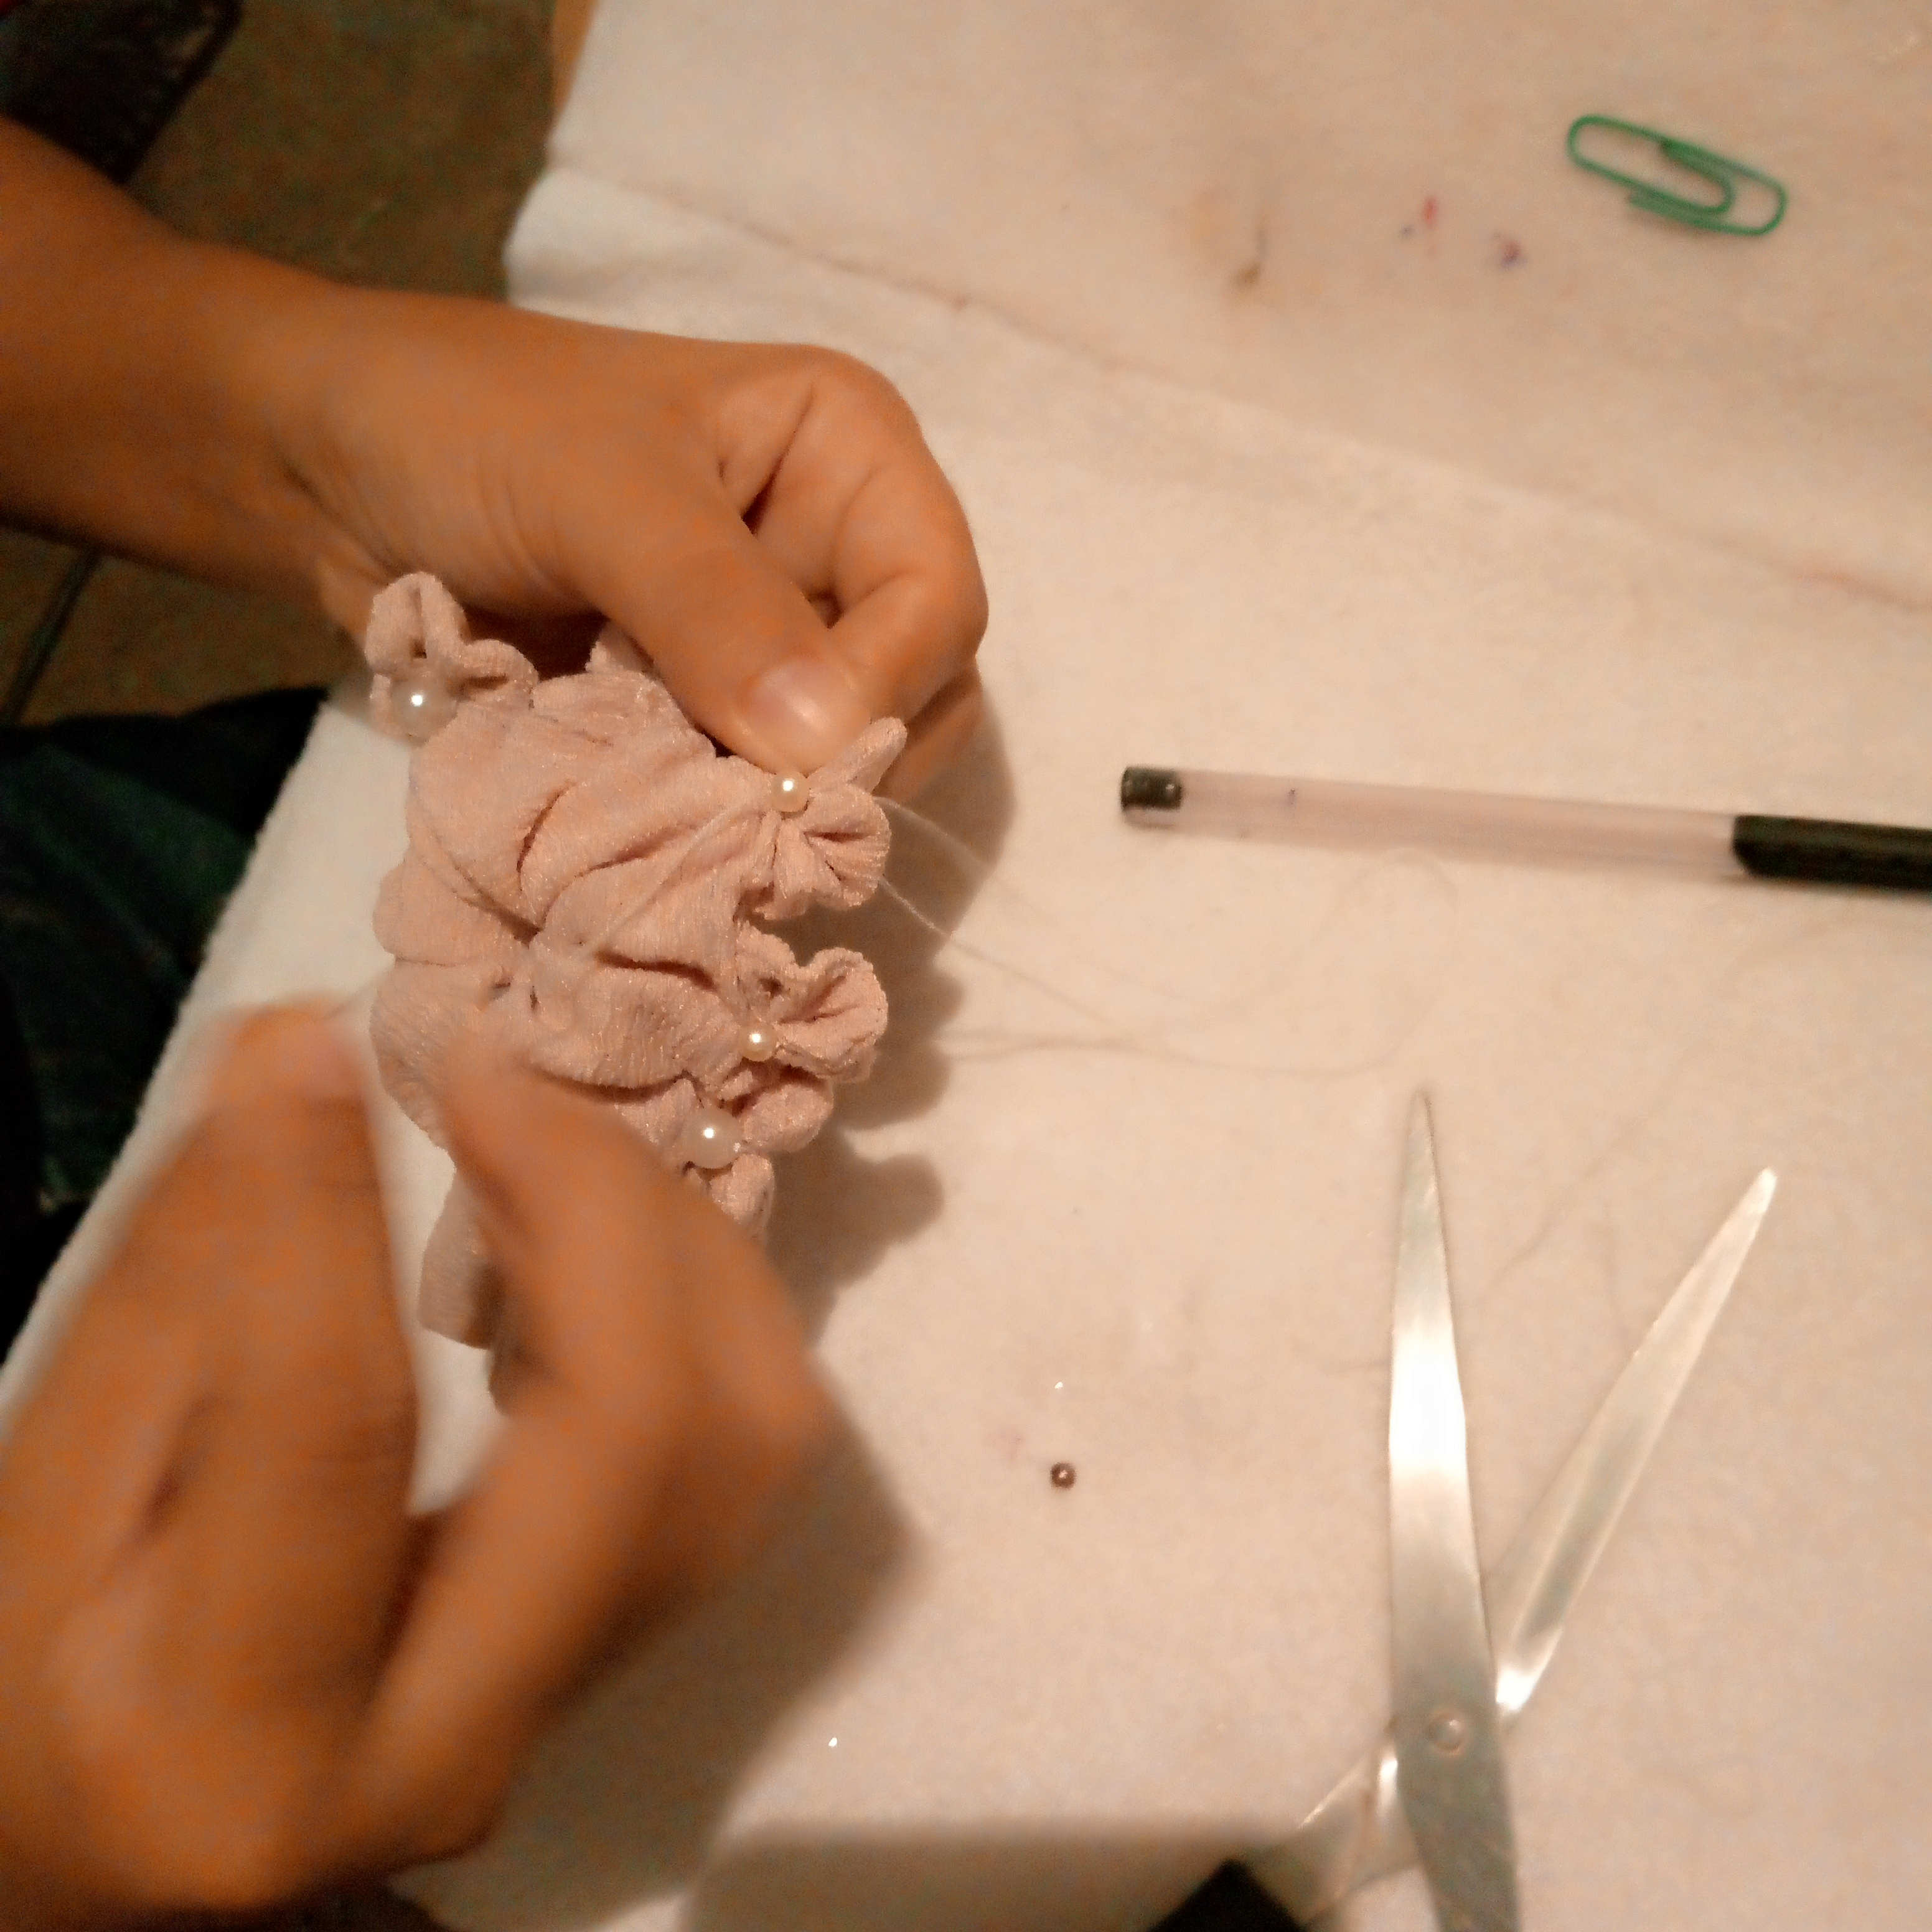
And now I'm putting the finishing touches on the scrunchie to finish it off, and this hair accessory is so pretty that I'm sure you'll like it as much as I do. I hope to be able to share more of this type of crafts with you.
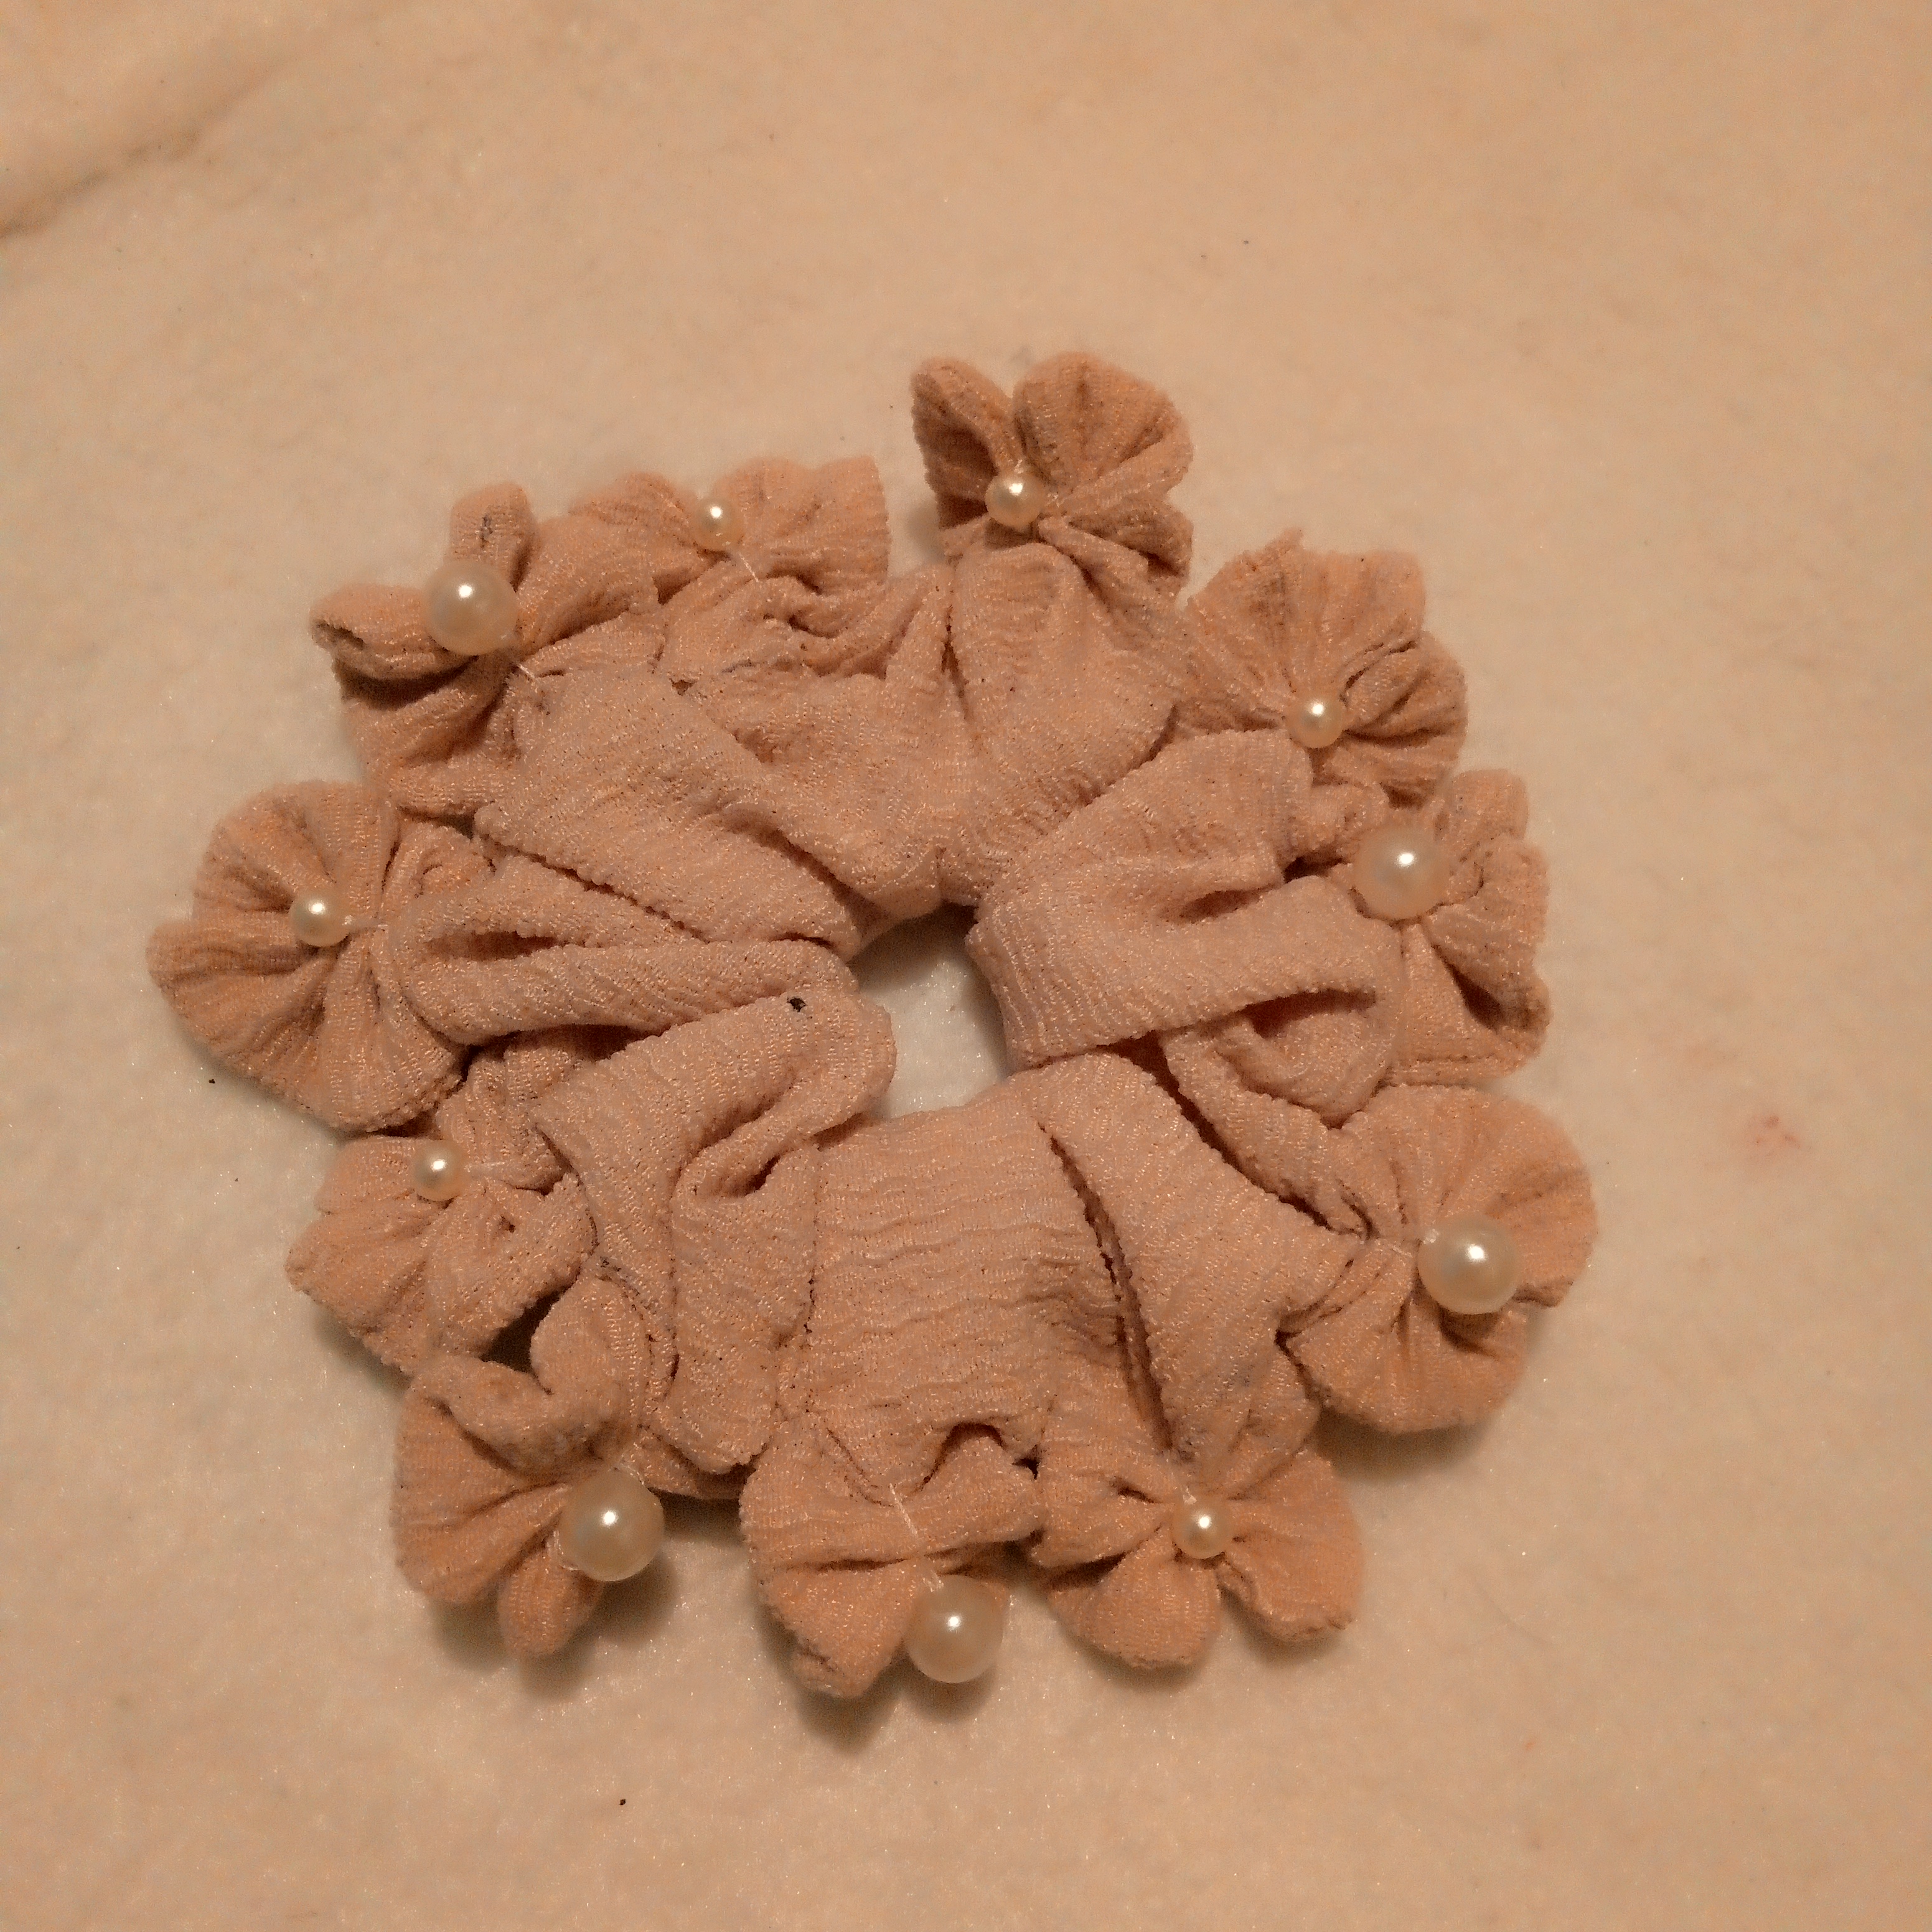
📝Text editing is my own,🎞️the photos were taken from my 📱Infinix Smart 7 cell phone🔡and translated in Google translate.
☺️Gracias por visitar mi Blog.👋
☺️Thank you for visiting my Blog.👋
Muy bonito tu scrunchie, el toque con las perlas le queda perfecto. Me encantó el color que elegiste. Excelente trabajo!
Hola gracias que bueno que te gustó la scrunchie gracias.
This scrunchie design is both elegant and creative. Lovely work.
Hola, gracias muchas gracias que bueno que te allá gustado
Congratulations @stefany0720! You have completed the following achievement on the Hive blockchain And have been rewarded with New badge(s)
Your next target is to reach 4500 upvotes.
You can view your badges on your board and compare yourself to others in the Ranking
If you no longer want to receive notifications, reply to this comment with the word
STOPquedaron hermosas, le da un toque elegante!
They are beautiful, it gives an elegant touch!
This looks distinct and so fashionable.
Weldone @stefany0720