Here is the post on installing the repaired transmission back into the vehicle, that I promised. This is not difficult, but it is hard work, so make sure you can lift it into place. I use the tried and true method, and invited a friend to help place it back.
My Dakota is a very difficult vehicle to do this with, because it is a long bed. This means they put a full sized transmission and rear end into a mid sized truck. This means that a large set, is shoehorned into a smaller location! This means that this is about as hard as it gets, for this job....
Start with safety:

It makes zero sense to work on a transmission, if you don't survive the process! When you raise a vehicle it needs to be solid, and NOT just up on a jack! A vehicle improperly raised and blocked, can end your life, so don't skimp here.
One small side track here:
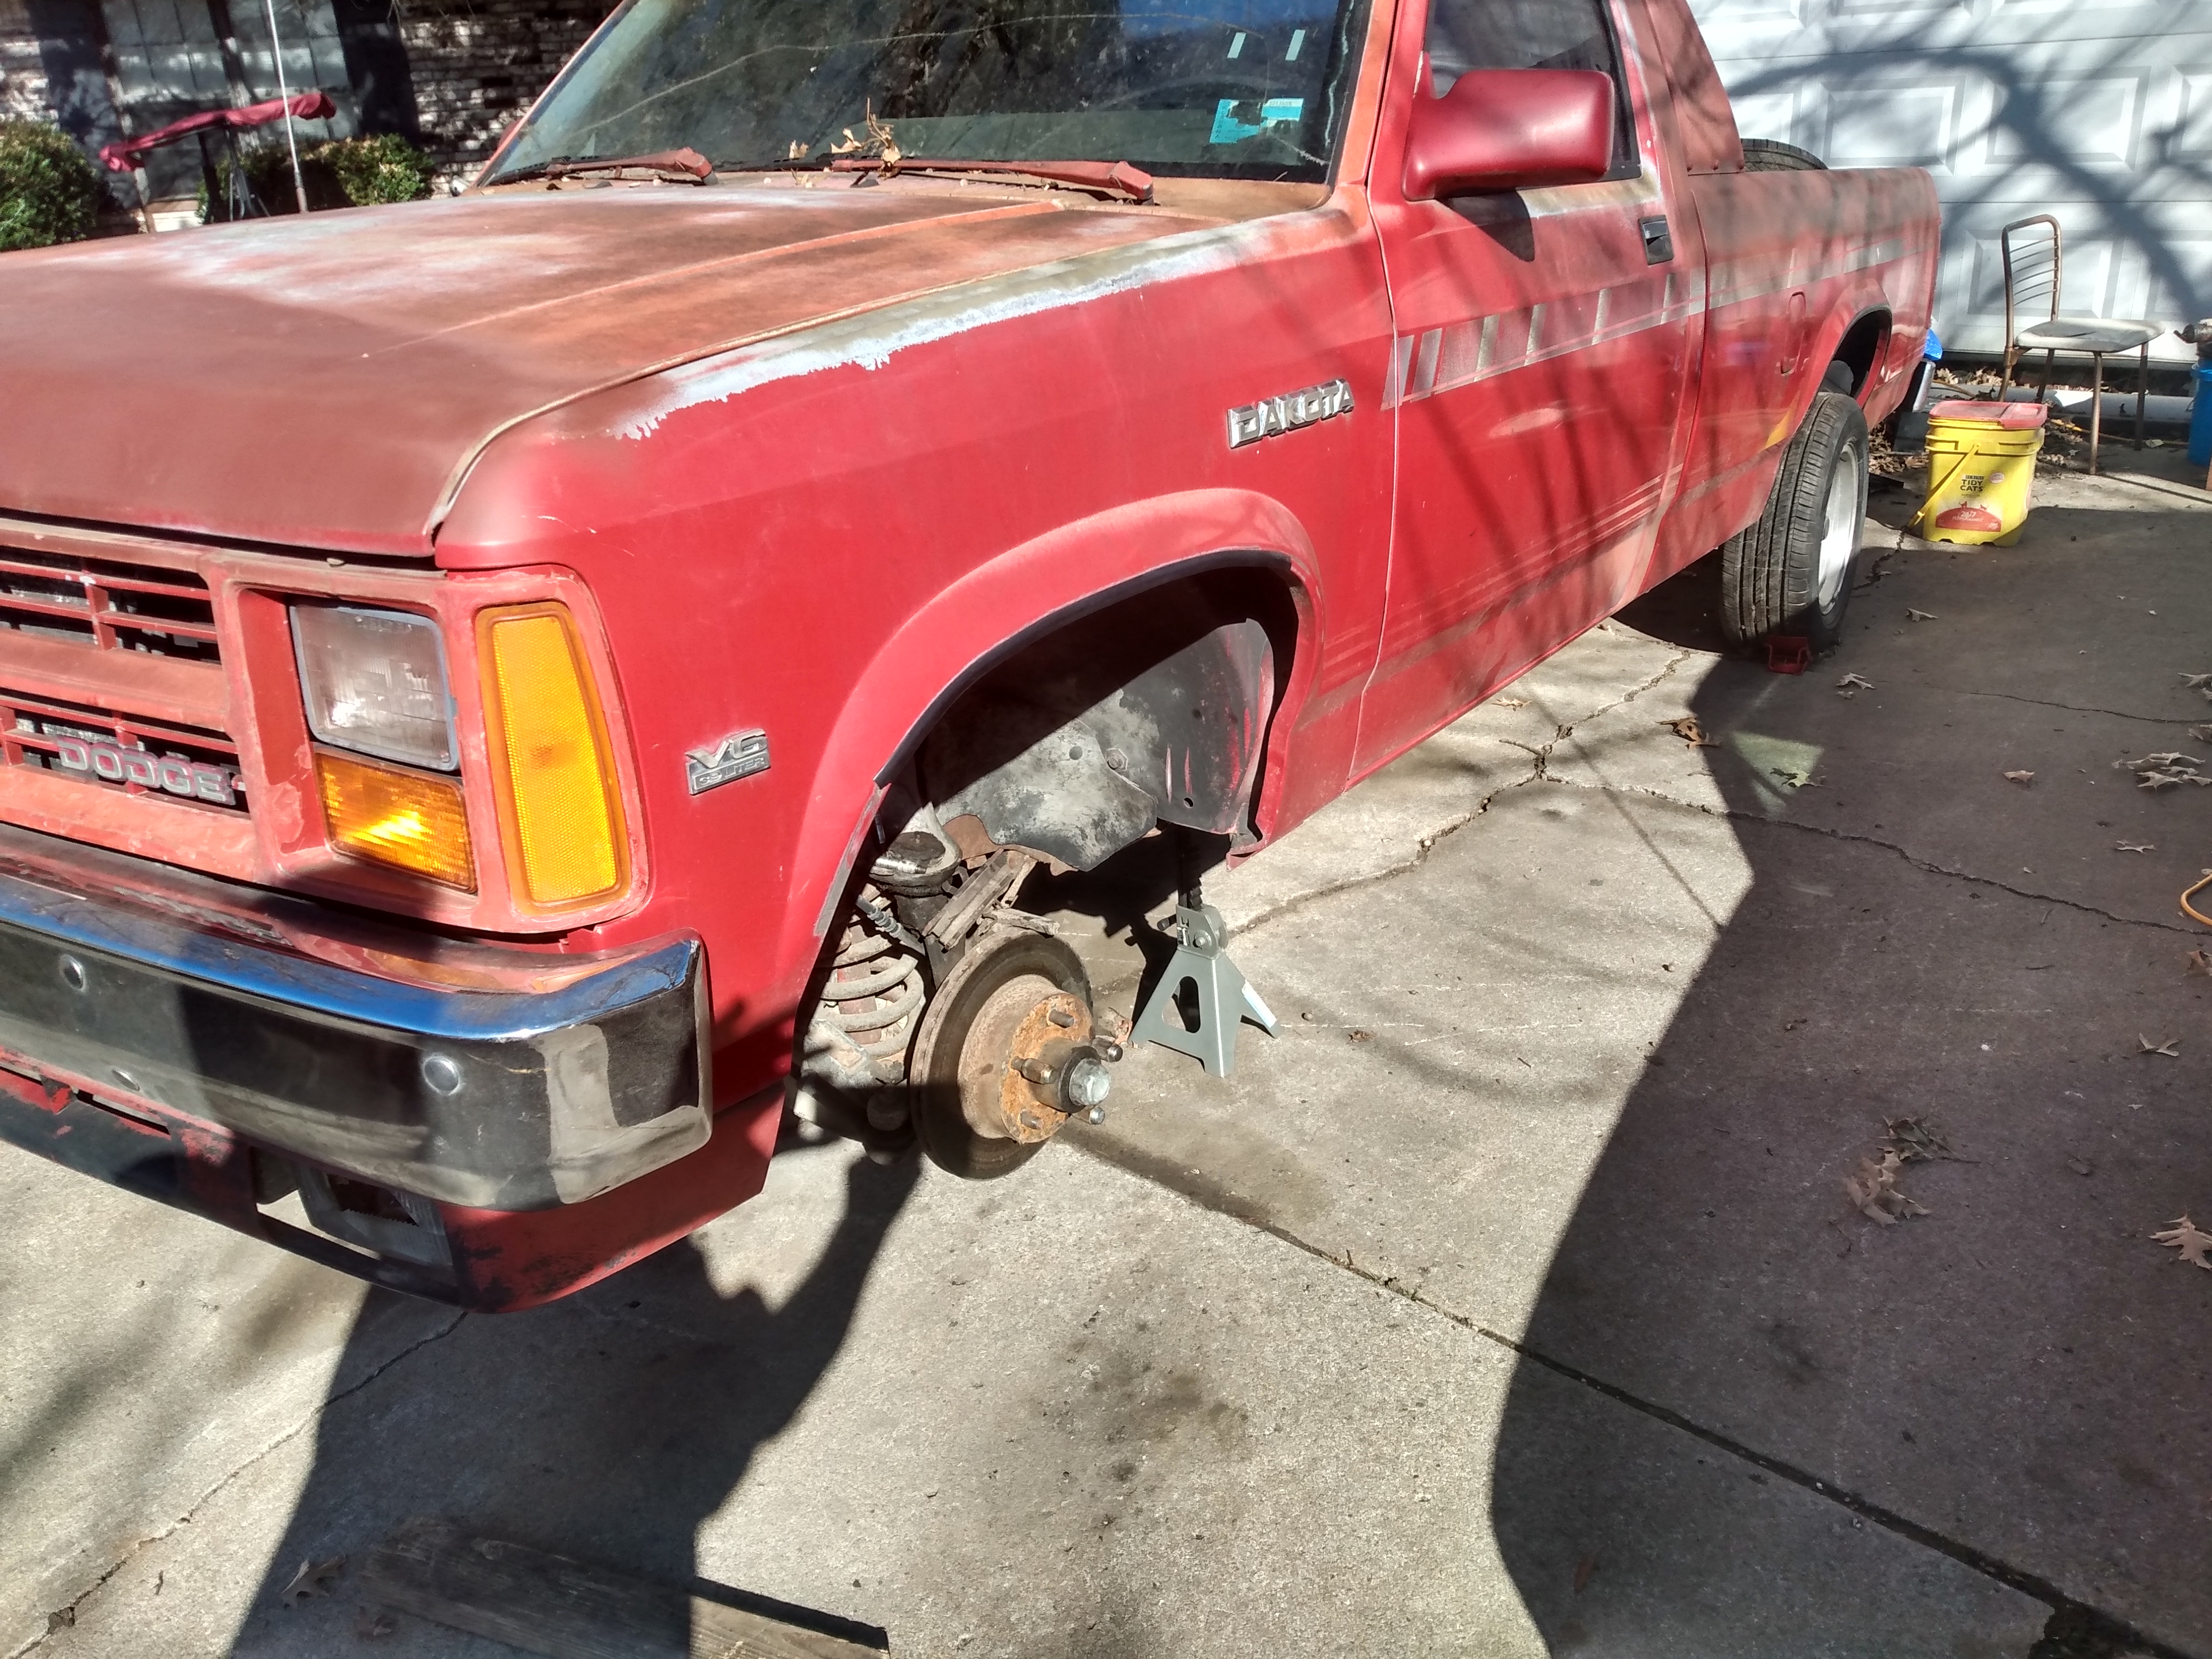
Take the opportunity when she's raised up to do critical maintenance. Here I've stripped off the entire braking system, and replaced it totally! You can't stop if old brakes don't work....
Brakes back together:
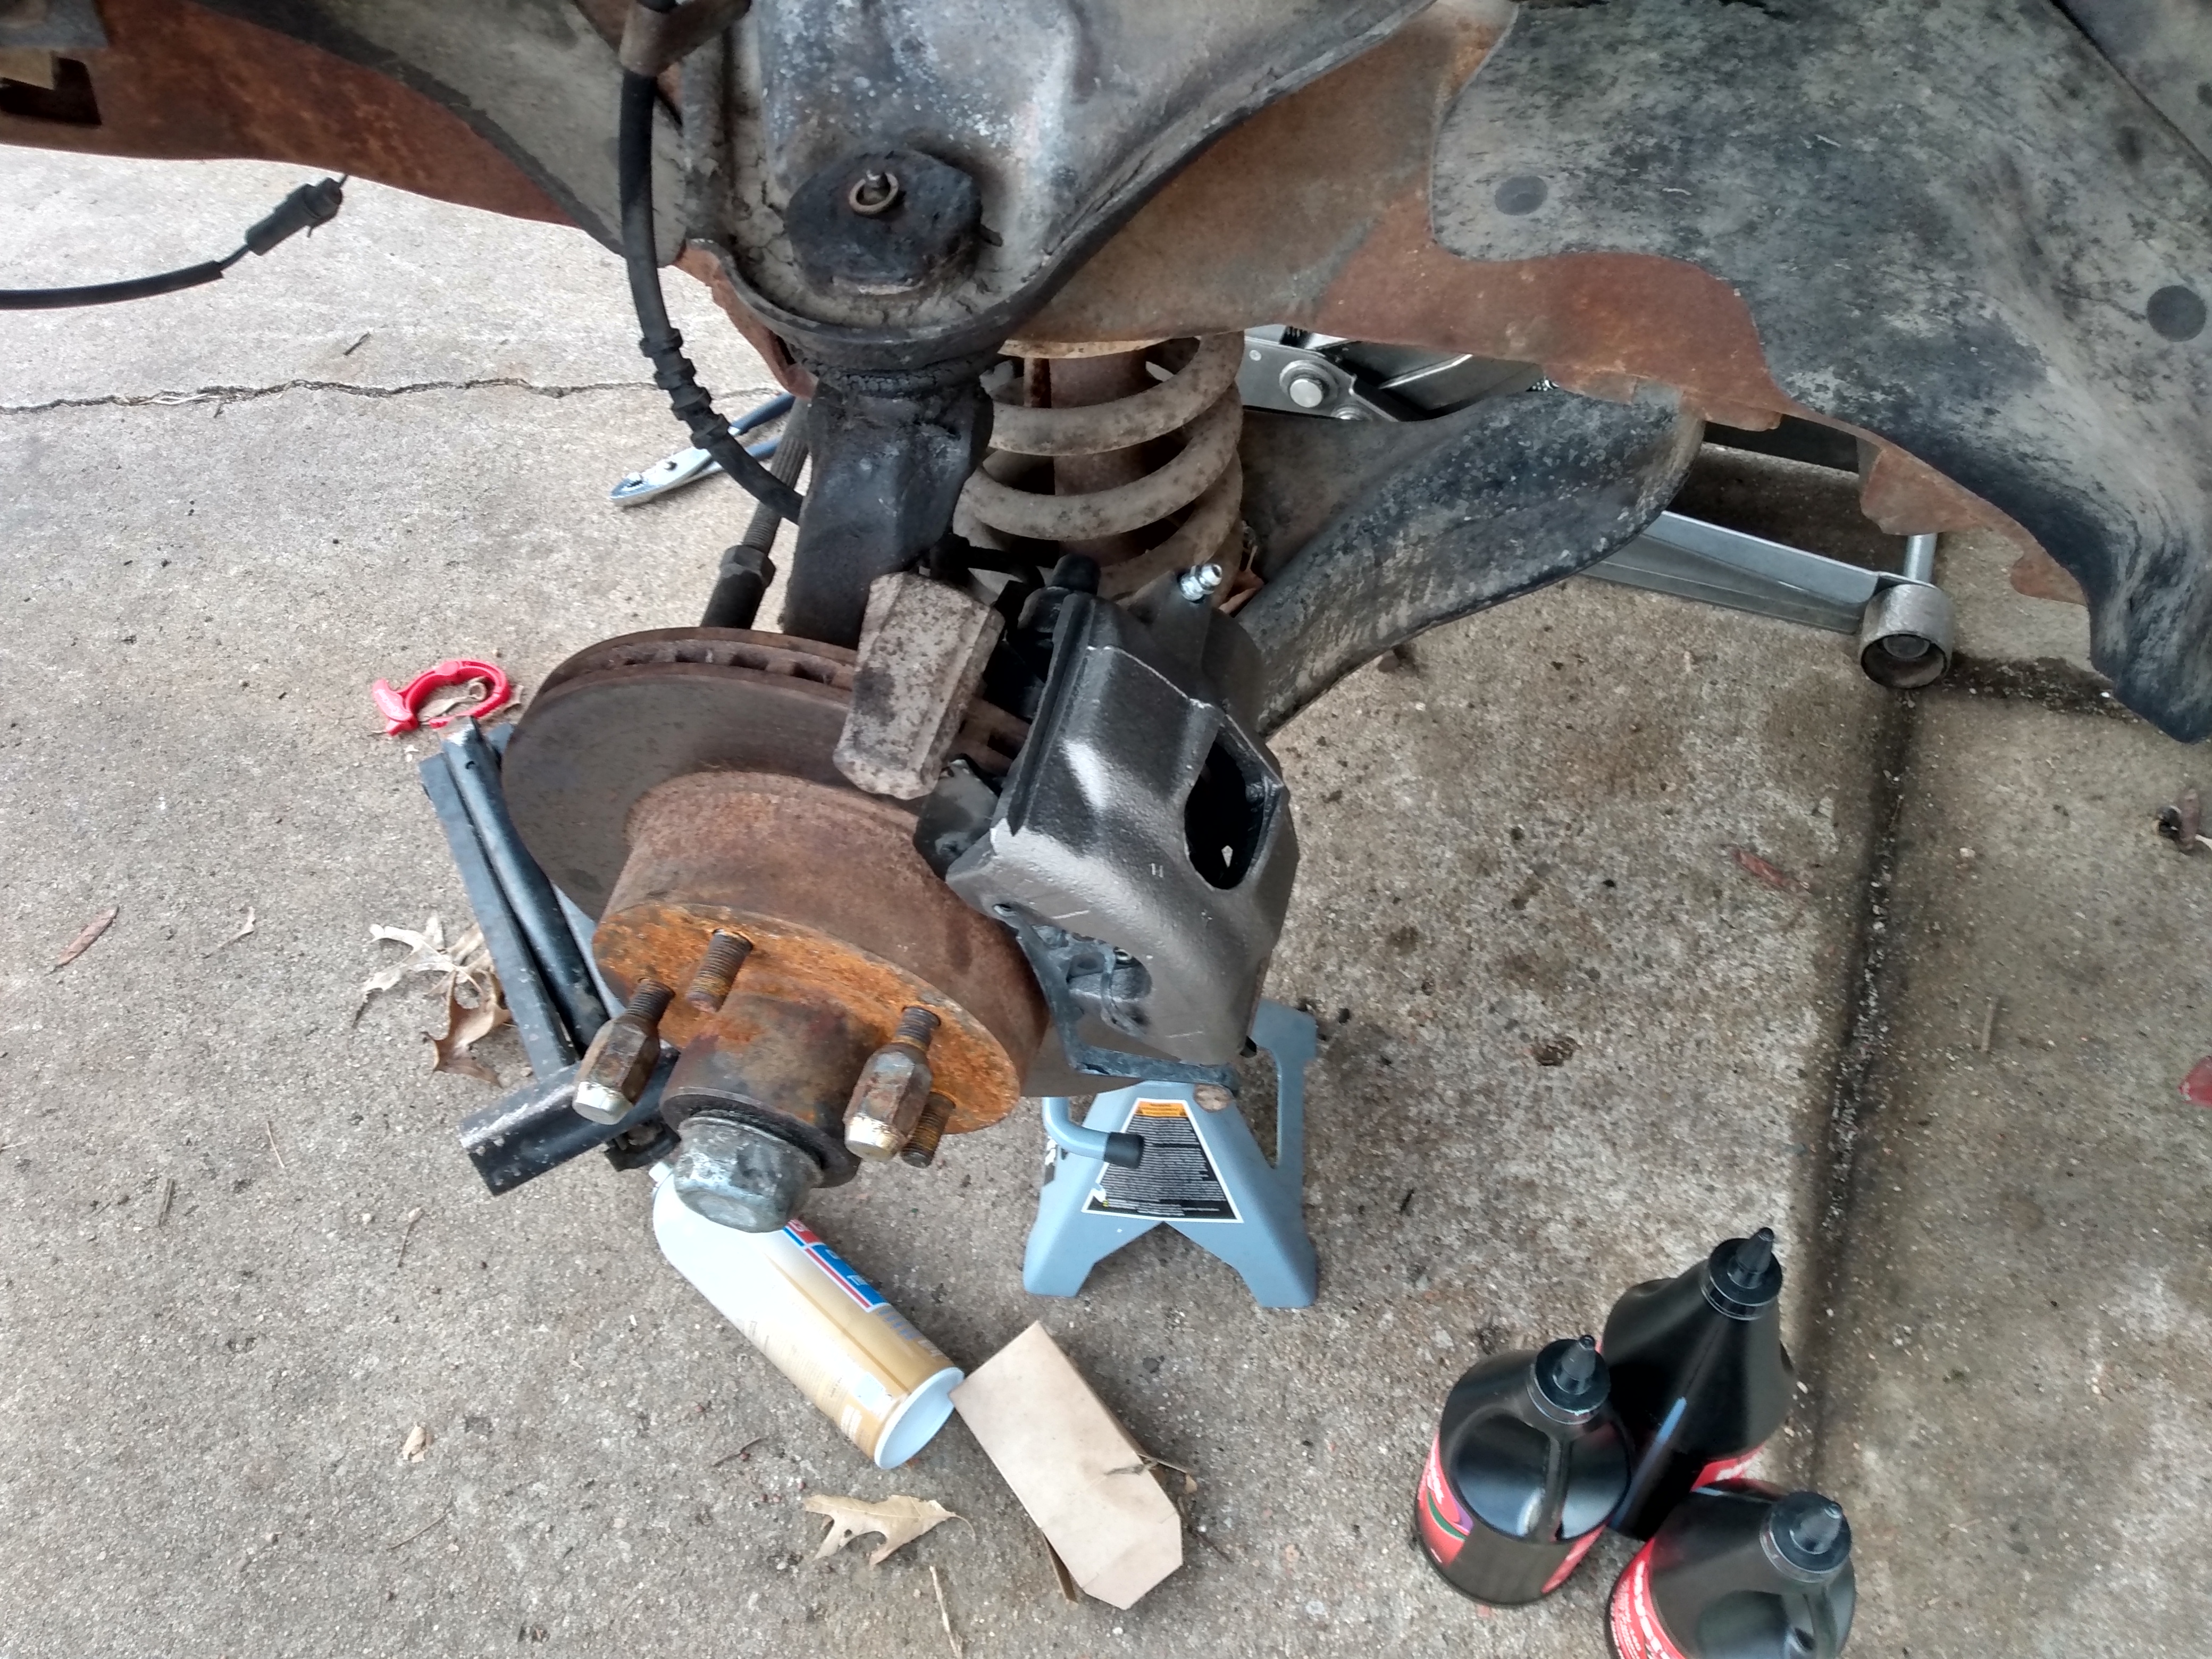
Be sure to bleed these or they won't be much good to you! This is best with two people, but as long as the air is removed; all is well with the World!
This is what has to go back inside:
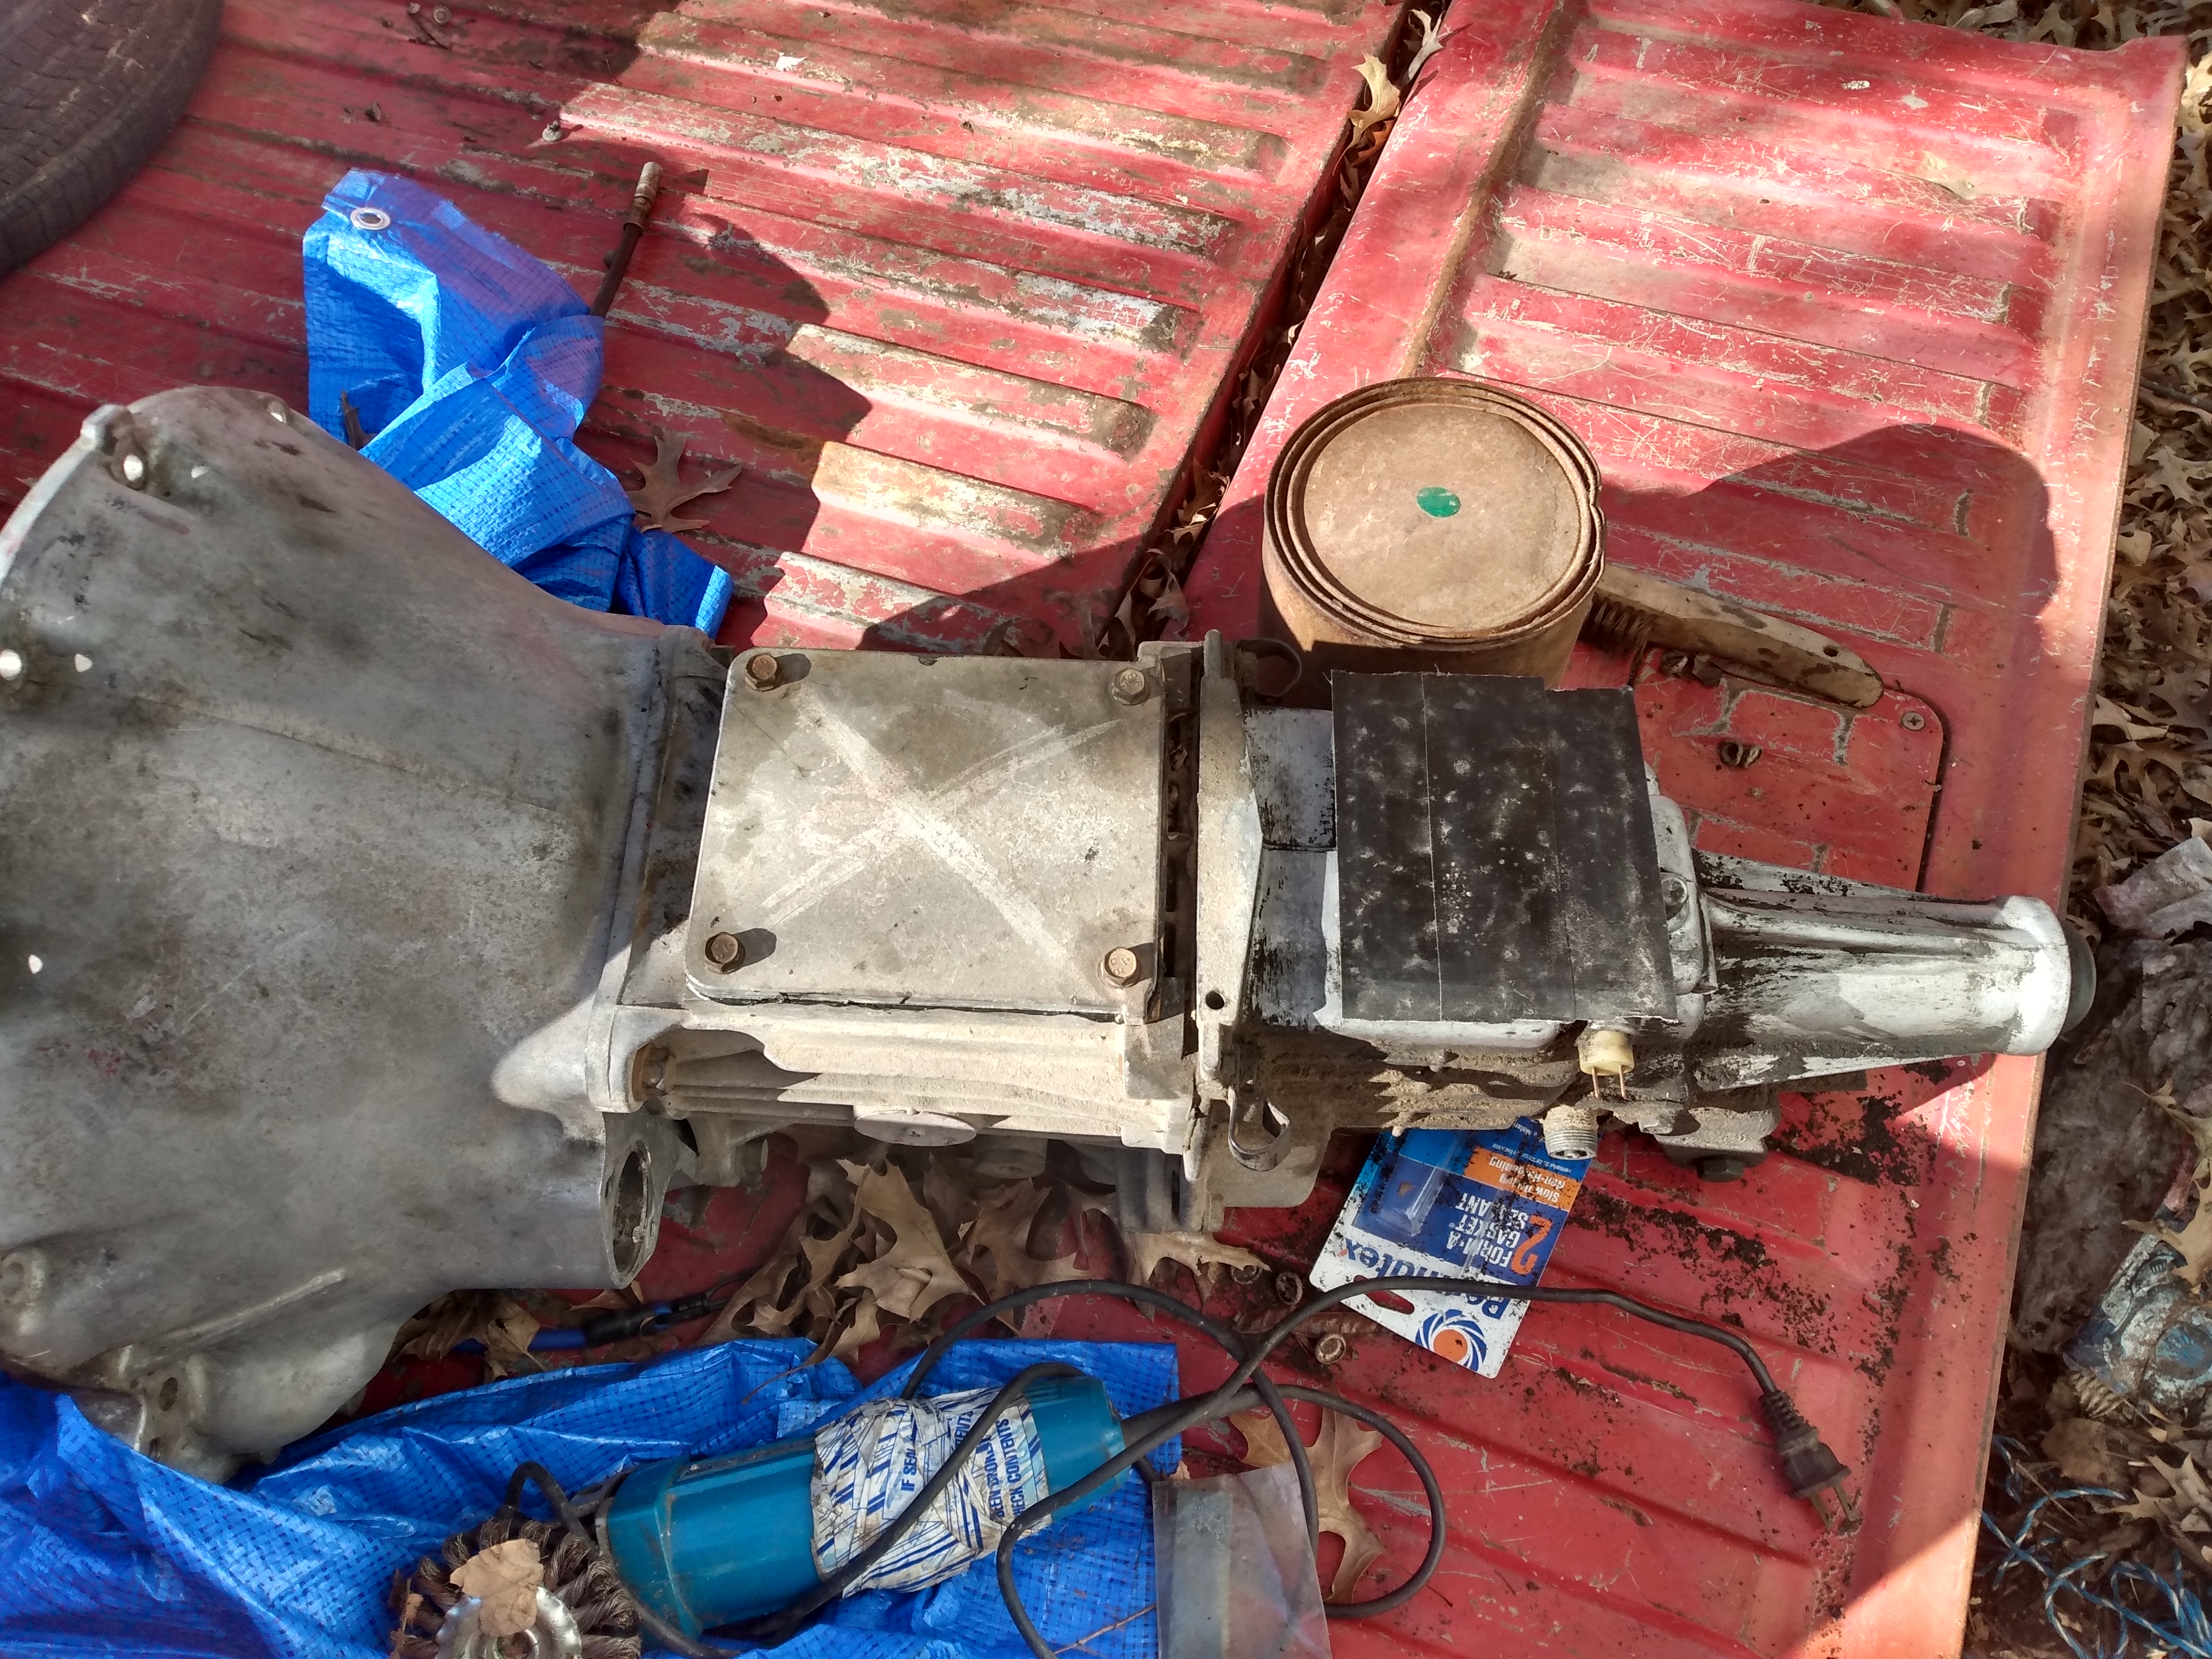
Once repaired, the shifting access is sealed to keep dirt and cursing out of the transmission, LOL!
This is from Amazon, and is needed if you have no help:
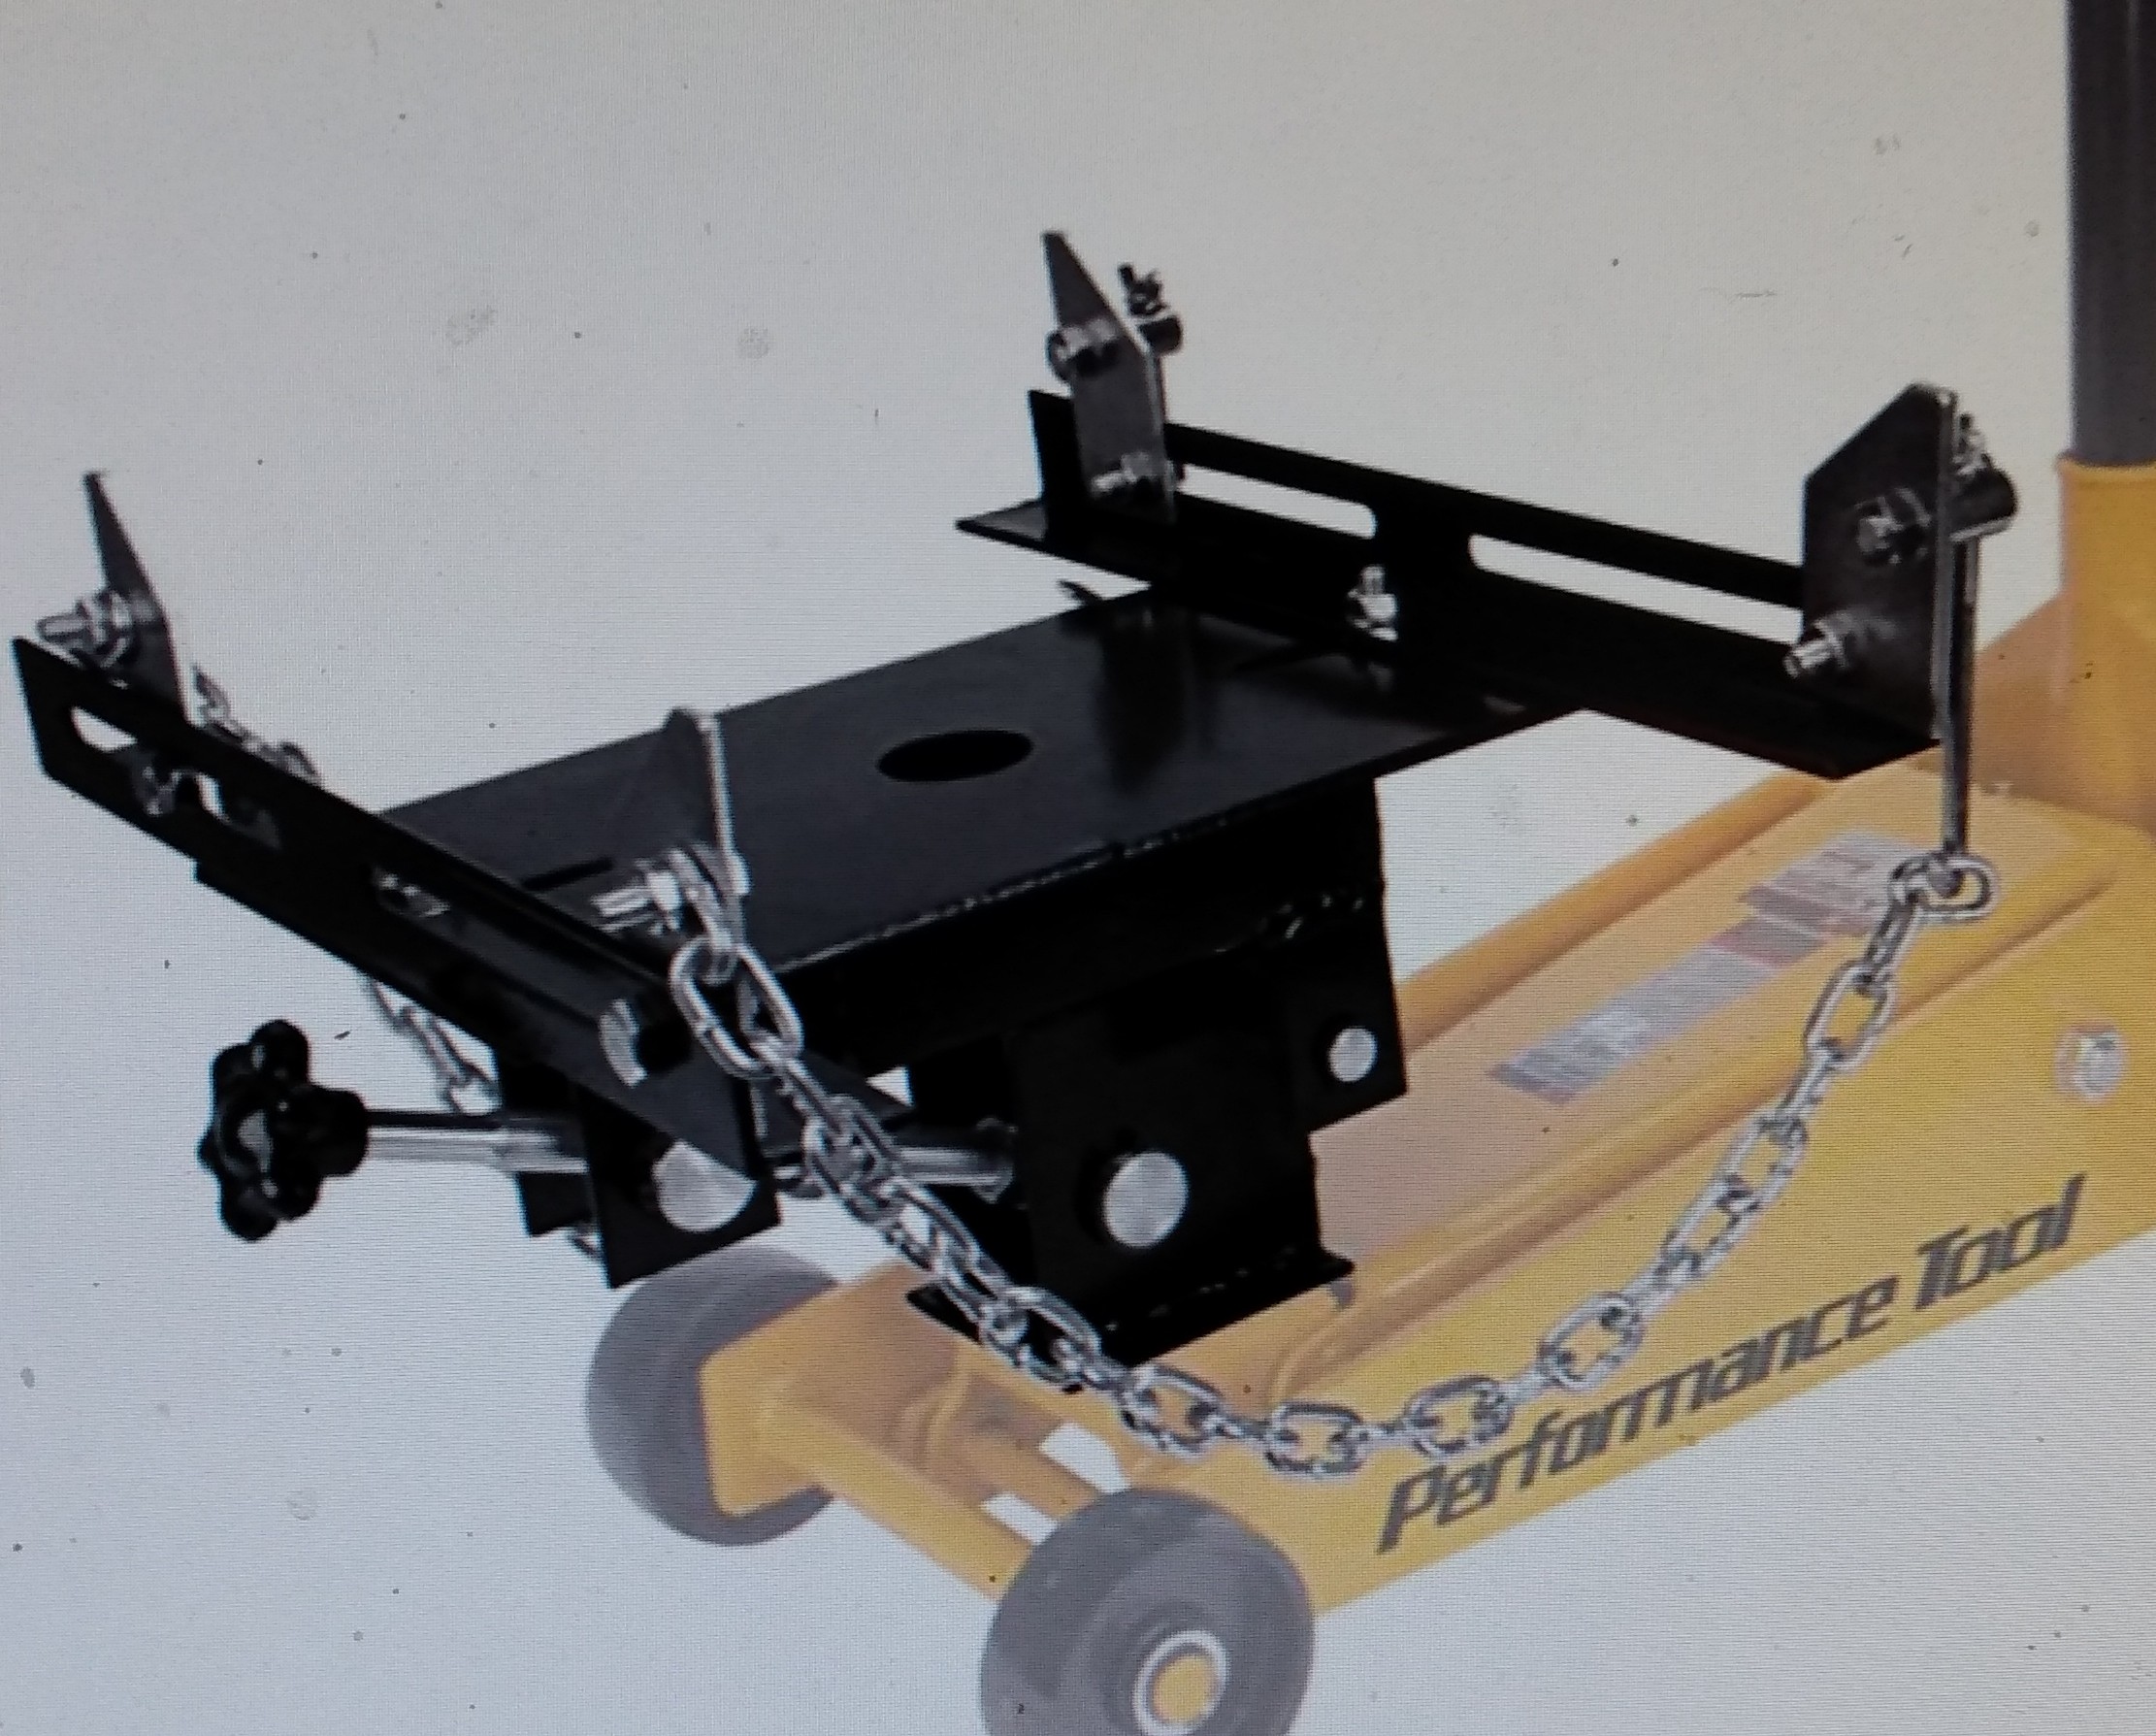
We tried to use this, but this transmission is too large to drift into place with this; but most installs will benefit from this accessory.
Here we are feeding the transmission into the pilot bearing:
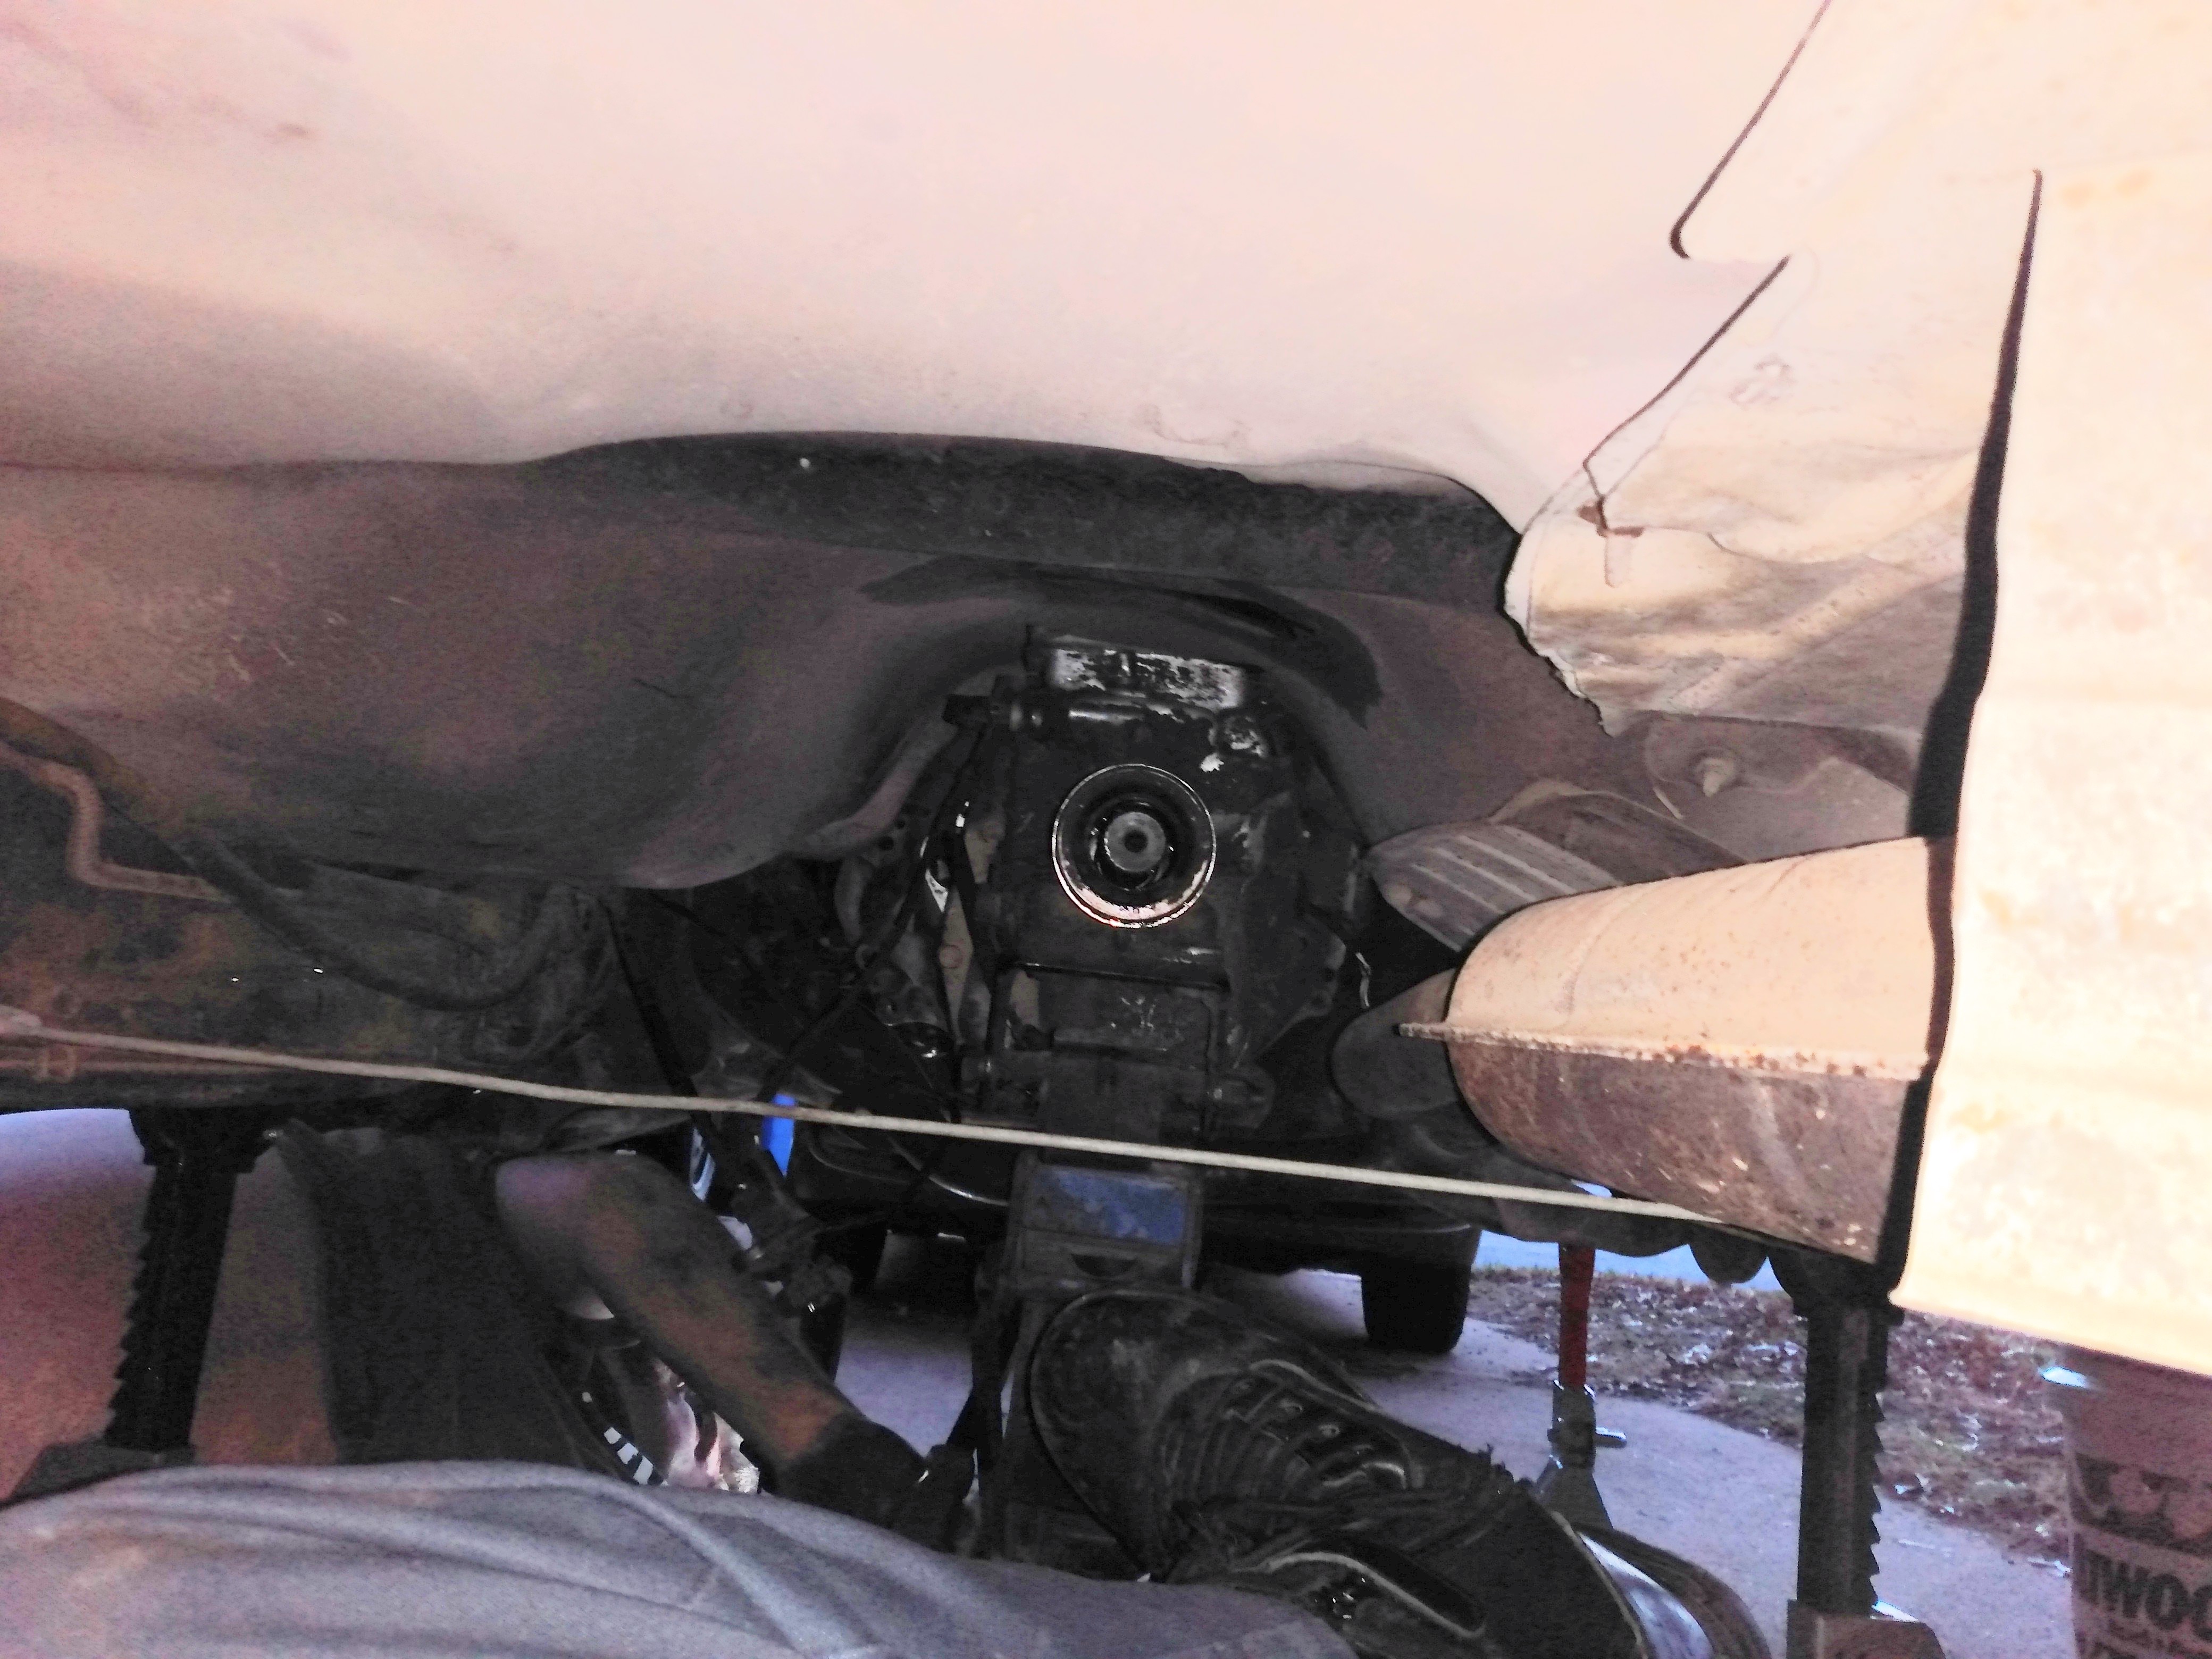
While he held up the front weight, I was kicking the transmission forward to seat the bell housing.
By the way, this was the original photo:
I doctored the first photo by Brighting it up and increasing the contrast. Otherwise, they are the same photo.
Here the bell housing bolts are in place:
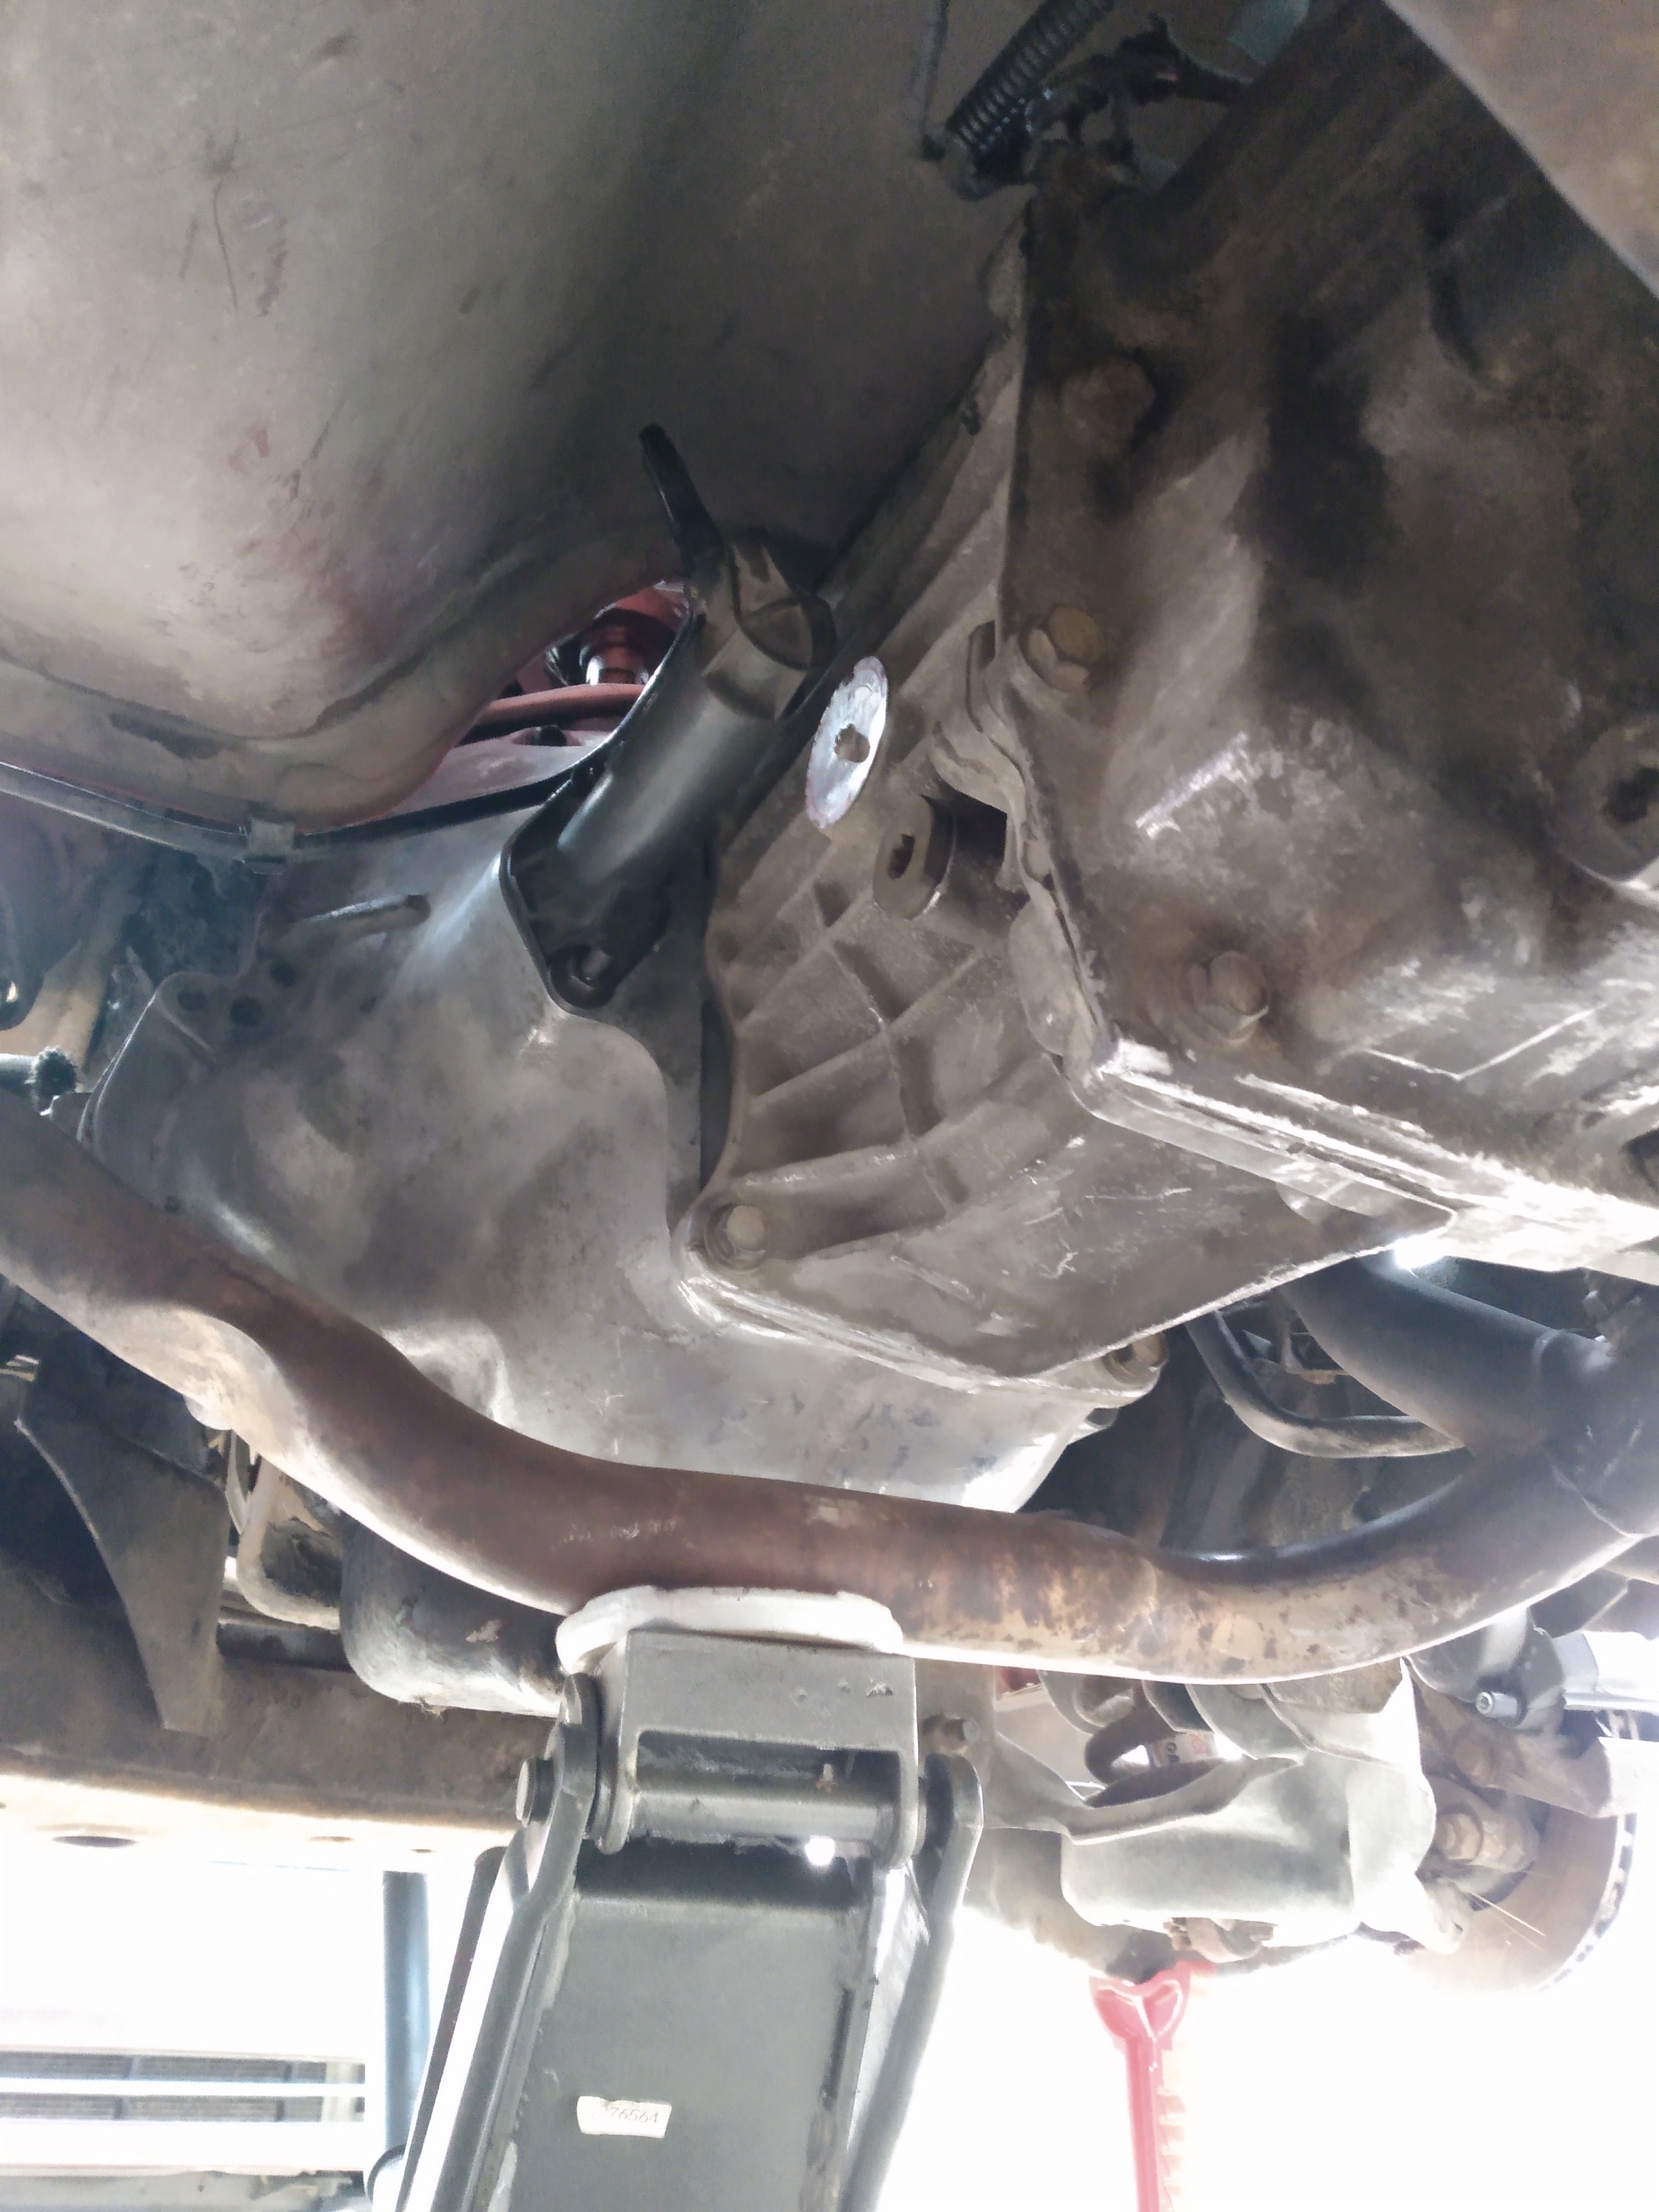
She's mounted solid, and the black cylinder is the hydraulic clutch slave cylinder. This is functional at this time....
Here is the rear motor mount:
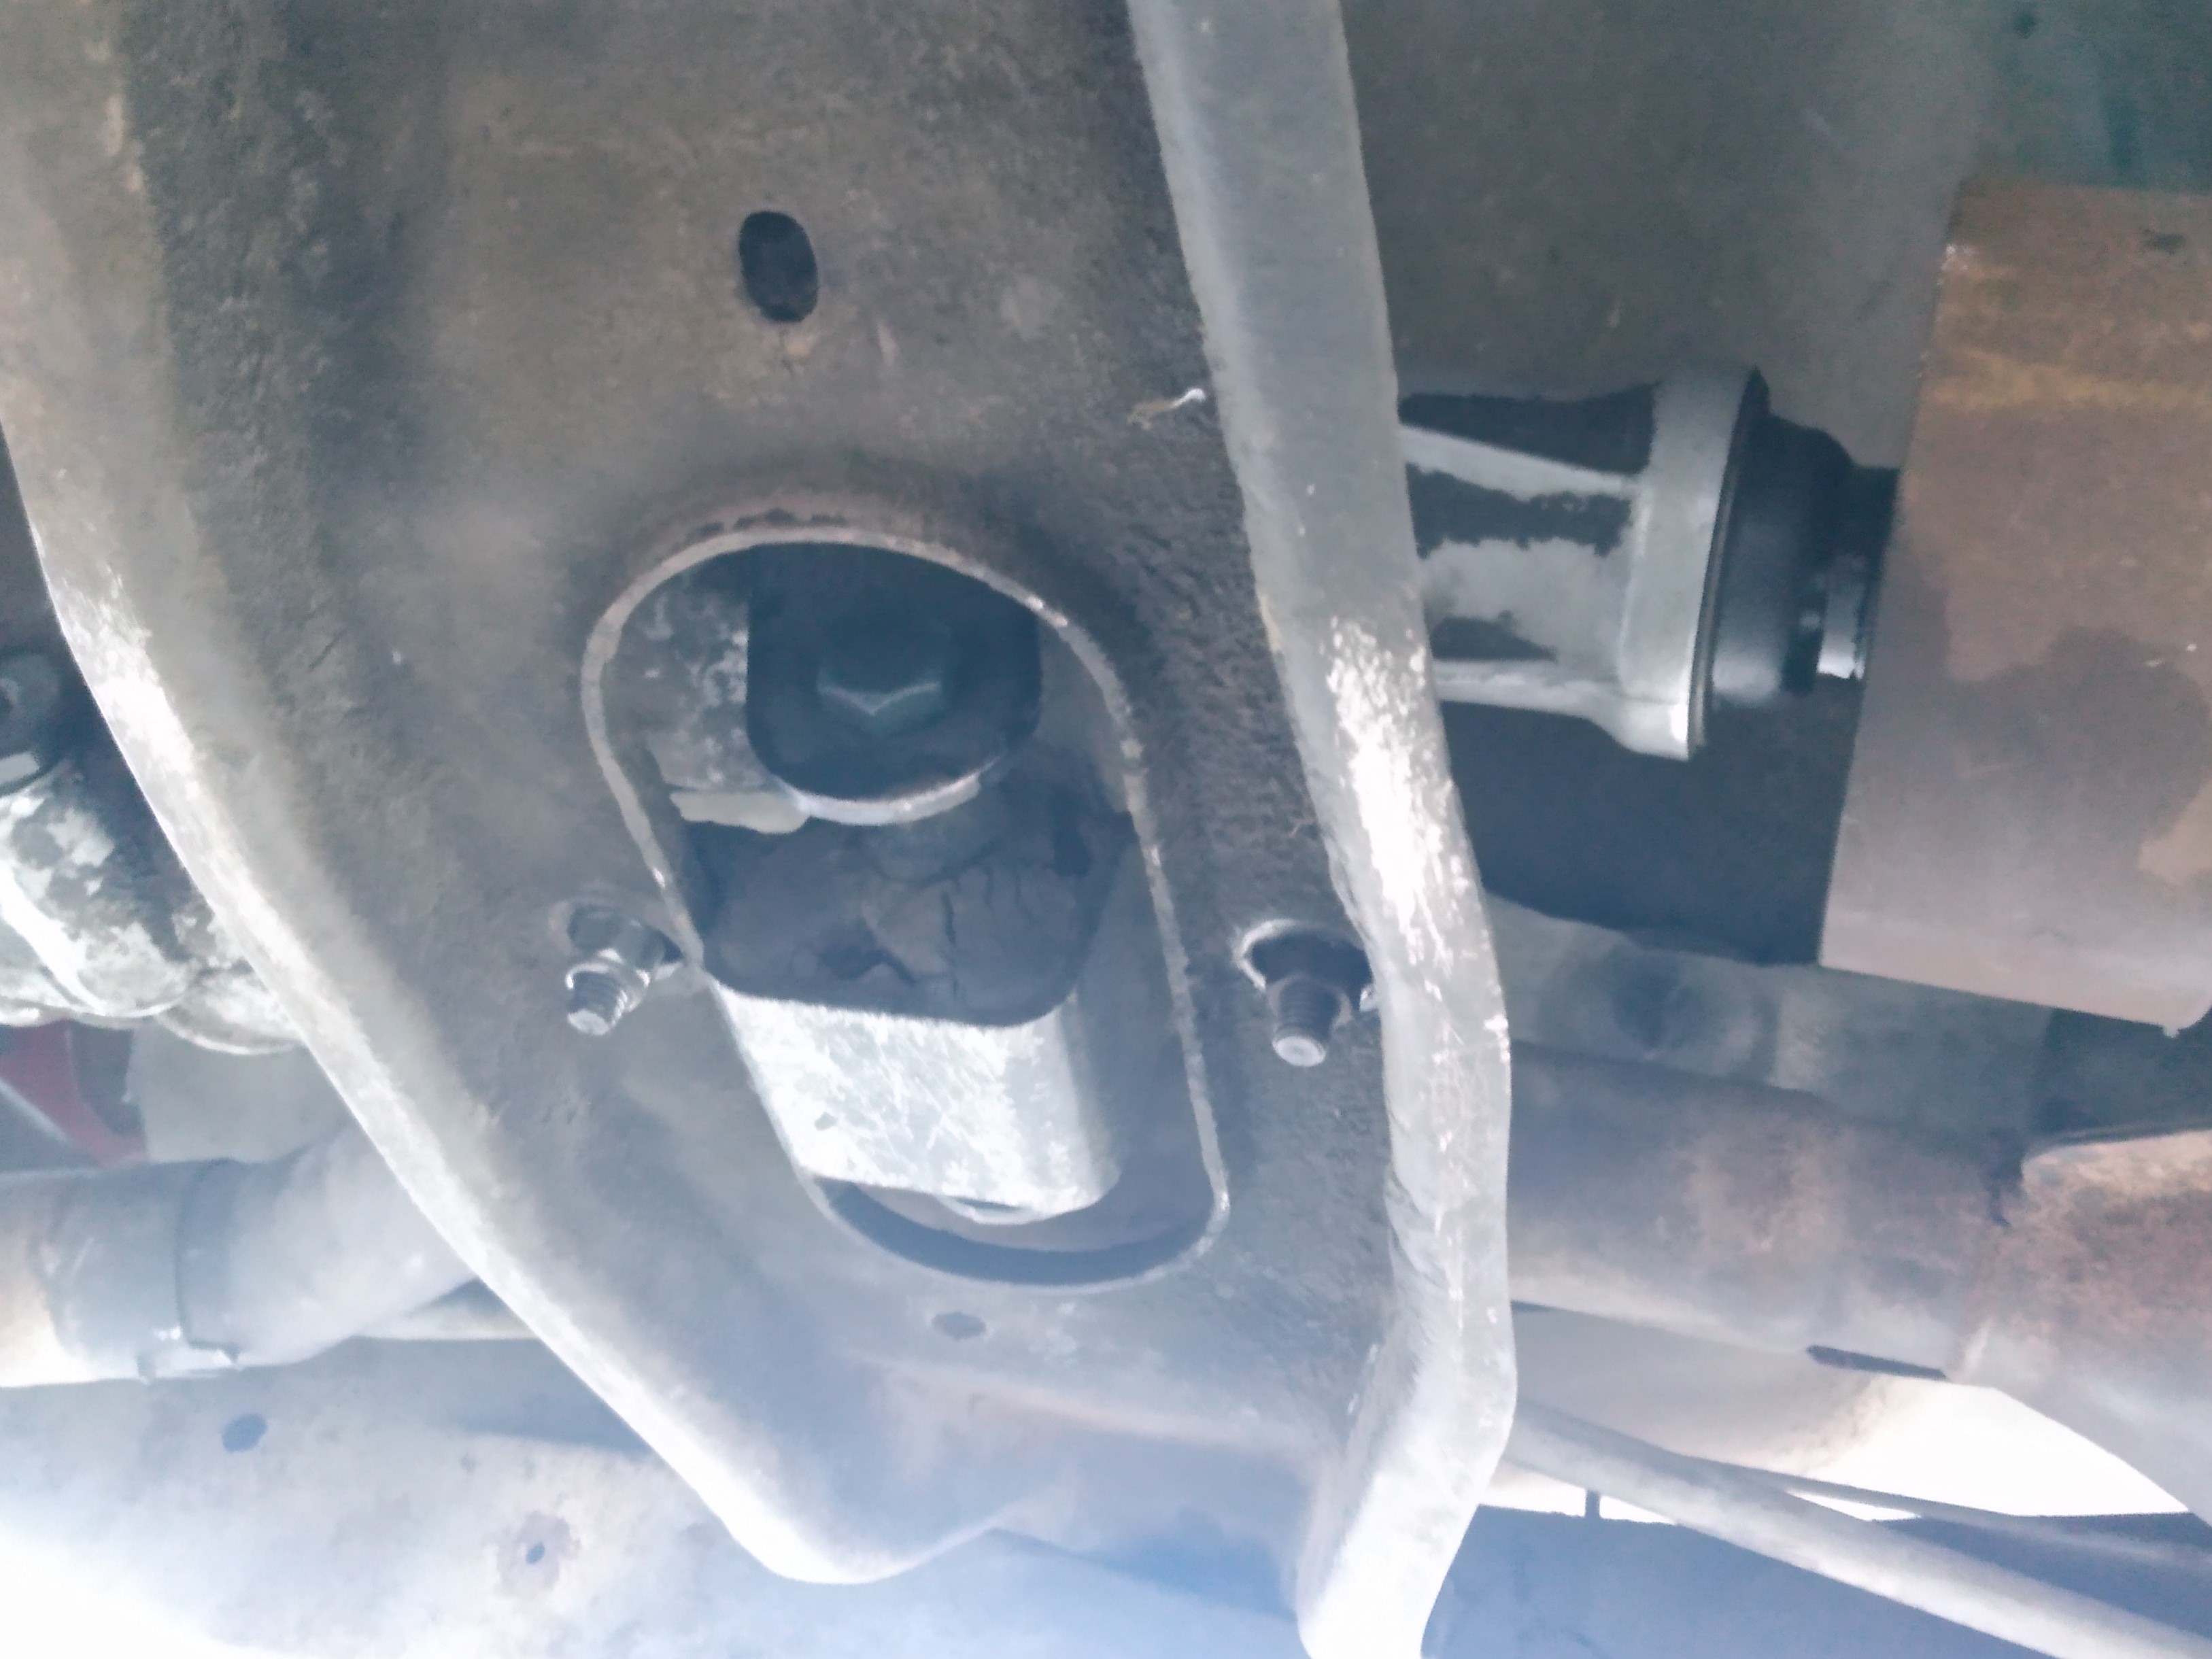
This is a three point system with the rear mount is holding up the transmission and the back of the motor mounting system! The harmonic balancer is to the right here on the drive line.
This is the carrier bearing on the split driveshaft:
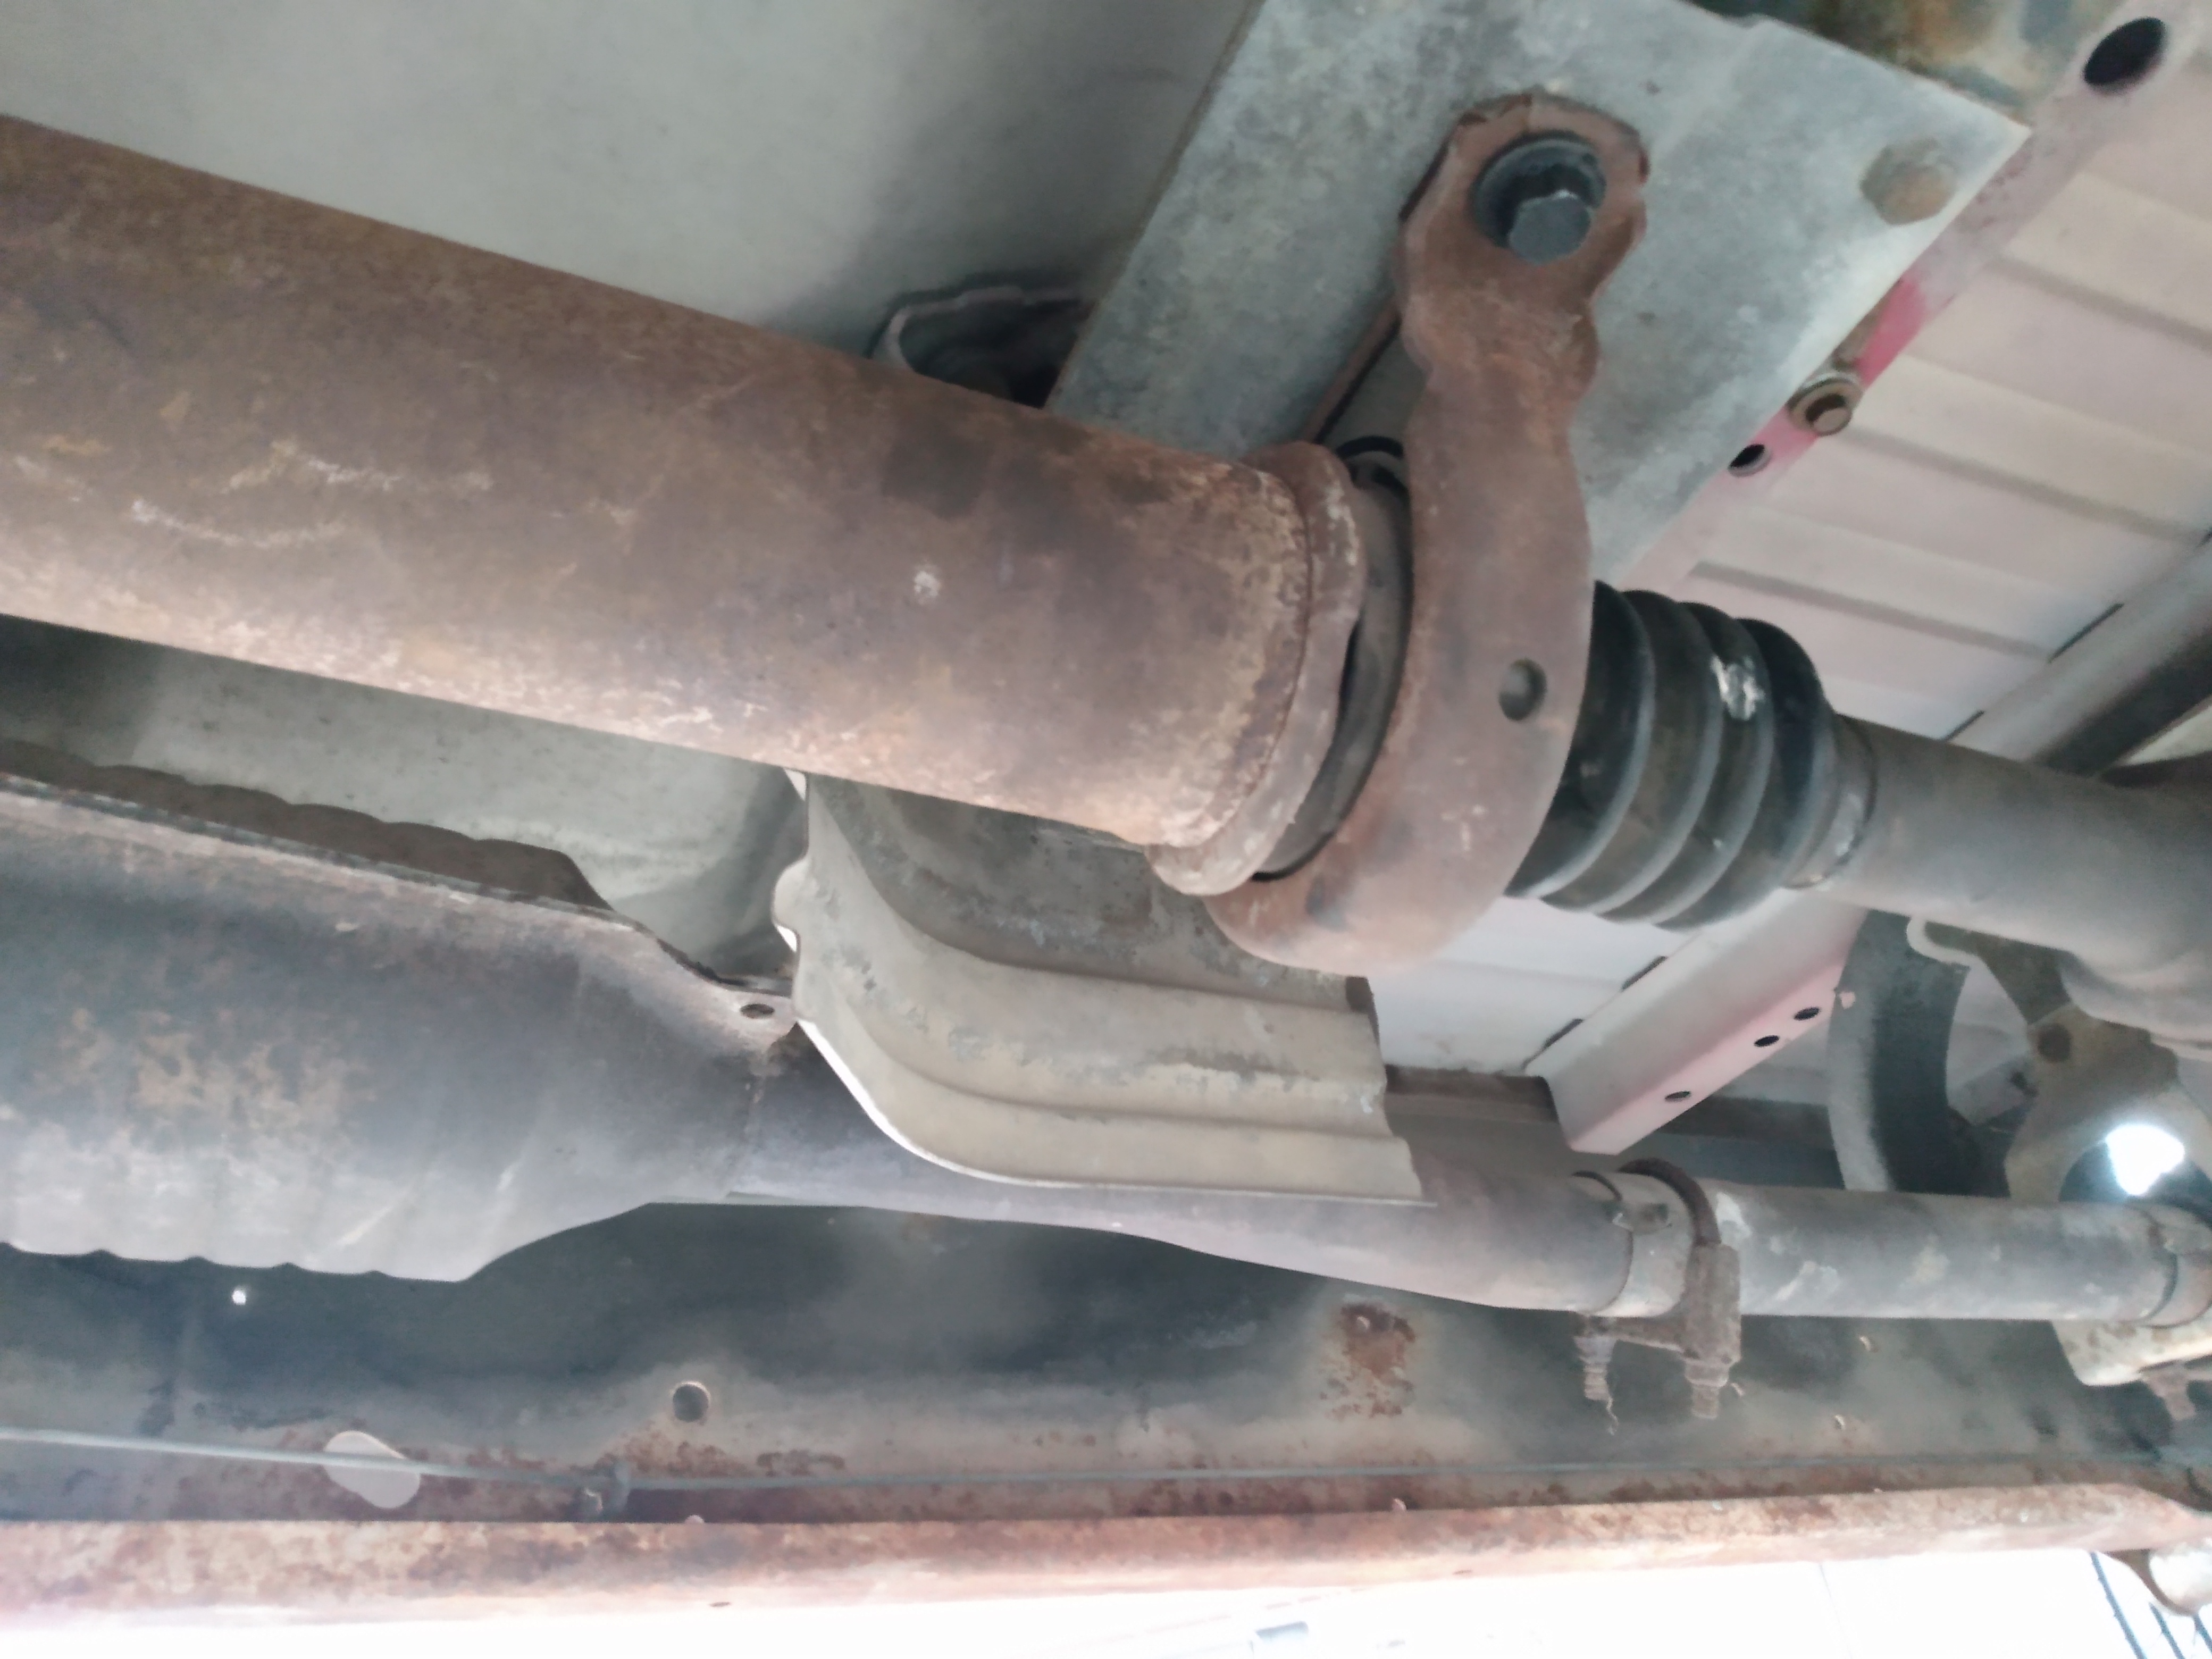
Because this truck has an 8 foot bed, it has a two piece driveshaft, which requires a carrier bearing, notice the sheet steel heat shield between the carrier bearing and the exhaust line.
Here is the complete drivetrain in place:
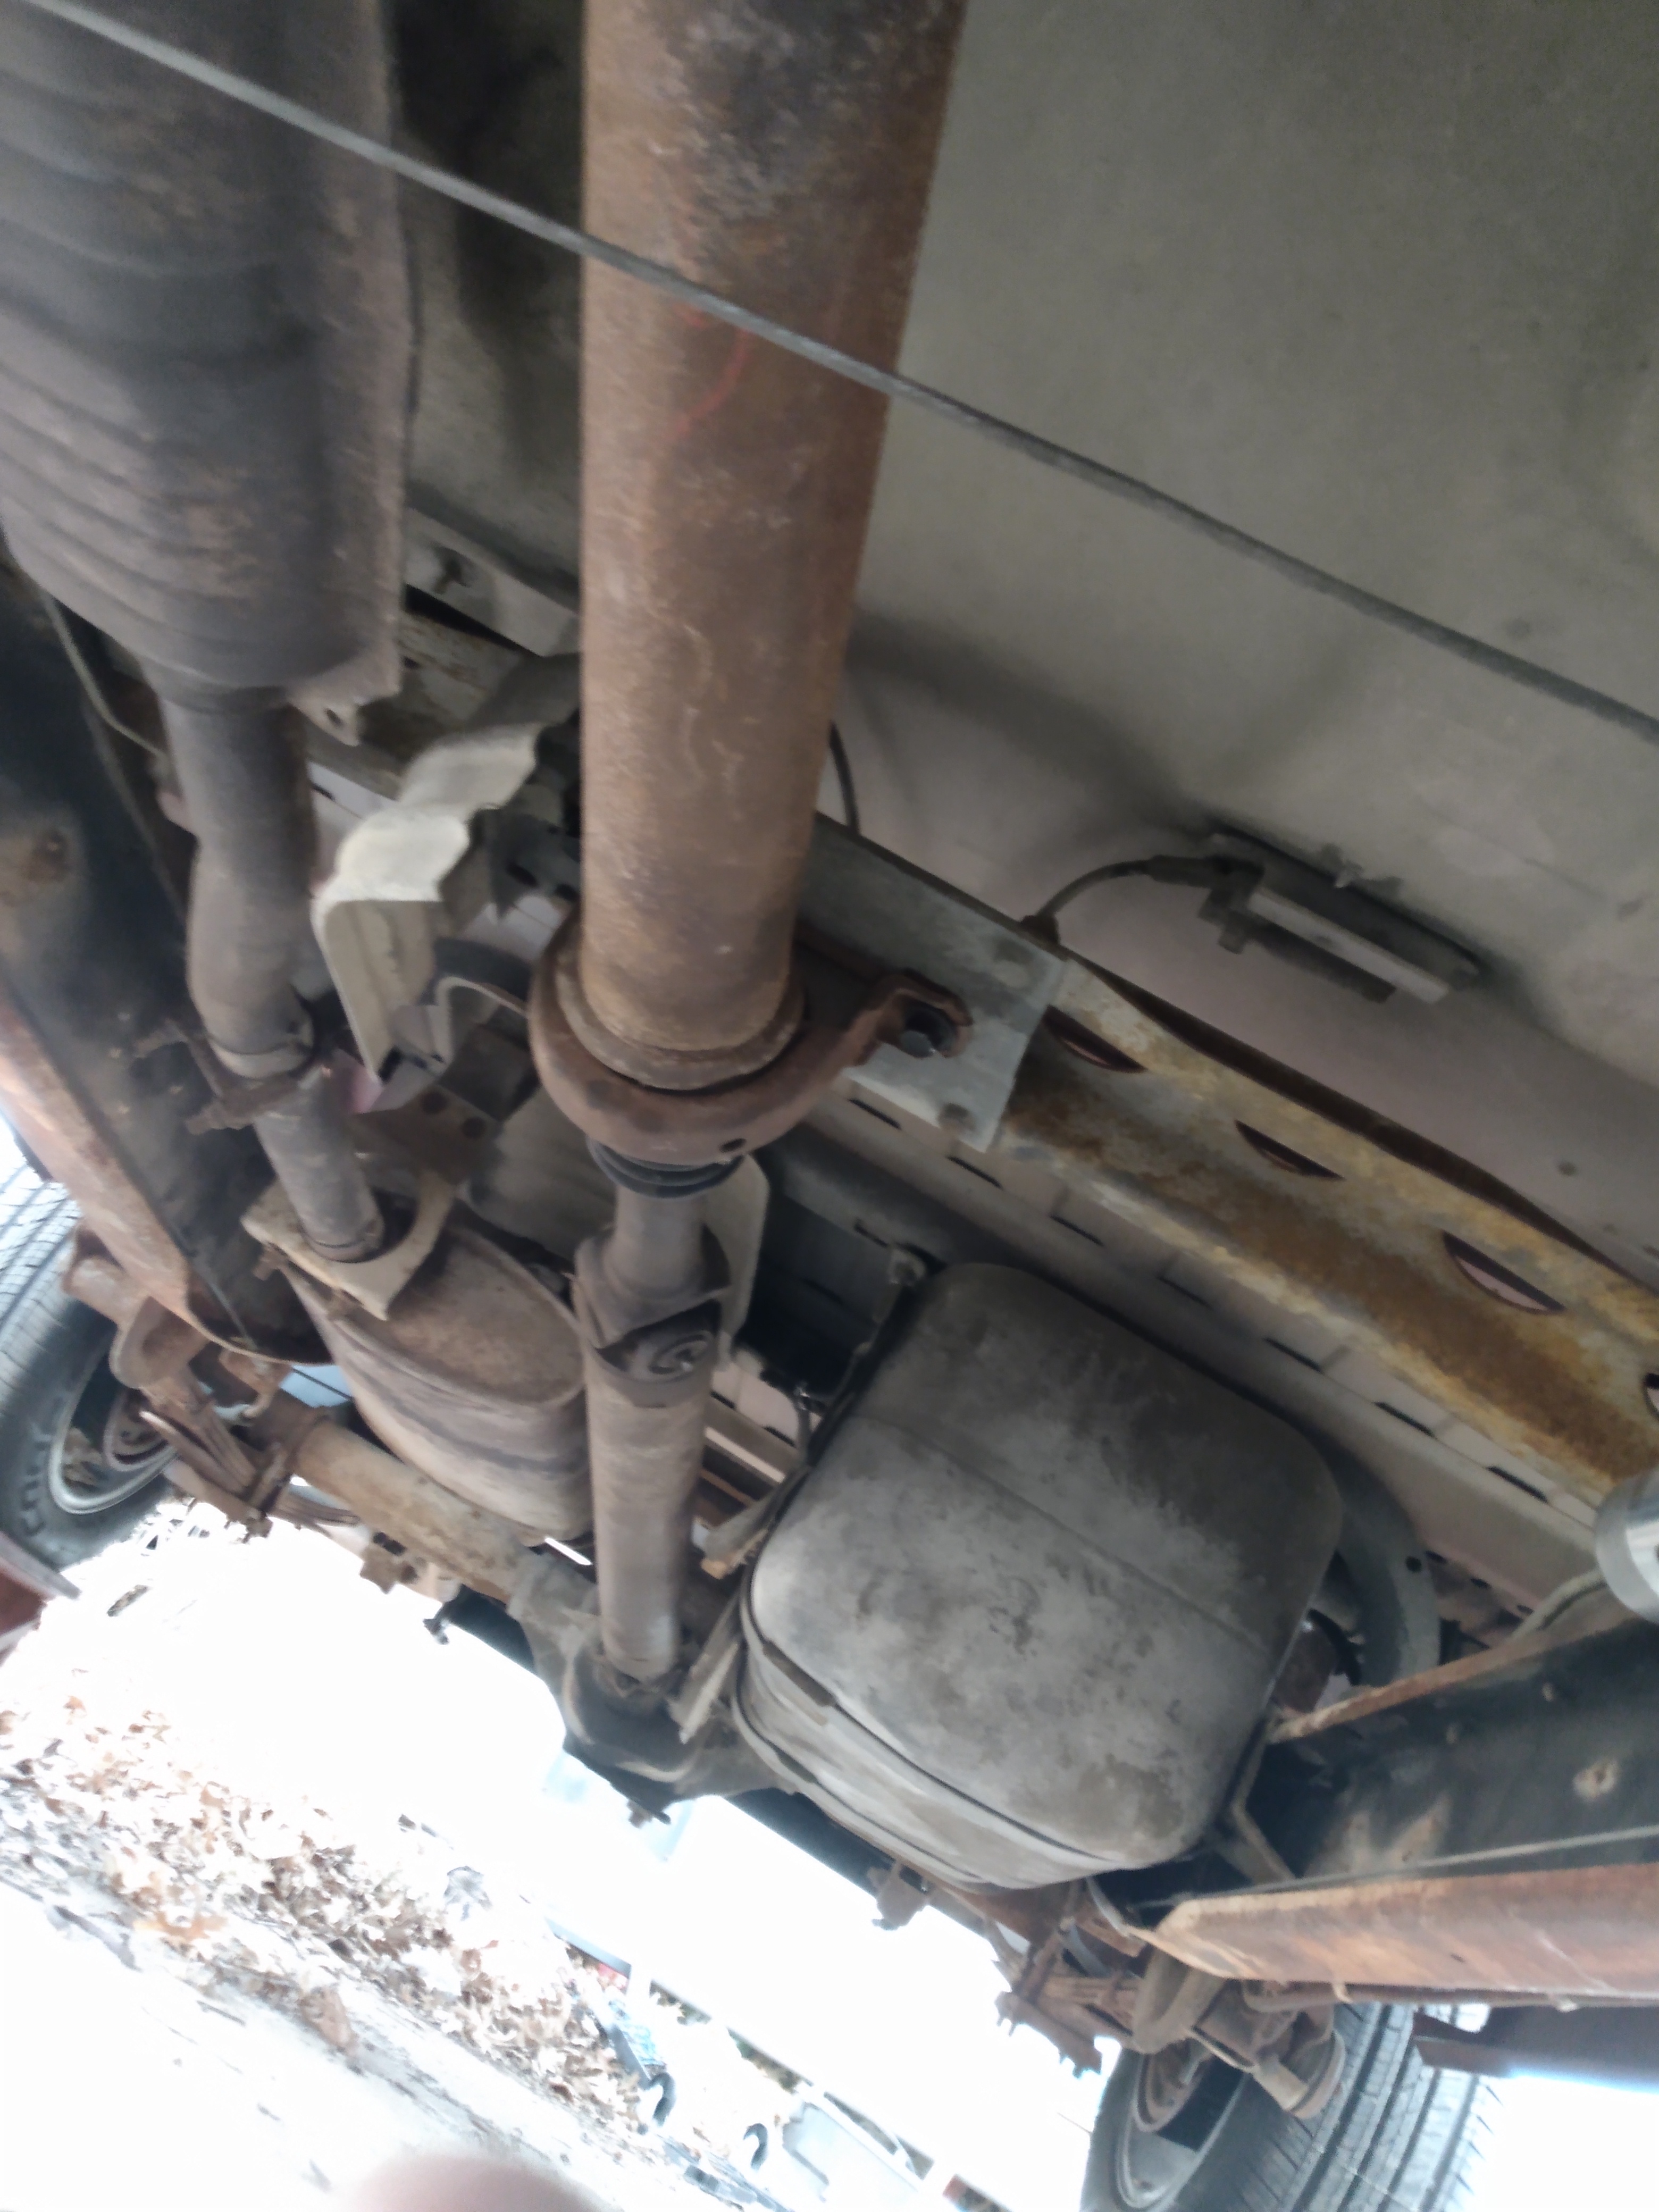
This was really good to see! A lot of hard work done to get this far, but not that complex; it is simply putting everything back where it came from.
This is the goal, with the tape removed:

This is the shift pocket for the stick shift lever. But before I cover it, the fluid needs to be added.
At this point, I always remove the drain plug, and after it stops; I use B-12 chemtool spray into the drain plug to remove all the debris I missed on the rebuild. When it runs clean, I let it evaporate a few minutes; then reinstall the Plug good and tight!
Each transmission is different but most have a fill point about halfway up the casting. Remove this plug and add enough 90 weight gear lube so that it runs out of this fill point. The plug goes back in, good and tight; then we close the top cover. It needs to be torqued to resist the forces on the stick shift.
Here is the final cab seal, which is our goal:
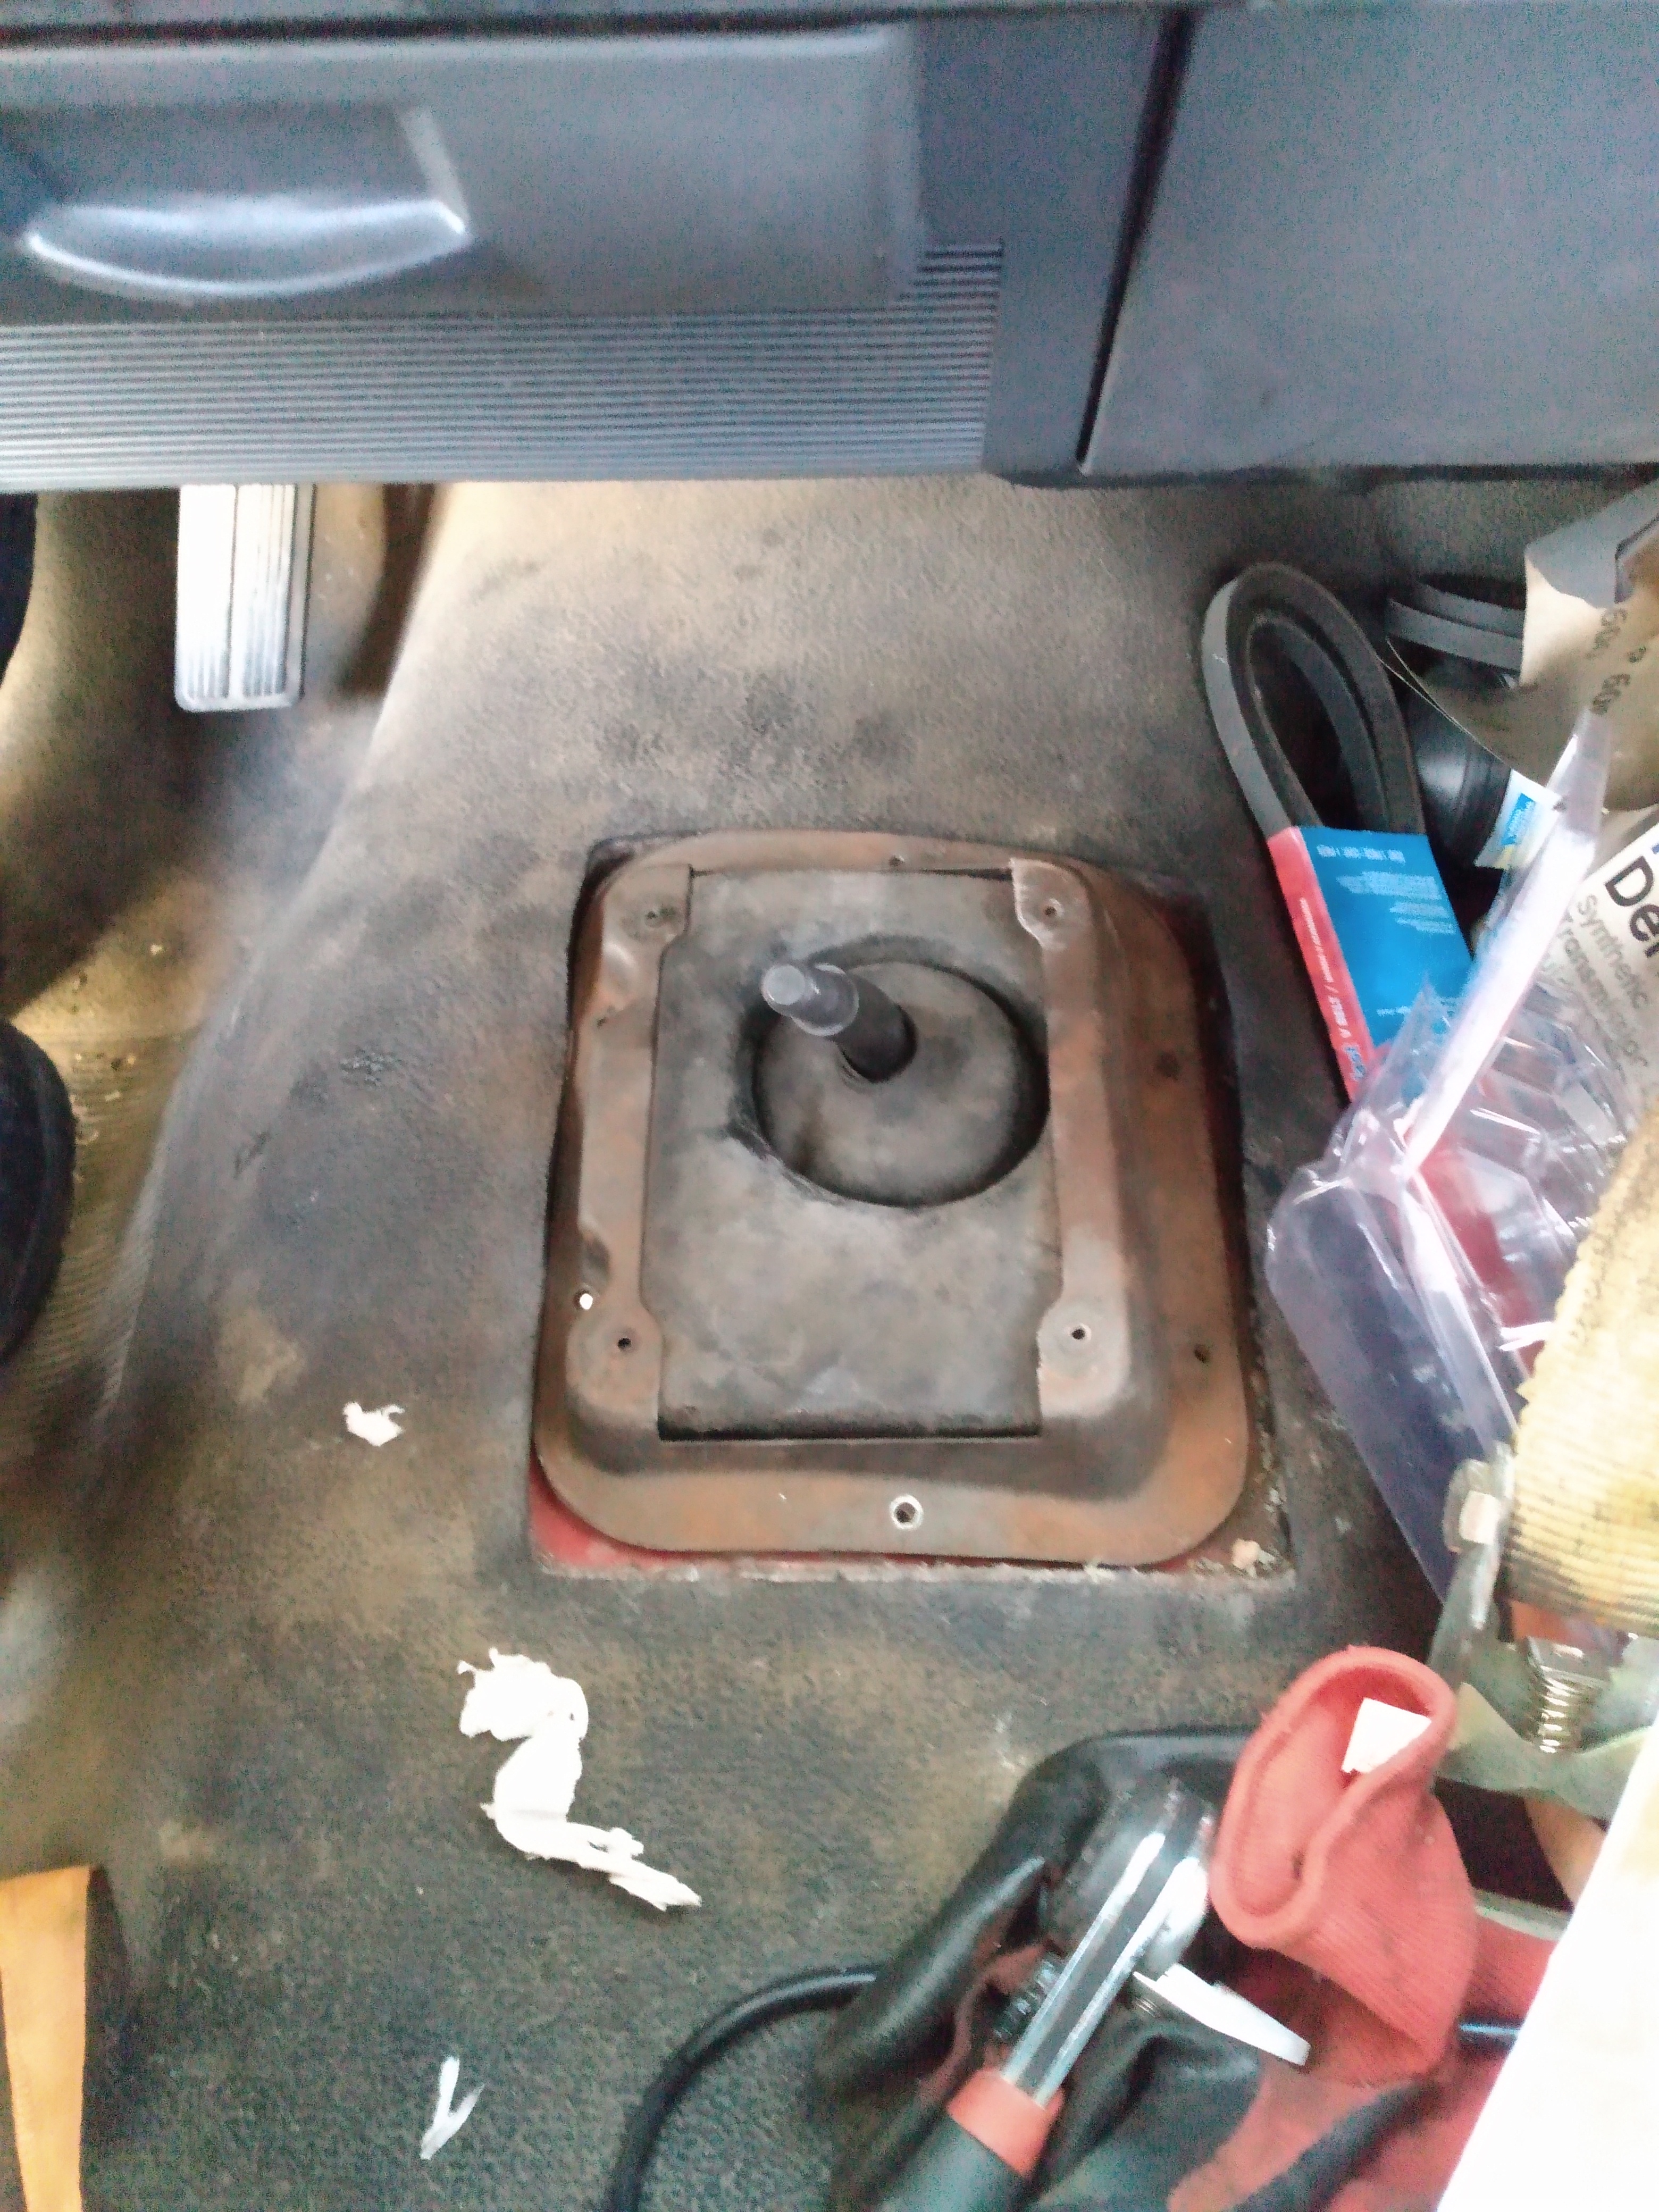
This closes the cab, to block road noise. This seal is thick foam, to absorb the audio energy from the road noise.
First, the shifting needed to be tested:
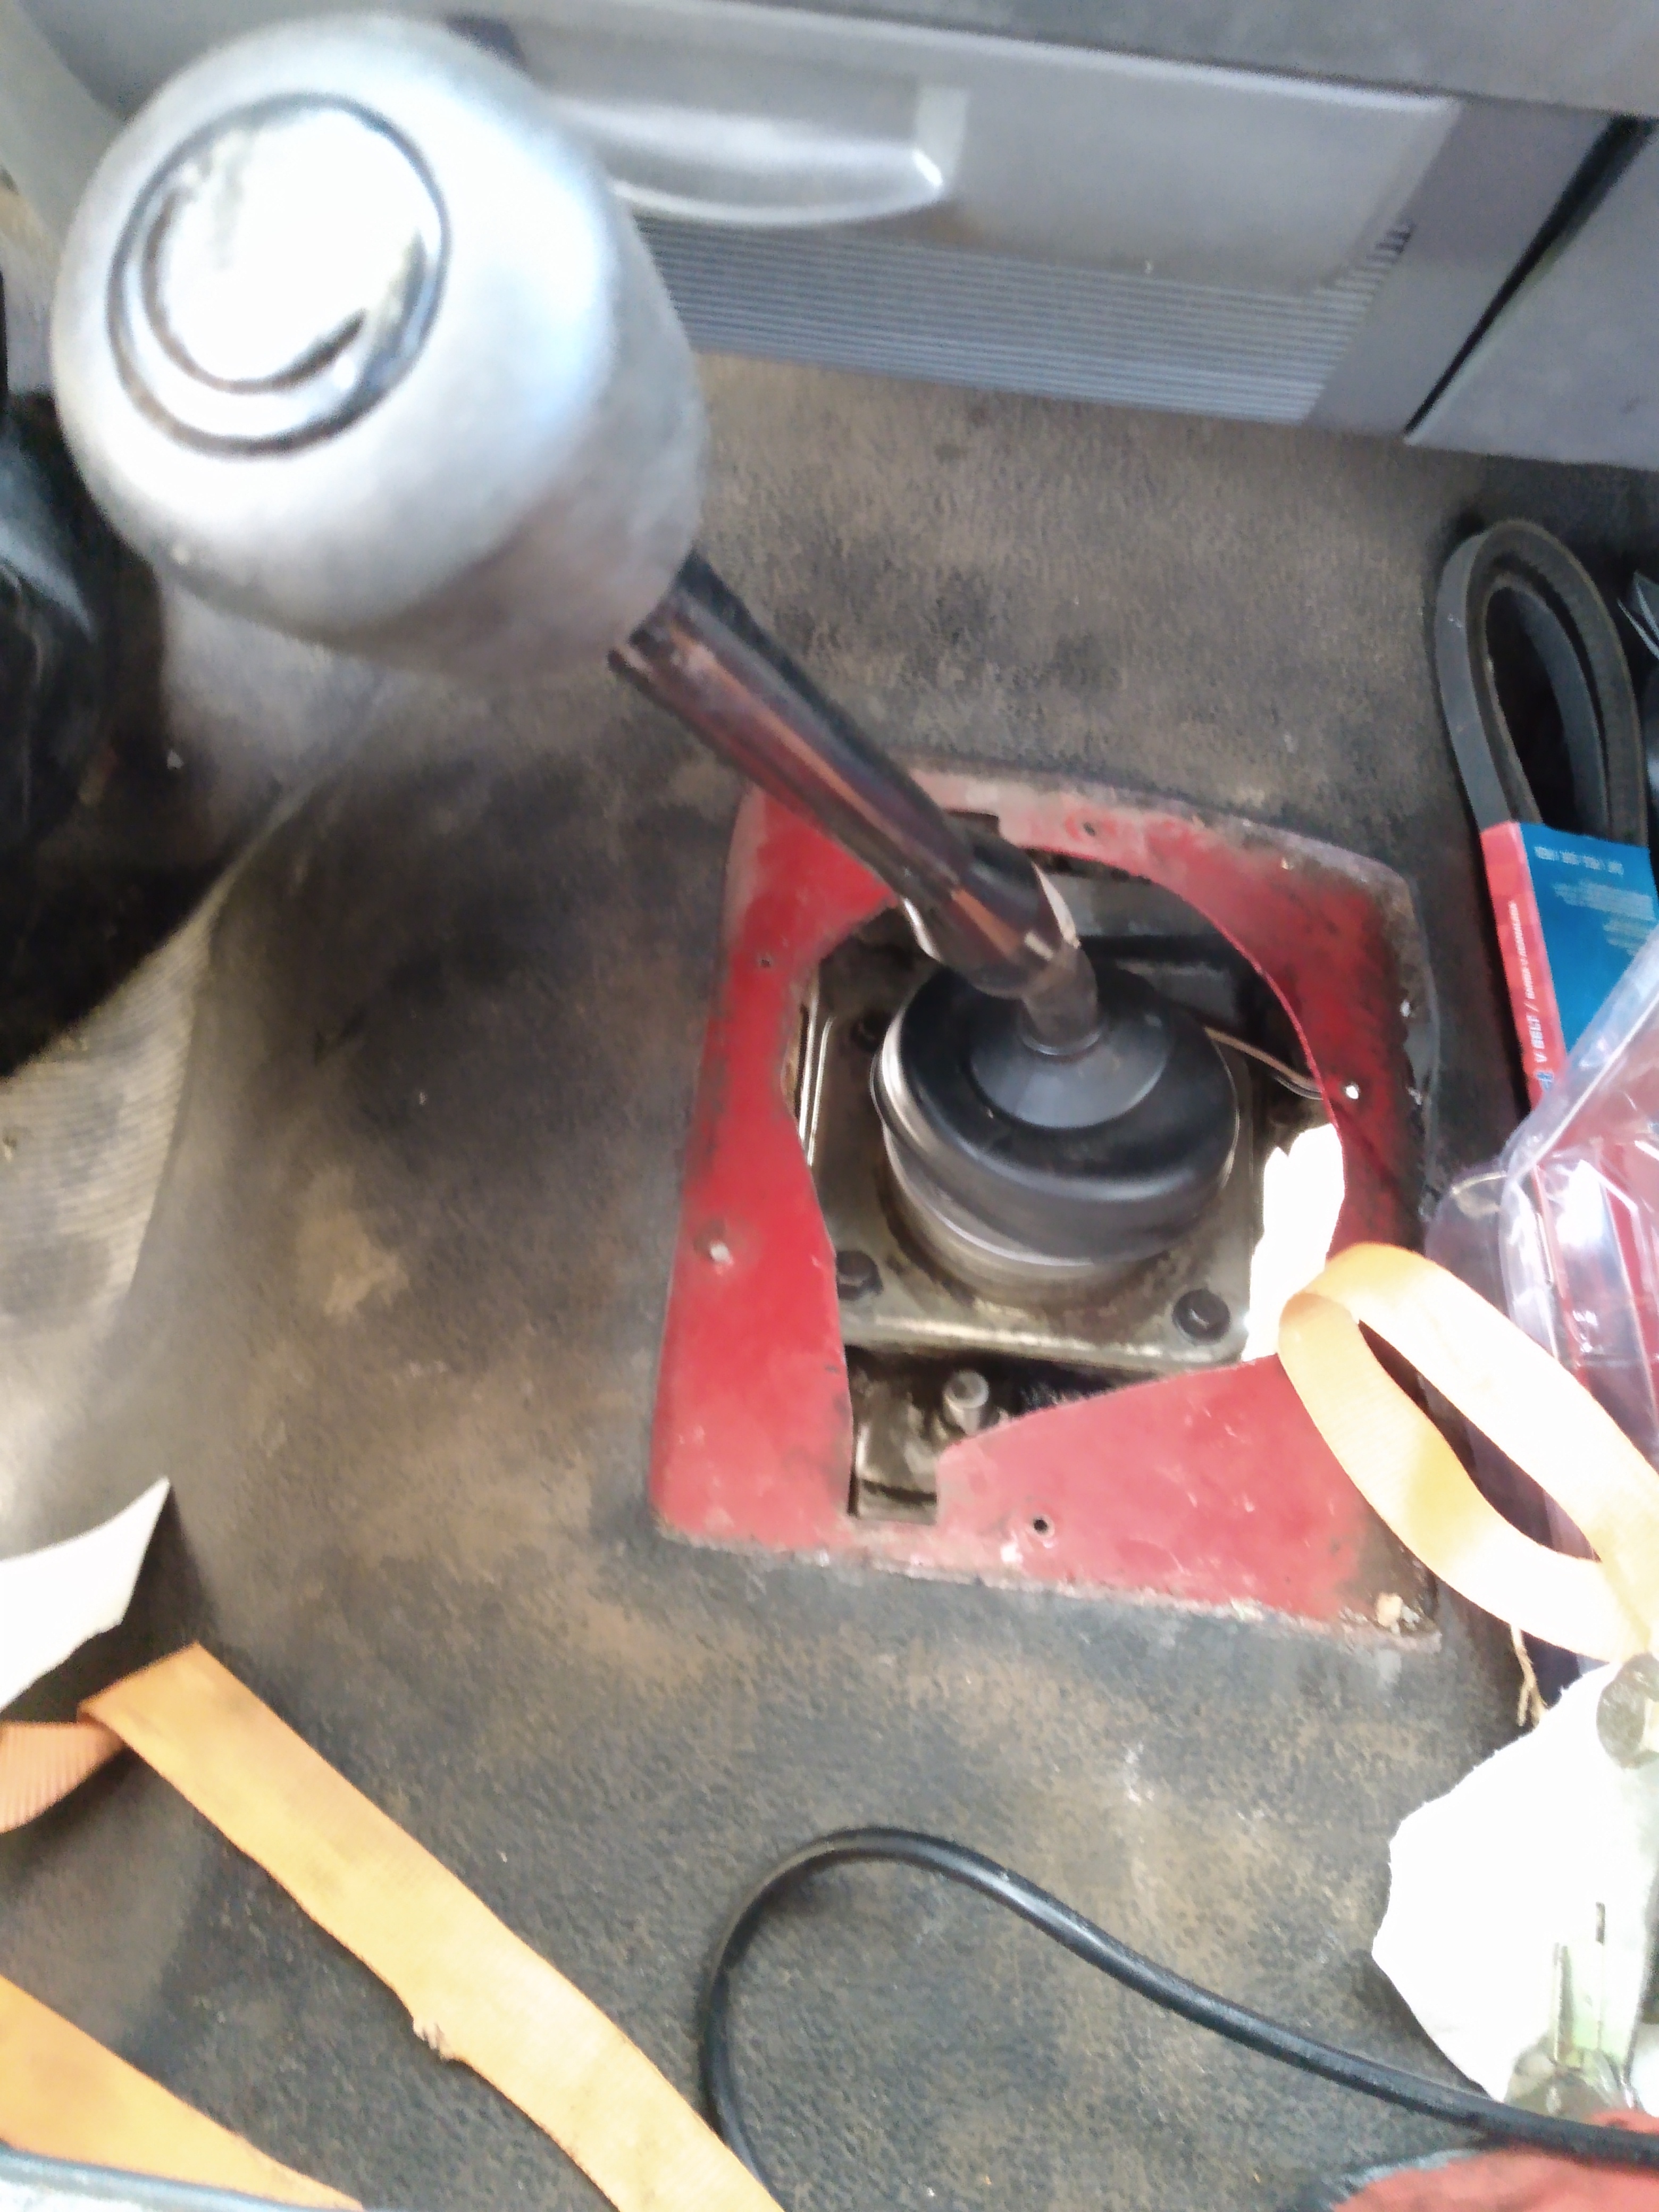
I put the stick shift together to verify that no harm came to the transmission during the installation. It felt perfect, and made me smile, LOL 😆😁
I still need to paint the cab seal, and rebuild the stick shift and cover boot, but that is another post; because it has become way too cold to paint right now!
I also found that the in tank fuel pump is dead, so I must pull the tank and replace it; before she's road ready! That's going to need to be another post also....
But I'm thrilled that the transmission is in, and functional!!!!!
Well done on finally getting the transmission back in.
Been dodging the weather, it's 14 degrees F right now...brrrr!
Next is the painting and shifter reassembly; Then the fuel pump.
🤕😁👍🤞
Good idea to dodge the cold as much as possible.
When it's cold, I dodge the Dodge; to dodge the weather, ROFLOL!
😆💗🤕👍
Thank you for sharing this amazing post on HIVE!
non-profit curation initiative!Your content got selected by our fellow curator @priyanarc & you just received a little thank you via an upvote from our
You will be featured in one of our recurring curation compilations and on our pinterest boards! Both are aiming to offer you a stage to widen your audience within and outside of the DIY scene of hive.
Join the official DIYHub community on HIVE and show us more of your amazing work and feel free to connect with us and other DIYers via our discord server: https://discord.gg/mY5uCfQ !
If you want to support our goal to motivate other DIY/art/music/homesteading/... creators just delegate to us and earn 100% of your curation rewards!
Stay creative & hive on!
Thanks for the curation, I will try to join; but I run Linex, so some of the 'other' programs don't run. I will post some more soon!
💗🤠👍
I cant see spanners all over the place!
You're not looking, LOL! 😆
I used a lot of tools to get this installed....
But I'm getting close to a truck for the homestead. This will speed my move significantly!
💗🤠🤕💙
Did you have to make any new threads for the loose nuts.There must have been a lot of corrosion!
No, I cleaned them up with a wire brush, greased them and reassembled everything. If the rust is heavy, sometimes I run a die over the threads, to clean off the rust down in those same threads!
💗🤠👍😁