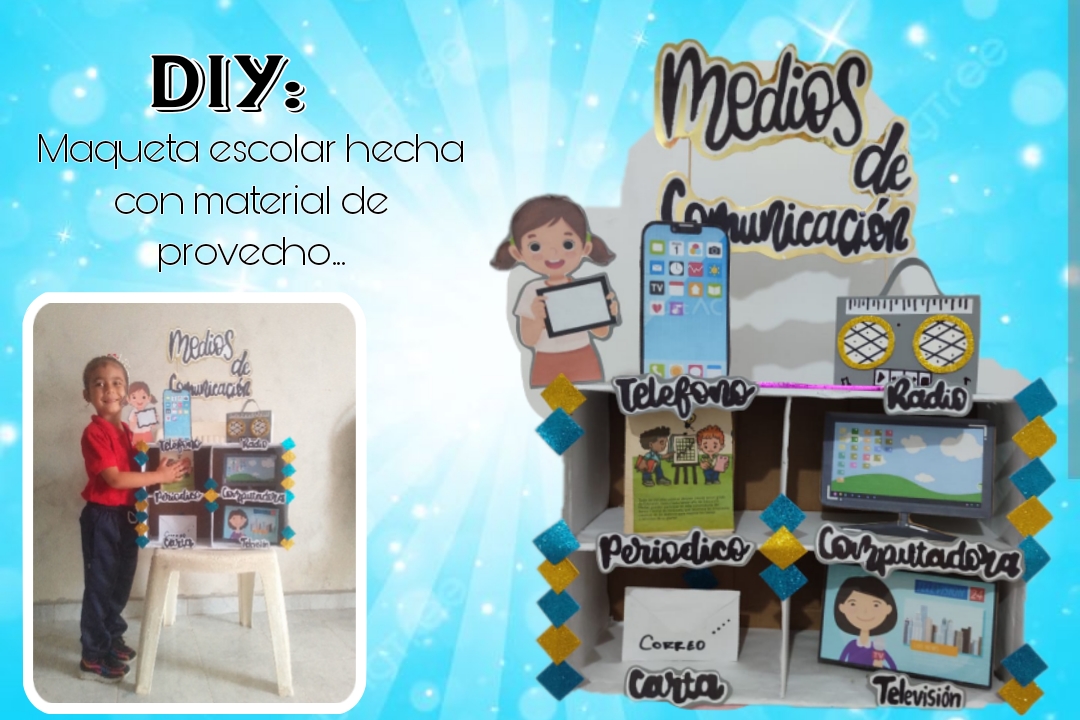
Un saludo muy cordial a toda mi linda comunidad creativa de #Diyhub, espero mi Diosito les esté regalando un bonito día, les doy la bienvenida a mi blog y que disfruten de mi mas reciente tarea artesanal. Hoy quiero que veas como hice de una manera muy práctica un bonito material de apoyo de exposición sobre los medios de comunicación para mí hija, utilizando básicamente materiales reciclables.
Es común que nuestros niños por ser tan pequeños sienta temor presentarse y hablar delante de otras personas, por eso es muy importante brindarle toda la ayuda posible para facilitarle su proceso de aprendizaje y apoyarlos para fortalecer su confianza en si mismos, hoy en día exiten infinidades de formas para impulsar a nuestros niños a aprender algo nuevo..Yo soy una mamá que disfruta mucho pasar tiempo con mi hija y este tipo de artesanía se presta mucho para esto. Siempre que mi niña tiene sus presentaciones en su escuela, me gusta mucho prepararla en todos los aspectos, querer que saliera bien en su
cierre de proyecto de fin de año, fué lo que me motivo a crear está linda maqueta, que contiene varios de los medios de comunicación, éste material resultó una pieza clave para orientar a mi pequeña y que no olvidará mencionar ninguno de ellos.. Intento la mayoría de las veces escoger materiales de provecho para además de todo, enseñarle la importancia de reciclar y las grandes cosas acredita este arte. Acompañame de invito a ver el paso a paso.
A very cordial greeting to all my beautiful creative community of #Diyhub, I hope my God is giving you a nice day, I welcome you to my blog and that you enjoy my most recent craft task . Today I want you to see how I made, in a very practical way, a nice exhibition support material on the media for my daughter, using basically recyclable materials.
It is common for our children to be so young that they are afraid to present themselves and speak in front of other people, which is why it is very important to provide them with all the help possible to facilitate their learning process and support them to strengthen their self-confidence, today there are countless ways to encourage our children to learn something new. I am a mother who really enjoys spending time with my daughter and this type of craft lends itself a lot to this. Whenever my daughter has her presentations at her school, I really like to prepare her in all aspects, wanting her to go well in her closing of the end of the year project, was what motivated me to create this beautiful model, which contains several of the media, this material was a key piece to guide my little girl and she will not forget to mention any of them.. I try Most of the time, they choose useful materials to, in addition to everything, teach them the importance of recycling and the great things this art does. Come with me and I invite you to see the step by step.
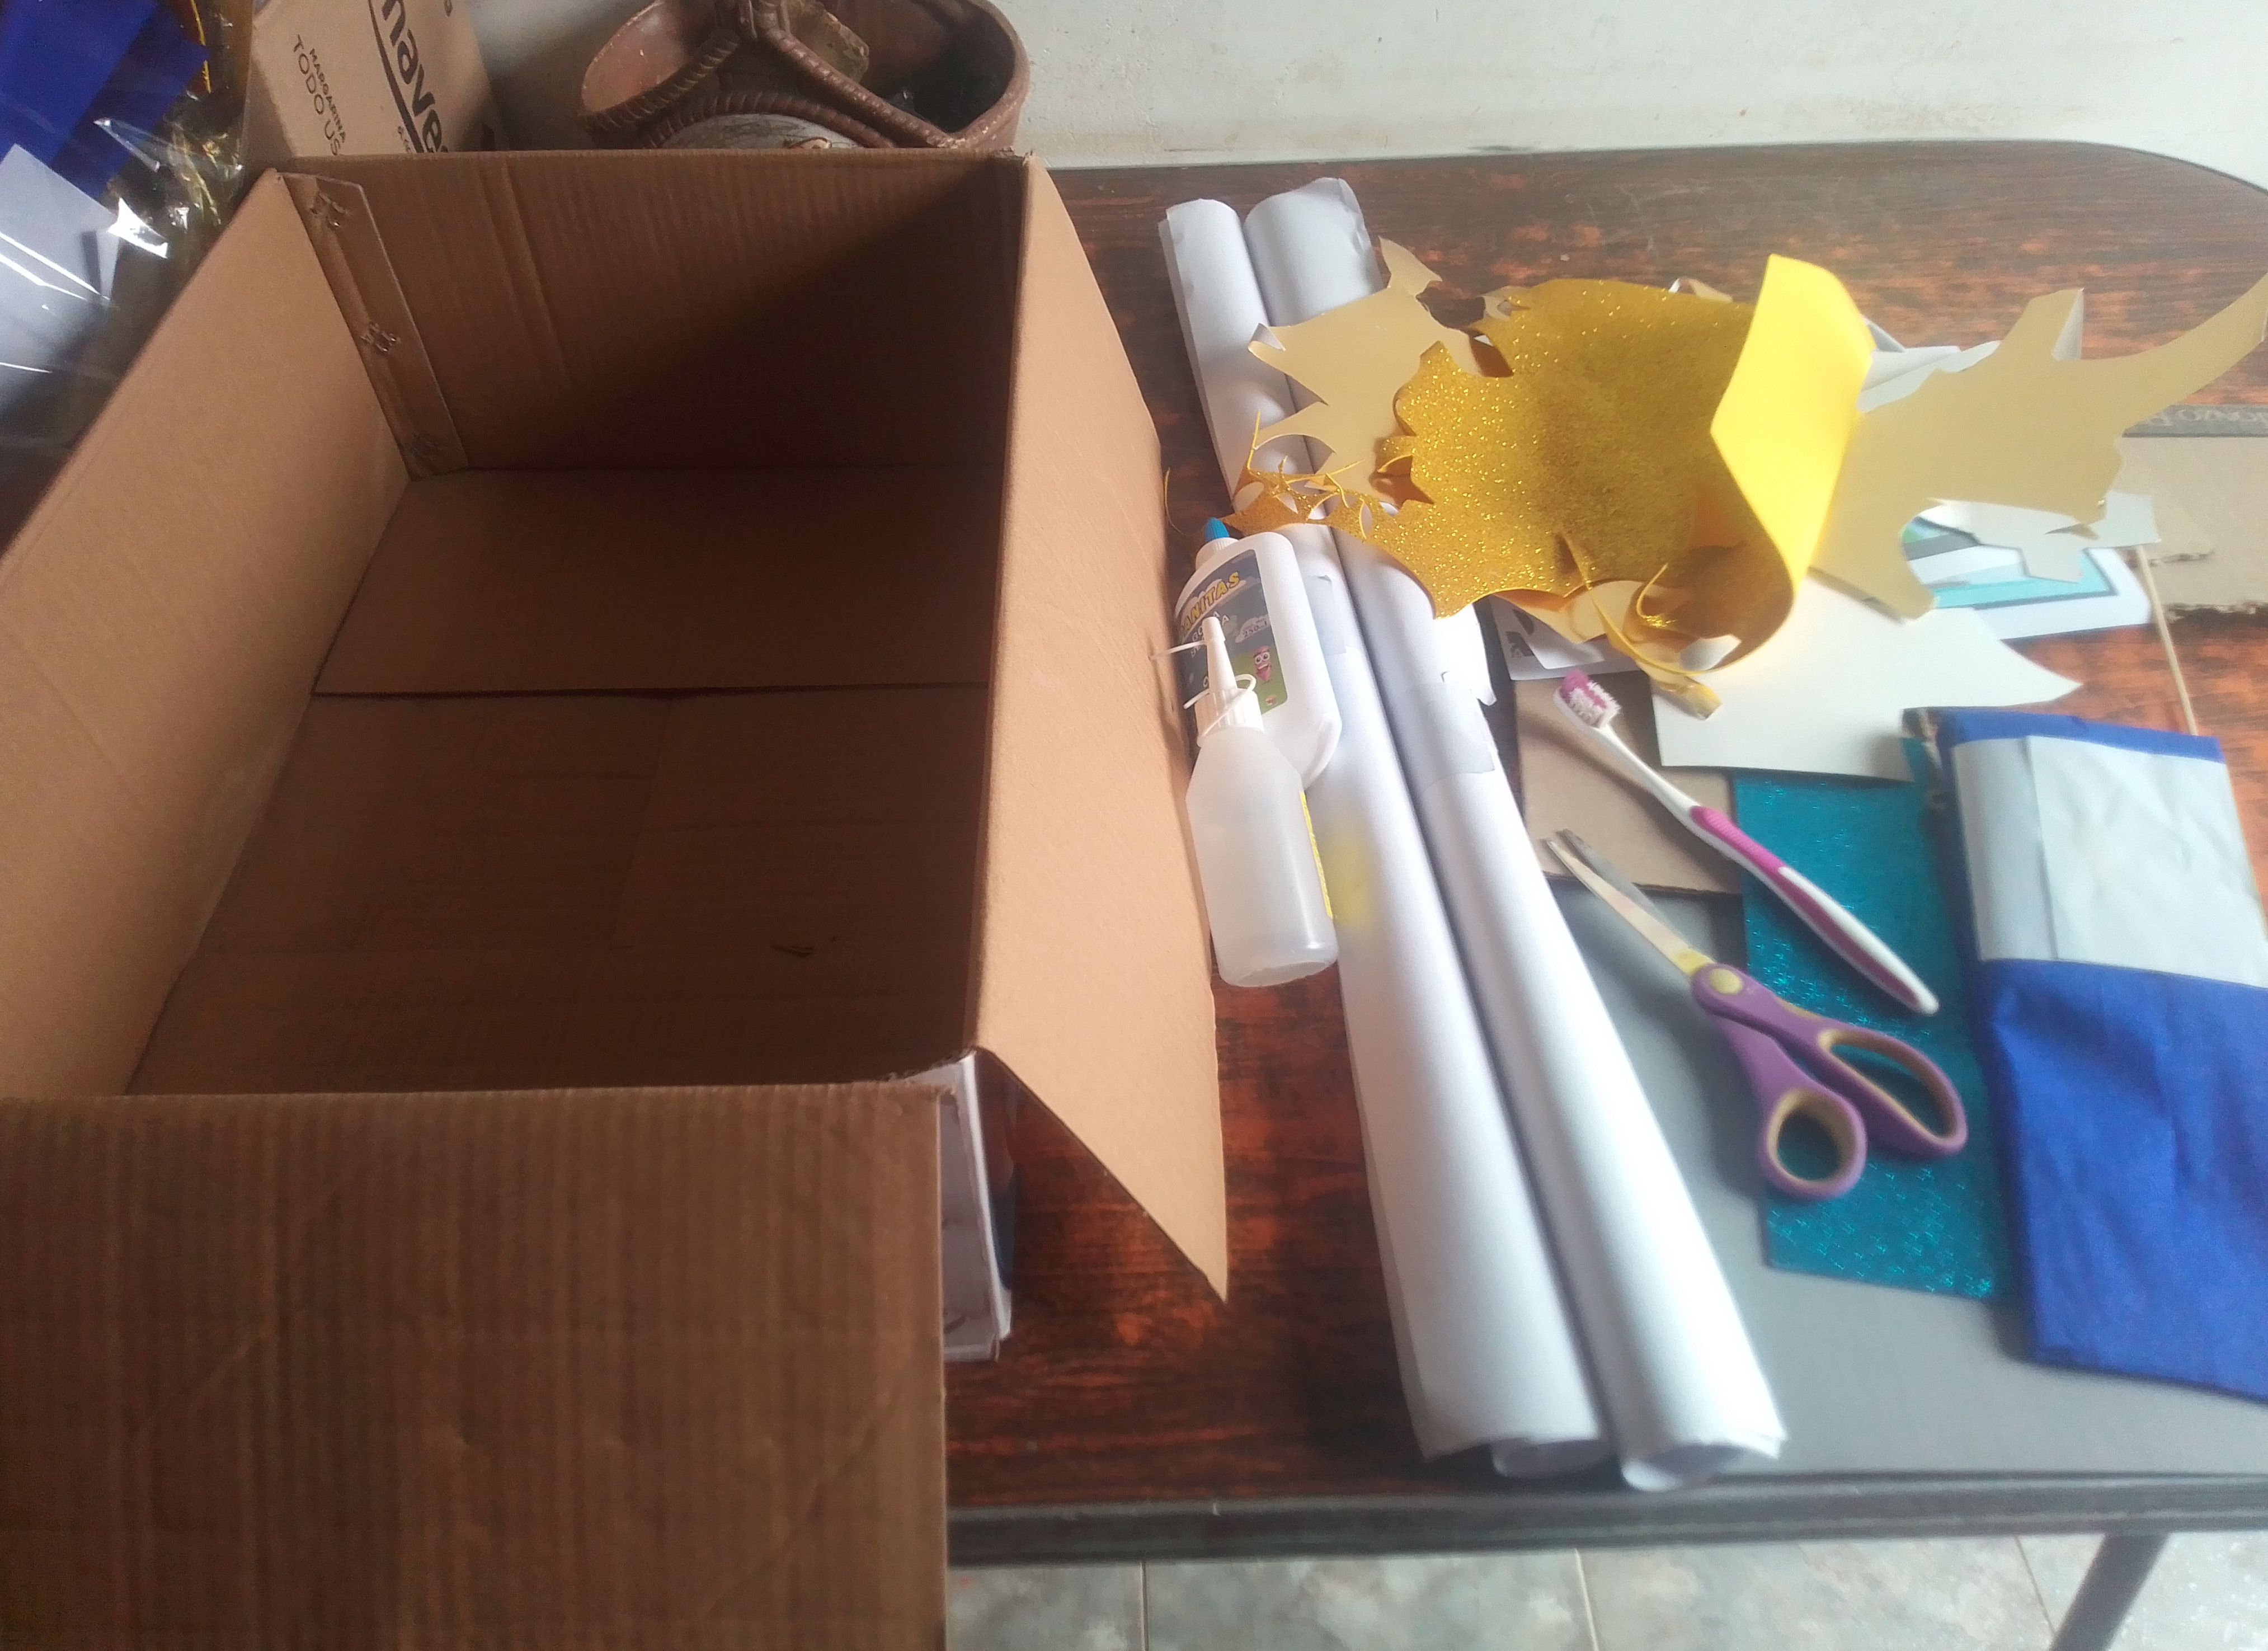
Materiales que necesitas:
- Caja de cartón.
- Papel bom.
- Pintura.
- Cepillo de dientes.
- Marcador negro.
- Palillos de altura.
- Foami color gris y dorado.
- Silicón en barra.
- Papel periódico.
- Cartulina metalizada dorada.
- Cardboard box.
- Bomb paper.
- Paint.
- Toothbrush.
- Black marker.
- Chopsticks height.
- Gray and gold foami.
- Silicone stick.
*Newspaper.- Gold metallic cardstock.
(PROCEDIMIENTO)
Paso 01
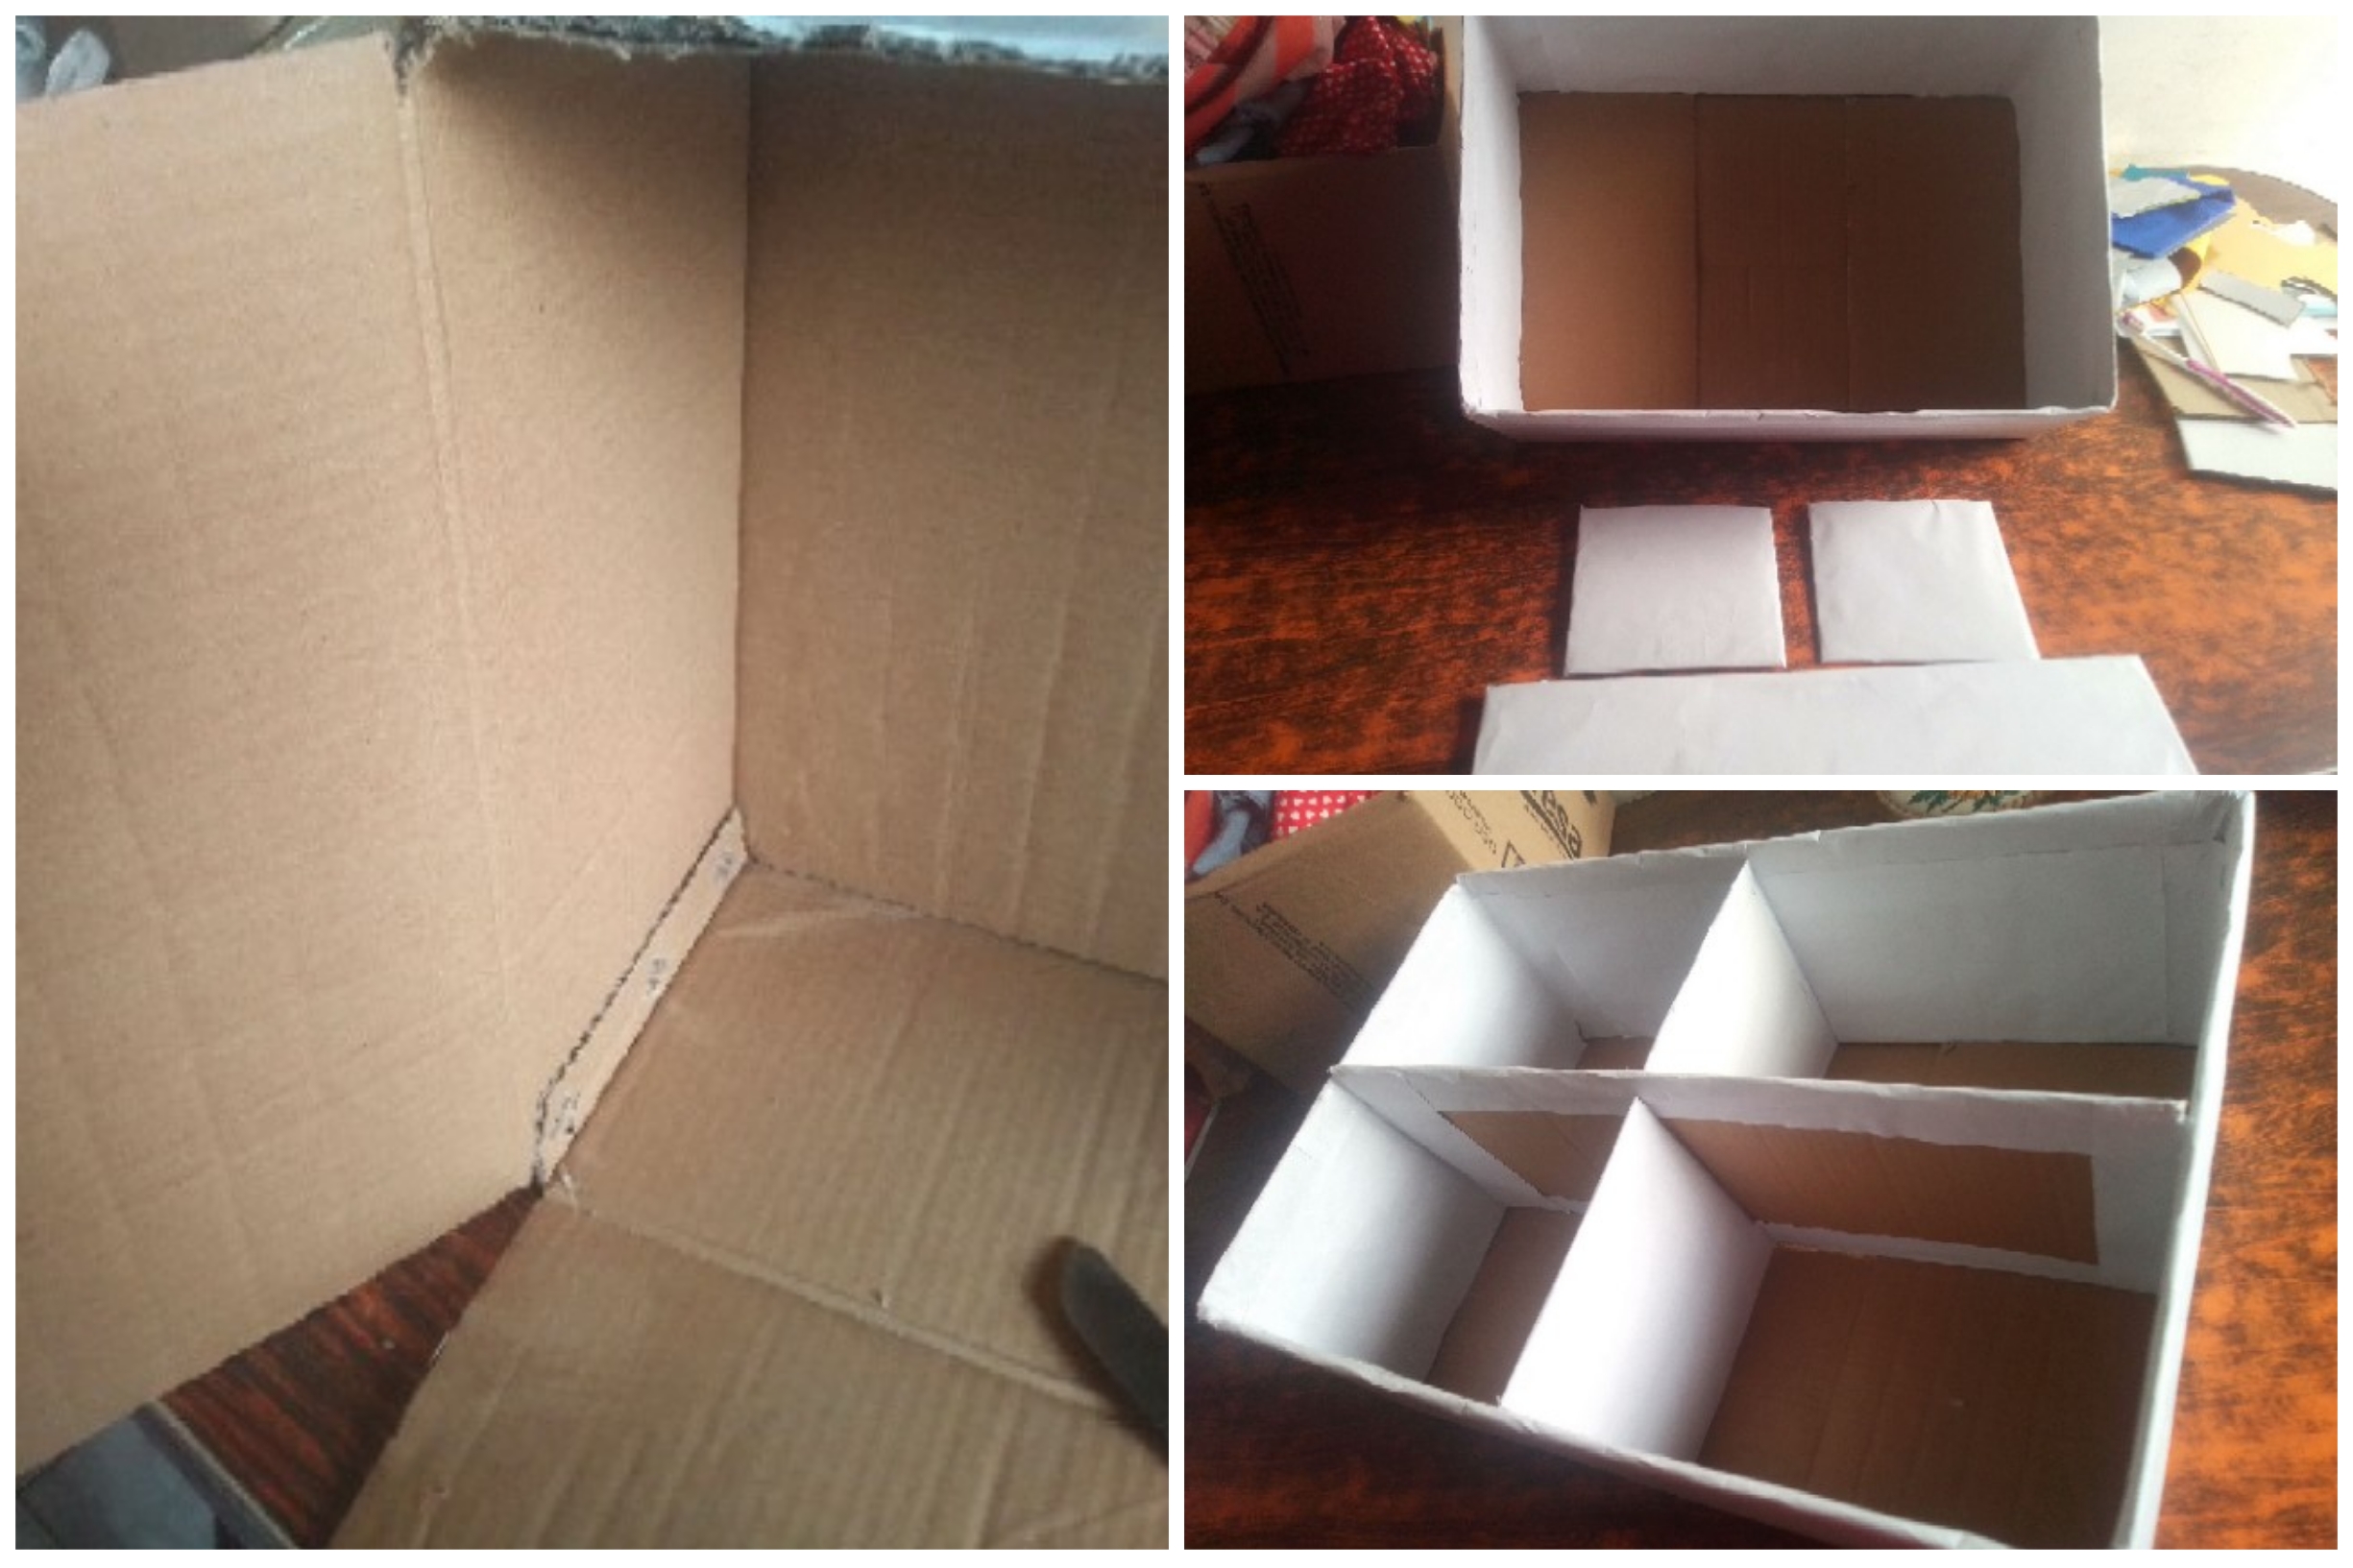
Para comenzar voy a utilizar un caja mediana y le voy a cortar todas las gualetas de la patte superior, es decir, lad partes doblan. Luego voy a tomar el papel bom color blanco y lo voy estirar sobre la caja para medir y luego pegarlos de manera que quede toda cubierta de papel.. También voy a forrar las piezas que cortamos anteriormente Pero una de ellas la voy a picar a la mitad. Luego con estas piezas voy a hacer los compartimientos en el centro de la caja.
Step 01
To start I am going to use a medium box and I am going to cut all the quilting from the upper part, that is, the parts that are folded. Then I'm going to take the white paper and I'm going to stretch it over the box to measure and then glue them so that it's all covered with paper. I'm also going to cover the pieces that we cut previously, but I'm going to cut one of them at the same time. half. Then with these pieces I am going to make the compartments in the center of the box.
Paso 02
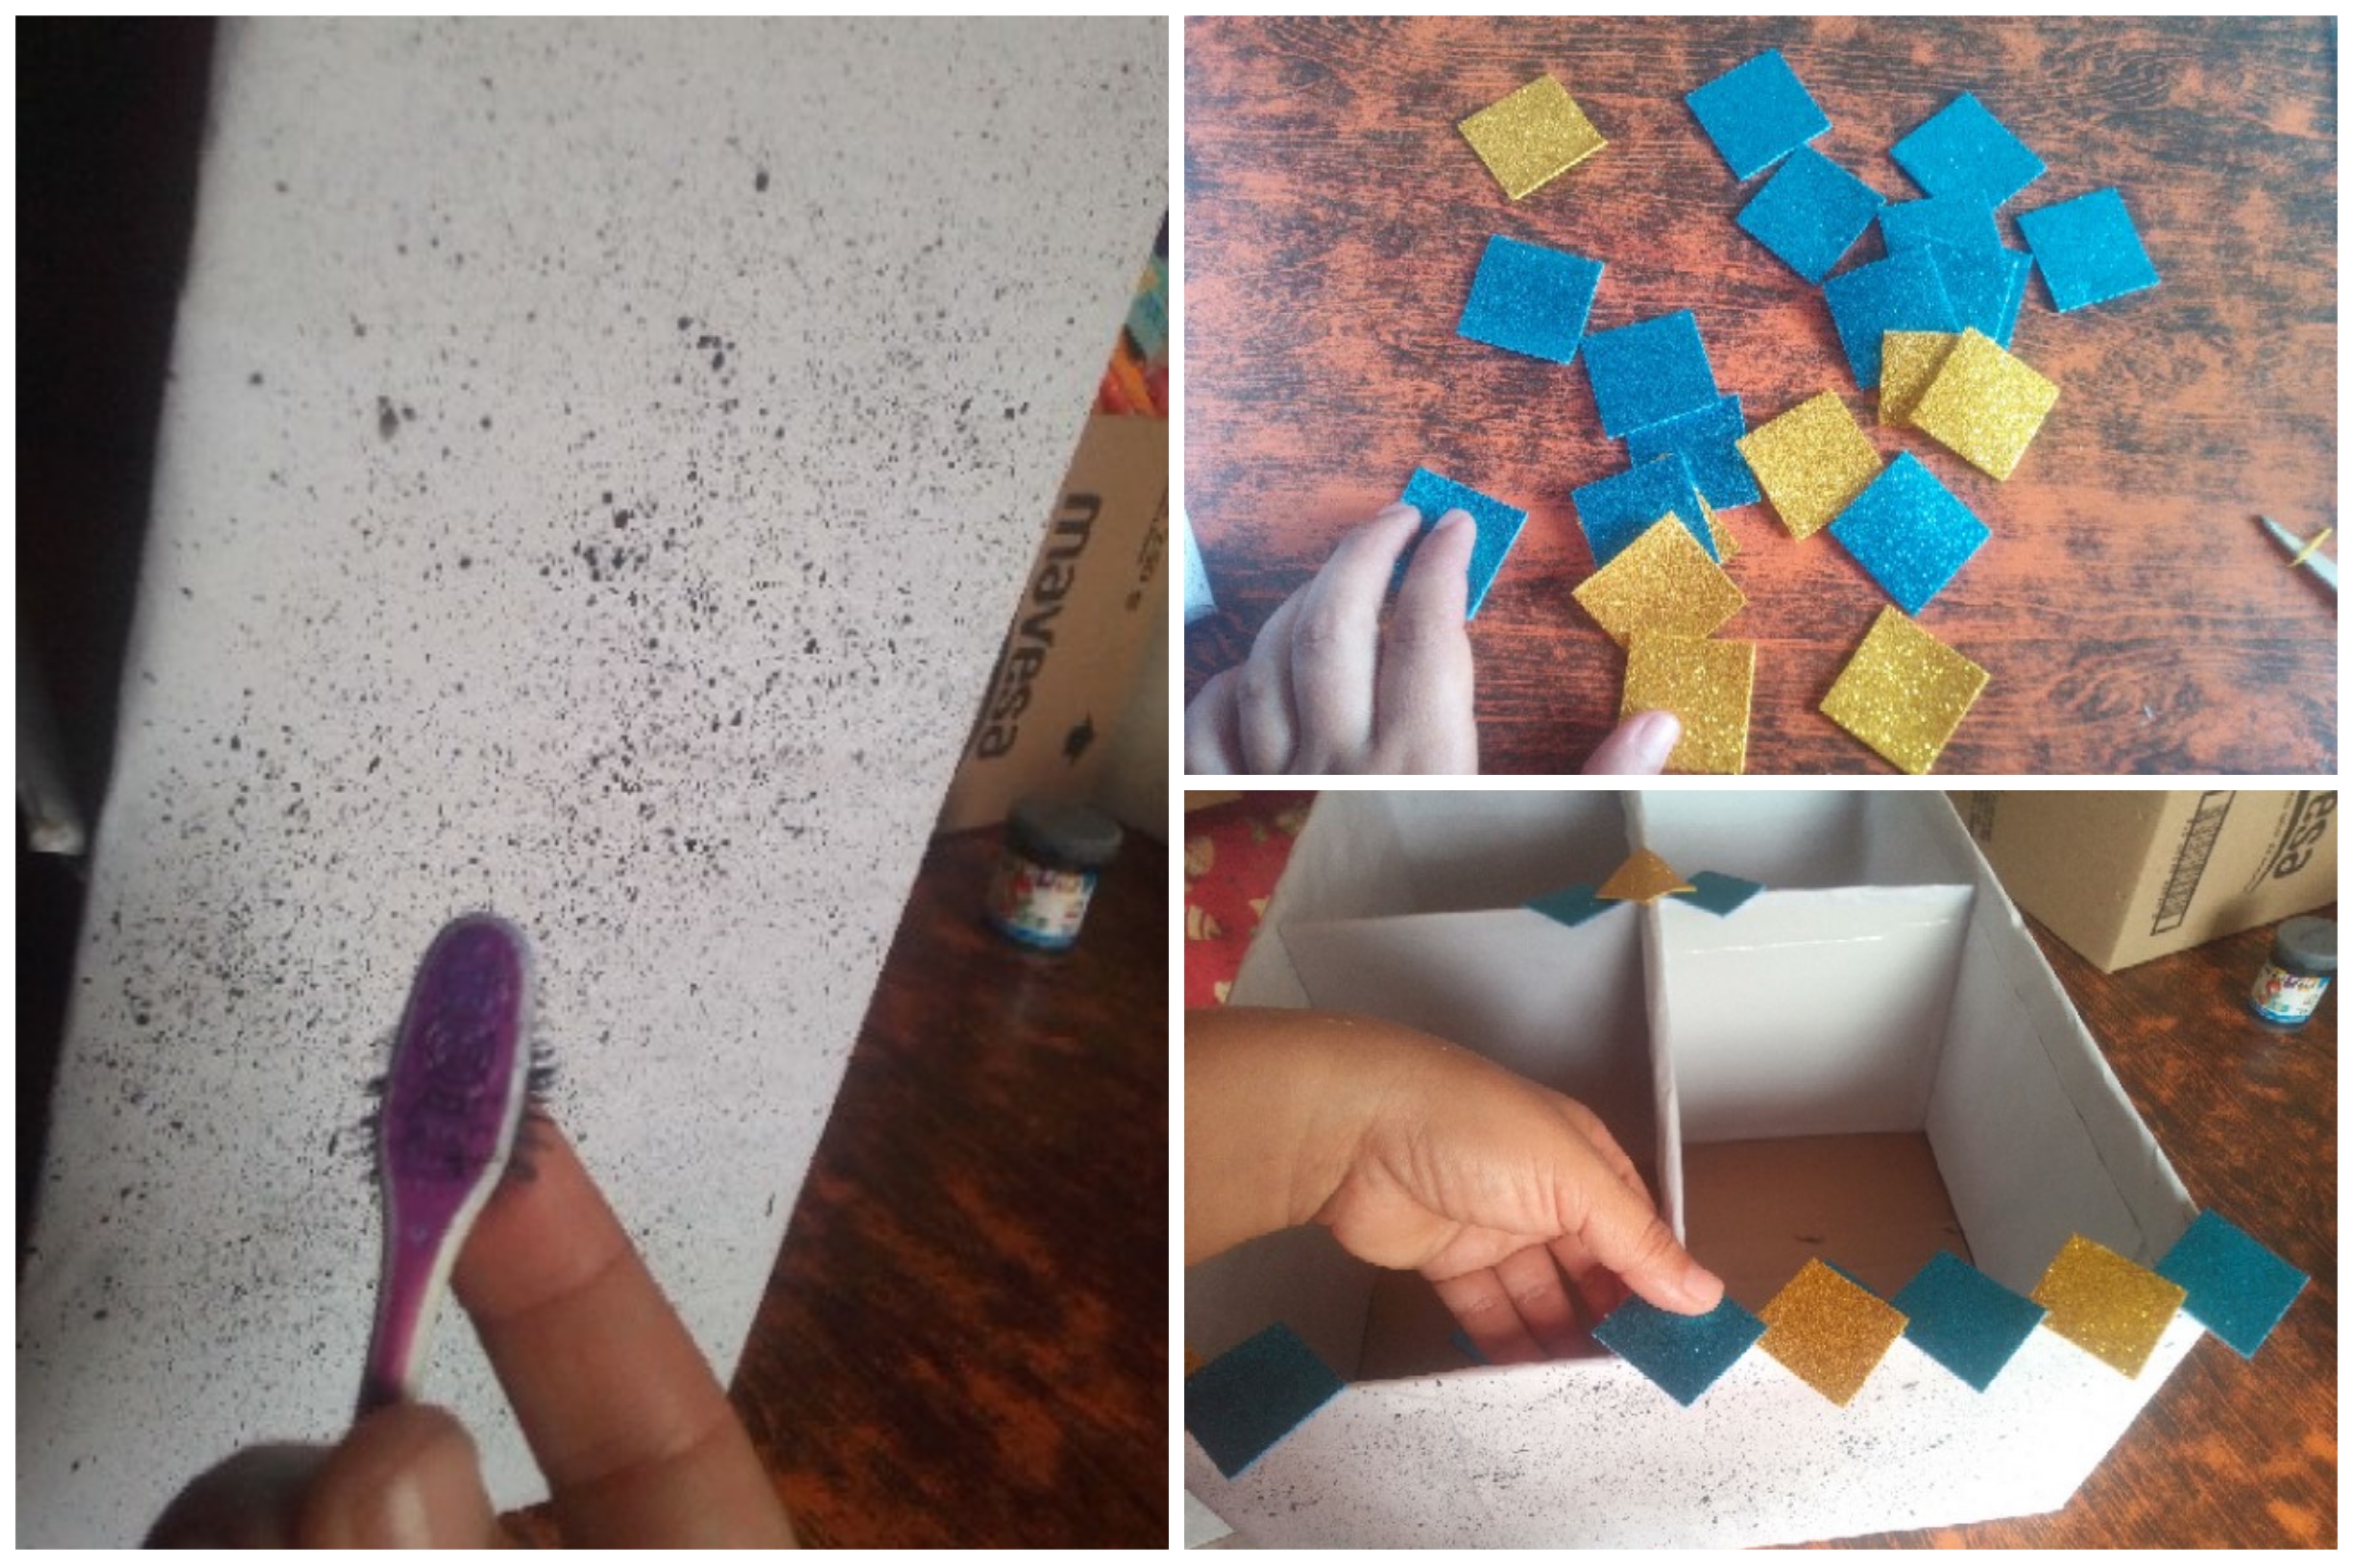
Con cepillo de dientes y pintura color negro no muy espesa, vamos a salpicar todo el papel para darle un acabado muy bonito y original a todo está cubierta. De los trozos de foami corto unos cuadritos y los pego en las orillas de las esquinas de la caja en forma de cristal variando los colores.
Step 02
With a toothbrush and not very thick black paint, we are going to splash all over the paper to give a very nice and original finish to everything covered. From the pieces of foam I cut some squares and glue them to the edges of the corners of the box in the shape of a crystal, varying the colors.
Paso 03
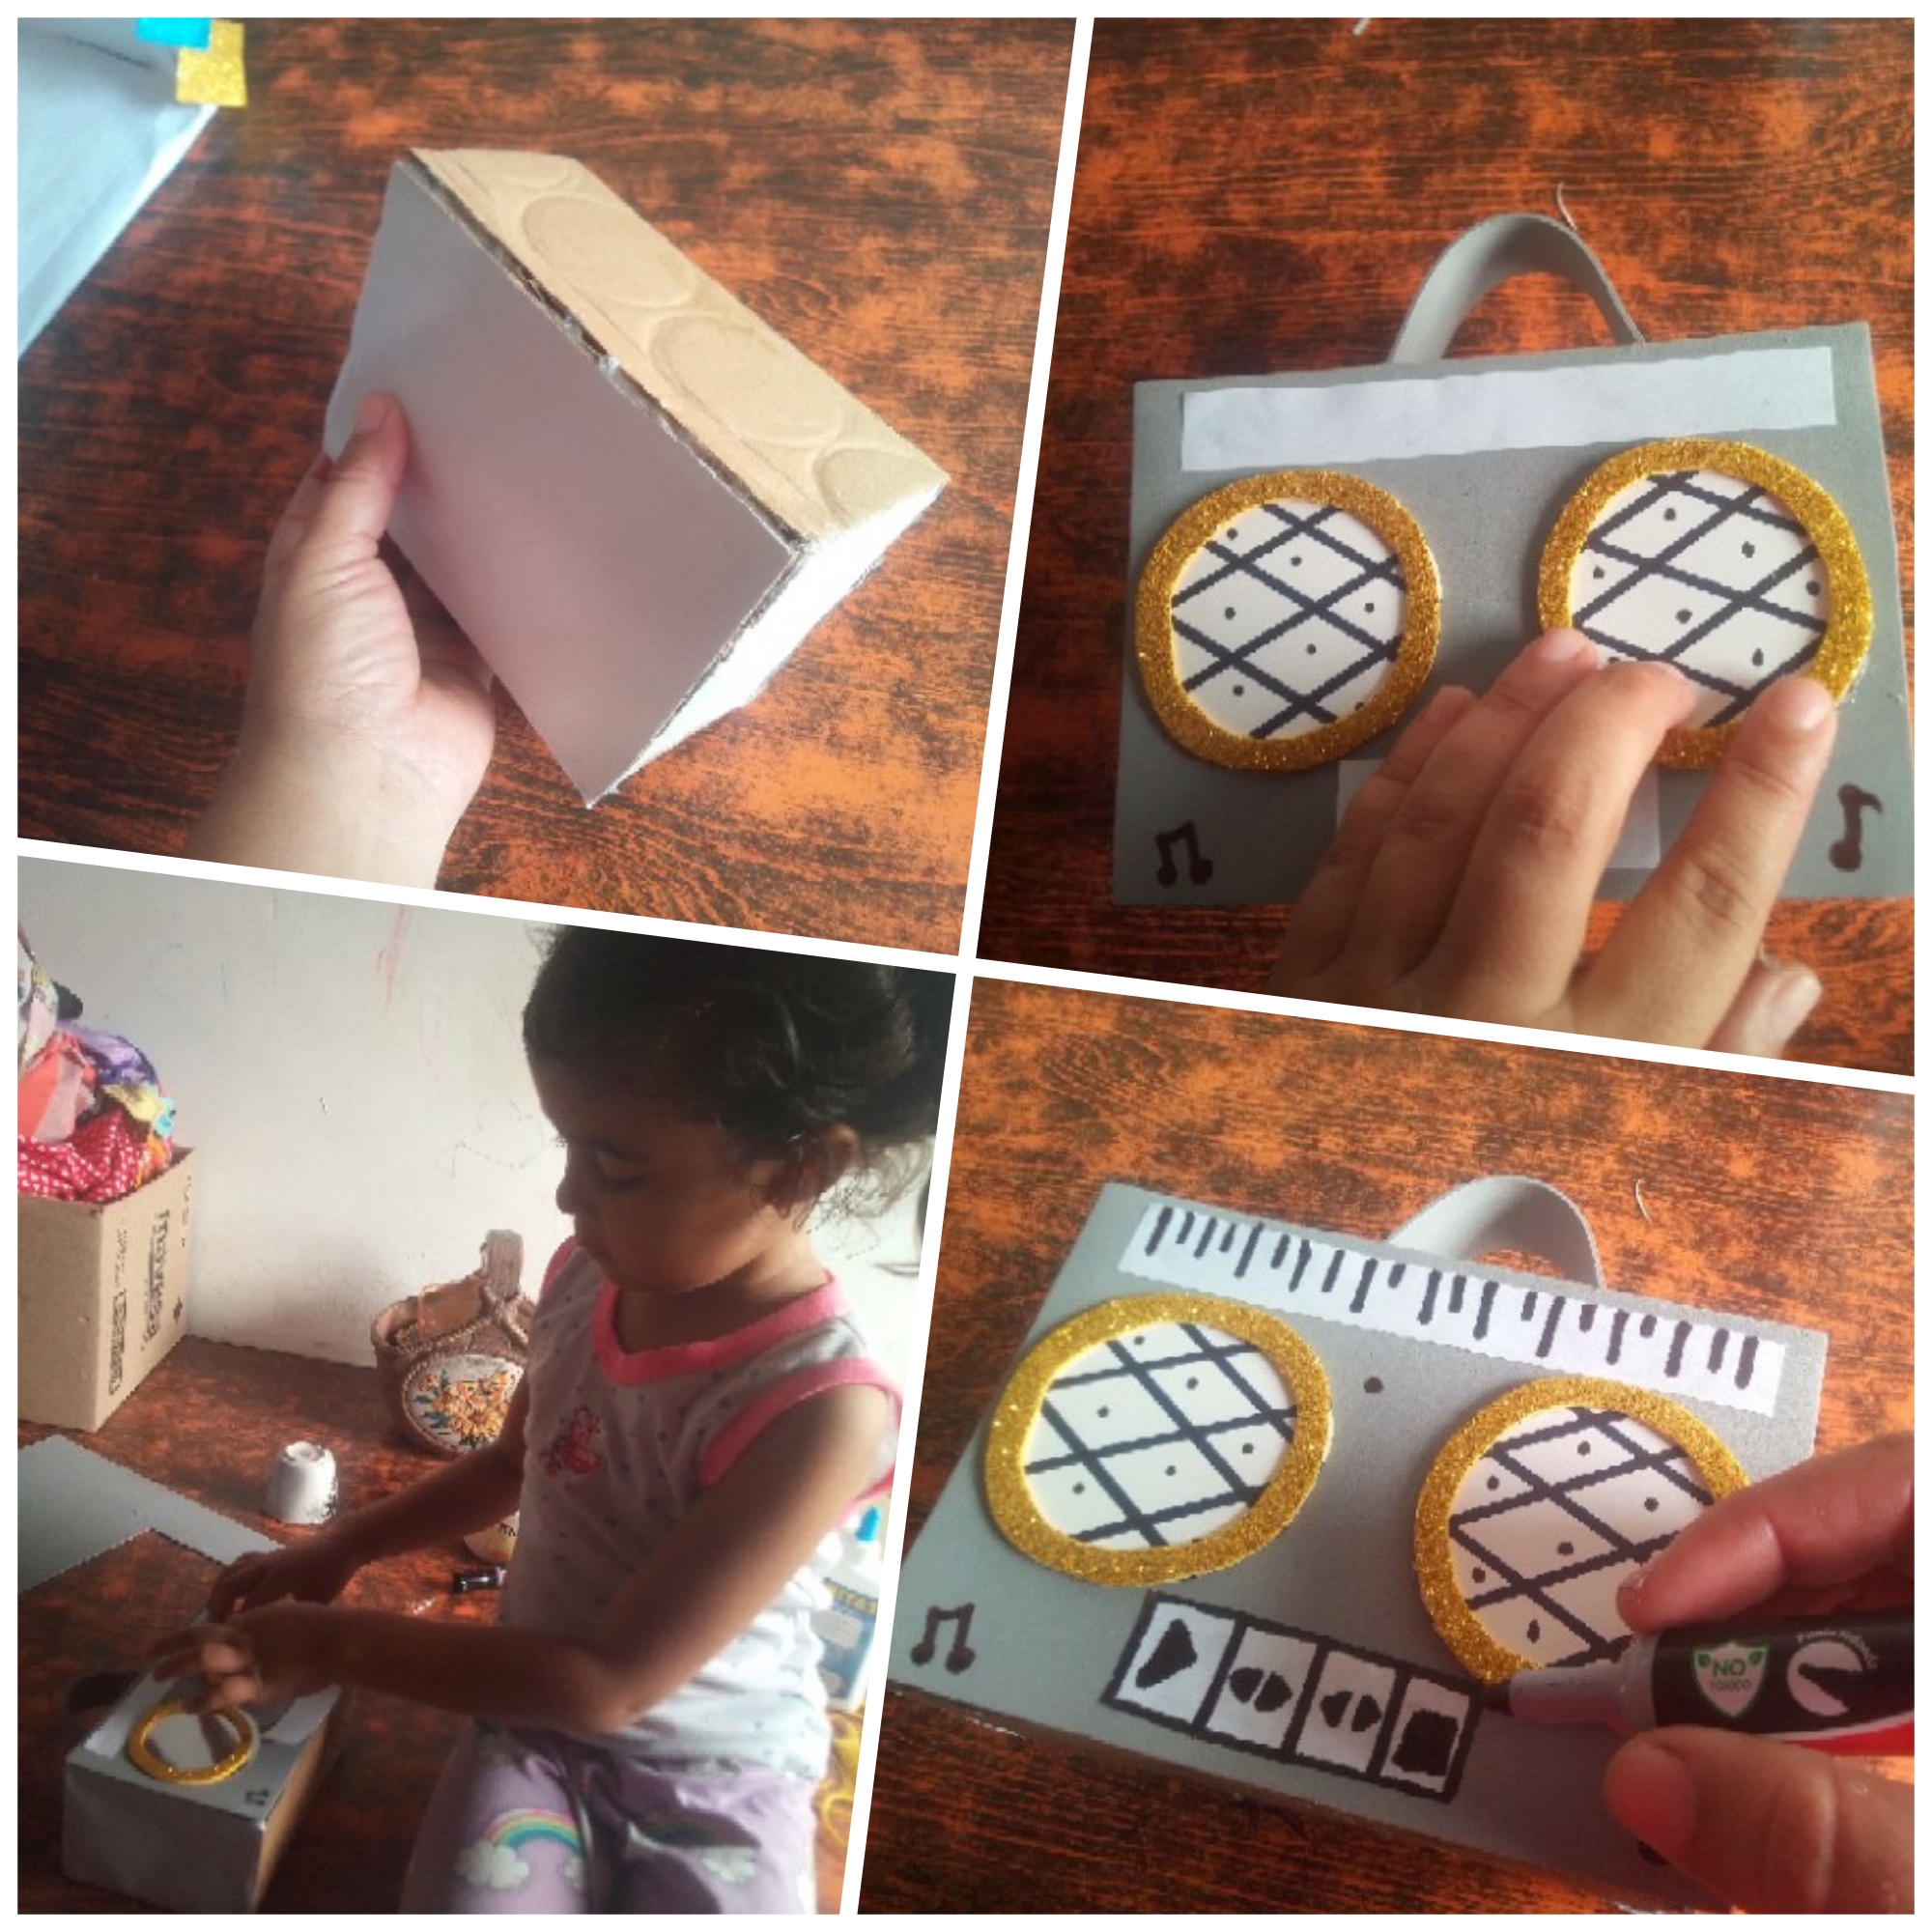
Con lo que me sobró de la caja voy a realizar una cajita mas pequeña y la forre con foami color gris, elabore los detalles de una radio con foami dorado y marcadores negro.
Step 03
With what I had left over from the box I am going to make a smaller box and line it with gray foam, I made the details of a radio with gold foam and black markers.
Paso 04
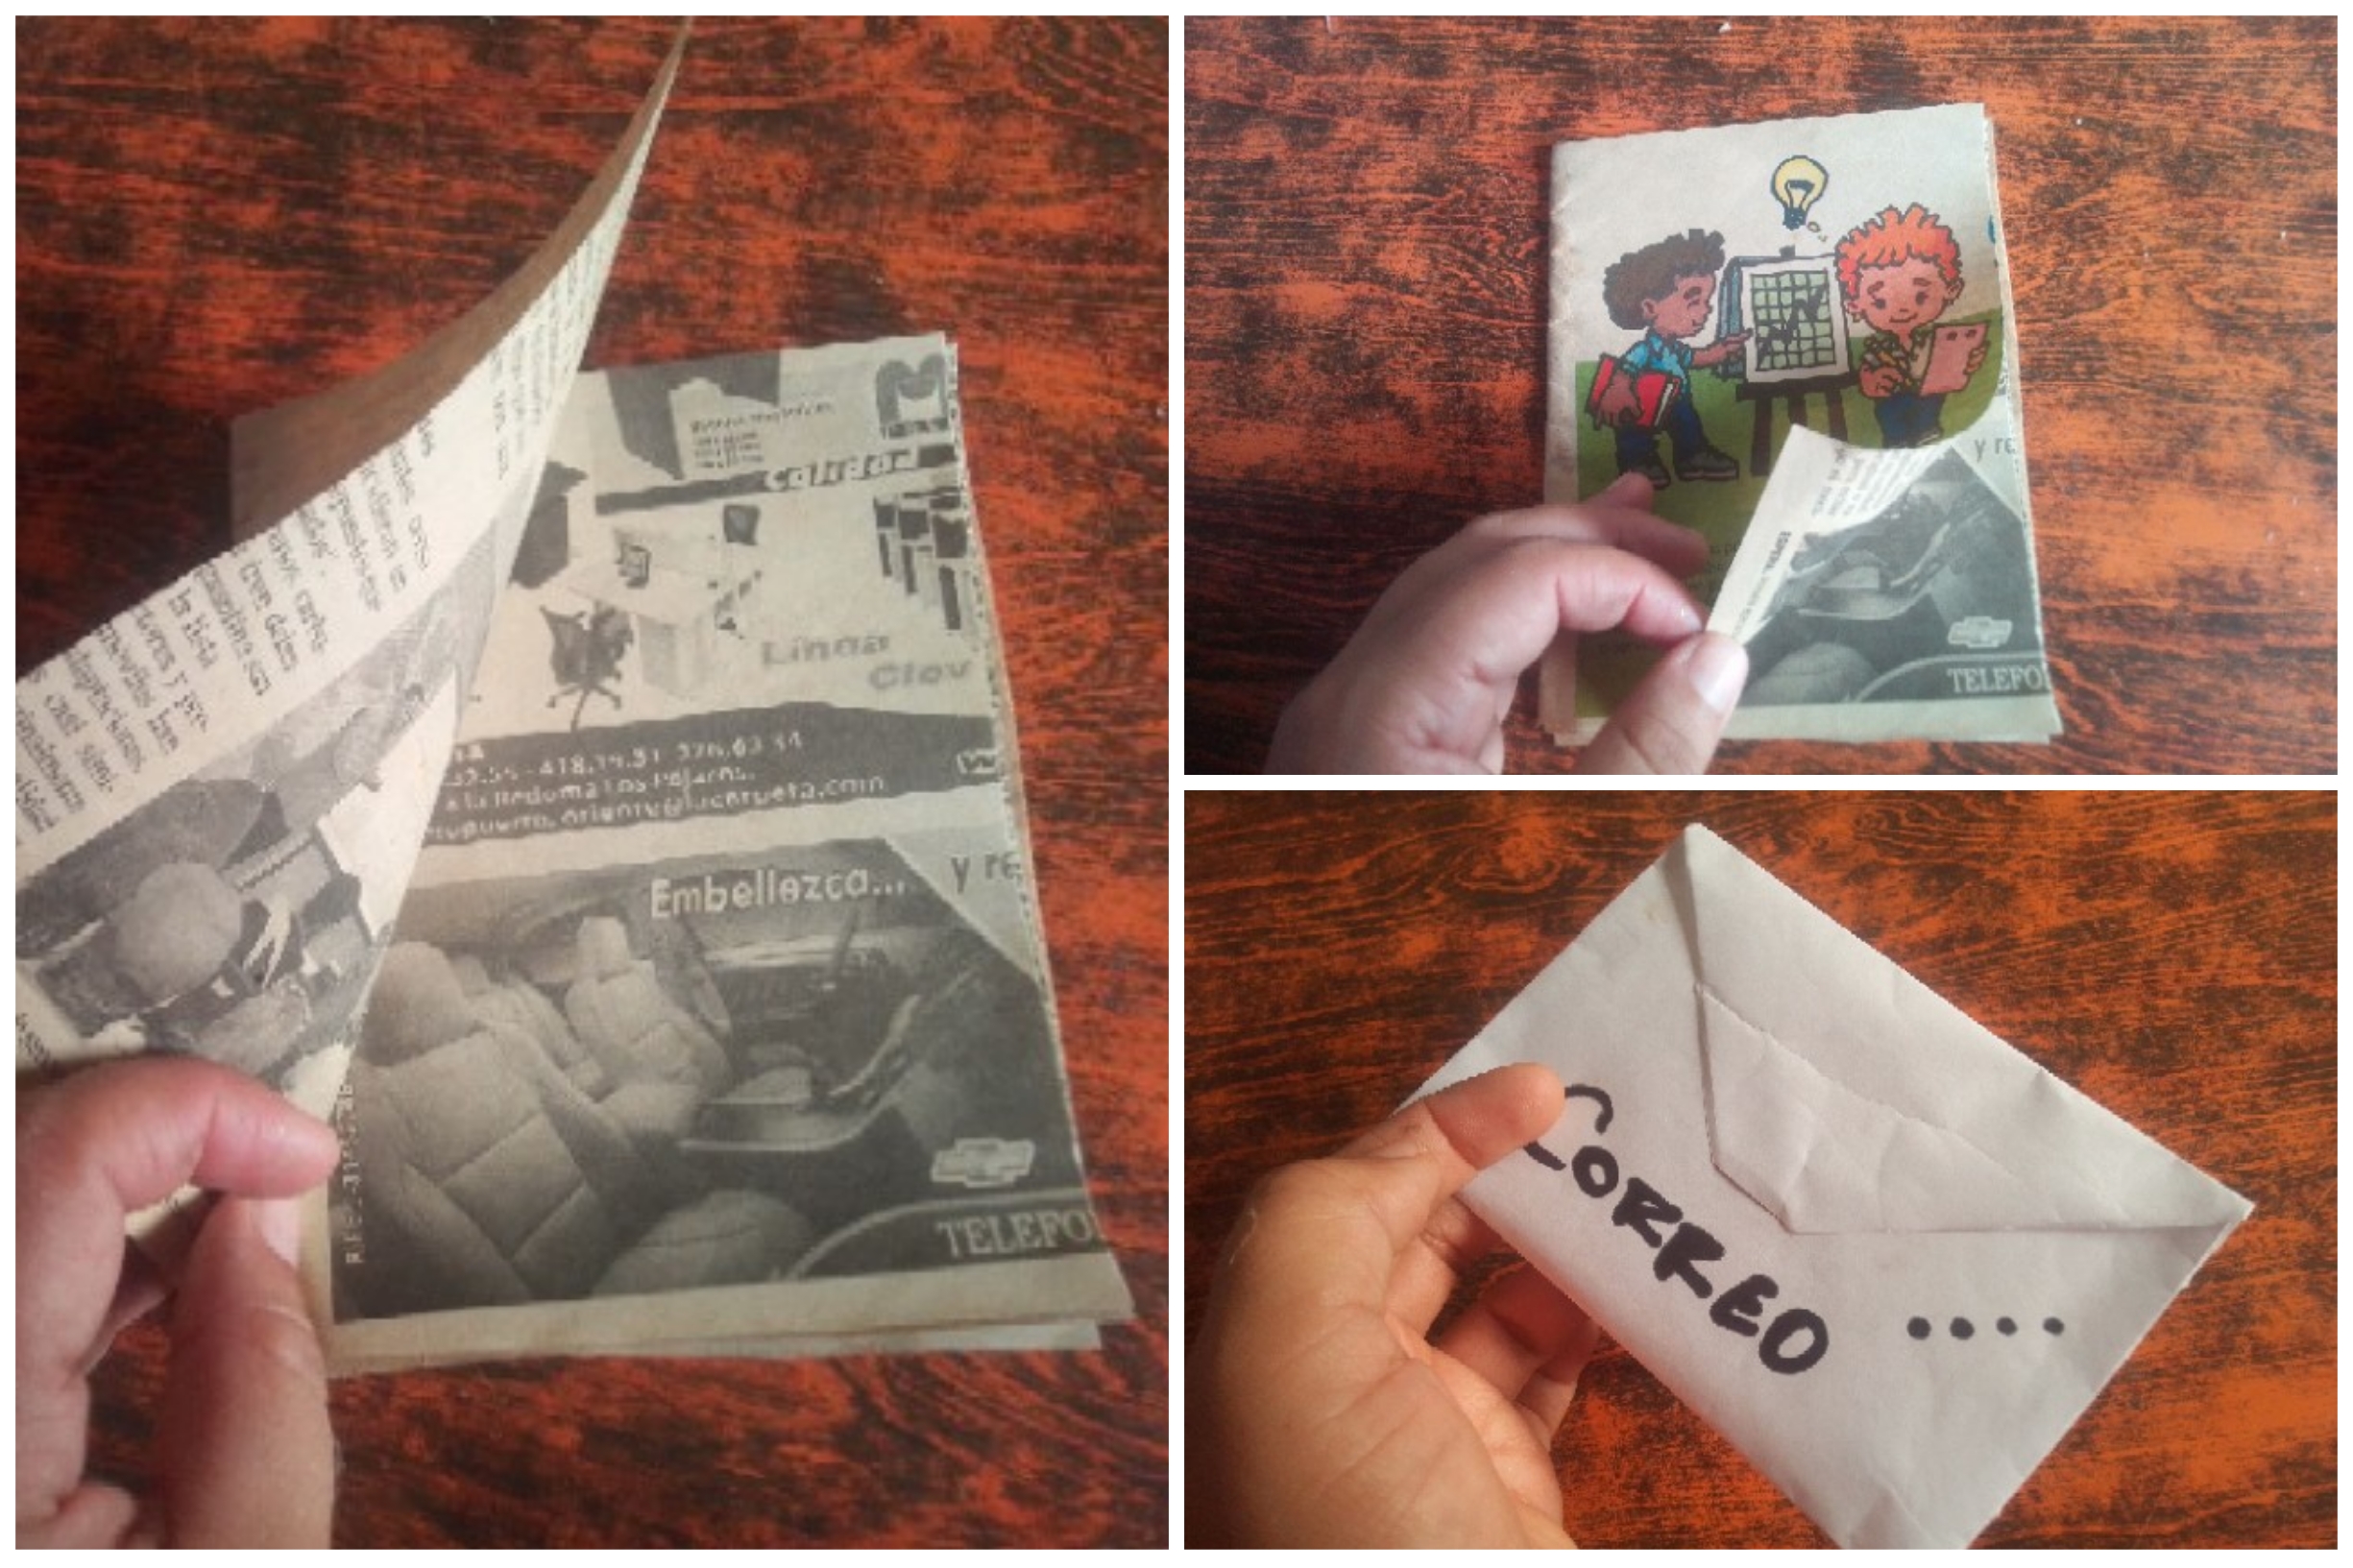
El siguiente medio de comunicación era un periódico, por suerte en mis materiales tenías unas hojas y las corte más pequeñas para hacer un especie de libreta, en el centro le coloqué otro trozo de cartón para darle más soporte. Con una hoja de máquina tipo carta elaboré el inolvidable sobre de una carta doblandola tres veces y cortando las esquinas de la cara posterior.
Step 04
The next means of communication was a newspaper, luckily in my materials I had some sheets and I cut them smaller to make a kind of notebook, in the center I placed another piece of cardboard to give it more support. With a letter type machine blade I created the unforgettable letter envelope by folding it three times and cutting the corners on the back.
Paso 05
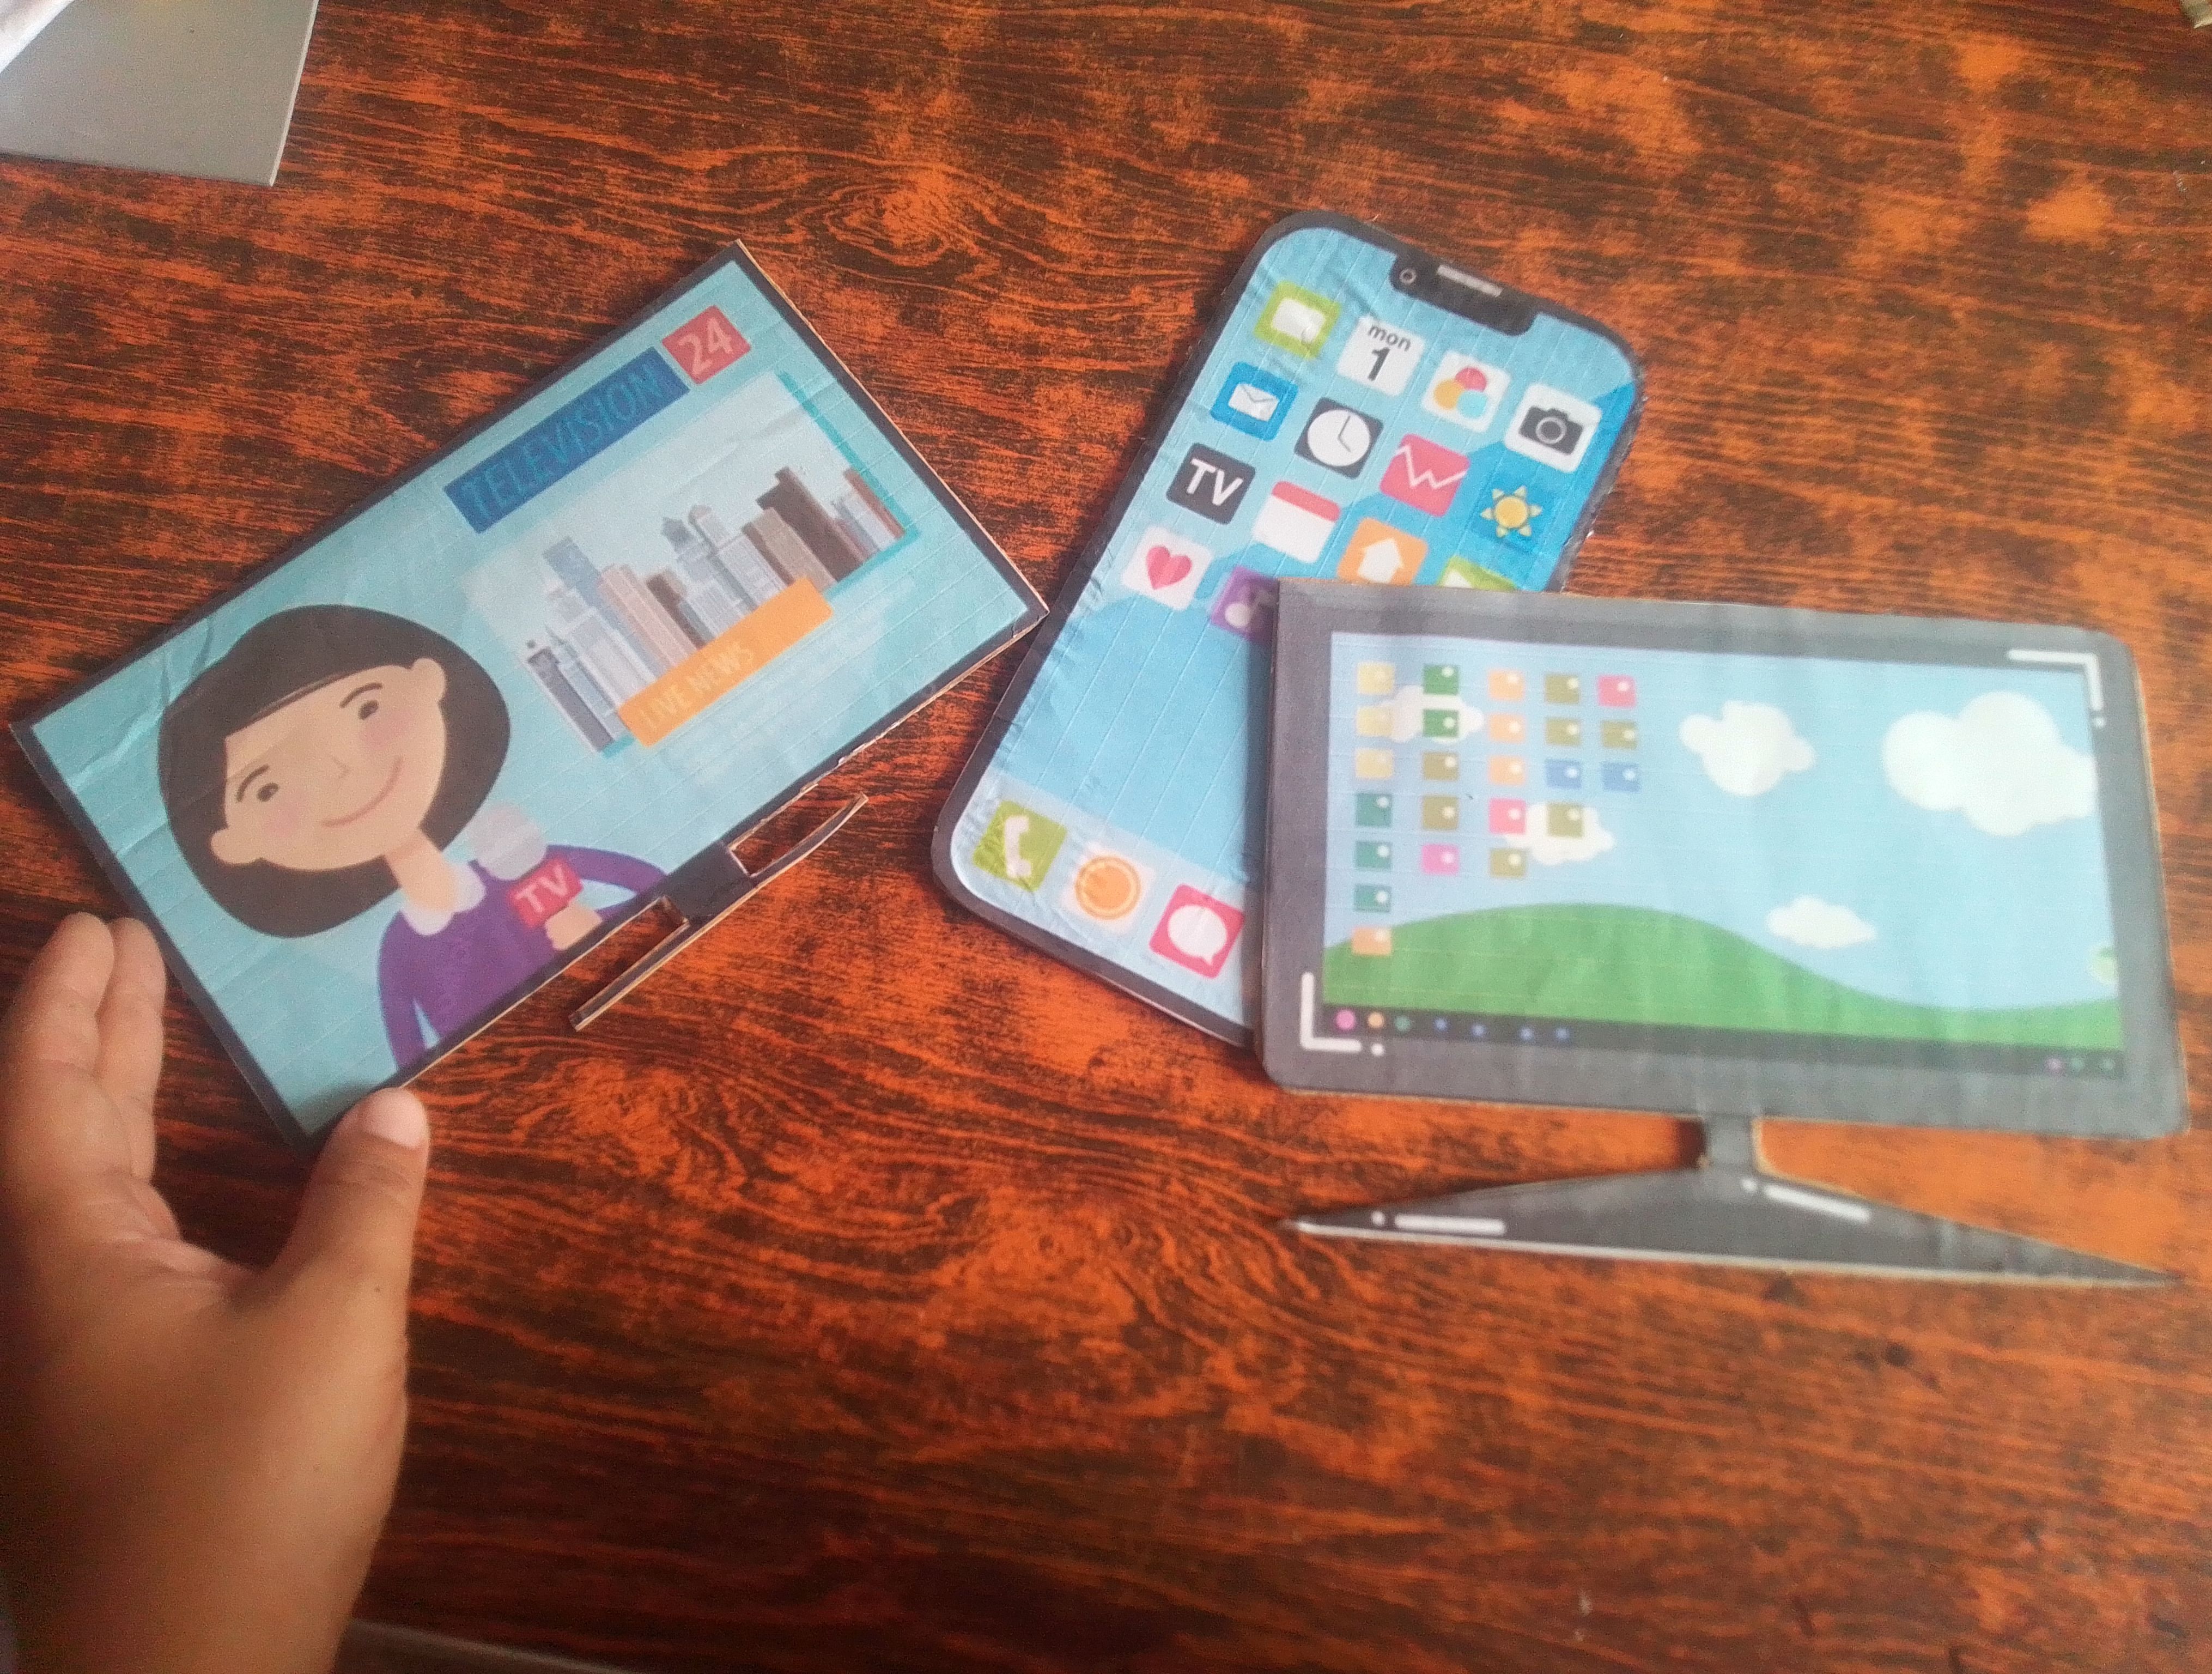
Con los demas medios por falta de tiempo me ayude con algunas impresiones a color de un televisor, una computadora y un teléfono. Para ellos lo que hice fue recortarlos y ponerlos sobre una base también de cartón según su forma. Luego los ubica a cada uno en un compartimiento de la caja y los pegué con silicón.
Step 05
With the other media, due to lack of time, help me with some color prints from a television, a computer and a telephone. For them, what I did was cut them out and place them on a cardboard base according to their shape. Then I placed each one in a compartment of the box and glued them with silicone.
Paso 06
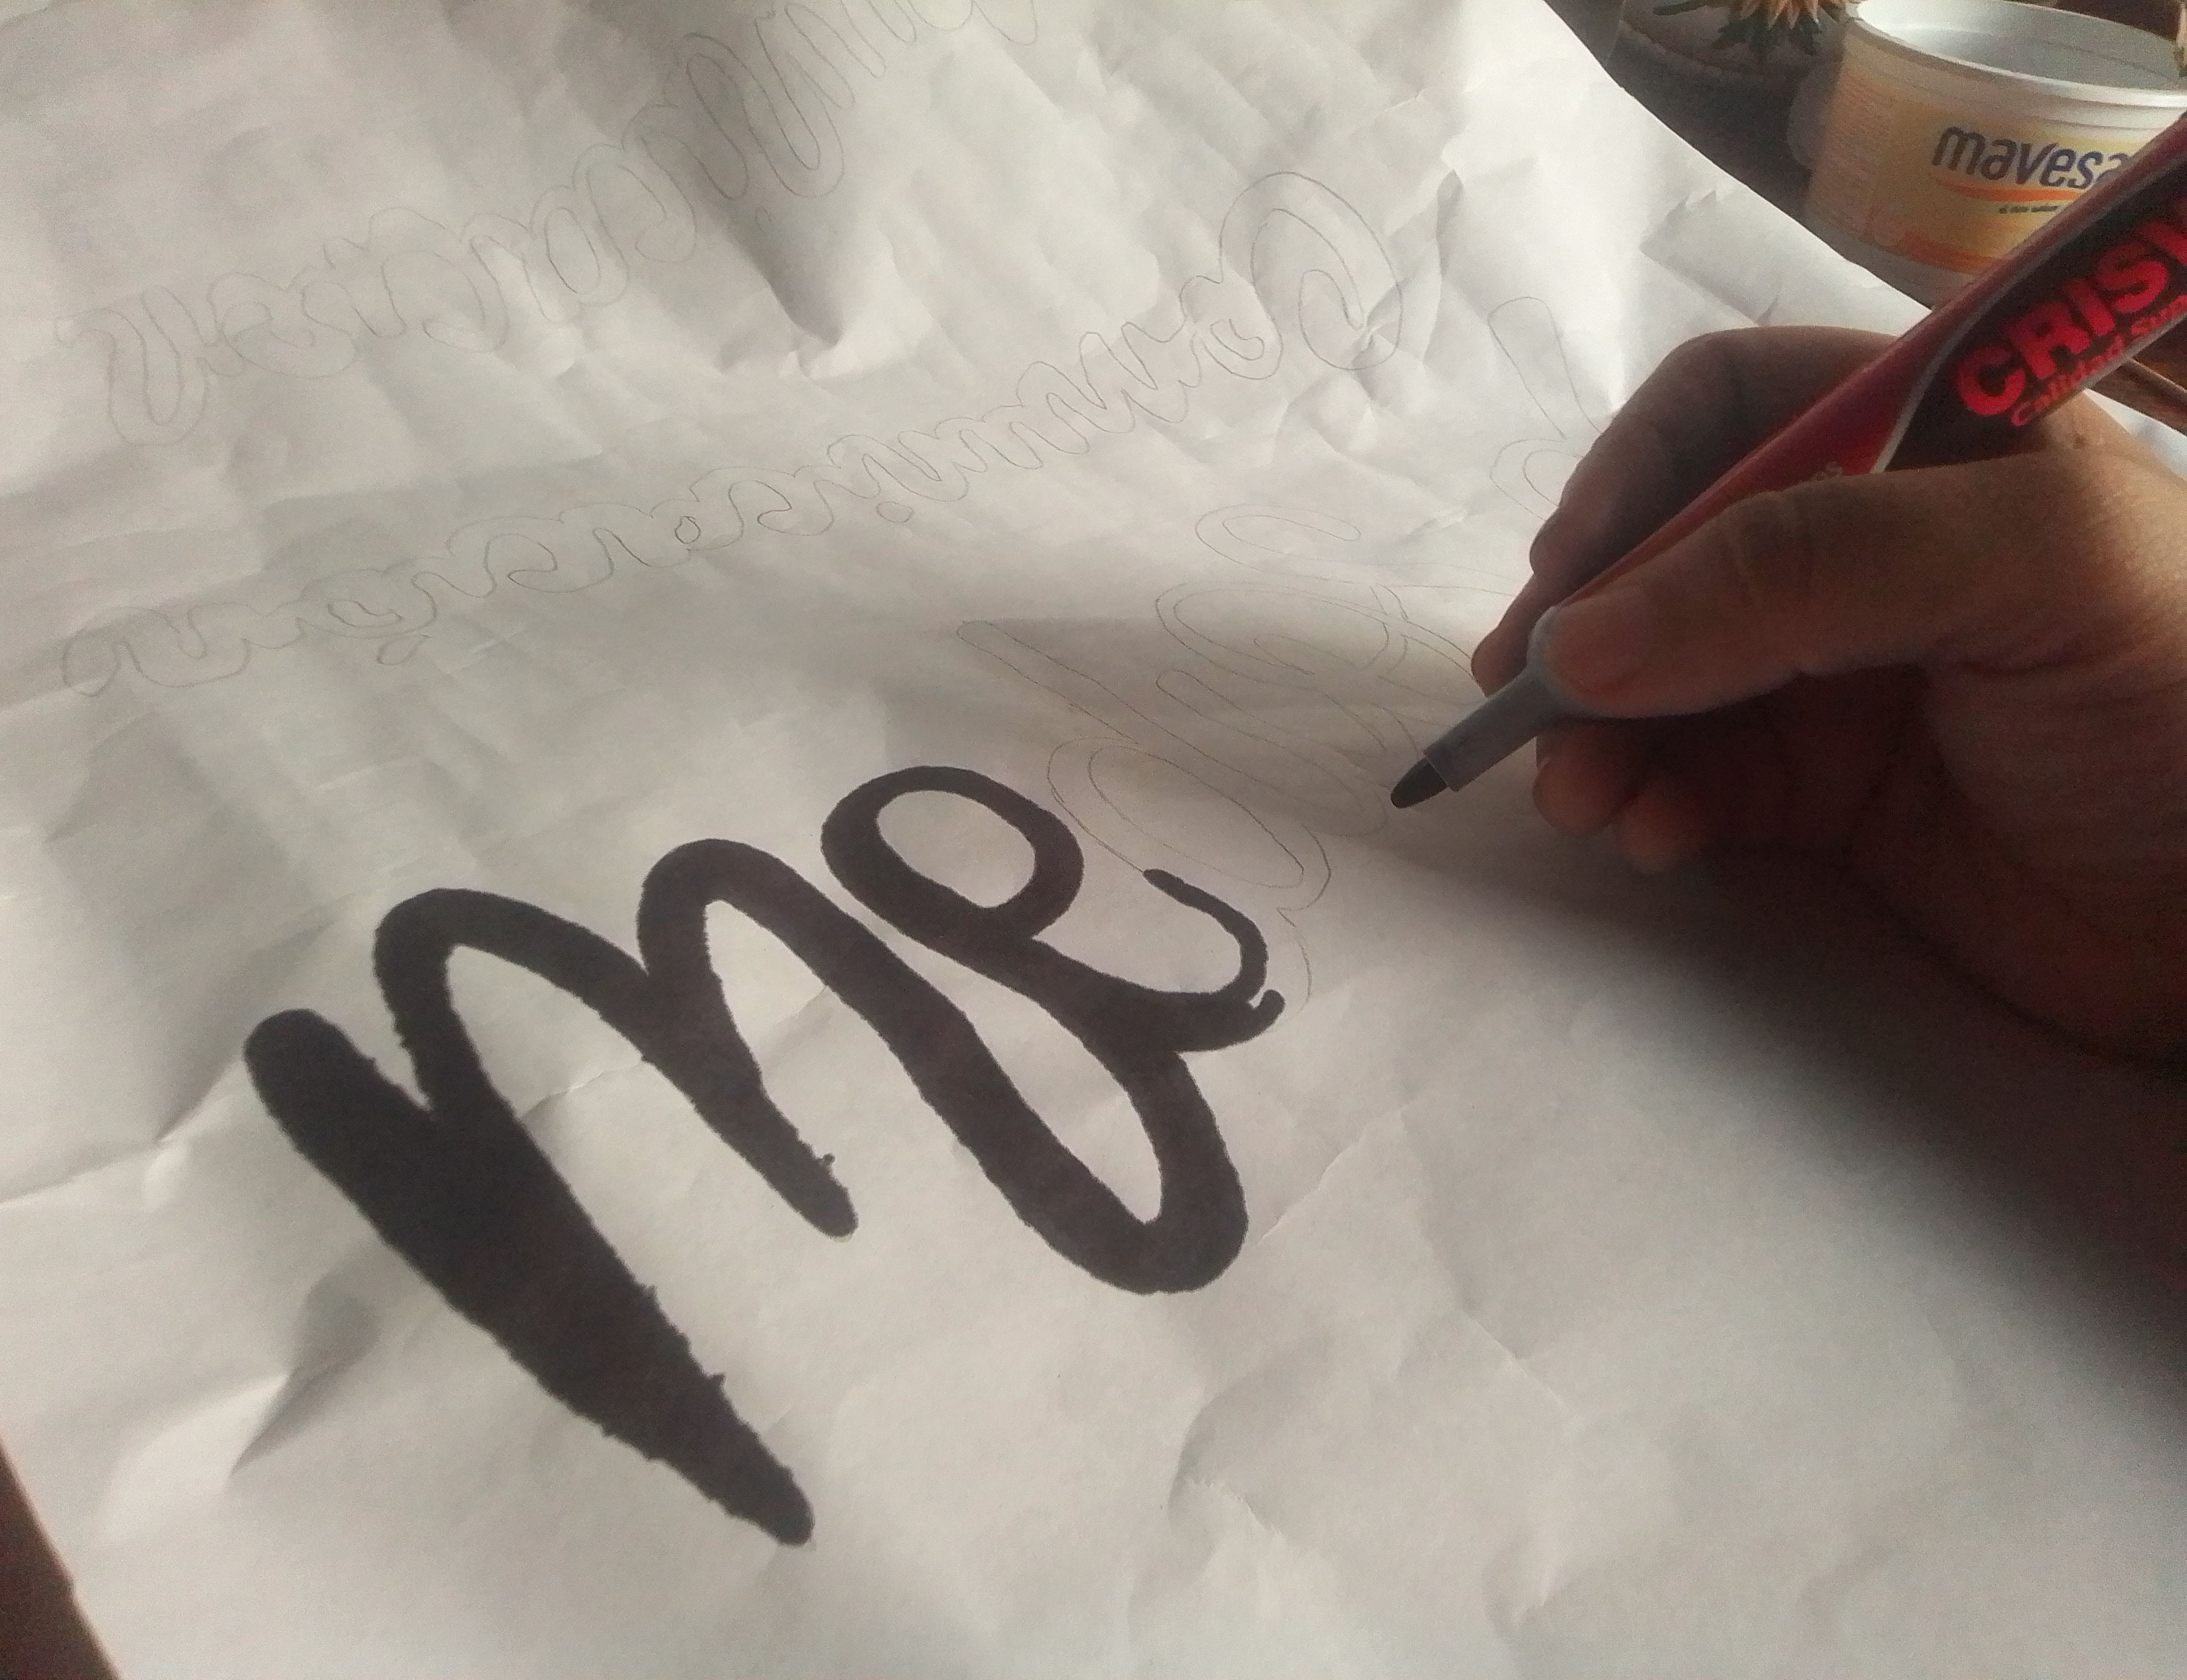
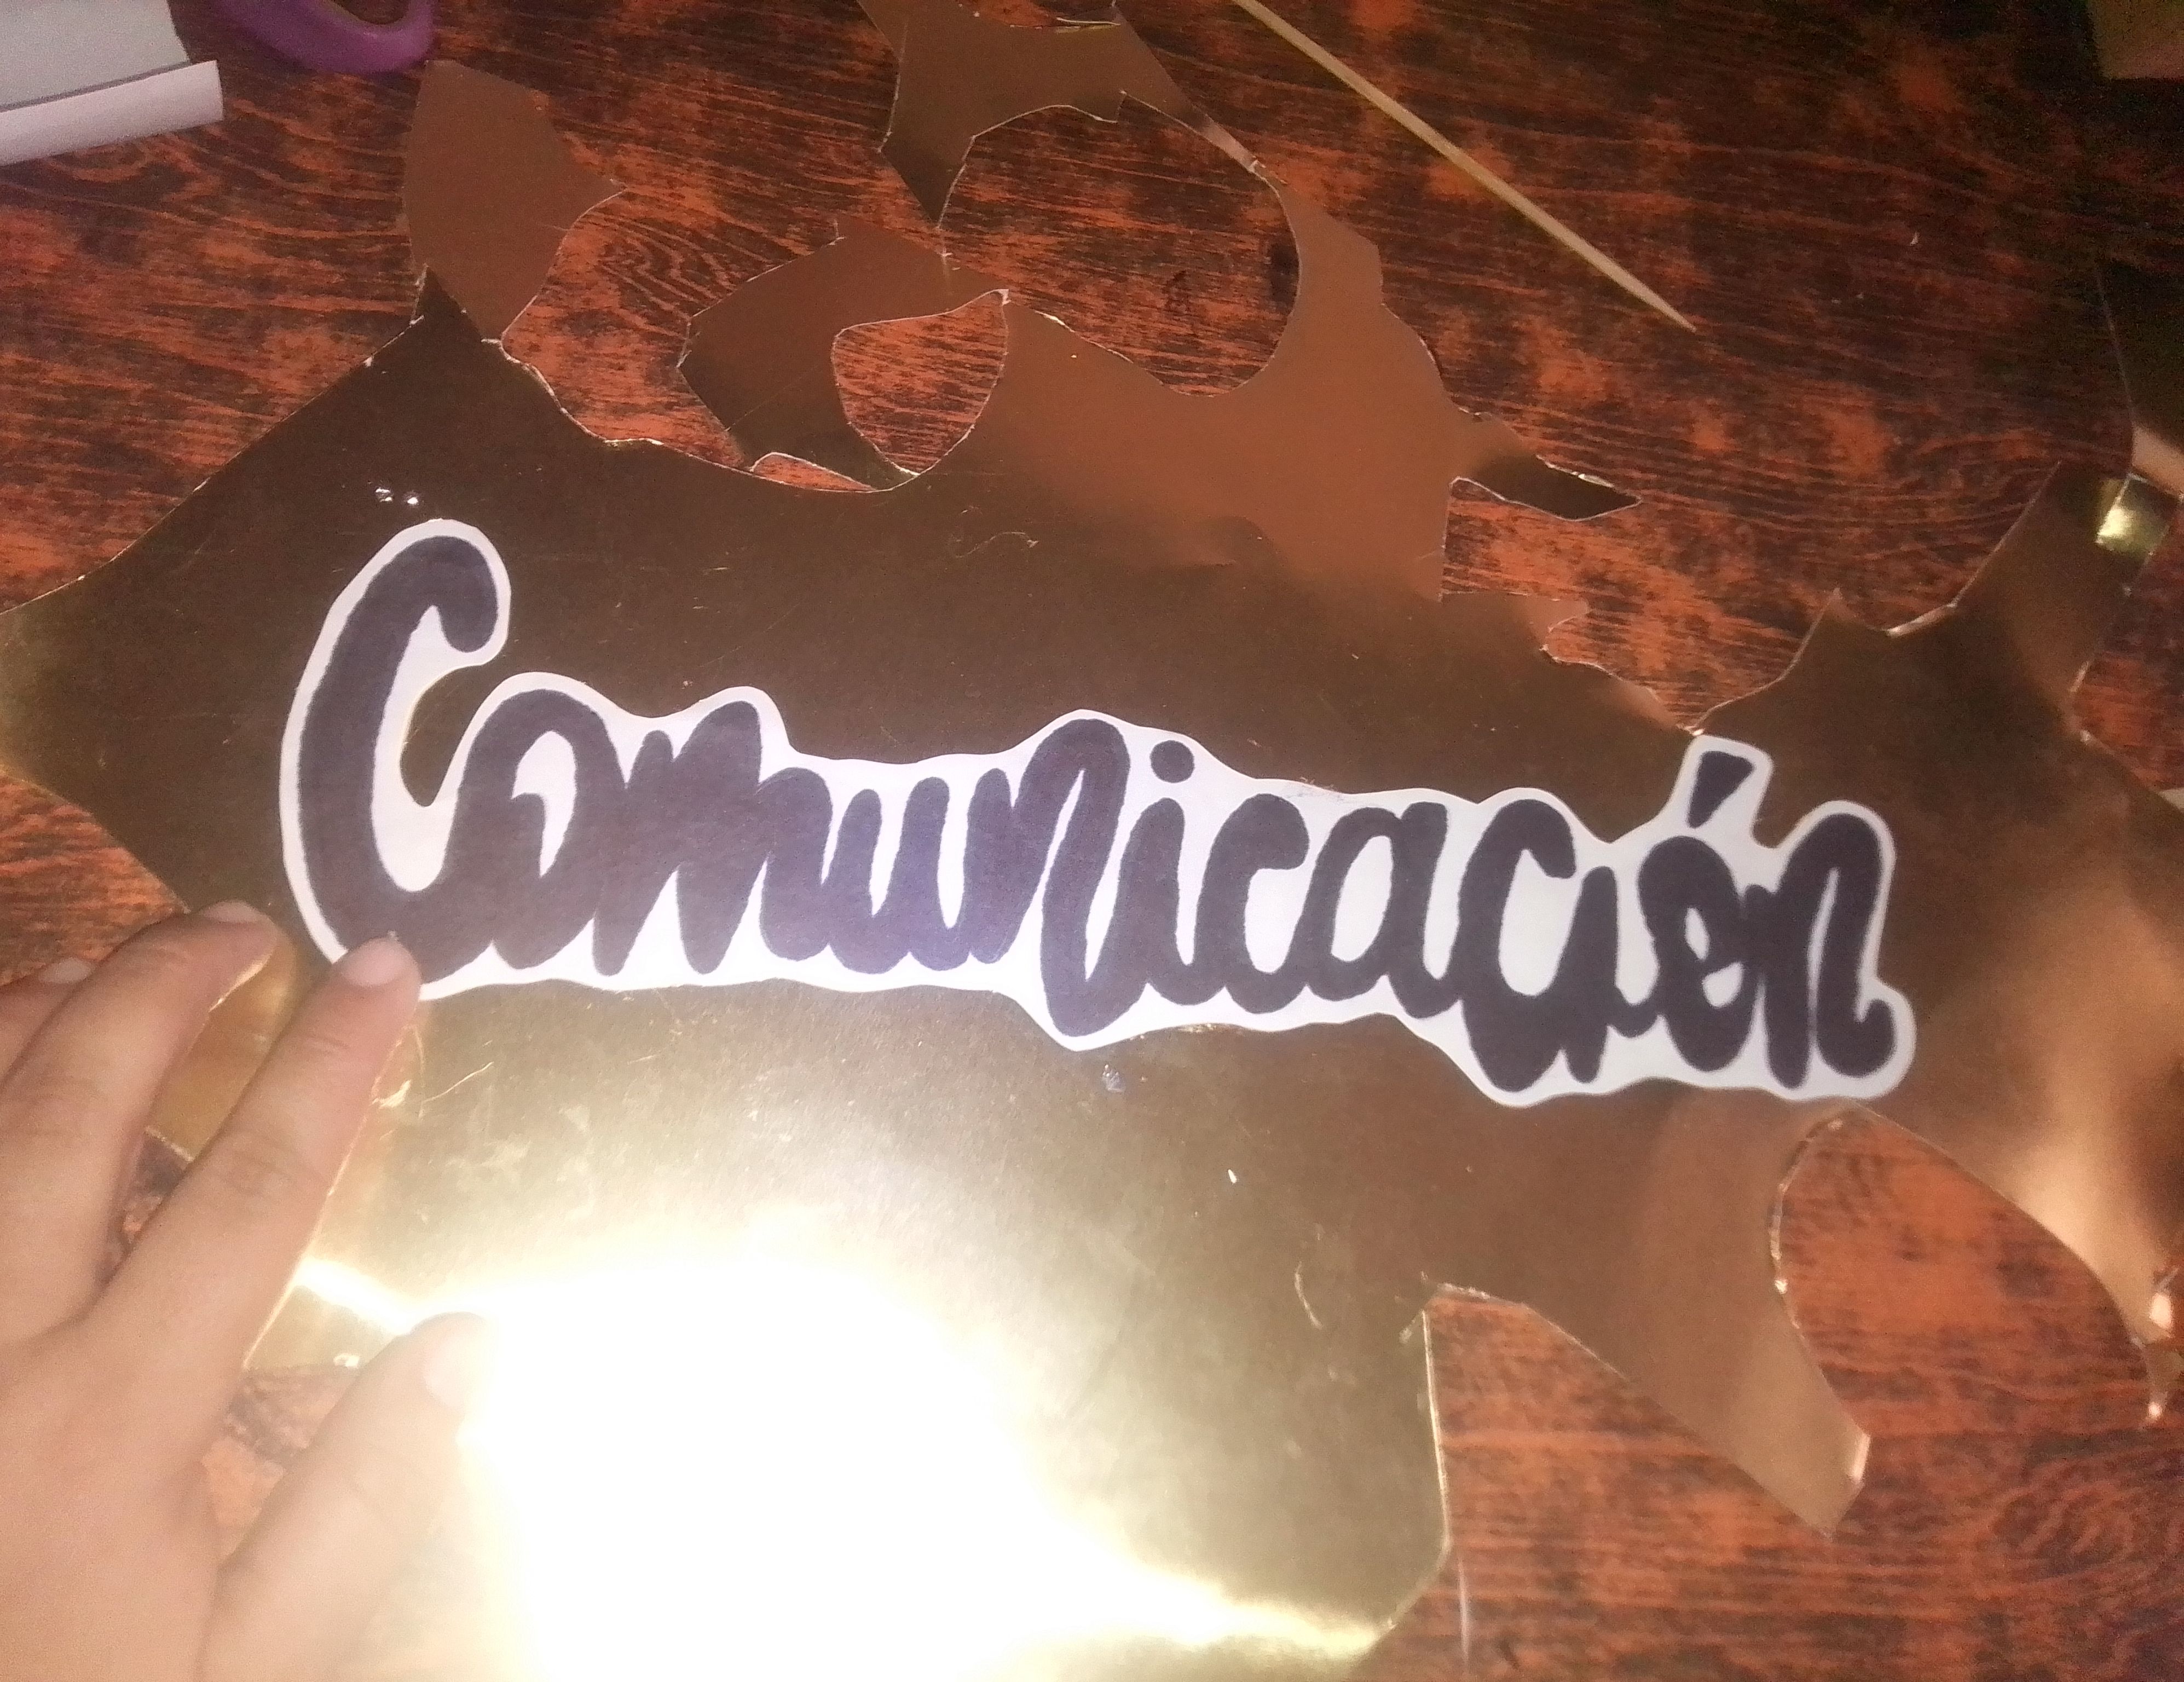
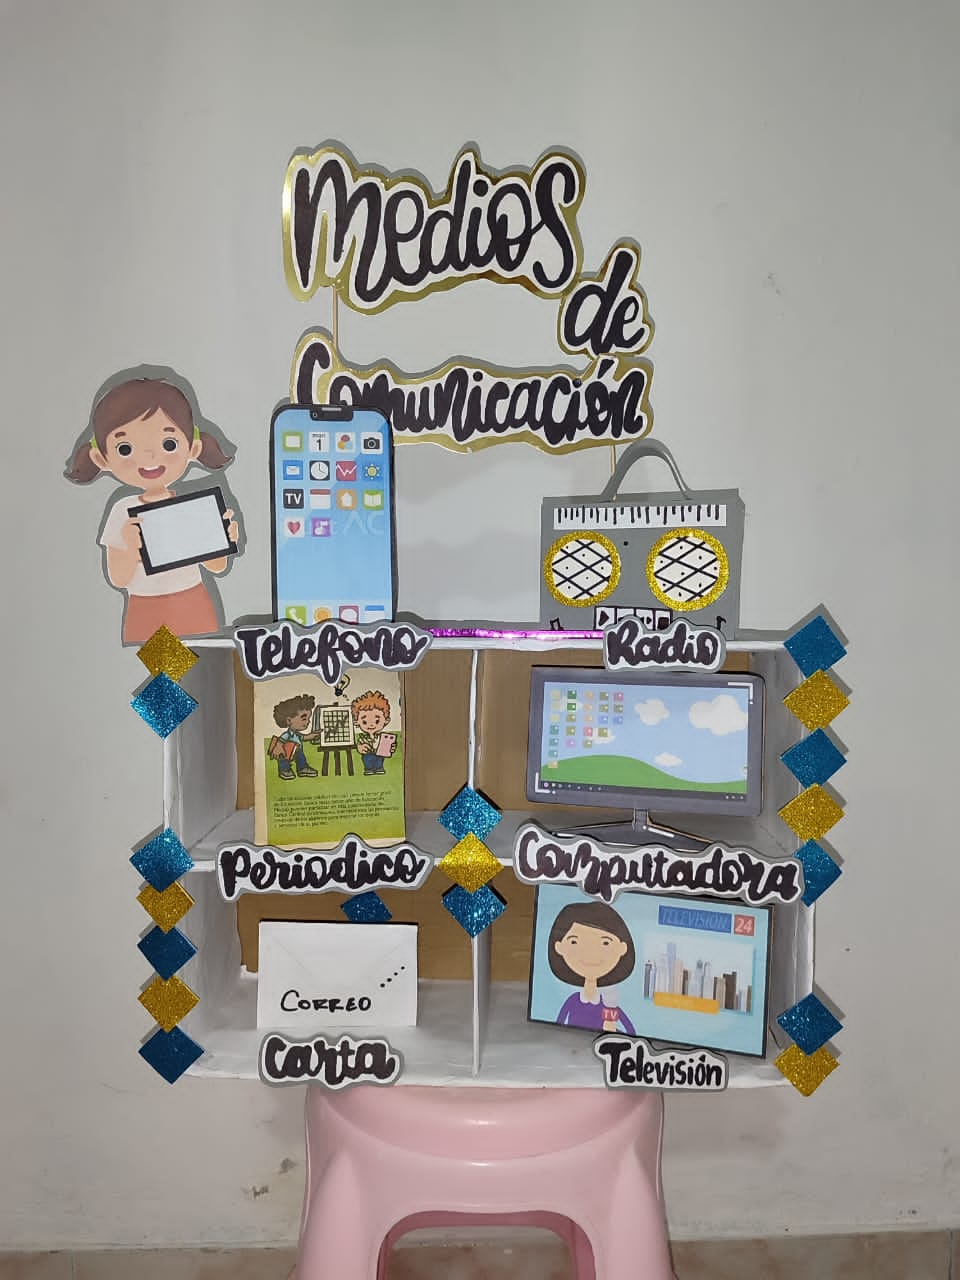
Para finalizar diseñé el nombre del proyecto de mi niña en papel y luego dibuje con marcador negro, las recorto y les coloco de fondo una cartulina metalizada y con palos de altura las pegamos a la parte de arriba de la caja. Hice los mismo con el nombre de cada uno de los medios y los pegué en dónde correspondía.. Finalice este proyecto colocando un linda muñequita de papel para darle una vuelta mejor vista y más decoracion.
Step 06
To finish I designed the name of my girl's project on paper and then I drew with black marker, I cut them out and placed a metallic cardboard in the background and with tall sticks we glued them to the part of above the box. I made the same ones with the name of each of the media and pasted them where they corresponded. I finished this project by placing a cute little paper doll to give it a better look and more decoration.
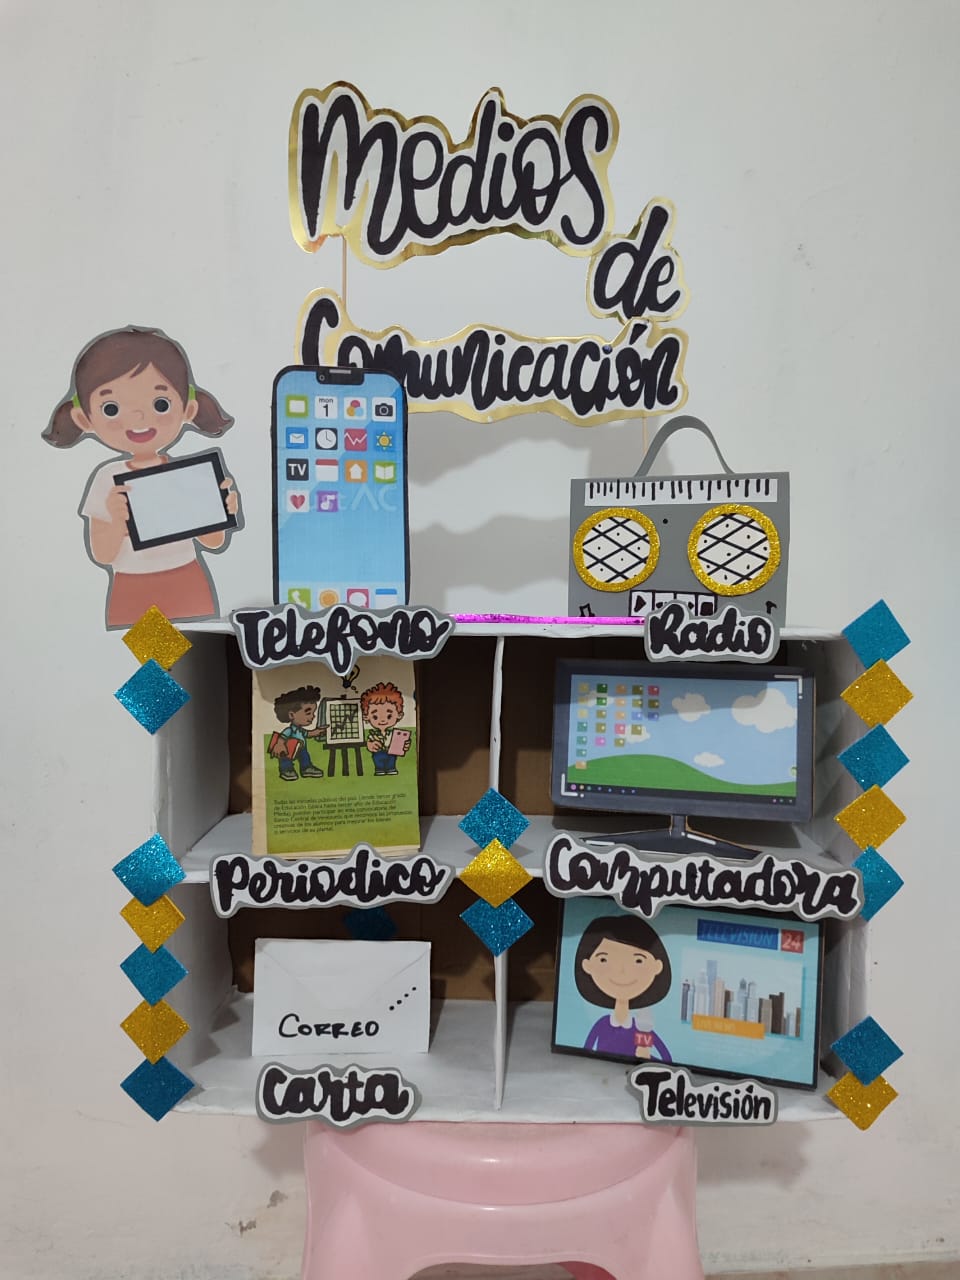
Resultado!
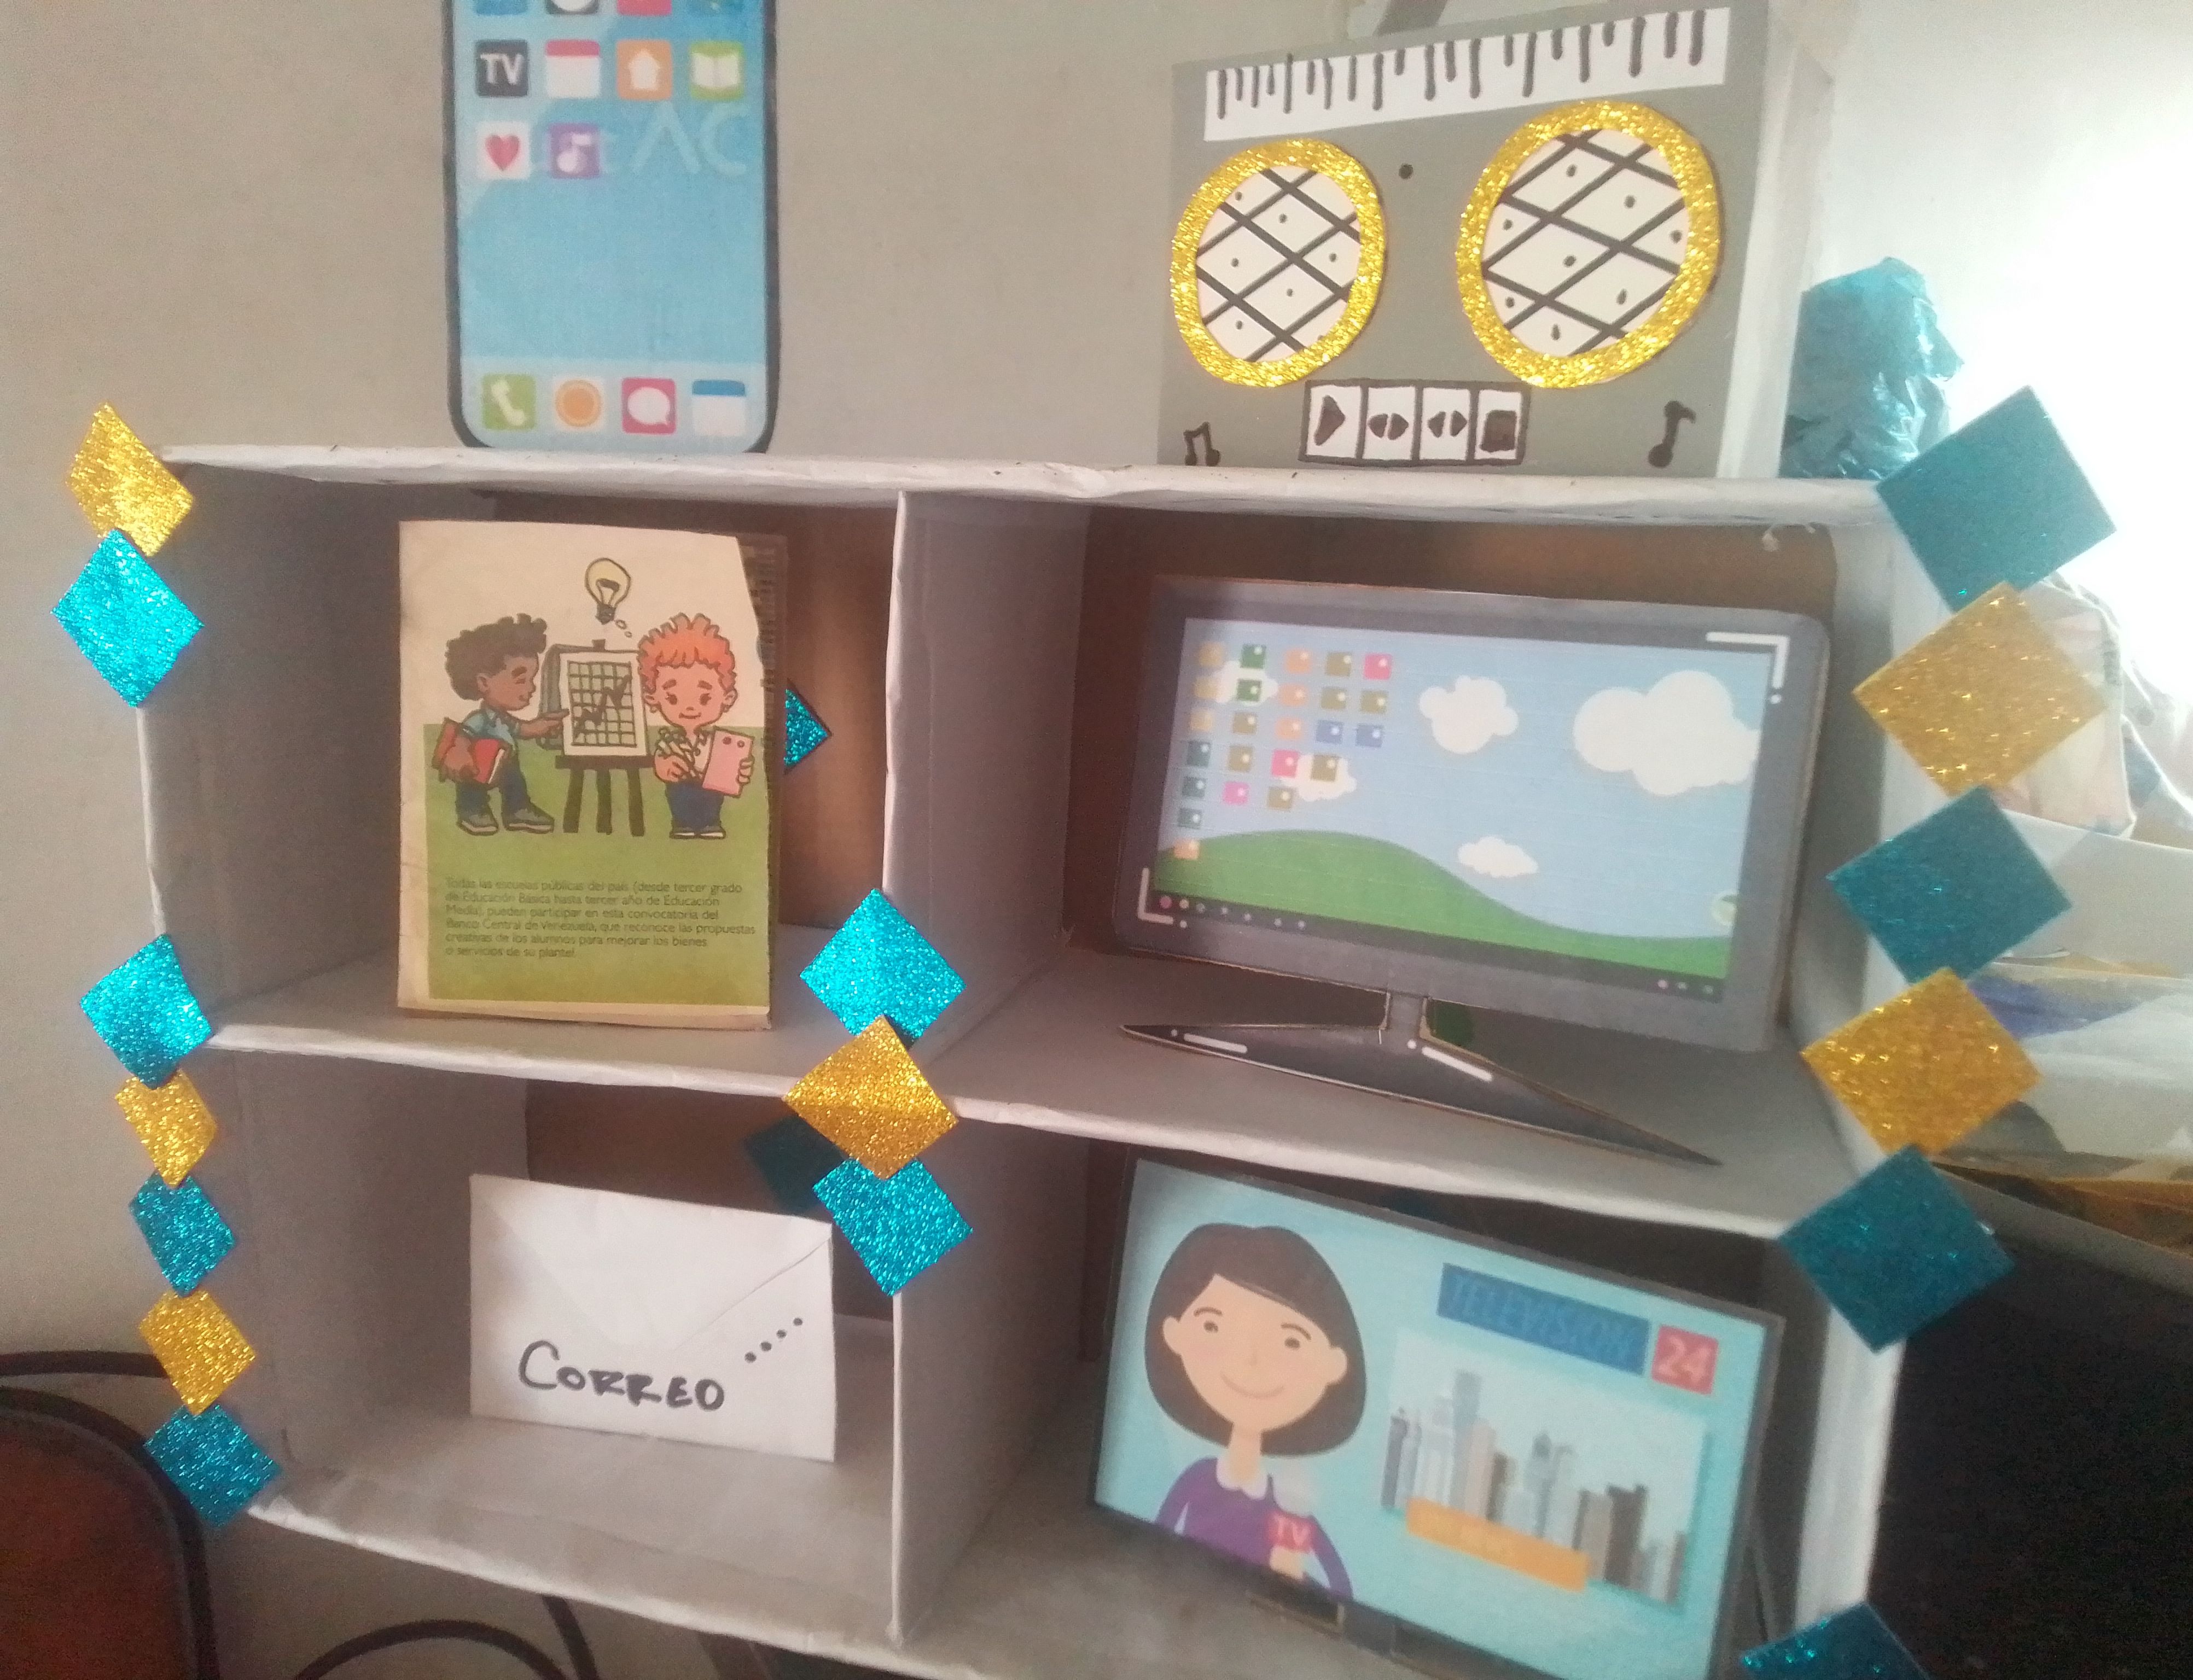
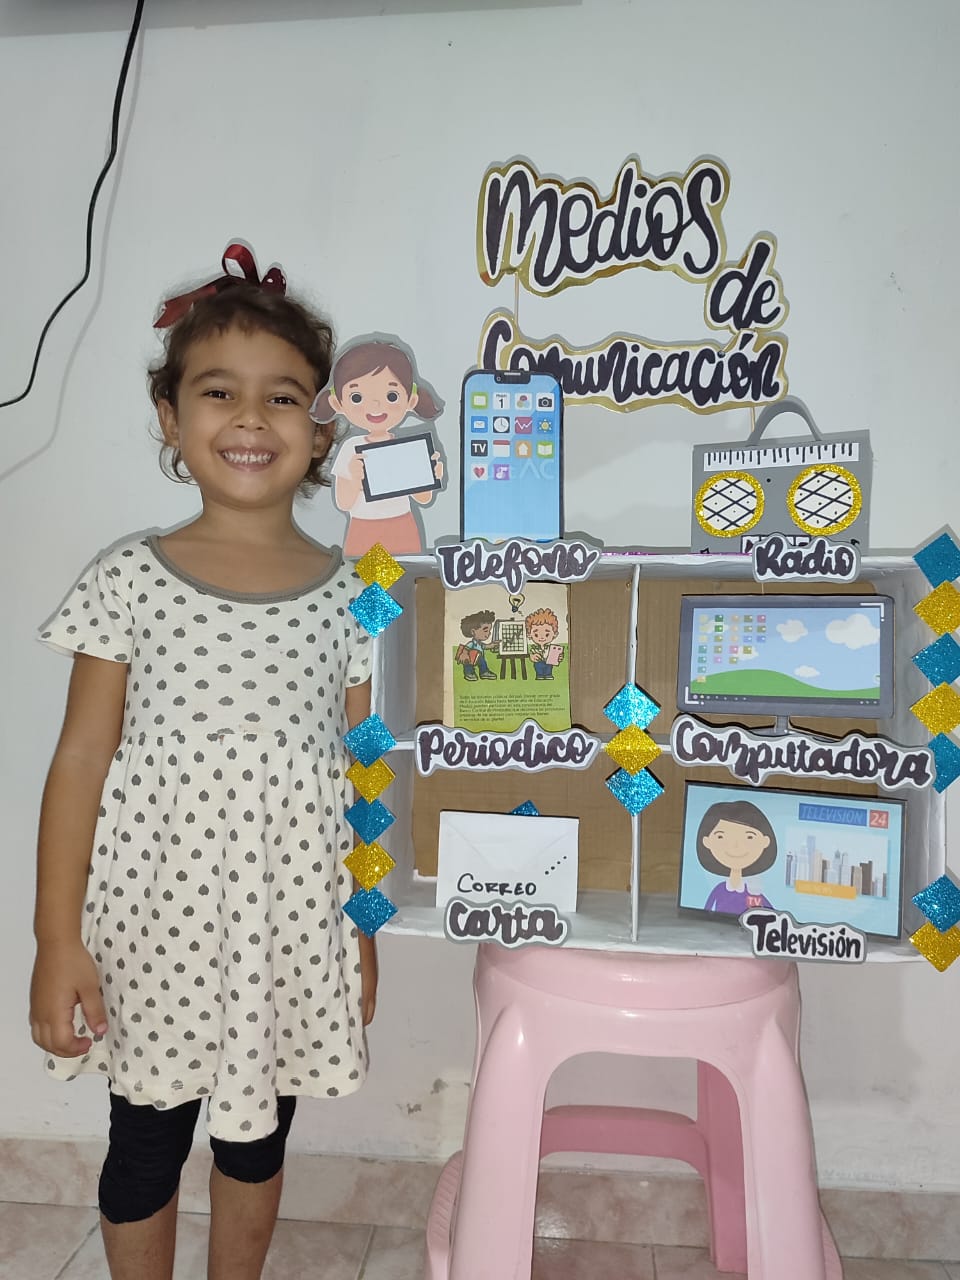
Las maquetas son dudas siempre serán un material de estudio muy atractivo y práctico de mucho beneficio, a la hora de destacarse en un punto a exponer.. Para los niños y hasta para uno creanme es de gran ayuda.. Con cariño te muestro el resultado final.
The models are doubts will always be a very attractive and practical study material of great benefit, when it comes to standing out in a point to be exposed. For children and even for one, believe me, it is great help.. With love I show you the final result.
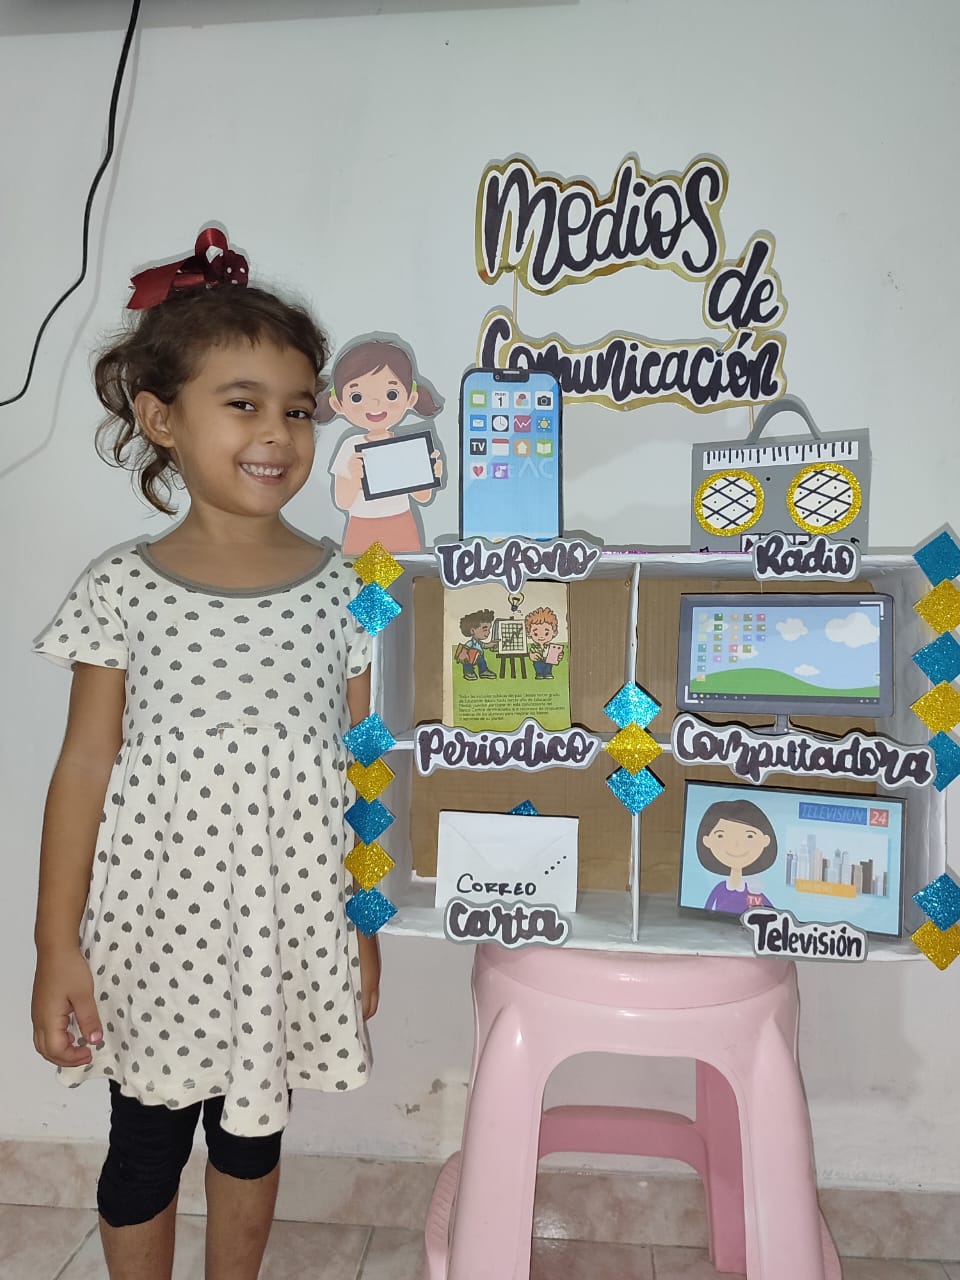
Muchas gracias por el tiempo que le dedicaste a mi publicación, para leer, comentar y apoyar.. Deseo que le vaya bonito, nos vemos pronto!
Thank you very much for the time you dedicated to my publication, to read, comment and support. I hope it goes well, see you soon!
Bendiciones muchas gracias linda por tu tutorial, es genial que podamos Aprender y dar a conocer nuestros talentos y habilidades excelente maqueta de medios de comunicación, éxitos y saludos para ti linda😃
Saludos linda. Muchas gracias..lo hago con mucho gusto!
It turned out very creative and full of fun elements and colors. Your daughter looks proud and happy. These tasks for home, projects or presentations that we do together with our children, strengthen the bond, increase motivation and improve learning, and these moments will be remembered forever.
Hellooo..!! Better said, it can't be because you are completely right...! They are unforgettable moments. Thank you for your beautiful comment. Many blessings!
This model is amazing, is surely going to earn her a good grade. It's always a lovely thing to help young ones learn and work on a project. Bravo
Grateful for the appreciation and value you give to my projects..! I really enjoyed helping my girl.... thank you for everything! goodnight.
que linda, un trabajo genial y explicito!
what a nice, great and explicit work!
Gracias bella..Saludos..