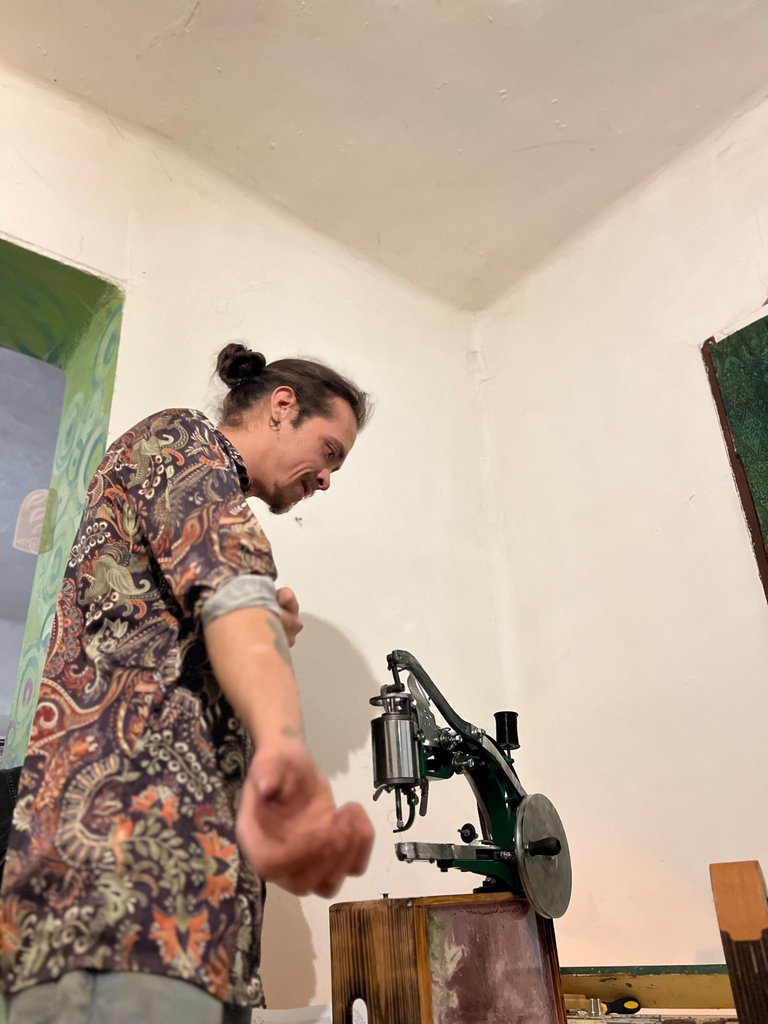
Intro
2 days ago, we got our replacement sewing machine, a cheap chinese shoe patcher. Until now we were using a 75 year old Singer and hand sewing to make our leather crafts, but the Singer for some reason has been having big issues in sewing leather lately, I tried fixing it, but gave up after ruining more than enough leather attempting to do so. We did not have a budget for a new sewing machine, but after some research we discovered this Cheap 150Euro Chinese Shoe Patcher on Amazon, which got a lot of positive feedback on youtube by other leatherworkers & most importantly we could afford it. We bit the bullet & went ahead ordering one.

Assembly:
The Manual was useless, terrible English Translations, so we relied on watching several youtube videos where others had put together & got the machine running, I decided to go ahead & set it up.
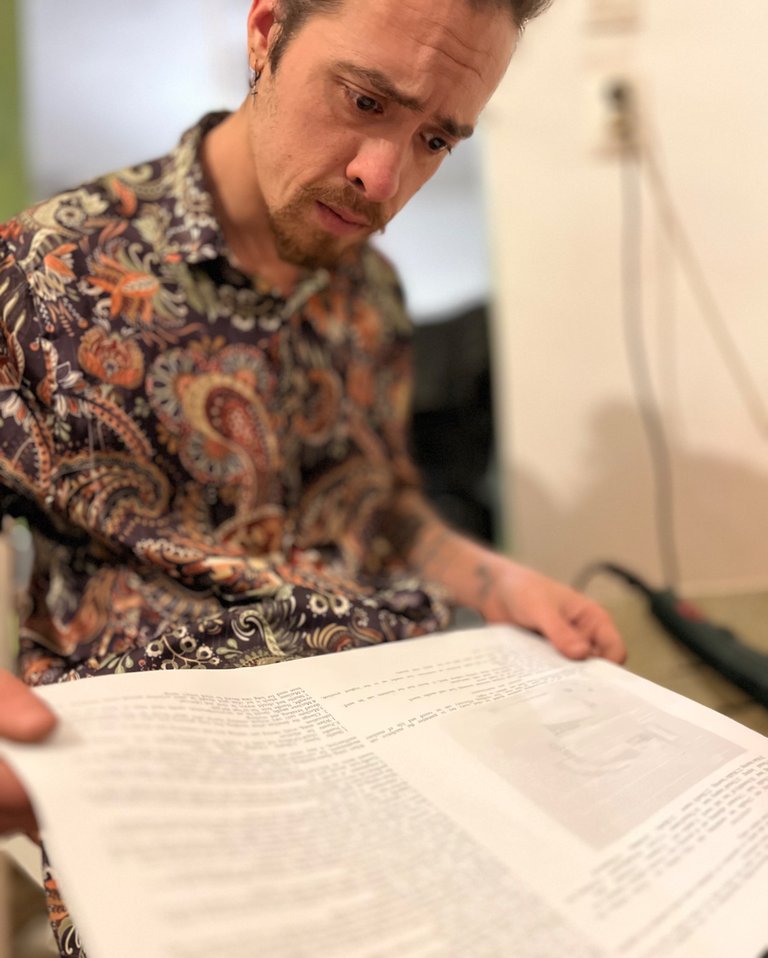
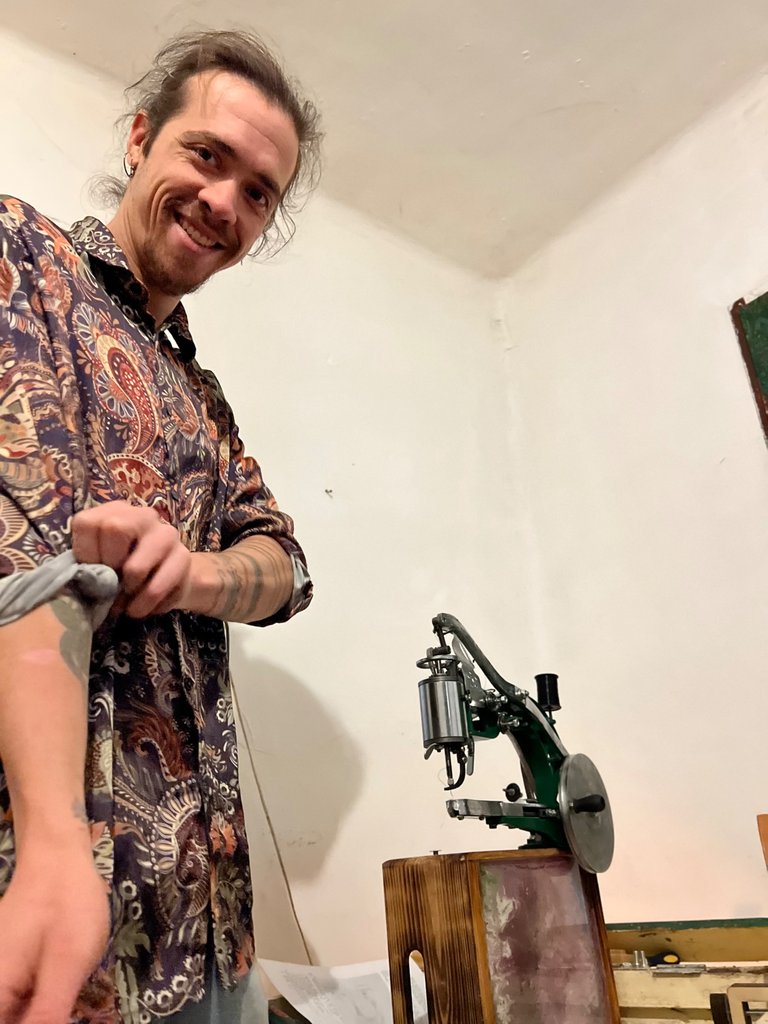
I created a stand from a wooden box that we had coated in Epoxy with a different intent in mind, but it was the perfect fit & the epoxy helped make the thin wood more durable.
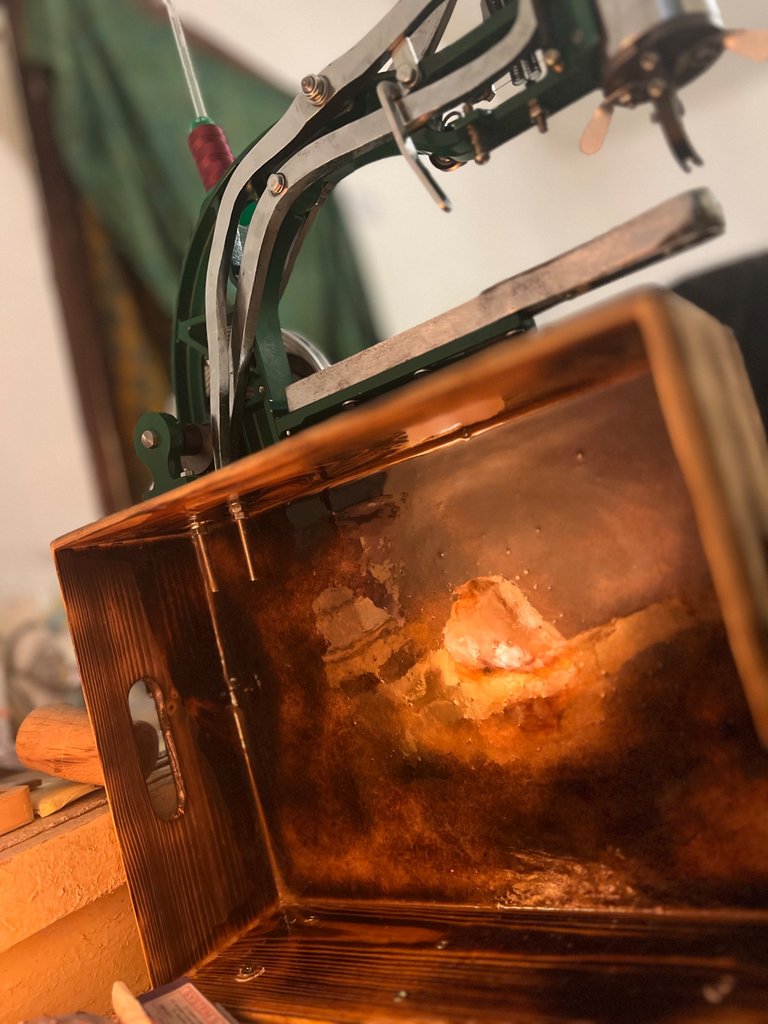
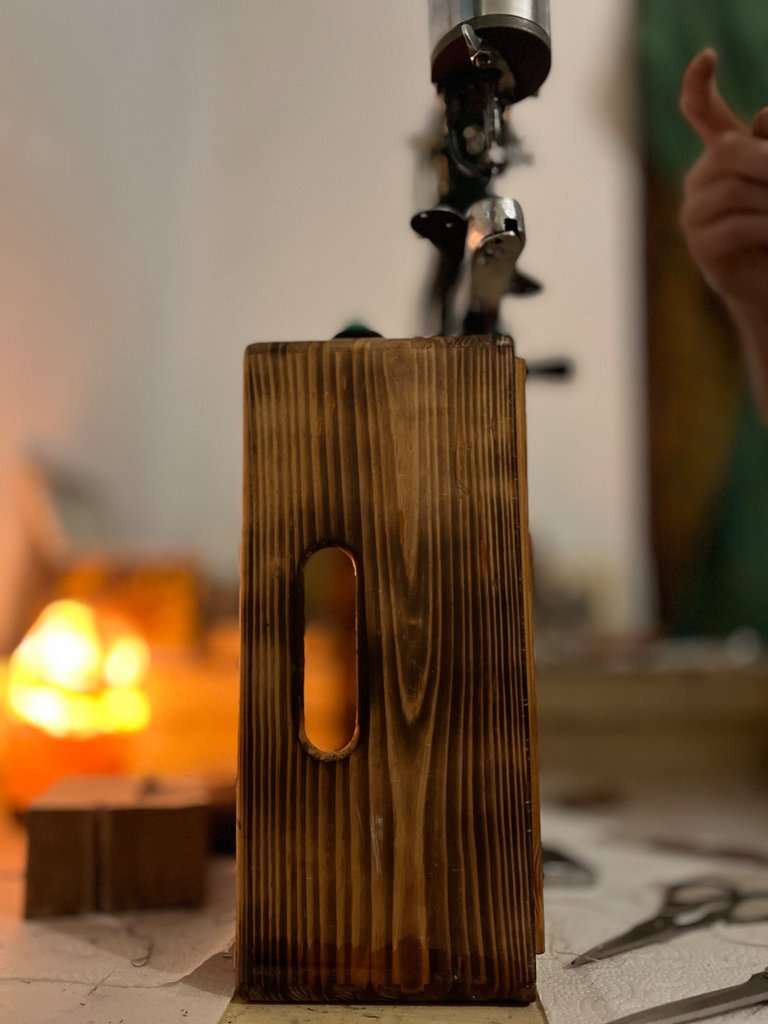
Once the machine was secured, I began threading it properly, to make a few test runs to see how it stitches. The bobbin winder that was attached to the machine was useless, it either was bent out of shape or was just manufactured improperly. So I just wound the bobbin of the lower thread by hand.
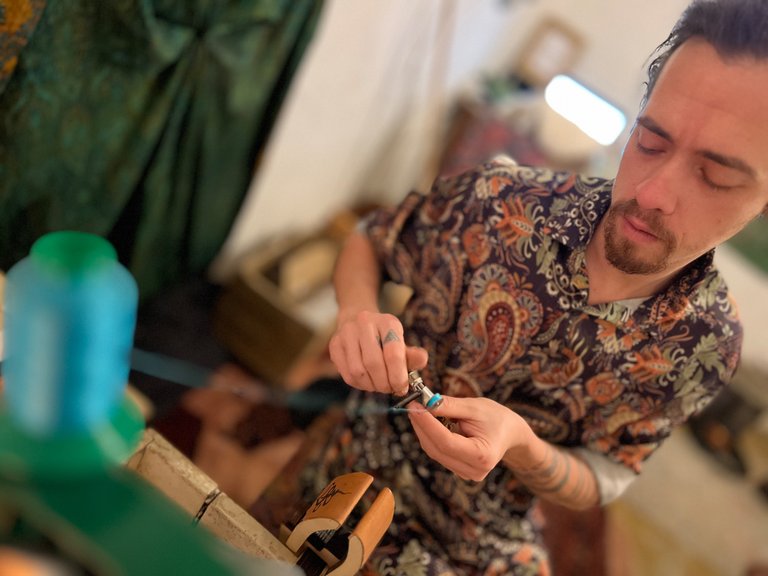
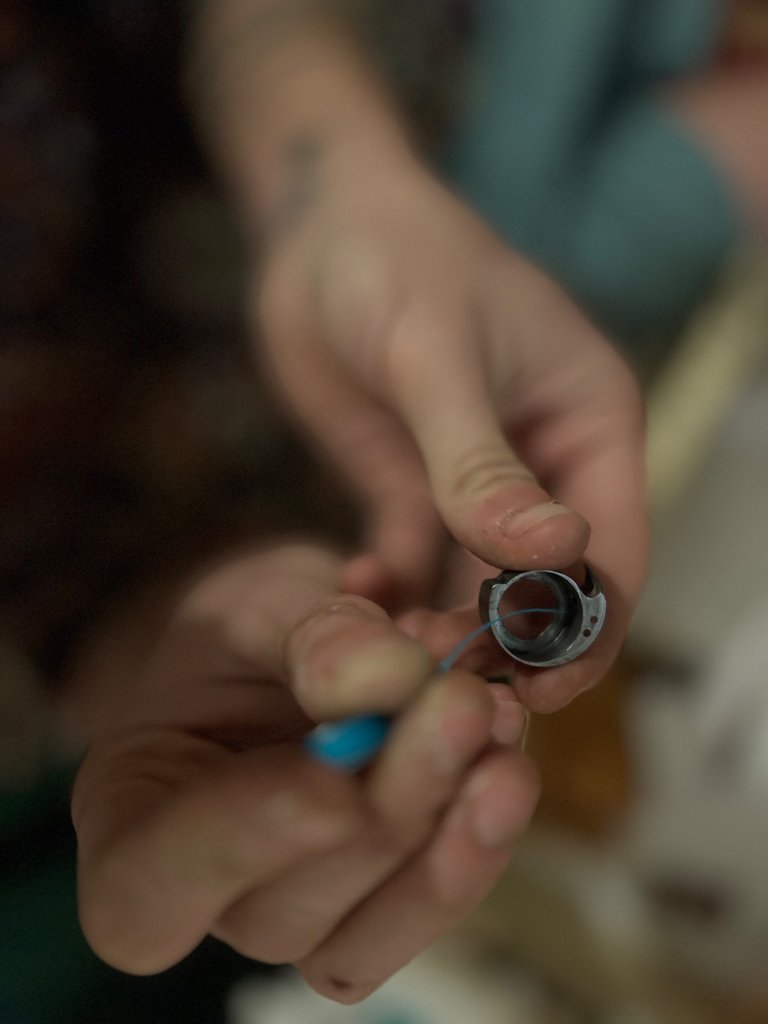
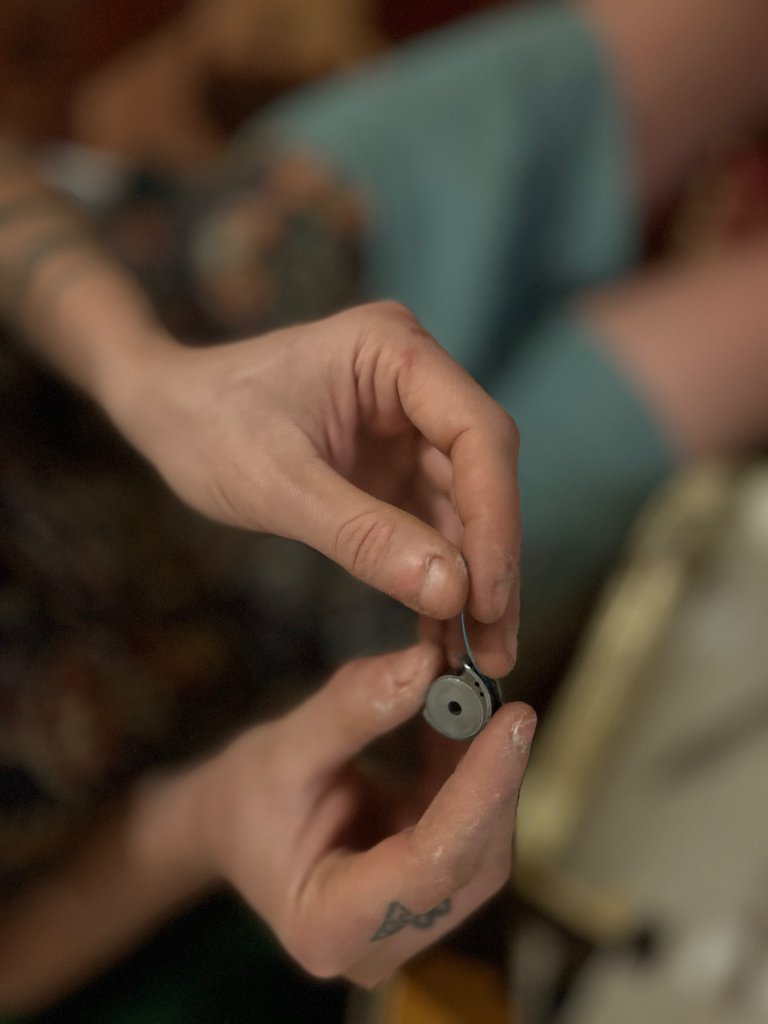
I must note that from the moment I began setting it up, we both felt a tremendous joy in this raw machine, despite its few minor flaws, it felt like our own machine, giving us the freedom to customize it to our own liking. The presser foot for example fully enclosed the needle, which made it difficult to see where exactly the needle is entering the material, so I took the liberty to cut off a small part at the front, so that the needle was more easily visible, allowing one to clearly see where it is entering into the material that one is sewing, I used one of my hand-saws for my silverwork to saw through the metal. Also the spikes underneath the presser foot were very sharp, leaving marks in the leather when it pulled at it, so I sanded those down as well.
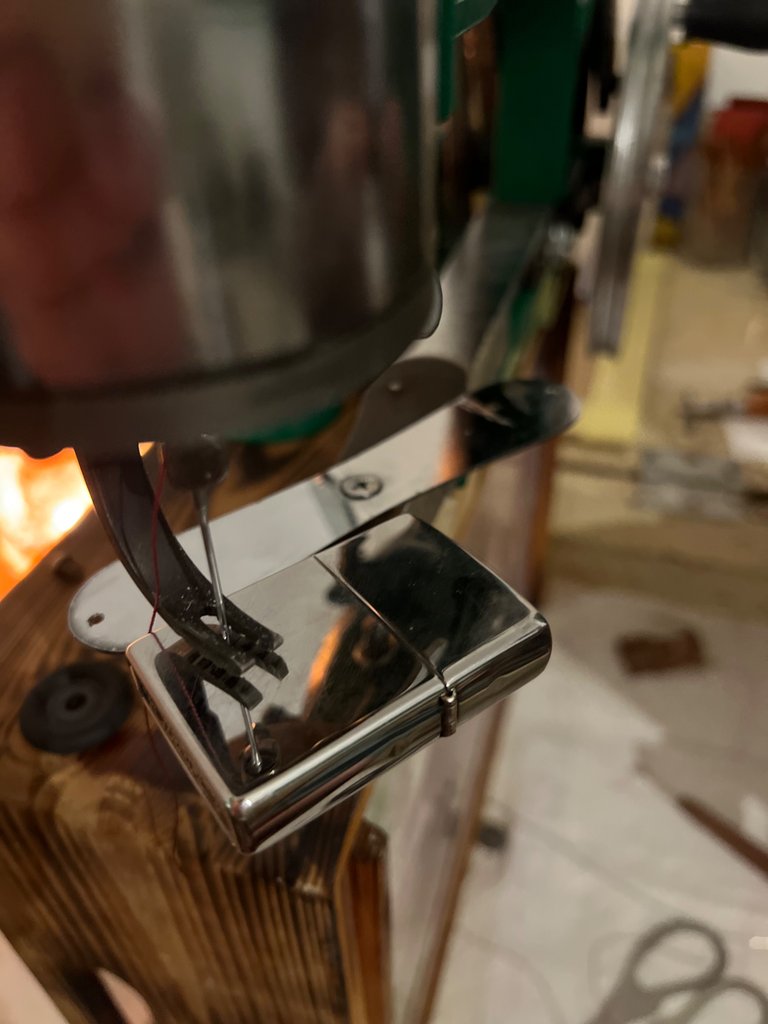
Finally I added a new needle, since the one that was attached to the machine was broken in two. I then threaded the upper thread & began testing the machine on some scrap pieces of leather.
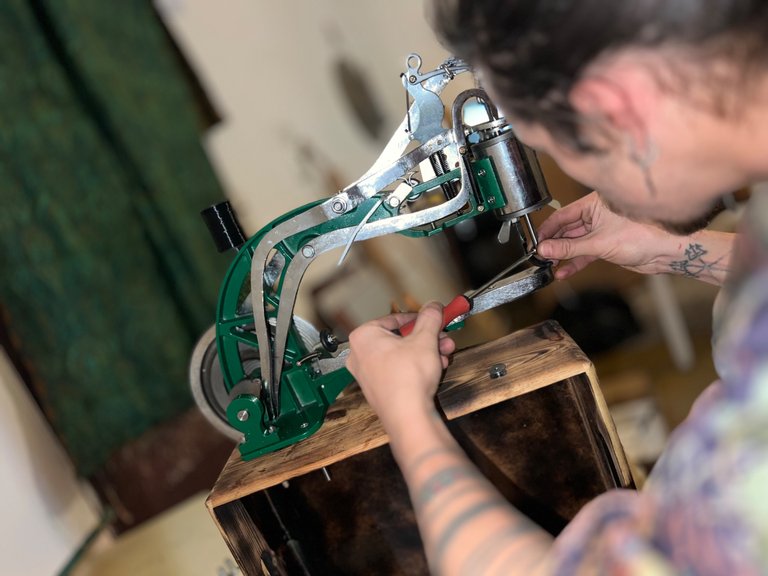
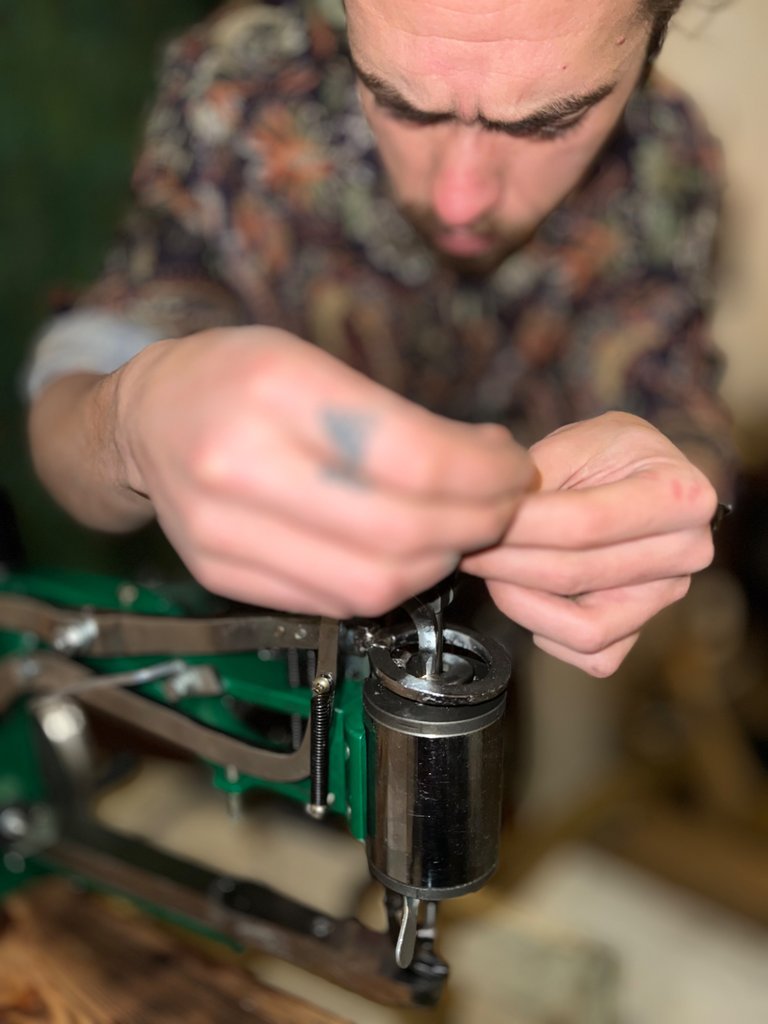
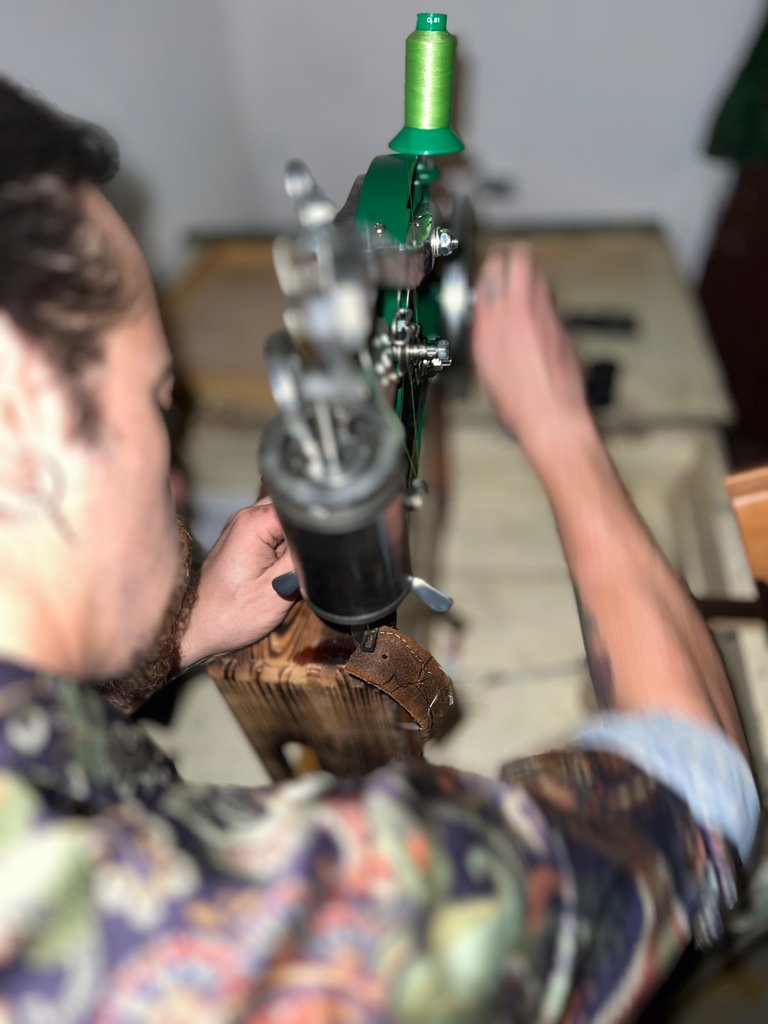
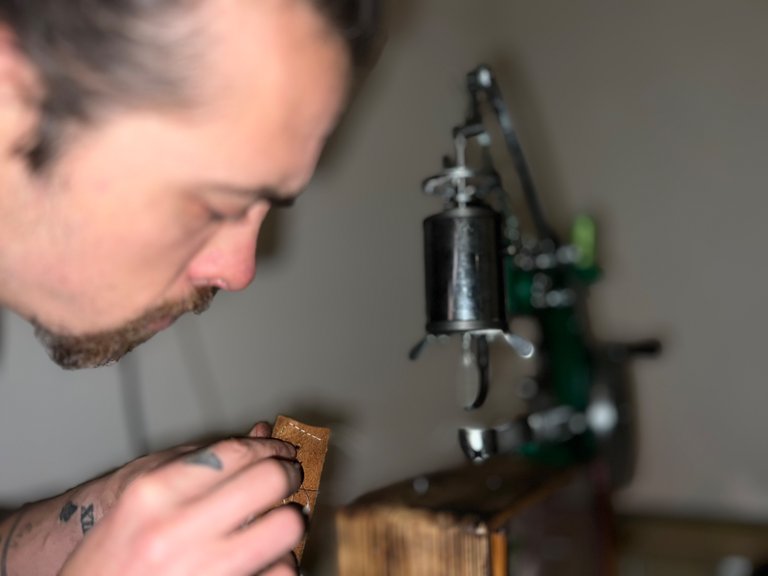
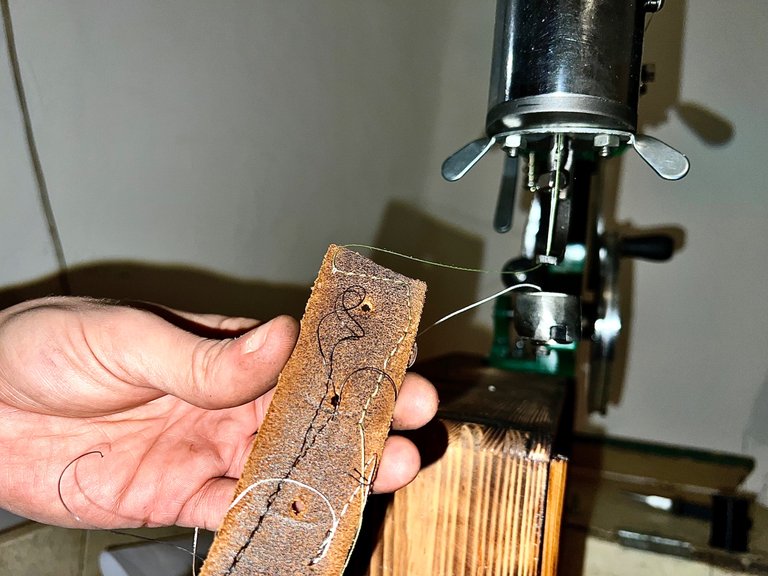
The machine sews effortlessly through leather, it feels like a total game changer from the Singer we were using. What I love about it the most is that the presser foot can be rotated 360 degrees, so that you can sew in any direction that you want & switch directions even in the middle of stitching.
The only thing I need to improve on, is to make a seperate bobbin stand for the upper thread, since it is acceptable for holding a small bobbin of thread, but the larger ones we have are too big & glitch a bit when the thread gets pulled. Also the base on which one lays down the leather for stitching is very narrow, so I'll probably DIY an extension to the base, so that the material being stitched has more surface to lay flat down on.
We have had a few hiccups once we got started stitching our crafts, but these were minor & quickly fixed.
All in all we both really had a lot of fun in breaking in this machine & are looking forward to sharing with you our crafts that we will be producing with it. We have several tobacco rolling pouches lined up for being stitched, which I will do a separate post to share with you all!
Hope you enjoyed the Journey!
Artin Qiparosa

Private Website (Being Reconstructed, but partly functional)
Etsy Store
Original Music on Spotify
I love what I'm seeing here.
Thank you very much🙏
You're welcome.
Great to see your persistence in setting up the new sewing machine. Your detailed breakdown of the assembly and troubleshooting process is super helpful for anyone considering a similar upgrade. Thank you for sharing.
A pleasure, I could have given some more details, but if anybody gets themselves such a machine they can always comment on this post to inquire more in case they have any issues with setting up! I took the time to mention the most important details that I felt were most relevant! 😊 🙏
Congratulations @qiparosa! You have completed the following achievement on the Hive blockchain And have been rewarded with New badge(s)
Your next target is to reach 1250 upvotes.
You can view your badges on your board and compare yourself to others in the Ranking
If you no longer want to receive notifications, reply to this comment with the word
STOPCheck out our last posts: