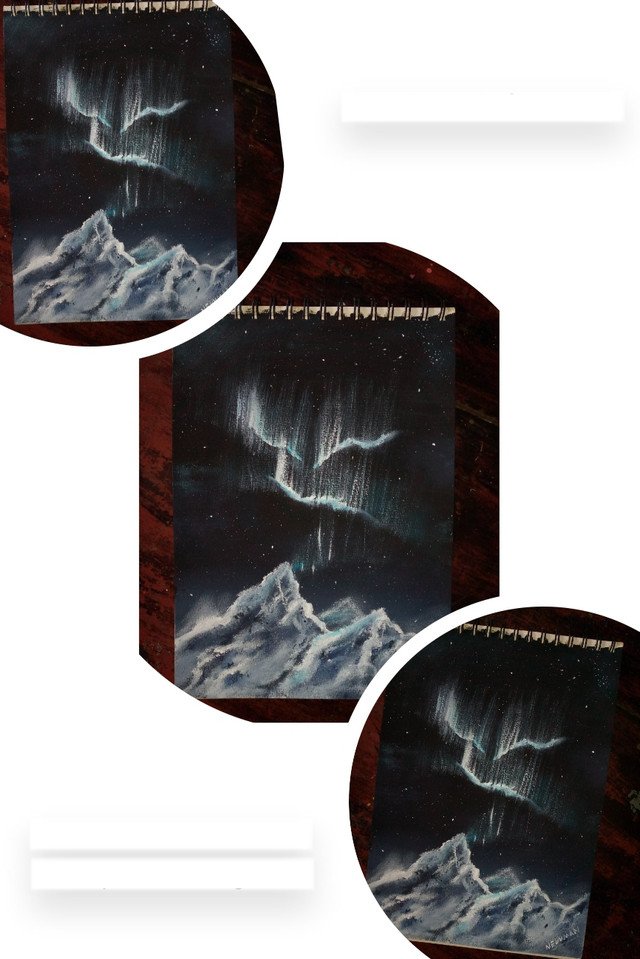
How are you friends happy day for all of you, I want to share today a new painting that I have made Inspired by the aurora borealis, long ago I made some paintings about the aurora borealis and the truth is that I decided to make a new painting and show you how the process is.
Below you can see the materials I used.
Materials
- Cold paintings
- Brushes
- Watercolor Blog
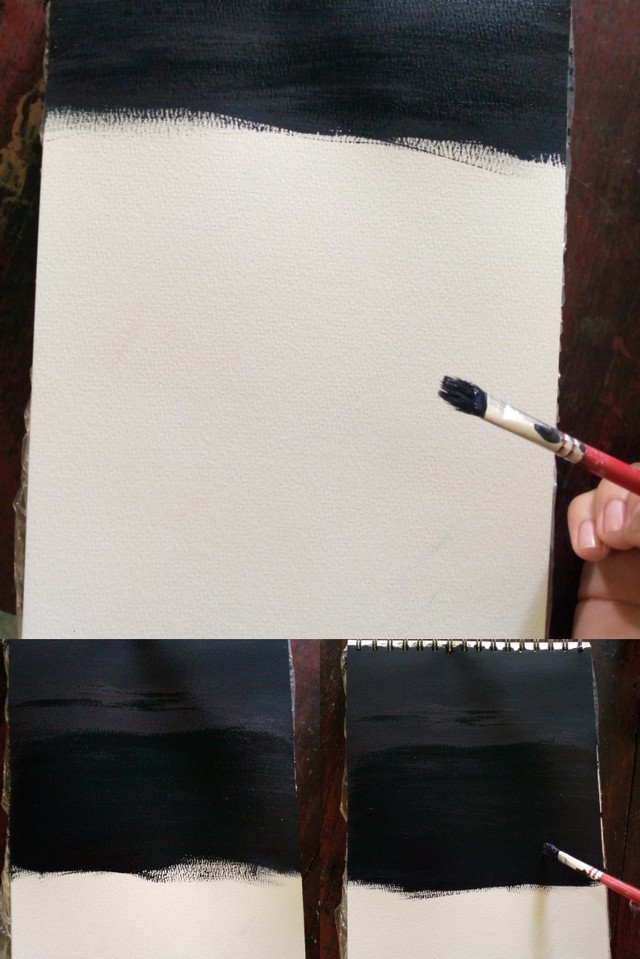
First I have started by creating the background, for this I am going to mix dark blue and black color, in this way I am going to apply it on the sheet until it is completely covered.
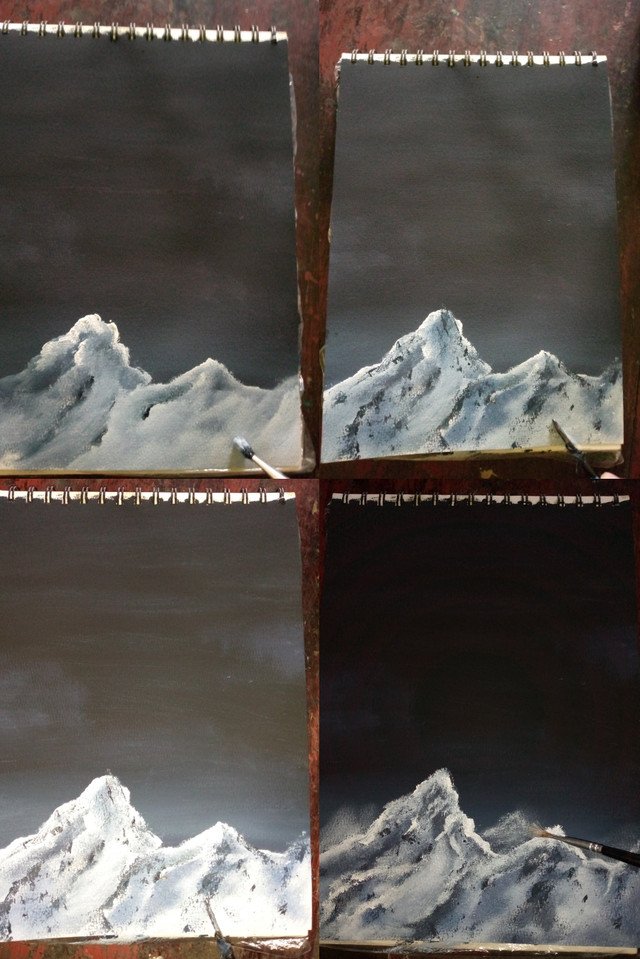
Once finished applying the dark background that will make the sky, I will make the snowy mountains, with a square brush I will apply white paint and I will add a little blue color to make reflections in the mountains.
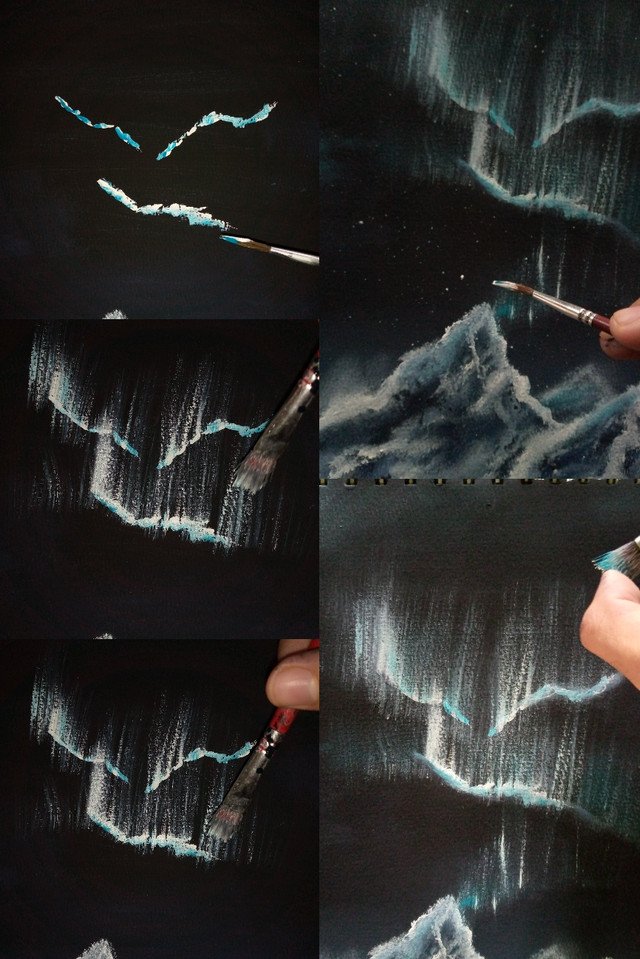
Finally to finish this painting, we are going to use a fine tip brush and we are going to add white and green paint as you can see in the first picture, then with the square tip brush we are going to paint upwards to create the real aurora borealis effect, then with a brush I am going to make splashes of paint that look like stars and it looks more realistic.
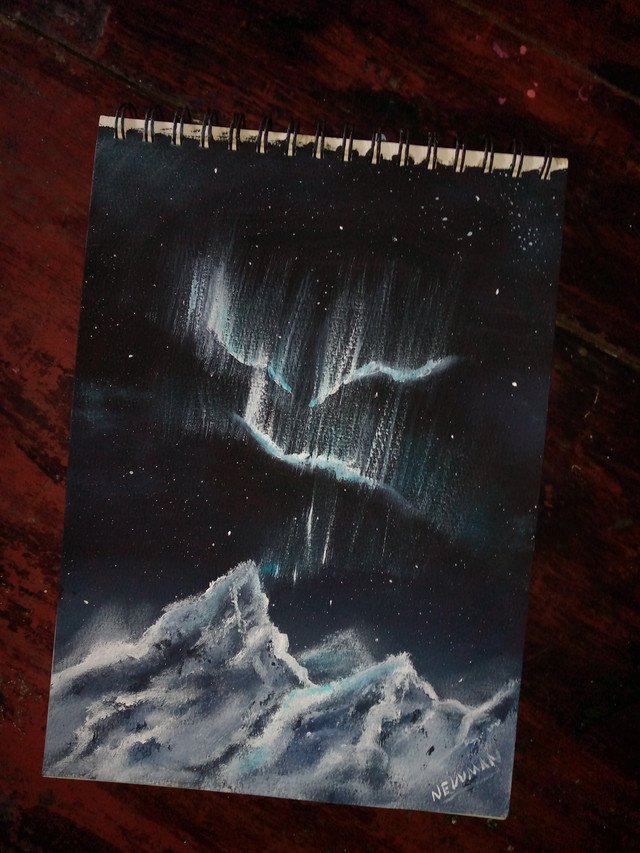
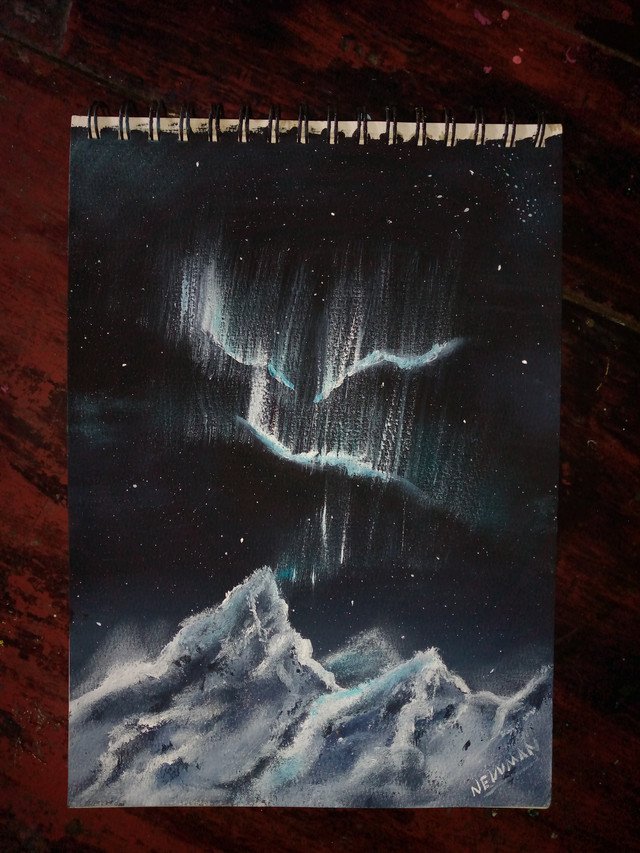
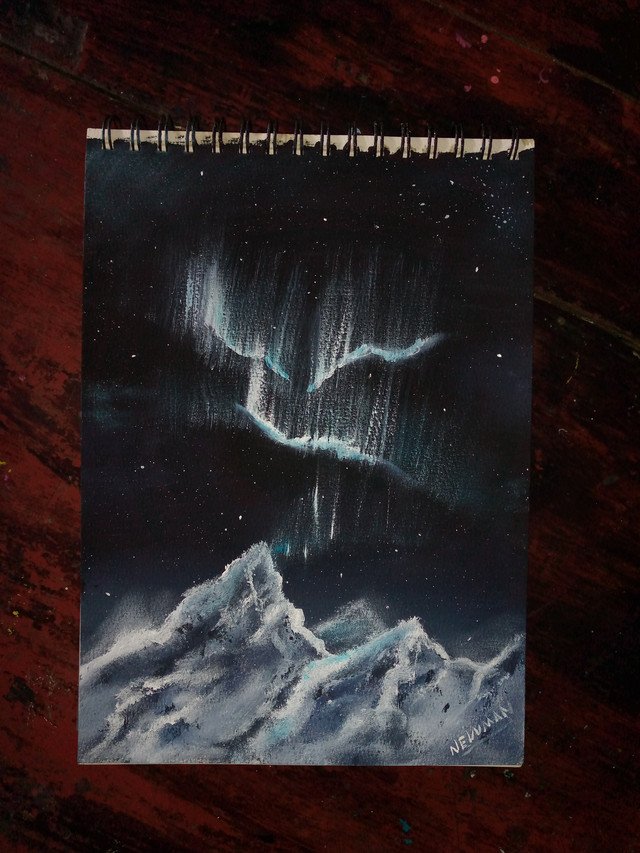
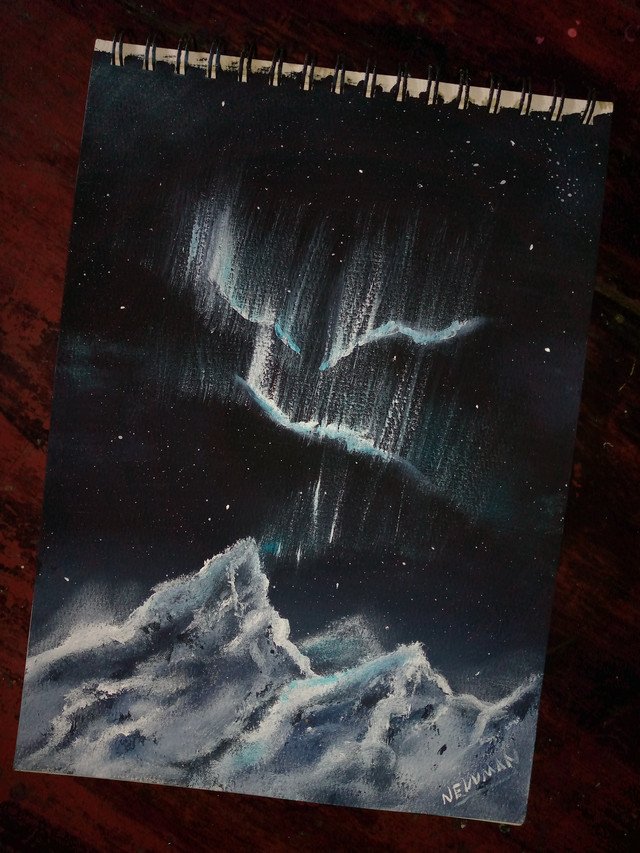
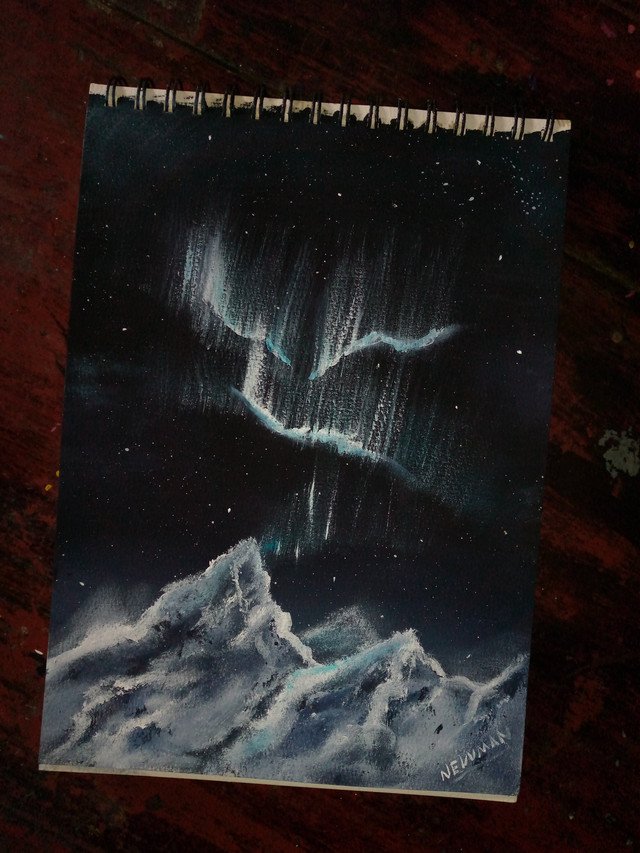
And so I finished the painting, the truth is that I had some time without making a beautiful painting of the aurora borealis something very striking and that the truth is that I would like to get to know someday.
I think we all have dreams that we want to fulfill and the truth is that my fear is not to fulfill the dream of knowing many places I want to be.
Thank you for always being there for me.
Beautiful work. The step-by-step breakdown makes painting the aurora borealis feel achievable. The blending of colors and the starry finish really bring the scene to life. Inspiring to see how art can bring dreams of travel closer to reality.