Imagen diseñada por mi en el editor de Canva
How are you, my dear crafty friends? My sister's birthday is coming up, so I decided to make her a gift with my own hands because sometimes our dressing table is a little disorganized and she has no space to store her makeup tools, so I decided to make this organizer so she has a place to keep her makeup brushes, although you could also use it to store pencils or other things of your choice, it is very simple to make and best of all is that we will use as a basis recycling items, such as toilet paper rolls.
¿Cómo están, mis queridos amigos artesanos? El cumpleaños de mi hermana se acerca, así que decidí hacerle un regalo con mis propias manos pues a veces nuestro tocador está un poco desorganizado y ella no tiene espacio para guardar sus utensilios de maquillaje, por lo tanto decidí hacer este organizador para que tenga donde guardar sus brochas de maquillaje, aunque también ustedes lo podrían usar para guardar lápices u otras cosas de su preferencia, es muy sencillo de hacer y lo mejor de todo es que usaremos como base elementos de reciclaje, como los rollos de papel de baño.

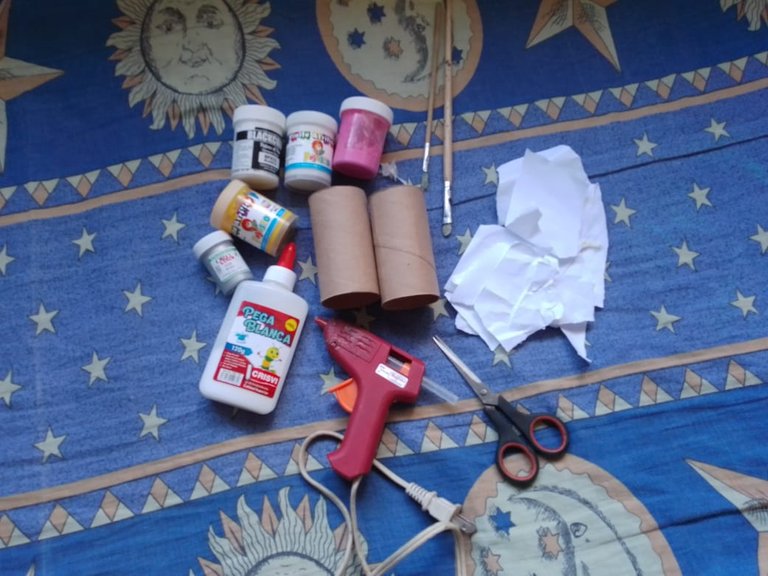
You will need very few elements such as some paints in the color of your choice, brushes, white glue, torn sheets of paper, scissors, hot silicone glue and two cardboard tubes of toilet paper.
Necesitarás muy pocos elementos como algunas pinturas del color de tu preferencia, pinceles pegamento blanco hojas de papel rasgado, tijeras pegamento de silicón caliente y dos tubos de cartón de papel higienico.
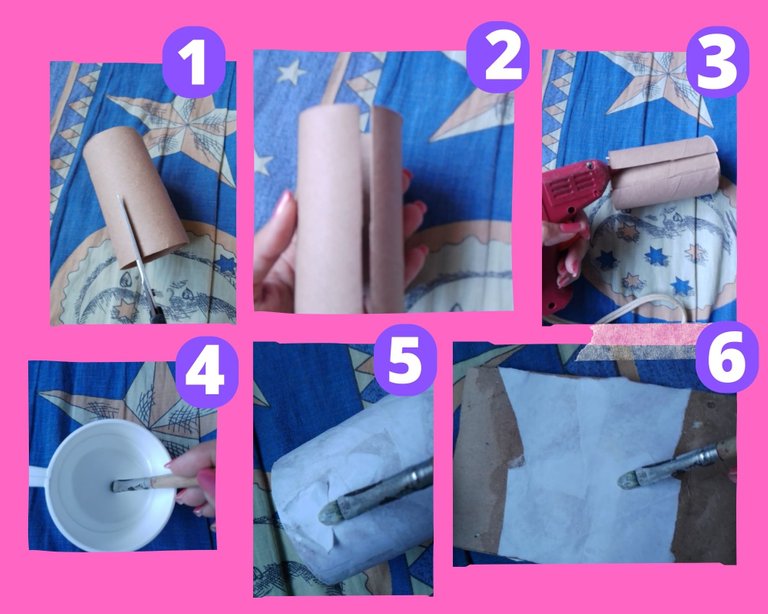
To get a cardboard tube with a larger diameter than usual, you must join two of them, and to do this you must cut the two cardboard tubes in half as shown in photos 1 and 2, and then you must join both tubes with hot glue but while you do it make sure it will have the diameter you want, at the end you will get a single cardboard tube with a wider diameter, but to hide the joints, which do not look nice you will do it by mixing white glue with water as you can see in picture 4, then wet the cardboard tube and glue the pieces of paper as you can see in picture 5.
Para obtener un tubo de cartón con un diámetro más grande del habitual, debes unir dos de ellos, y para hacerlo debes cortar los dos tubos de cartón por la mitad como se muestra en las fotos 1 y 2, y posteriormente debes unir ambos tubos con pegamento caliente pero mientras lo haces asegúrate de que tendrá el diámetro que quieras, al final obtendrás un solo tubo de cartón con un diámetro más amplio, pero para ocultar las uniones, las cuales no se ven bonitas lo harás mezclando pegamento blanco con agua como puedes ver en la fotografía 4, luego humedece el tubo de cartón y pega los trozos de papel como puedes apreciar en la fotografía 5.
And to cover one of the holes in the cardboard tube you can use another cardboard tube and cut it in half as in photo 1, then flatten it and finally add the mixture of white glue and water to adhere the pieces of paper as in photo 6. This technique will give it rigidity and strength.
Y para tapar uno de los orificios del tubo de cartón puedes usar otro tubo de cartón y cortarlo por la mitad como en la fotografía uno, luego aplanarlo y por último añadirle la mezcla de pegamento blanco y agua para adherirle los trozos de papel como en la fotografía 6. Esta técnica le aportará rigidez y fortaleza.
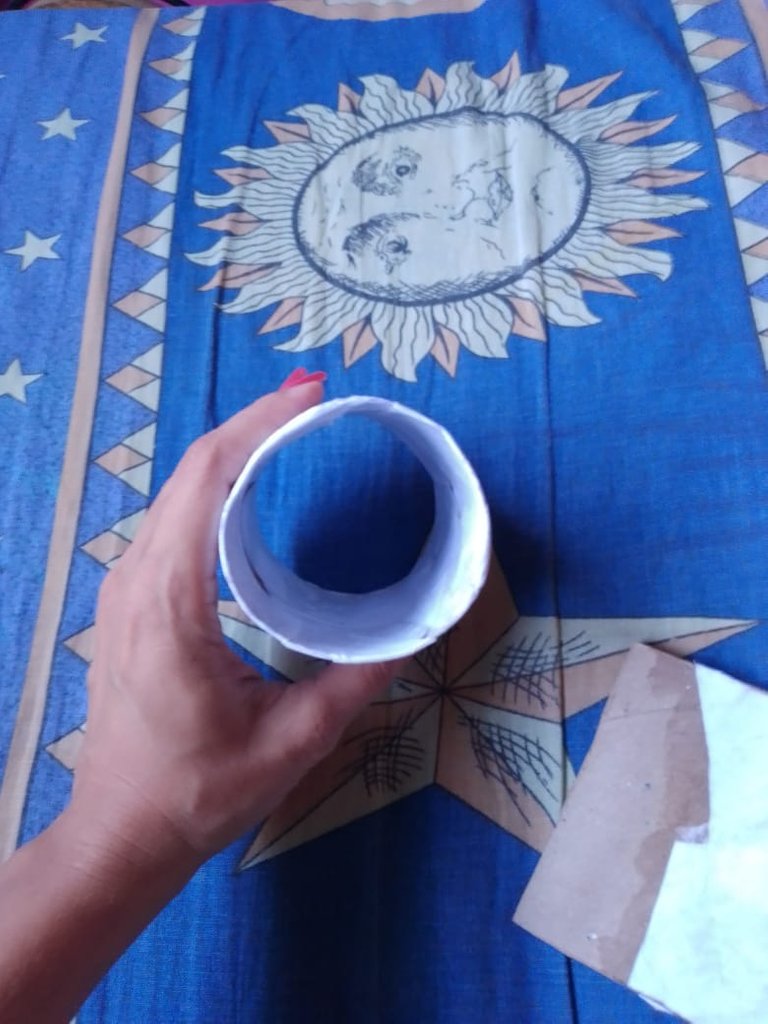
The enlarged cardboard tube will look like this, you can see how much we have enlarged it if you compare it with an ordinary cardboard tube.
El tubo de cartón ampliado quedará de esta manera, puedes comprobar cuanto lo hemos ampliado si lo comparas con un tubo de cartón común y corriente.
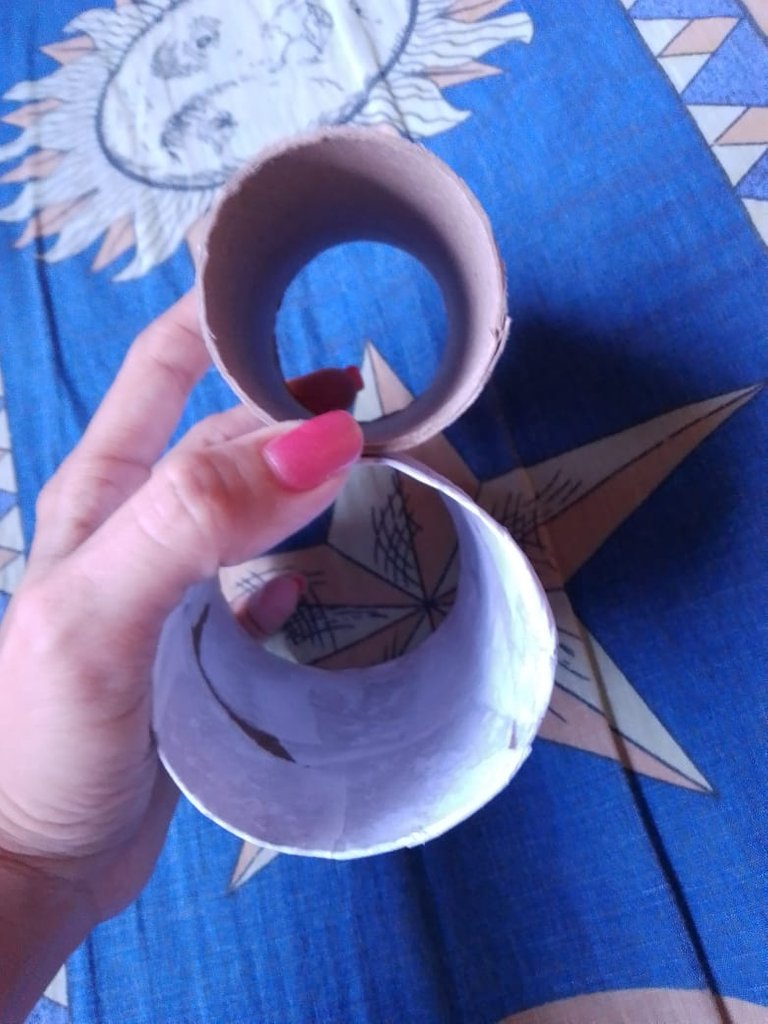
To speed up the drying process you can put the pieces in the sun, then attach the cardboard tube to the base with white glue in this way.
Para acelerar el proceso de secado puedes poner las piezas al sol, luego debes unir el tubo de cartón a la base con pegamento blanco de esta manera.
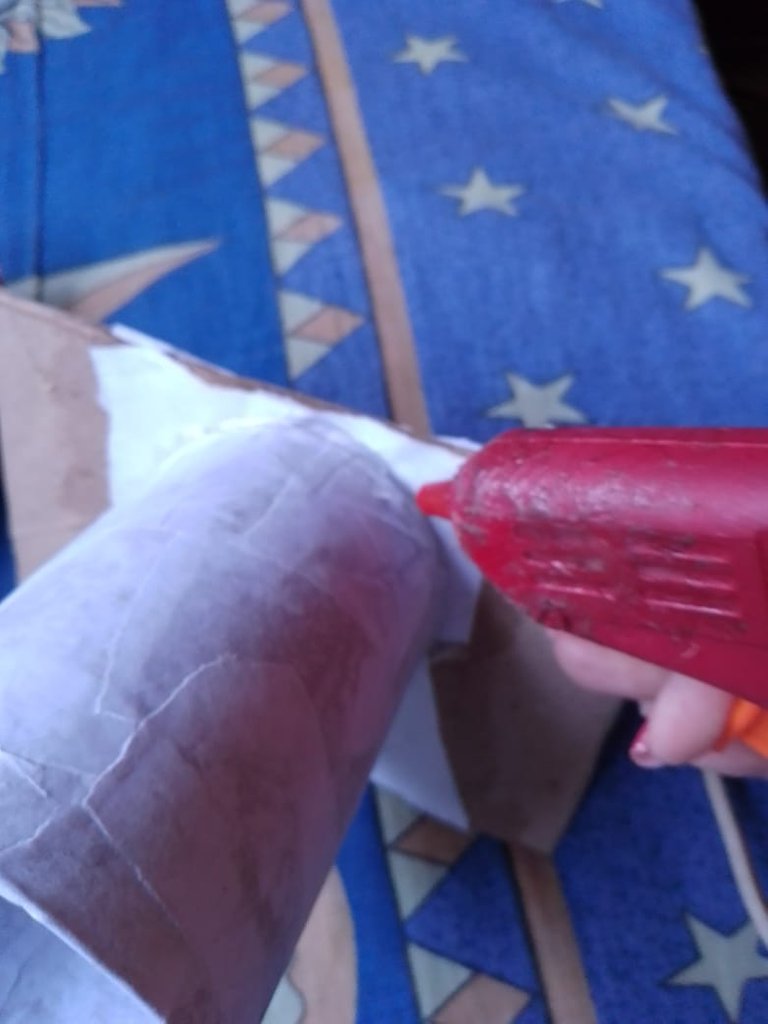
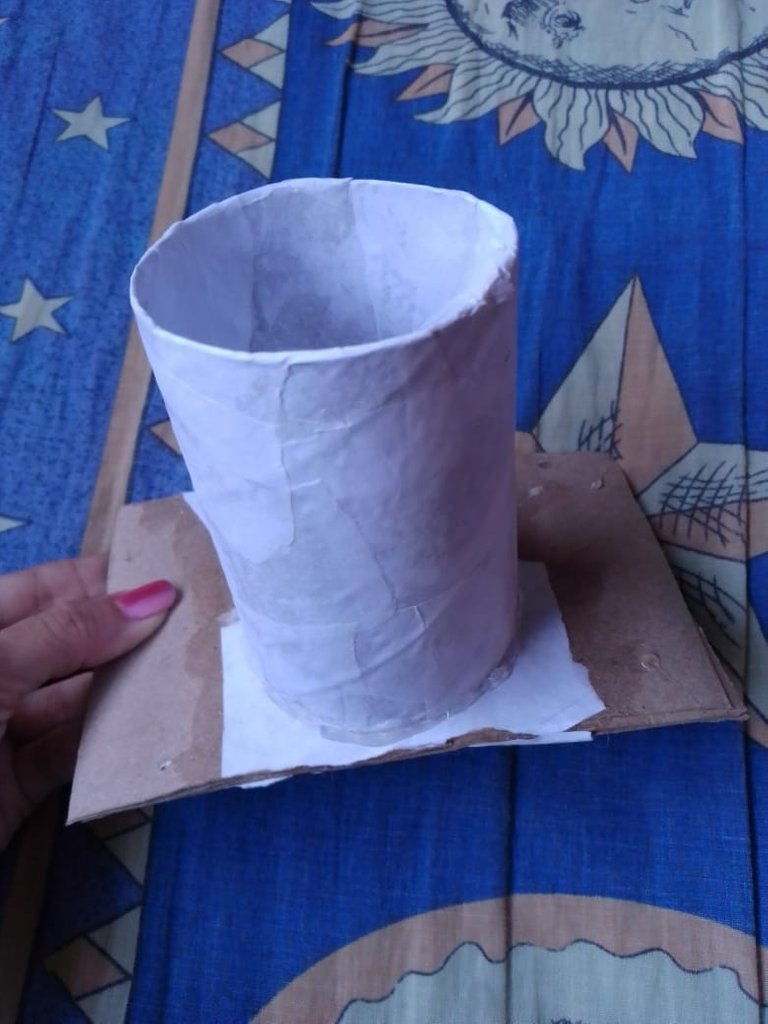
Then trim off all the excess as shown in photographs 7 and 8 and you will get the result as you can see in photograph 9.
Después recorta todo el excedente como muestran las fotografías 7 y 8 y te quedará como puedes apreciaren la fotografía 9.
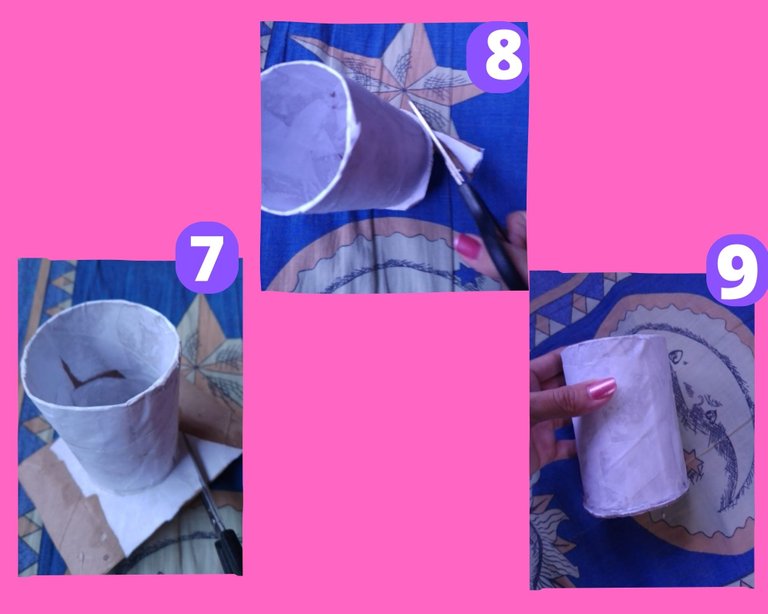
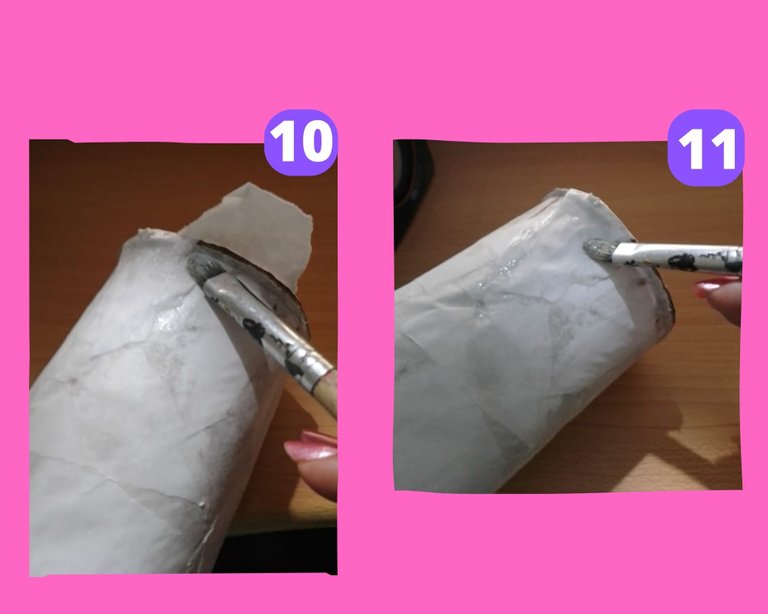
But in order to smooth the edges and give it a nicer finish we must use the same technique of paper and white glue with water as you can see in pictures 10 and 11, then you must put the piece to dry, however I assure you that it will not take too long.
Pero para poder suavizar los bordes y darle un acabado más agradable debemos usar la misma técnica del papel y el pegamento blanco con agua tal como puedes ver en las fotografías 10 y 11, posteriormente debes poner a secar la pieza, sin embargo te aseguro que no te tomará demasiado tiempo.
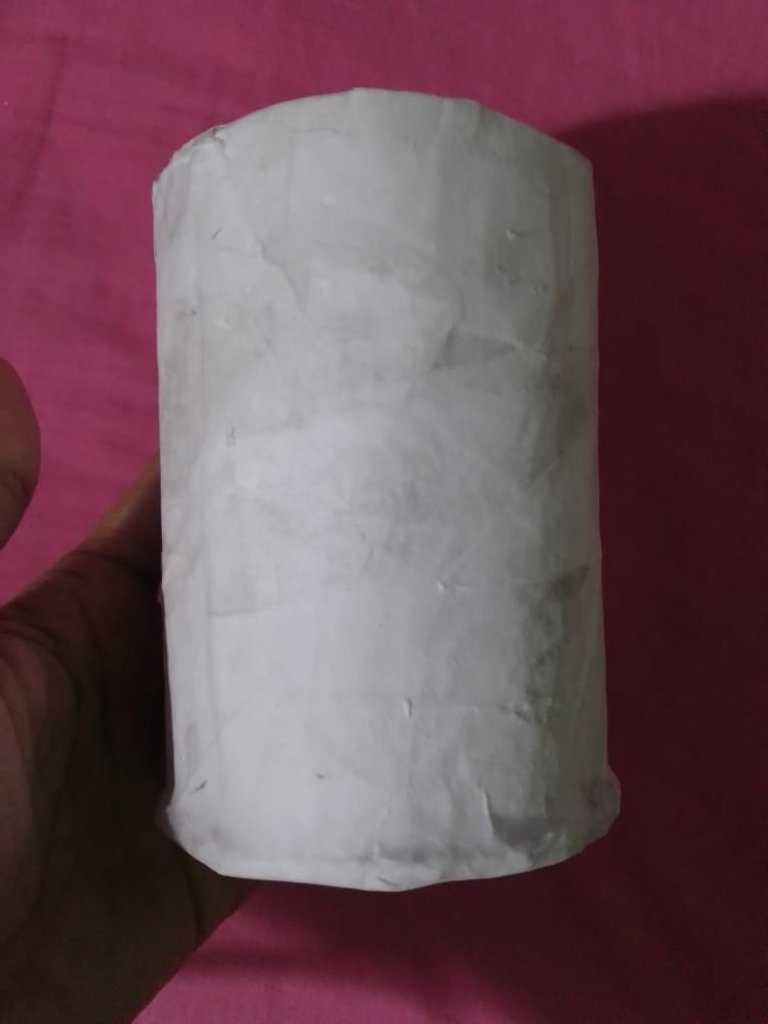
This will be the result.
Este será el resultado.
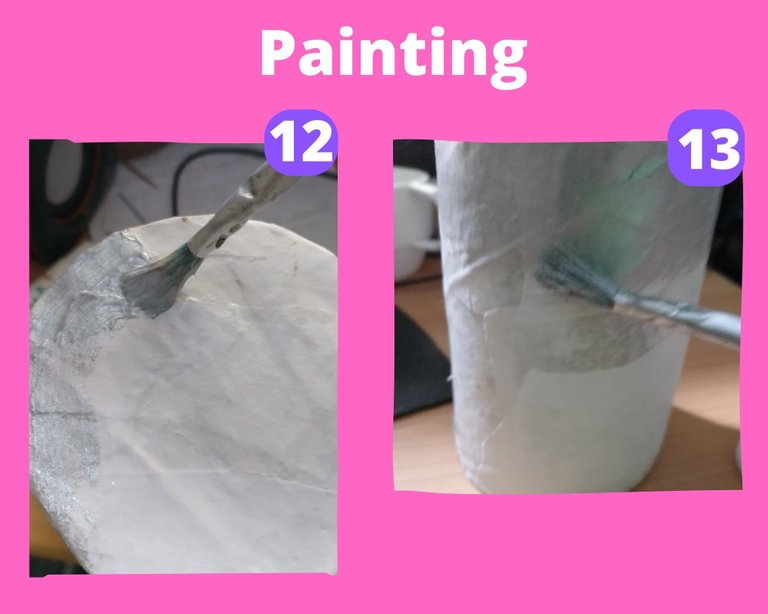
Now came the fun part, painting the piece, I chose a silver color because I think it is very elegant, but you can choose the color of your preference.
Ahora llegó el momento divertido, el de pintar la pieza, yo elegí un color plateado porque creo que es muy elegante, pero tú puedes elegir el color de tu preferencia.
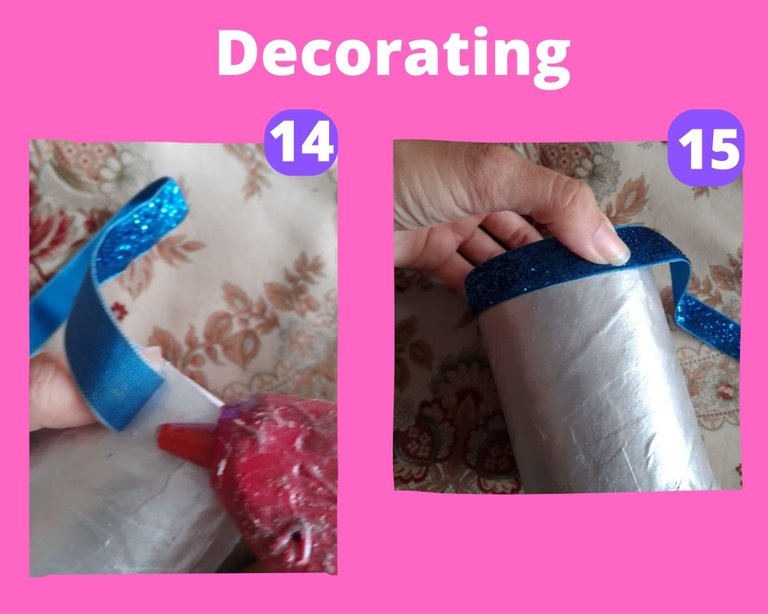
And finally we are going to decorate to give a nicer finish to the work, I put this shiny ribbon, I simply glued it all around the top contour using hot silicone glue. You can use lace, sequins, glitter, whatever you want, let your imagination run wild and decorate as you like.
Y por último vamos a decorar para darle un acabado más bonito al trabajo, yo le puse esta cinta brillante, simplemente la pegué por todo el contorno superior usando pegamento de silicón caliente. Tú puedes usar encajes, lentejuelas, purpurina, lo que quieras, deja volar tu imaginación y decora a tu gusto.
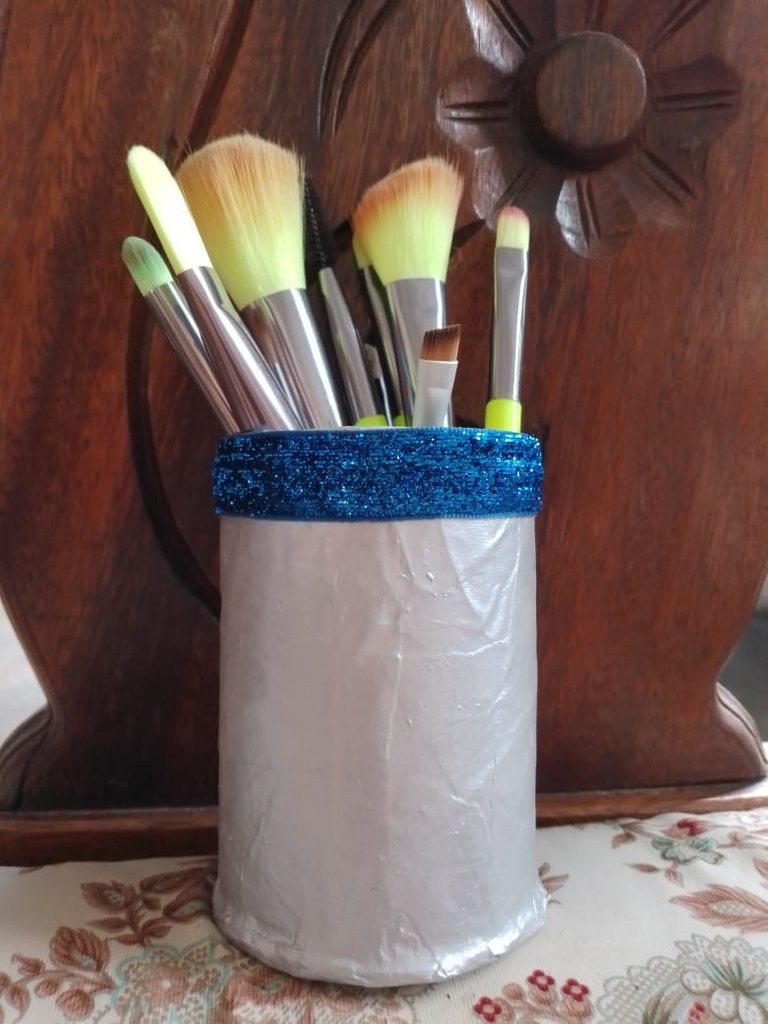
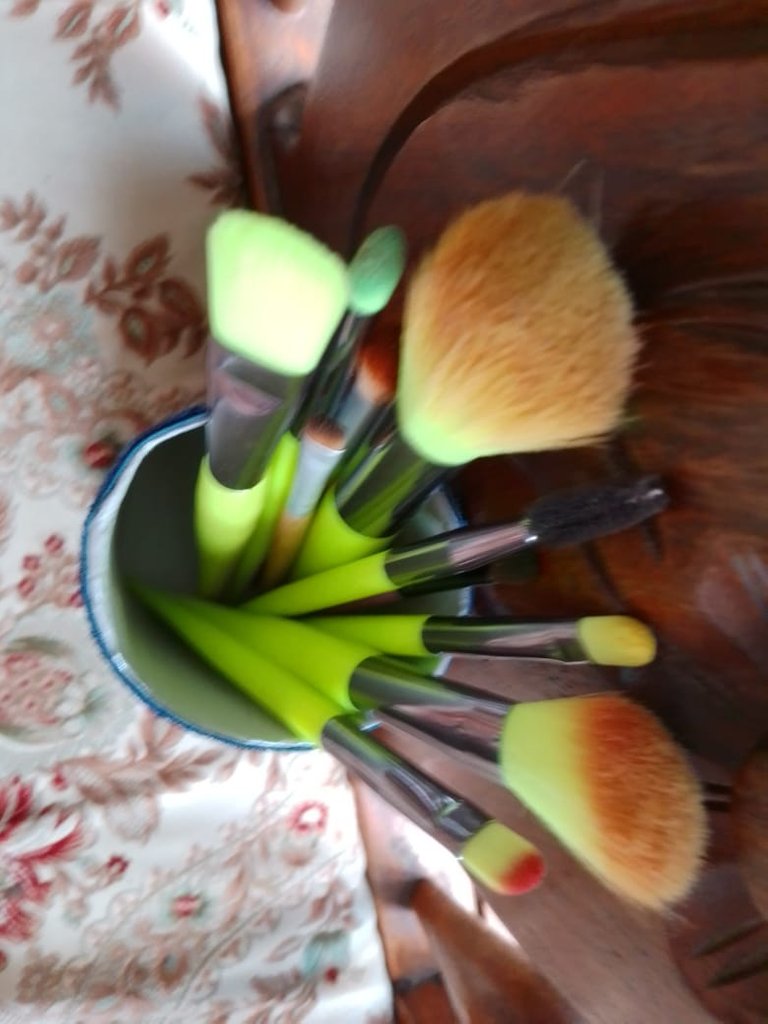
The result is beautiful and functional, now you have a beautiful and elegant space to store your makeup brushes or whatever you want, plus it is very spacious, so you can fit a lot of things in it.
El resultado es hermoso y funcional, ahora tienes un hermoso y elegante espacio para guardar tus brochas de maquillaje o lo que quieras, además es muy espacioso, así que cabrán muchas cosas en él.

That's all for today, I'm very happy to share my ideas with the community, I hope you liked it, see you another time.
Esto ha sido todo por hoy, me alegra mucho poder compartir mis ideas con la comunidad, espero que les haya gustado, nos vemos en otra oportunidad.
Imagen diseñada por mi en el editor de Canva.
All images in this post are my own, taken with my LGK4 Lite mobile phone.
Todas las imágenes de este post son de mi propiedad, las tomé con mi teléfono celular LGK4 Lite.
Resource based economy.💪🌱♻
Yes, I love recycling 💪
Thank you for sharing this amazing post on HIVE!
Your content got selected by our fellow curator @stevenson7 & you just received a little thank you via an upvote from our non-profit curation initiative!
You will be featured in one of our recurring curation compilations and on our pinterest boards! Both are aiming to offer you a stage to widen your audience within and outside of the DIY scene of hive.
Join the official DIYHub community on HIVE and show us more of your amazing work and feel free to connect with us and other DIYers via our discord server: https://discord.gg/mY5uCfQ !
If you want to support our goal to motivate other DIY/art/music/homesteading/... creators just delegate to us and earn 100% of your curation rewards!
Stay creative & hive on!
Thank you so much for supporting my work 😊
@tipu curate
Upvoted 👌 (Mana: 25/45) Liquid rewards.
Muchísimas gracias de todo corazón
Birthday Blessings to your Sister 💕 Amen 🙏 to her Secret Prayers 🙏
Nice gift and work from you Hopefully she liked the gift