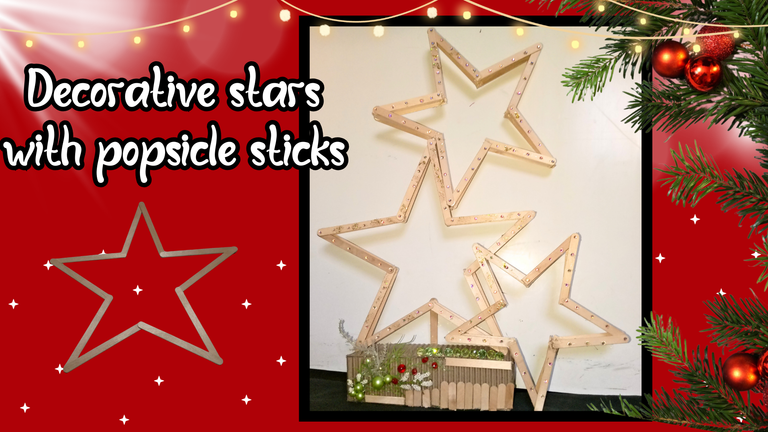
Hello dear hivers of this dear community, craft lovers, happy holidays to all.
Today I return to share with you an ornament with the most beautiful theme of the year, this time making my first participation in the contest that is taking place in the community of @diyhub, we are very close to the end of the year, with this wonderful month, this time I share with you, a tutorial to make some stars with popsicles, a perfect material to create many ornaments and useful accessories for the home.
In these dates we are motivated to make decorative ornaments with the wonderful Christmas theme, our homes are radiant with everything we have created in this journey, and since the beginning of November, I was invaded by the desire to make these projects, both for me and for my family and friends.
I hope you find these three stars with a Christmas motif very beautiful.
The pictures you will see below were taken with my TECNO SPARK GO 2024.
Hola queridos hivers de esta querida comunidad, amantes de las artesanías, felices fiestas decembrinas para todos.
Hoy vuelvo a compartirles un adorno con la temática más linda del año, esta vez haciendo mi primera participación en el concurso que se está llevando a cabo en la comunidad de @diyhub, ya falta muy poco para que finalice el año, con este mes maravilloso, en esta oportunidad les comparto, un tutorial para hacer unas estrellas con paletas de helados, un material perfecto para crear muchos adornos y accesorios útiles para el hogar.
En estas fechas nos motivamos hacer adornos decorativos con la maravillosa temática navideña, nuestras casas están radiantes con todo lo que hemos creado en este trayecto, y es que desde que inicio el mes de noviembre, me invadió el deseo de hacer estos proyectos, tanto para mí como para mis familiares y amigos.
Espero que les parezcan muy bonitas, estas tres estrellas con motivo navideño.
Las fotografías que verán a continuación, fueron tomadas con mi teléfono modelo TECNO SPARK GO 2024.

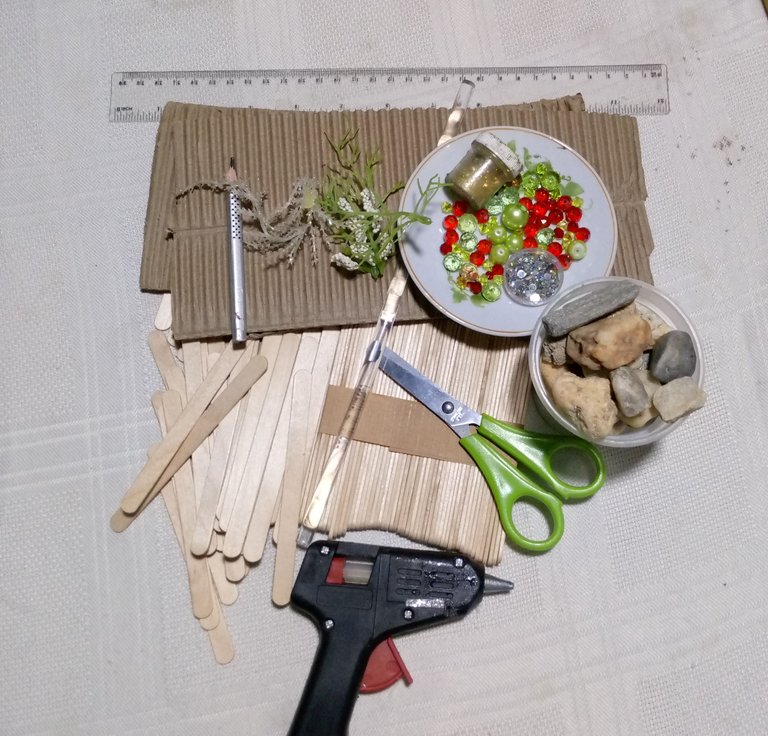
Materials:
- Popsicle sticks
- Silicone stick
- Scissors
- Corrugated cardboard
- Office size white cardboard
- Pencil
- Decorative glass beads
- Artificial twigs
- Gold frosting
- River stones
- Ruler
- Pliers
- Hot silicone gun
Materiales:
- Paletas de helados
- Barra de silicona
- Tijera
- Cartón corrugado
- Cartulina blanca tamaño oficio
- Lápiz
- Cuentas decorativas de cristal
- Ramitas artificiales
- Escarcha dorada
- Piedras de río
- Regla
- Alicate
- Pistola para silicona caliente

 |  |  |
|---|
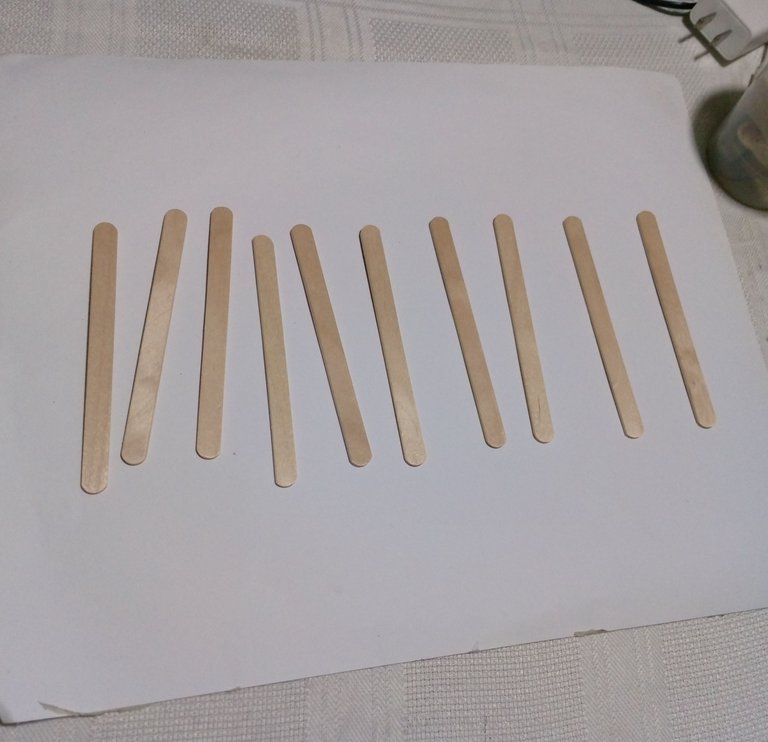
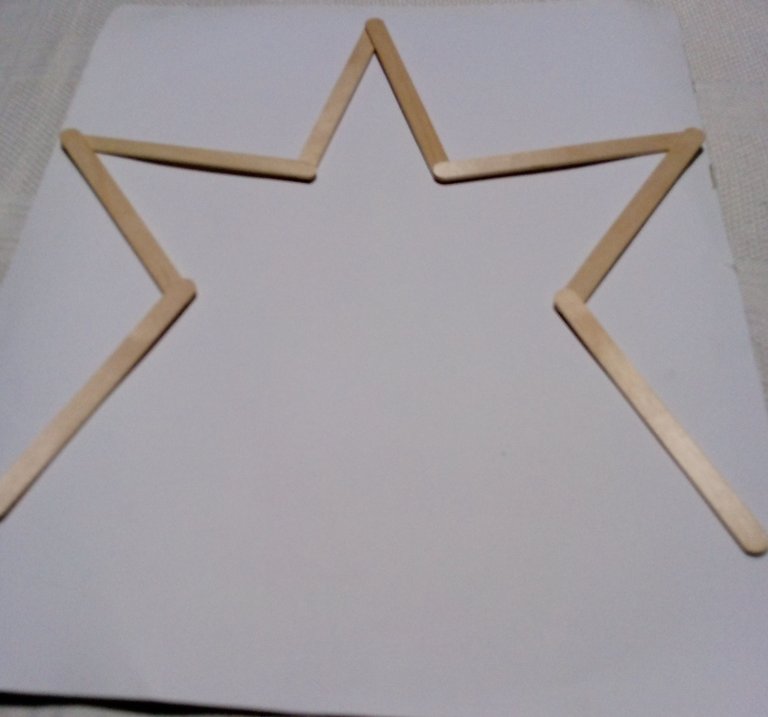
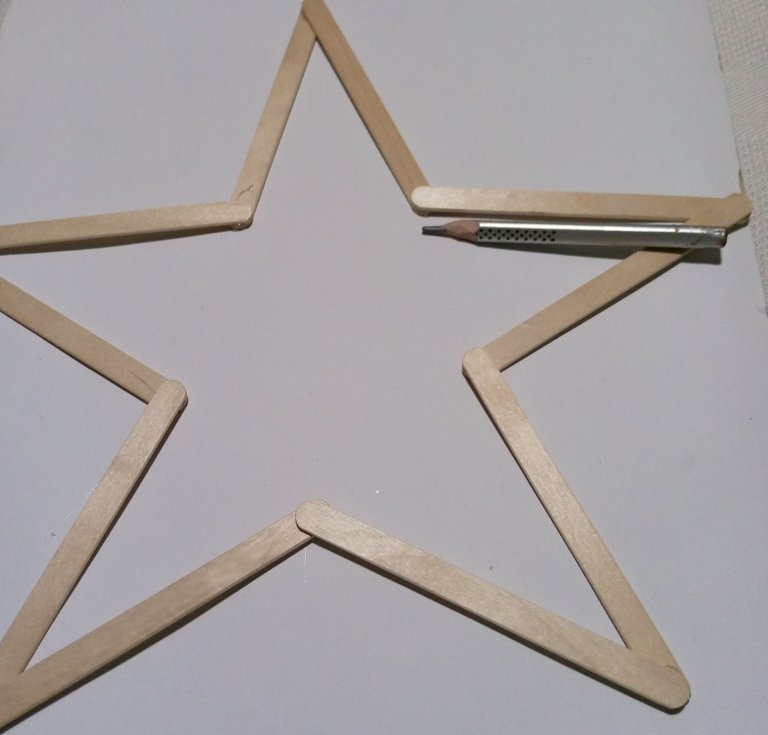
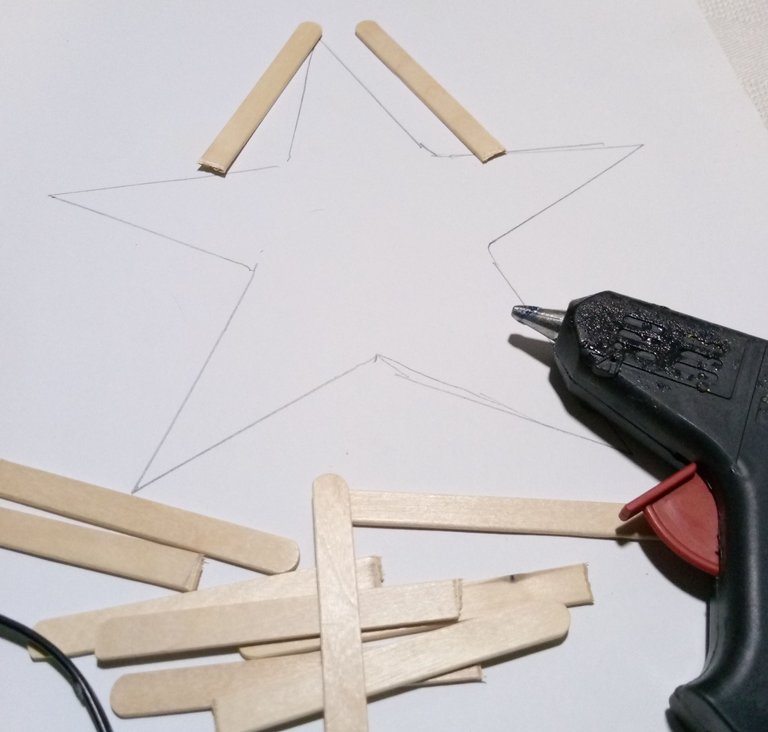
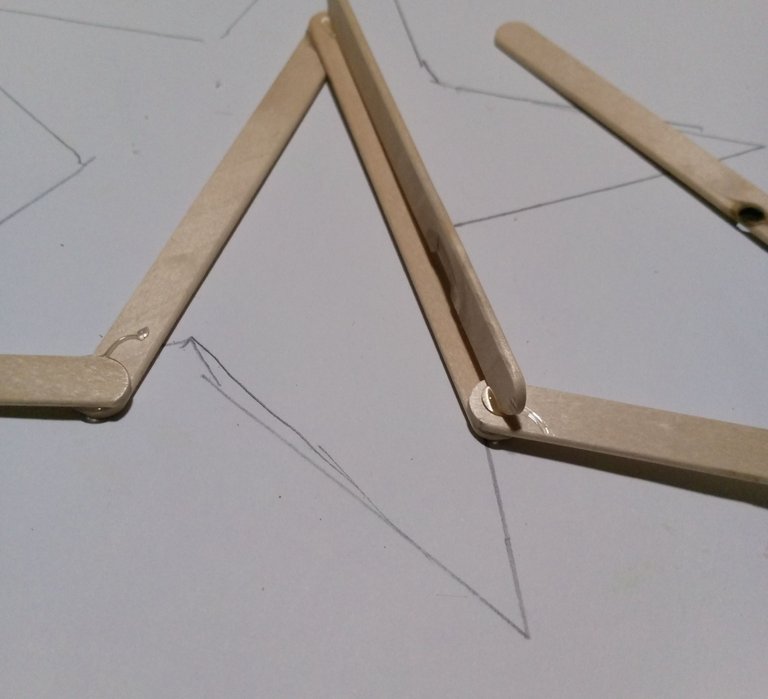
We will start by placing 10 pallets on the white cardboard, we will make our first star, the biggest of the three we are going to make.
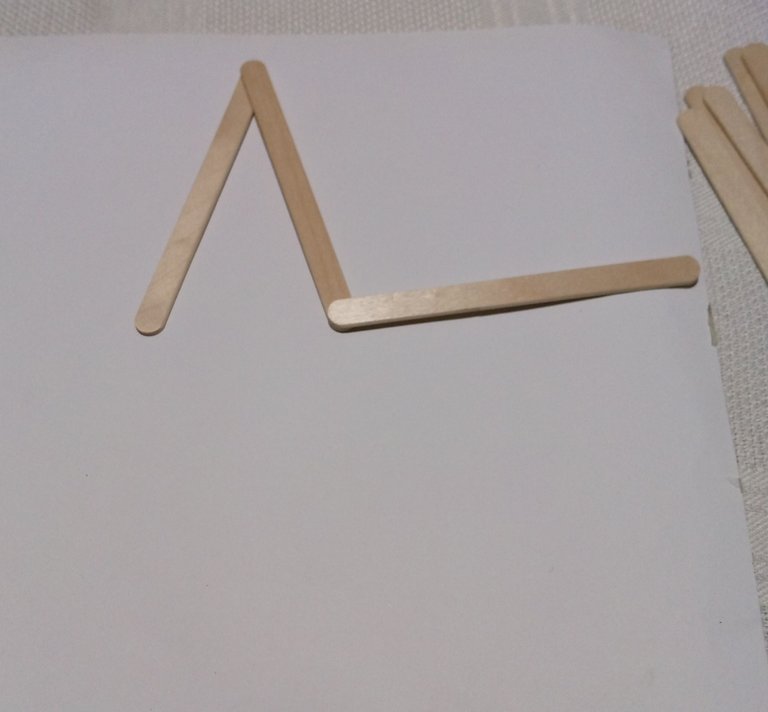
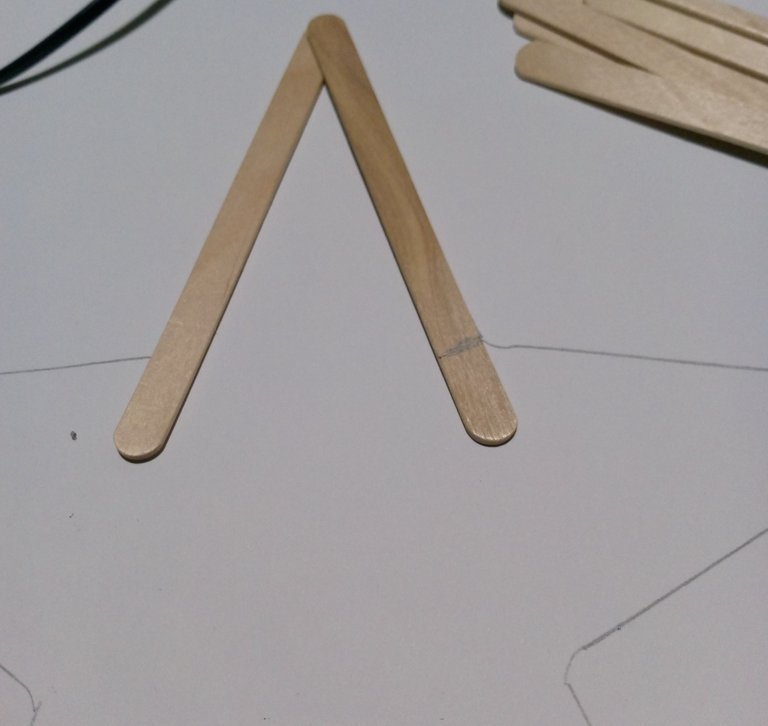
We will take 2 pallets and we will place them in the shape of a triangle, where the tip is 1 cm away, then we will open it up to 6 cm.
For the triangles of the sides we are going to place 2 pallets in a semi straight line that we are going to go leveling to complete all the points of the star, it is very easy to do, we will only go moving the pallets, until all the sides are 1 cm, top and close in 6 cm.
Empezaremos colocando sobre la cartulina blanca 10 paletas, vamos a hacer nuestra primera estrella, la más grande de las tres que vamos a hacer.
Tomaremos 2 paletas y las vamos a colocar en forma de triángulo, donde la punta quede a 1 cm, luego la vamos a abrir hasta 6 cm.
Para los triángulos de los lados vamos a colocarla 2 paletas en una línea semirrecta que vamos a ir nivelando hasta completar todas las puntas de la estrella, es muy fácil de hacer, solo vamos a ir moviendo las paletas, hasta que todos los lados queden a 1 cm, superior y cierren en 6 cm.

 |  |  |
|---|
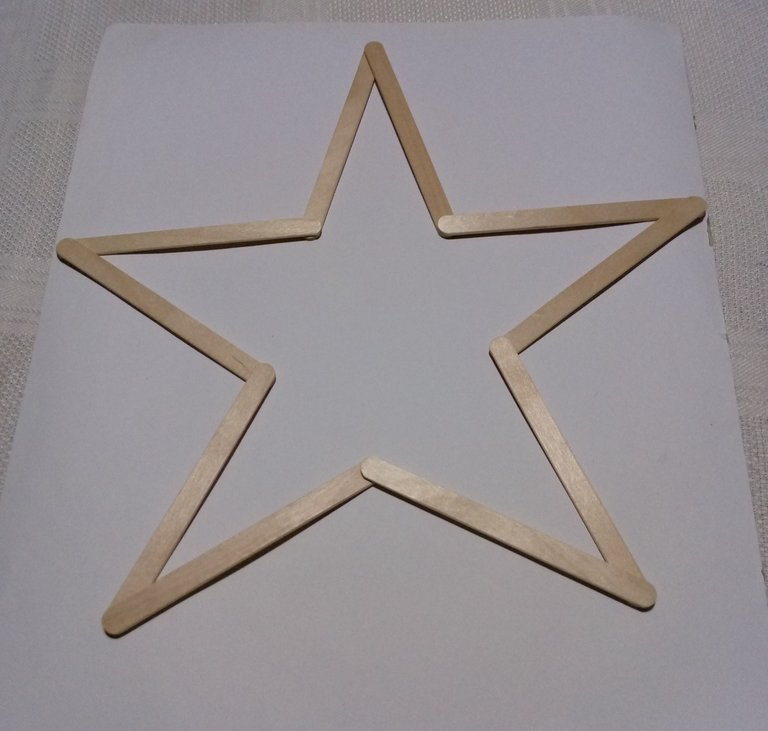
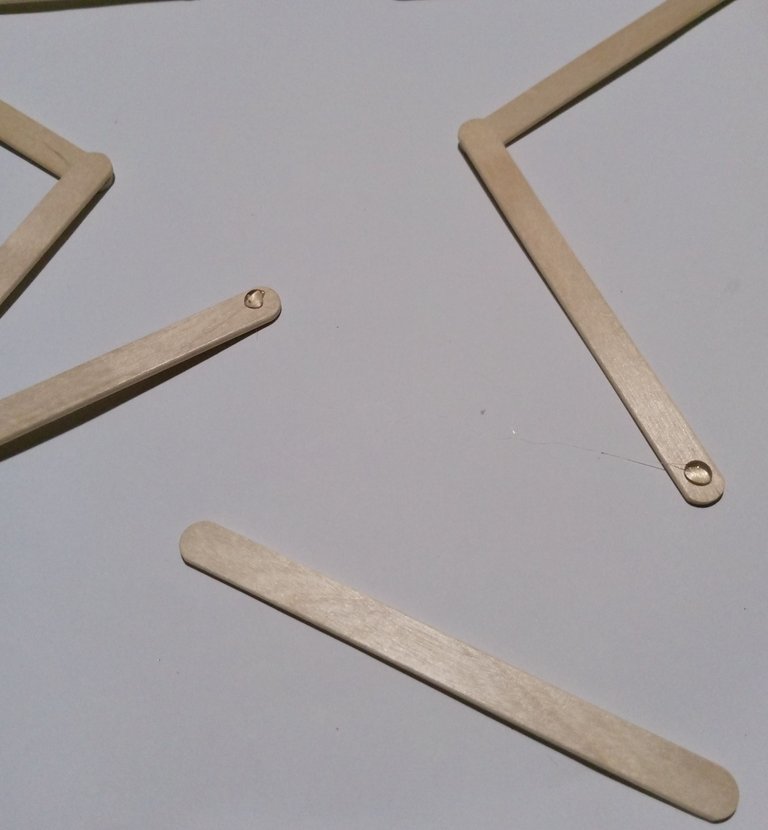
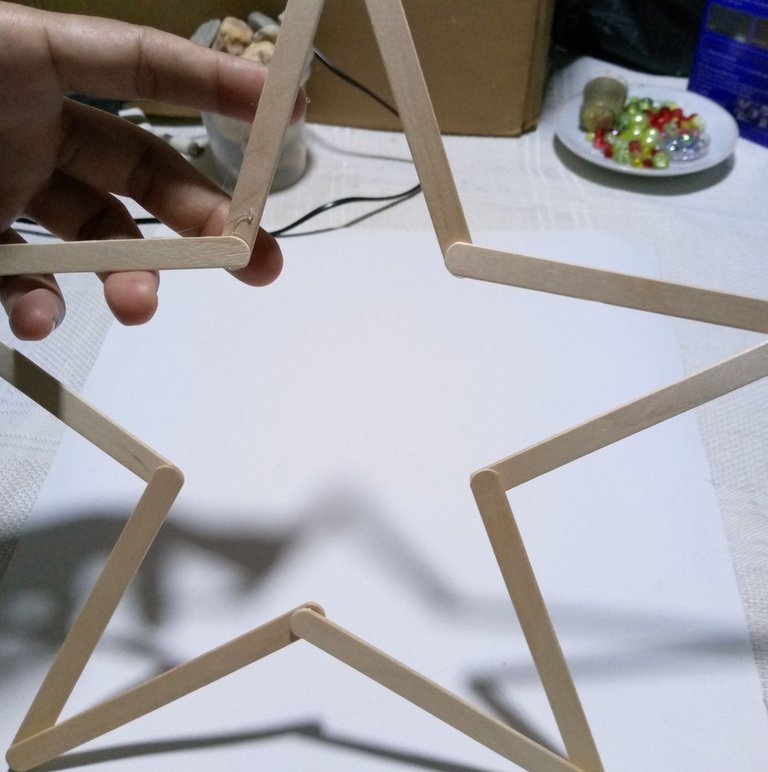
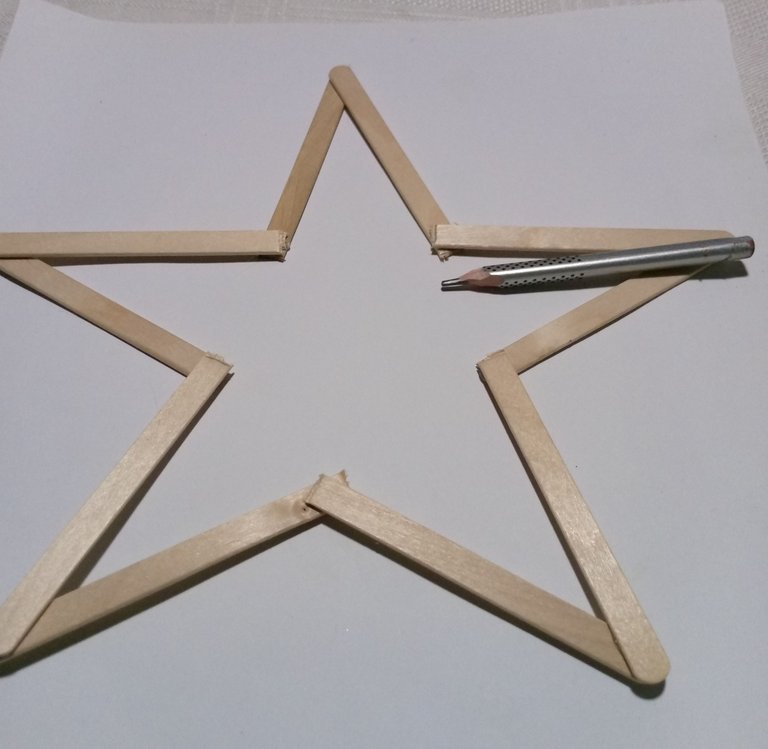
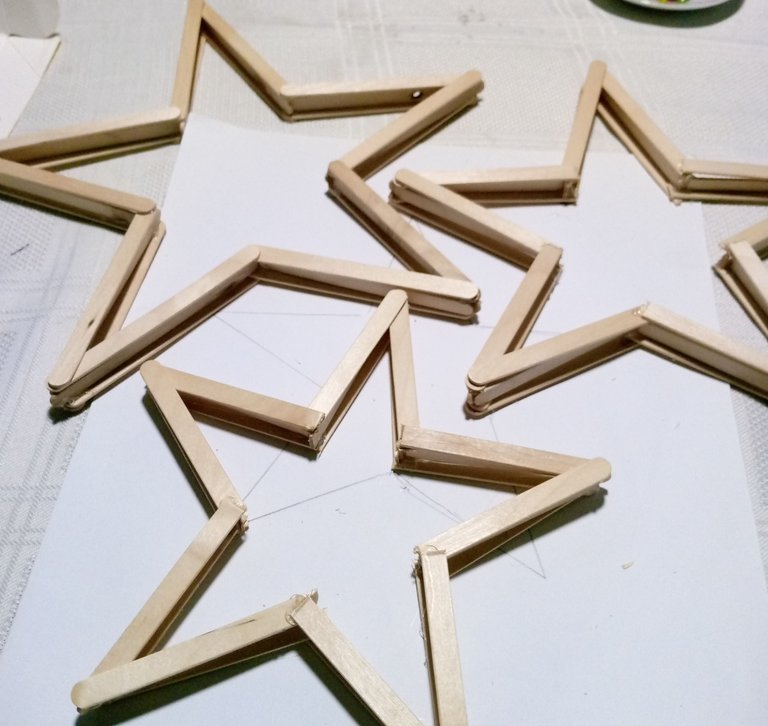
The result is a totally uniform star, after we have managed to place all the pallets in the shape of a star, we will place a dot of hot silicone to fix each of the joints, here we will go with careful steps holding the sides, so that the figure is maintained.
El resultado es una estrella totalmente uniforme, después que hayamos logrado colocar todas las paletas en forma de estrella, vamos a colocarle un punto de silicona caliente para fijar cada una de las uniones, aquí vamos a ir con pasos cuidadosos sosteniendo los lados, de modo que se mantenga la figura.

 |  |  |
|---|
After we have made the first star, making the other 2 stars is easier, because we will be guided by the first star that we have already made.
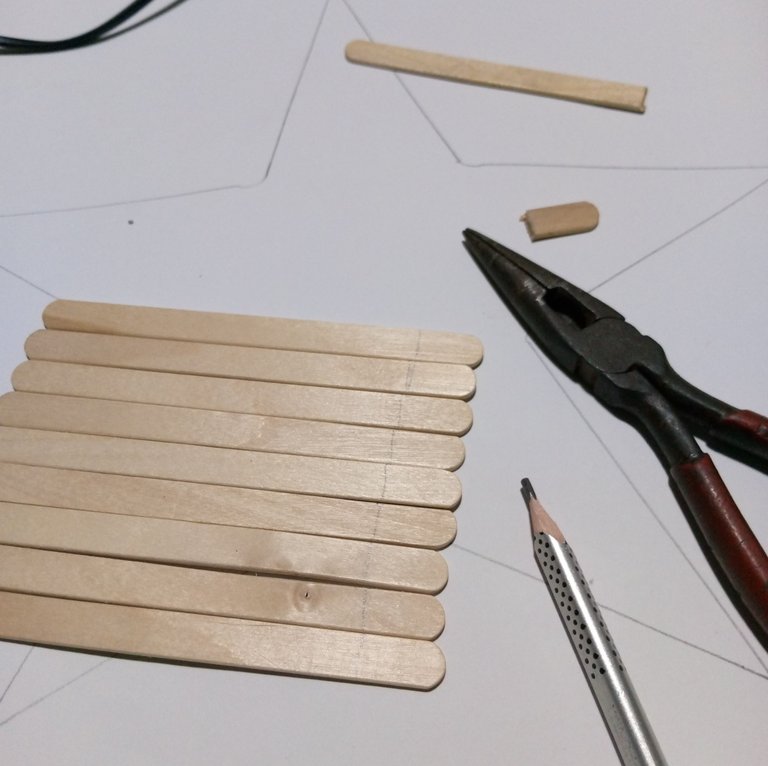
We will take the figure of the first star, we are going to place it on the cardboard and we are going to mark it with the pencil, on the inner side of the star, this so that we have a medium star, with this guide we will form our second star.
What varies here is the size of the paddles, so we will have to cut 2 cm, and we will glue it using the figure we have drawn on the cardboard as a guide.
Después que hayamos hecho la primera estrella, hacer las 2 restantes es más sencillo, porque nos vamos a guiar con la primera estrella que ya hicimos.
Tomaremos la figura de la primera estrella, la vamos a colocar sobre la cartulina y vamos a marcarla con el lápiz, del lado interno de la estrella, esto para que nos quede una estrella mediana, con esta guía vamos a formar nuestra segunda estrella.
Lo que varía aquí es el tamaño de las paletas, así que tendremos que cortar 2 cm, y pegaremos guiándonos con la figura que tenemos dibujada en la cartulina.

 |  |  |
|---|
In this step we will repeat exactly the steps of the second star, we will draw the second star to make a third smaller star.
Here we are going to cut 3 cm to each of the vanes, to form the smaller star.
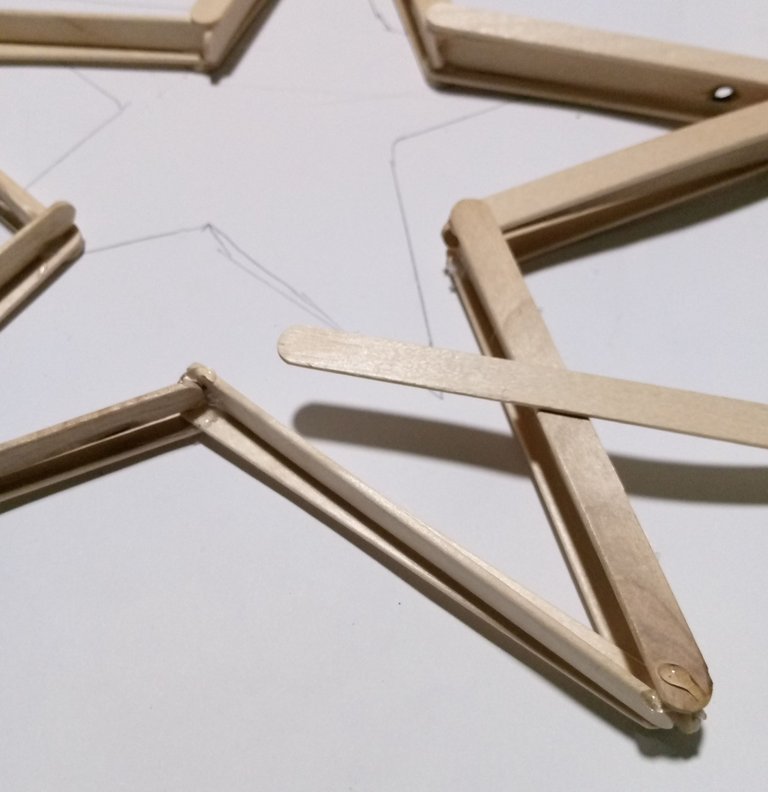
After we have made the 3 stars, we are going to give thickness to each one with the stars, with the pallets already cut for each size of the stars, then we will start to glue, a straight pallet, and on this one, a flat pallet.
En este paso repetiremos exactamente los pasos de la segunda estrella, vamos a dibujar la segunda estrella para hacer una tercera estrella más pequeña.
Aquí vamos a cortar 3 cm a cada una de las paletas, para formar la estrella más pequeña.
Después que hayamos hecho las 3 estrellas, le vamos a dar grosor a cada una con las estrellas, con las paletas ya cortadas para cada tamaño de las estrellas, luego empezaremos a pegar, una pelete recta, y sobre esta, una paleta plana.

 |  |  |
|---|
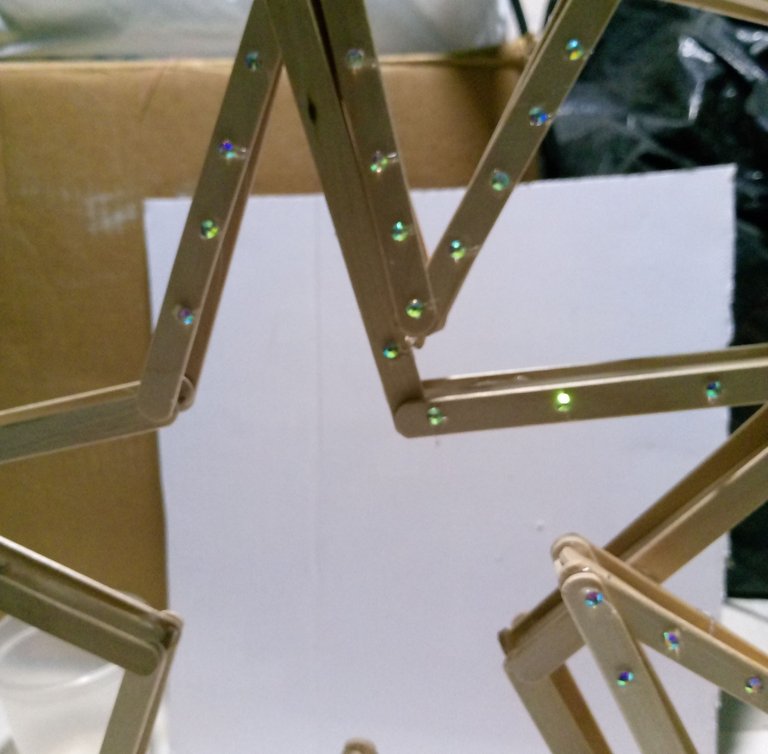
We can notice how the thickness of the stars is getting thicker, this shape will allow a good anchoring and decorative effect.
Then we are going to place the crystals and the frost with silicone to make them shine and look prettier. However, with lights they will look even more radiant.
Podemos notar como va quedando el grosor de las estrellas, esta forma nos va a permitir un buen anclaje y efecto decorativo.
Después vamos a colocarle los cristales y la escarcha con silicona para que tenga brillo y se vean más lindas. Sin embargo, con luces se verían aún más radiantes.

 |  |  |
|---|
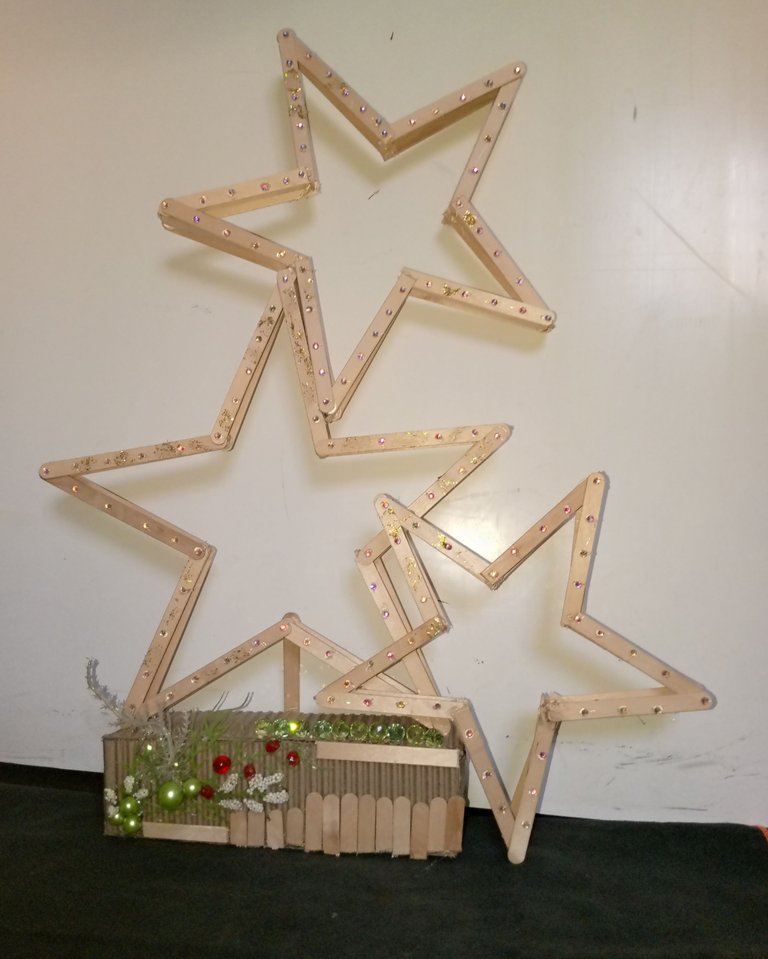
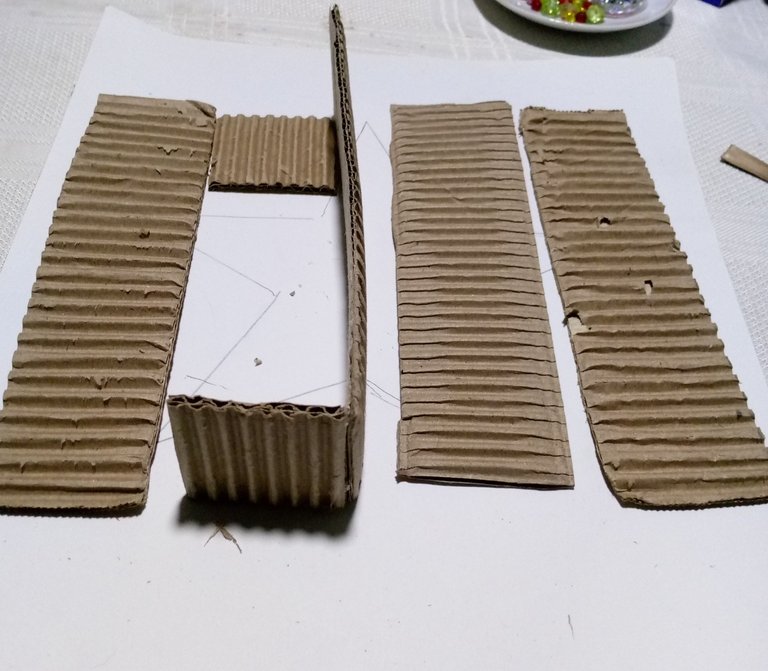
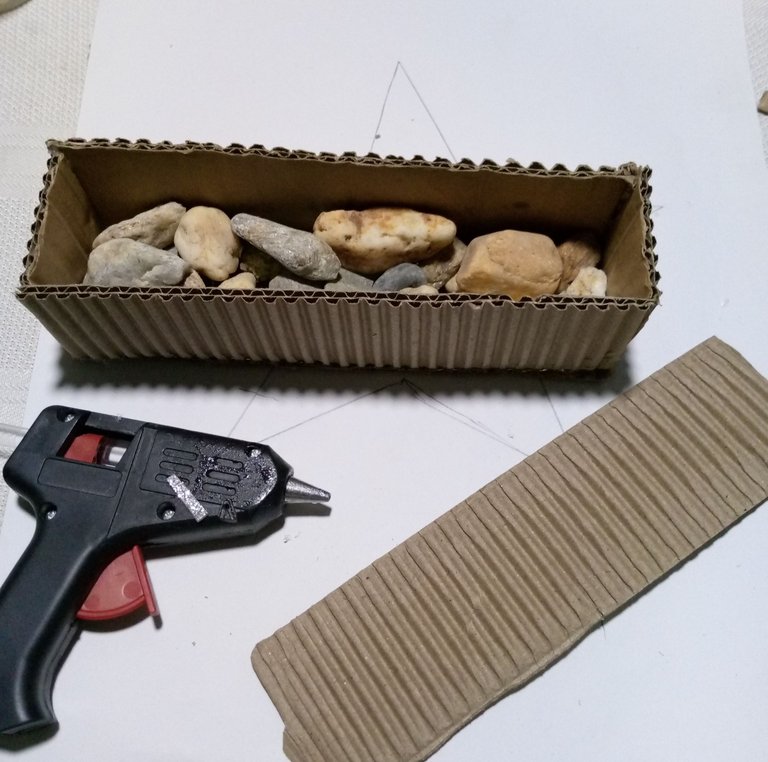
Once we have finished making the stars, we will make a base to place them, with corrugated cardboard, we will cut 4 rectangles and 2 squares, we will glue these pieces, we will introduce stones to give it weight and support, we will glue the top cover and close this base.
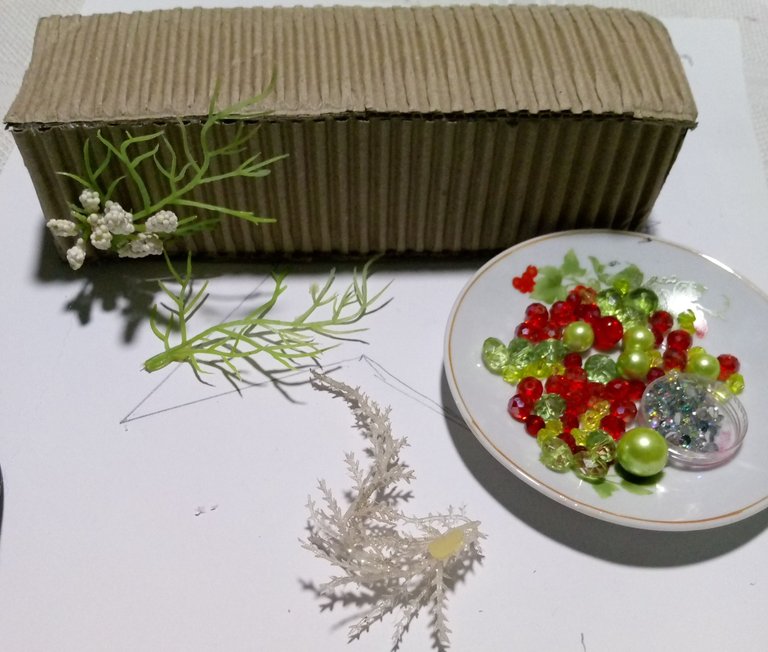
Then we are going to decorate with the beads, branches and the leftover popsicle sticks, gluing them with hot silicone dots.
Finally, on this base that is already ready, we will glue the stars, gluing first, the largest star, second, we glue the medium star, on the largest star, and finally, we glue the smallest star, this is the one that is on one side of the base, with one of its tips as giving stability on the table, and that is how this craft is for you, I hope you liked my work of the day and are motivated to do them.
Thank you for visiting, I hope to continue sharing more of my initiatives here.
Infinite hugs with all my love.
Una vez hayamos terminado de hacer las estrellas, vamos a hacer una base para colocarlas, con el cartón corrugado, vamos a cortar 4 rectángulos y 2 cuadrados, pegaremos estas piezas, le vamos a introducir piedras para darle peso y soporte, pegamos la tapa superior y cerramos esta base.
Después vamos a decorar con las cuentas, ramas y los restos de paletas que nos sobraron, pegando con puntos de silicona caliente.
Por último, sobre esta base que ya está lista, pegaremos las estrellas, pegando primero, la estrella más grande, segundo, pegamos la estrellas mediana, sobre la estrella más grande, y por último, pegamos la estrella más pequeña, esta es la que está de un lado de la base, con una de sus puntas como dando estabilidad sobre la mesa, y es así como queda esta manualidad para ustedes, espero que les haya gustado mi trabajo del día y se motiven hacerlas.
Gracias por la visita, espero poder seguir compartiendo más de mis iniciativas por aquí.
Abrazos infinitos con todo el cariño.

social networks / redes sociales
Traductor Deepl
Translated Deepl
Ediciones Canva
Editions Canva


Popsicles are known to be used to create beautiful designs but creating these beautiful ornaments with popsicles was a game-changer, bravo!
Nice one
❤️🤗
Están muy bonitas✨️
Gracias mi bella.
Re quedaron finas y es una buena idea para navidad
Muchas gracias corazón, me alegra que te haya gustado.😊
Very nice and creative idea.
Thank you, sweetheart.🤗
This is beautiful 🥰
🙂🙏
Congratulations @lauracraft! You have completed the following achievement on the Hive blockchain And have been rewarded with New badge(s)
Your next target is to reach 30000 upvotes.
You can view your badges on your board and compare yourself to others in the Ranking
If you no longer want to receive notifications, reply to this comment with the word
STOPSaludos, es un bonito trabajo con material reciclado.
Gracias!!! 🤗