English
A Dream Bed
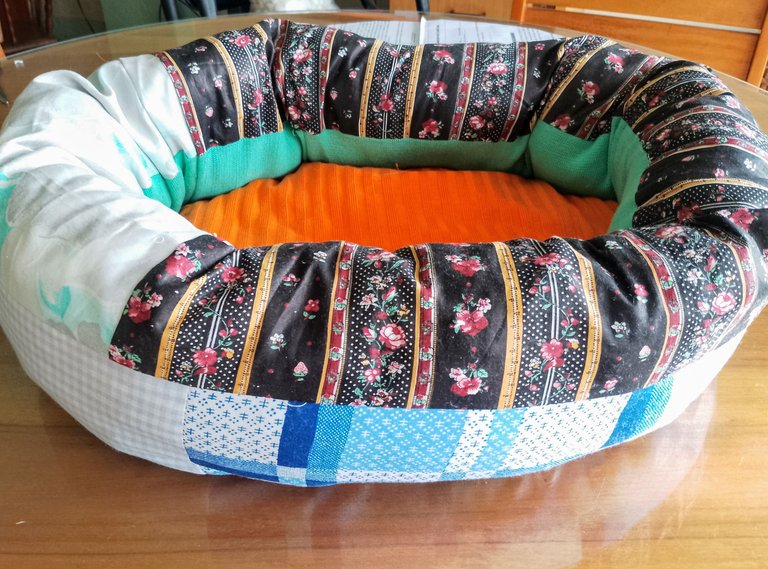
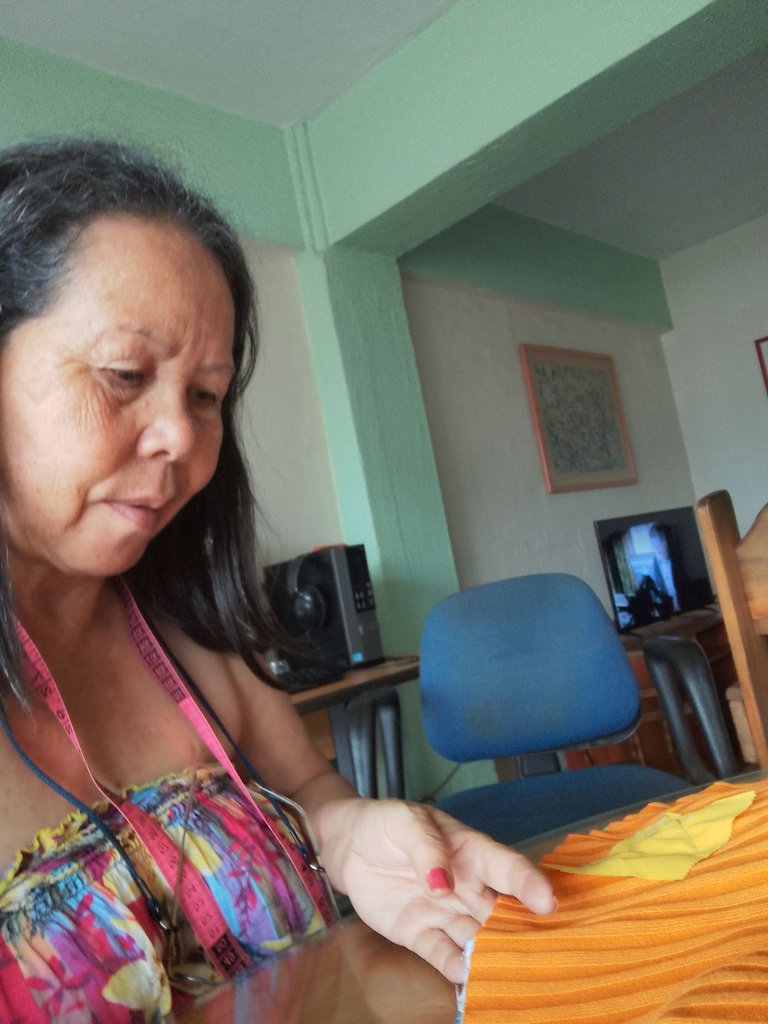
These days I was arranging, my fabric cuts that I use to recycle and as I had so many I was thinking what I could make that would be useful and I thought of bringing you a very practical proposal for all those friends who love their pets, for some time, my mind has been thinking, What can I create, and these days visiting a relative, I realized that he has a pet, a cat séame, very beautiful, who sleeps in a kennel.
Español
Una Cama De Ensueño
En estos días estaba arreglando, mis cortes de tela que utilizo para reciclar y como tenía tantas estaba pensando que podía realizar que fuera de utilidad y pensé en traerles una propuesta muy práctica para todos aquellos amigos que aman a sus mascotas, desde hace tiempo, mi mente ha estado pensando, ¿Qué puedo crear?, y en estos días visitando a un familiar, me di cuenta de que tiene una mascota, un gato séame, muy hermoso, que duerme en un kennel.
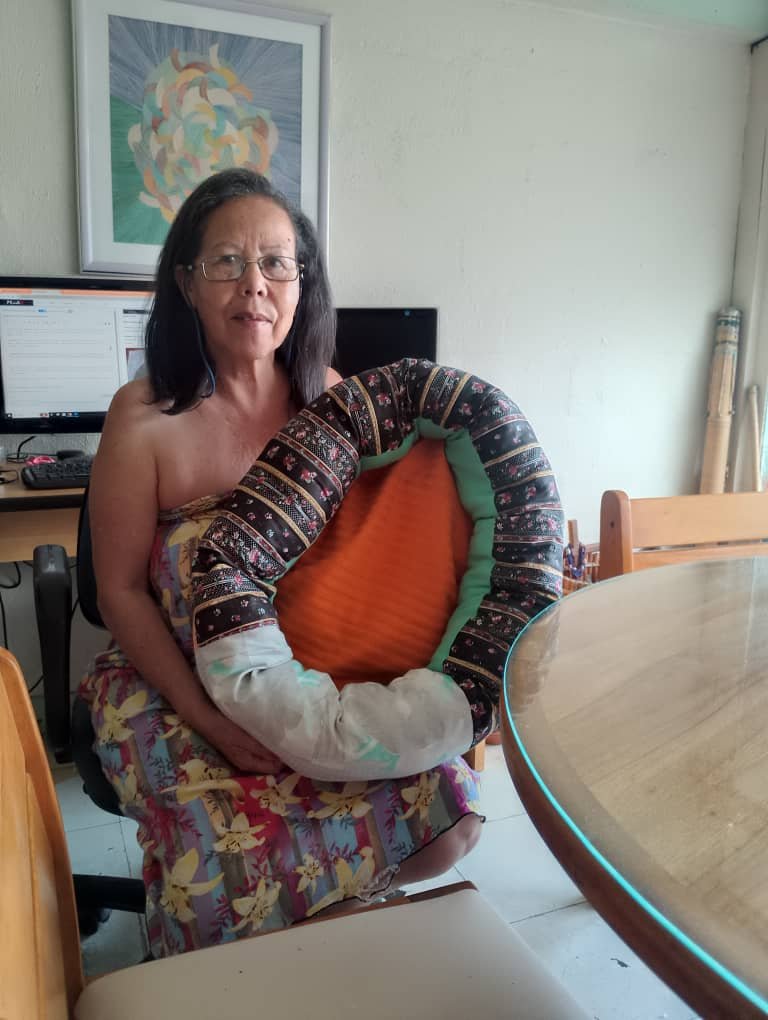
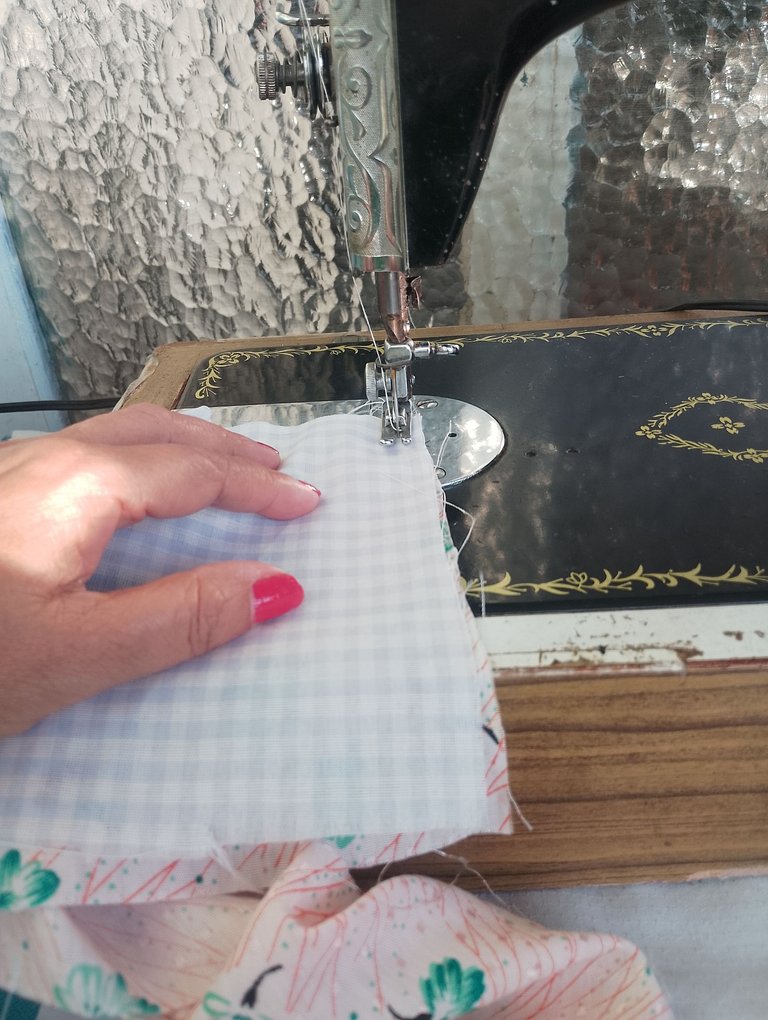
And I decided to make him a very cozy bed, fortunately, this time I will only use fabric and stuffing, as the fabric scraps are small, I will tie them first. The model is very simple and quick to make, hoping that he will feel comfortable and enjoy his little bed for a long time, although his favorite place is sleeping in the kennel, hoping that once he gets familiar with his new bed he will use it to sleep all day long. First he has to play with it, impregnate it with his scent so that he gets used to it.
Y decidí hacerle una cama muy acogedora, afortunadamente, esta vez solo voy a utilizar tela y relleno, como los retazos de tela son pequeño, voy a empatarlos primero. El modelo es muy sencillo y rápido de realizar, esperando que se sienta cómodo y disfrute de su camita por largo tiempo, aunque su sitio preferido es dormir en el kennel, esperando que una vez se vaya familiarizando con su nueva cama la use para dormir todo el día. Primero tiene que jugar con ella, impregnarla con su olor para que se vaya acostumbrando.

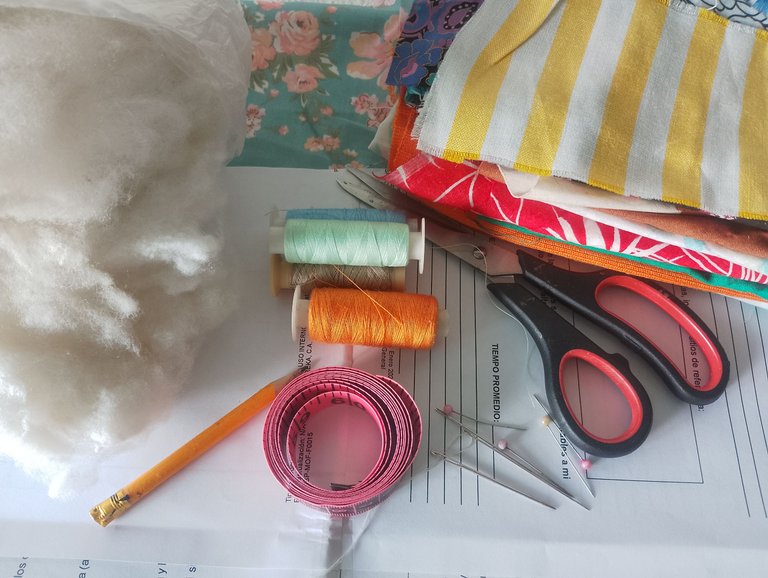
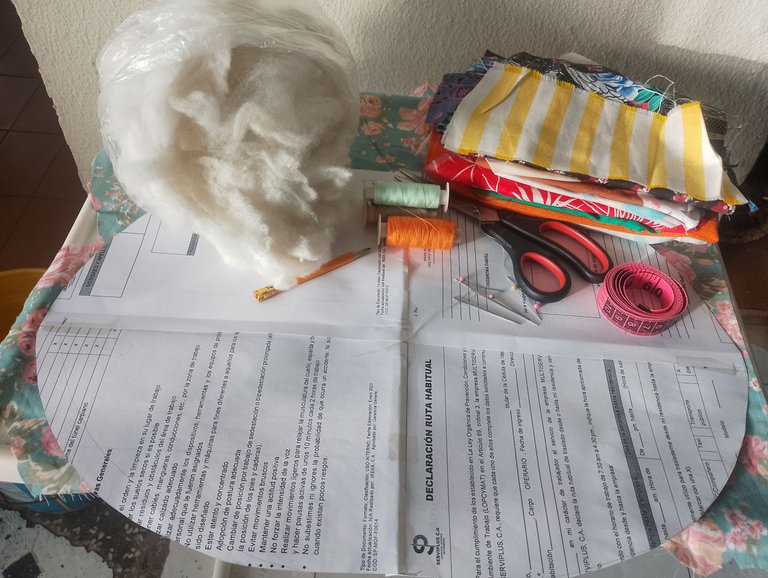
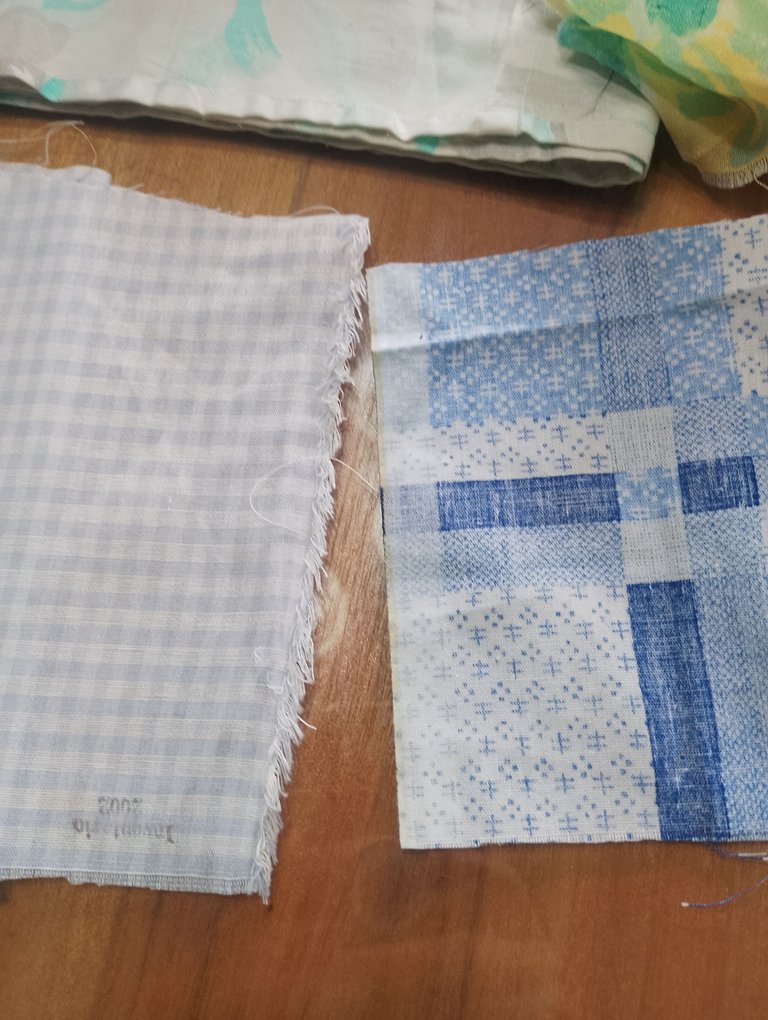
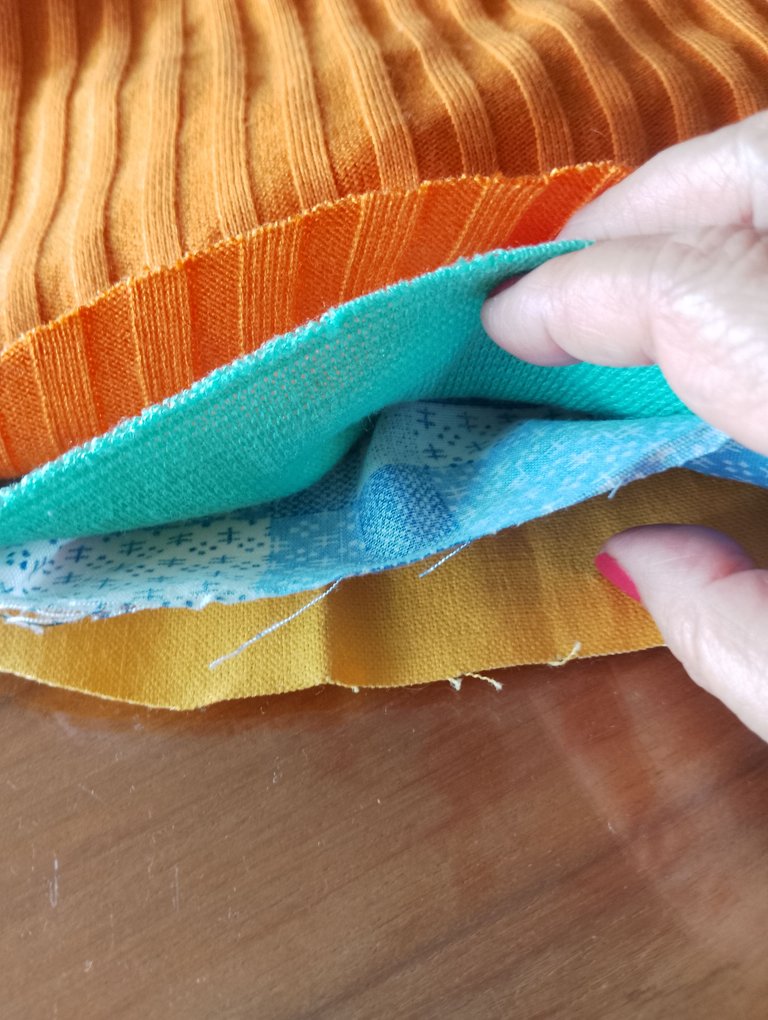
I chose different fabric scraps for this project. We don't need exact measurements, since we can make them in any size we want. What really matters is that it is suitable and its body is not straight to the floor, then we look for a way to cork it well so that it is comfortable. Here I bring you a simple way of how to make it. The materials are listed below.
Escogí diferentes retazos de tela, para este proyecto. No se necesitan medidas exactas, ya que las podemos realizar del tamaño que deseemos. Lo que realmente importa es que sea adecuada y su cuerpo, no esté directo al piso, entonces buscamos la manera de acorcharla bien para que esté cómodo. Aquí les traigo una forma sencilla de cómo fabricarla. De seguida les indico los materiales.
Materials:
- Fabric scraps.
- Thread.
- Scissors.
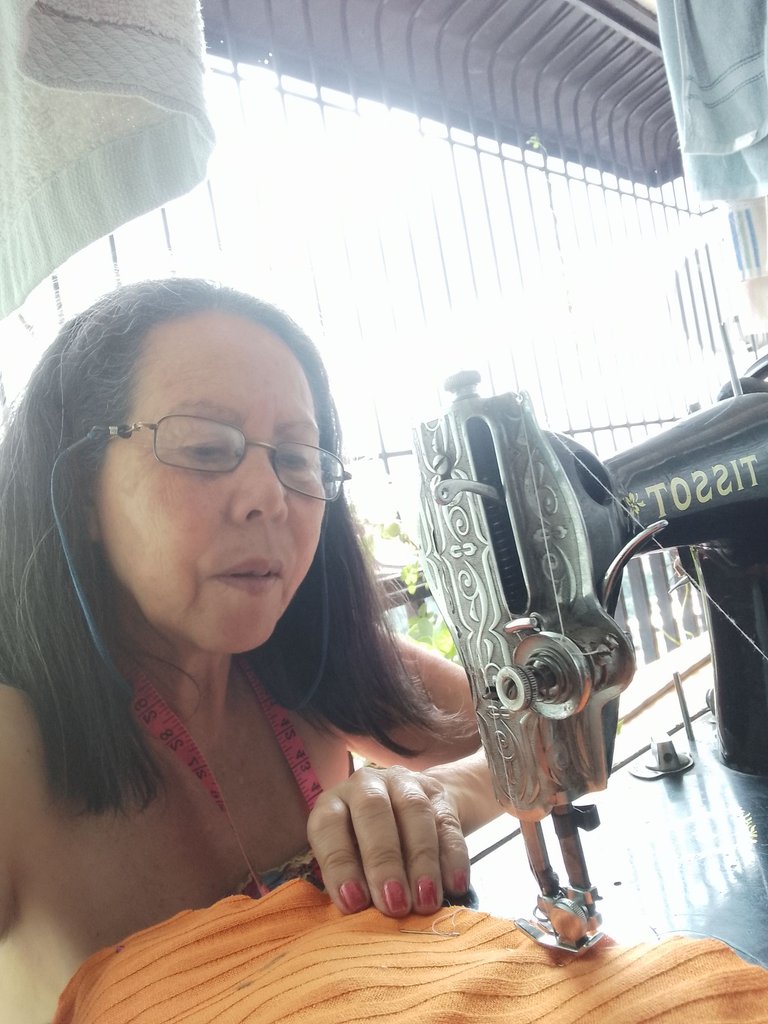
- Sewing machine tool.
- Bond paper
- Cotton for stuffing.
Materiales:
- Retazo de tela.
- Hilo.
- Tijeras.
- Herramienta máquina de coser.
- Papel Bond
- Algodón para el relleno.
How To Do It.
Modo De Realizarlo.
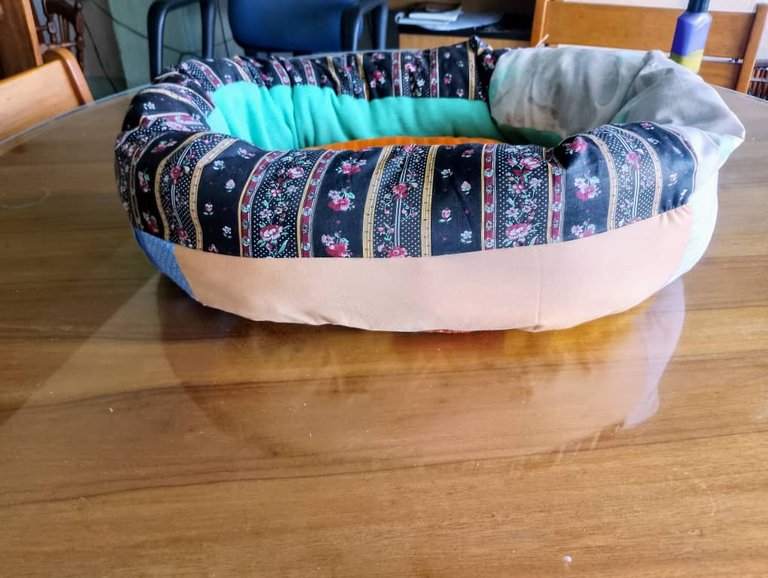
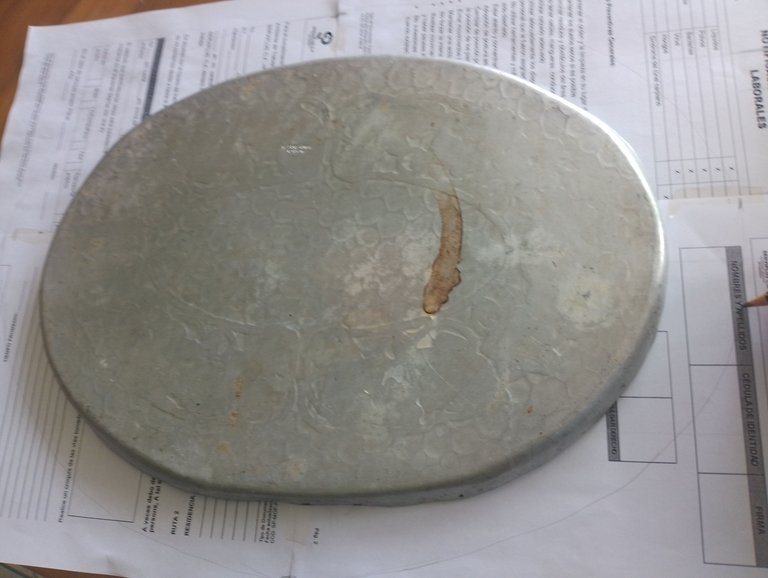
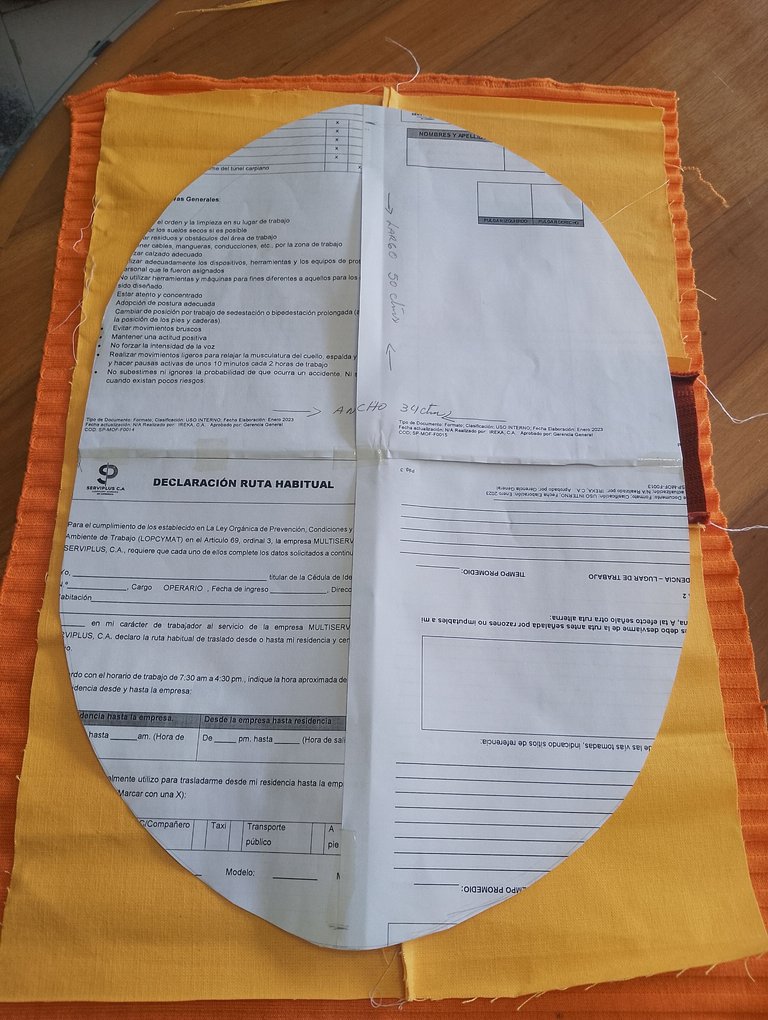
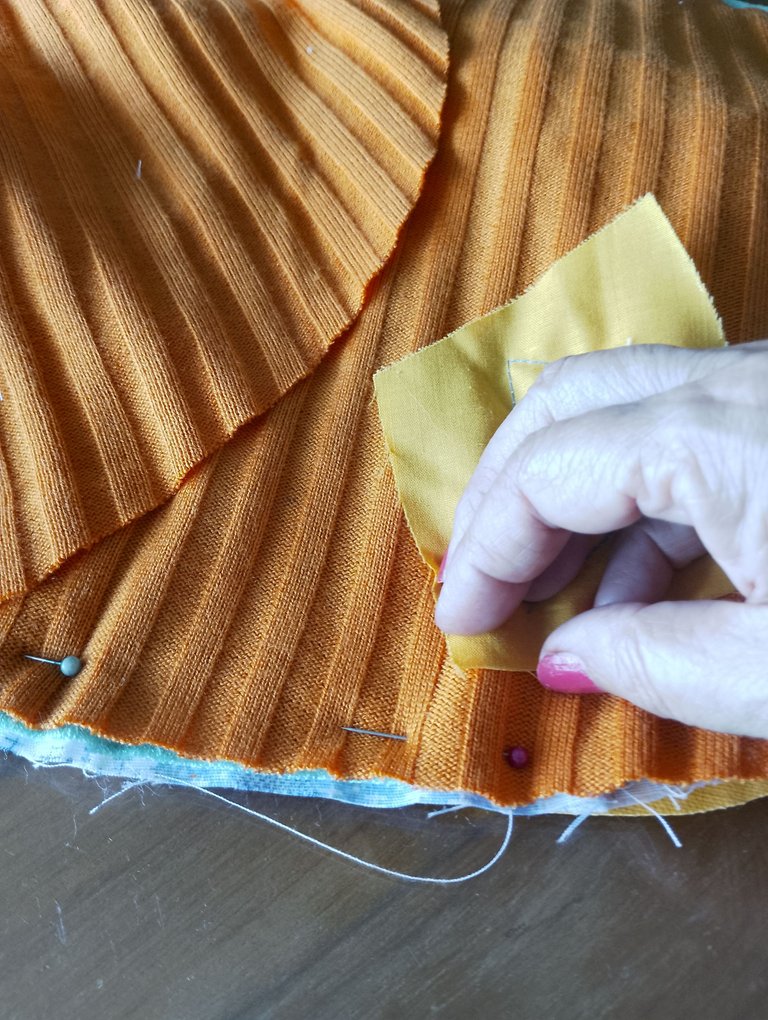
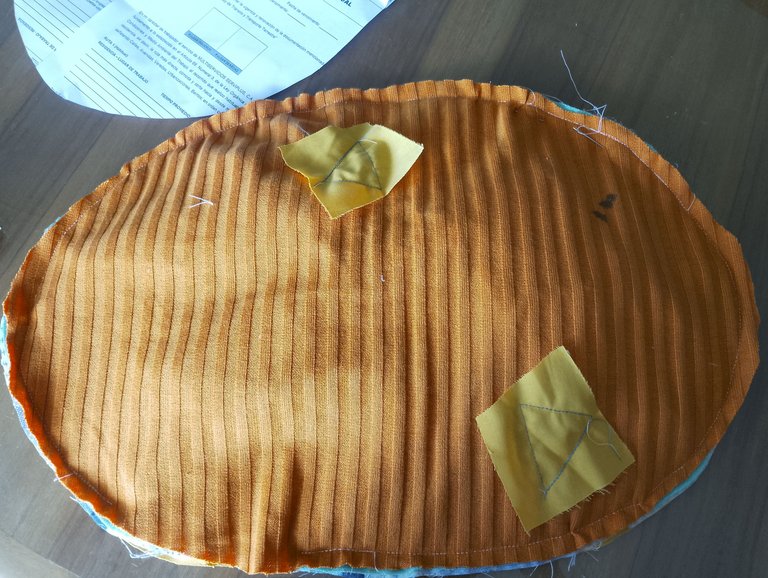
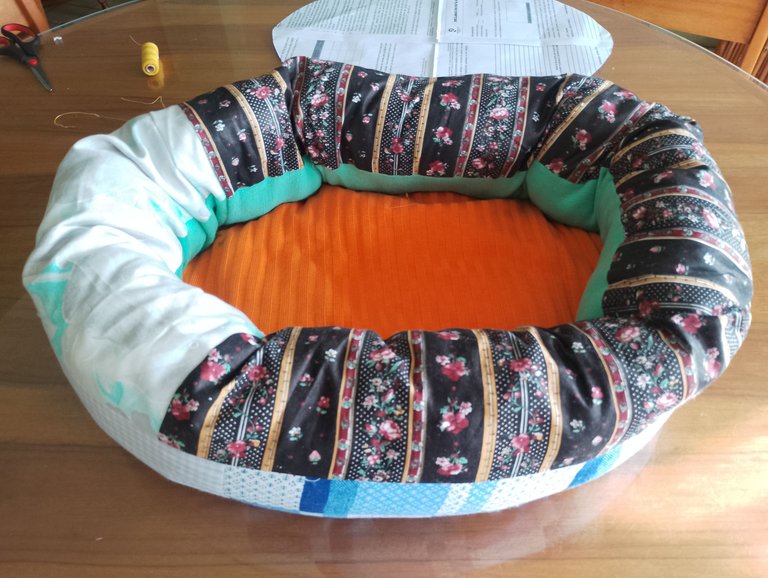
First: We use bond paper to make a pattern of the desired size. In this case, as my sister-in-law's pet is big, I decided to make her a bed suitable for her size, and I made it oval.
Primero: Utilizamos papel bond para sacar un patrón, del tamaño deseado. En este caso, como la mascota de mi cuñada es grande, decidí hacerle una cama adecuada para su tamaño, y la hice ovalada.
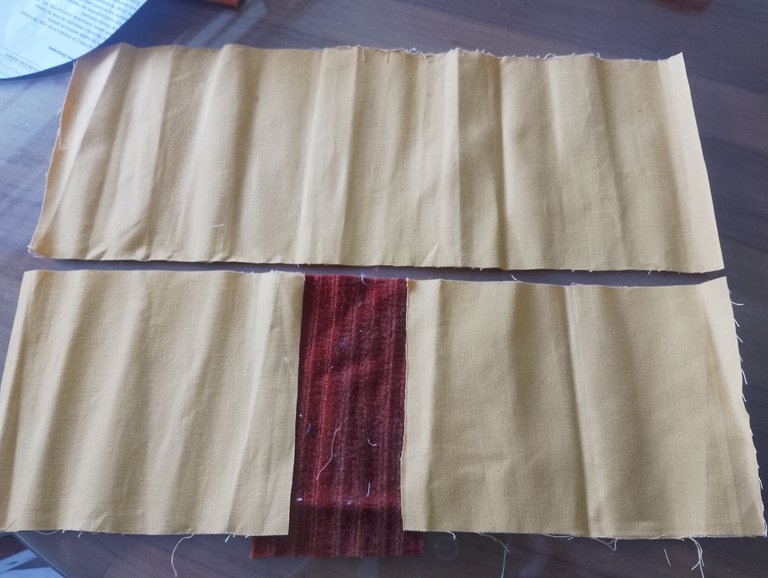
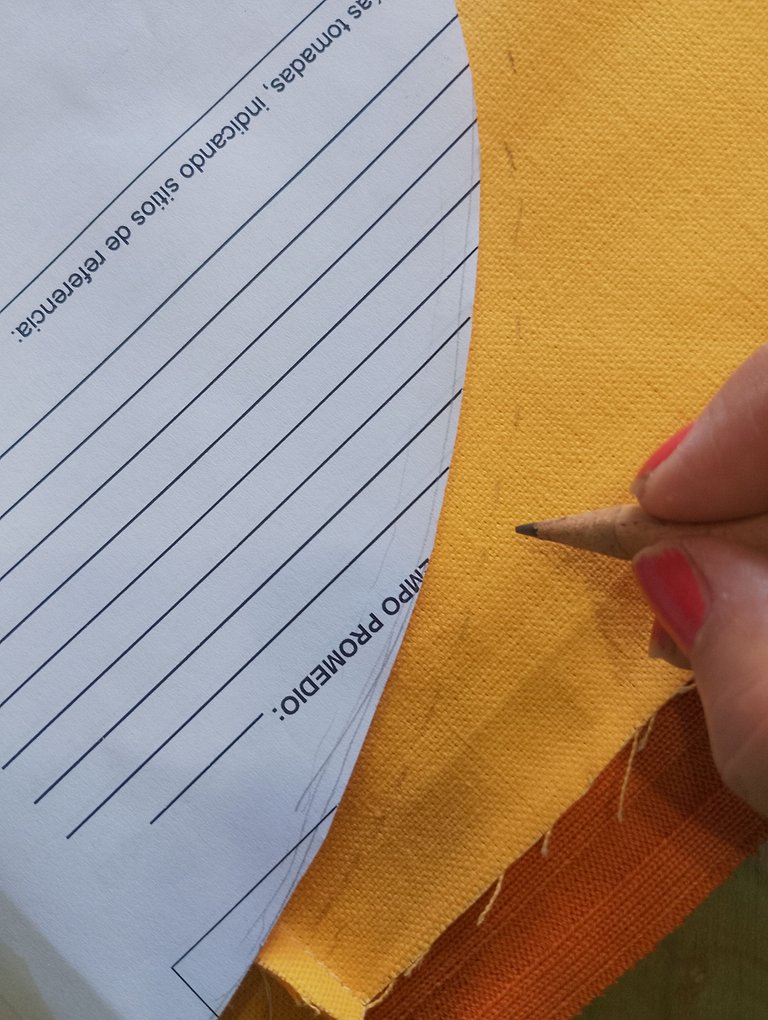
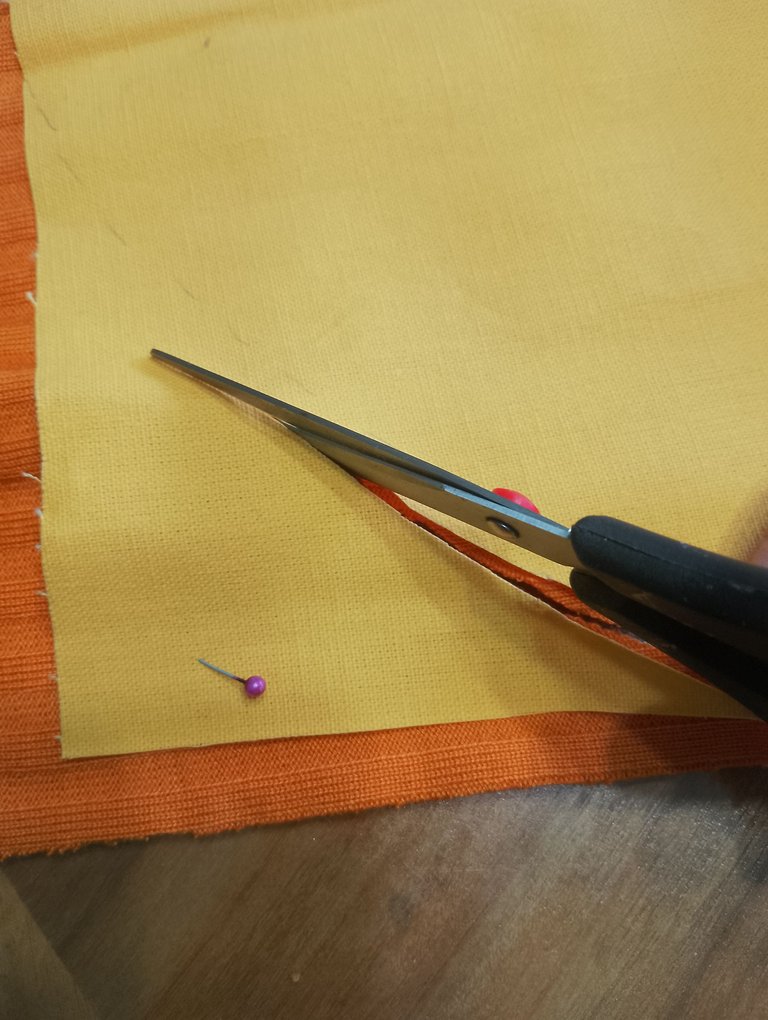
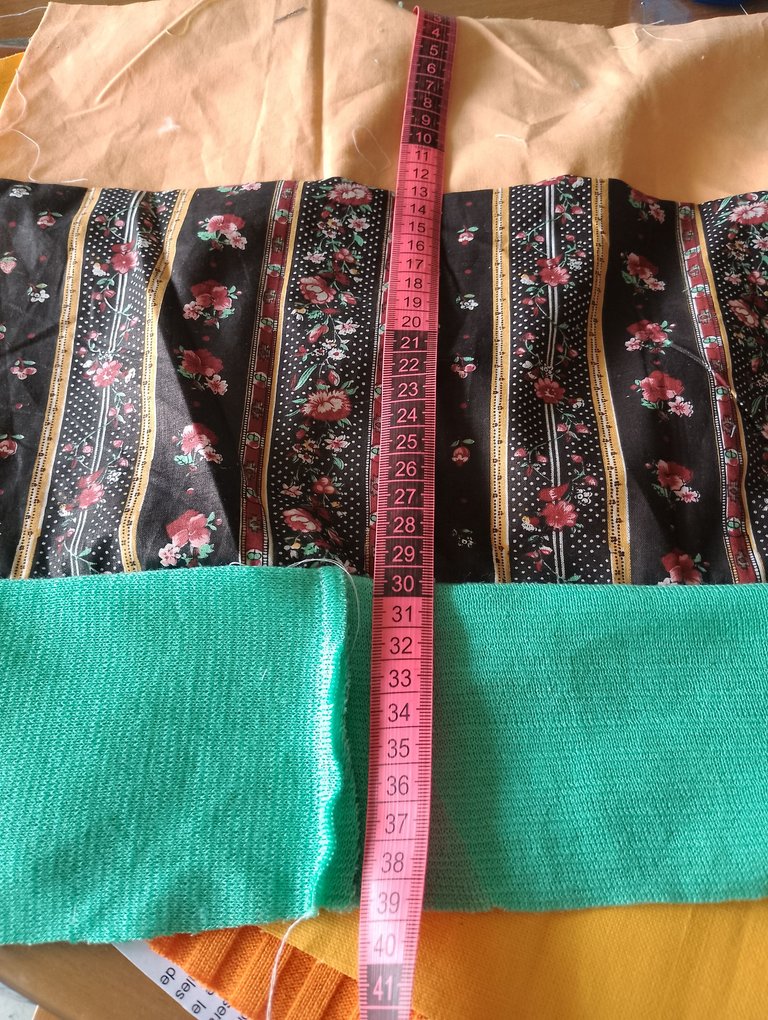
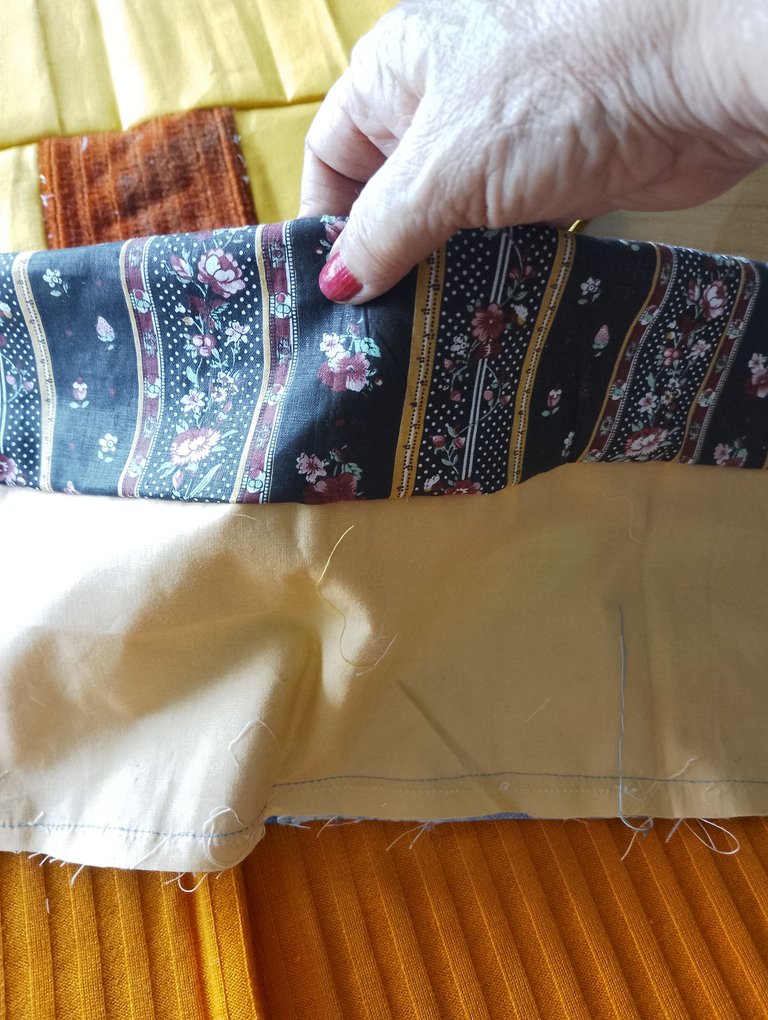
Once the scraps are joined together, we will use it to remove the two covers; the color does not matter. The measurements were as follows: 50 cm long x 34 cm wide; in this way I proceeded to cut it.
Una vez unidos los retazos, lo usaremos para, sacar las dos tapas; no importa el color. Las medidas fueron las siguientes: 50 cm de largo x 34 cm de ancho; de esta manera procedí a cortarla.
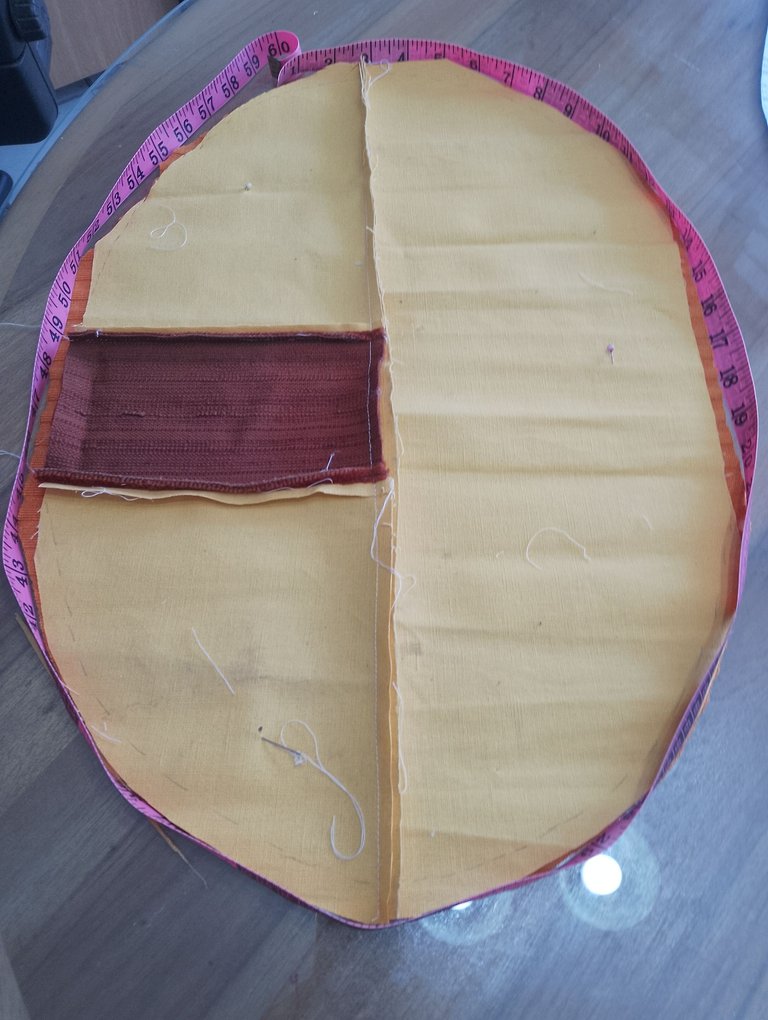
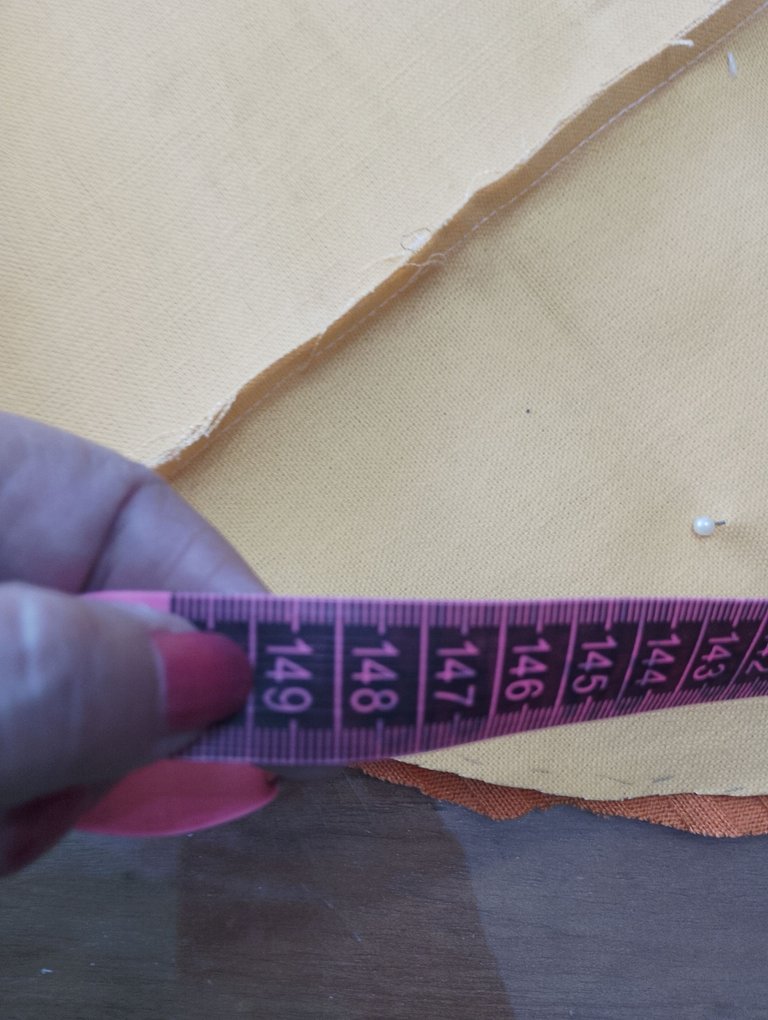
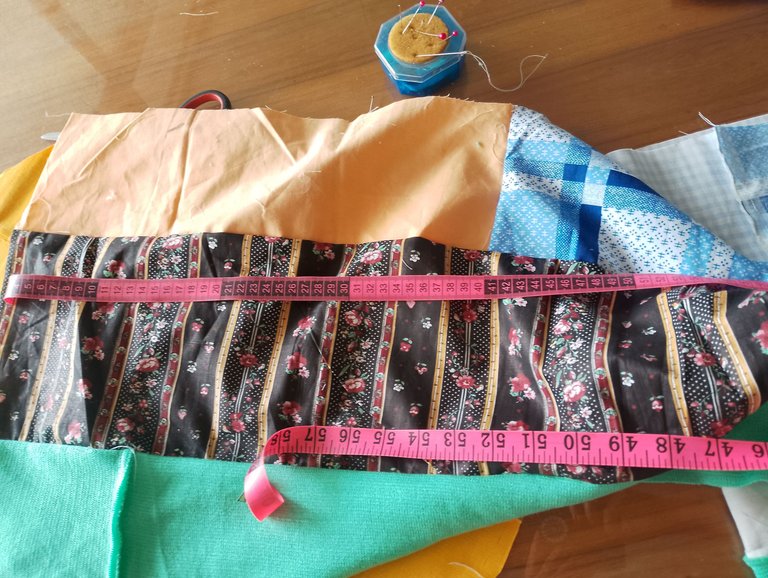
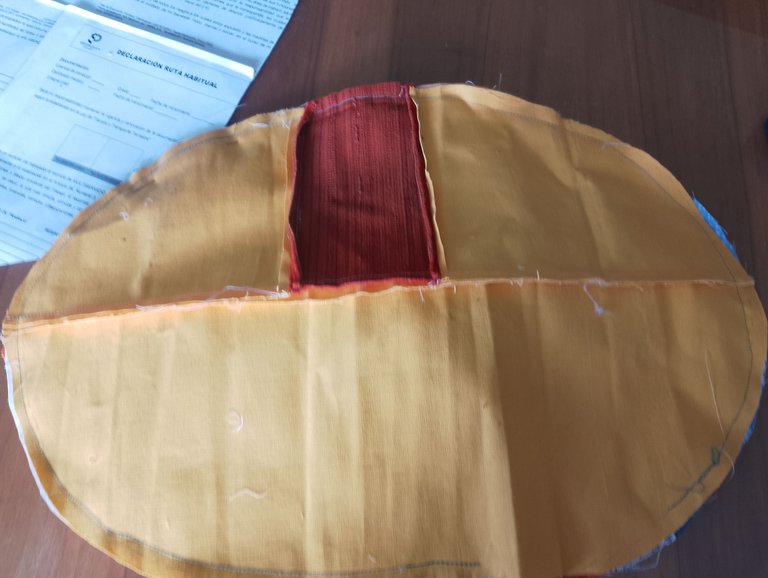
Second: Now we measure the entire contour of the covers and make a strip measuring 1.49 cm in contour x 34 cm wide. See images.
Segundo: Ahora medimos todo el contorno de las tapas y hacemos una tira que mida 1.49 cm de contorno x 34 cm de ancho. Ver imágenes.
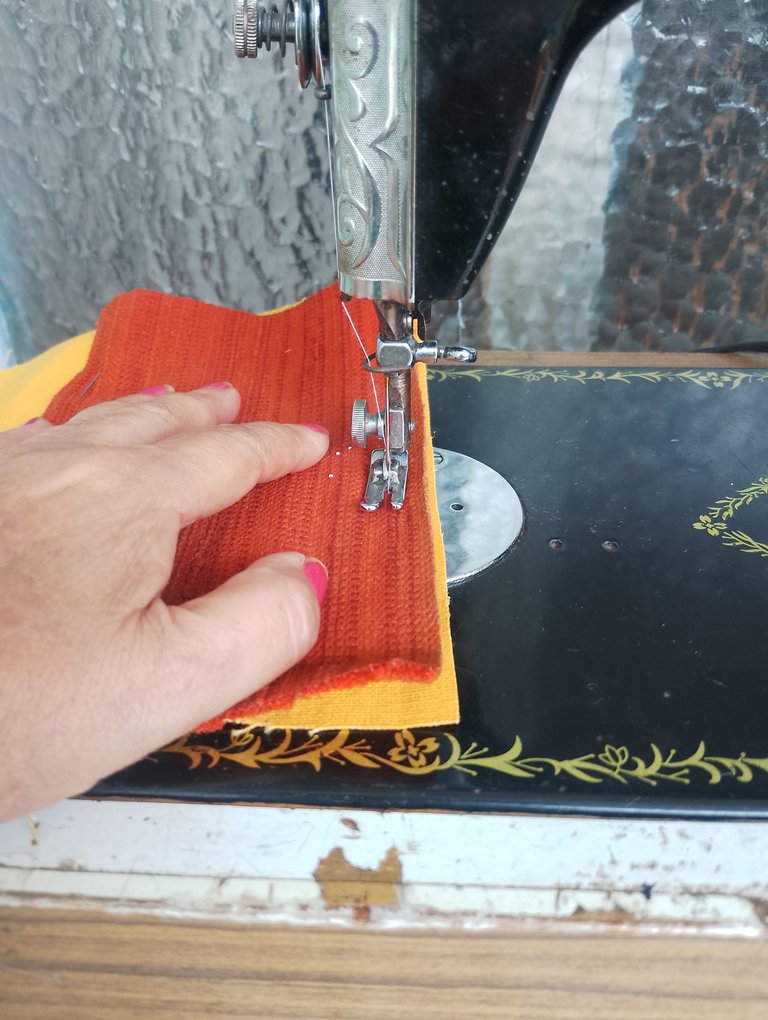
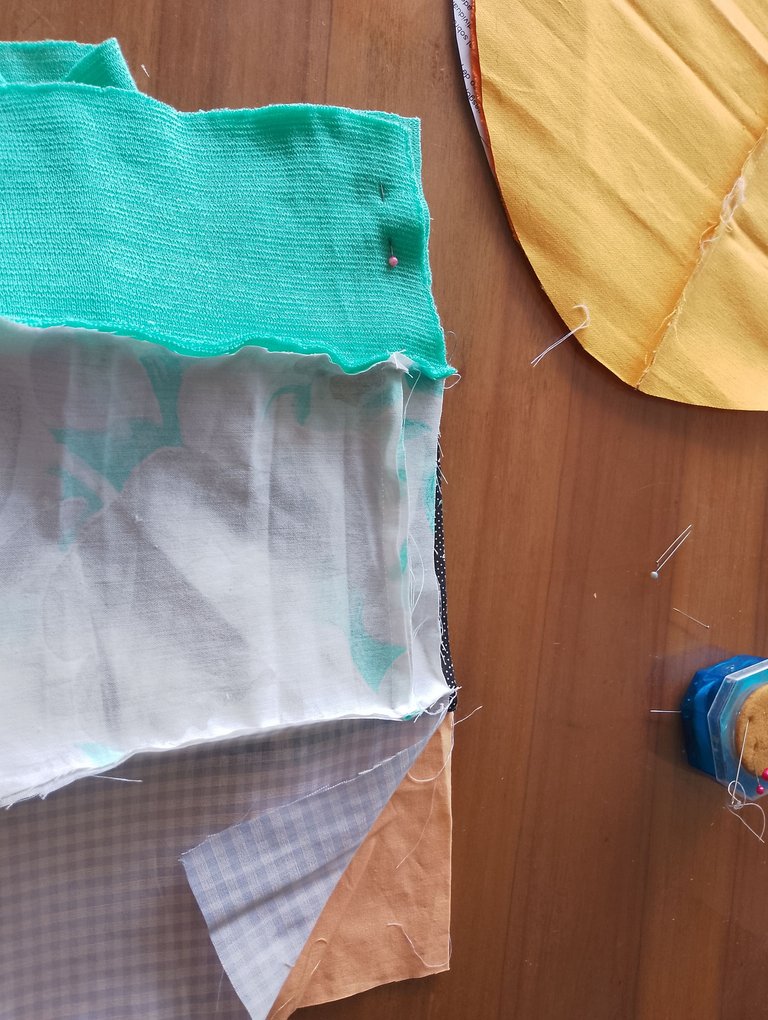
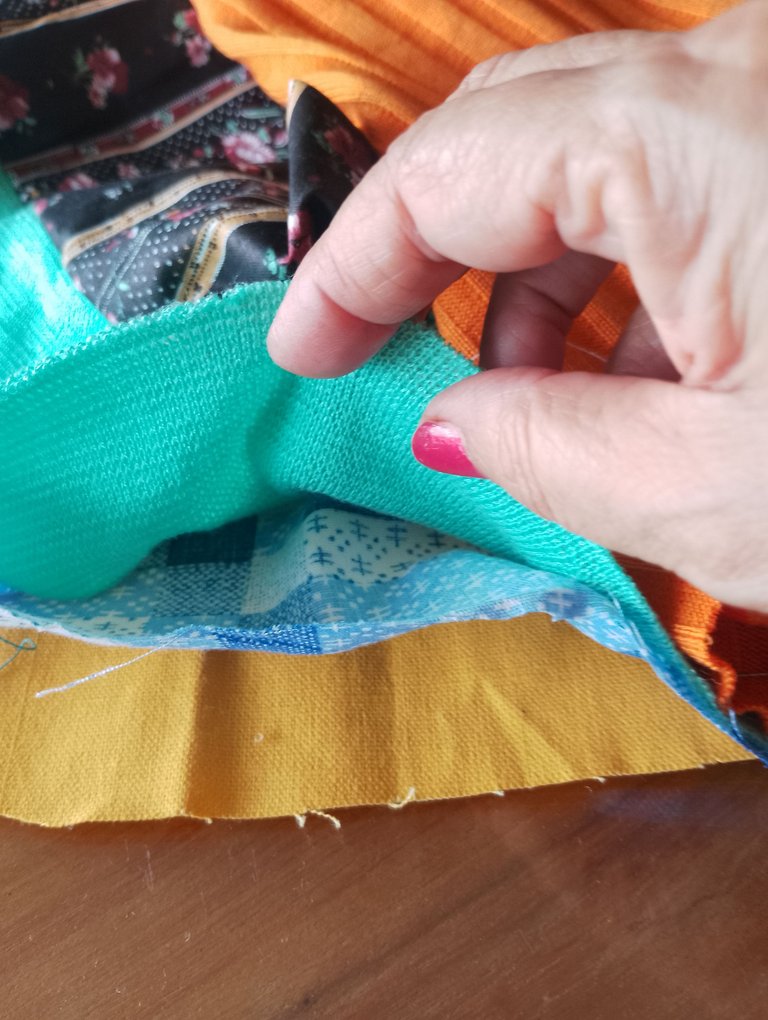
Third: We also assemble the strip with pieces of fabric and once finished, we sew a seam at both ends of the strip and then fold it in half so that it is on the right side. We sew all around the strip, leaving 12 cm without sewing.
Tercero: La tira también la armamos con pedazos de tela y una vez terminada, pasamos una costura a ambos extremos de la tira y luego la doblamos por la mitad que quede por el lado derecho. cosemos por todo el contorno de la tira, dejando 12 cm sin coser.
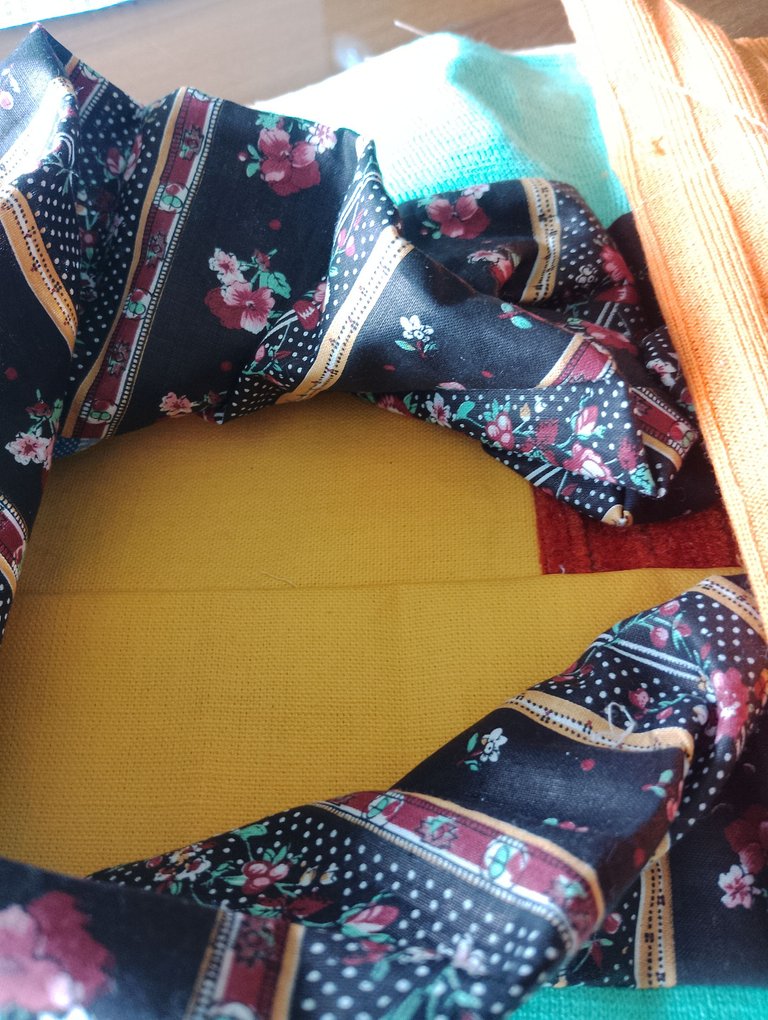
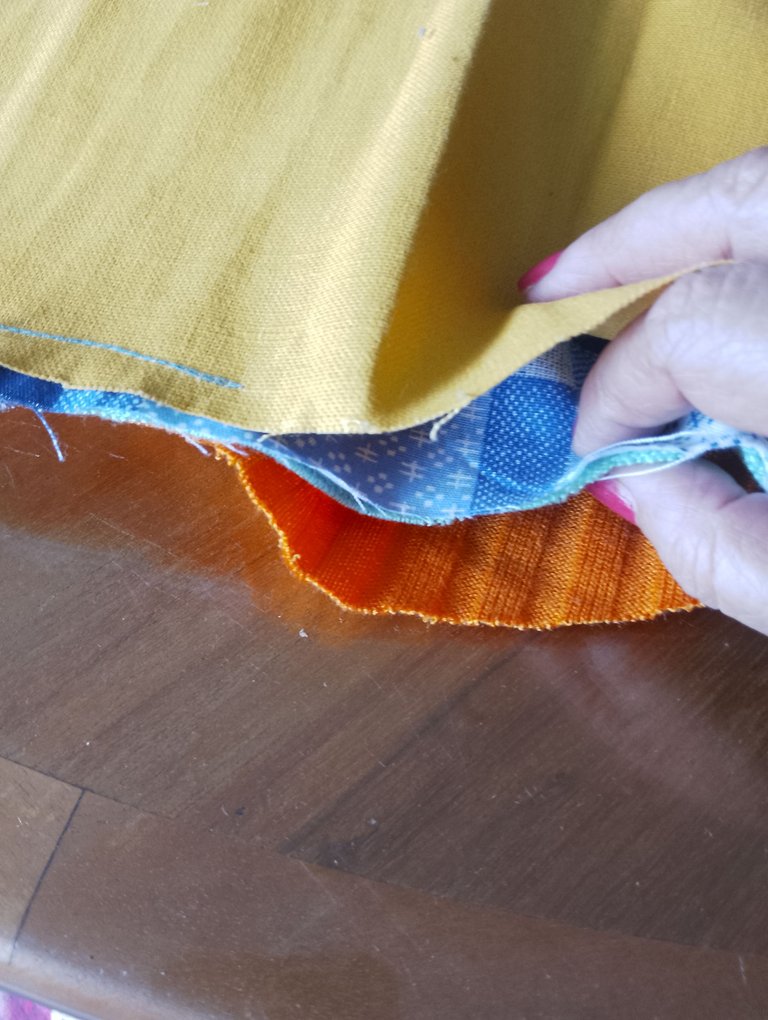
Fourth: We take one of the covers (preferably the one that will be facing the floor), and we place the strip on top of it, placing it in such a way that the part of the seam coincides with the surrounding of the cover.
Cuarto: Tomamos una de las tapas (preferiblemente la que va a quedar de cara al piso), y le colocamos la tira encima colocándola, de tal forma que coincida la parte de la costura con el alrededor de la tapa.
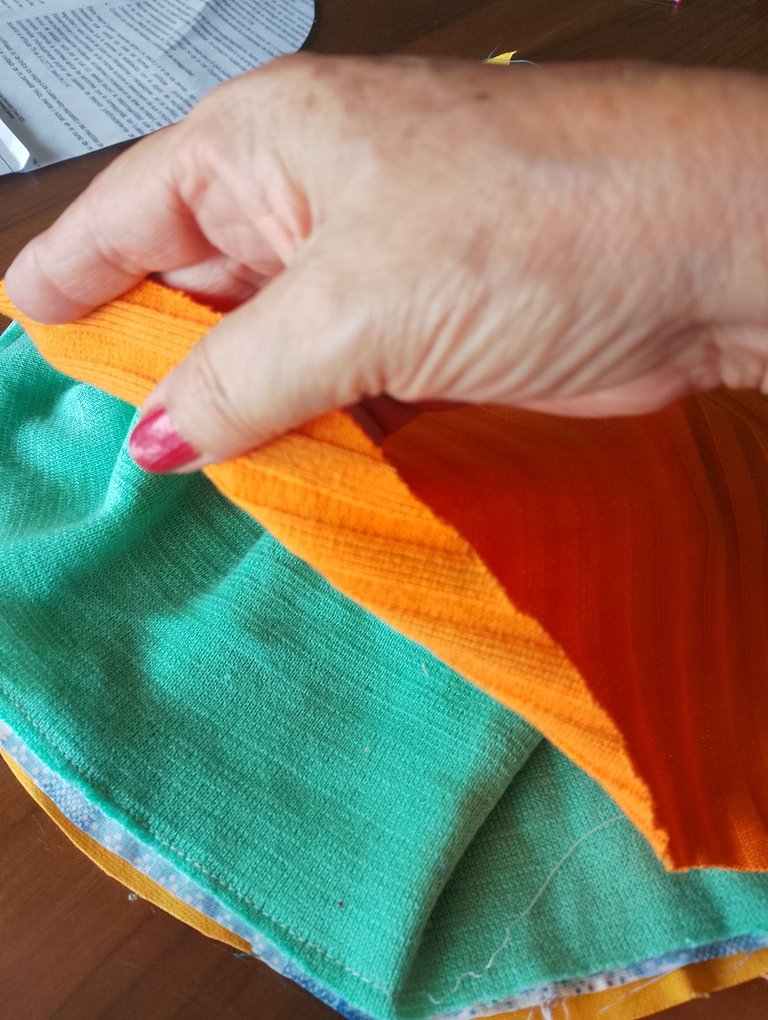
Fifth: next, we place the other cover on top, with the back side facing up. Place pins so as to hold all the fabrics, proceed to sew all around the contour, leaving 12 cm without sewing and matching the other opening of the strip.
Quinto: seguidamente, colocamos encima la otra tapa, con el revés hacia arriba. Colocamos alfileres de manera de agarrar todas las telas, procedemos a coser por todo el contorno, dejando los 12 cm, sin coser y que coincida con la otra abertura de la tira.
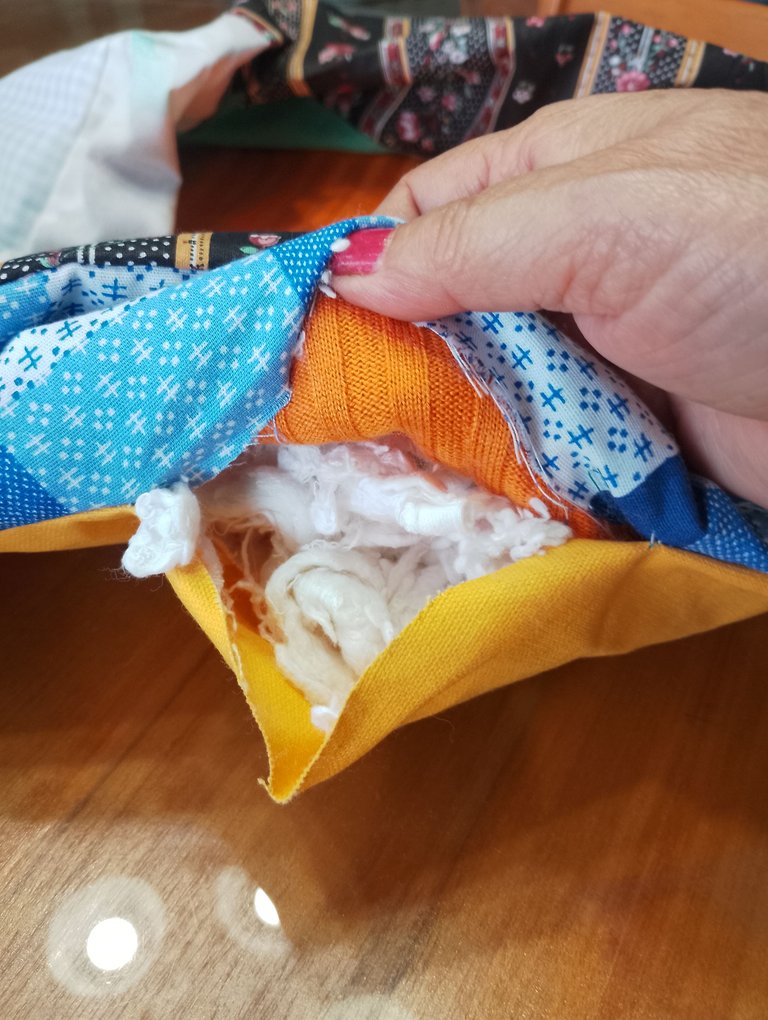
Sixth: After sewing all the outline, we turn up the side that goes to the floor. And through its opening we proceed to flip the whole thing right side out. And we begin to stuff with cotton the way we want.
Sexto: Después de coser todo el contorno, volteamos hacia arriba la cara que va hacia el piso. Y por su abertura procedemos a voltear todo por el derecho. Y comenzamos a rellenar con algodón de la manera que queramos.
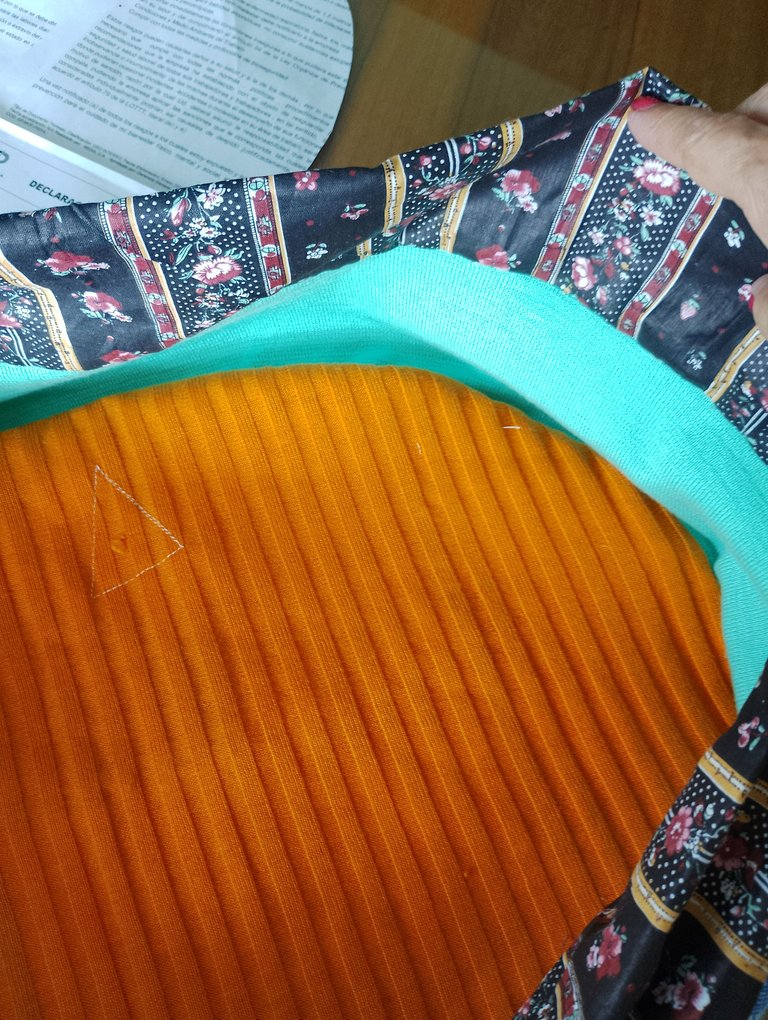
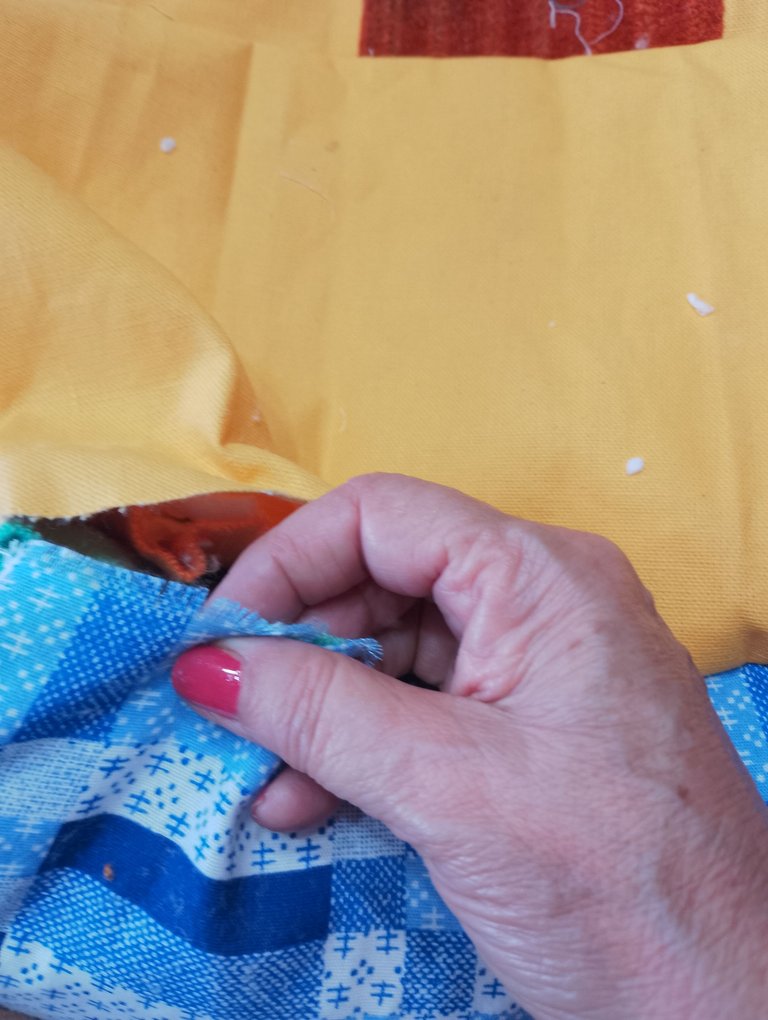
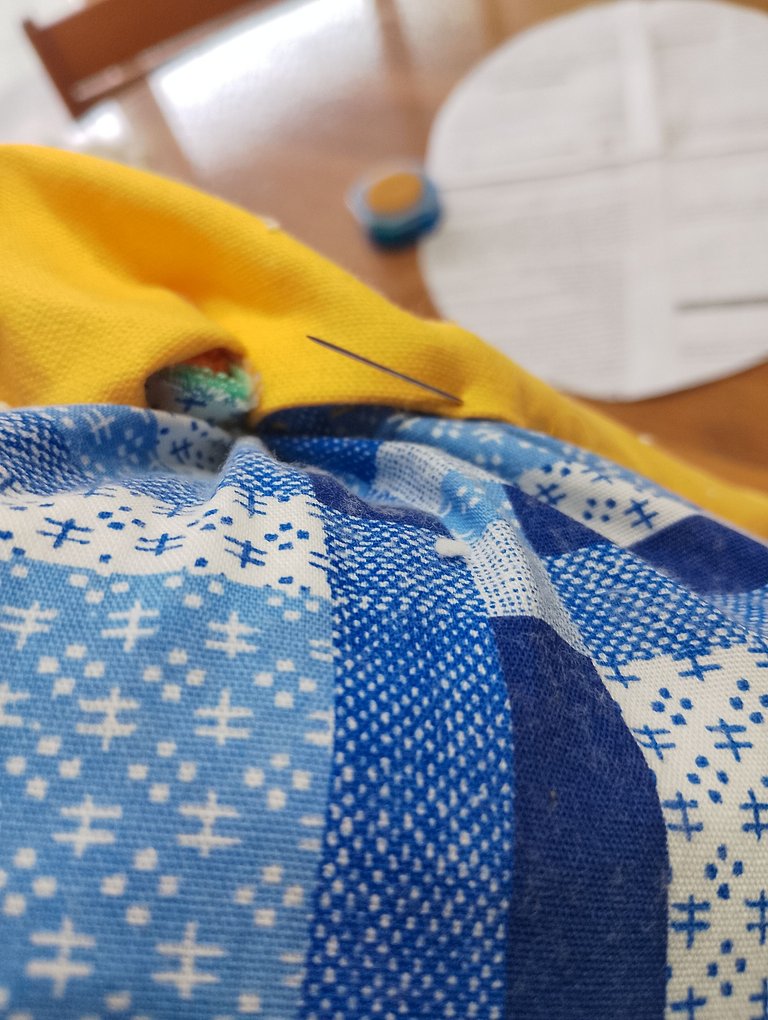
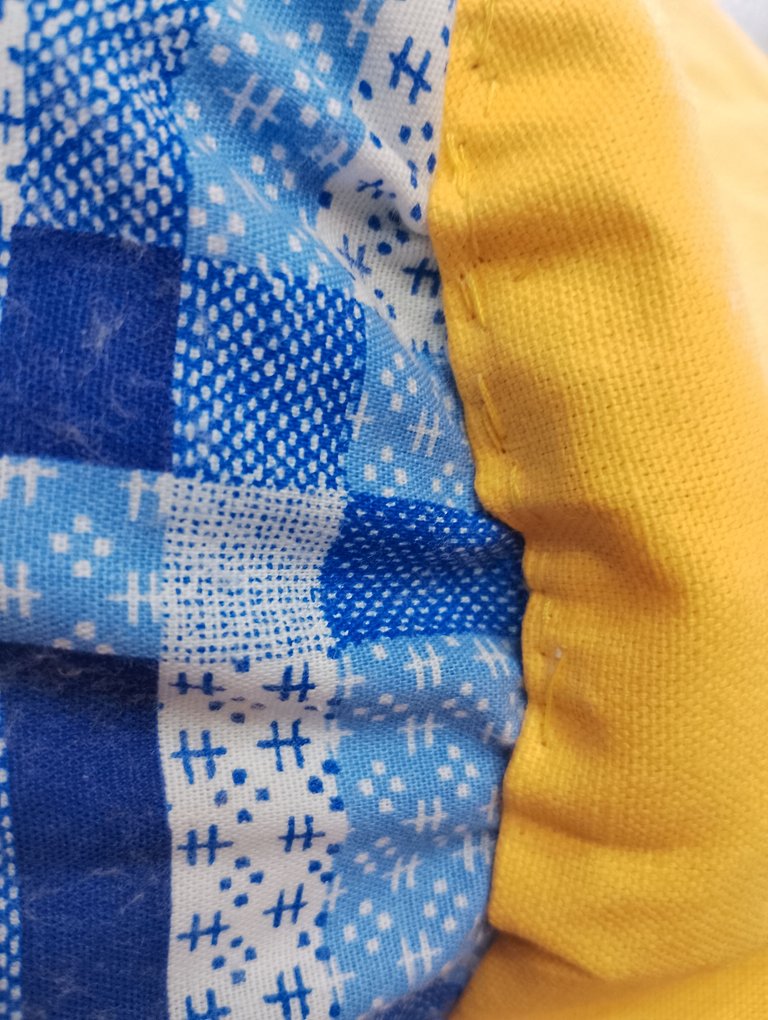
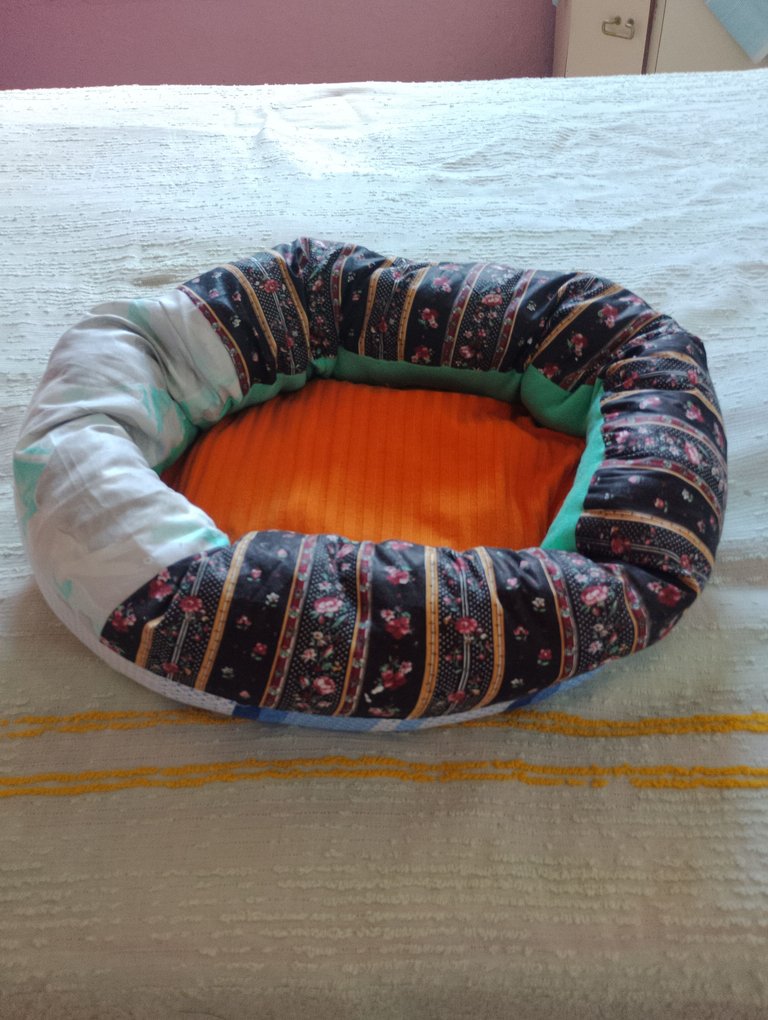
Seventh: In the opening of the strip we begin to stuff with cotton to each person's preference. And, finally, we finish off the openings well. And the bed is ready. A pleasure to be back and a cordial greeting to all the friends of Diyhub.
Séptimo: En la abertura de la tira comenzamos a rellenar con algodón a preferencia de cada persona. Y, por último, rematamos las aberturas bien. Y lista la camita. Un placer estar de vuelta y un saludo cordial a todos los amigos de Diyhub.

Your relatives furry friend would be delighted. Nice work
@diyhub Thank you for your support
¡Felicitaciones!
1. Invierte en el PROYECTO ENTROPÍA y recibe ganancias semanalmente. Entra aquí para más información.
3. Suscríbete a nuestra COMUNIDADEntra aquí para más información sobre nuestro trail., apoya al trail de @Entropia y así podrás ganar recompensas de curación de forma automática.
4. Creación de cuentas nuevas de Hive aquí.
5. Visita nuestro canal de Youtube.
Atentamente
El equipo de curación del PROYECTO ENTROPÍA
@entropia Muy agradecida por el apoyo y su curación.